Don’t get me wrong, I love my Primo. I’m getting better and better results as I learn the machine, Fusion360 and Estlcam. Follow along for a moment…
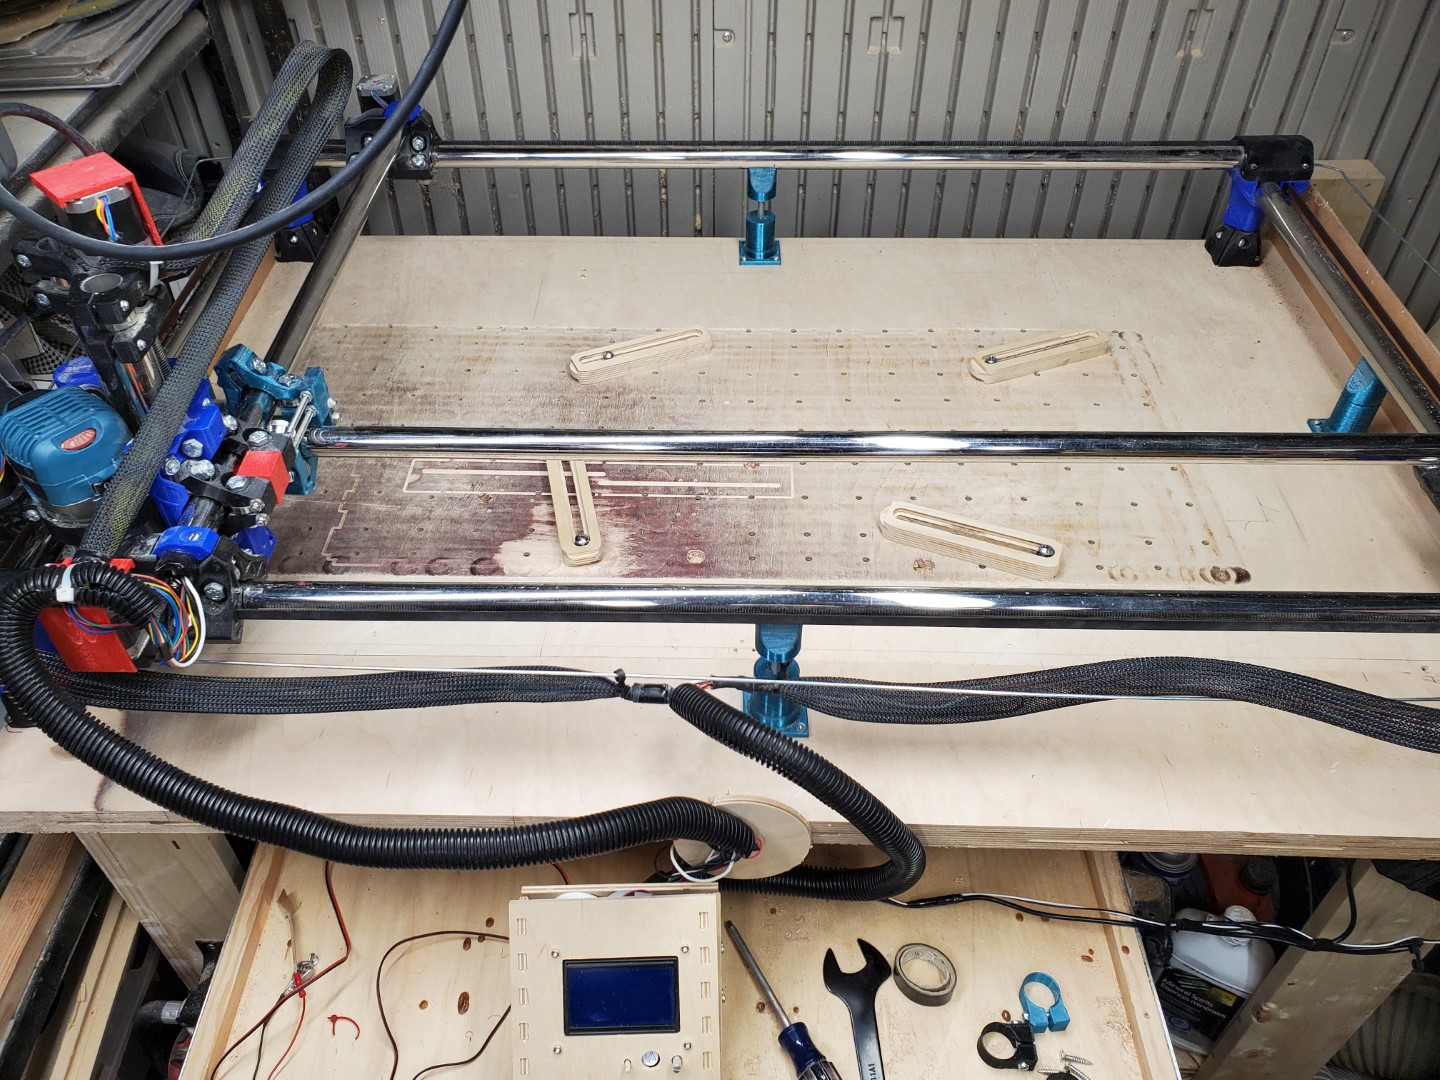
In fact it was going so well that I decided to enbiggen my machine a little. It had a working area of 908mm x 367mm (about 35 3/4" x 14 7/16"). But (and there’s always a “but”), I want to make boxes that are 24 x 16 x X.
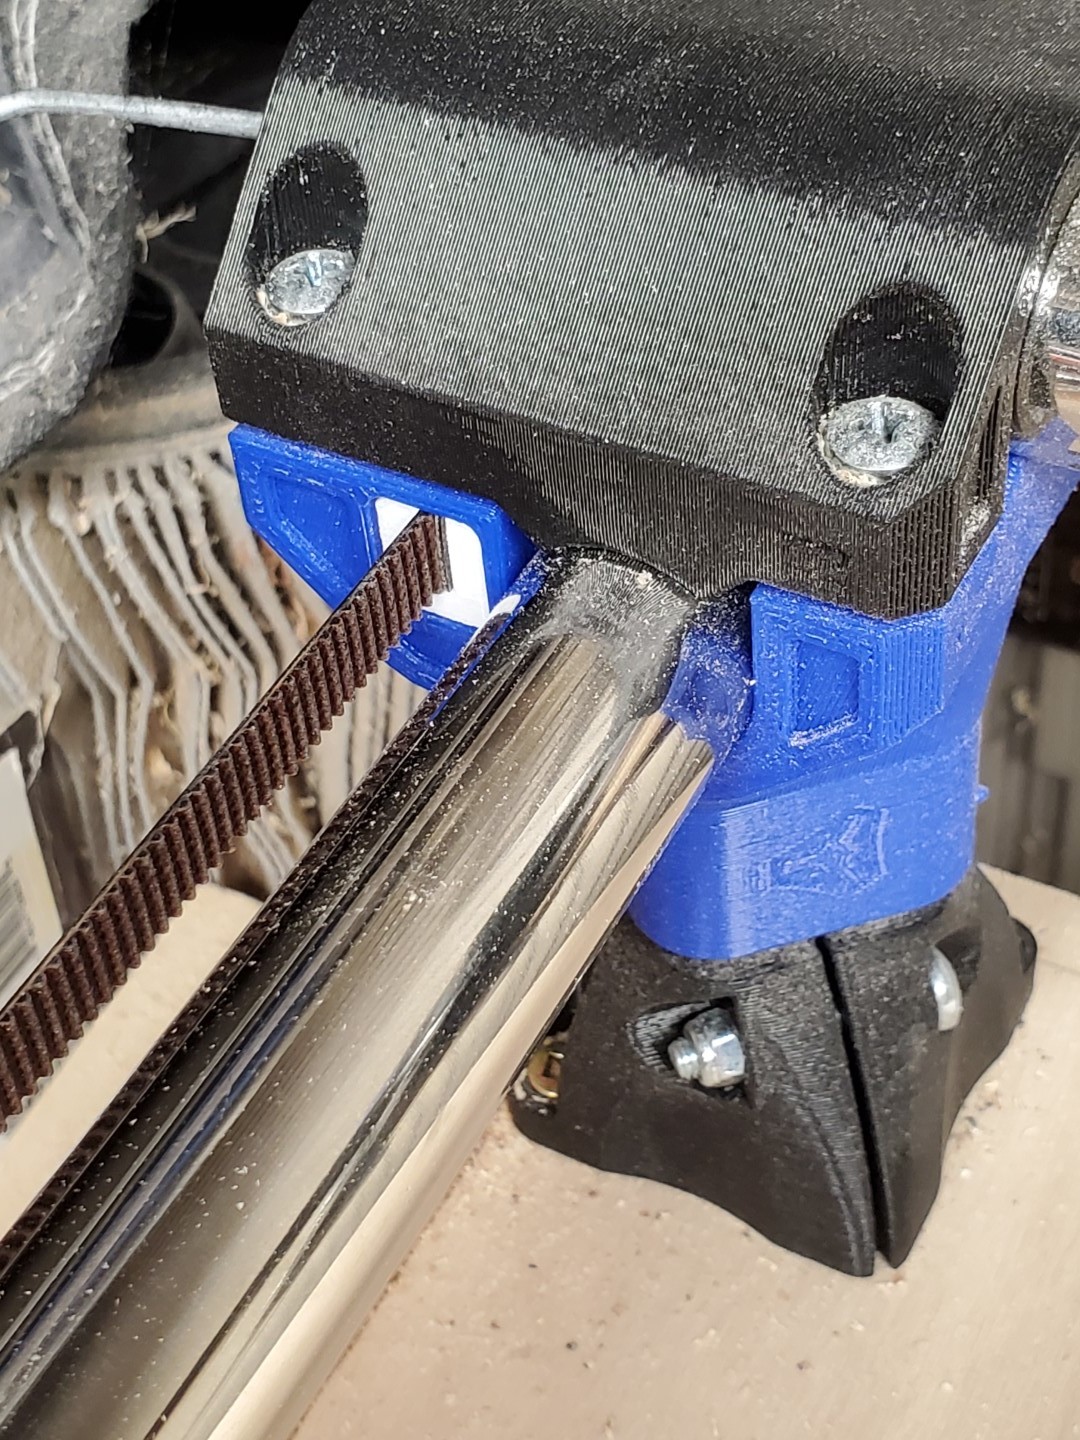
So I bought some new stainless tube and ordered some upgraded Gates belt and went for it. The enlarging process was mostly problem free - except for the freaking belt tensioner pieces.
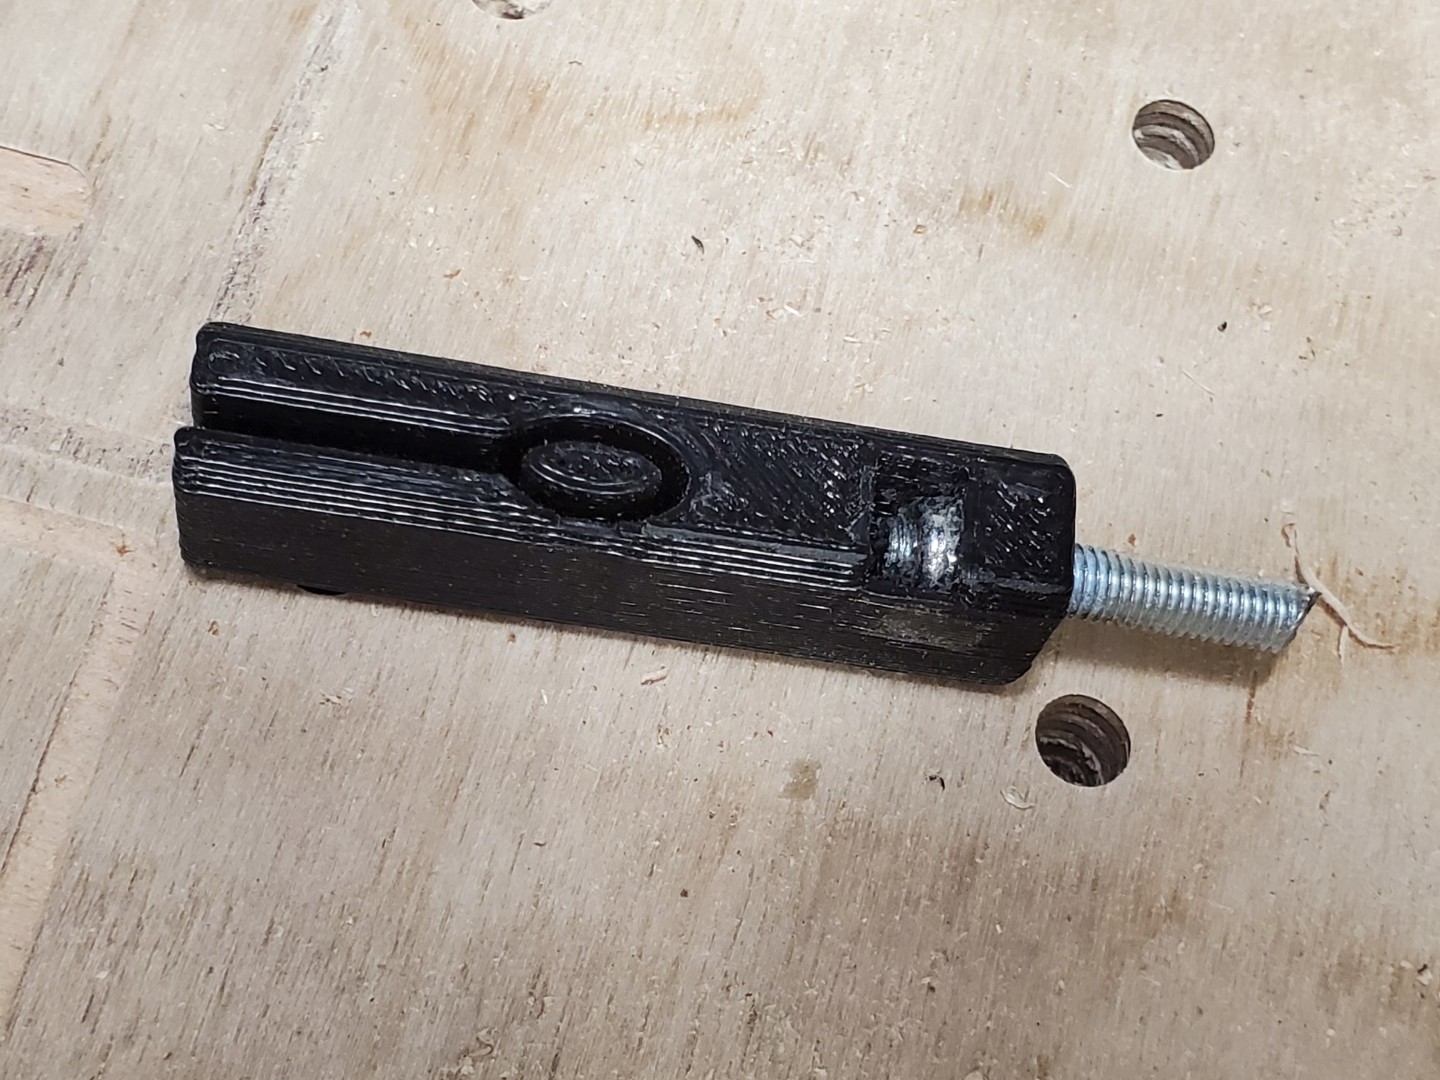
The belt tensioners were definitely problematic. I had to cut the head off one bolt because the nut was spinning inside. The others I managed to get out of the tower tops. I decided not to upgrade the belt on the X axis for now, since the Y axis was so ugly.
Now, bear in mind that I ran the nylock nuts up and down the bolts several times before I did the initial assembly, so I was surprised at how willingly the nuts were able to spin in the ‘capture’.
On reassembly, I glued the nuts into the three usable tensioners, and had my son print a new one for me (which I also glued in). Hopefully I don’t have to take it apart again – other than to swap the belt on the X axis…
So if there was one thing to change, it would be how the nylock nut sits in the insert. Obviously I don’t really have a better idea. And honestly, the rest of the design is super simple and problem free.
Third picture: almost back together. Need to re-assemble my control box and reinstall the dust shield at the back. After that, a big surface level since I just added on to the spoilboard.
Nut captures are tricky, because printers vary, and tolerances are ugly. I can get pretty good nut captures with my printer, if it’s my CAD and my slicer settings, because I know how that will translate to reality by now. I’m also not against a little heat setting for a nut capture, where I heat the nut to the point where the plastic will flow a little around it. Hot enough to let the PLA – or PETg – flow, not hot enough to wreck the nylon. (Tricky, but I have practice.)
I’m pretty much sure that when I pull those belt tensioner blocks out of my Primo, I’ll need new ones to replace them. They were very tight going in, and I can’t imagine them coming out easily. I’m OK with that though, they’re small, easily reprintable pieces
I hear you - these parts were printed by V1 Engineering, and the quality was really good .
I was getting at the idea of some how creating the tensioners (and housing) without a buried captured nut.
They recommend 7-10 lbs of pressure on the belts (of I recall correctly) which is still enough to allow the bolt to spin, although very slowly.
If you went without a nylock nut, I would suggest adding a lock washer to the bolt so it rests between the underside of the bolt head and the printed piece it goes through. That would be some added level of resistance to spinning. You can also use a rubber washer instead, it should provide enough grip to help.
Another more messy option would be to try blue threadlock.
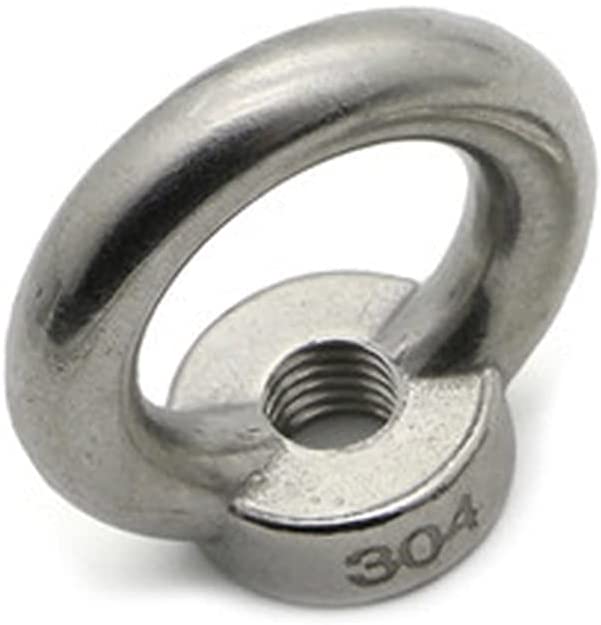
Since the square nut won’t be nylon locking, you could redesign the hole between the nut trap and the belt area to be a snug, threaded hole to replace the nylon.
As Barry said: don’t use a nylock nut here, a regular one will do just fine. Only use nylocks wherever it’s really necessary, which, most of the time, is nowhere
Regular nuts usually don’t spin against plastic, it’s a bit too soft and sticky.