Hope the build is going well if that’s the case. Looking forward to seeing how it all turns out. I am like forcerouge with preferring taller workbenches. While there are times we have to heft a heavy price of stock up there, that is usually only a fraction of the time we are hunched over the table clamping things down, tightening bits, setting up probes, etc. For me a taller setup makes that hunched over work much easier.
One of the things I like about this vac is that it is pretty quiet. The only vent it needs is the output tube. I def. Don’t want to lift it through the top though. That would require a lot of strength. A door is not it of the question.
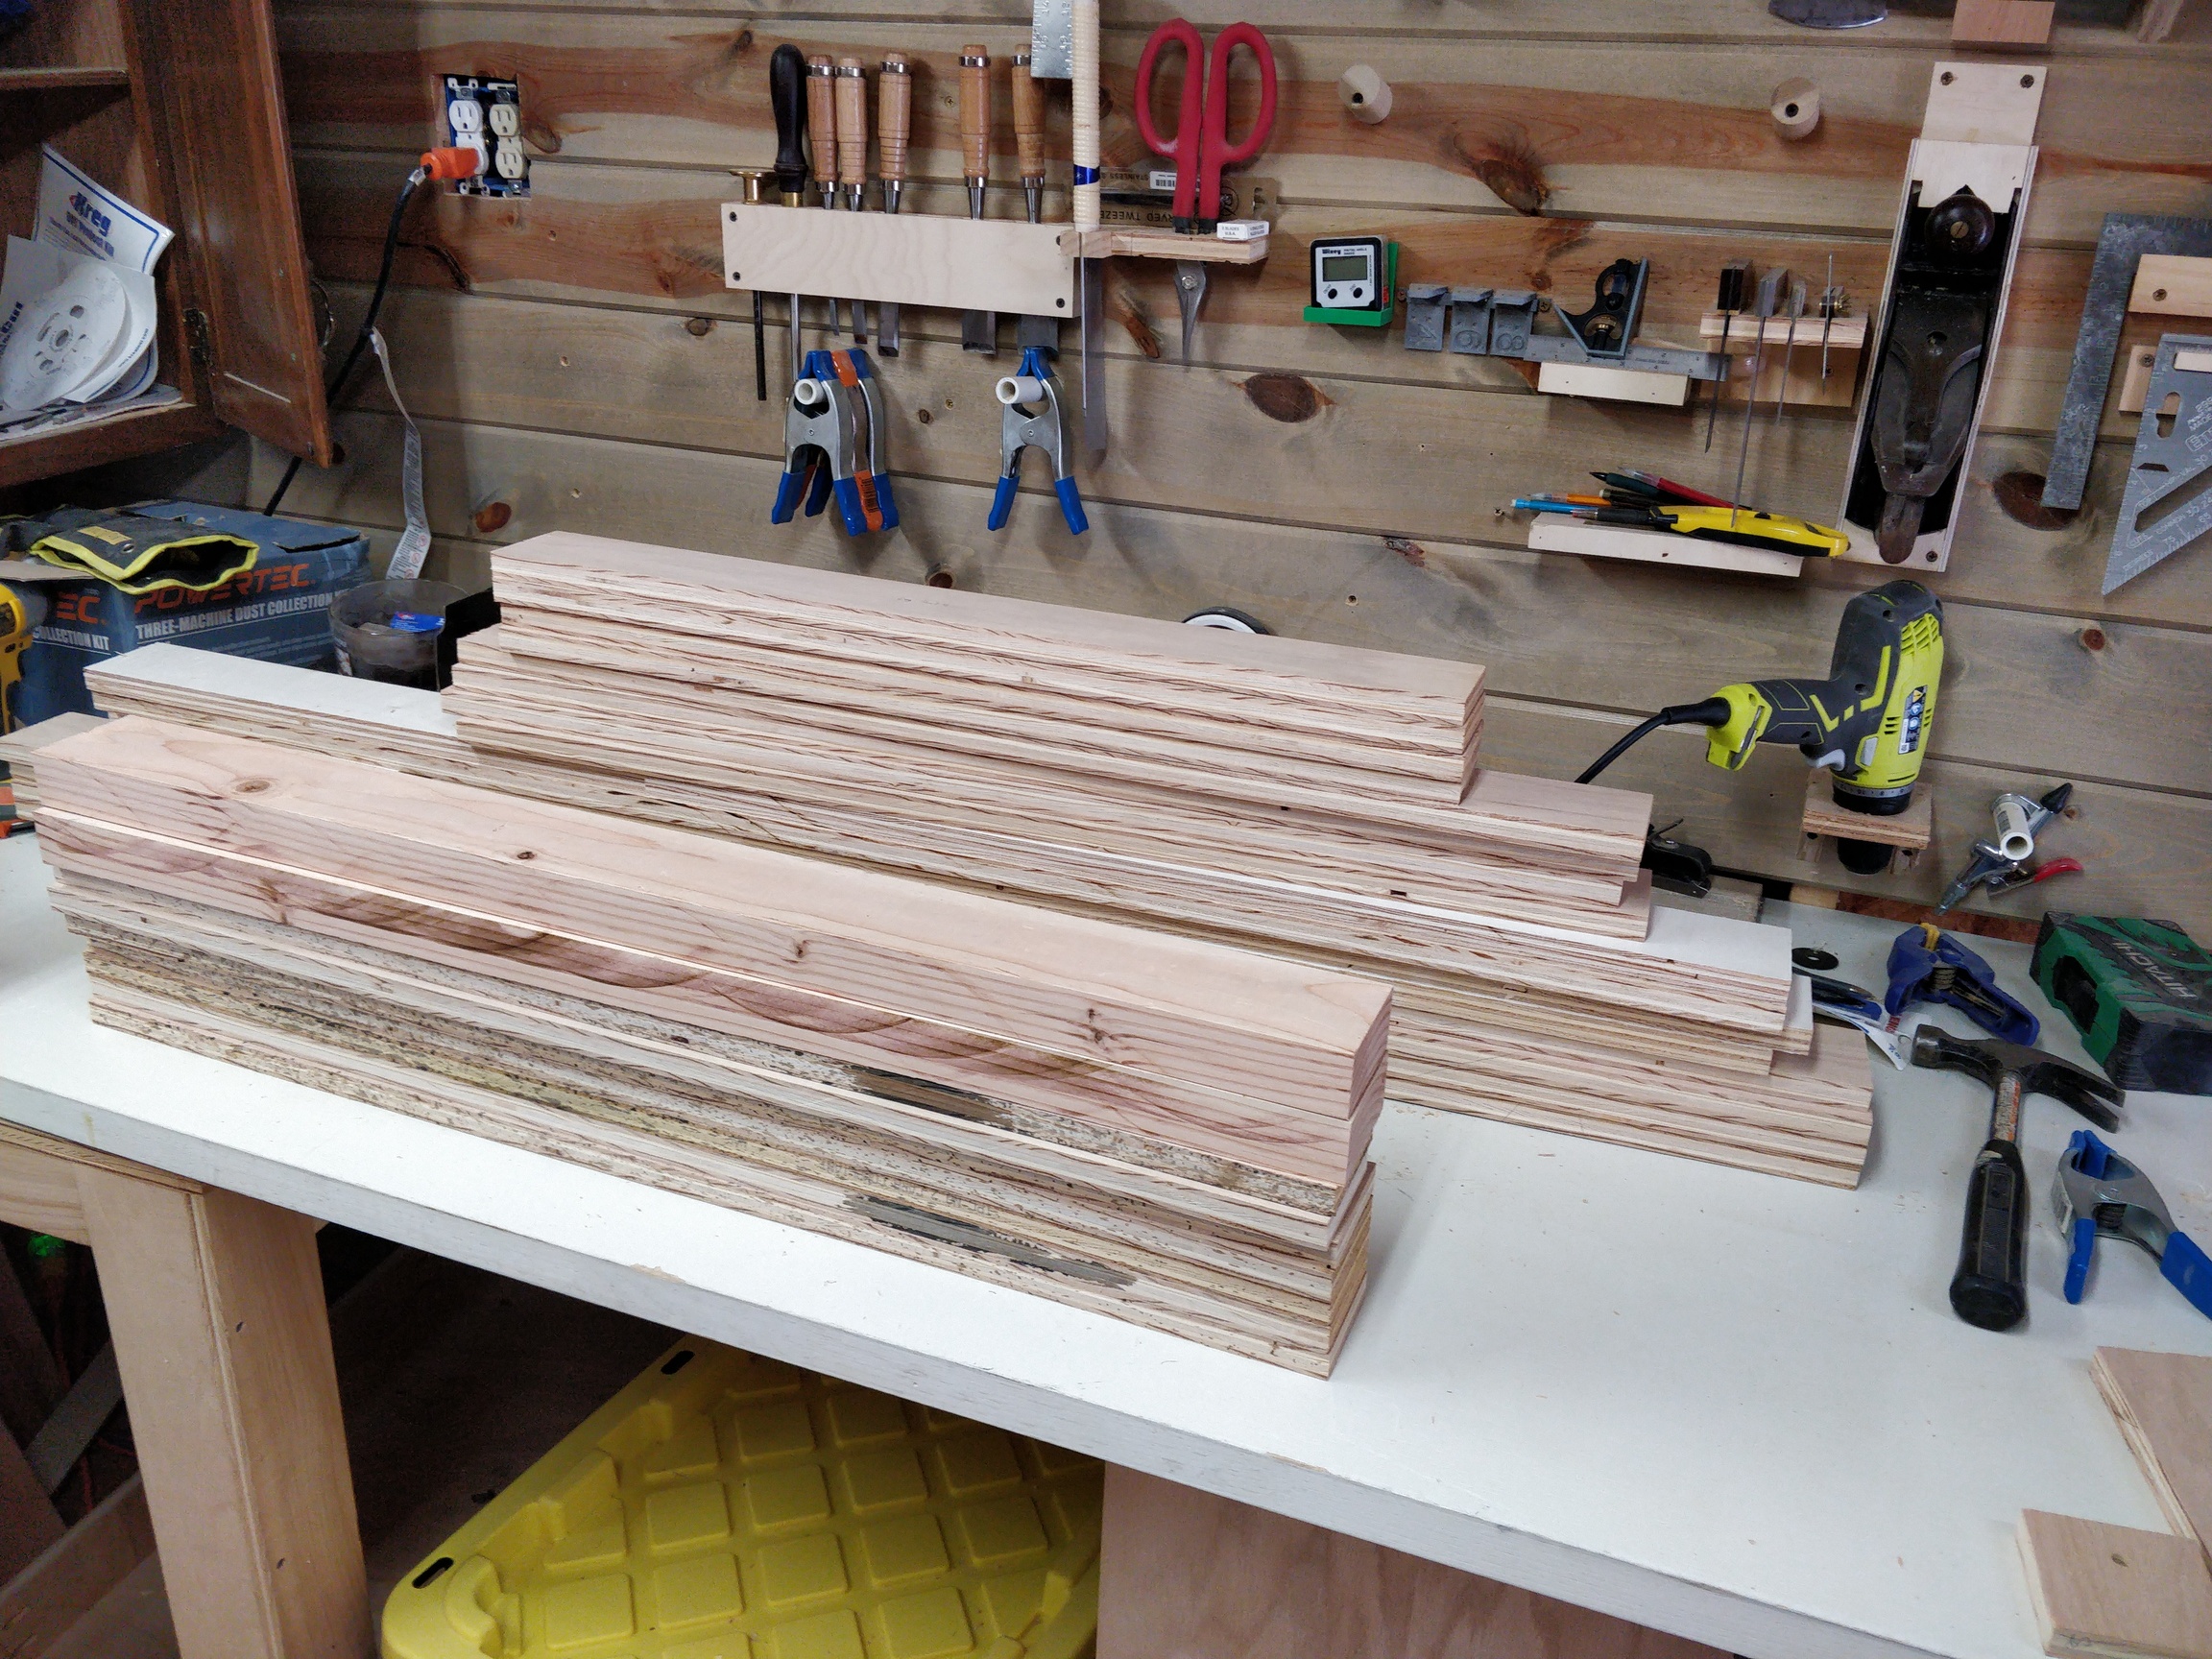
I haven’t started it. I don’t have quite enough long pieces, so I am debating buying more plywood or strapping together shorter pieces.
For the sake of stating the obvious, can you just move the vac somewhere else? Outside in a small cover area or up into the rafters with a lowering pulley system? Looks like you have some unused space above your head.
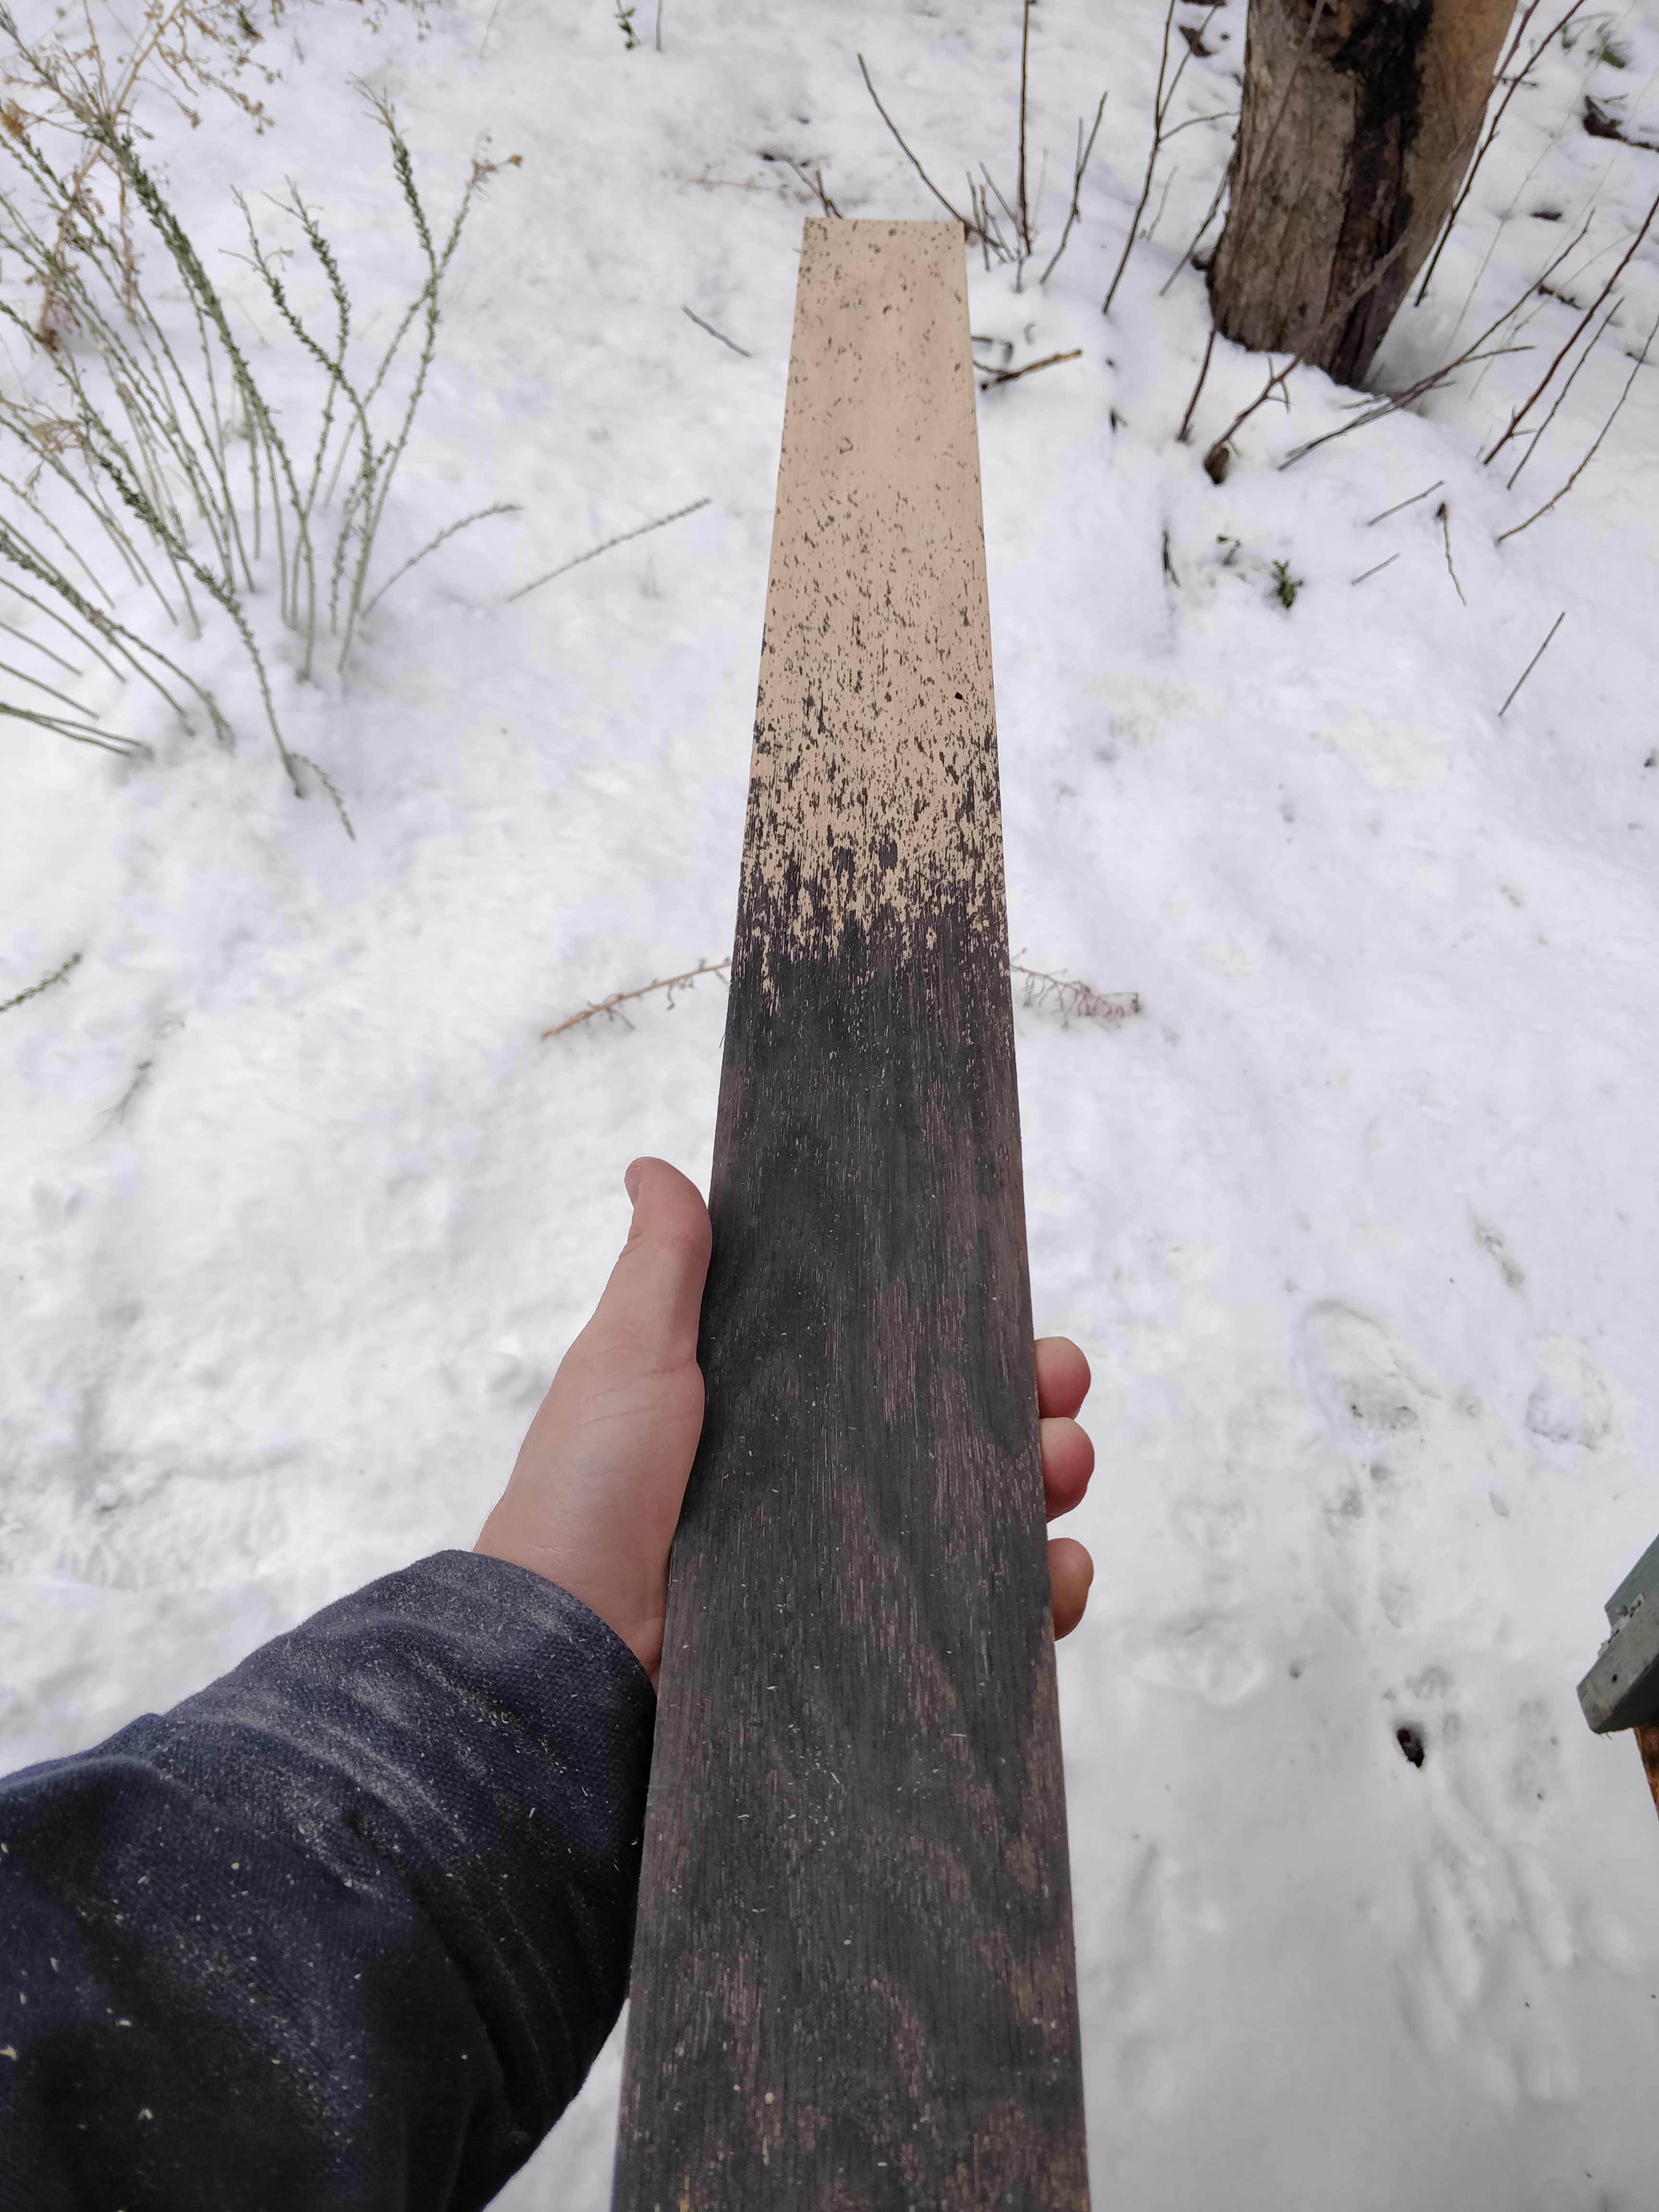
Could probably be done if you could spray the tea on and have it fade away. I’ve played with this in the past and it’s the tannins n the tea that react with the vinegar solution and cause the darkening.
From the looks of all that white stuff on the ground… just stick the ends of all the boards in the snow and spray the top. Let the spray work it’s way down the board into the snow. The drips should melt different distances into the snow
Thanks both of you for the ideas. I think I will just buy 3 more craiglist table saws and have to rehab them. That will at least give me the three legs. Plus, I can add table saws to the garage, basement and office.
That is basically what it was. But it was a cast iron table saw top instead of steel wool. I made a slightly bigger form, covered it with a garbage bag, put the top in upside down and covered it with vinegar. Then the next day I attacked it with some tools. I was trying hard to keep it flat (so no coarse sand paper) and remove the surface rust. It worked well. I have a post about it:
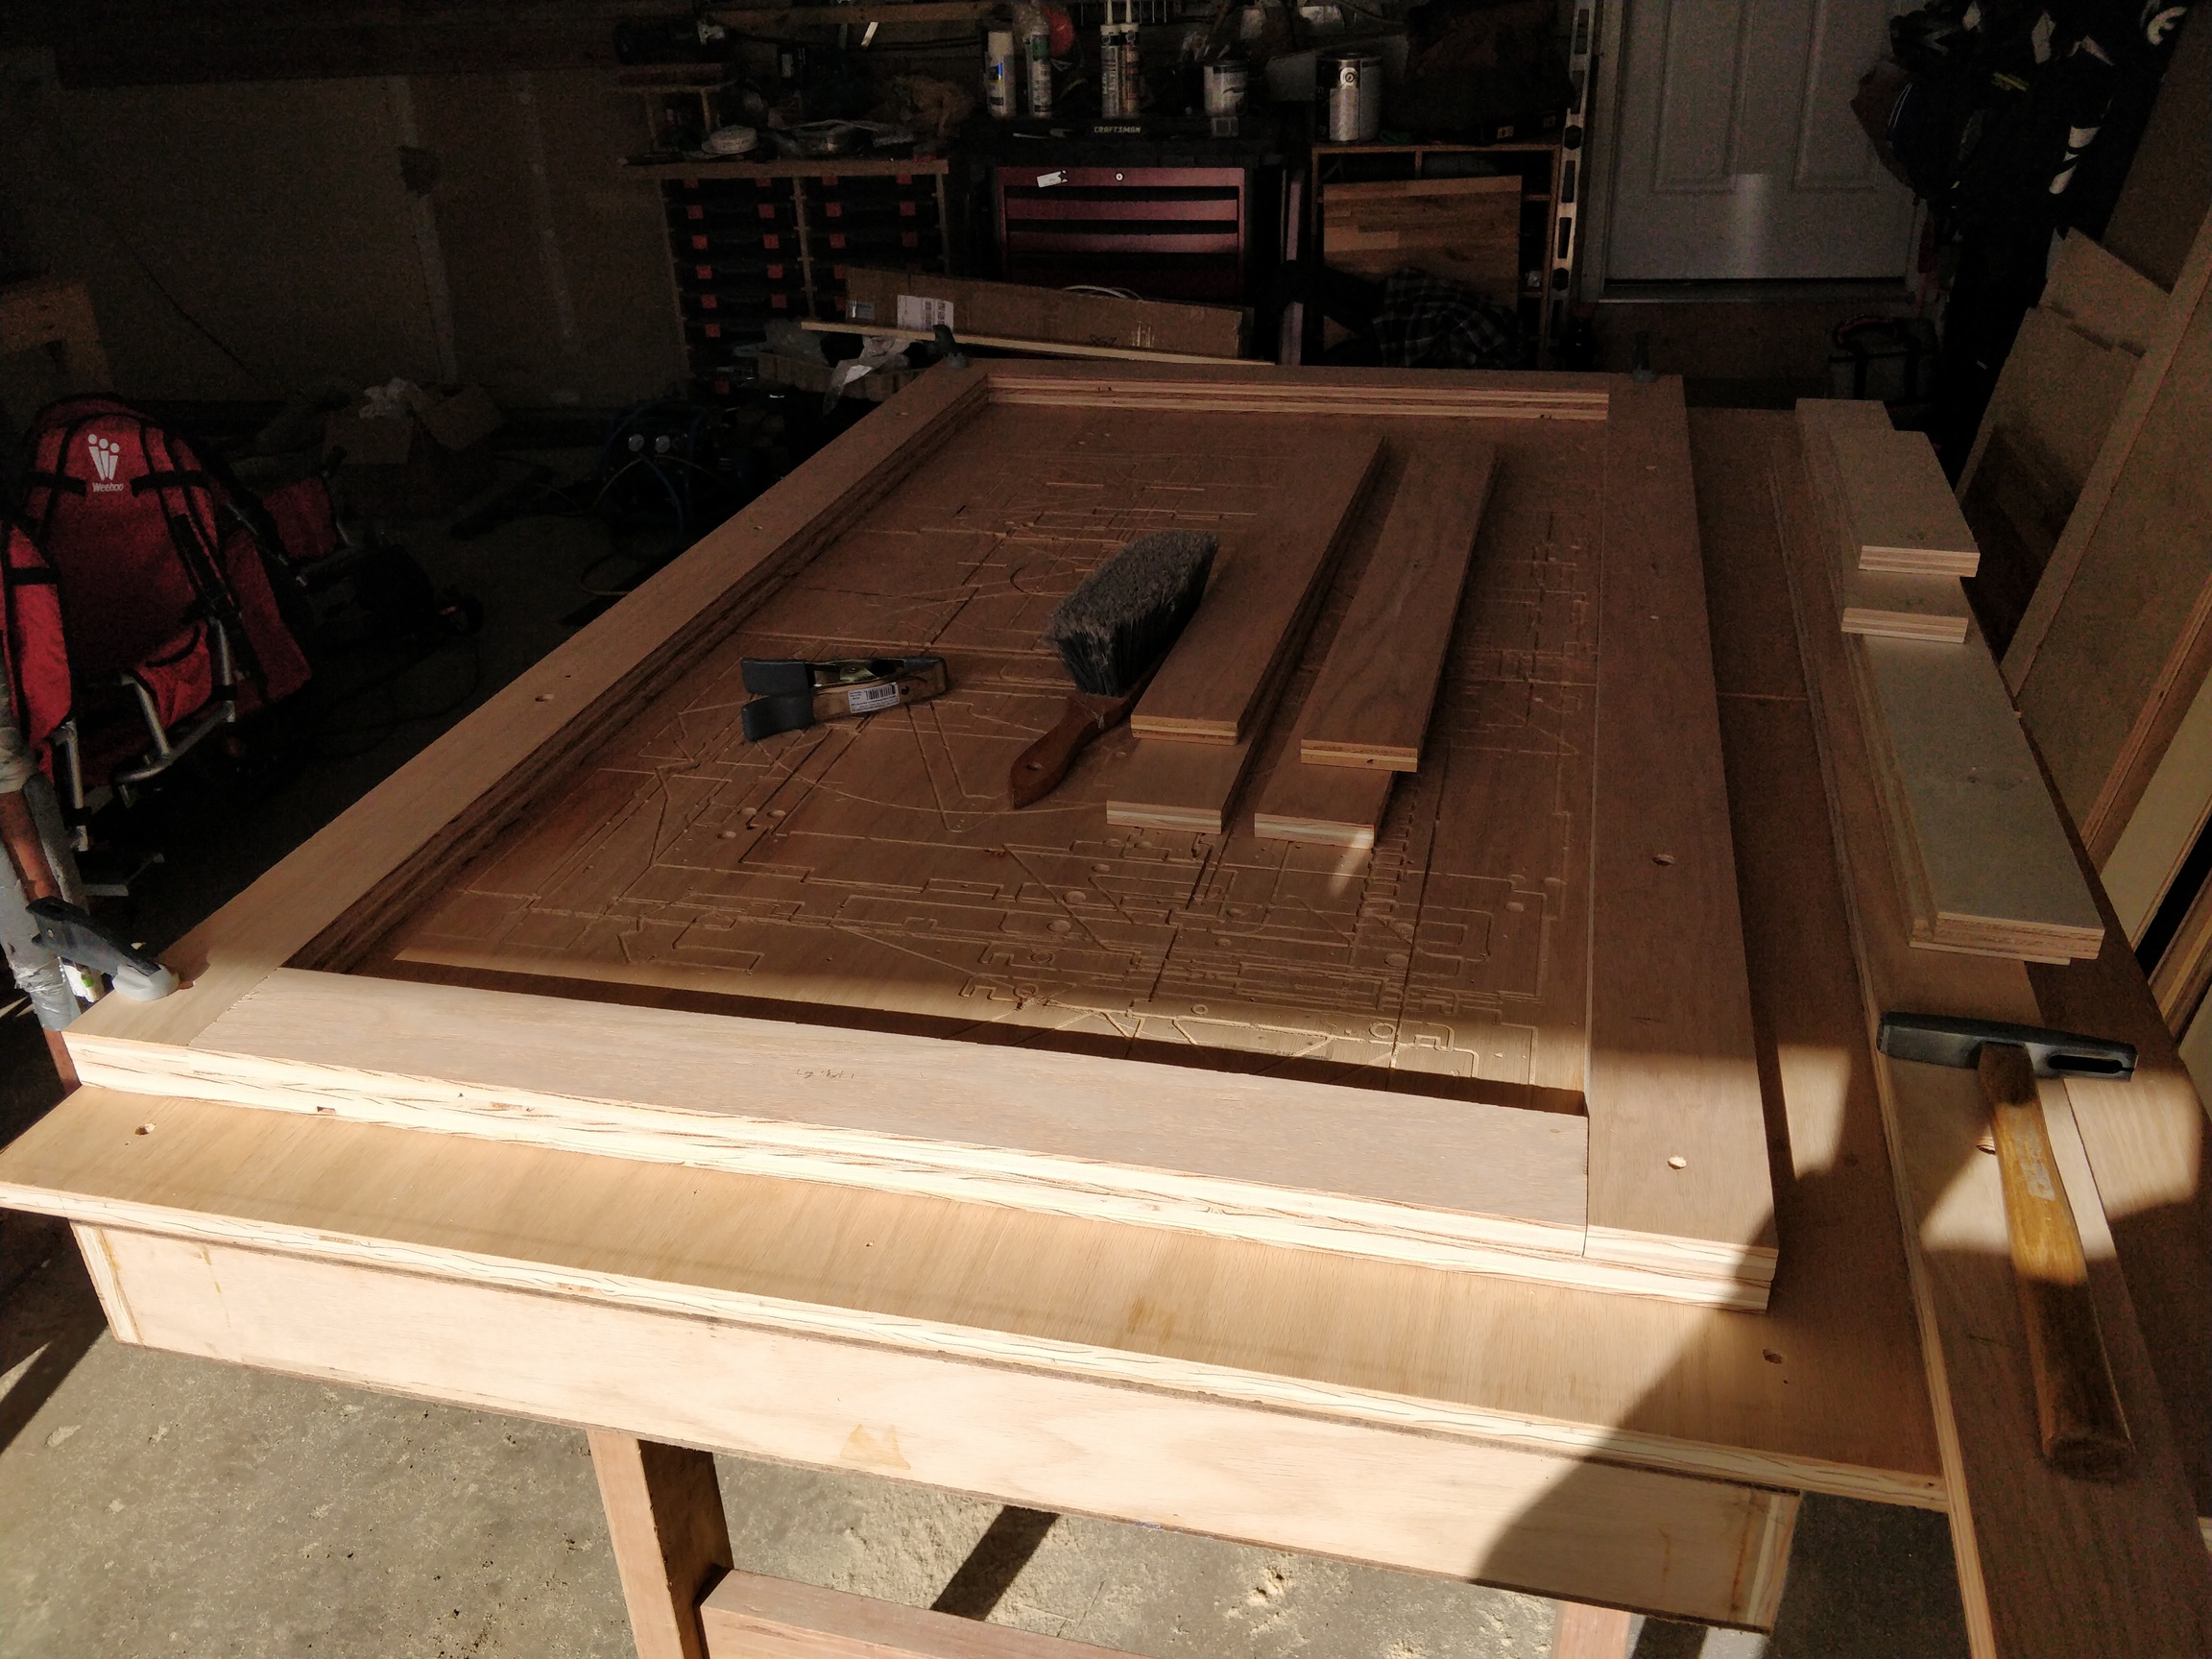
I was hoping to get it more done before the work week (which starts Tuesday for me) and there is a snow storm coming in. But I have to watch the kids today. Maybe during their afternoon nap, IDK. My 3yo daughter was ok with the glue and nail gun (can I pull the trigger, Dad?). But the next step probably involves me cursing a bit and dropping the frames on my head.