Well they say that a journey of a thousand miles begins with printing your first Benchy, and since mine came out OK, with a couple of kg of filament through the new machine for practice, I thought I may as well get started on the real deal.
A very long time thinking about it and with the help of everyone who’s ever posted on this forum (for which I remain eternally grateful) I am finally underway.
This is not to say that my build will be finished tomorrow. My dust collection system thread on another forum was started in 2007 and may still be not quite finished. I am very much the sort of person who thinks the journey is as much fun as the destination.
So here I am, beginning to understand my printer, on the first step of the CAD ladder, with not even a thought of how to go about the other stuff yet. Nonetheless, I reckon it’ll be finished by Christmas.
Thanks Brent - as it happens I had my first tiny bird nest yesterday!
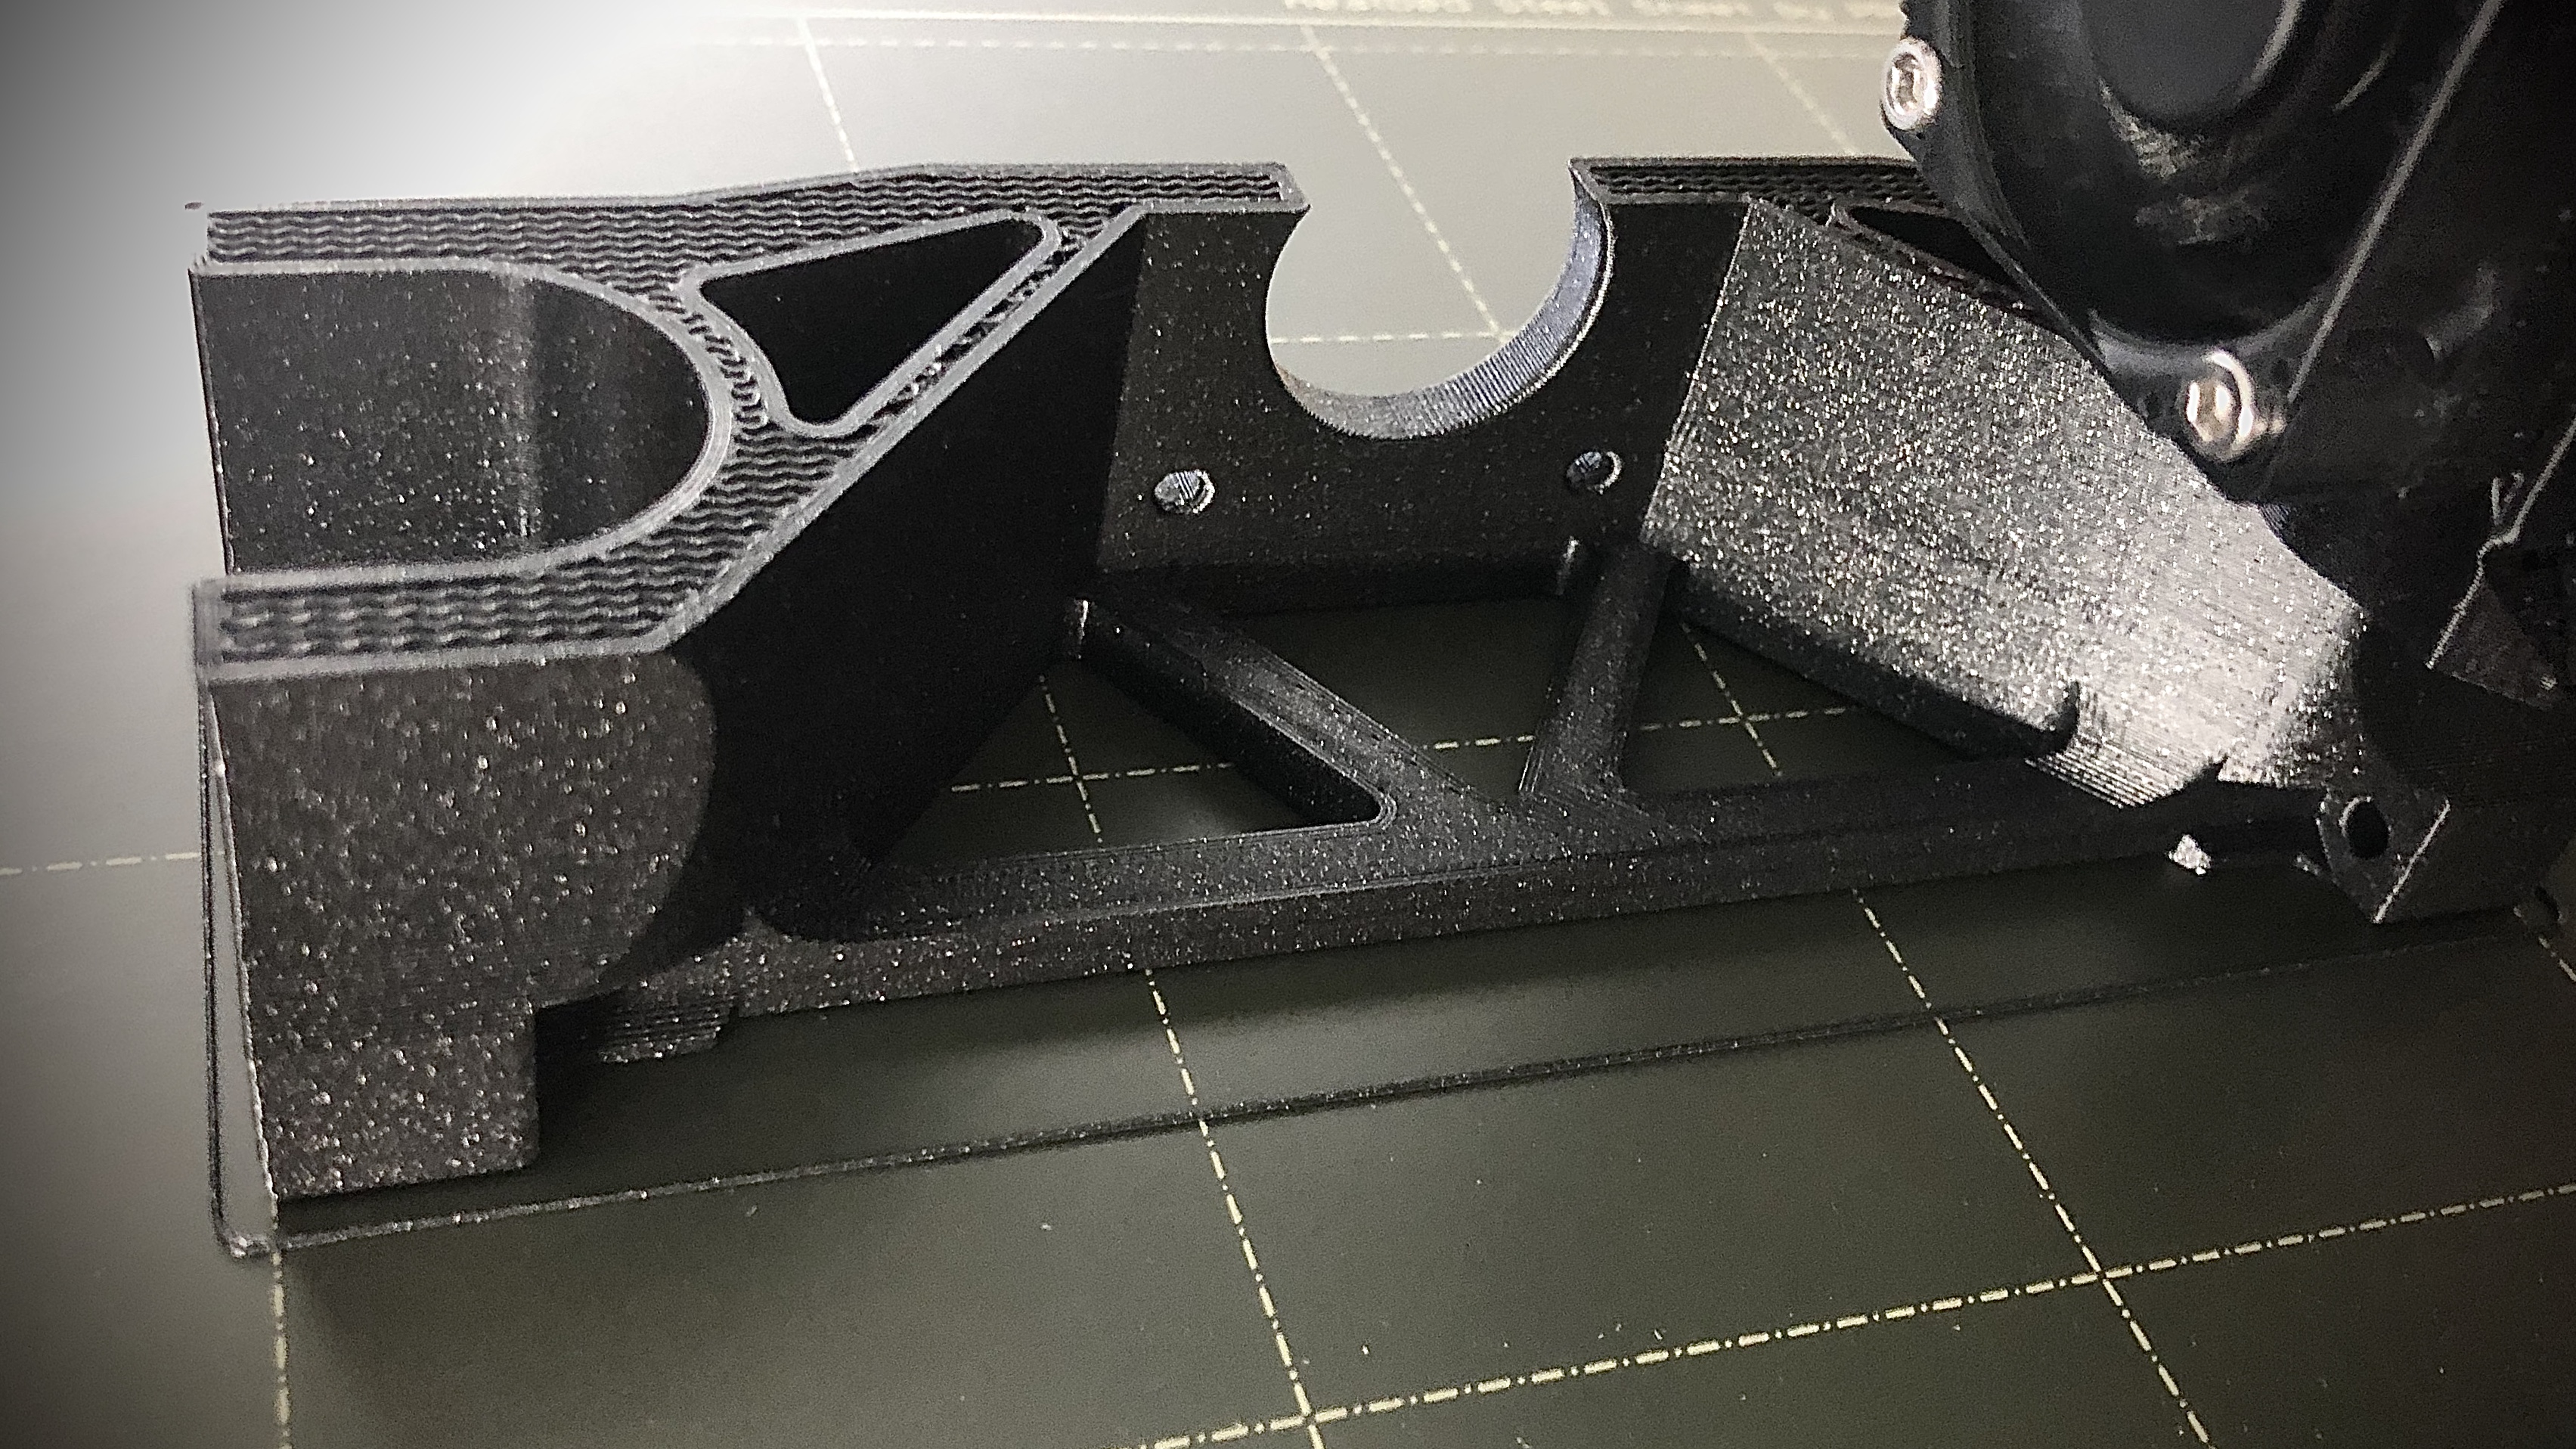
Three parts now complete, but I keep getting distracted by shiny things.
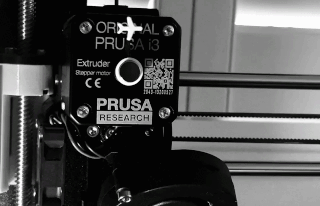
Was it really necessary to make an indicator for the extruder stepper?
Still it’s a small reminder of things that once were, and instead of staring into space putting off ordering the kit from @vicious1 until he runs out of stock again. (That’s just how I roll), I can hypnotise myself watching filament go through the machine!
The printing is going quite well, I’m more than half way there.
The tubing is in the boot of my car waiting for the laziness to subside enough to bring it in to the workspace, and by the way:-.
For Australian builders, : I bought my tubing (polished stainless steel) all cut to length and neatly deburred from Luke at http://www.wellingtonenterprises.com.au shipping was $15.00 but I was curious to see what else he had so arranged a pickup. (Surely driving 350k’s costs less than $15.00?).
I’ve only got two TV cabinets to build before I have the space to start building my table, and given the time of year, I thought perhaps I should order the other bits.
Right on cue, @vicious1 is out of Rambos! Well that’s a bit of a relief really, because Santa has a sewing machine in his sack and no doubt the credit card will need reimbursement by the end of the month, so for now we’ll just keep chugging on, my little Prusa and I, with a weather eye on the store!
Sydney based Builder here
I bought my tubing @ Bunnings - 25.4mm $11 per 3m length or $5 per 1m ( I bought 4 x 1m as I’m just getting started… I’ll move up to a longer X axis once I move into my own garage workshop)
Got all the nuts and bolts at Bunnings too. electrical stuff @ JayCar & SKr Pro and drivers on eBay
And of course another distraction - I’m trying to come to grips with this CAD thing, and I have a few parts for the dust extraction system that are a bit overdue for completion or simply need improvement.
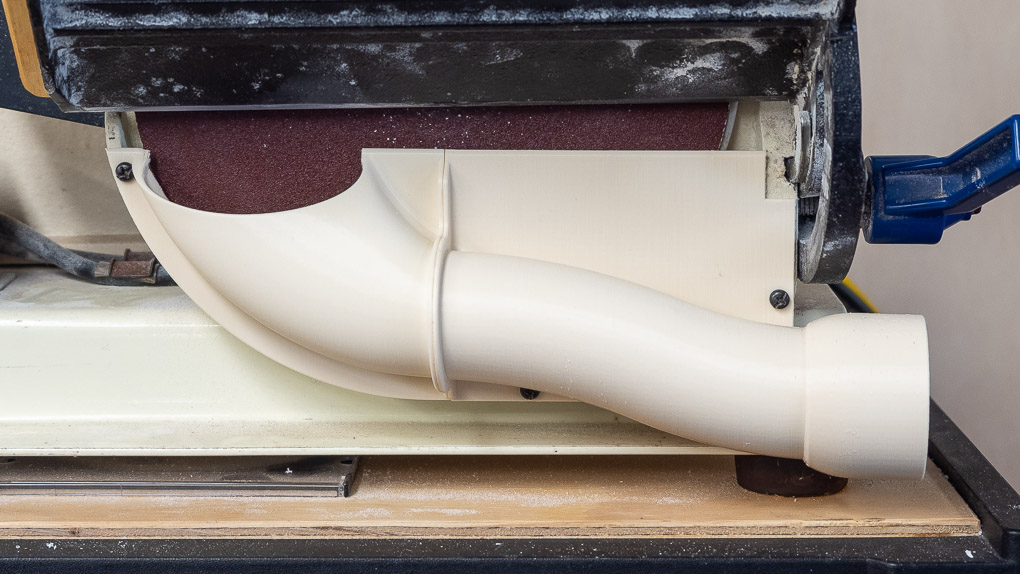
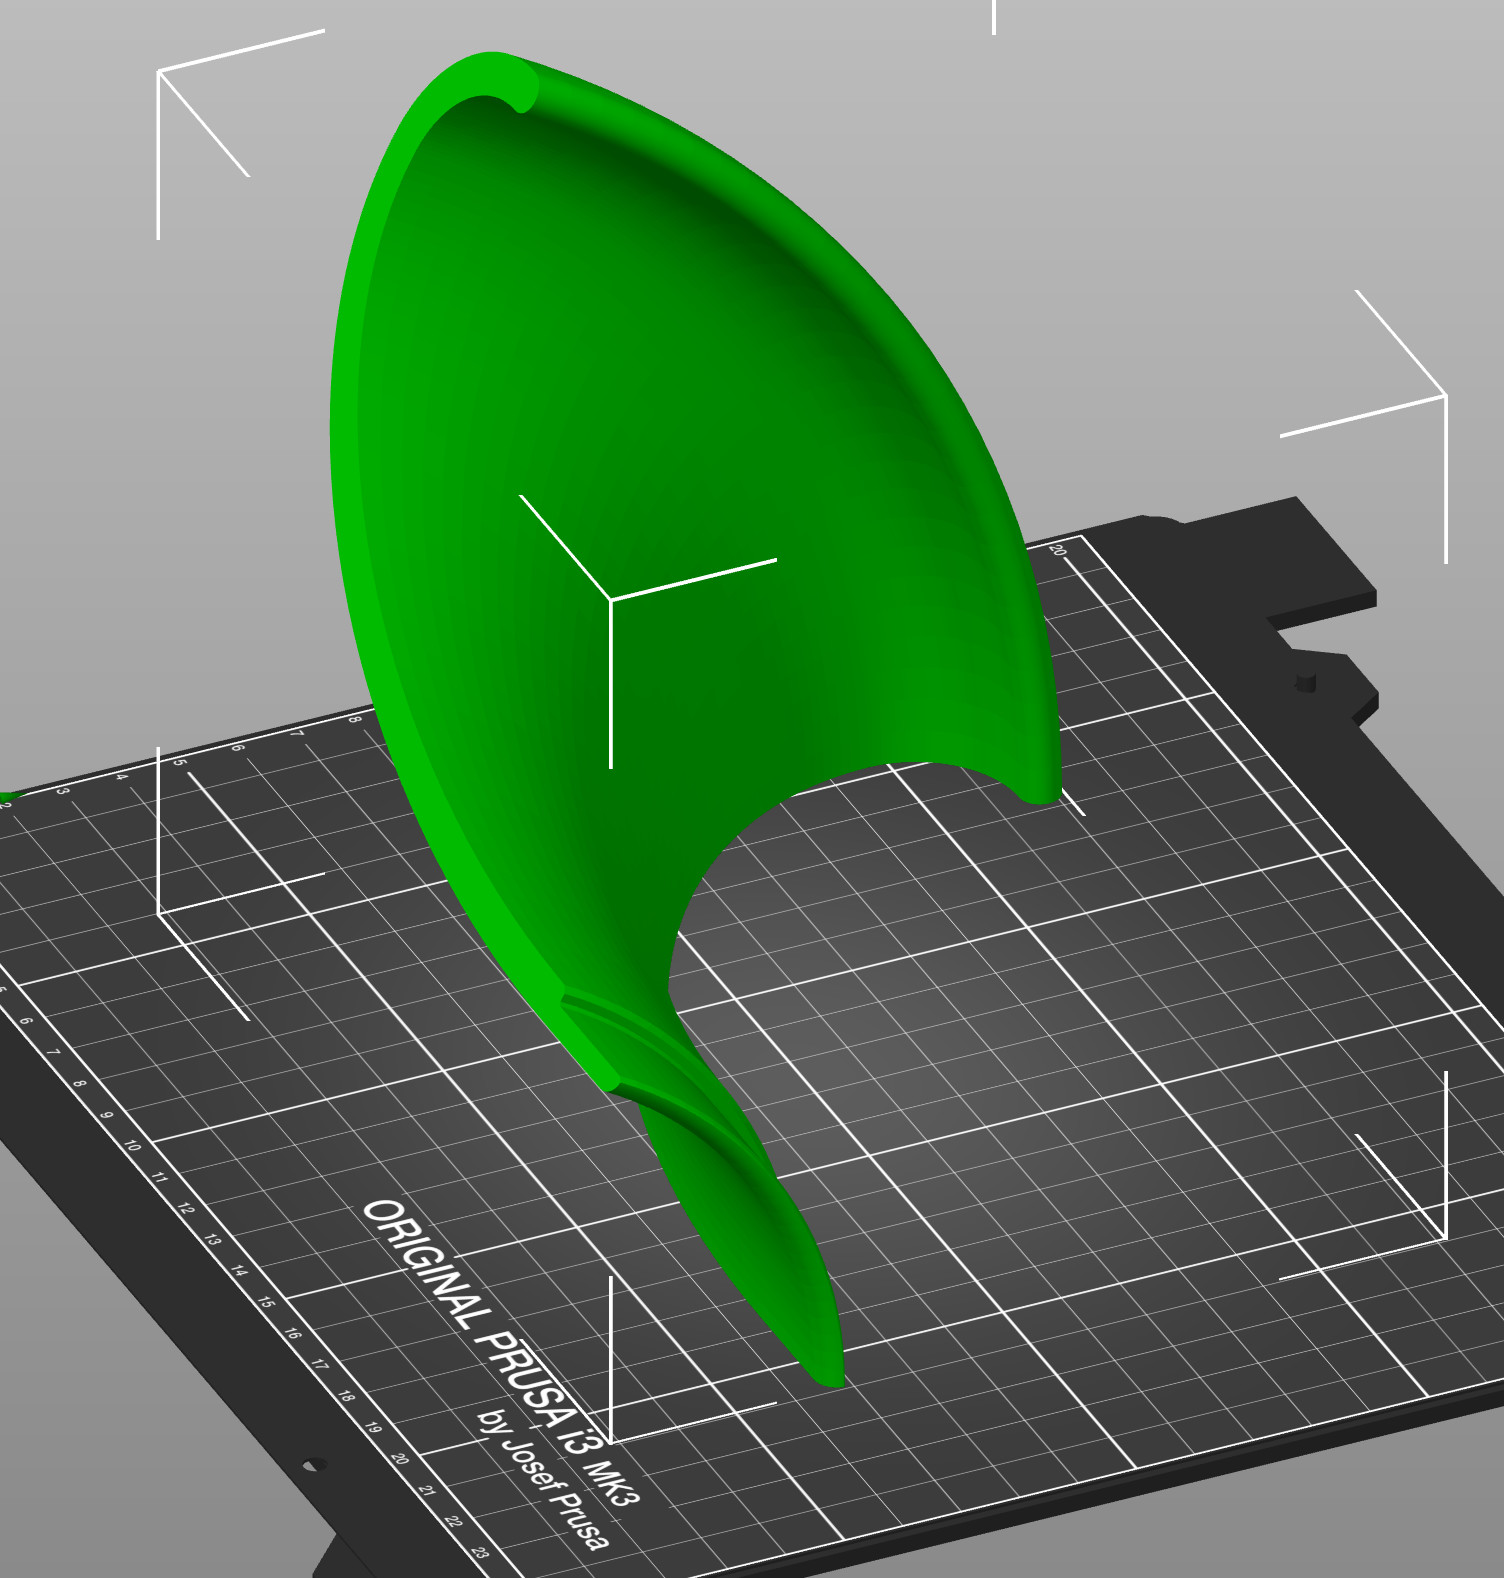
Here’s why I didn’t print any LR parts last week - a Bellmouth end for my 6" PVC pipe. Printed in four pieces because it’s a bit more than 350 mm (14") diameter at the widest.
It’s not as though I’ve been doing nothing. Whenever there’s been spare printer time, the bits have been chugging nicely away, in fact they are almost done now. So I checked out the store to see what’s what, and sure enough I’ve procrastinated long enough for @vicious1 's entire stock of boards to have run out.
There’s no point in ordering the kit without the board given the cost of shipping to Aus, so I shall keep plodding on with a weather eye on the shop!
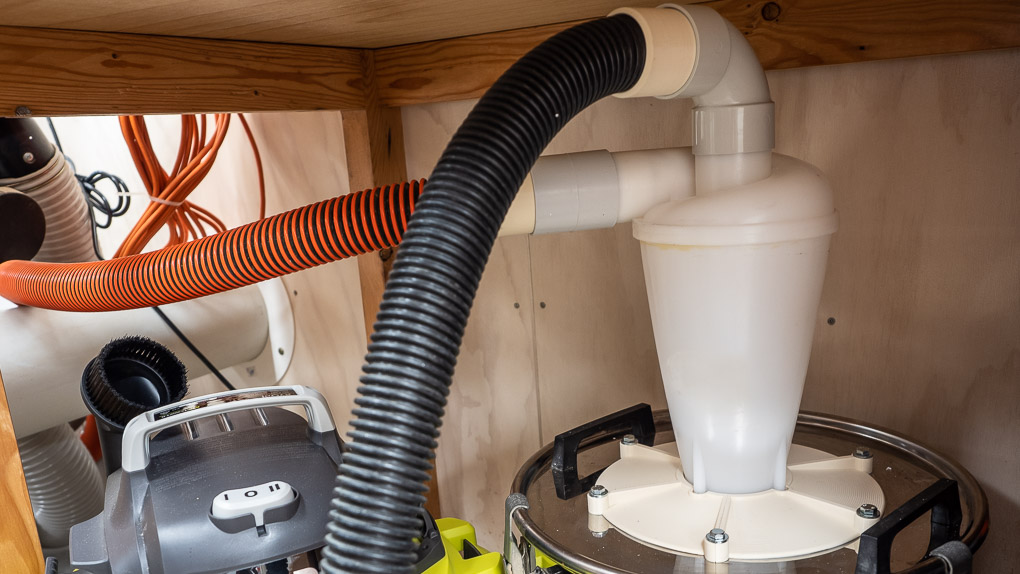
In the meantime, I have CAD under control, I wouldn’t say I’ve mastered it but I’ve had a friendly time with Onshape, and have managed to produce a growing list of useful things. For instance, my ShopVac let all the smoke out of itself recently, which gave me the perfect excuse to install a mini-cyclone complete with printed adapter in readiness for the LR2.
Thanks @vicious1 the order is in, and next month’s credit card bill will be only slightly less eyewatering than the last, which had a new sewing machine on it!
We don’t play the old “tit for tat” game when it comes to buying things, but it was nice to convince her that she needed a new machine after thirty years.
I suspect that I won’t be ready to use the kit when it does arrive, so current mail delays could be a blessing!
It unpacked fine, thanks. How’d you slice that thing? Standing up the way it loads, with brim and support? After printing 4 copies what kind of glue did you use to put them together? Thanks again!
No Brim, No Support. Because of the compound curve it sticks nicely on its side (15% infill) so it’s one of those prints that’s quite satisfying to watch . I’d have made it thinner but it made for easy gluing and printing. You’ll need 6, not 4 but it fits neatly inside a 150 (about 6") pvc pipe. There goes your printer for this week!
Sand the mating edges lightly and just use a bit of thickened CA. I held each joint for a few minutes rather than mucking round with tape or clamps.
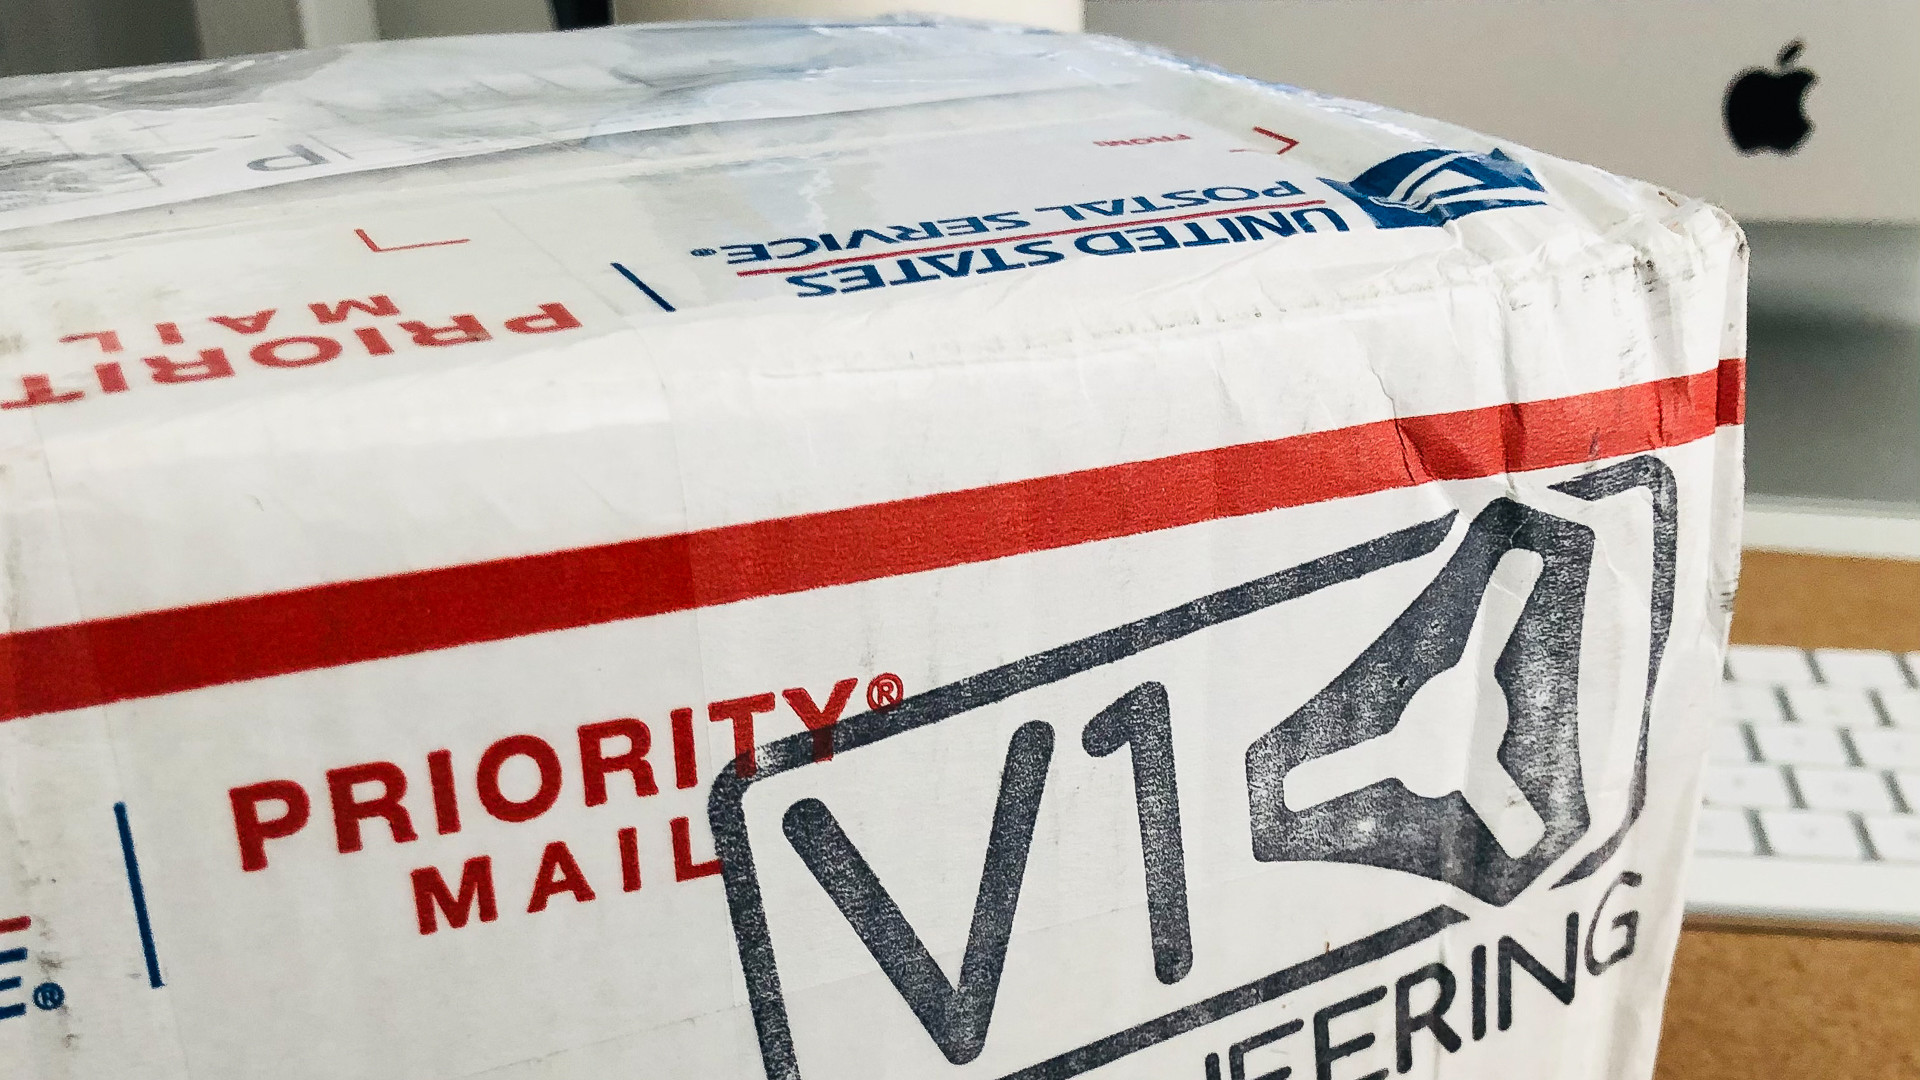
Well I didn’t expect that so soon… after battling with US based deliveries for a year, with some of them taking up to two months to arrive, giving the word “priority” new meaning, I really didn’t expect this in eight days! Thanks @vicious1 , now look what a fine mess you’ve gotten me into!
I haven’t been idle, I’ve been looking at how I’m going to address the other Elephant - that in the background. More on that later, but just to increase the degree of difficulty or perhaps to get rid of a layer of confusion, I cannot see my way to running an emulator - so for now, perhaps naively have begun a quest for a way of running everything in MacOS.
But I haven’t finished the TV cabinets, and I did PROMISE I wouldn’t start any new projects until they were out of the way, (apart from setting up the old CR-10 that my grandson was given, and anything else that bobs up that I can pass pass off as “old”.)
With just two parts left in the printer queue, how long can the box remain unopened?


 in the background. More on that later, but just to increase the degree of difficulty or perhaps to get rid of a layer of confusion, I cannot see my way to running an emulator - so for now, perhaps naively have begun a quest for a way of running everything in MacOS.