I debated for a long time whether to get/make a CNC router. I finally justified it by saying that in that past I had resisted a 3D printer and have found many many uses for it after getting it and now hope the router will be as useful.
I didn’t do any modifications to the original LR3 plans and built as written. I had a 5’x4’ flat torsion box already in my shop so I simply added wings to carry the Y axis hardware which would yield a 4’x4’ cutting area. My plan was to print my parts and to cut the xz and yz plates from scrap plywood, assemble, and cut the struts. Once the struts were installed I was going to CNC cut YZ plates out of nice baltic birch and the XZ plates out of 1/4" aluminum. Not having a CNC to cut the plates and being too impatient to print them I printed patterns and hand cut the pieces. Overall I stuck to the plan and now have a finished tool.
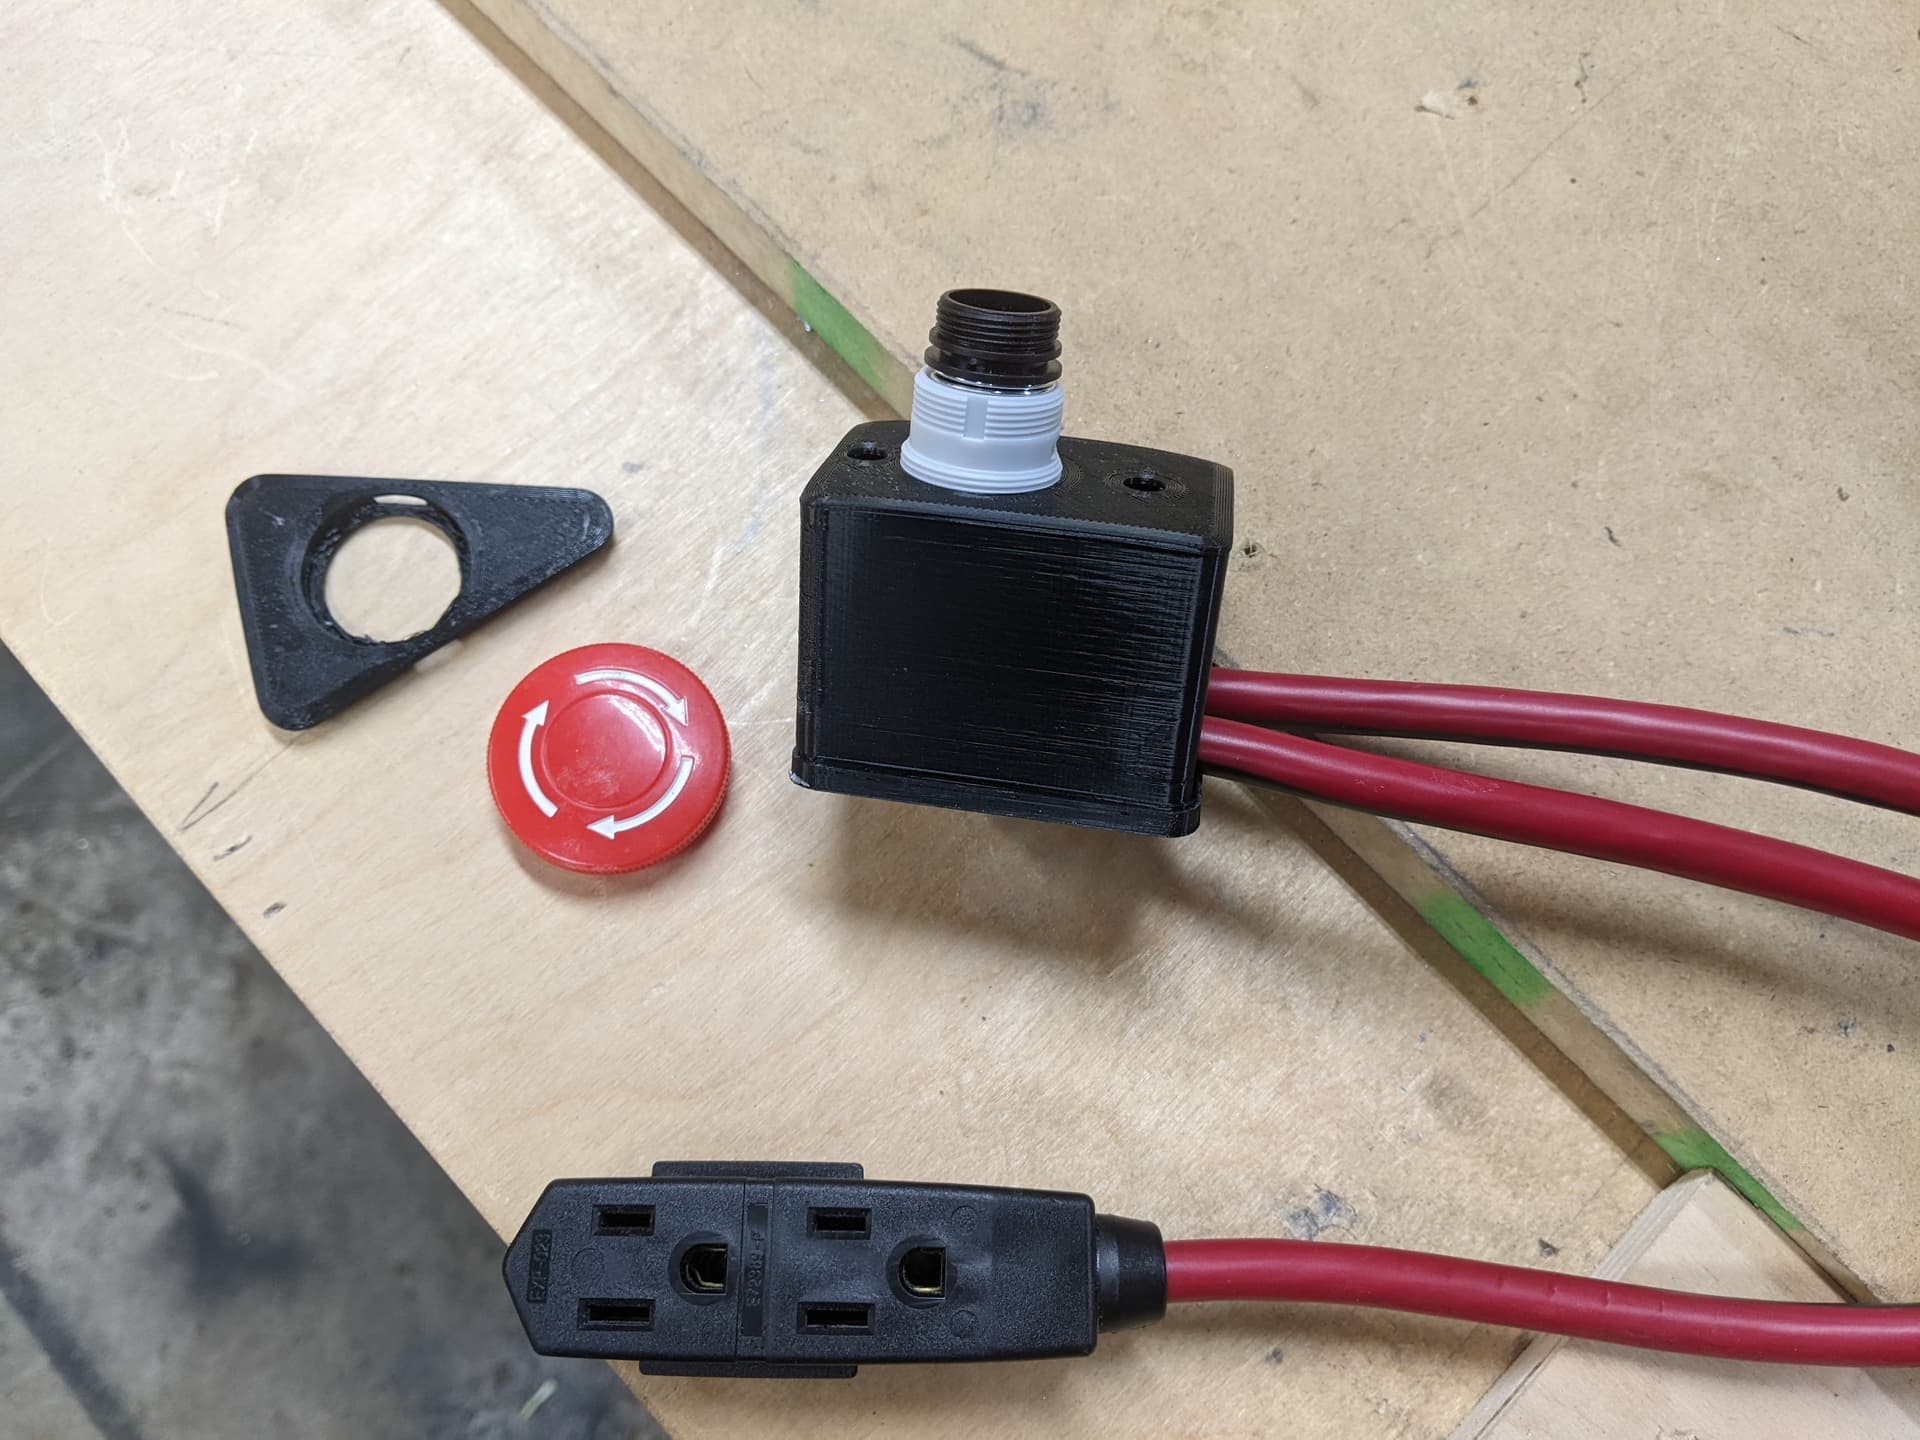
While cutting out the aluminum plates using a brand new carbide 1/4" upcut, I had an issue of not having tightened the collet enough and the bit augered into the material. As I heard the loading of the router I struggled on how to kill the unit. I had purchased an e-stop switch from V1 but hadn’t installed it as I wasn’t sure how important it would be… I got my answer. I wanted portability and a self-contained feel so I designed an enclosure that would fit in one off the strut cutouts. I like the result and the kill switch is accessible from either side.
Looking forward to putting this tool to good use.
E-stop enclosure, extension cord/outlet cut and e-stop switch added
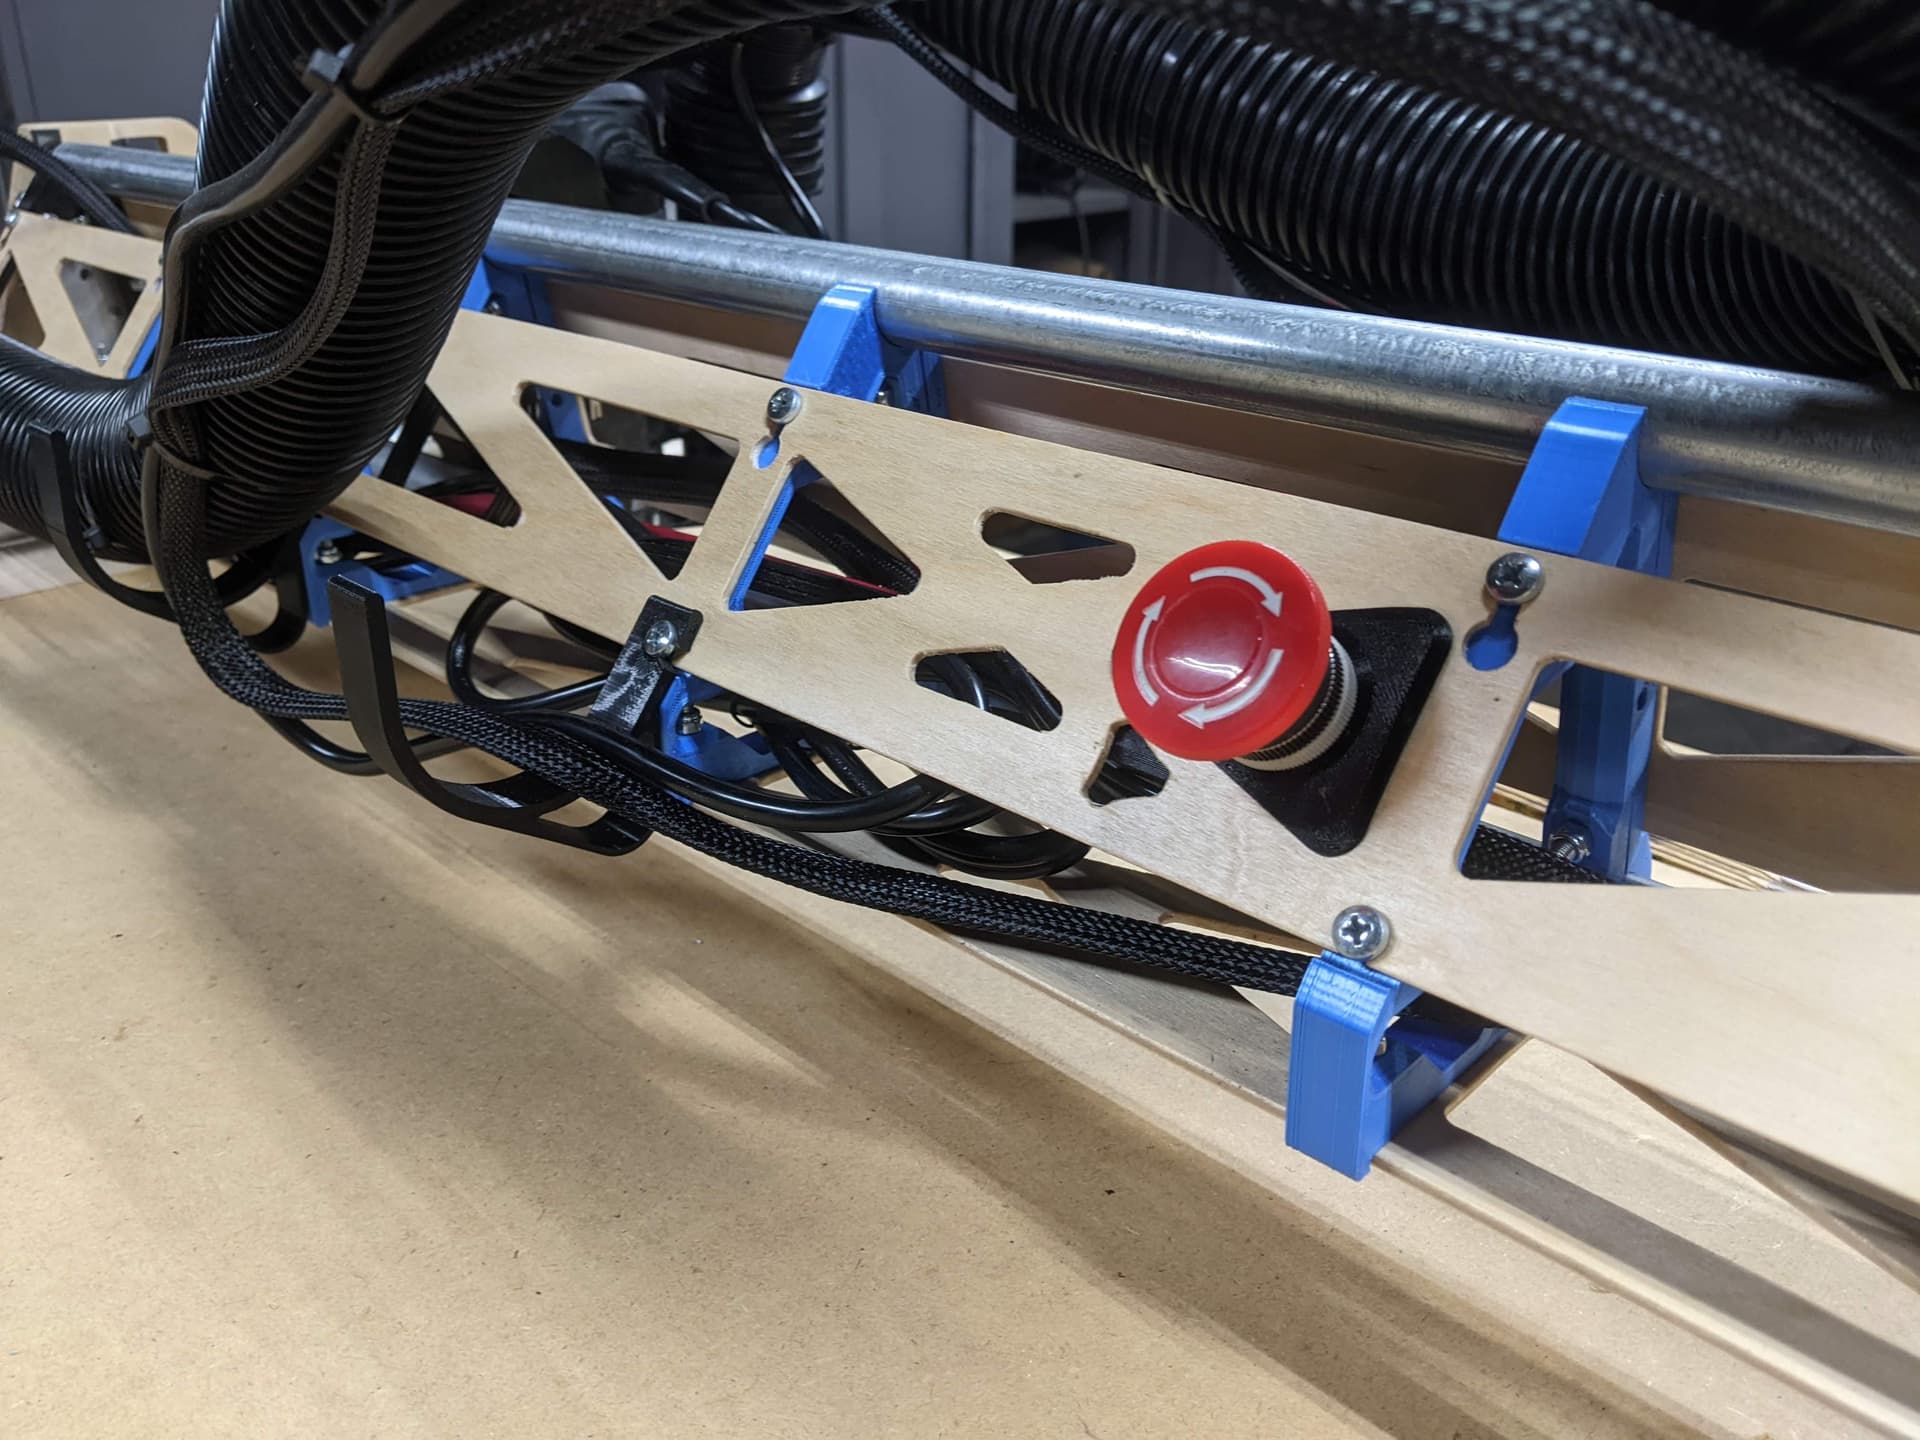
E-stop securely installed
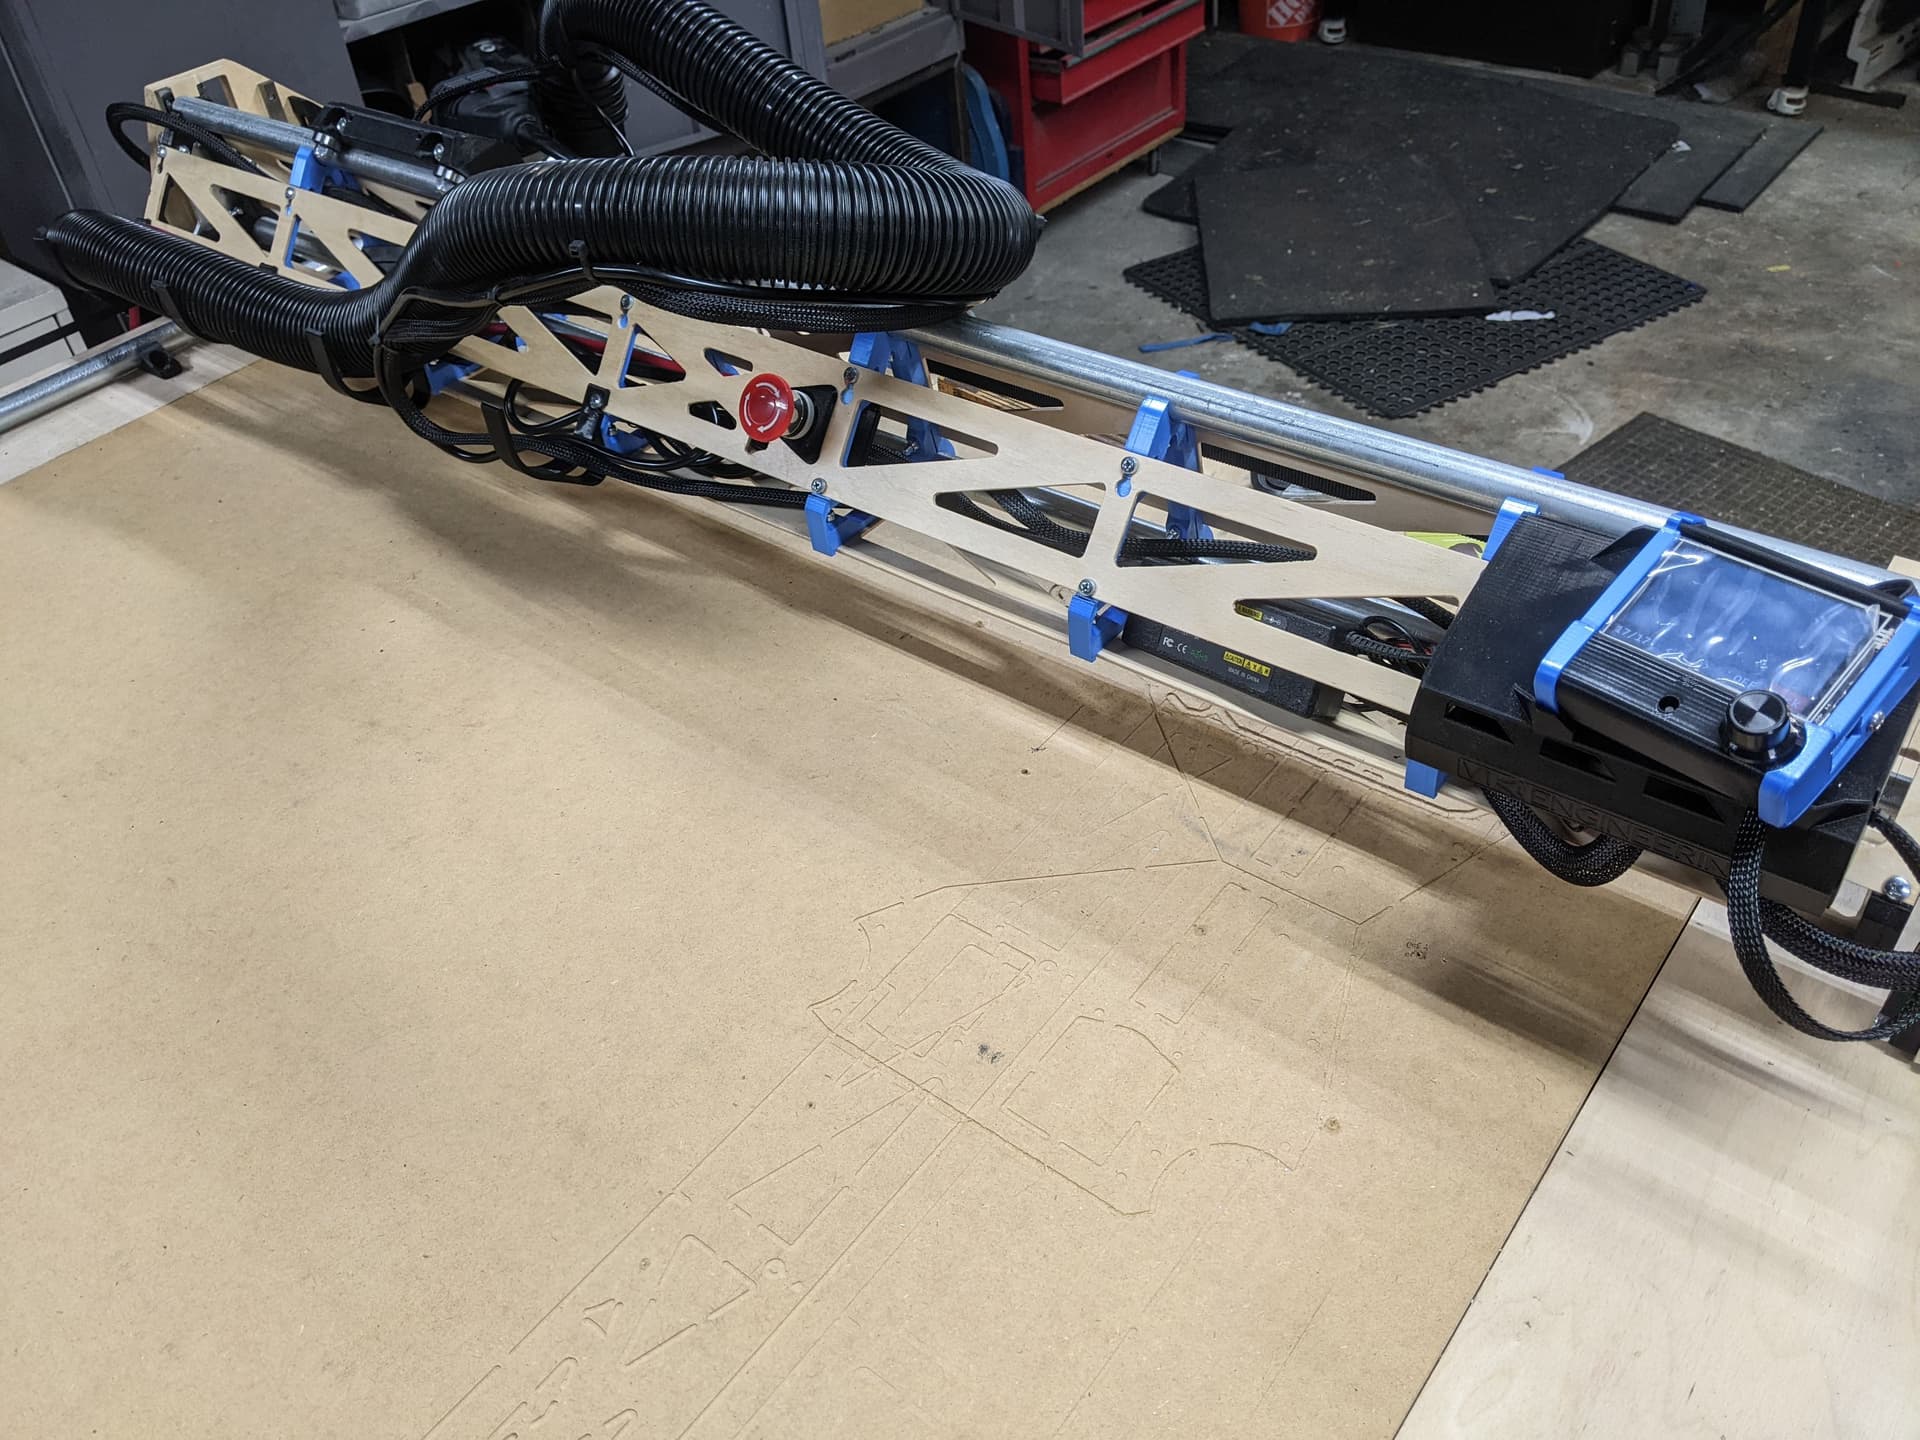
Another E-stop pic
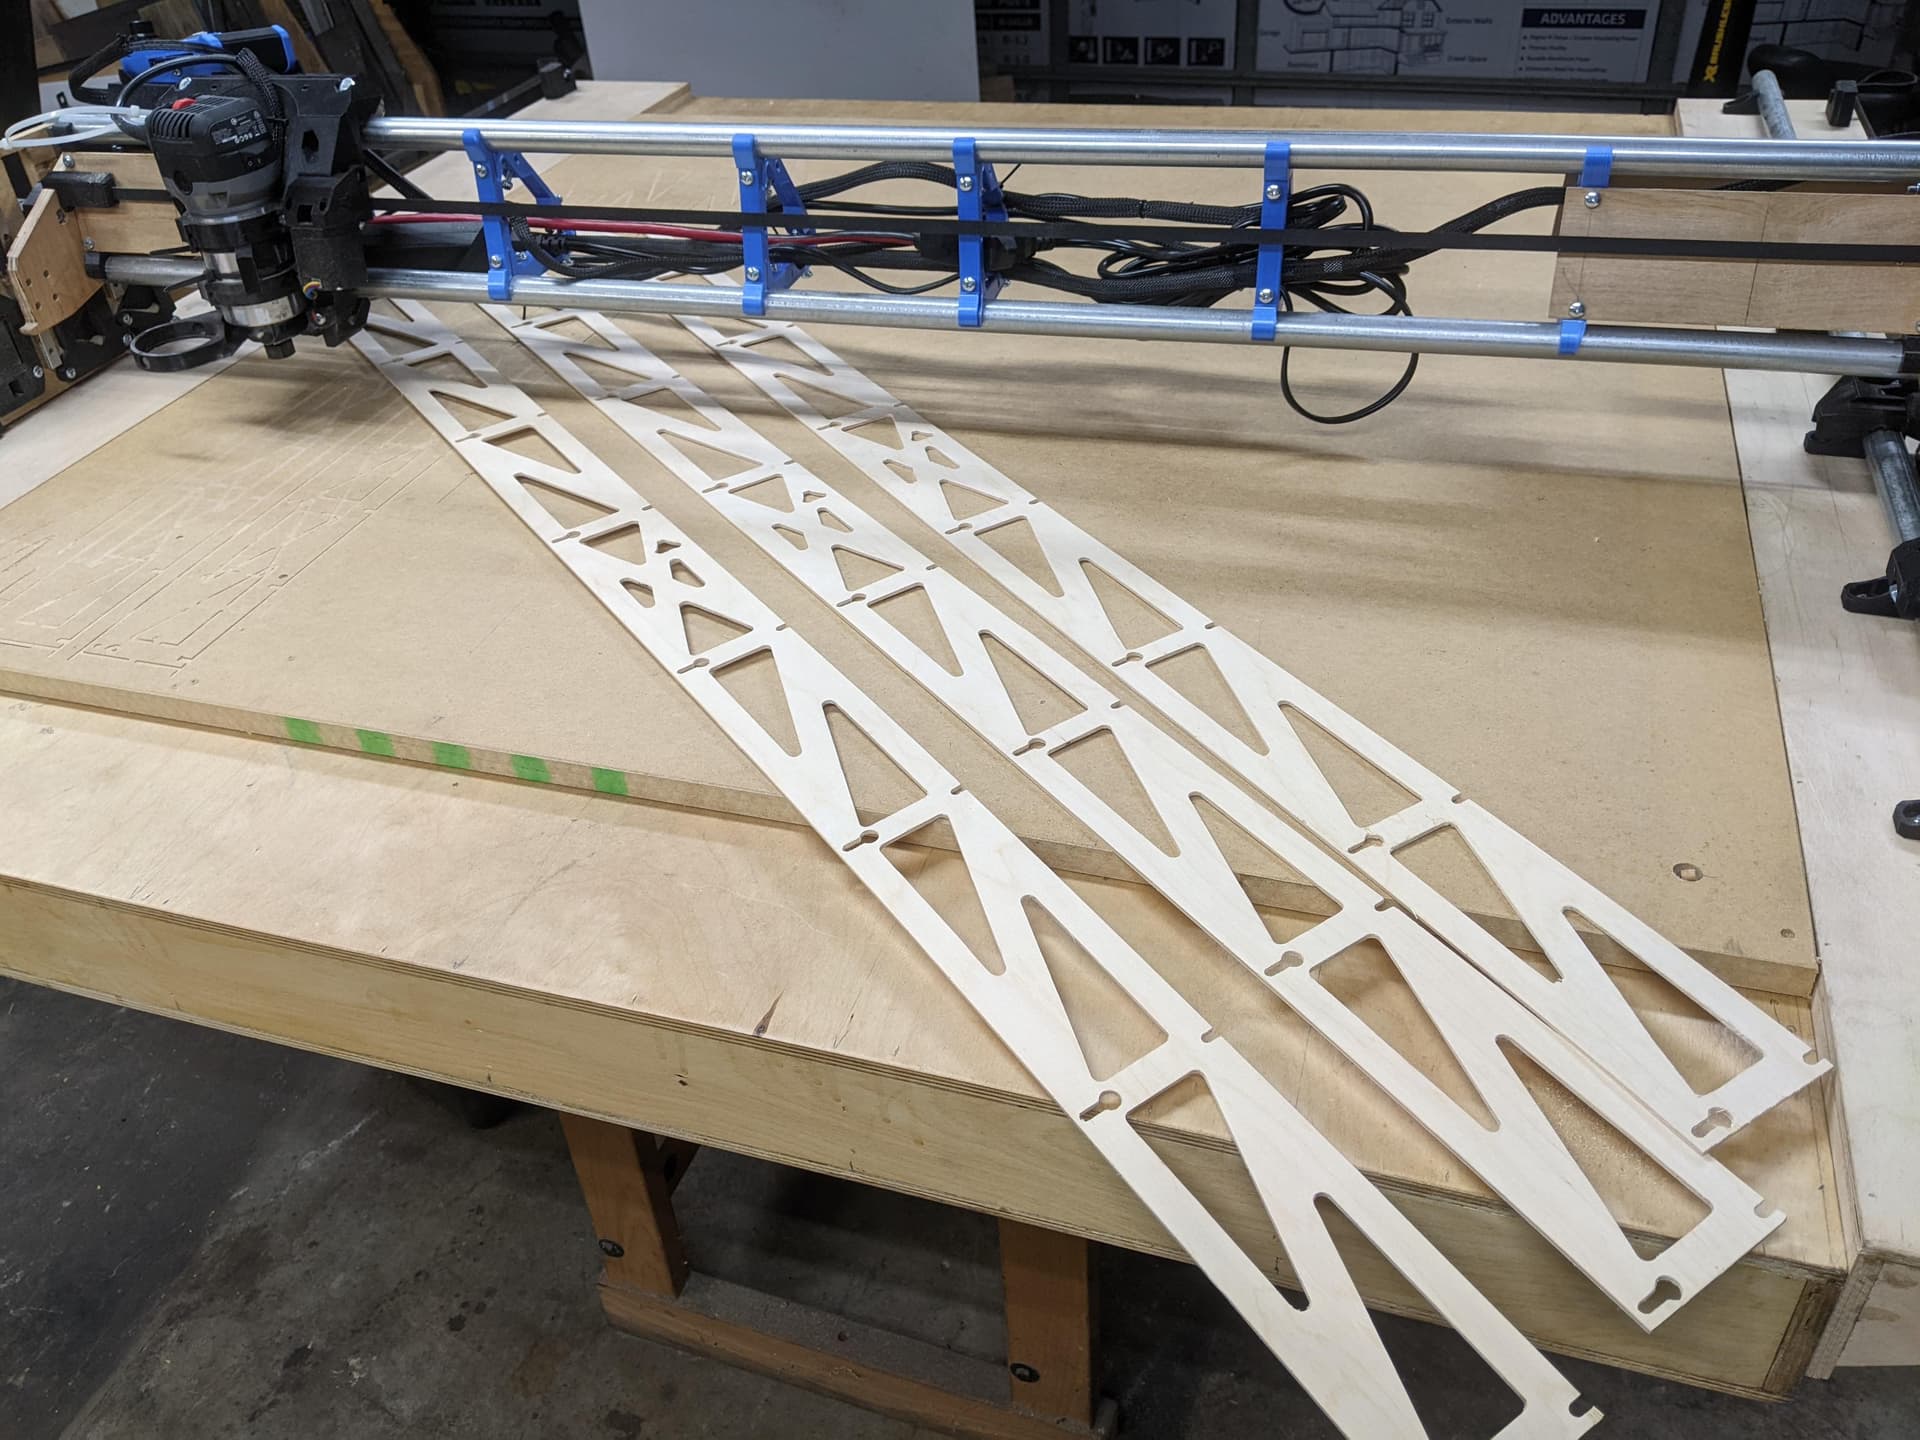
struts/ 1/8" baltic birch (55" on a 48" cutting area required positioning dowels which worked perfectly)
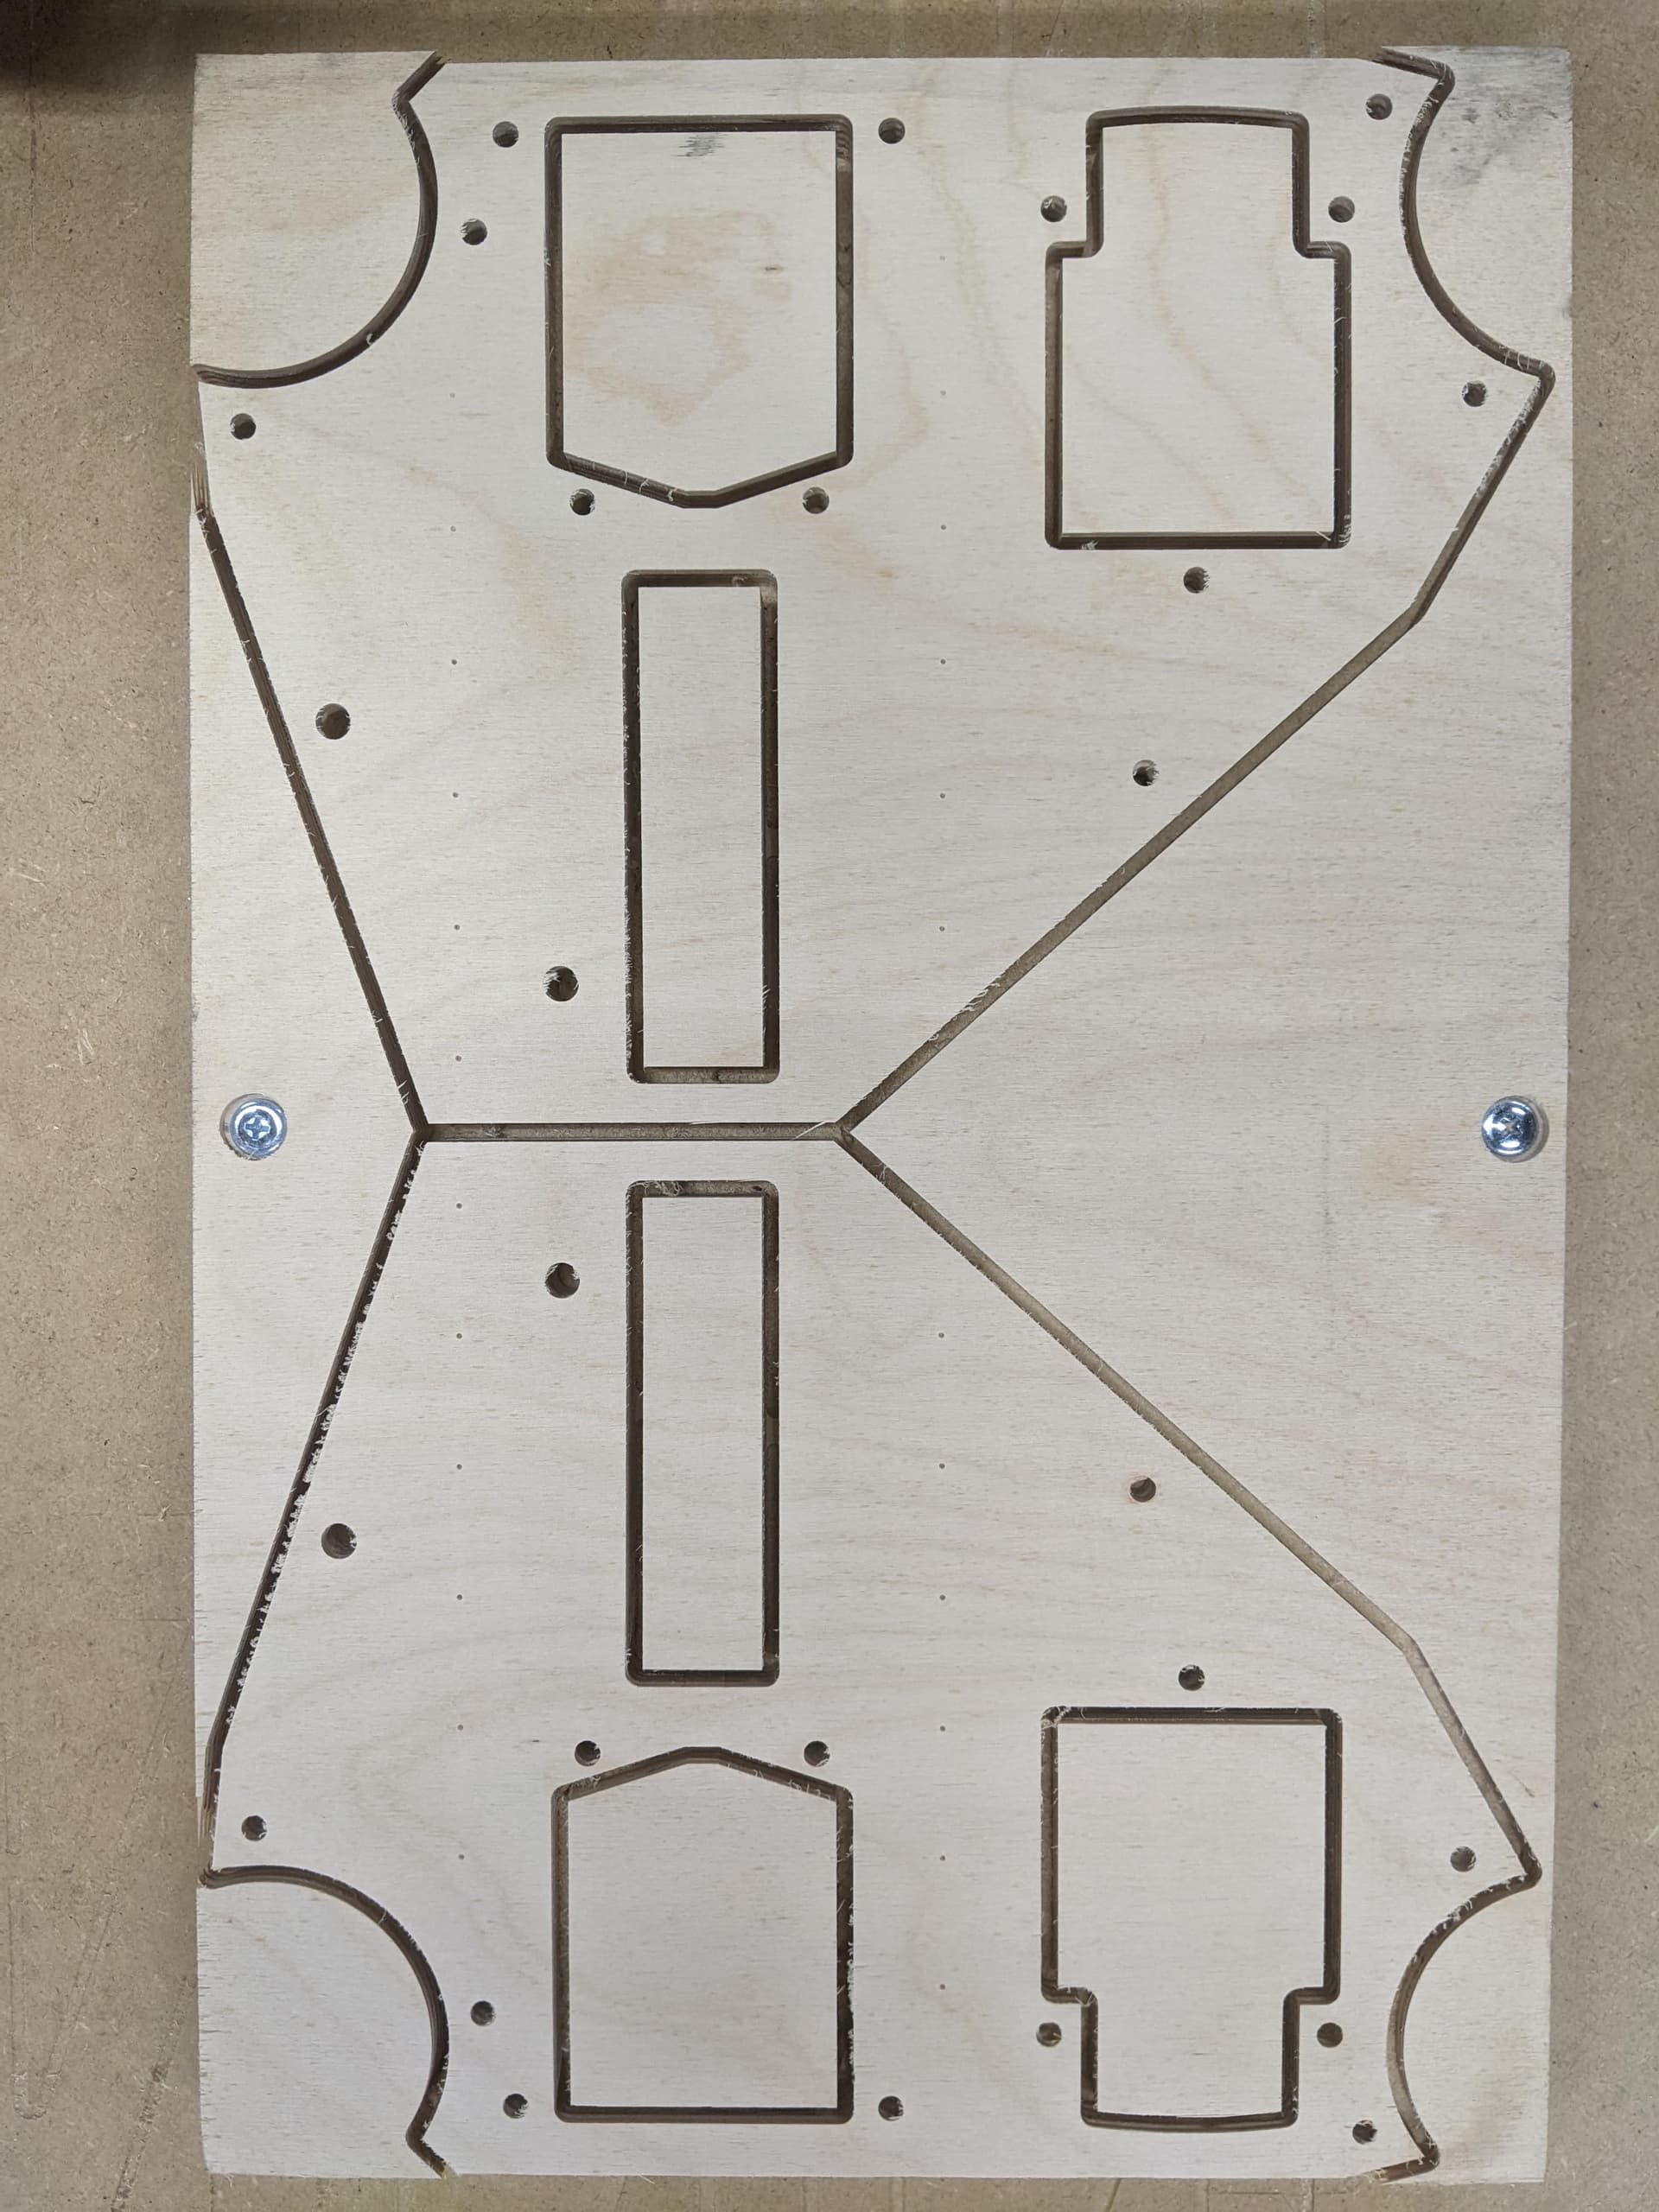
Final YZ plates cut, maximum usage of scraps available

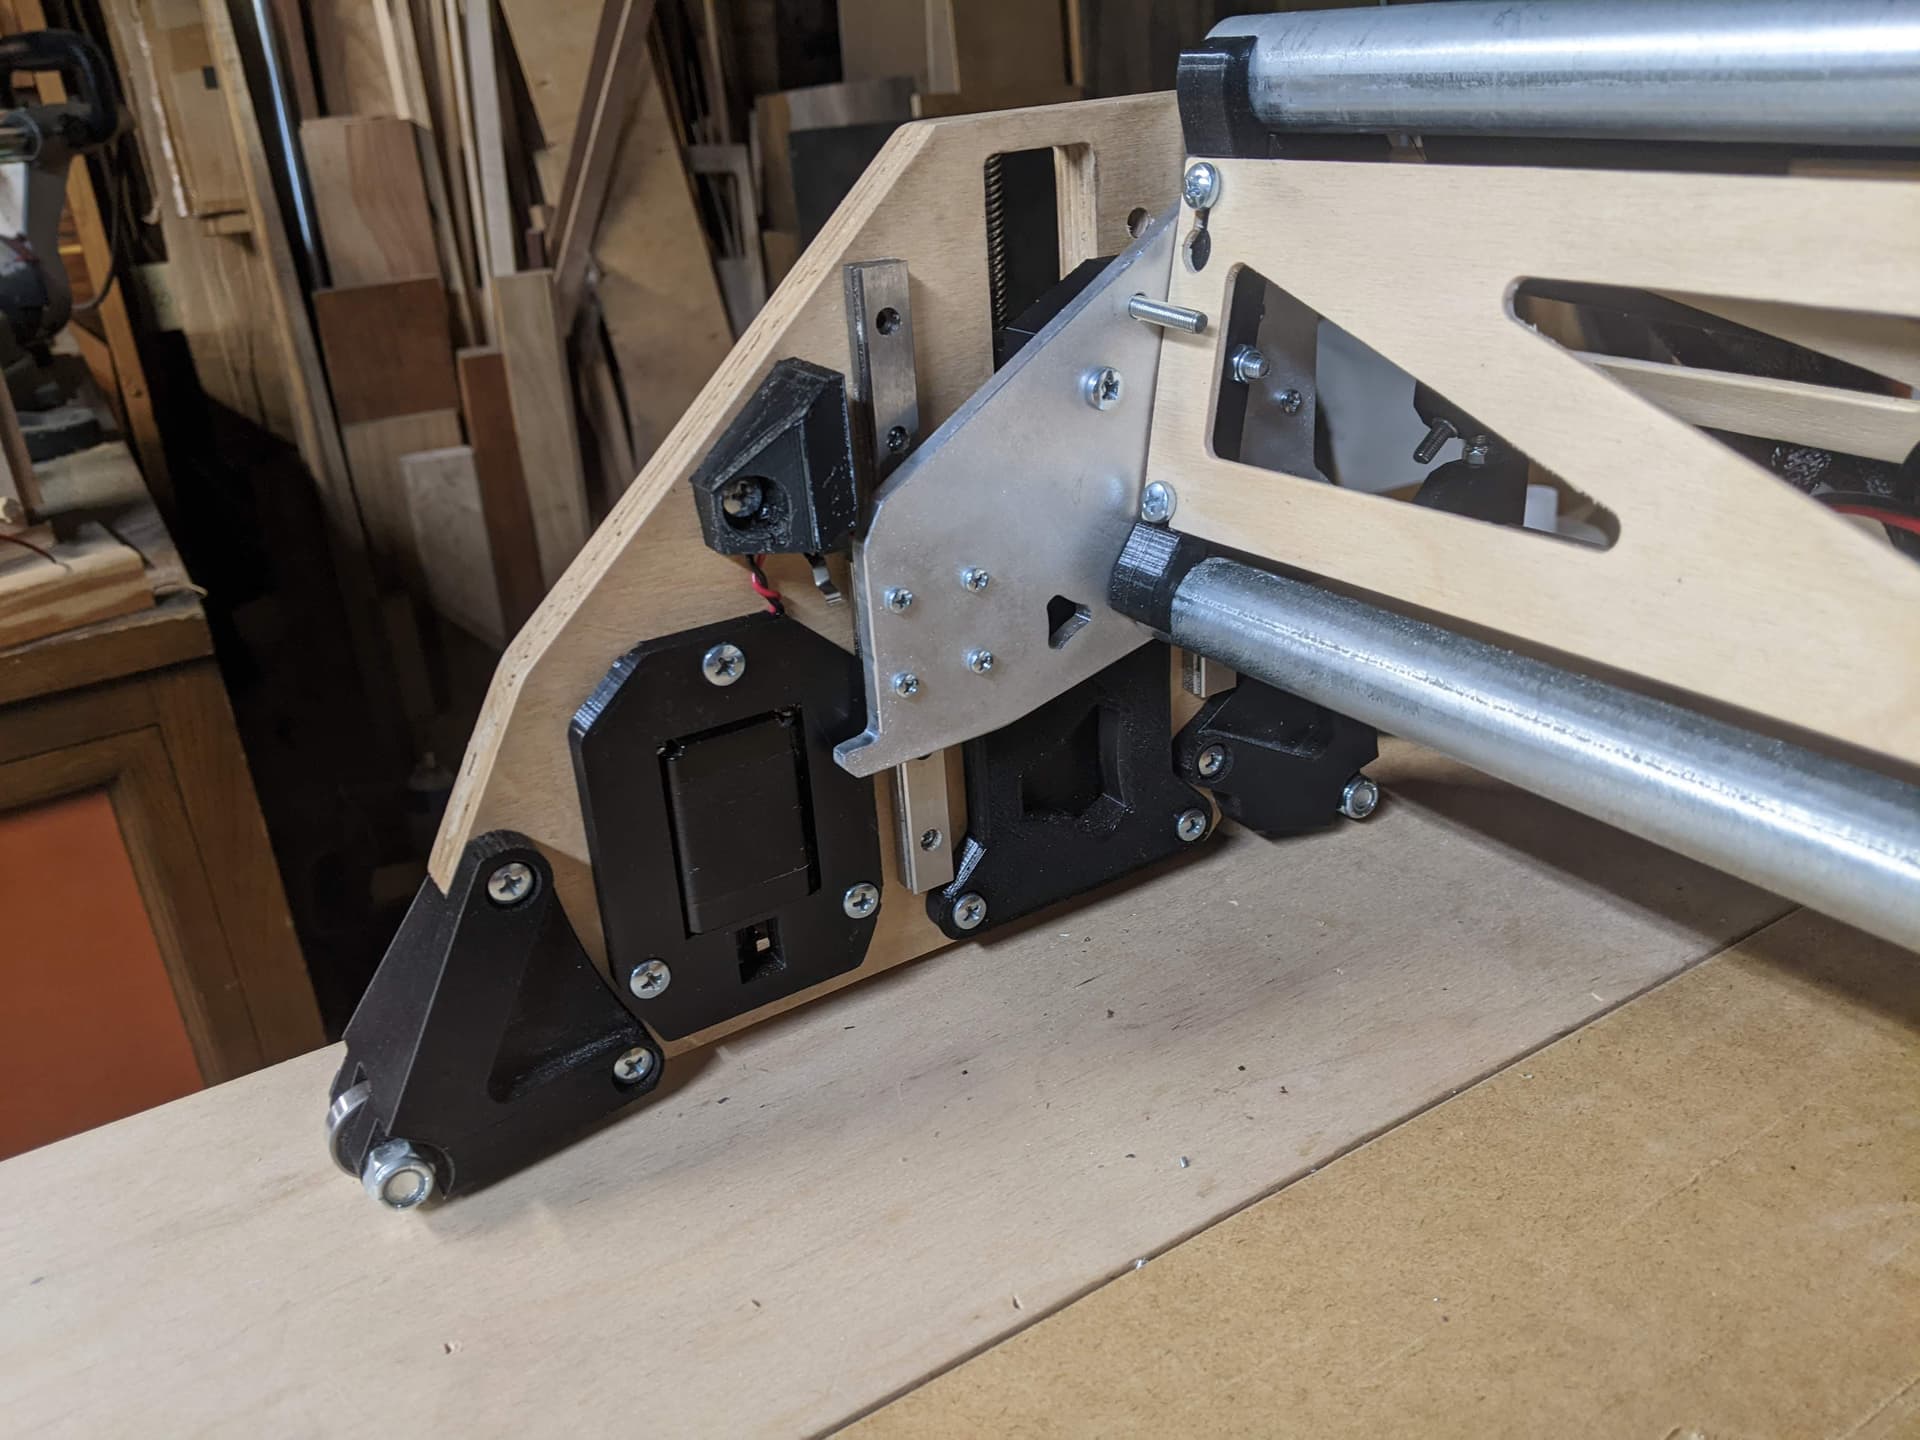
temporary handcut plates installed
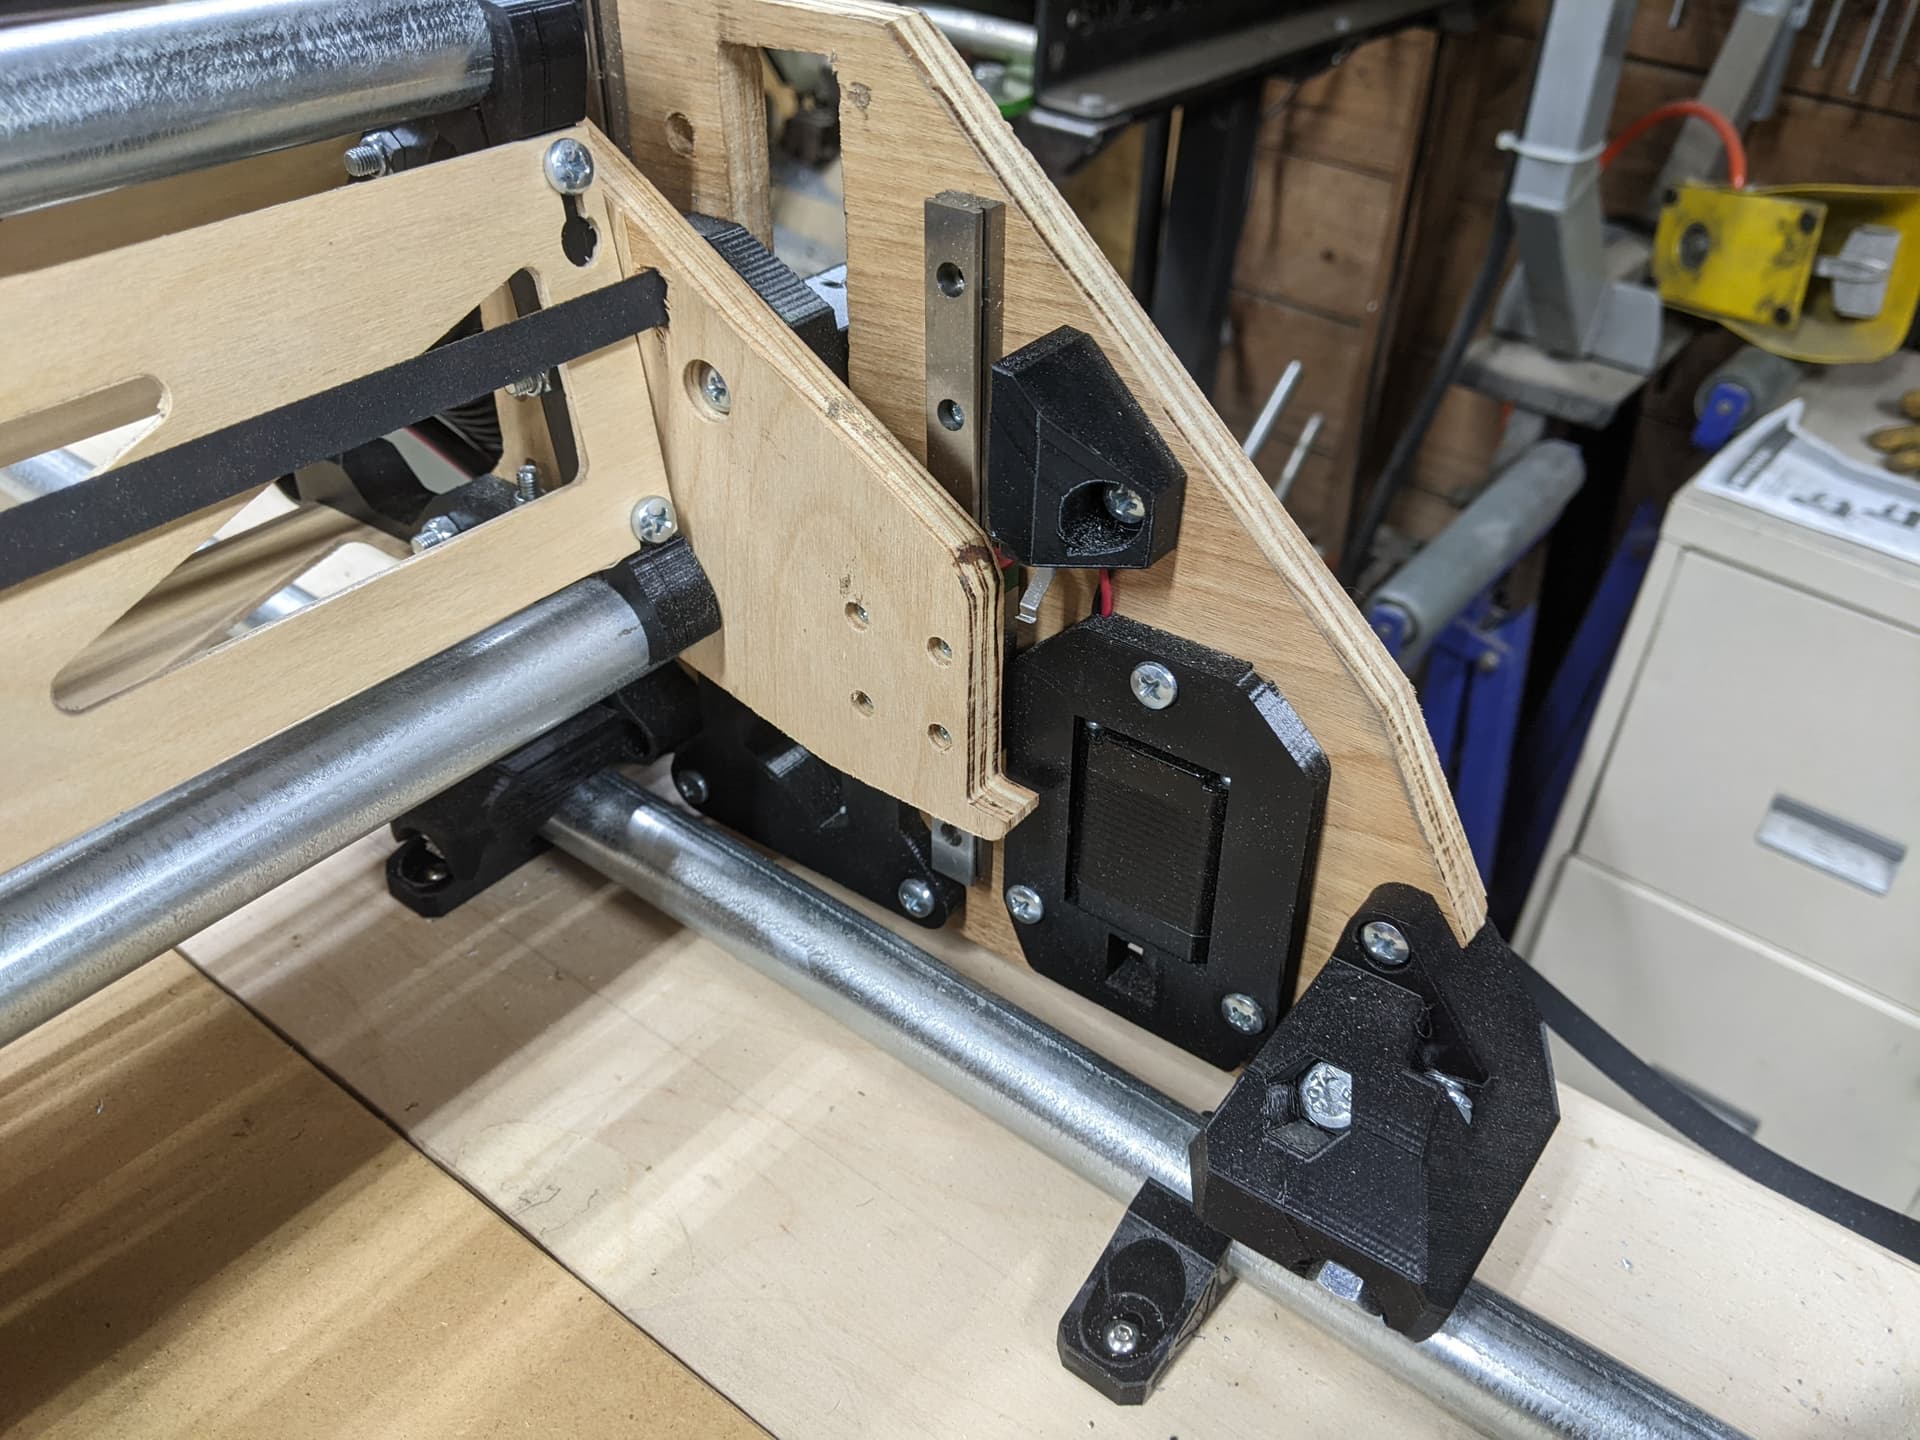
final plates installed