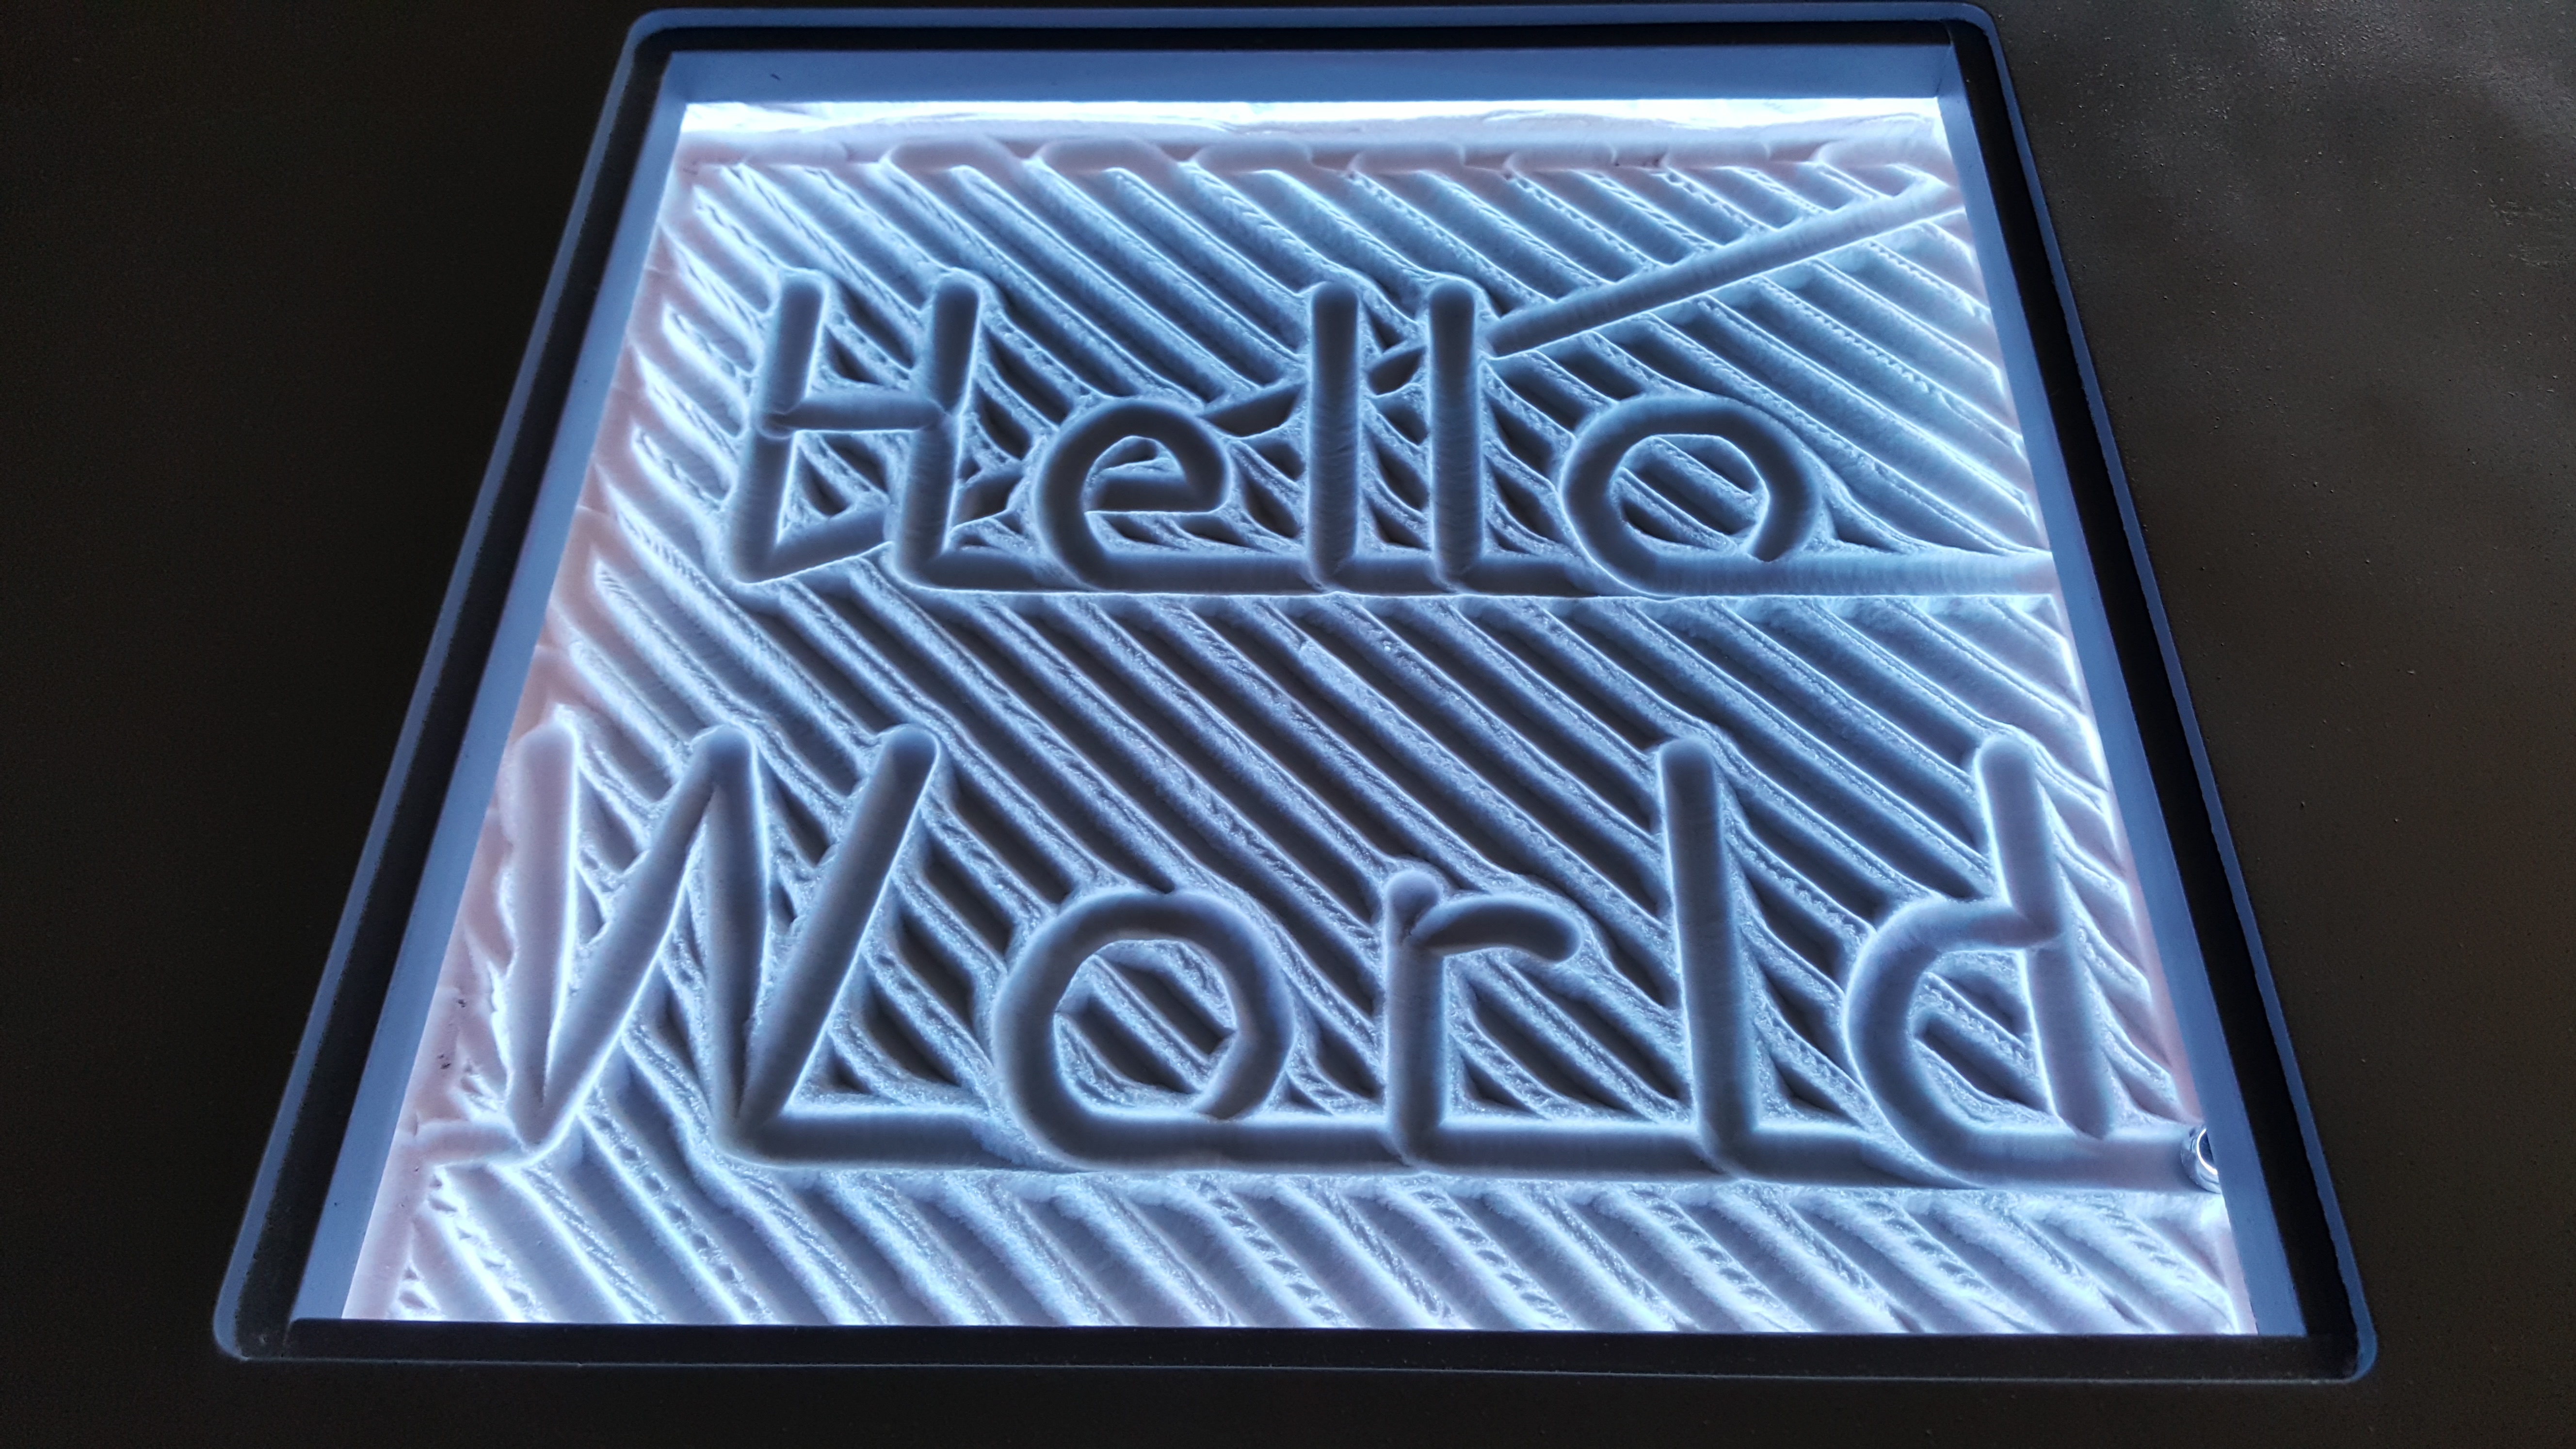
So I stumbled upon the V1 site a couple years ago and saw the ZenXY project and knew that I had to make one, but I really didnt have time since we had a newborn. About two weeks ago I happened to come across the post on Reddit that reminded me of this site.
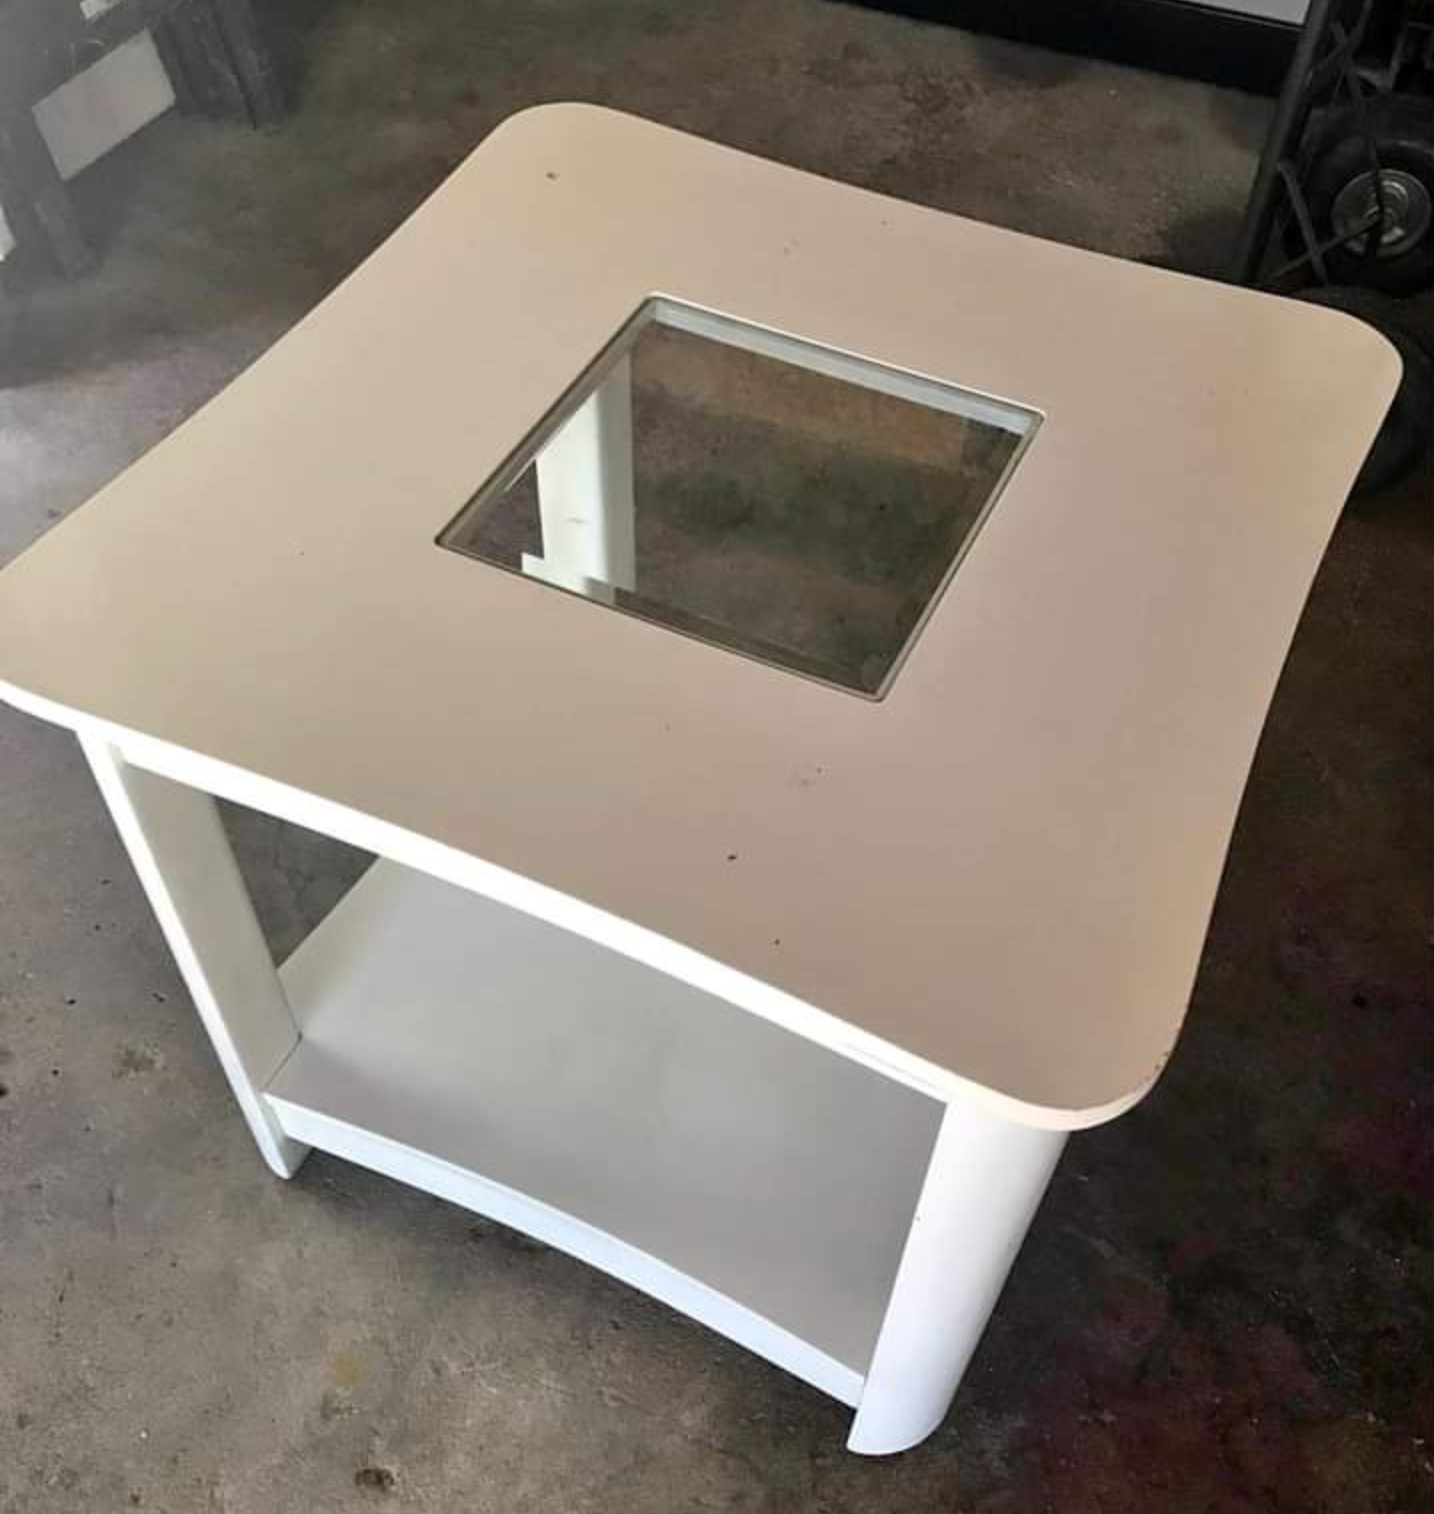
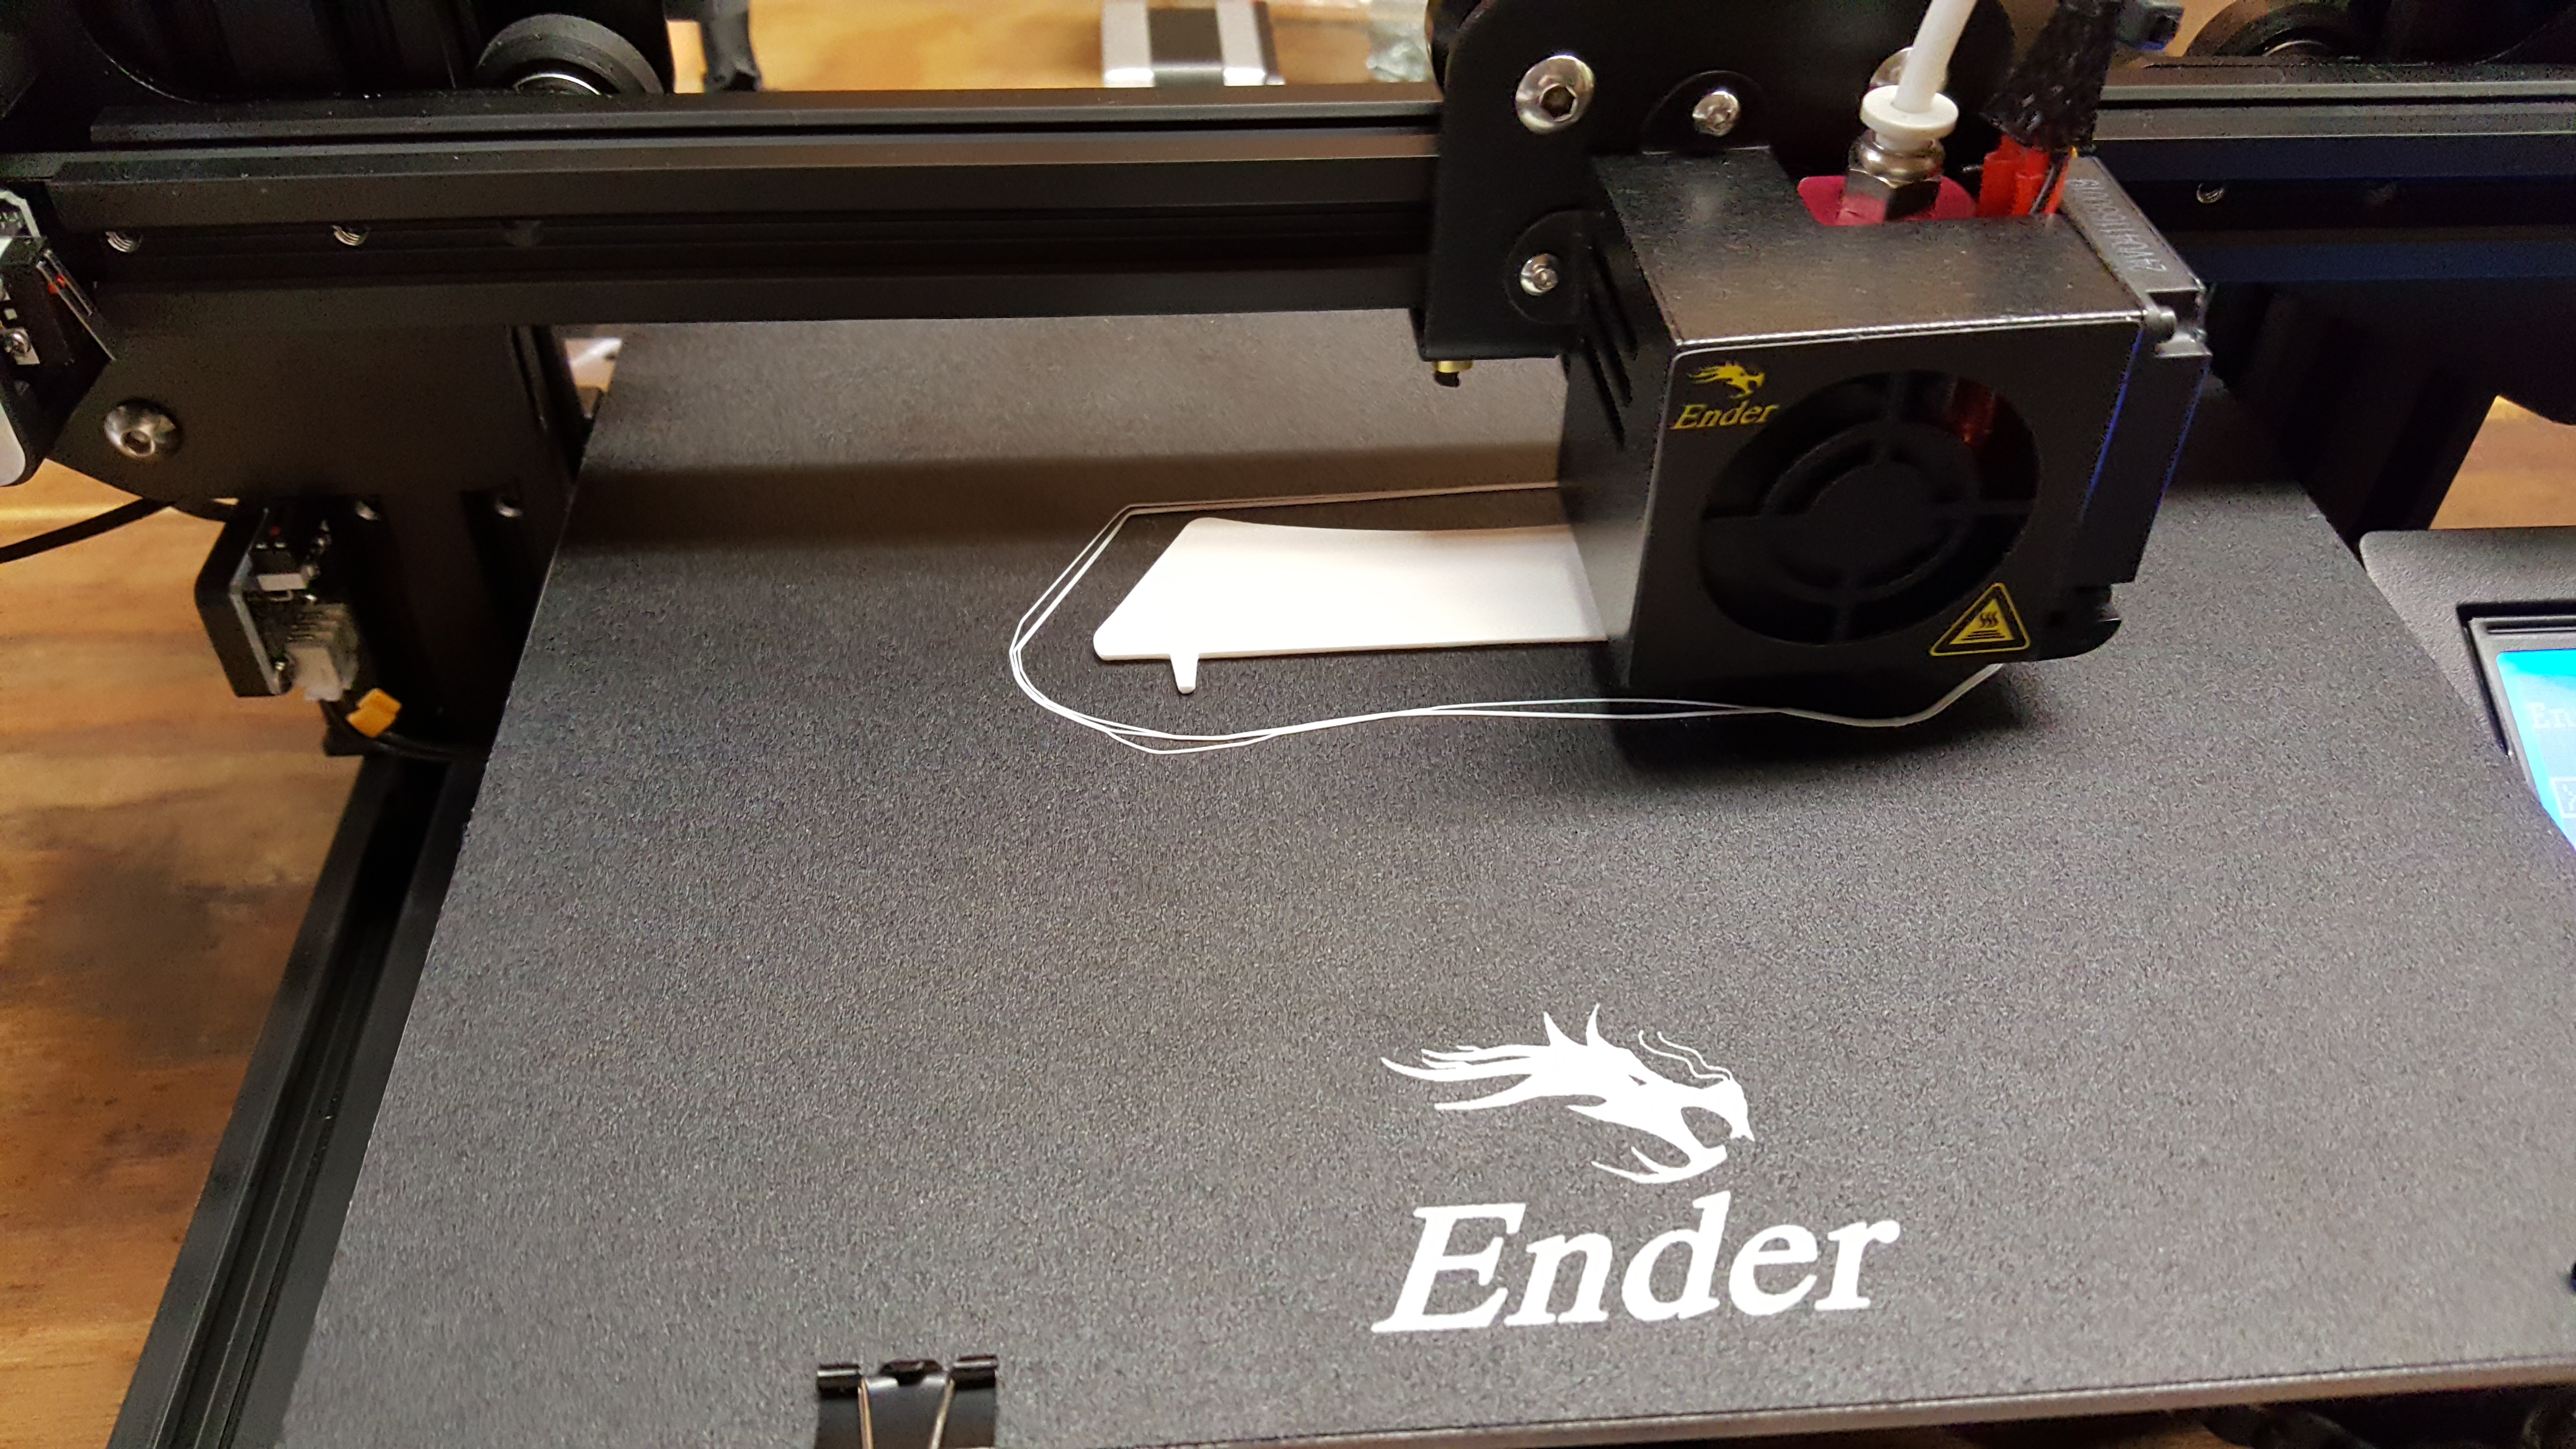
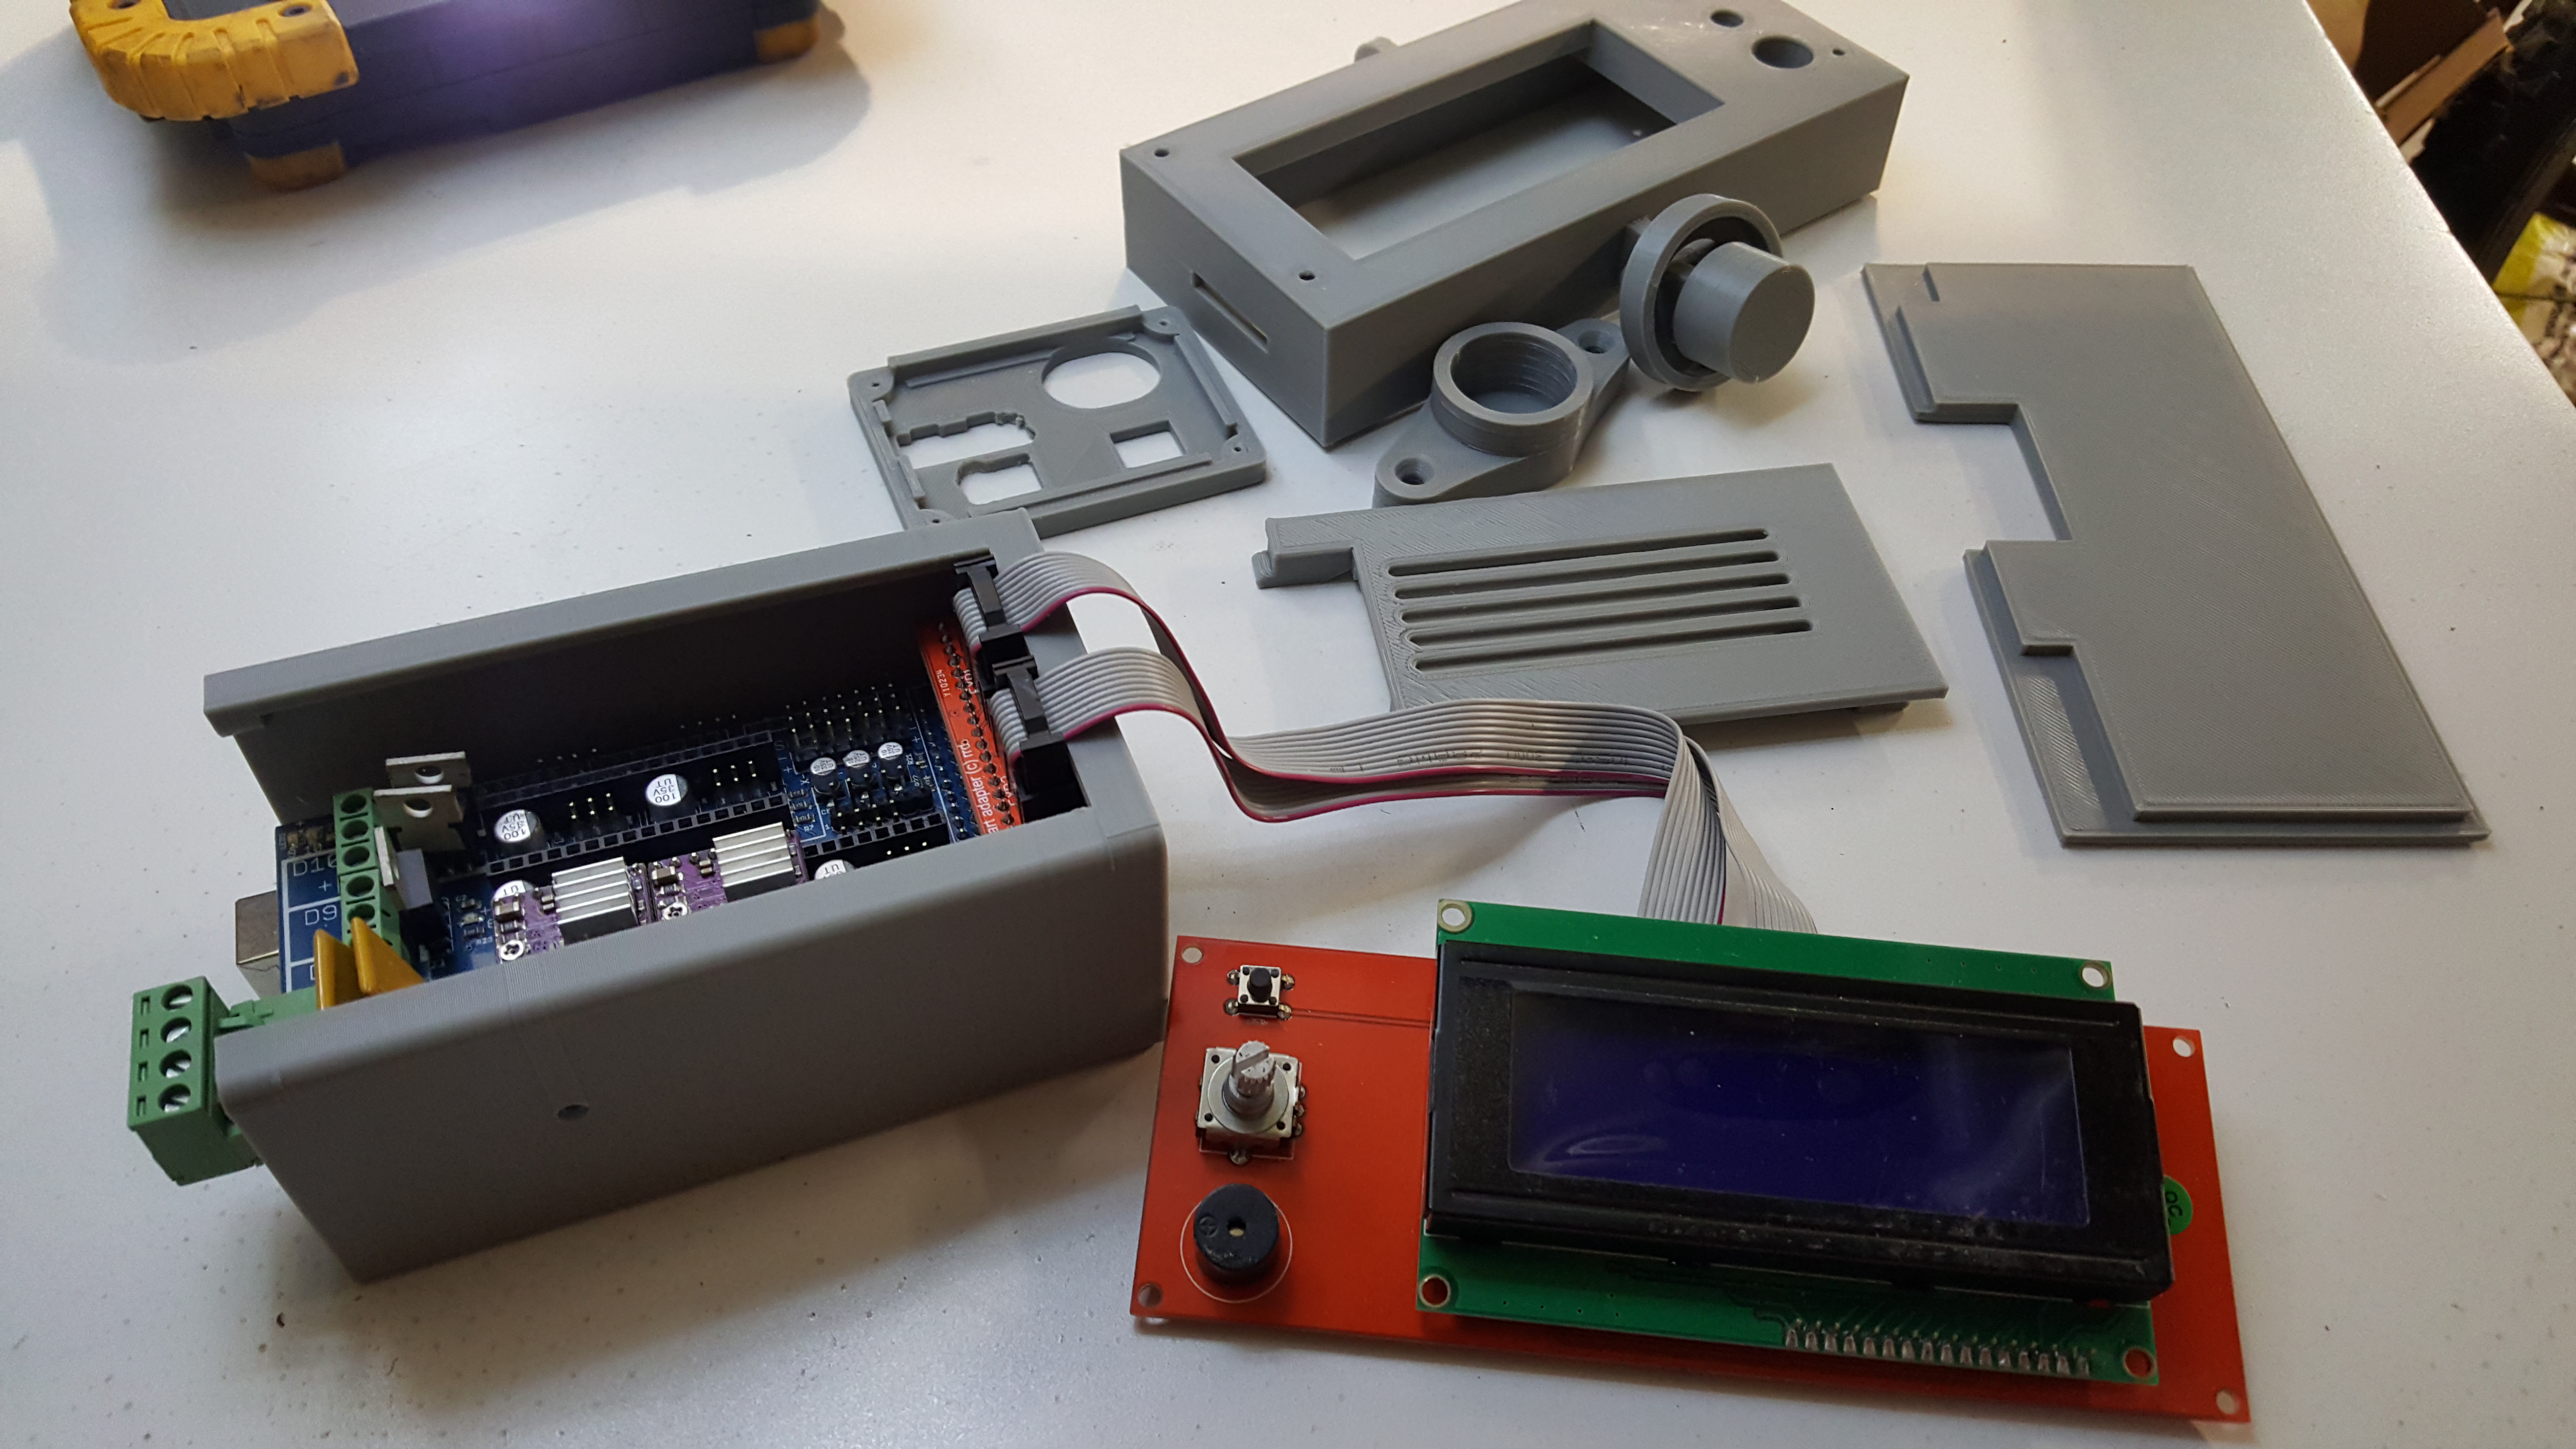
I dug through a box of old Arduino projects and found a mega/ramps board with stepper drivers and an lcd/controller. Ordered everything else from the V1 site which was very convenient. After ordering, I tried to find someone to print all the parts and I was having trouble finding someone who would do it for a reasonable price. So I decided to just buy a cheap 3D printer, the Ender3. After some searching on FB, I managed to find a cheap end table that I thought would work well.
Well about 6 years ago I build a CNC router from a mixture of ideas found on Instructables and got things started with the mega/ramps, then switched to individual drivers controller by a PC. I am kicking myself for not buying/building a 3D printer sooner.
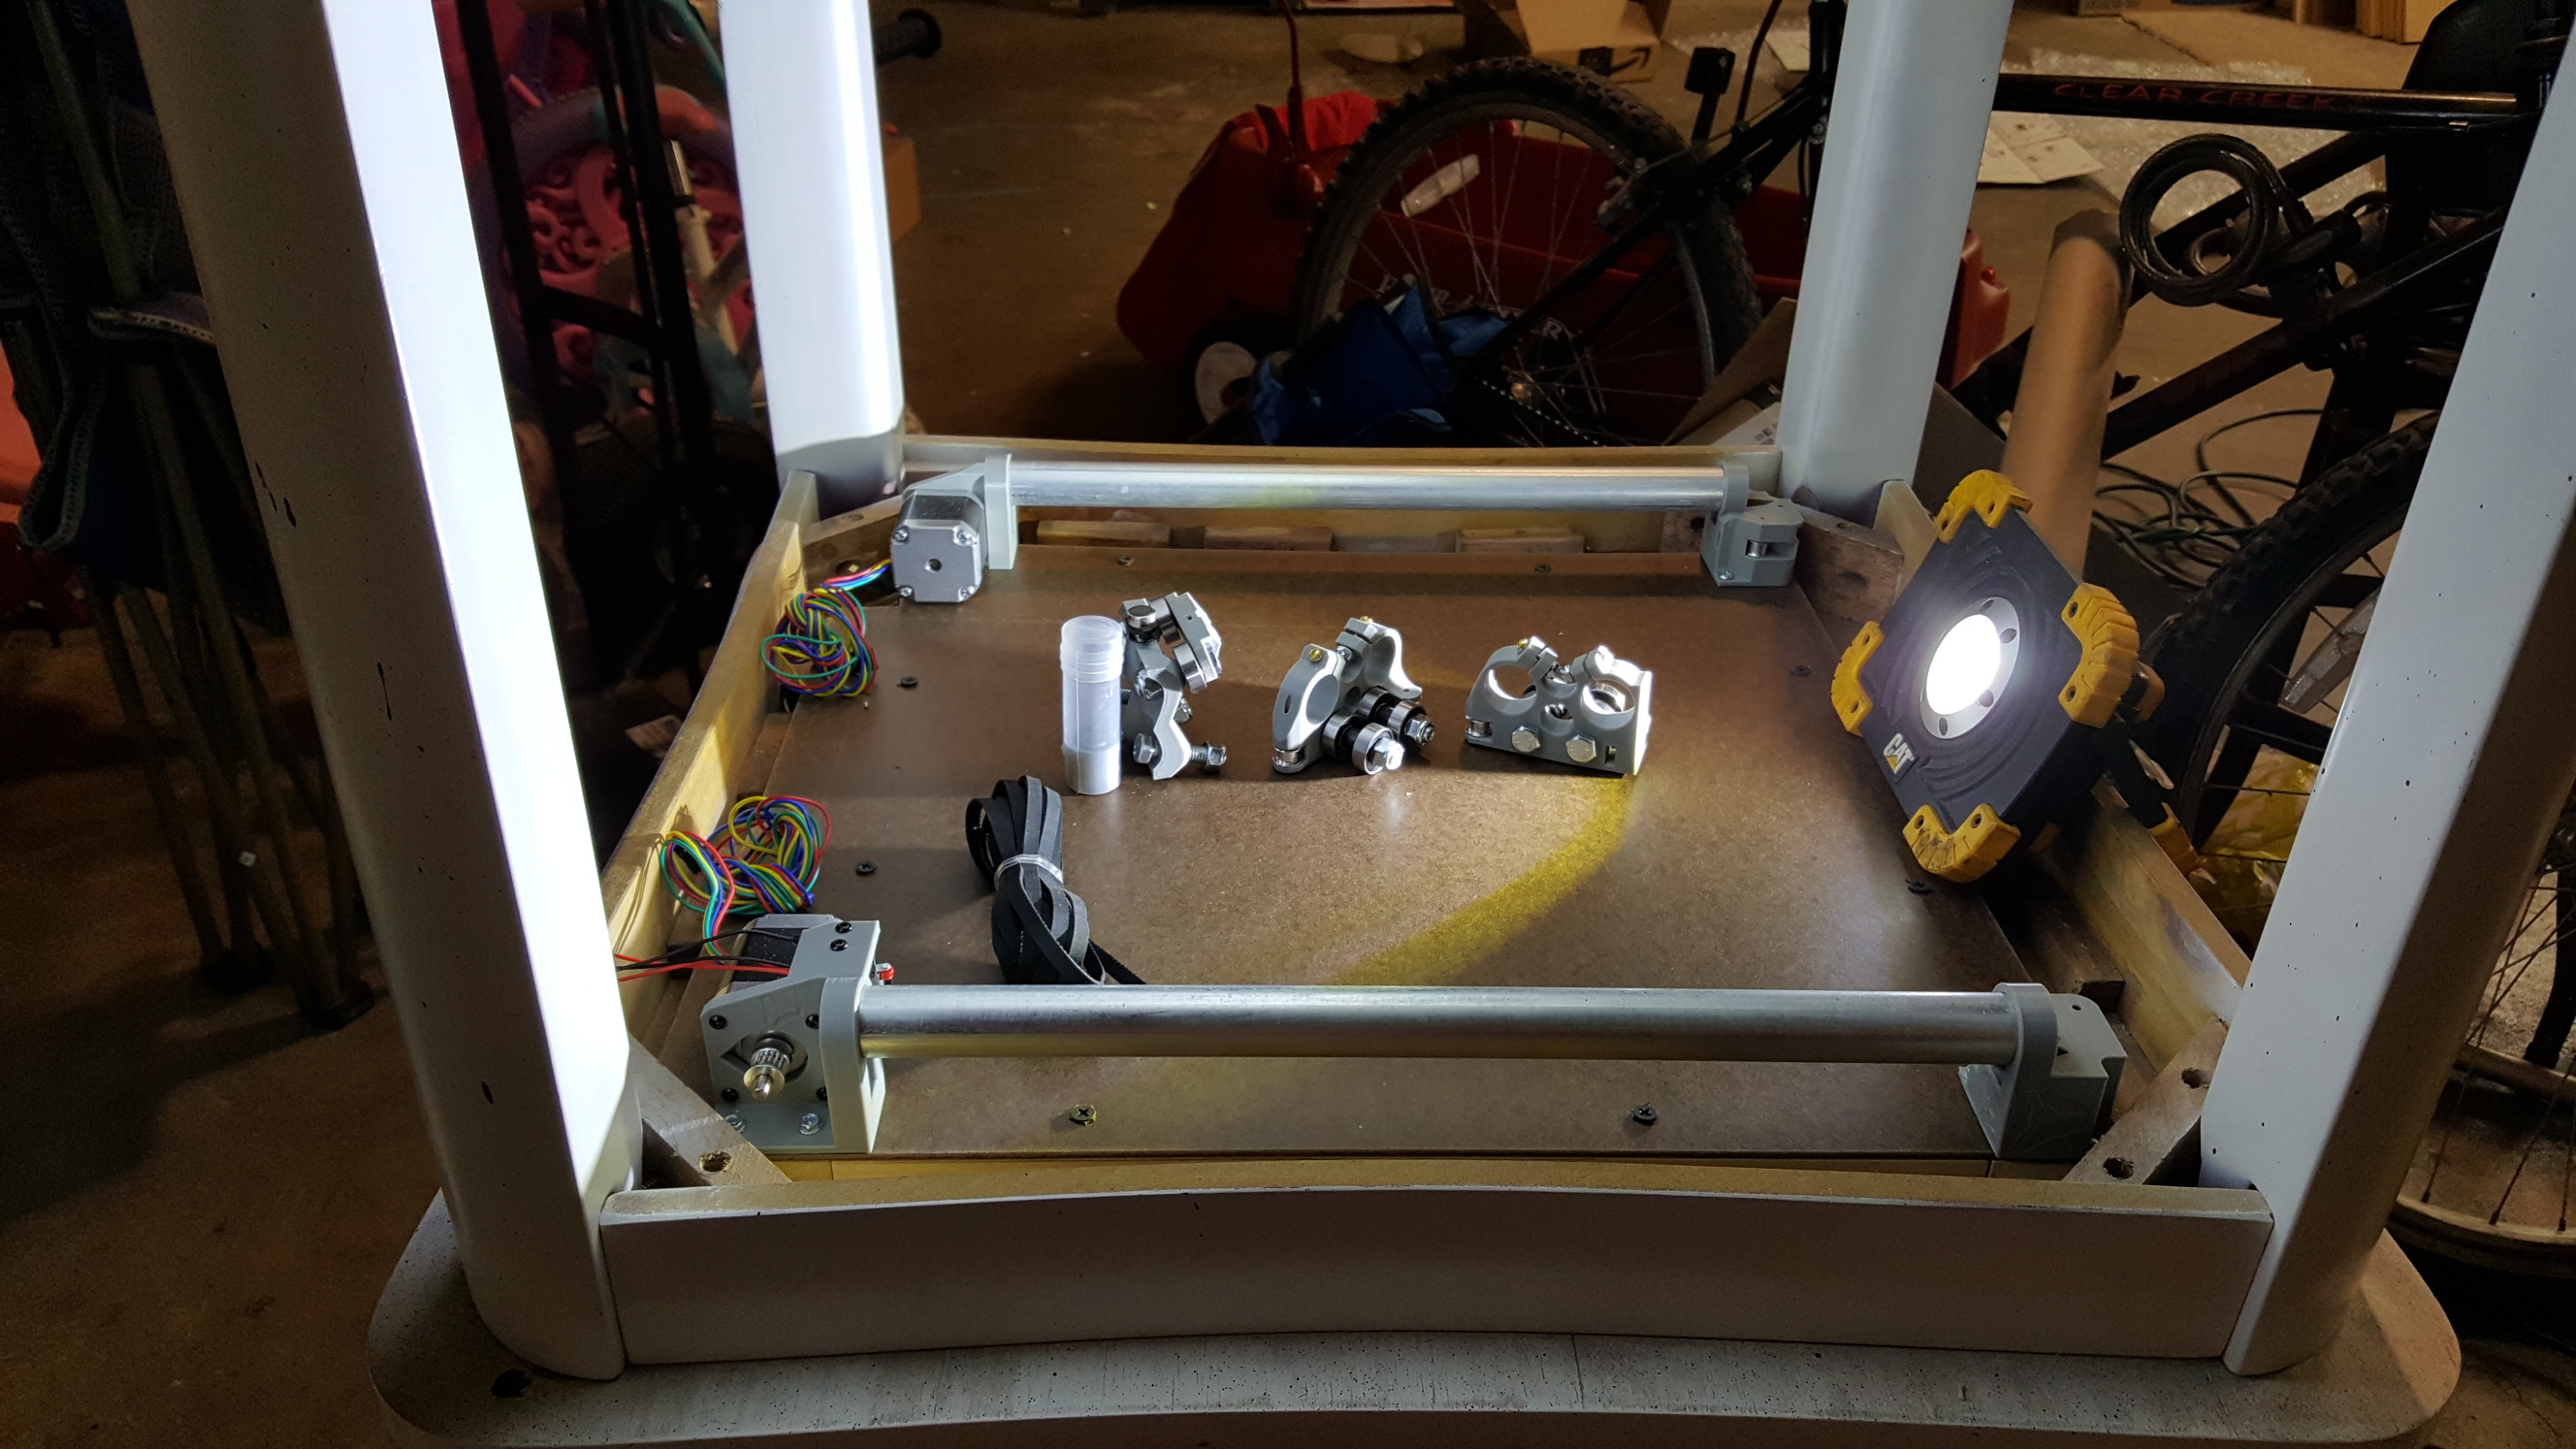
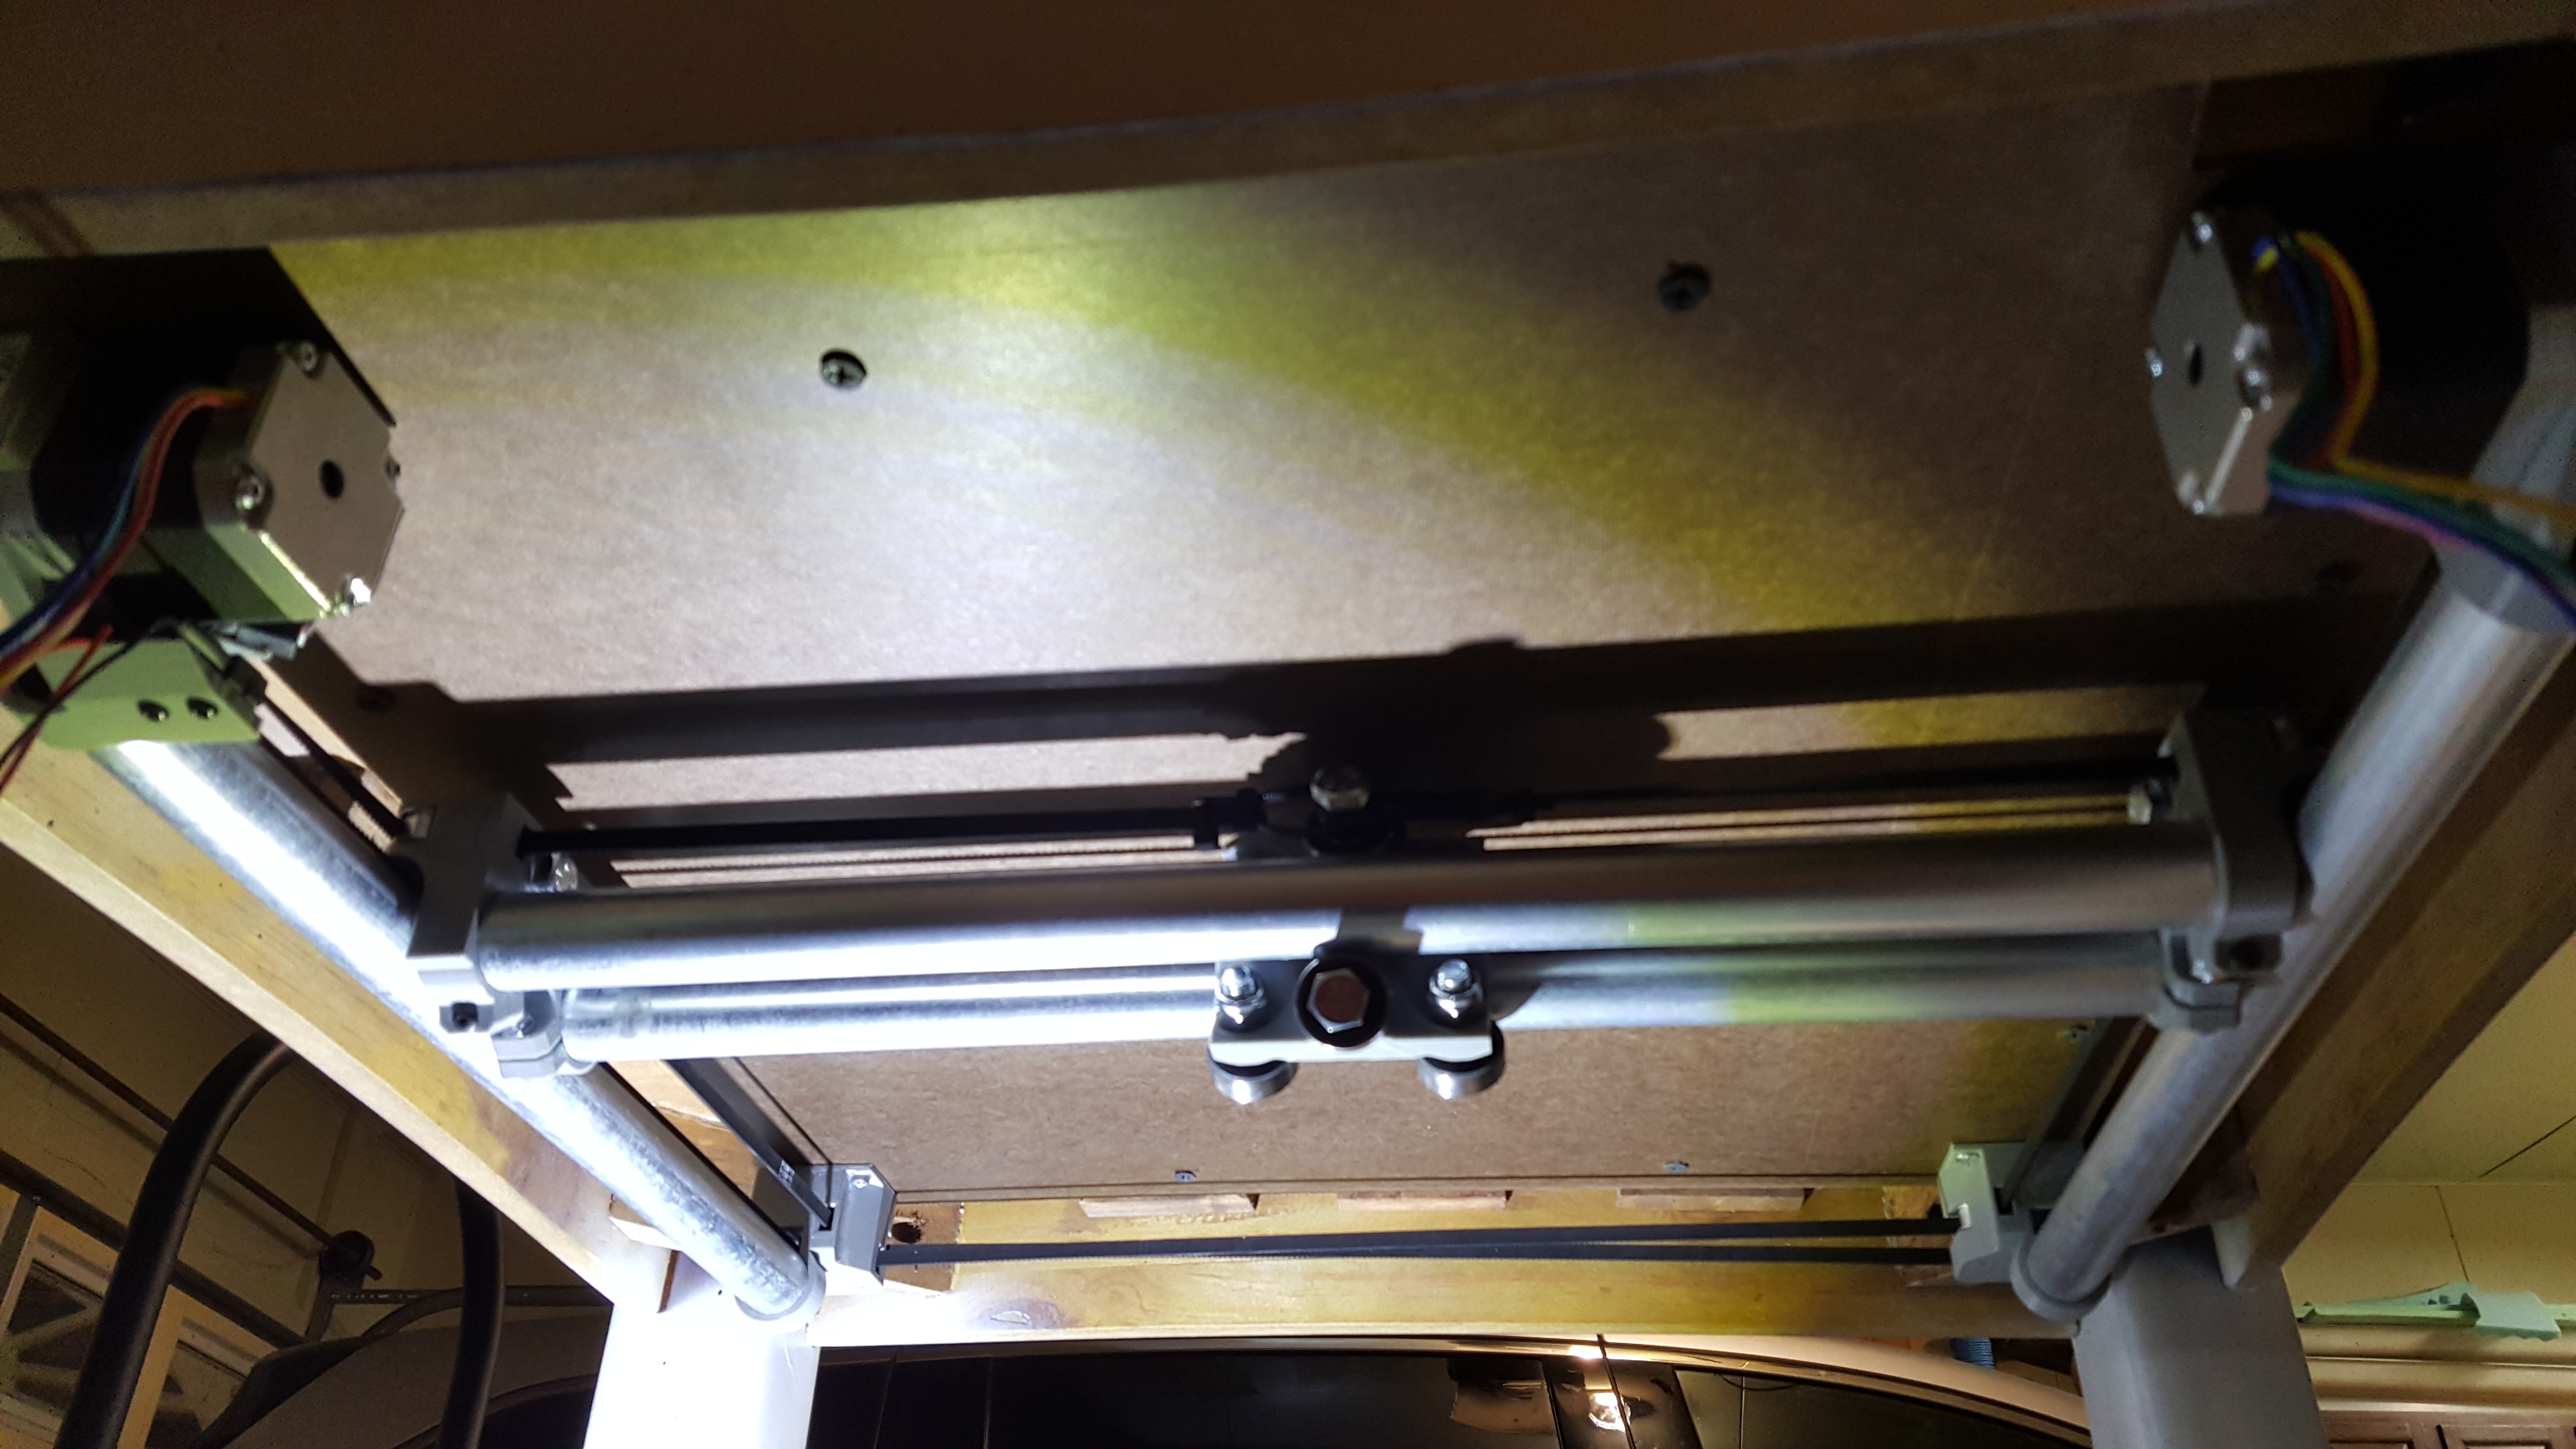
So I found some time to hook up the wiring this morning for testing and followed Bill’s video on how he hooked up the steppers and homing switches. Everything worked the first time which was awesome.
Questions
Since the homing switches do not act as end stops, the ZenXY is relying on the gcode only so that it does not try to move too far? To get accurate dimensions of the real limits, would it be a good idea to home it, and then manually move x and y using the screen to determine the actual safe moving area?
When I tried to add a 1/2 inch ball to the table my 1/16 gap between the magnet and the table went to zero. The magnetic force was strong enough to cause the magnet to lift up and touch the table even though I had a zip tie on it. Any idea how to fix this since I don’t want the magnet to tear up the smooth surface of the hardboard over time?
What current do you have your stepper drivers set to? I currently have mine set to 1.4A, but was wondering if that was too high?
I’m currently in the middle of my ZenXY build as well and here’s what I’ve figured.
Pretty much. That’s what I did. It looks like you have a pretty wide area from the viewable space to the physical ends of your rails so you have plenty of wiggle room on those max dimensions.
I think I remember reading another build post that mentioned using superglue to hold the magnet down. I’m running into the same problem over many test “prints”.
Follow the Vref setting HERE for your DRV8825s. If you bought the ones from the V1 store, and if my math is right, the Vref should be set to 0.675v. But I have noticed that as long as your motors are staying cool, you should be fine. I have some steppers with a much lower amp rating and I have it well past the recommended Vref and they aren’t even getting warm, furthering my suspicions that CoreXY is dark magic. If I even deviate a little from the recommended settings on my Cartesian 3D printer, the motors get pretty hot!
P.S. Just remember that the DRV8825 trim pots decrease clockwise and increase counter clockwise!
Thanks for the suggestions.
The drivers I have are generic DRV8825 and I set them to Vref=0.7V to start out, but the steppers were getting too hot IMO. Changed them to Vref=0.5V and now they are slightly warm.
That’s how I do it. Sandify will hold your machine limits through refreshes.
Superglue sounds good to me, or some tape on the magnet to give the zip tie more grip.
I would set it much lower. I have mine set at 200mA, IIRC. As long as it doesn’t skip steps, it will be fine. Whatever you set it to will be sent through even if the motor is sitting still, so that current setting has a big effect on the total power it uses. I am using a 12V wall wart from an old router to power mine and it is fine.
Ok, who else had to make the switch from woodworking to networking on this one? “What sort of janky, cheap, nonsense router runs off of a wall wart, and what was he trying to cut with it?”
What? You have a digitally controlled hand plane too? How does that work? Does it just set blade adjustment/cut depth? I would think the wire would get in the way, you should try adding a battery and going cordless. 8^)
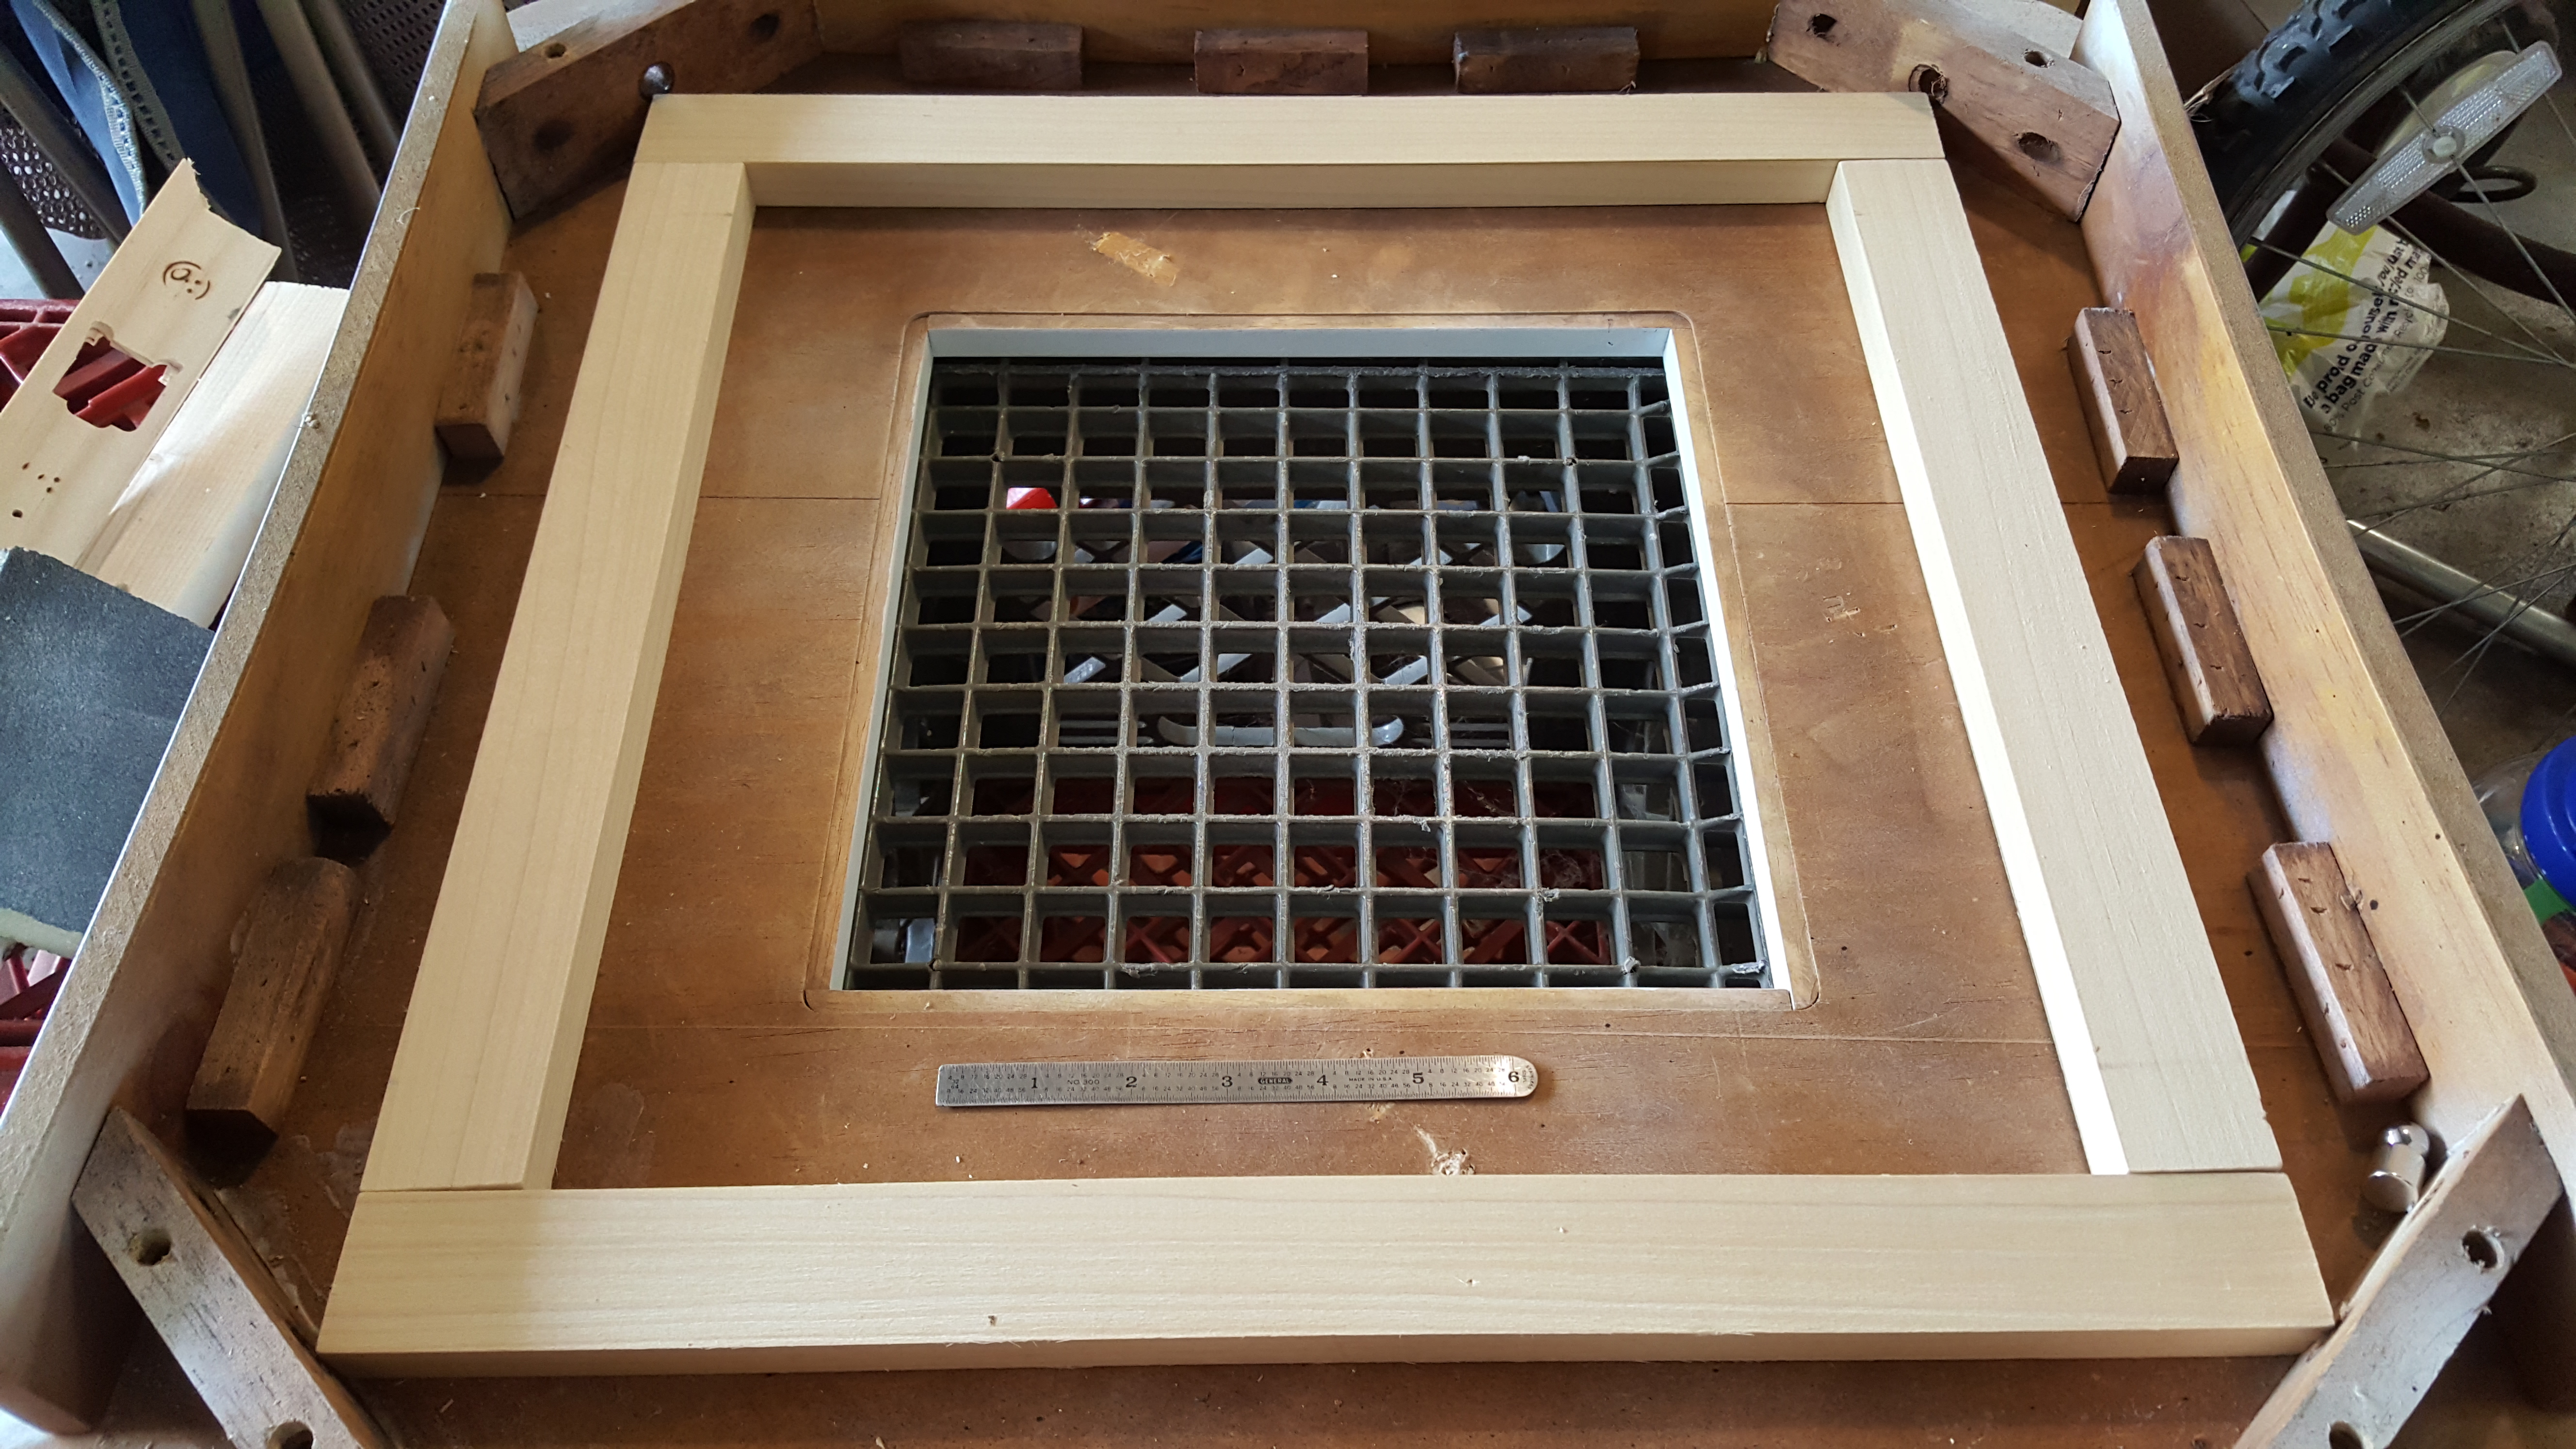
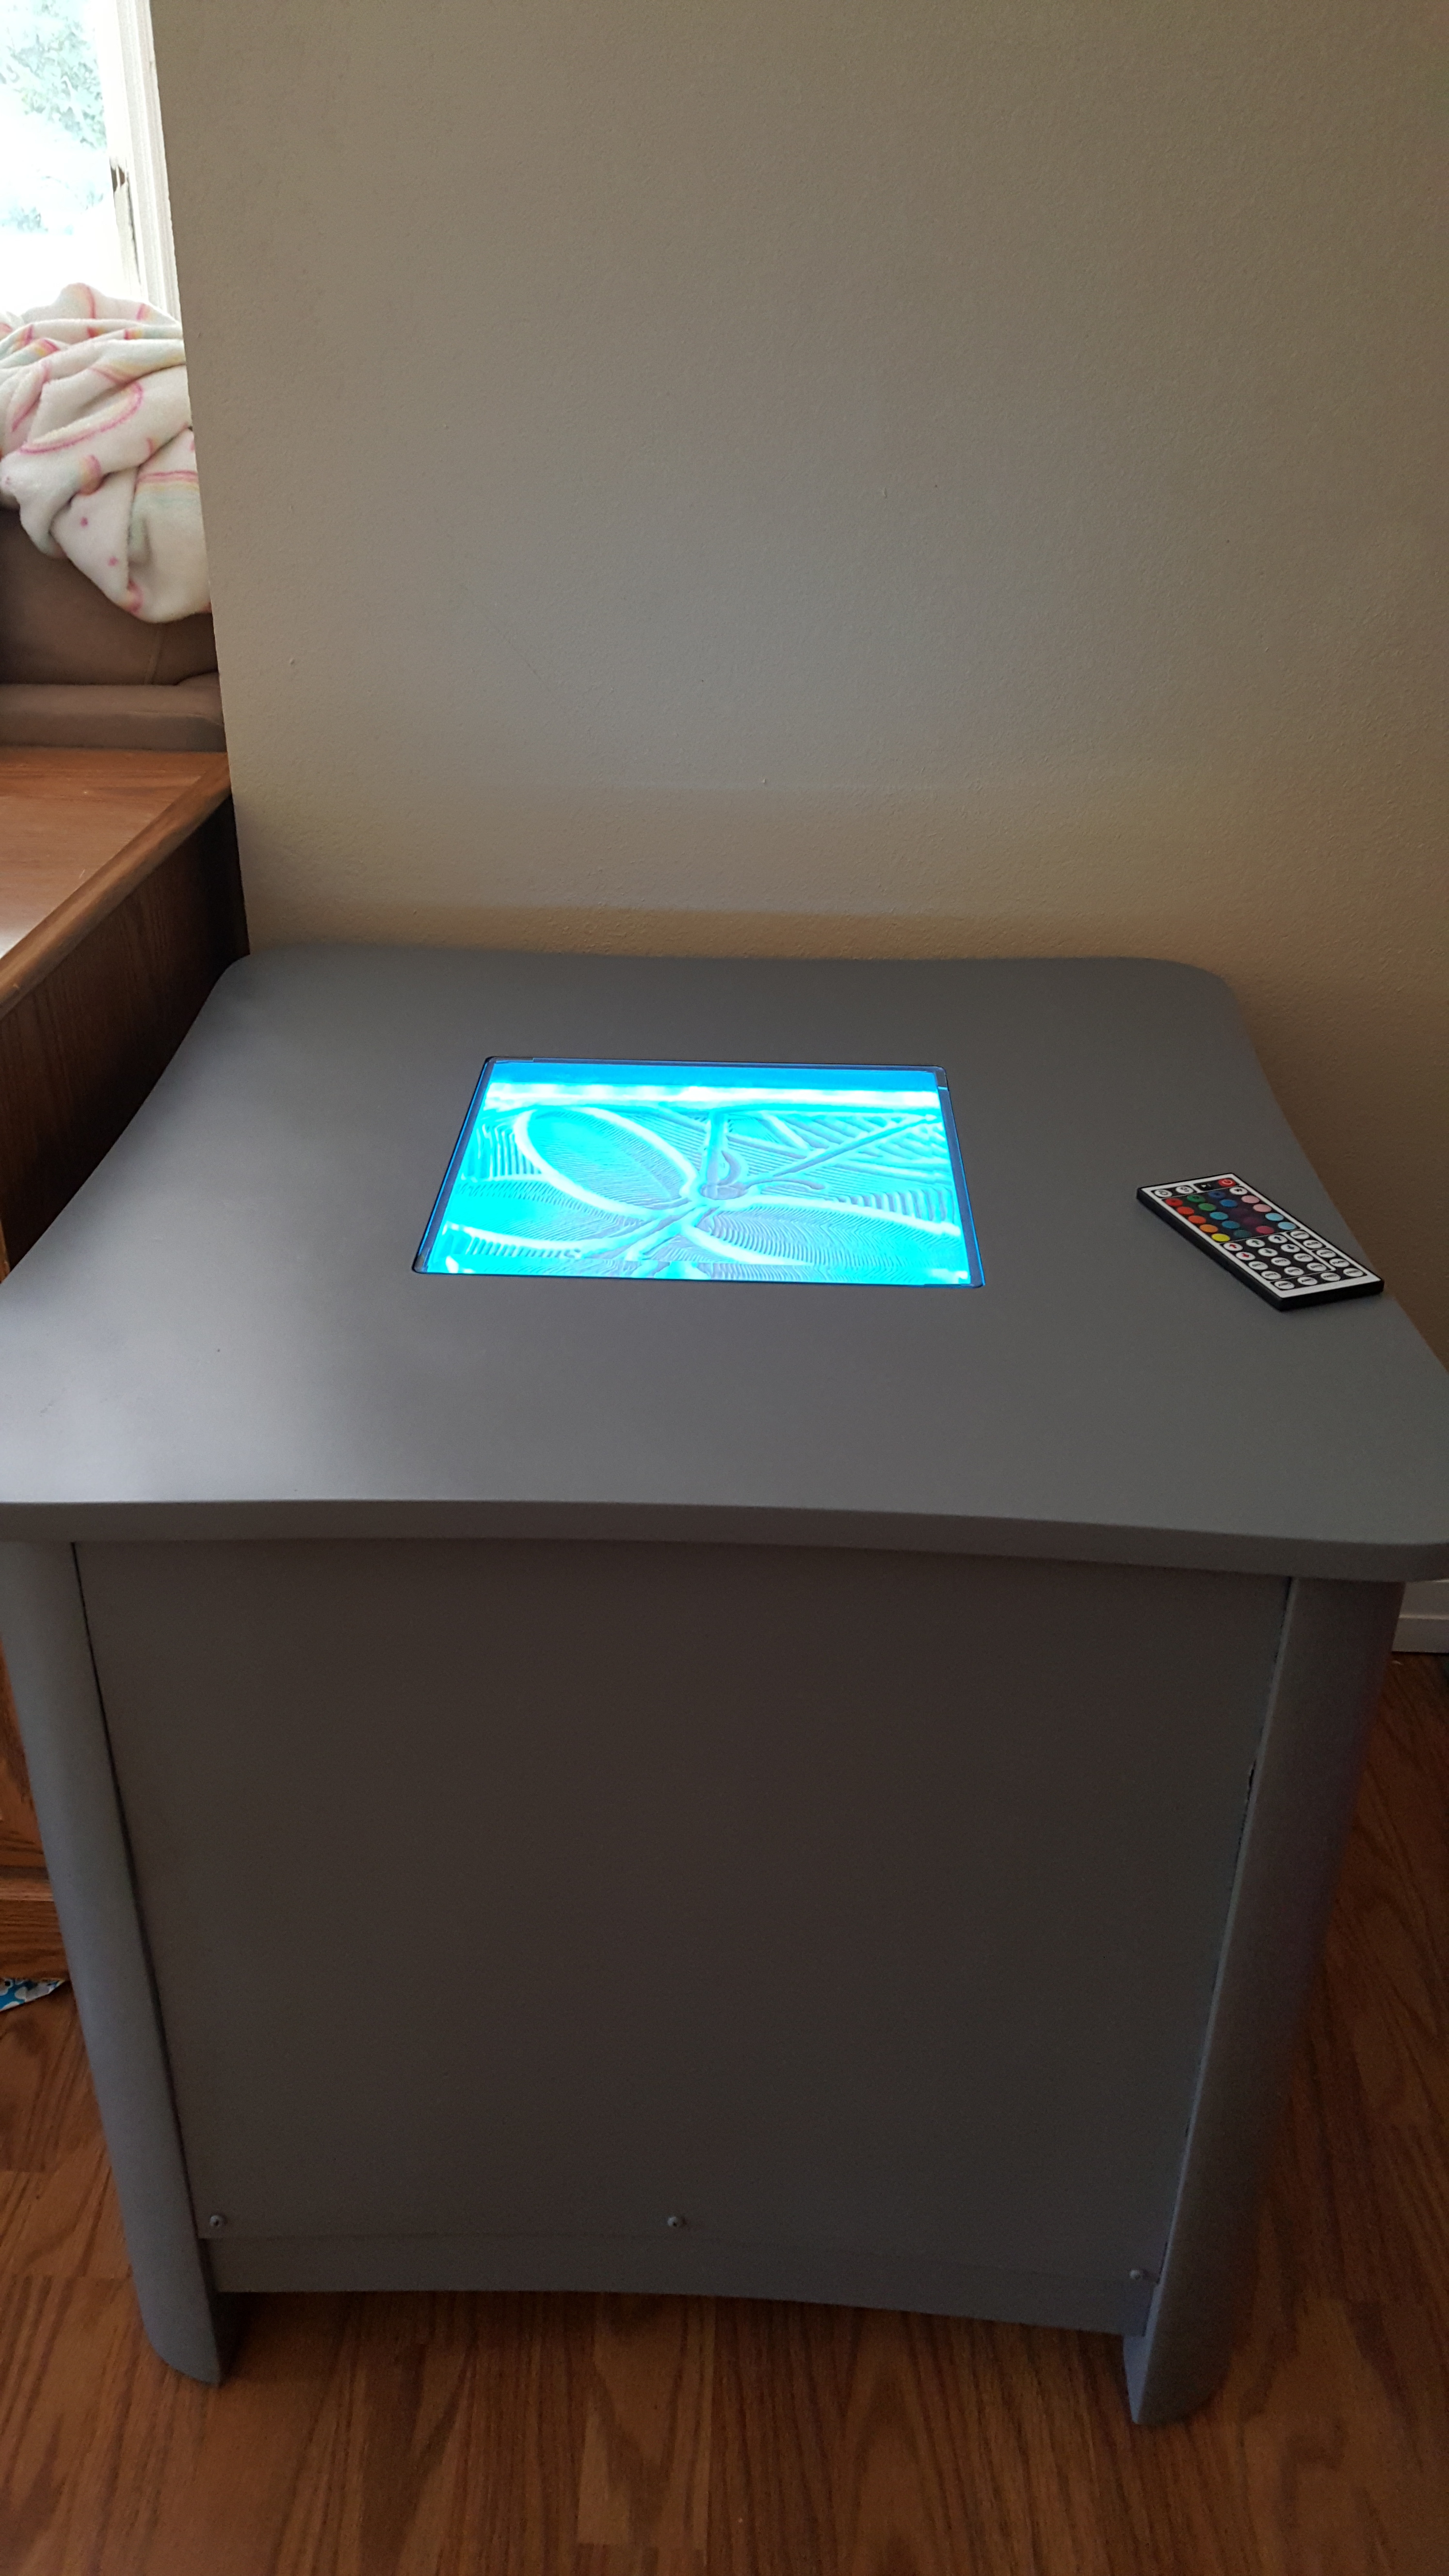
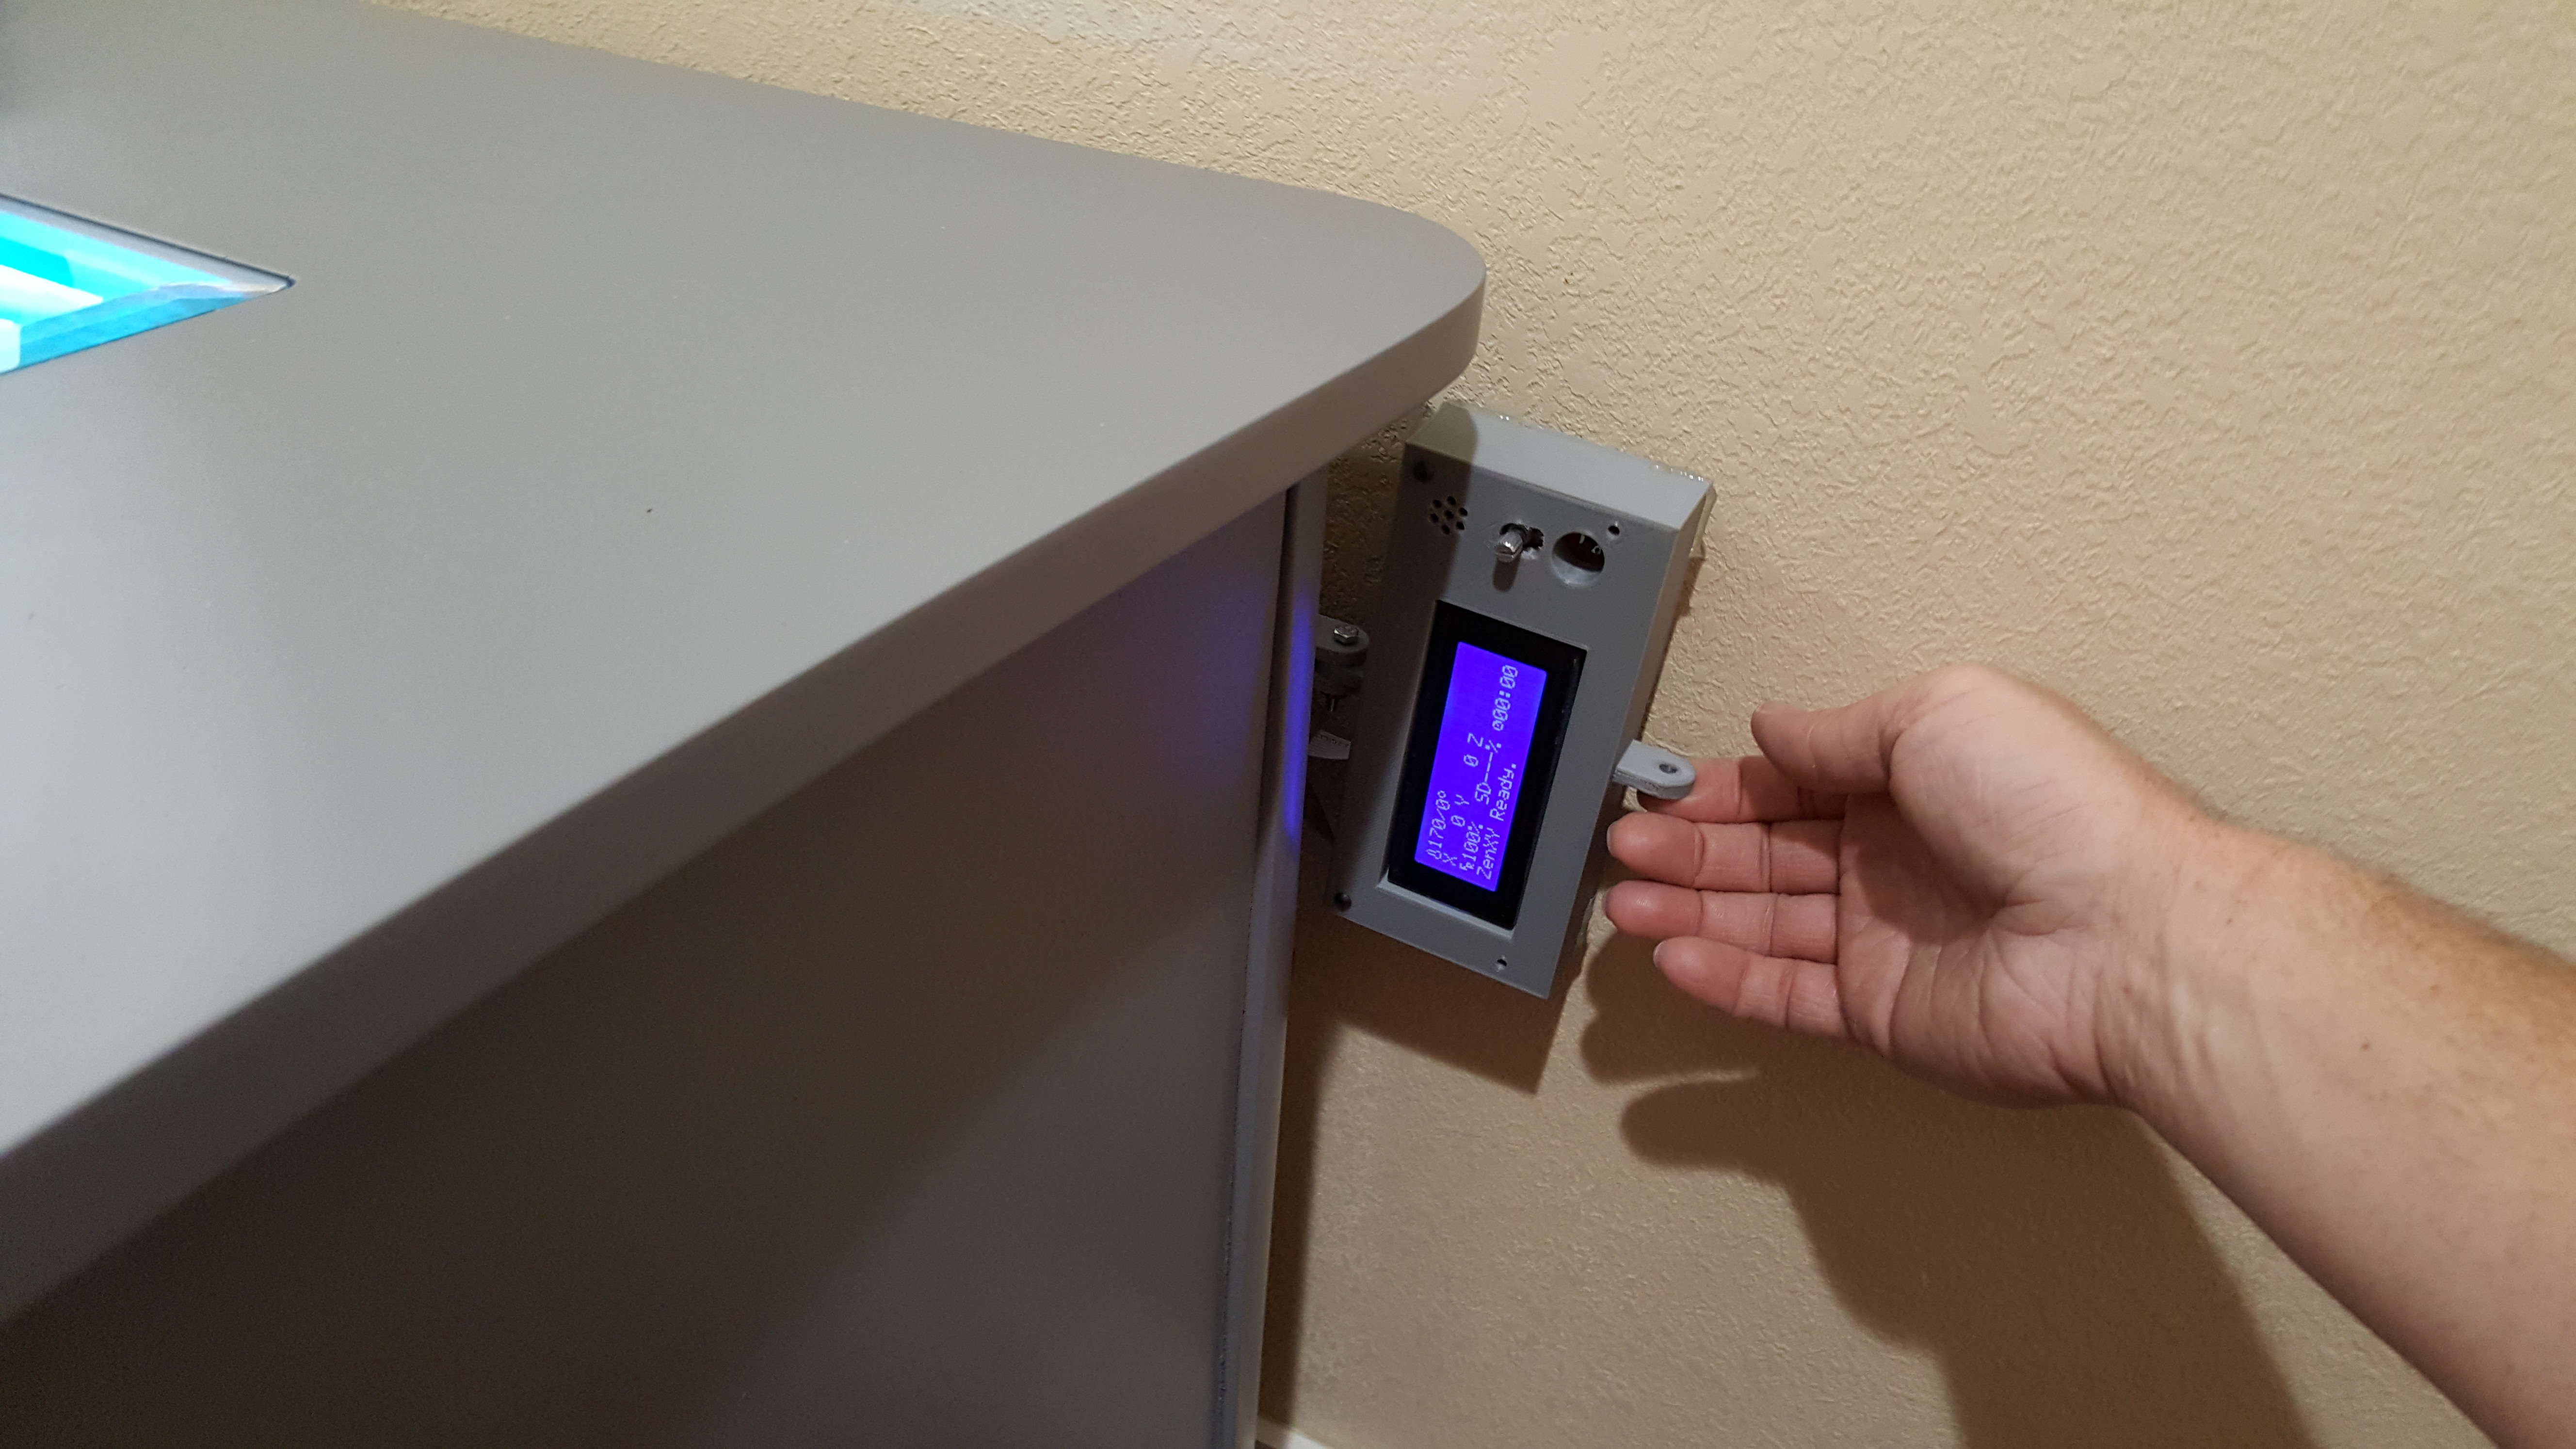
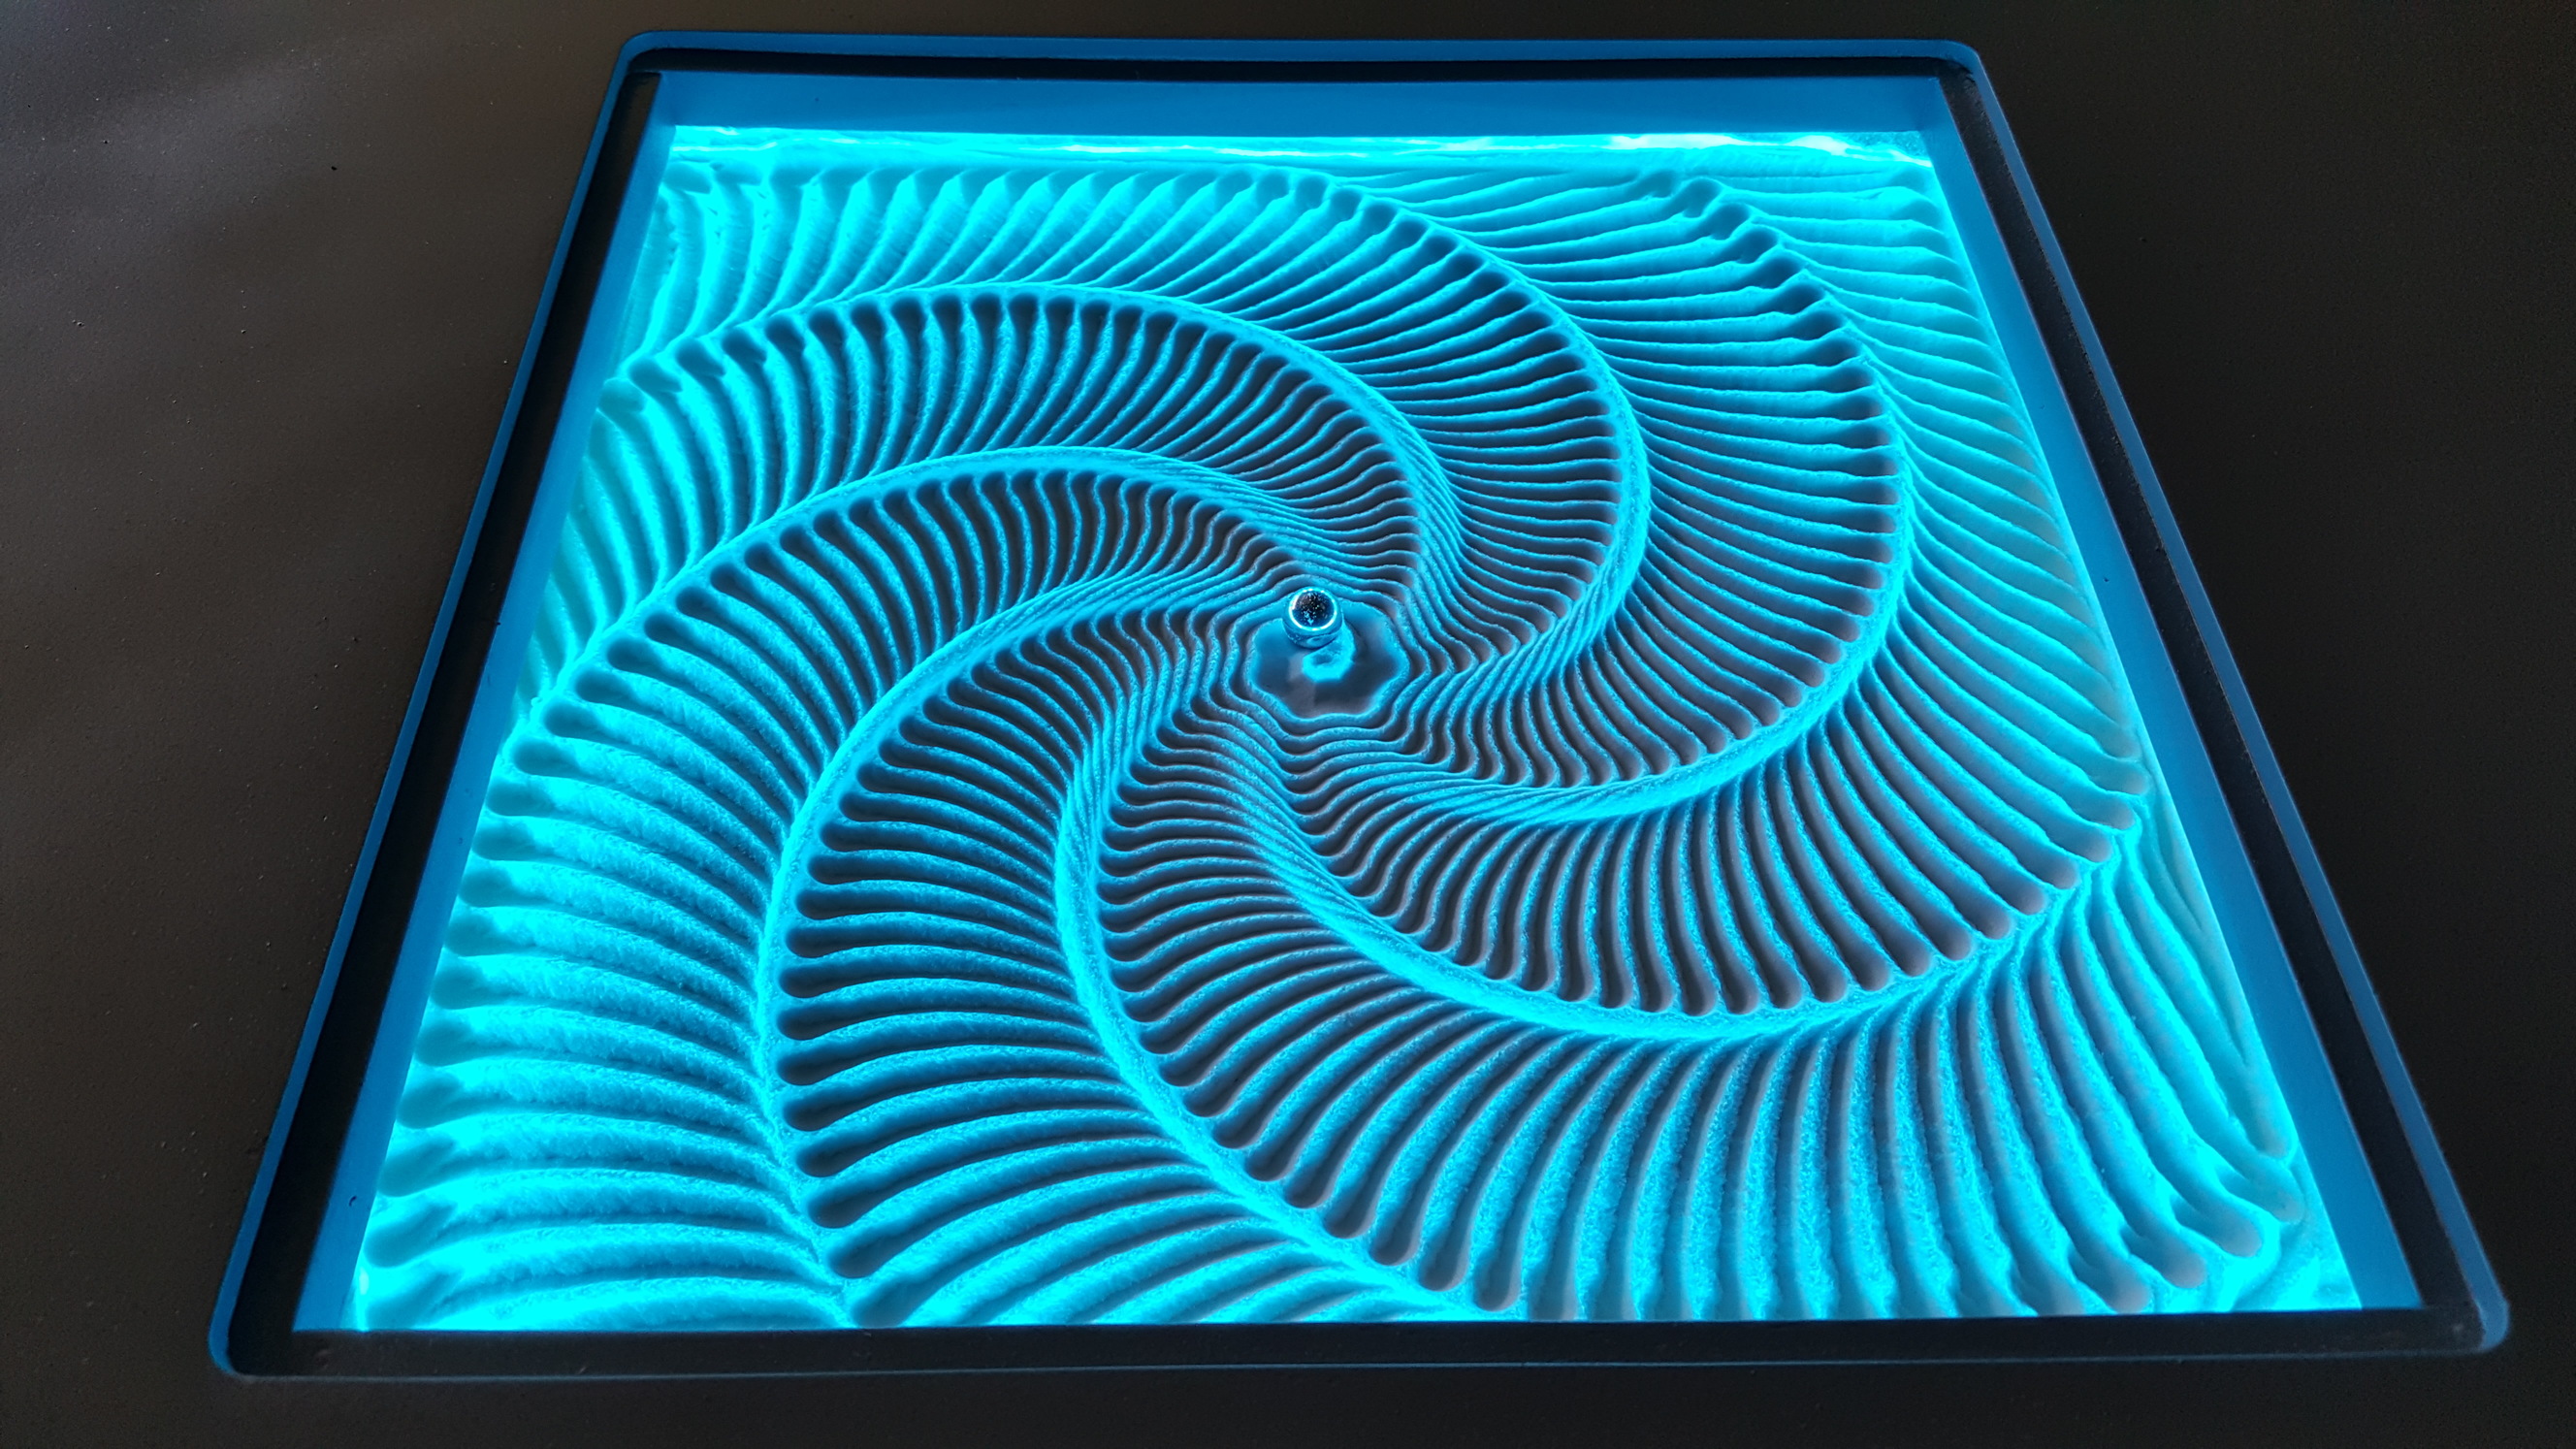
So I finally finished the end table. Turned out to be 280x280mm and I switched to an 11mm ball. In order to make it kid/cat friendly, I ended up adding hard board to 3 sides and left the back open but against the wall. I decided to modify a printed LCD mount so that it could swing out from behind the table for control. Eventually I will add a rasp pi for control.
So after running the table for a day, I have more questions…
How is the default Marlin firmware determining speed? The Sandify gcode does not have a speed. Since my table is pretty small, most of the time the default speed is fine, but sometimes it would be nice to speed it up a little.
My wife thinks the table is too loud so I have been trying to read up on the various TMC drivers available. What driver would be the easiest way to get Stealthchop and be compatible with the Ramps board? Can I just buy TMC2208 or TMC2209 and drop them in, adjusting the Vref on the pot?
I always add something like G1 F2000 to the starting gcode. It will just keep whatever the previous speed is. There is also a flow rate setting in the lcd to affect that 2000. That is mm/min, or about 35mm/s.
You can get tmc 2130 in standalone mode, and they are quieter, but they need to be adjusted by the trim pot. I’m not sure how to enable stealth chop. I have a grbl_esp32 board from Bart Dring that supports the spi version of the tms2130s. It is the perfect zxy board, IMO.
Ok, thanks. I will use that to adjust the speed if needed. As for the drivers, your tmc2130 are likely already doing stealthchop mode if they are running quiet. I am going to go ahead and try some tmc2208 since I found a tutorial on how to run them in legacy mode.
I used both the rubber/steel mounts for the steppers and those inline gizmos that make the steppers quieter, but that was back when we were still only using DRV8825s. I’m pretty sure I talked about both changes here, sometime in the last three years.