Looks like a lot of my fellow texans are jumping on the primo so I have to start my own thread. Can’t be left out like that.
Main goal other than just upgrading is doing a better job on cable management and a better job documenting what I’ve done differently. Mostly with probing. I modified my routers ages ago so I don’t have to alligator clip the bits for easy Z homing and probing (Z and G38.2 X/Y). I see questions about that pop up on the forum sometimes but never get mine documented. Hopefully I’ll take the time to do that during the rebuild.
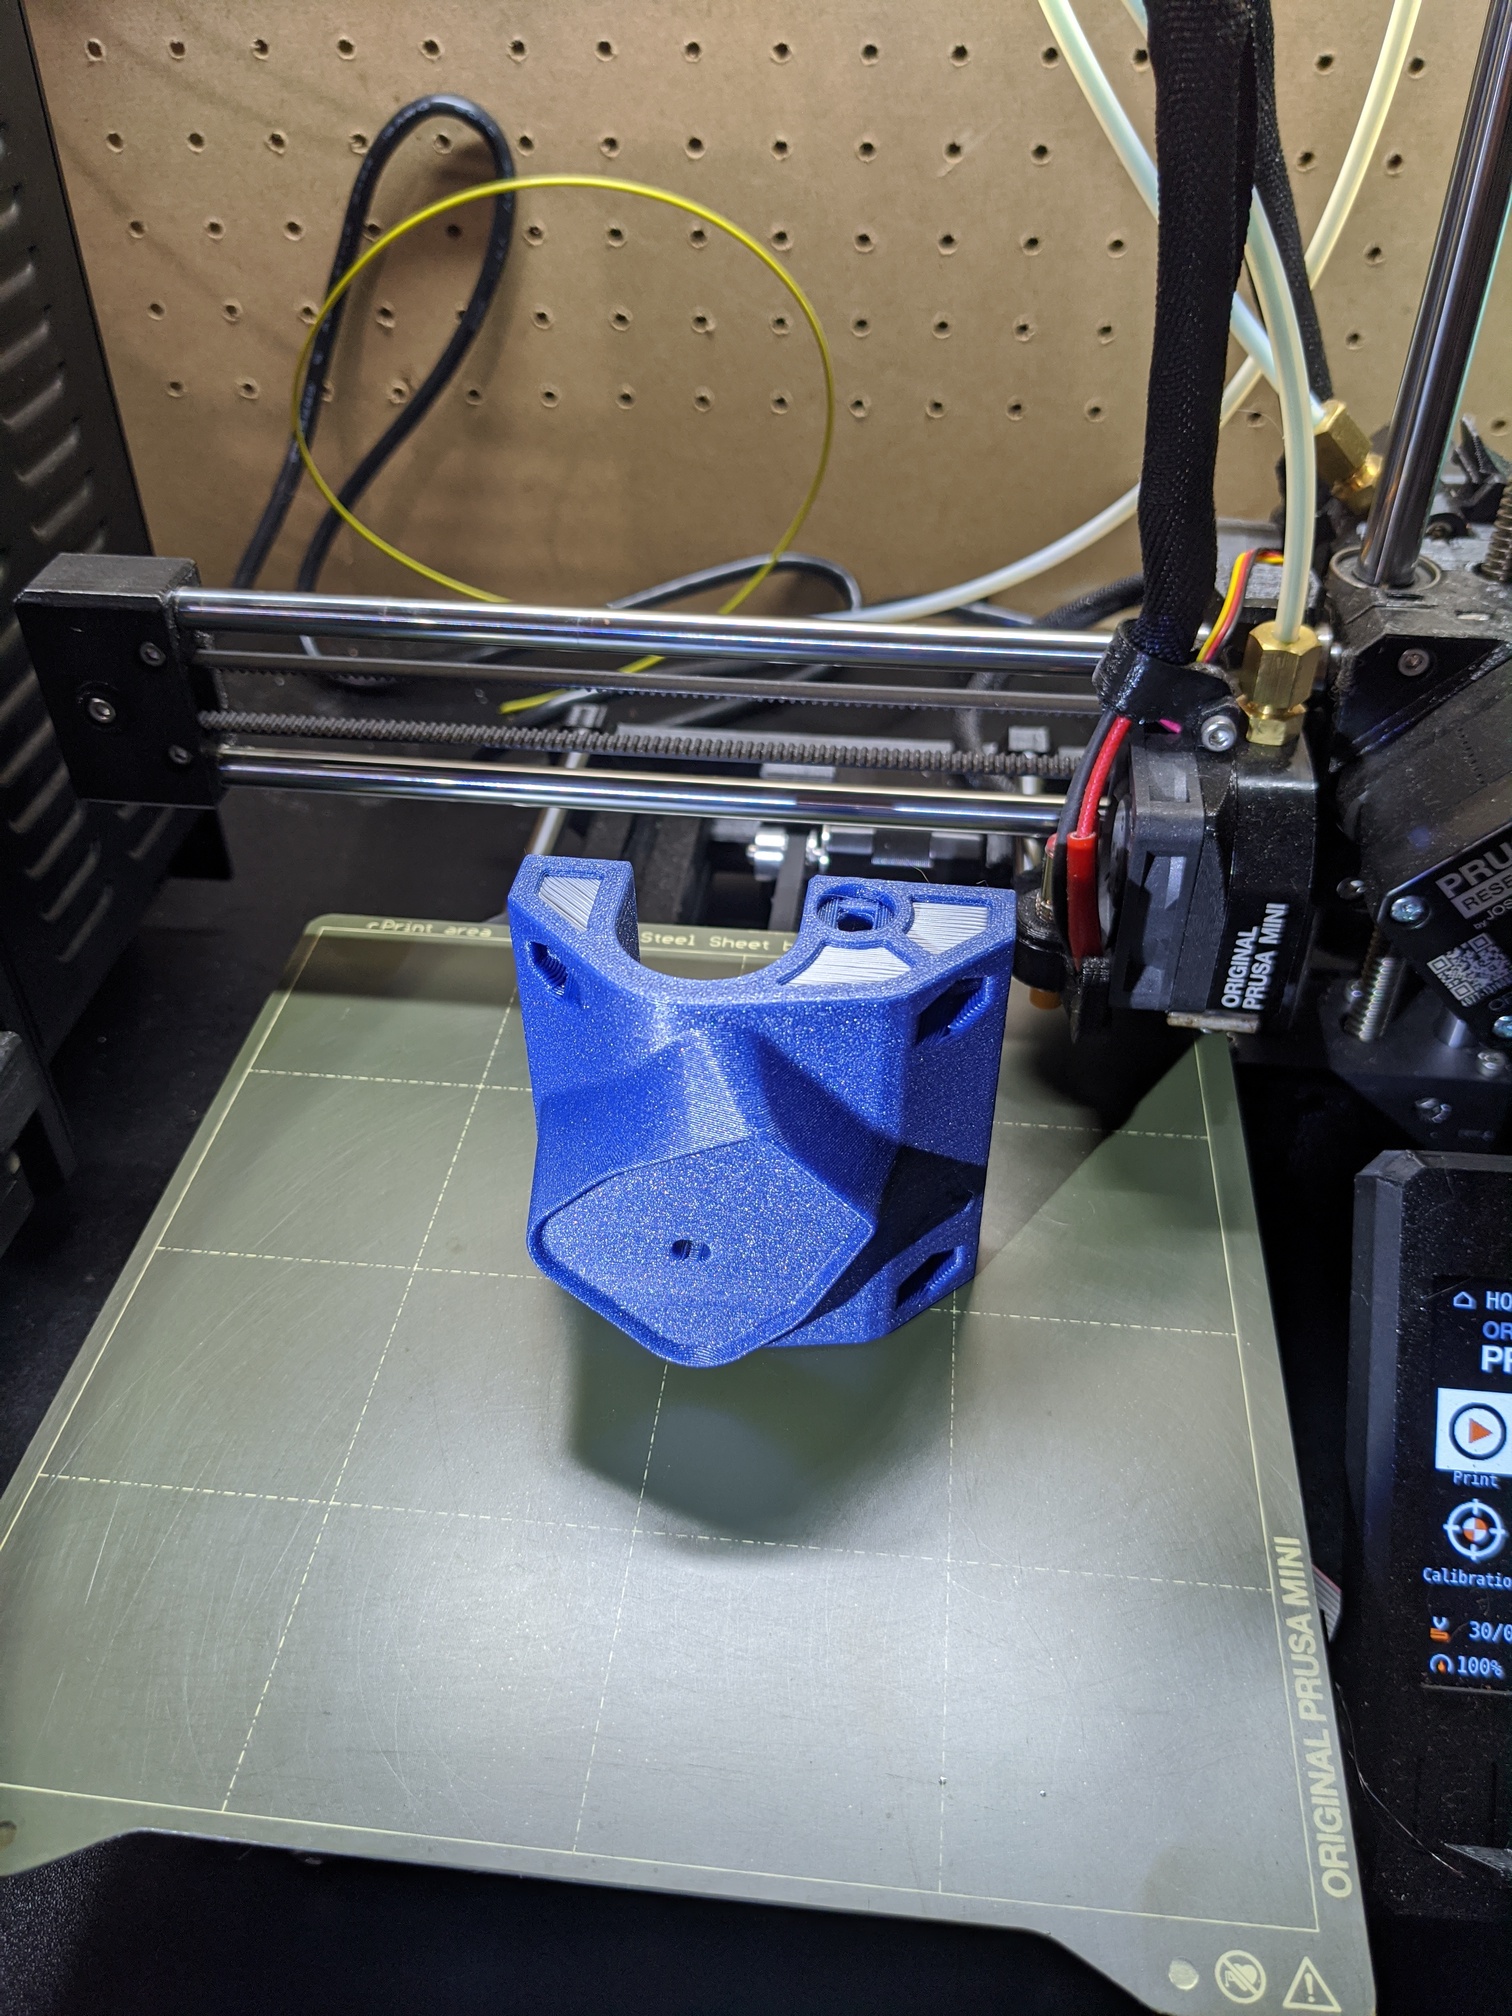
Doing one in Black/Red, and one in Blue/Silver. I’m going to mmuify some of the parts just because they look like they’re meant for it. I’m waiting on my red but I did a blue/silver part just to see if I’d like it and I’m rolling with it.
The plan was to do at least one something different than black/red (one of my favorite color combinations). Dang I love that red though. The blue/silver might get dropped and both might get these colors.
probably less than you’d think, its mostly hollow other than at the layers where it changes color. When I get home I’ll open it in slicer again and give an exact number.
I’ll hopefully go home to a completed and flawless core too!
Looks like the purge tower totaled around 17.5 grams. And that’d be the same if I printed two at the same time. I was being cautious at first, worried about failed prints. The next two I’m printing together.
They can be an extraordinary pain to get dialed in and reliable. Once they are though they work very well. I’ve gone a few months since the last time I had to intercept a mmu related failure.
When they do act up though, ugh.
I think they’re worth it if you’re patient. They’re not as bulletproof as the trusty mk3s itself is.
Well darn, had a print failure on the blue core. A clog or something that acts like a clog. It got far enough that now I’m stuck changing colors or ordering more filament
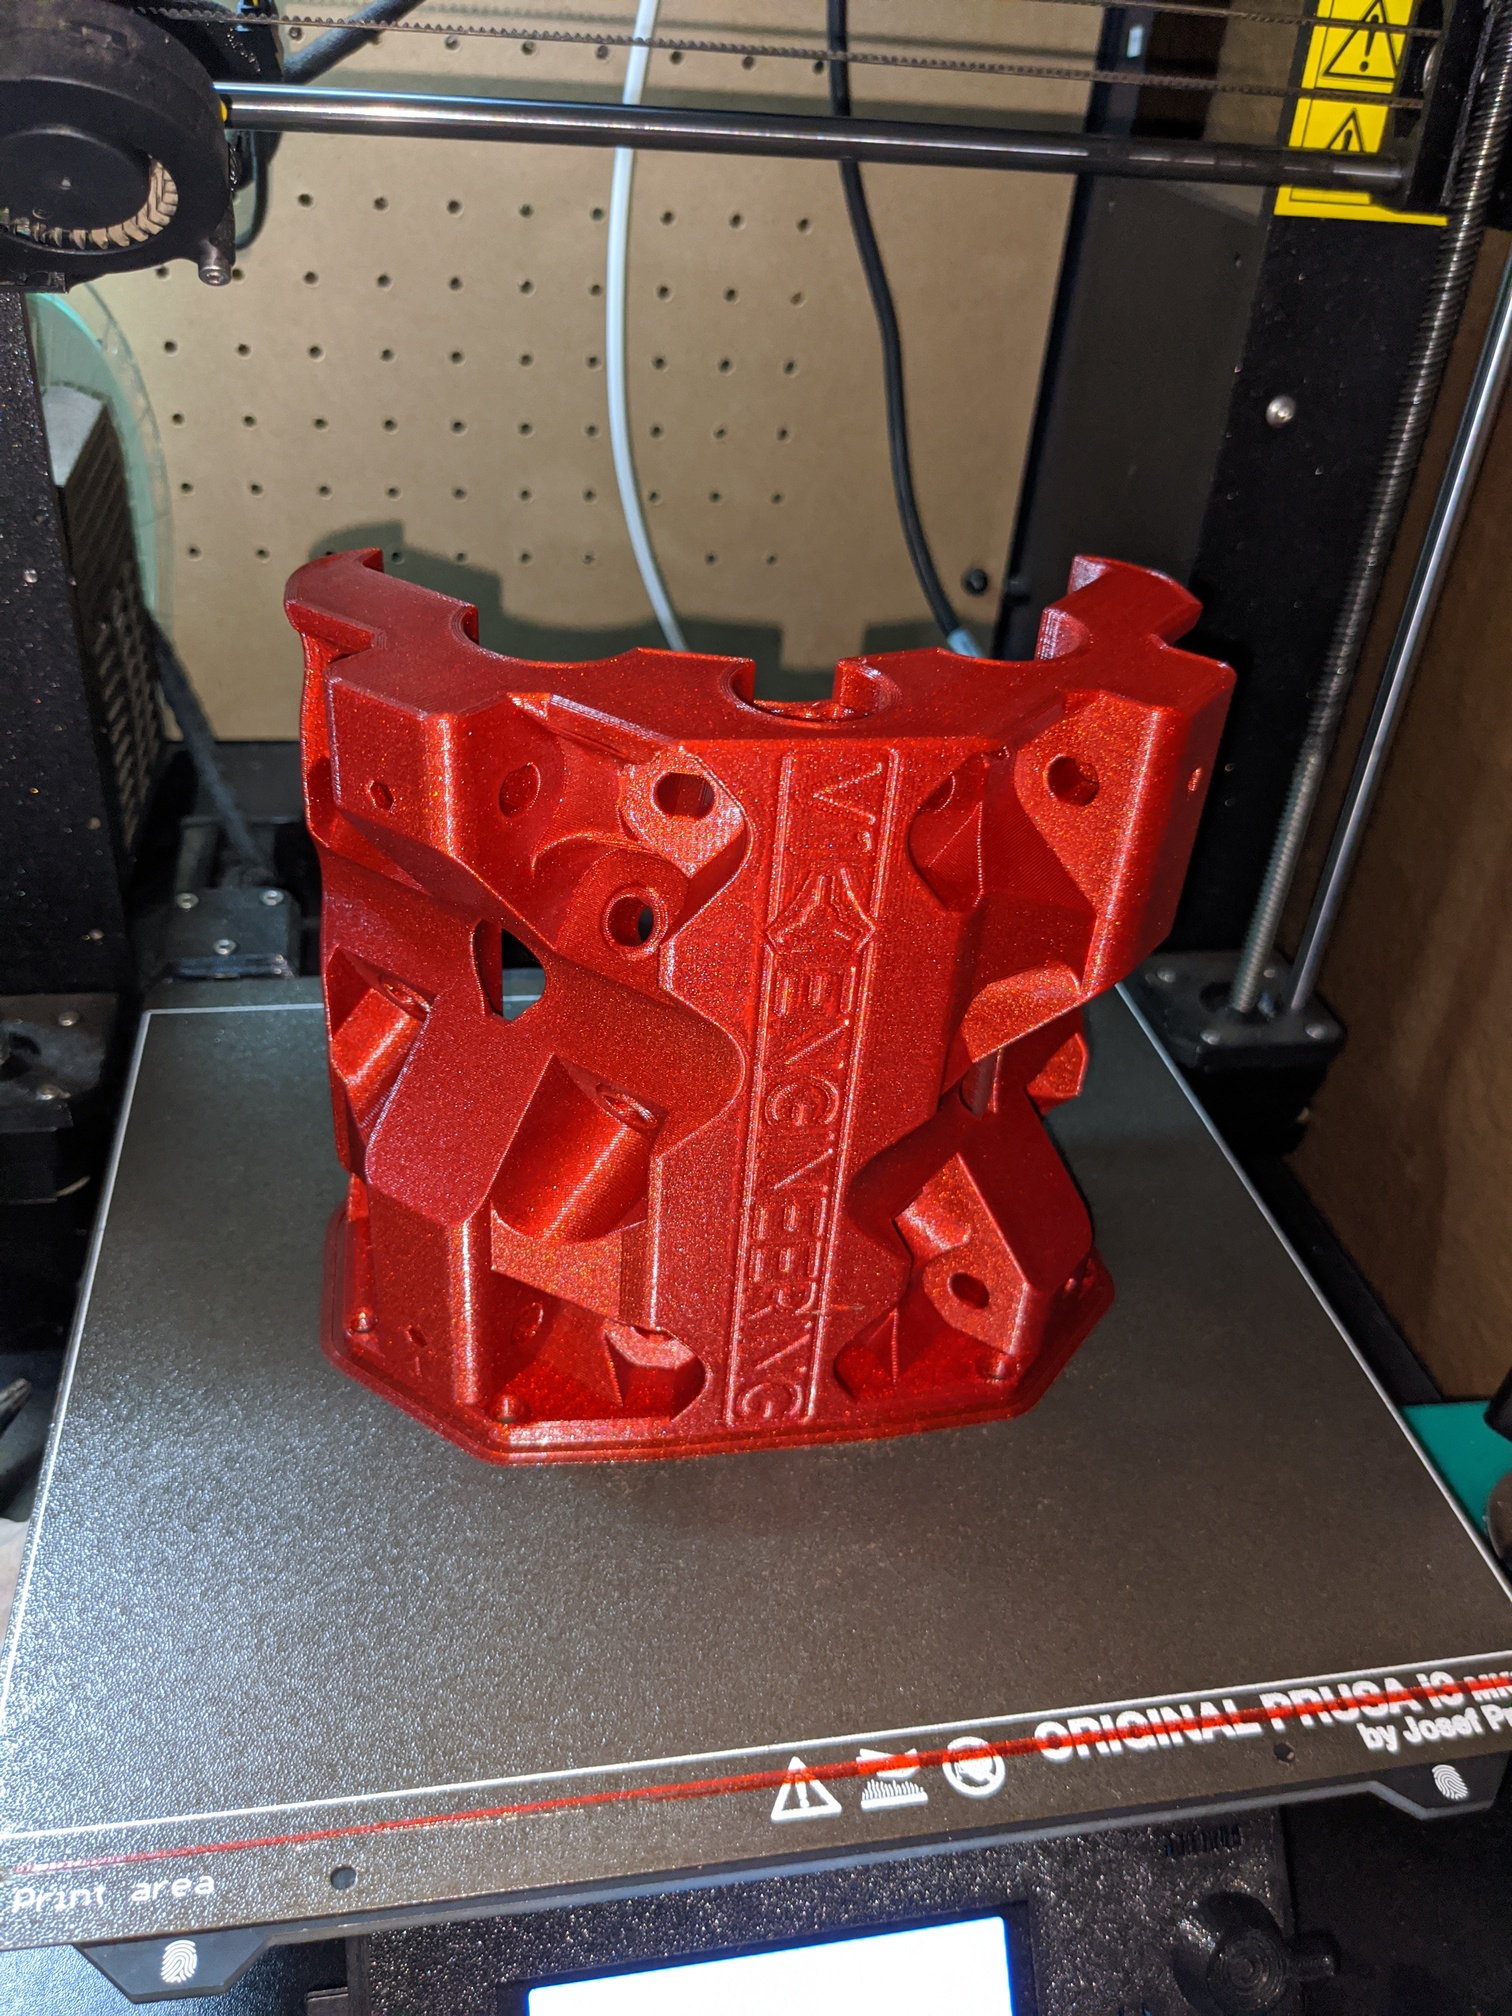
That is a beauty!!! what filament did you use?
I Print a lot with CF PLA, not because it is “supposably” strong, but for the look and this Red looks like has the texture of it.
I haven’t tried CF-PLA but I do a lot of CF-PC. At first to check out the strength, but then because the looks. The surface appearance is just awesome.
https://www.amazon.com/gp/product/B07YZ14DDV is the red. I can’t really give any opinions on that brand beyond the two rolls I bought (an extra just in case) specifically for this. I was just browsing amazon for reds and took a chance. Great so far! The flash in the pics might be making it look brighter than it is. It’s like a deep blood red with sparkles.
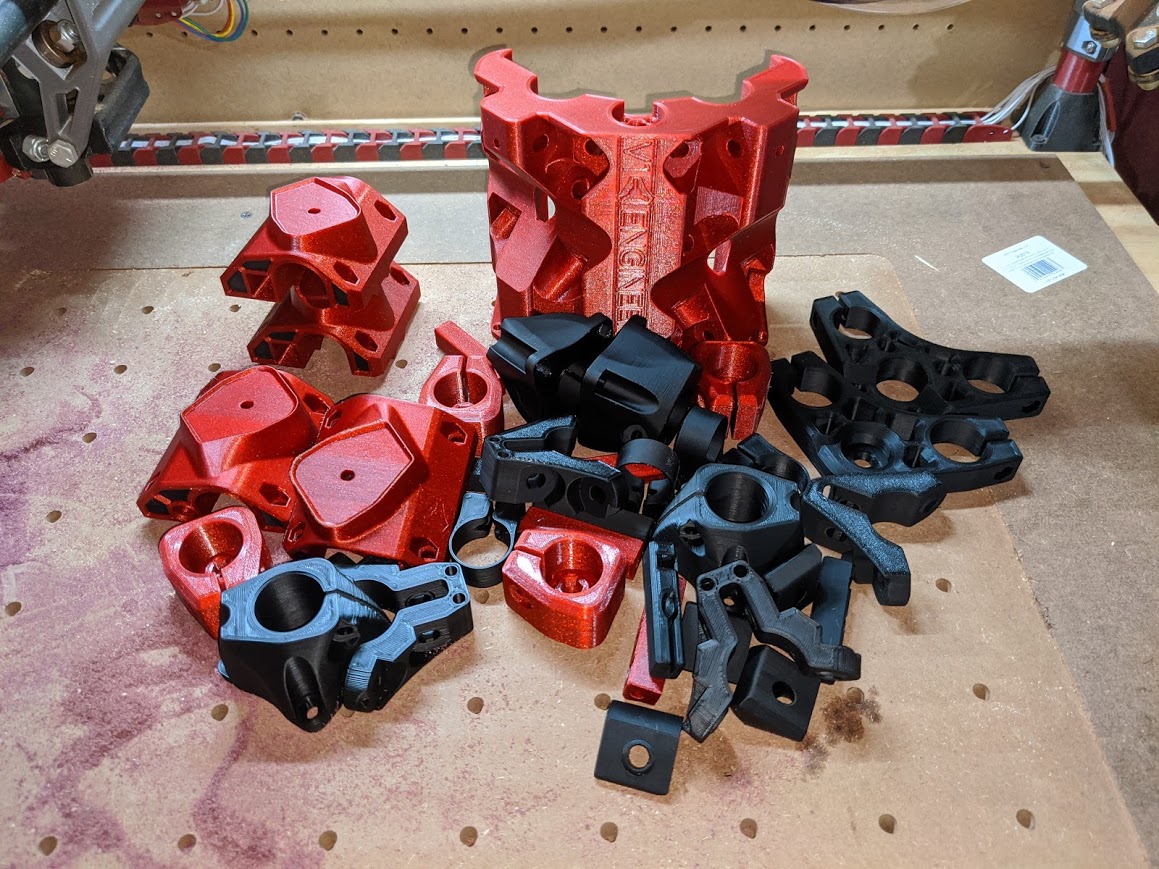
The rest of the colors are all filament one. traffic black with the red, then their glint blue and silk silver for the other mpcnc if i continue with that scheme.
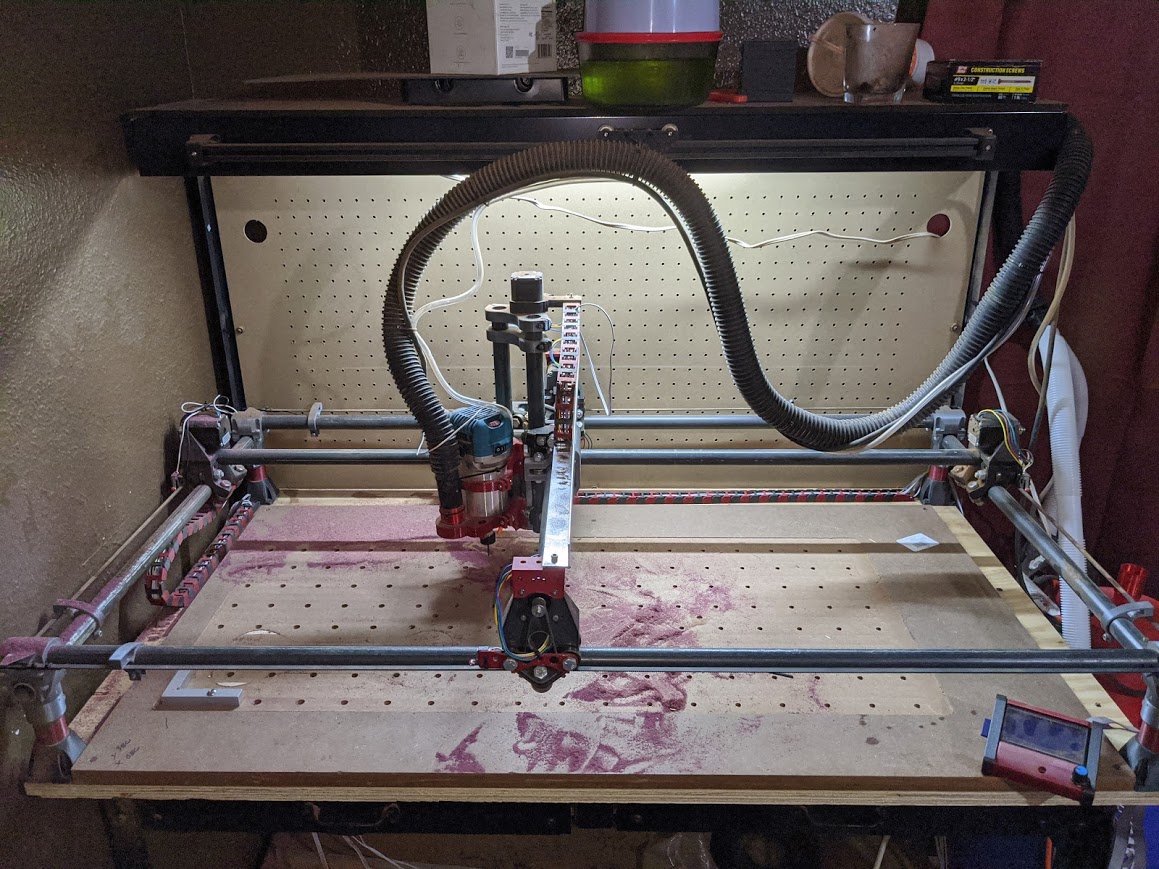
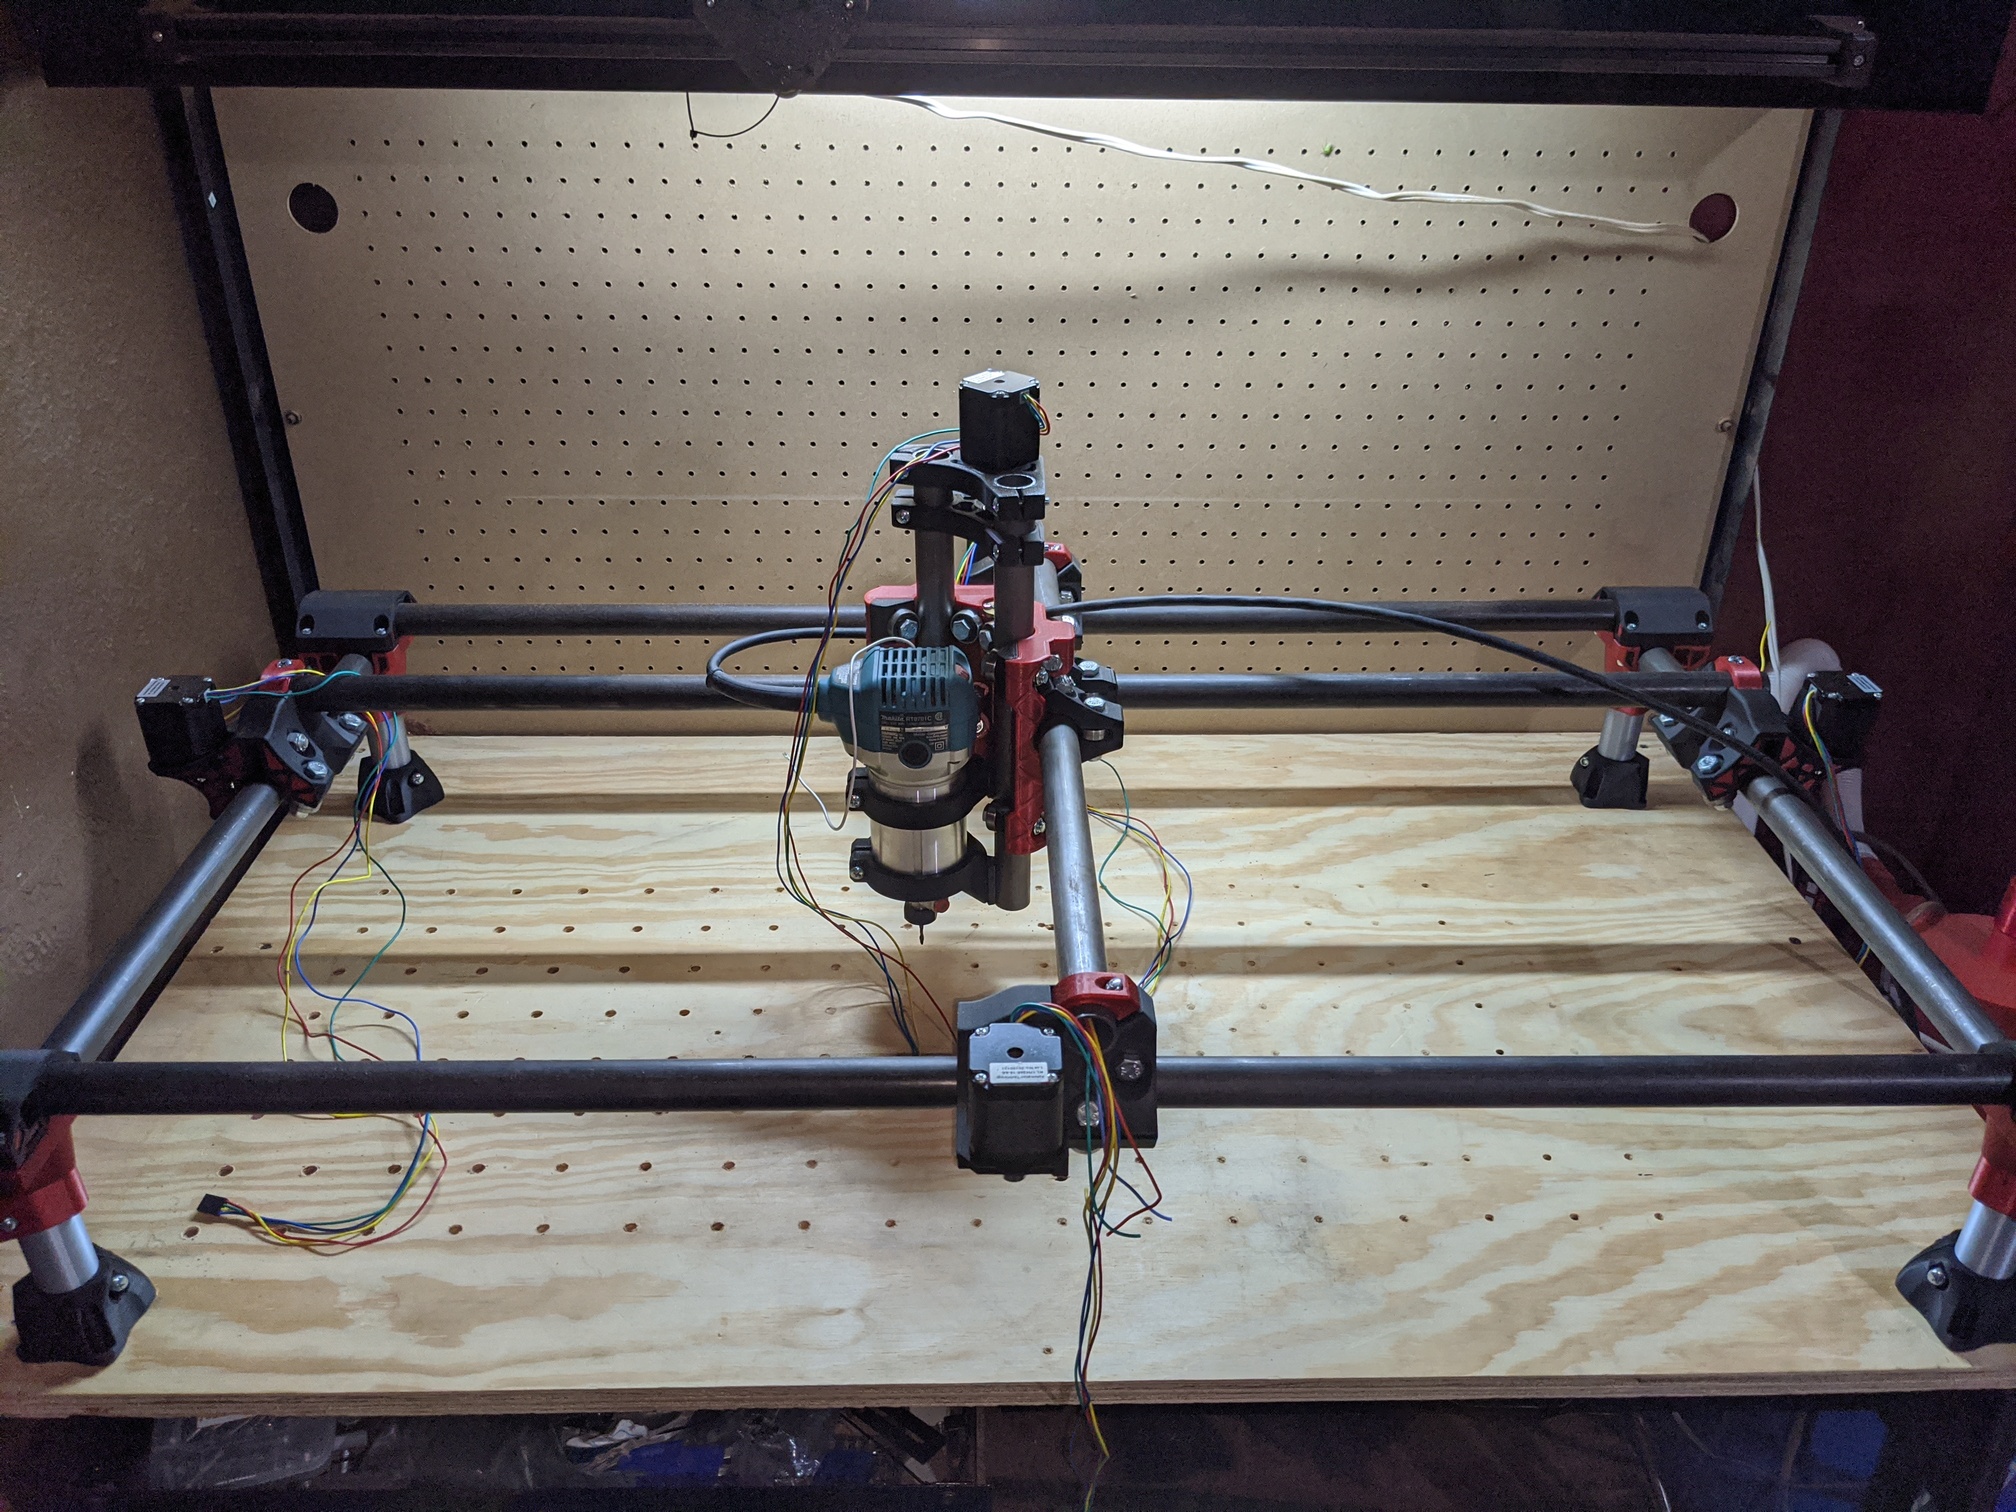
I’ve been taking my sweet time on it but I’ve finally made some progress. I bounced around a bit on the order/directions to make sure I had the measurements right with the tubing.
I can already feel the difference this far in to the build. The burly always felt fairly wobbly until the belts were on and steppers came to life. This thing felt rock solid as soon as the trucks and rods were secured in. Awesome upgrade Ryan!