Nice job!
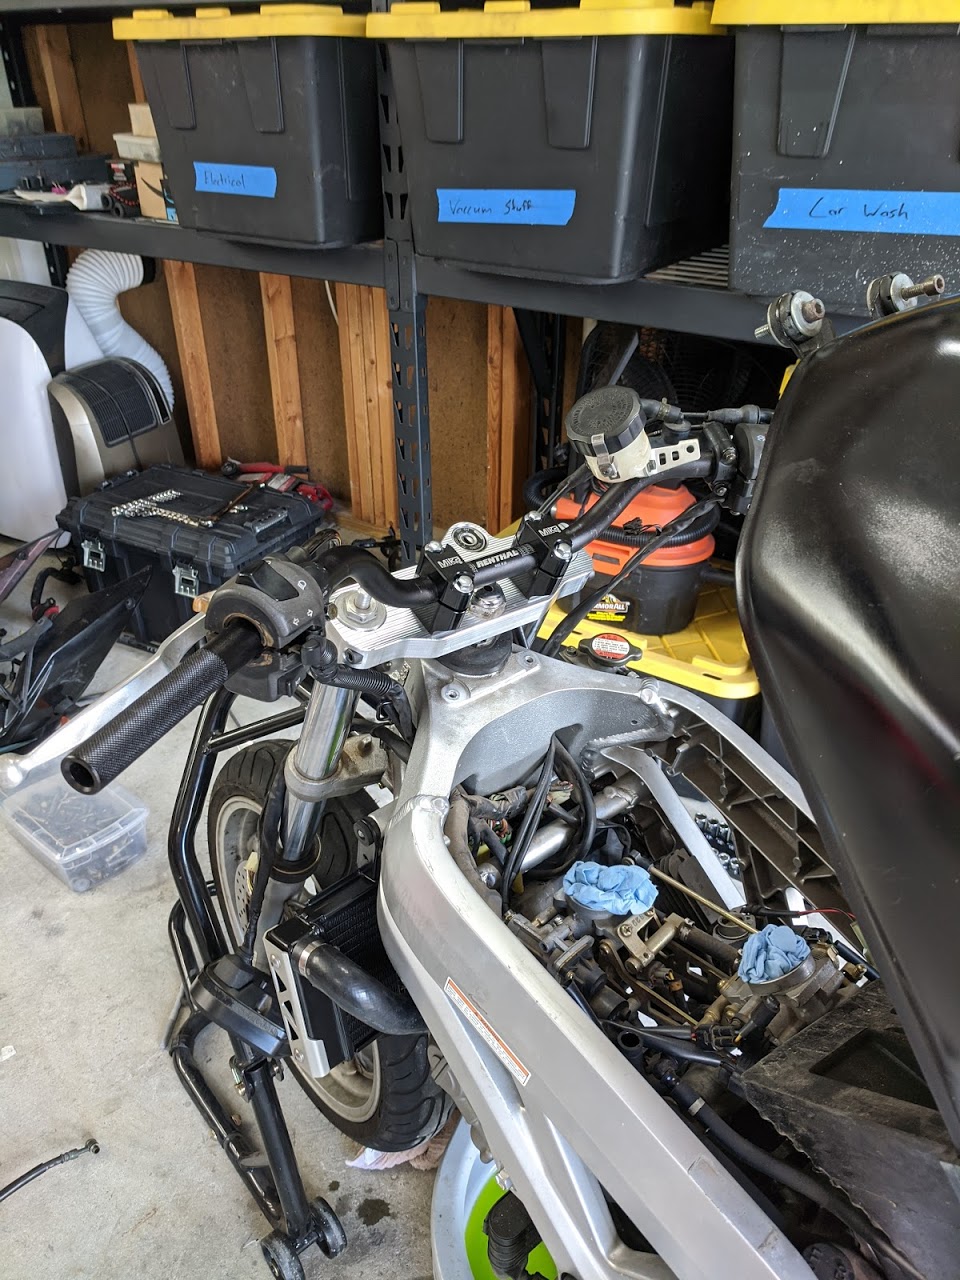
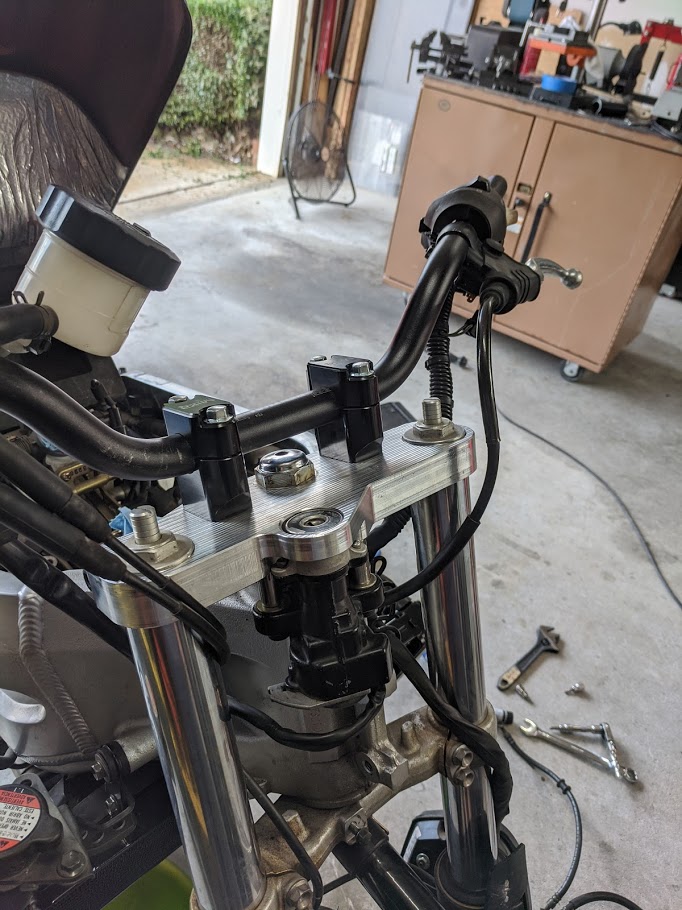
Some more progress.
Pre-drilled the holes for a M8x1.25 tap. Counter bored for the head of the screw with a forstner bit.

Marked the clamps for slitting on the bandsaw.
Haven’t shown a picture of this yet. Indicating the part to be parallel with the x-axis again for one last round of cnc operations. I hook up a multi-meter in “continuity check” mode to both my probe and work piece. I can then manually move the machine to touch off of the part at different locations.
Start by eye-balling the work piece in as closely as possible and snug up whatever you’re using to hold the part to the table. Then use repetier to lightly jog into the part at opposite X axis extremes. If the part is indicated properly the Y readings that are shown when the meter beeps should be equal. I usually have to jog back and forth 3-4 times while tapping the part with a mallet to get it indicated properly.
A proper CNC mill would usually use an indicator or haimer-like device for this purpose. We struggle to do this because most build have a low Z height to maximize rigidity.
Last CNC operation. This had to come last. I would have had a very difficult time drilling these hole on a round. Video is long, loud, and uncut. (Too lazy to edit ![]() )
)

Cutting myself a jig to hold the part during slitting. I would have had a heck of a time squaring up this cut otherwise.
Opened up one side of the hole for clearance and tapped the opposite side. Plenty of oil, backing the tap all of the way out, and blowing the chips out. Would be a shame to mess up these threads!
Success!
Bonus: part rings in at right at a 515hz tuning fork mark. Just as planned!

More to come!
11 Likes
What an amazing part. This has to be a all time top 5 MPCNC project.
5 Likes
Looks great! I have done that alignment dance too. It can help to mount a vise completely parallel. Also you can configure probing and use G38.2 to probe until there is electrical contact instead of jogging although with thinner pieces the tip of a mill is not round enough and I have to use a rod.
For sure! Once I had the part attached parallel to the x axis I used g38 support and a center finding routine to locate the part. Using a vise would have made this much easier as I would have only had to square the vise to the machine once. I ended up ditching the vise idea though - I didn’t have enough Z travel for both a vise and the part.
Speaking of g38… Might be worth adding g38 support to your firmwares on github, @vicious1. I’ve noticed a number of threads where people need to be walked though getting it set up.
1 Like
Beautiful work, kudos!
Nicely done !