Hi people,
Just want to share my build of the MPCNC. this morning I produced the first drawing with the test-crow gcode. Basic components are the default values coming from the calculator for the dimensions. I have RAMPS 1.6 with an Arduino Mega 256 clone as controller with the firmware for serial stepper motor configuration without end stops
.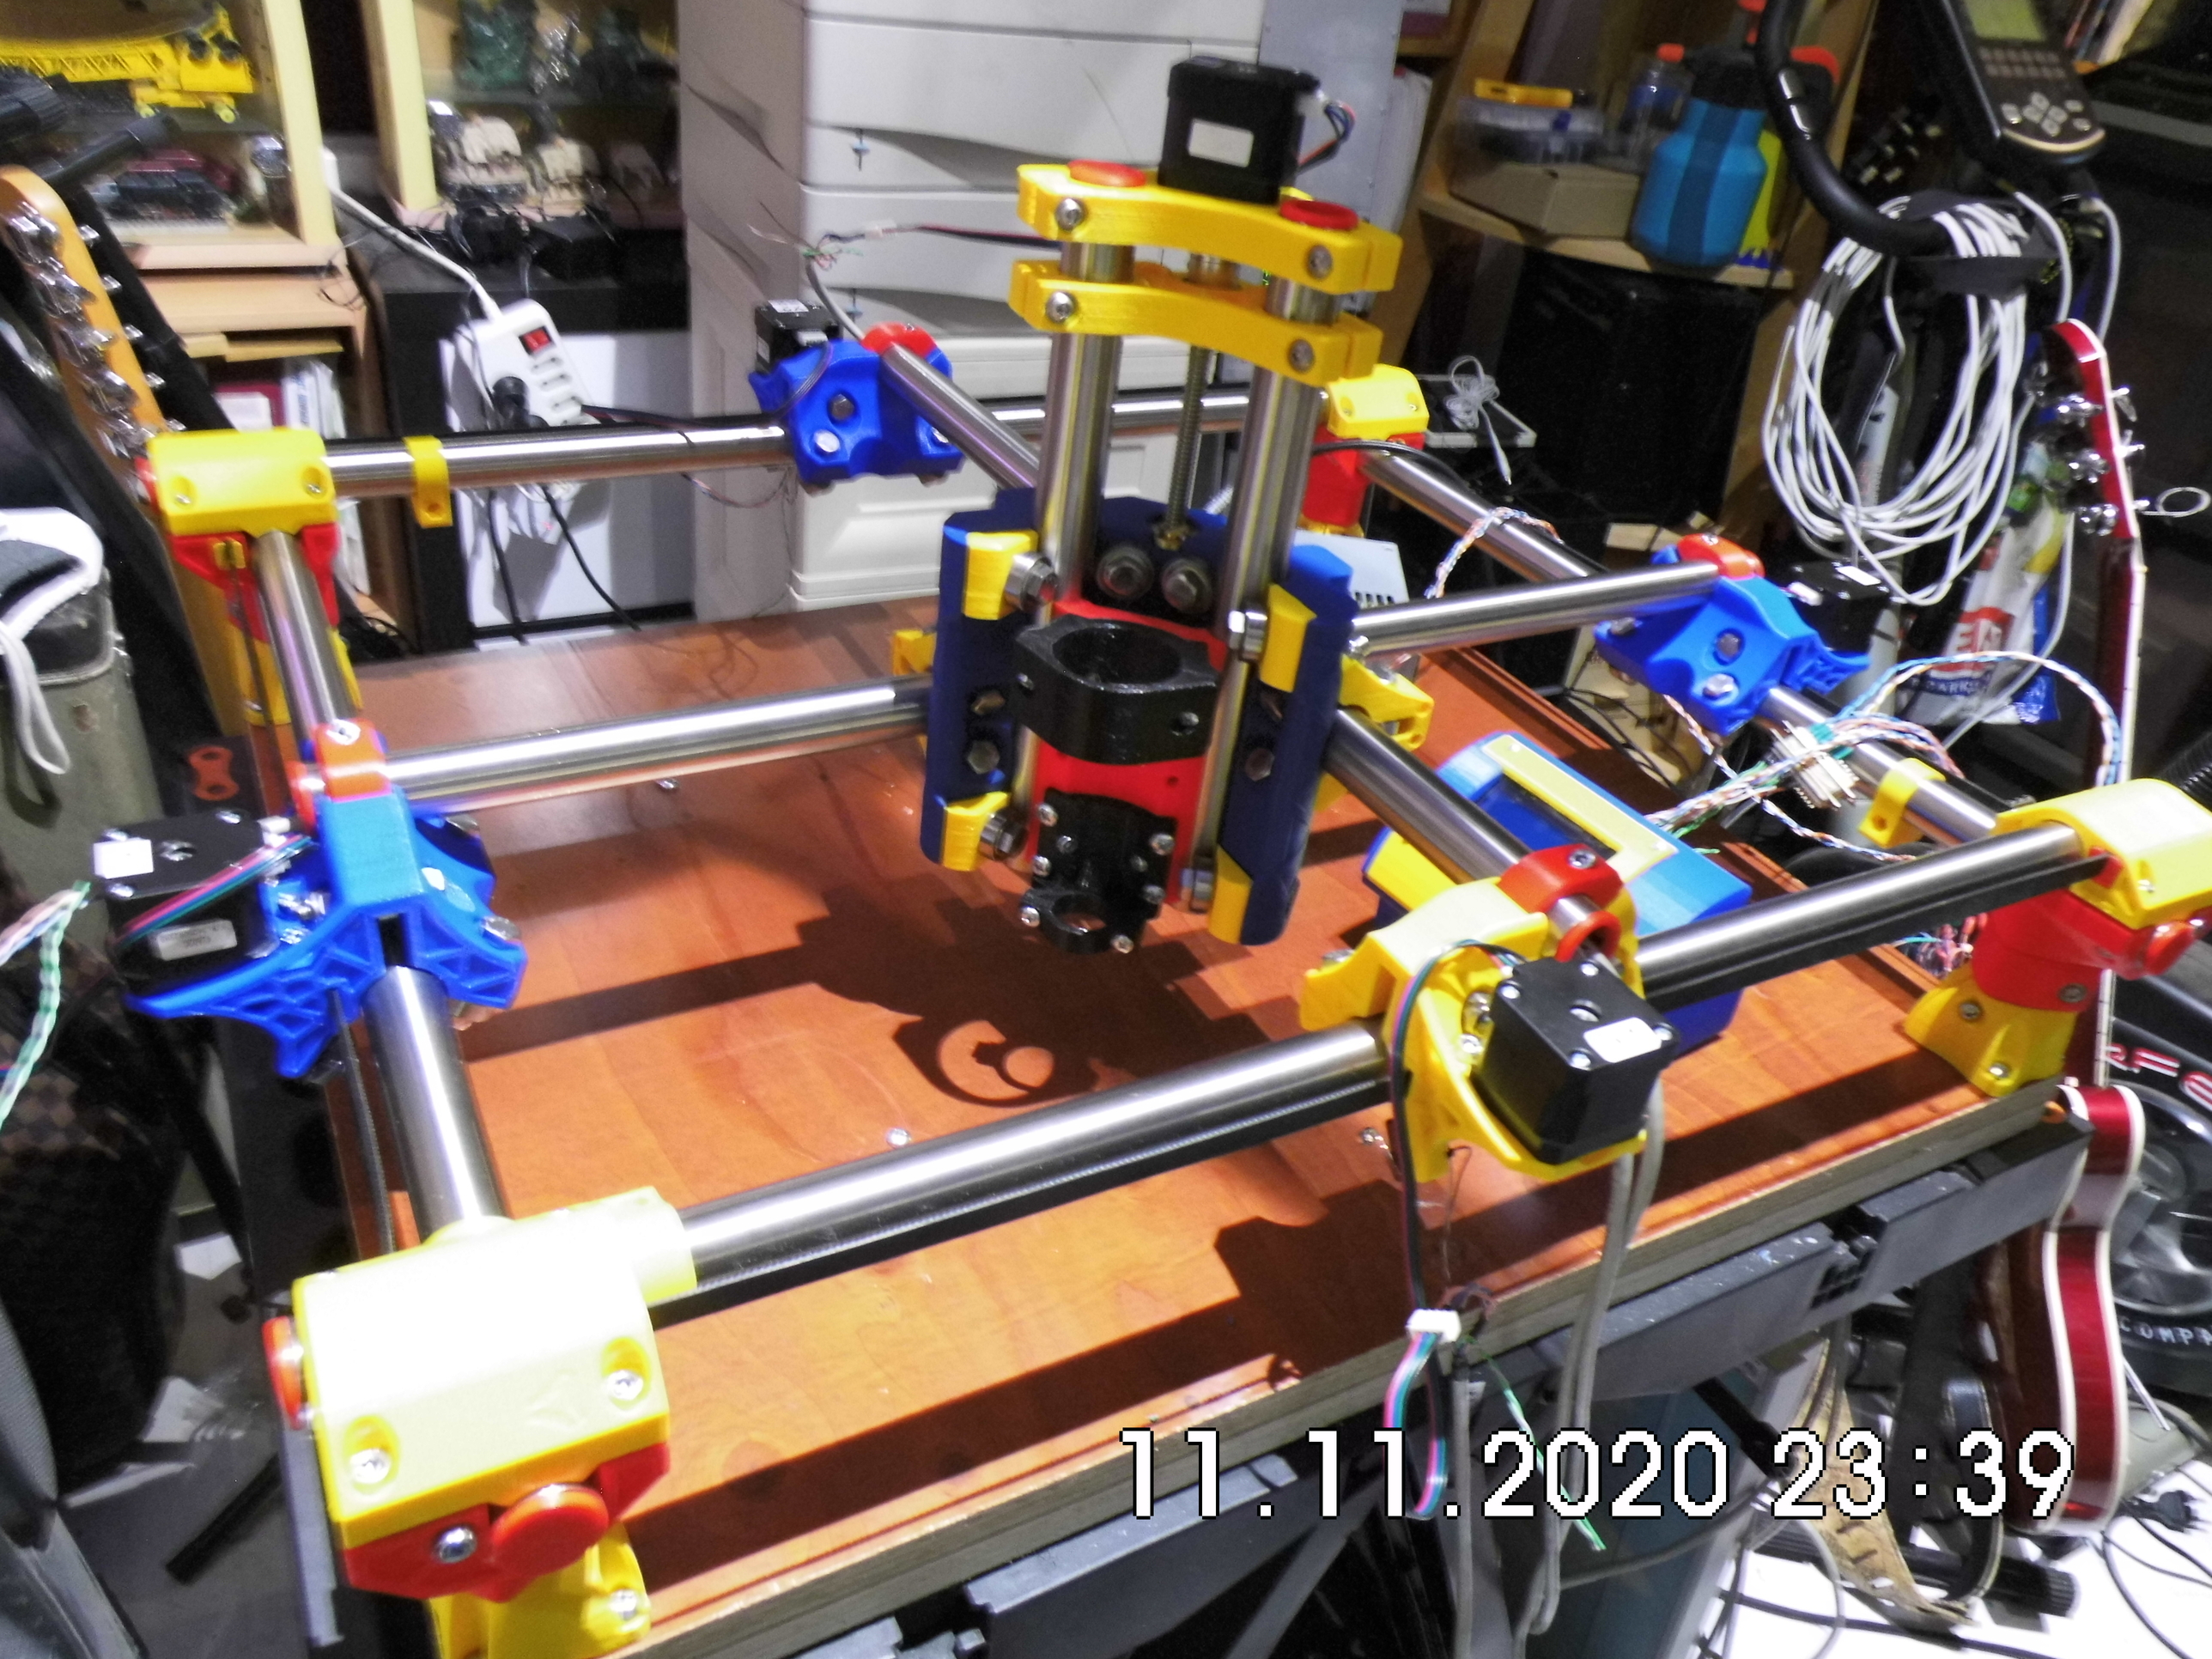
I printed most components myself on a Velleman 3D Vertex machine, except for the core that I bought from V1Engineering. The screws and nuts were bought in the Netherlands from a webshop. The pipes are RVS 1" version cut to length by the shop that I ordered them from. The base consists of two multiplex boards, that are glued together, again cut to size by a local store for free. The other components came from China. Only one item went wrong, due to my mistake, I ordered a lead screw with 2mm/revolution where I needed one with 8mm/revolution.
The wiring is completely unmanaged still, as I had some problems with shorts, opposite turn directions of X and Y steppers and reversed directions for X, Y and Z. Another problem I had was with the mounts. I first try to install the Burly mounts with the Primo nut catchers. That lead to a clash in trying to fit M5 bolds into an M4 hole and vice versa. I now have both mounts available the Burly mount with the Burly nut catchers and the Primo mount with the Primo nut catchers.
I also had some trouble with the core clamps, there is/was to much room between the pipe and the bearings. I’m not sure if it is OK, there is still a bit of wobble in the Y-axis clamps.
I have installed already the hardware and cabling for the version with end stops. The mount is for a Dremel machine but not yet installed, just running with a pencil for the moment.
By the way, the machine makes nice music when it runs.