This will be my first attempt at not only building but using a CNC. I am excited for the build process and even more excited that my 9year old and 8 year old have decided they would like to work with me hand in hand building the gantry. They have decided if they help build it the first project when I ever figure out what I am doing is to make them a CNC carved sign for their door that they design. I think I am looking forward to learning myself this process as well as being able to teach my kids as well. As for now saving up a few pennies to buy the parts kit and spending some time with my X1 Carbon knocking out all the 3d printed parts.
3 Likes
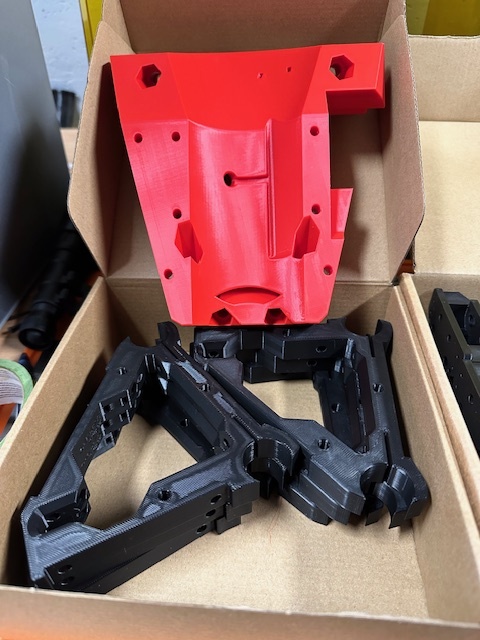
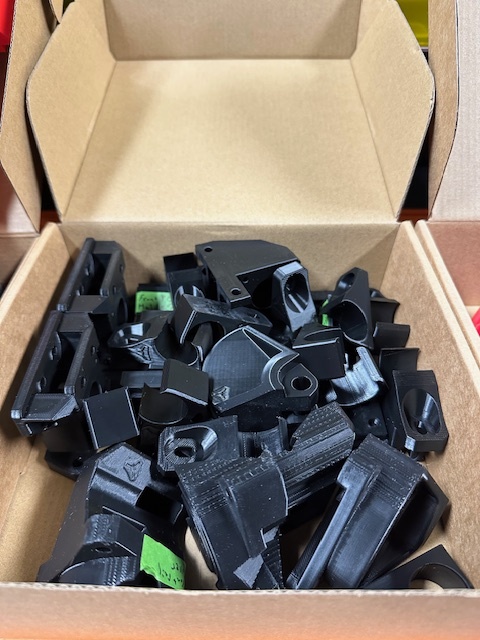
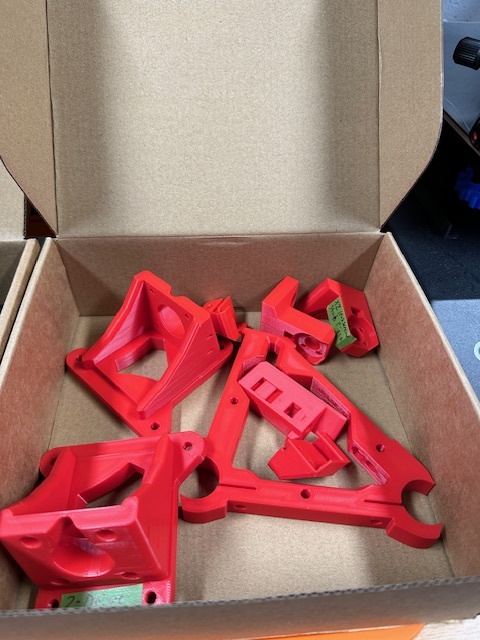
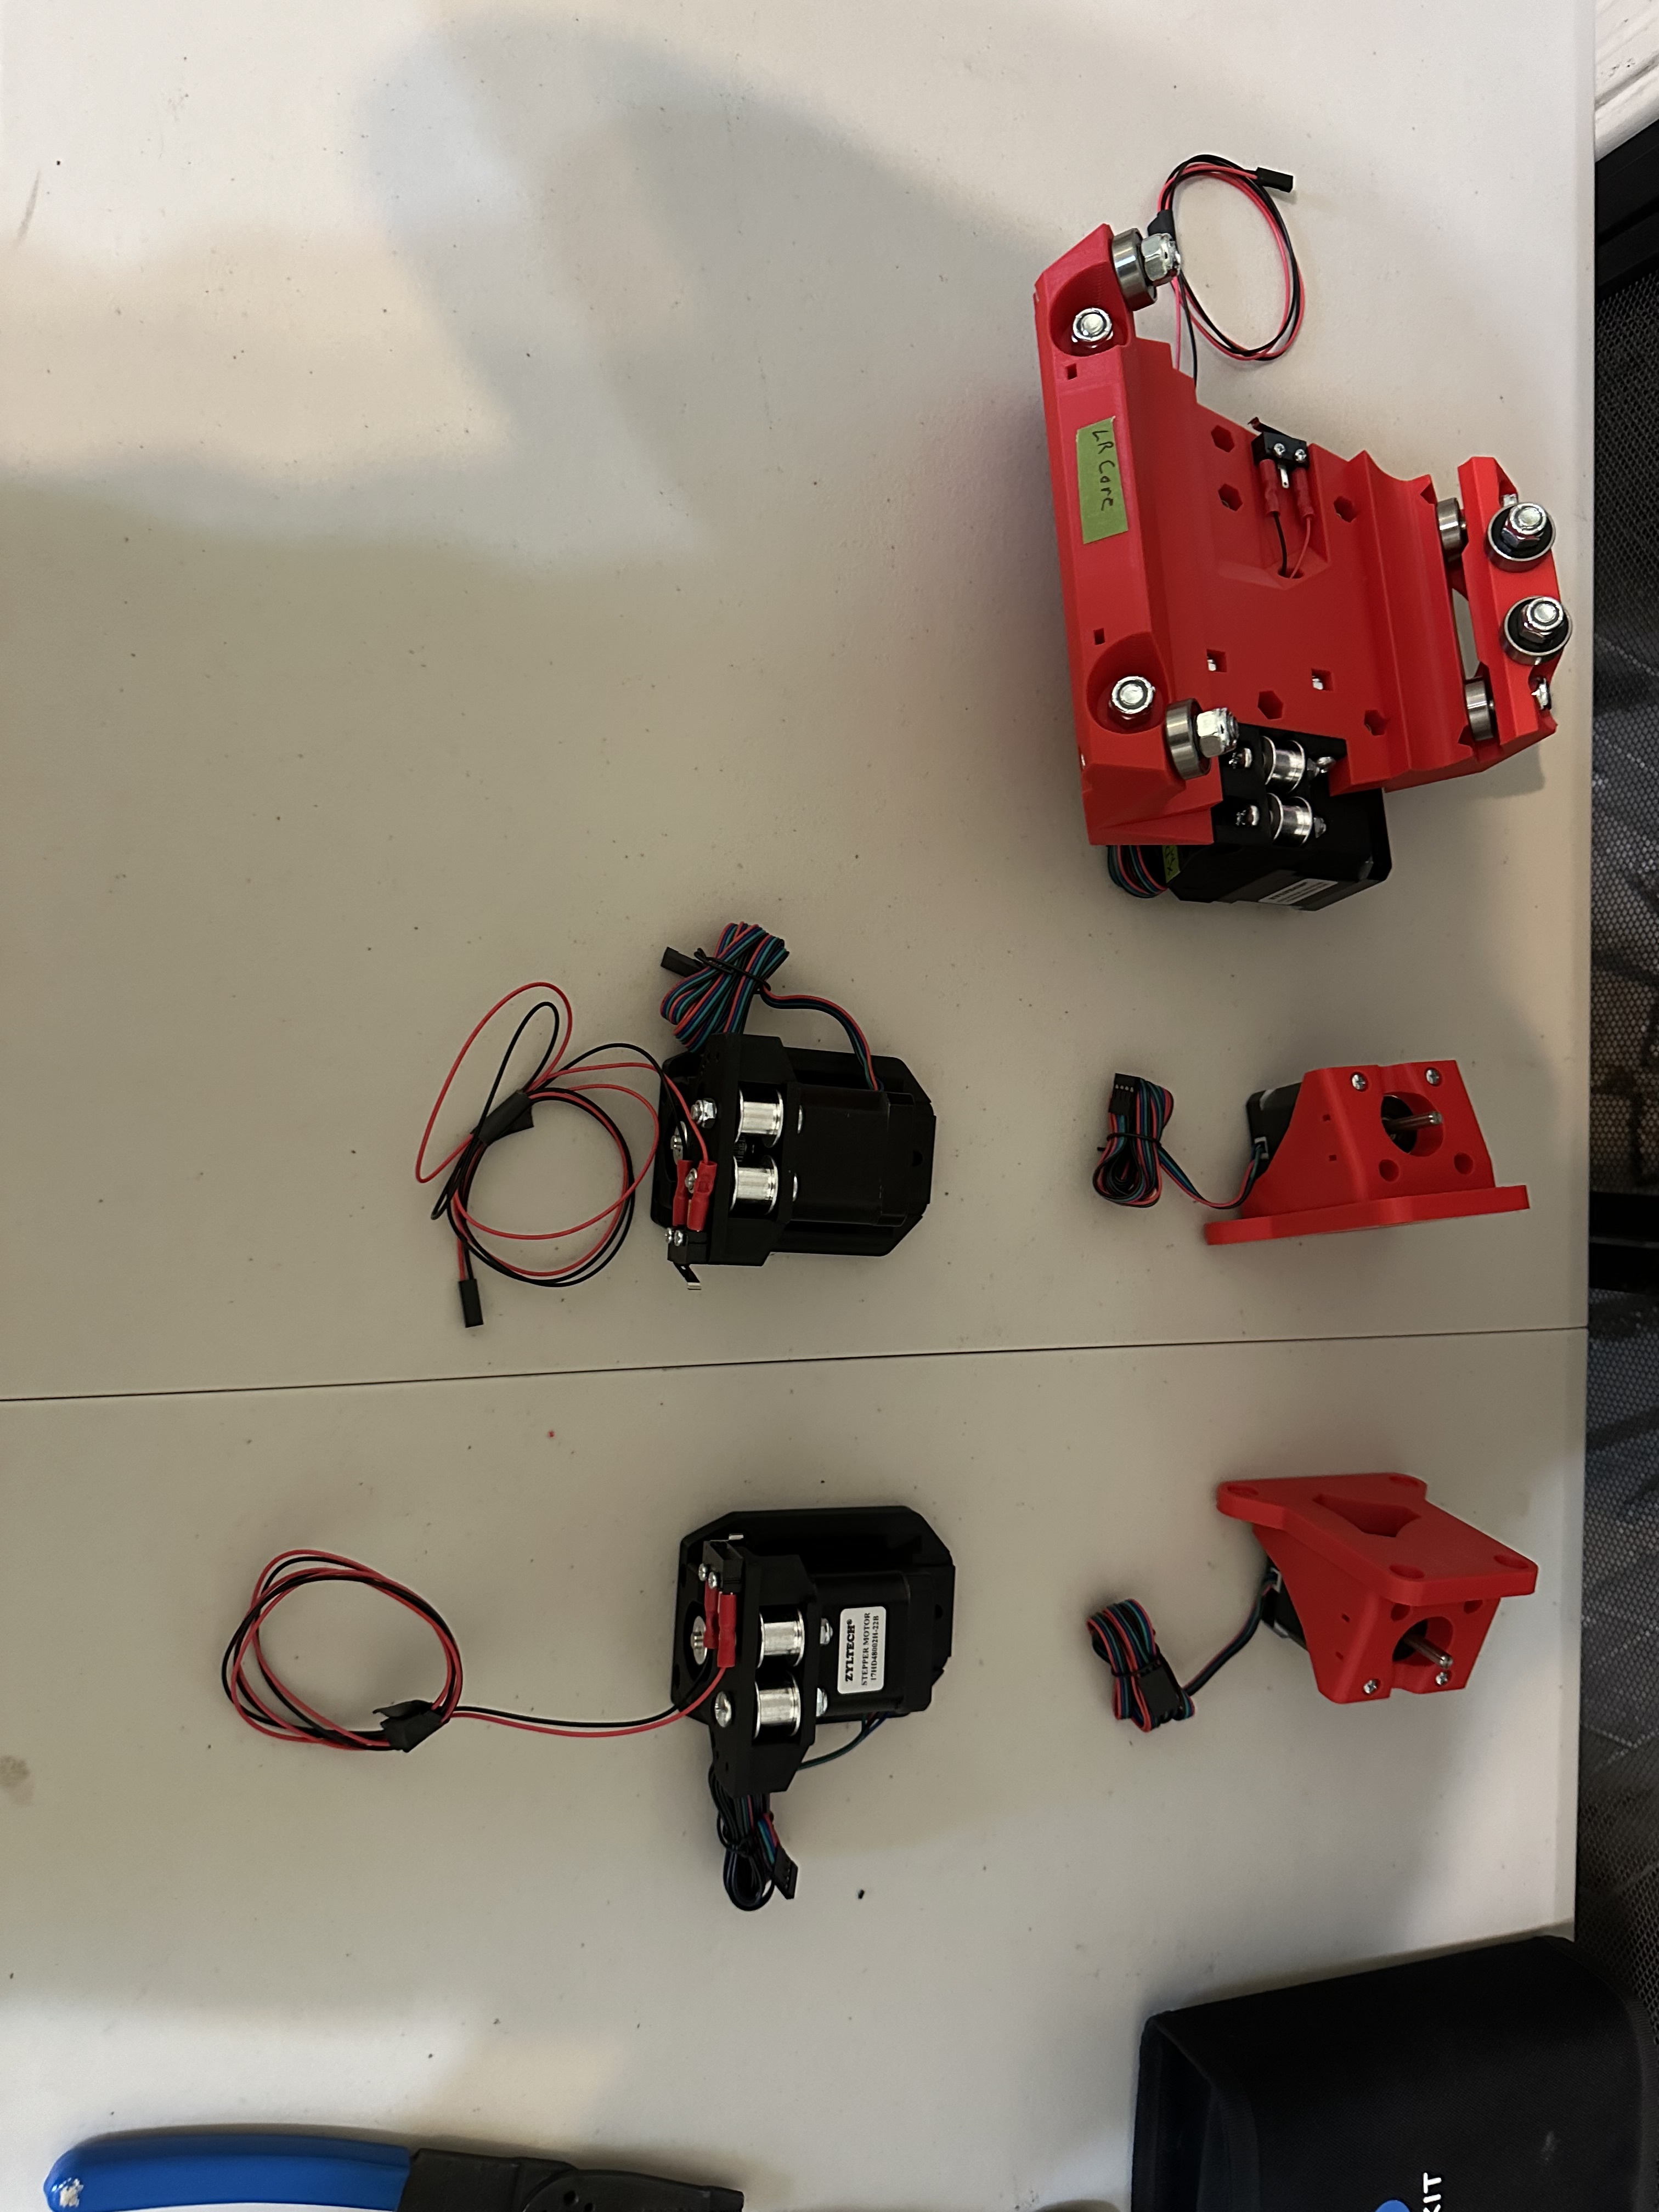
So far the printing is coming along nice. I like one more 50% brace(ran out of red of course) as well as the hose brackets and the case for the SKR Pro1.2 controller.
5 Likes
From someone who was in your position less than a year ago, best of luck , and enjoy the journey! Lots of helpful people and resources here to get you through and help you along.
2 Likes
Thank you I look forward to it. I have been looking at the community for a little while now and honestly I believe that is what leaned me towards this build knowing there are resources out there.
1 Like
Depending how big you’re going for you might not need all the braces - if you put your dimensions into the calculator page and download the svg file for the struts you can see exactly how many you need.
https://docs.v1e.com/lowrider/calculator/
Should be a great project with the kids, and their little fingers will be super useful getting the locknuts into place. ![]()
Have fun!
2 Likes
It’s awesome to have your kids with you on the journey! Congrats on the progress!
1 Like
I am doing the full sheet build 48x96 of useable cut space because my eventual plan is to use the cnc on rebuilding my kitchen cabinets. I am pretty sure it calls for 6 in the middle at 30% infill and 1 on each end at 50% infill for the braces for a total of 8. Is that the correct amount or am I miss reading the calculator.
Thank you so much they are getting excited which makes me ready to dive into it even more. Although my daughter saw the control board and said daddy you can do the shocking things lol.
1 Like
Yep, that looks right for the full sheet build!
1 Like
Thank you I appreciate that. Did not want to start off wrong before I really even started ![]()
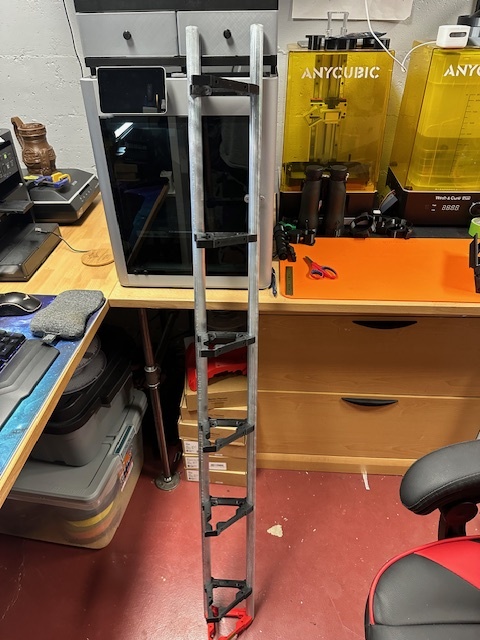
Little more progress tonight but ran out of filament to finish all prints. So decided to move on and get one step ahead in progress until more filament arrives and I am able to get the parts kit.
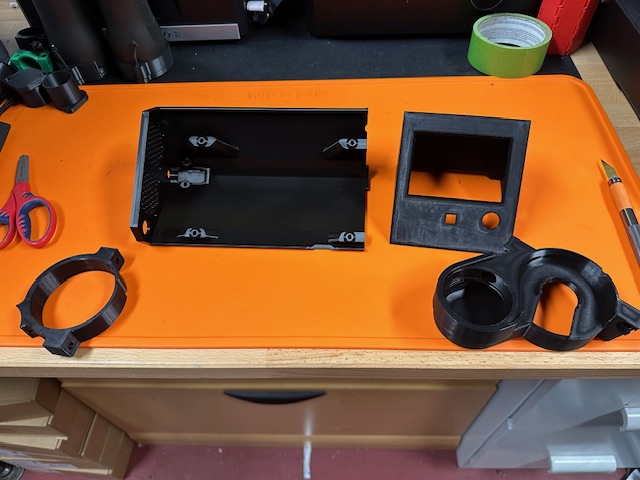
Decided I really liked Doug Joseph design of the case and went with that for my board. Thank you for all your extra work.
LowRider 3 CNC - control box case for BTT SKR Pro 1.2 board and a BTT TFT35 E3 touchscreen (v1.2)
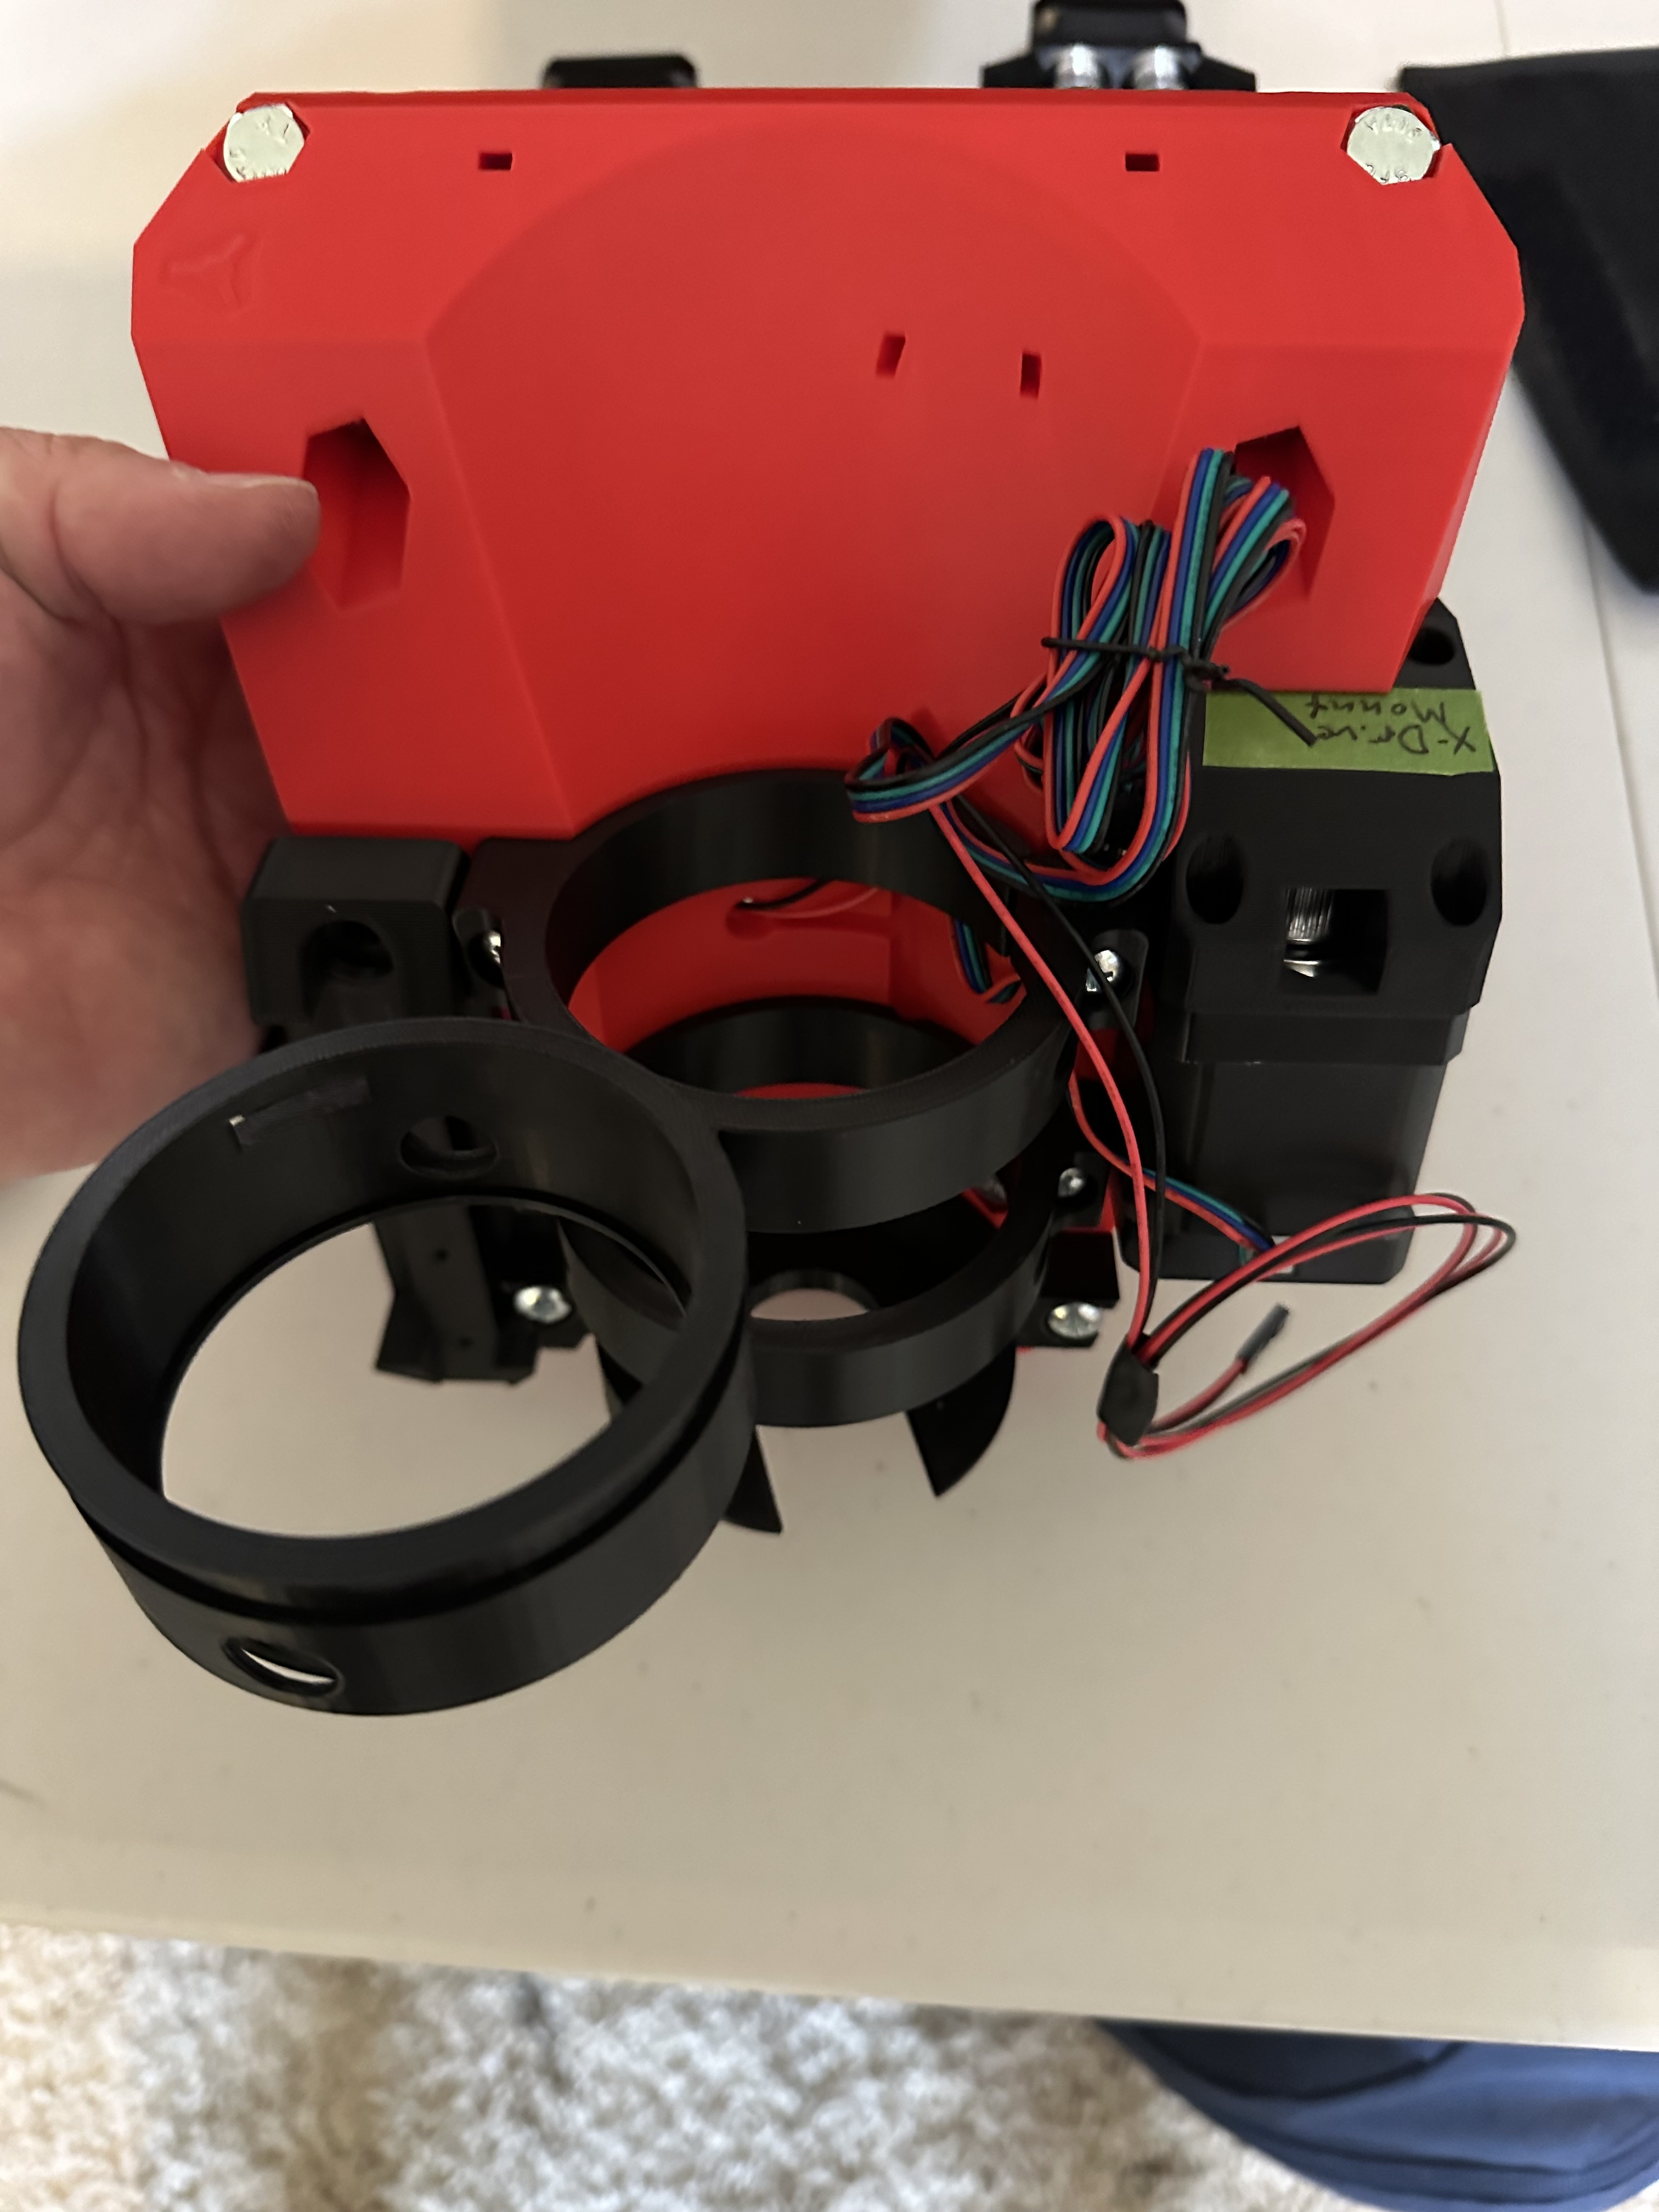
and of course Ryan your amazing design and utilizing your Makita mount for now to get started.
Makita 700 Series Mount and removable dust shoe for the LowRider 3 CNC
1 Like
Congrats! You seem to be moving along nicely and even better to have the kiddos on board! Lots of great guys here to help , don’t hesitate to ask!!
1 Like
Thank you so much ![]()
1 Like
Looking good!!!
1 Like
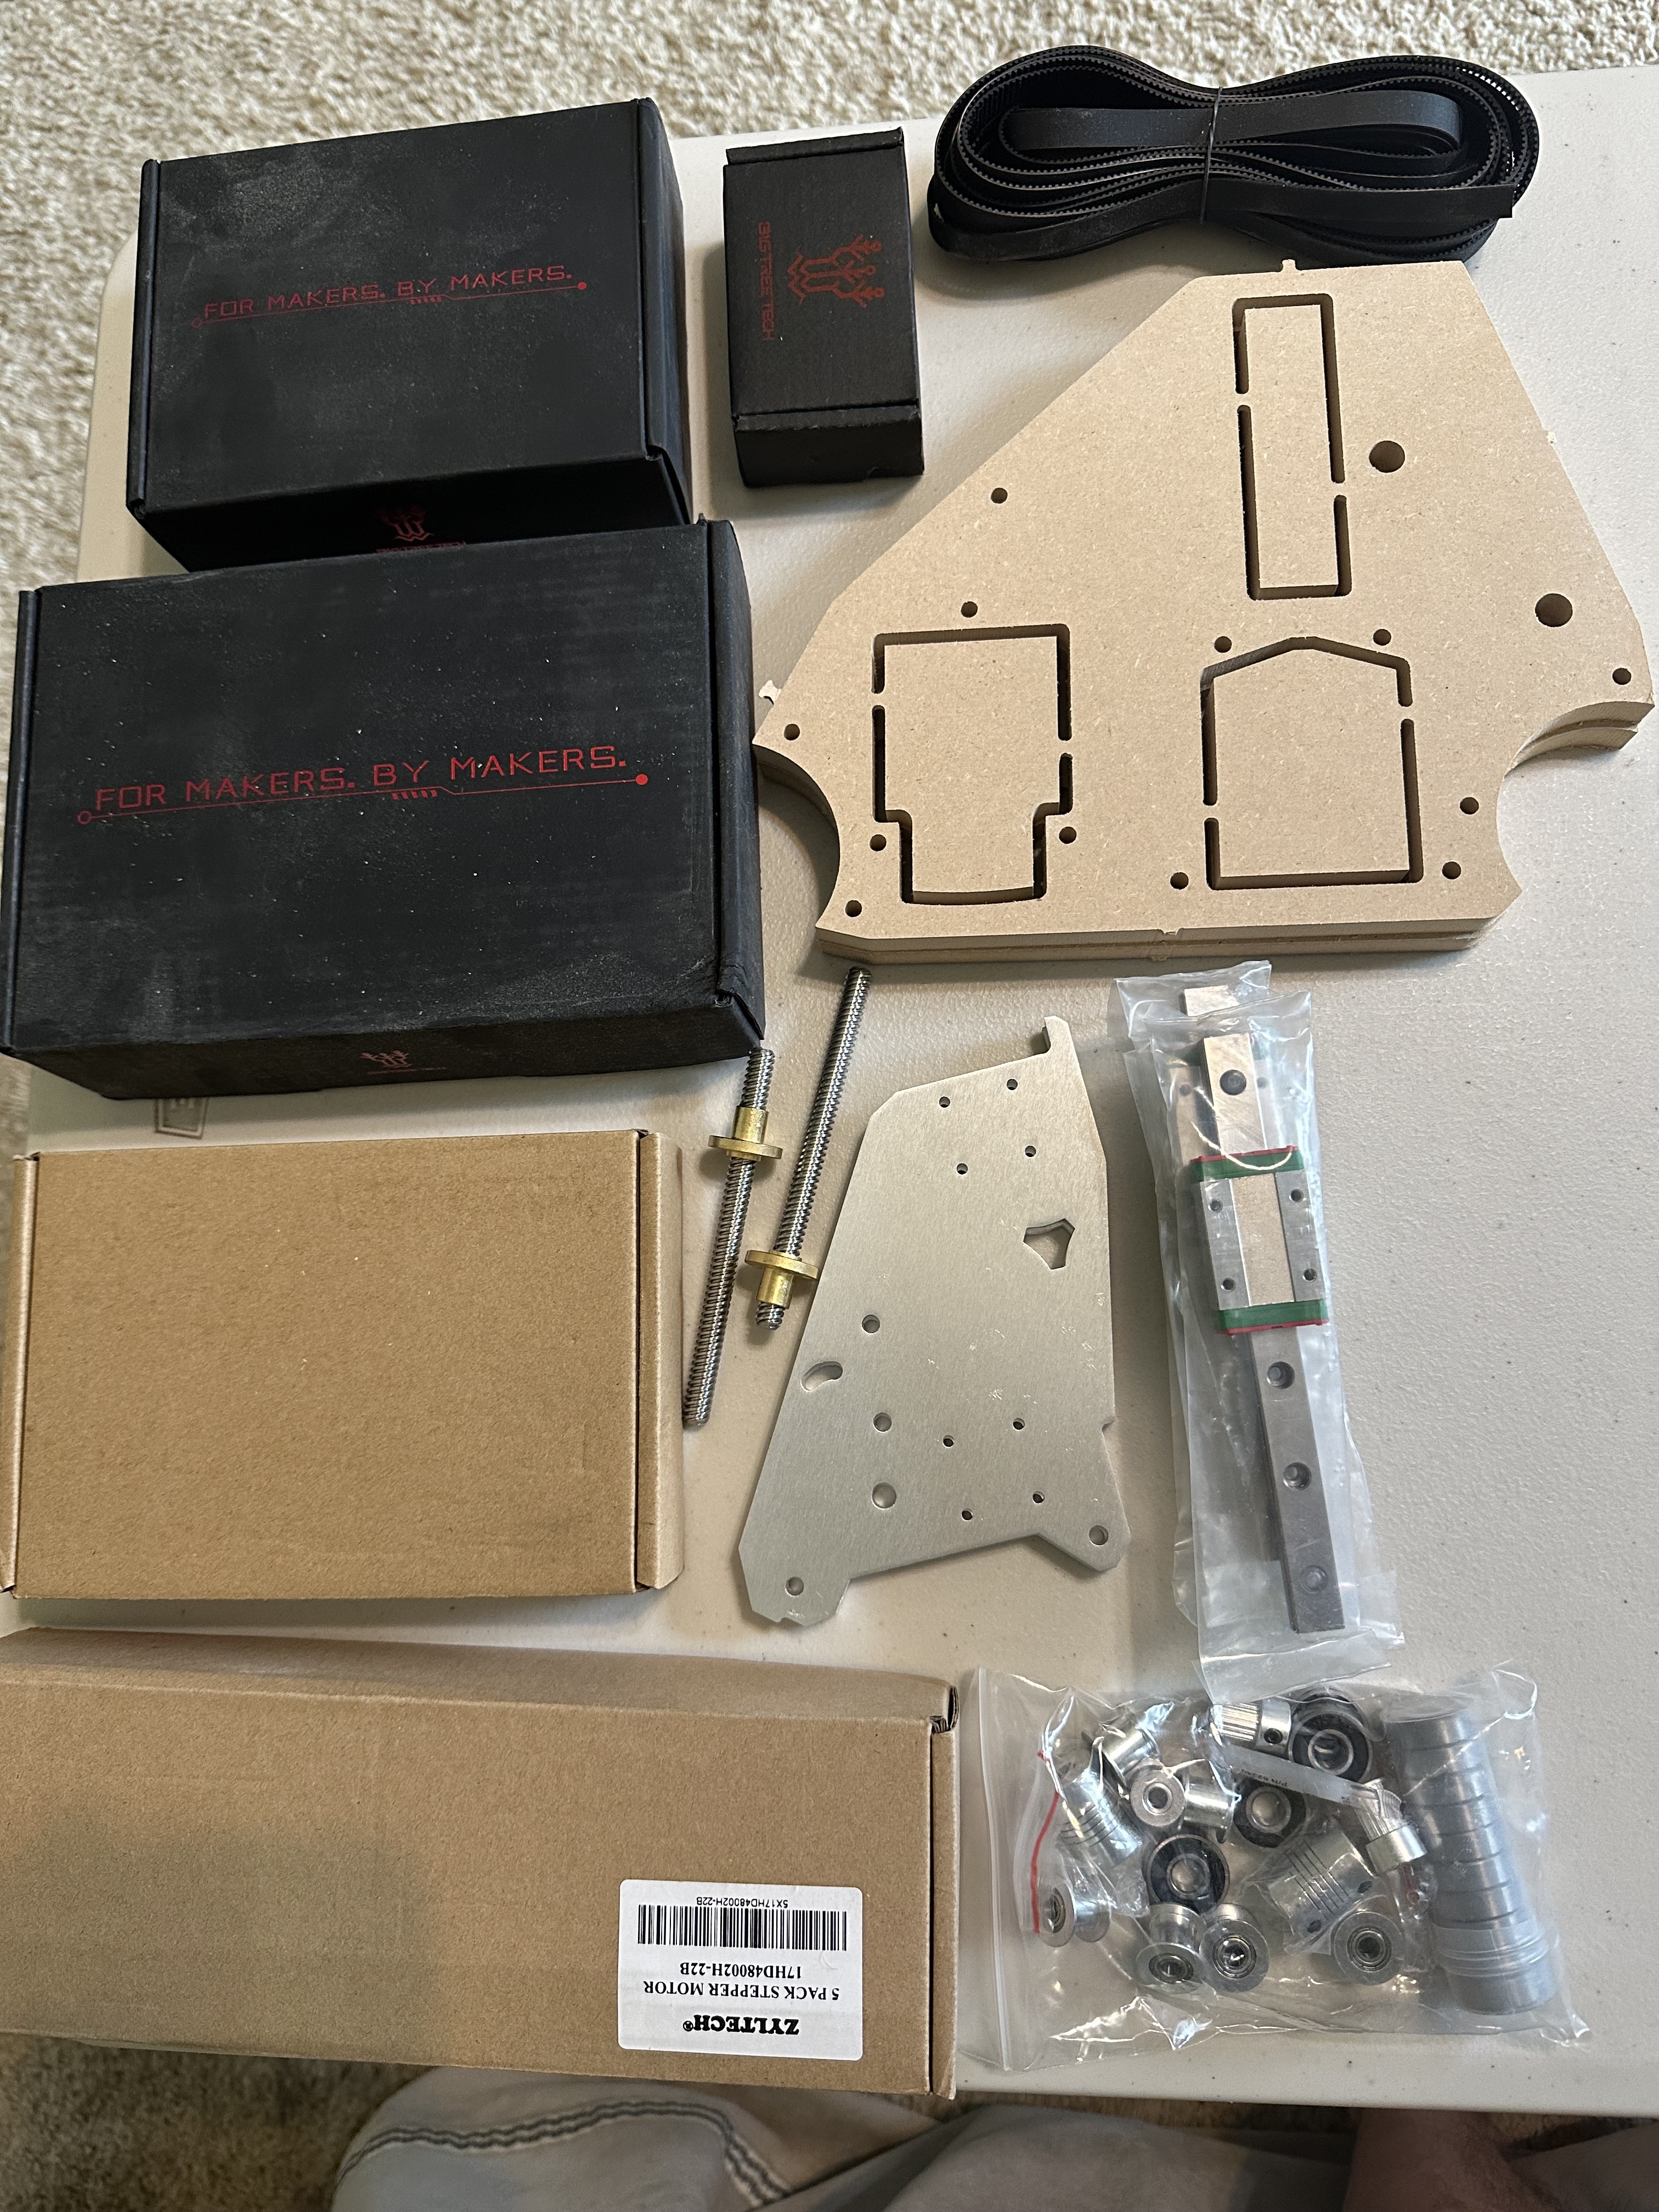
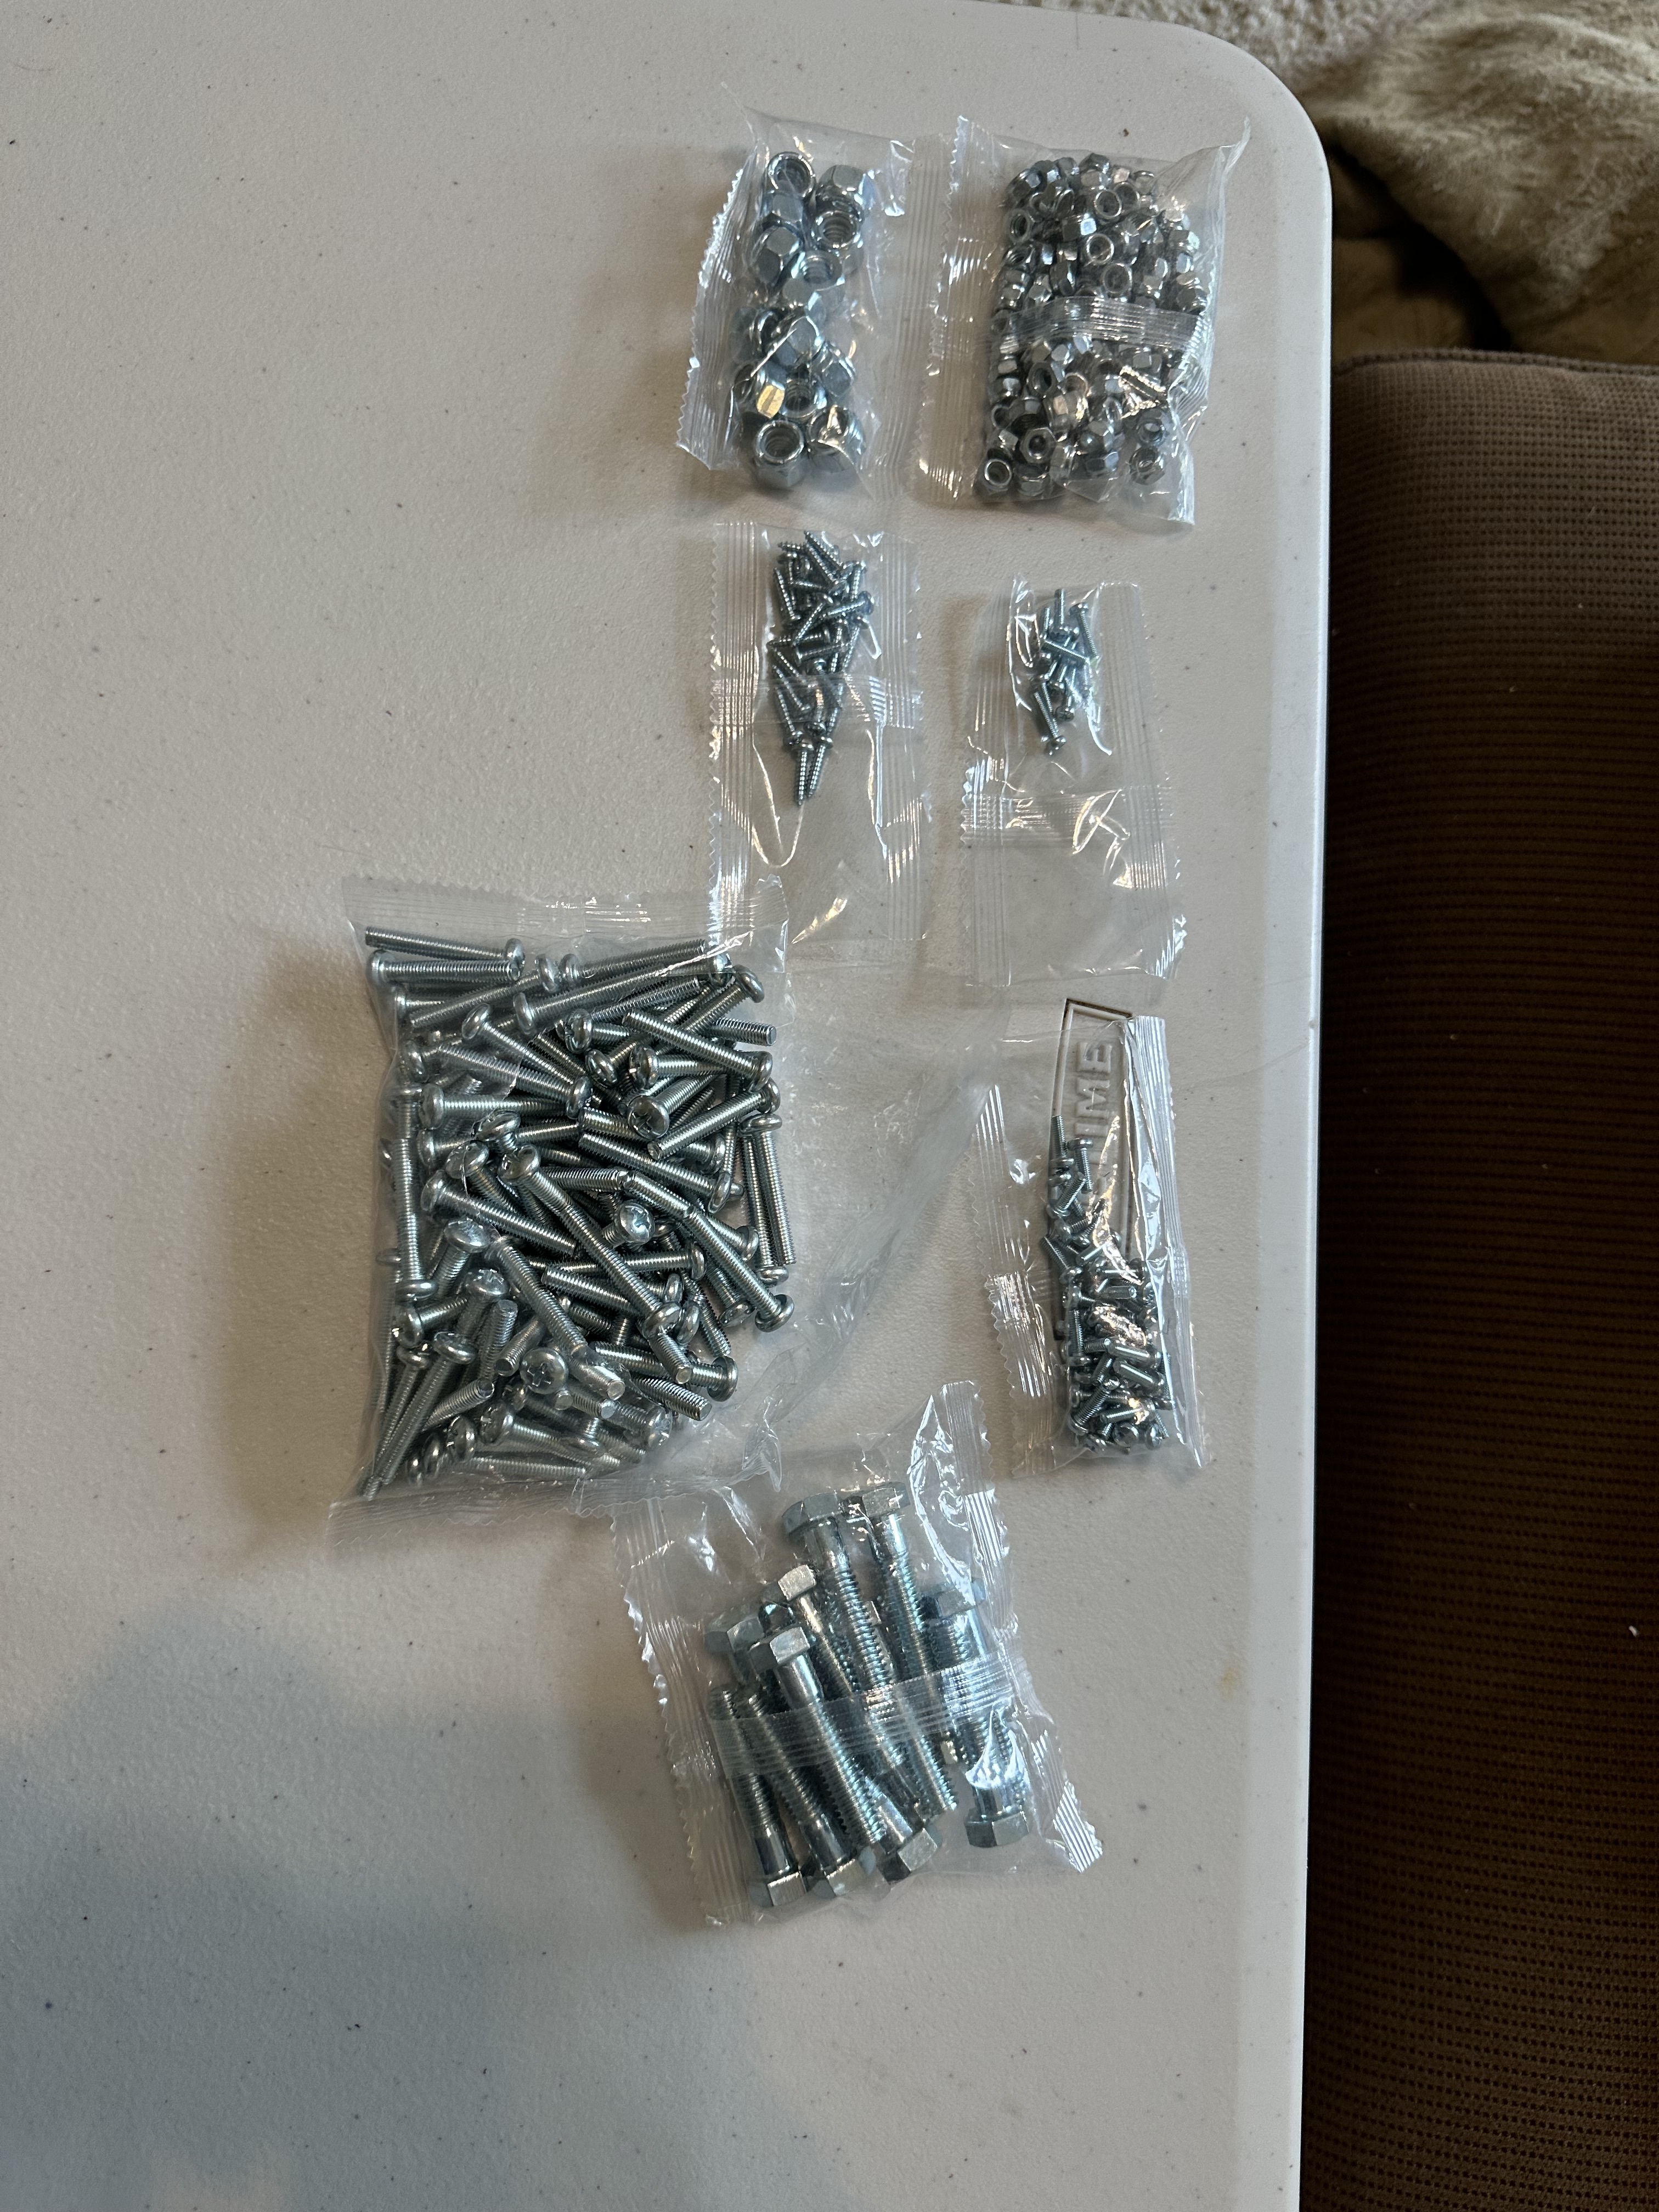
Parts are on order now we attempt to wait patiently.
1 Like
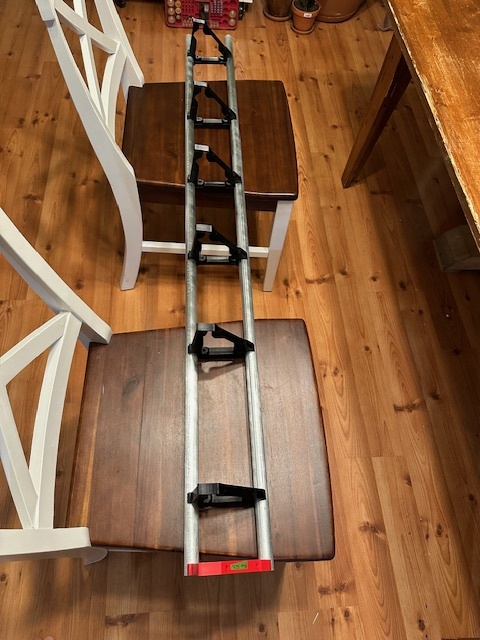
Made great progress today with my little 8 and 9 year old helpers I was super excited to see this box in the mail for sure even if my mail lady hammered the box in lol.

4 Likes
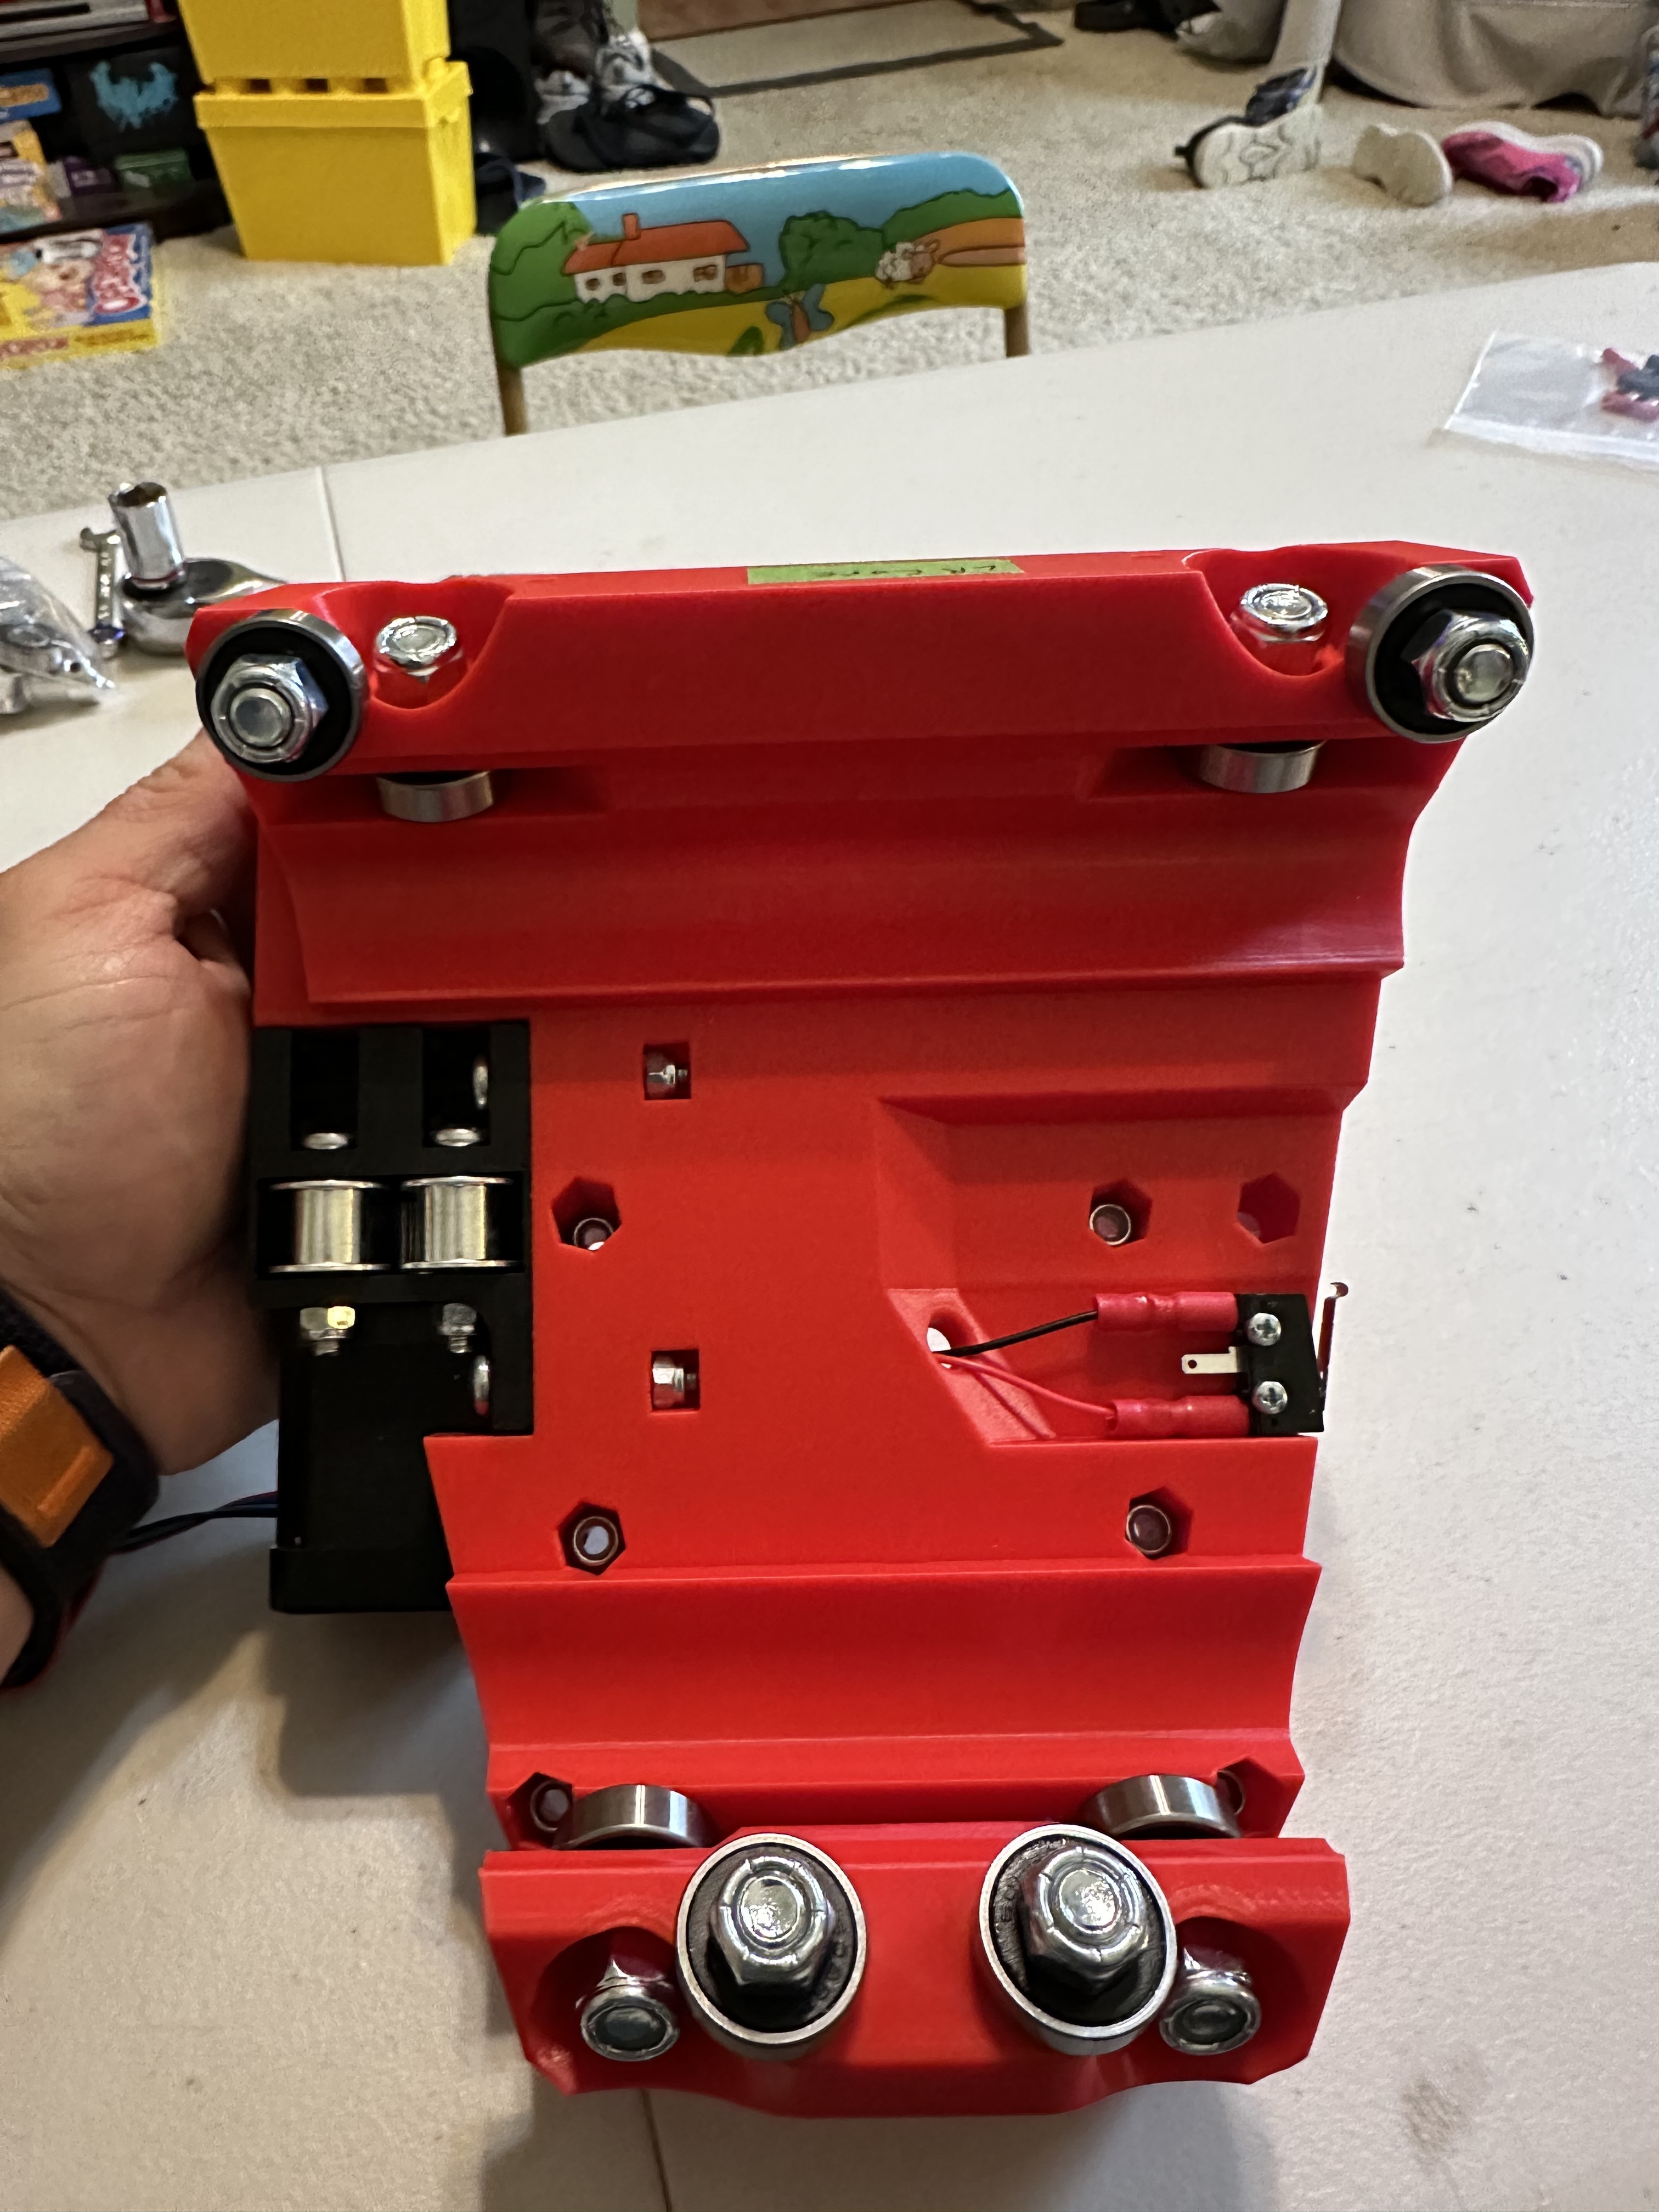

So getting the board all ready and setting the drivers and jumpers just wanted to check if everything looks right so far. I also bent the single pin for the mechanical stop
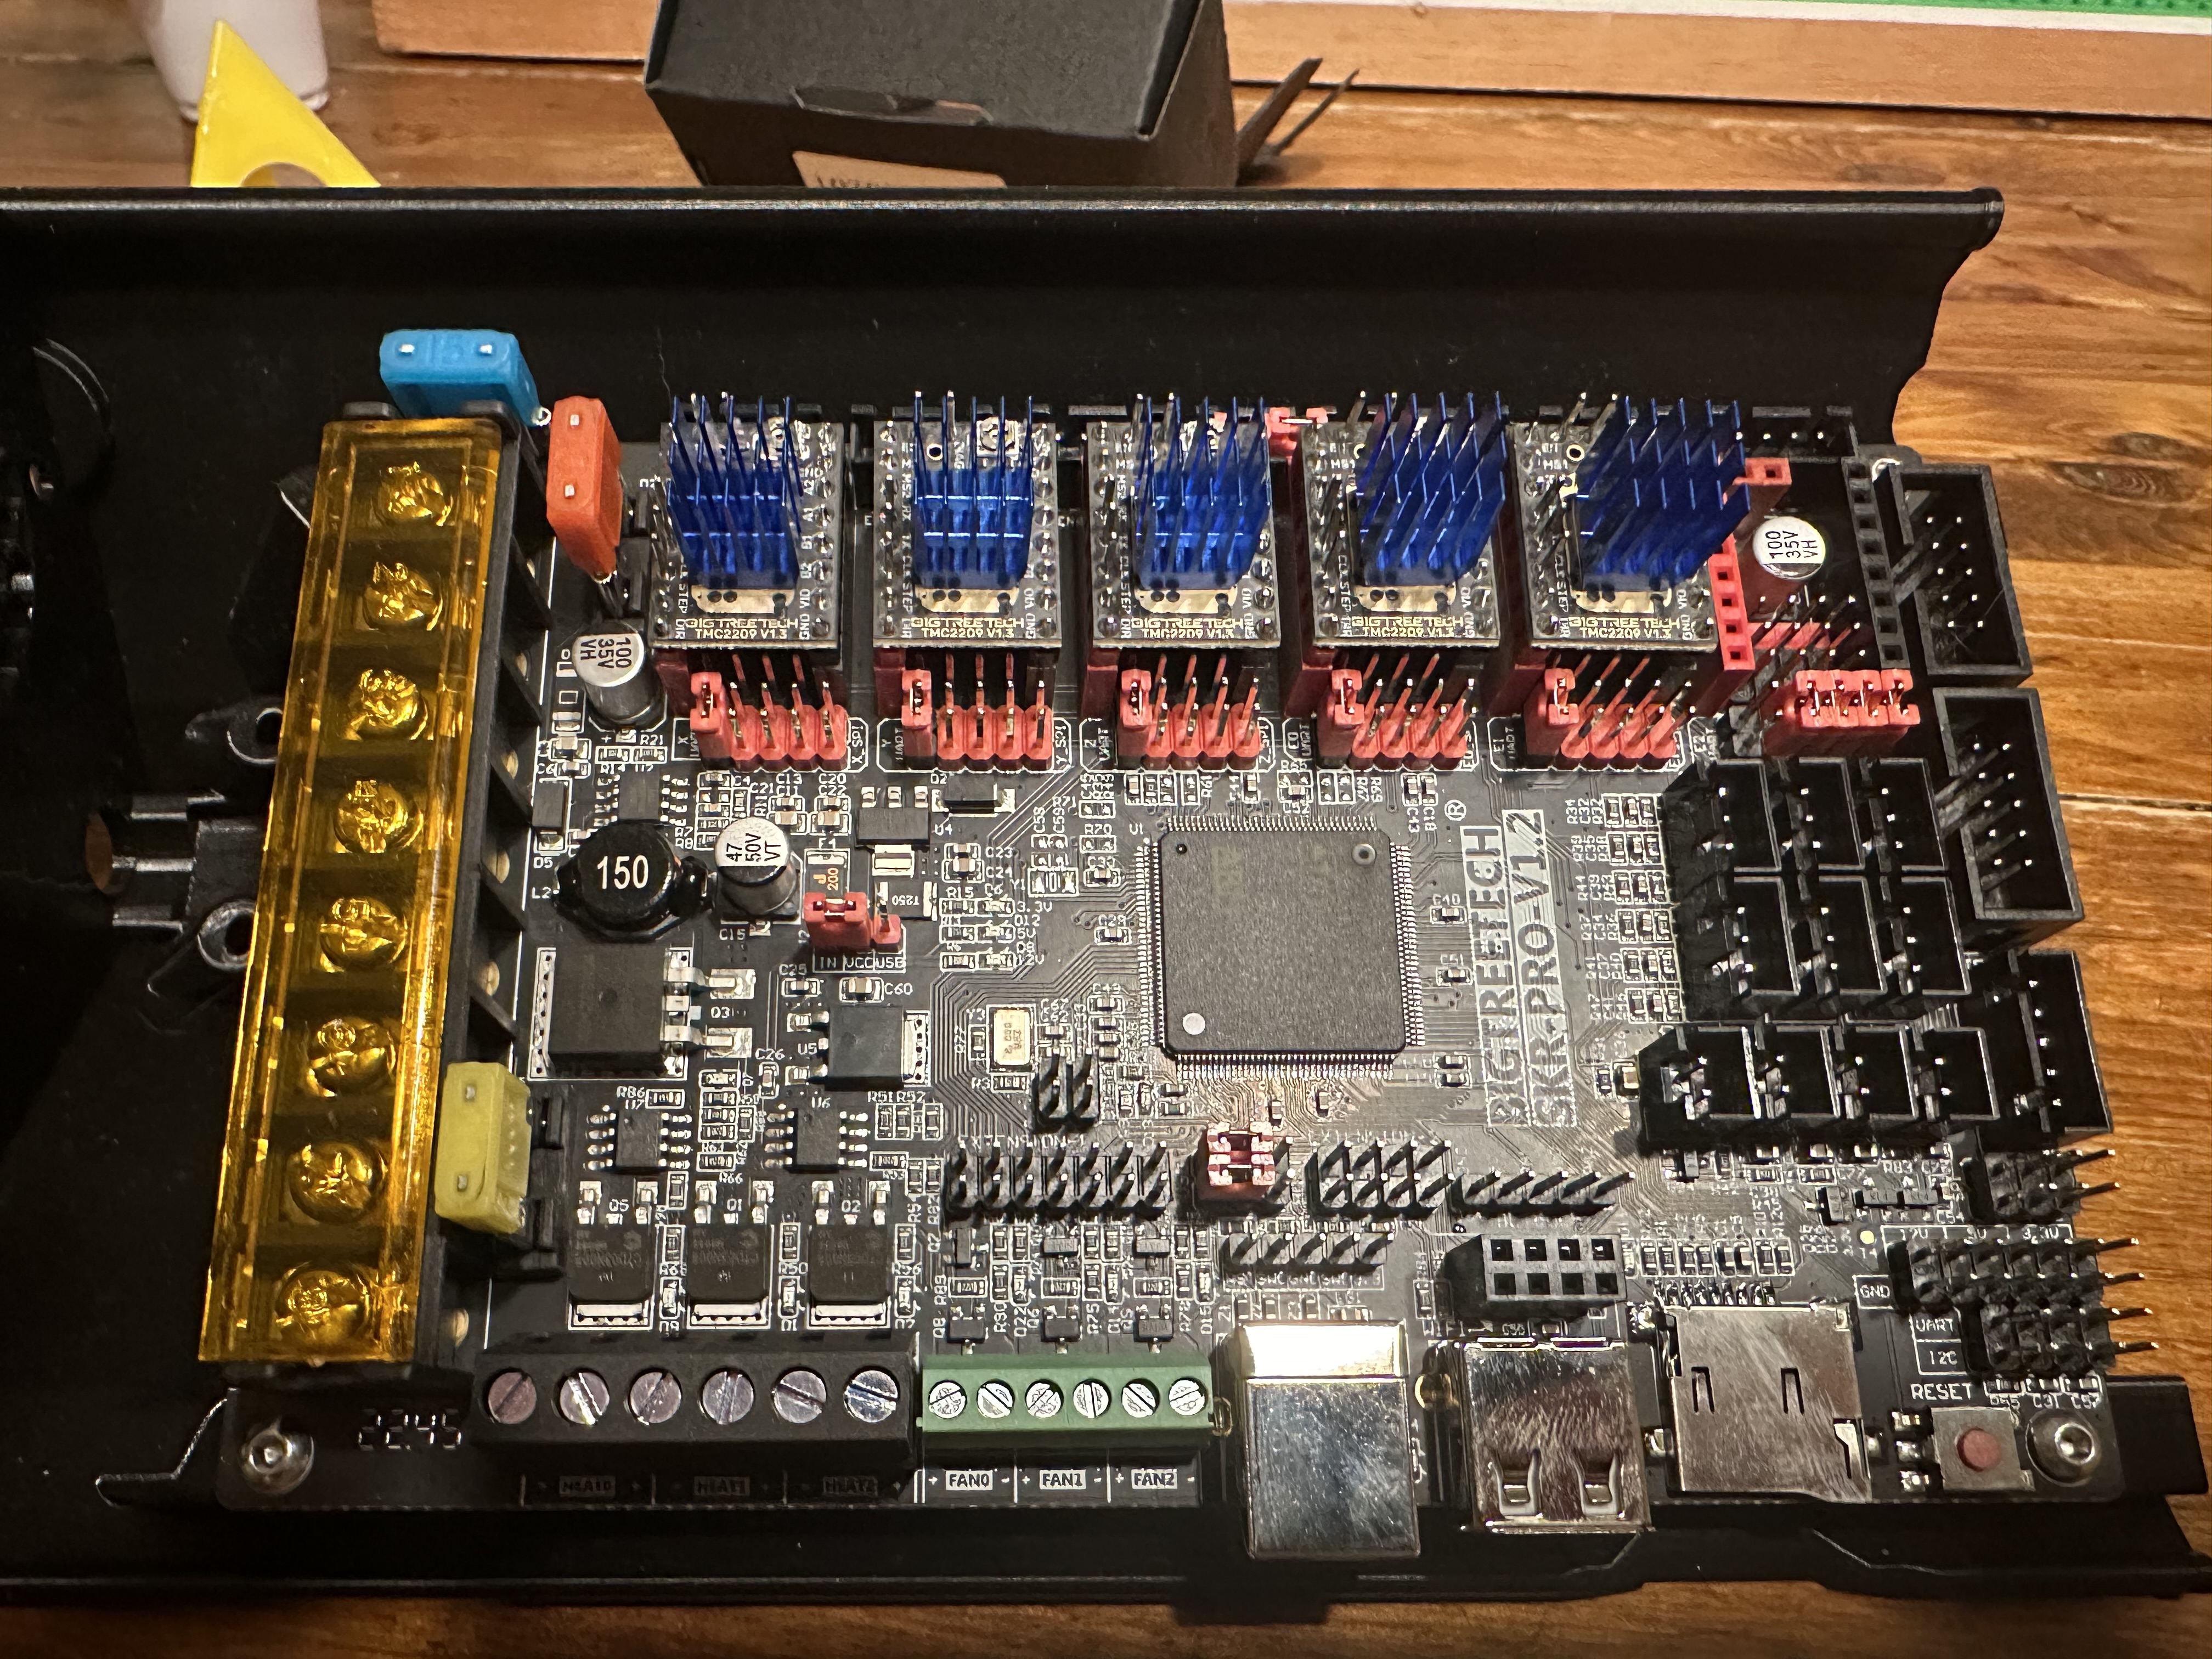
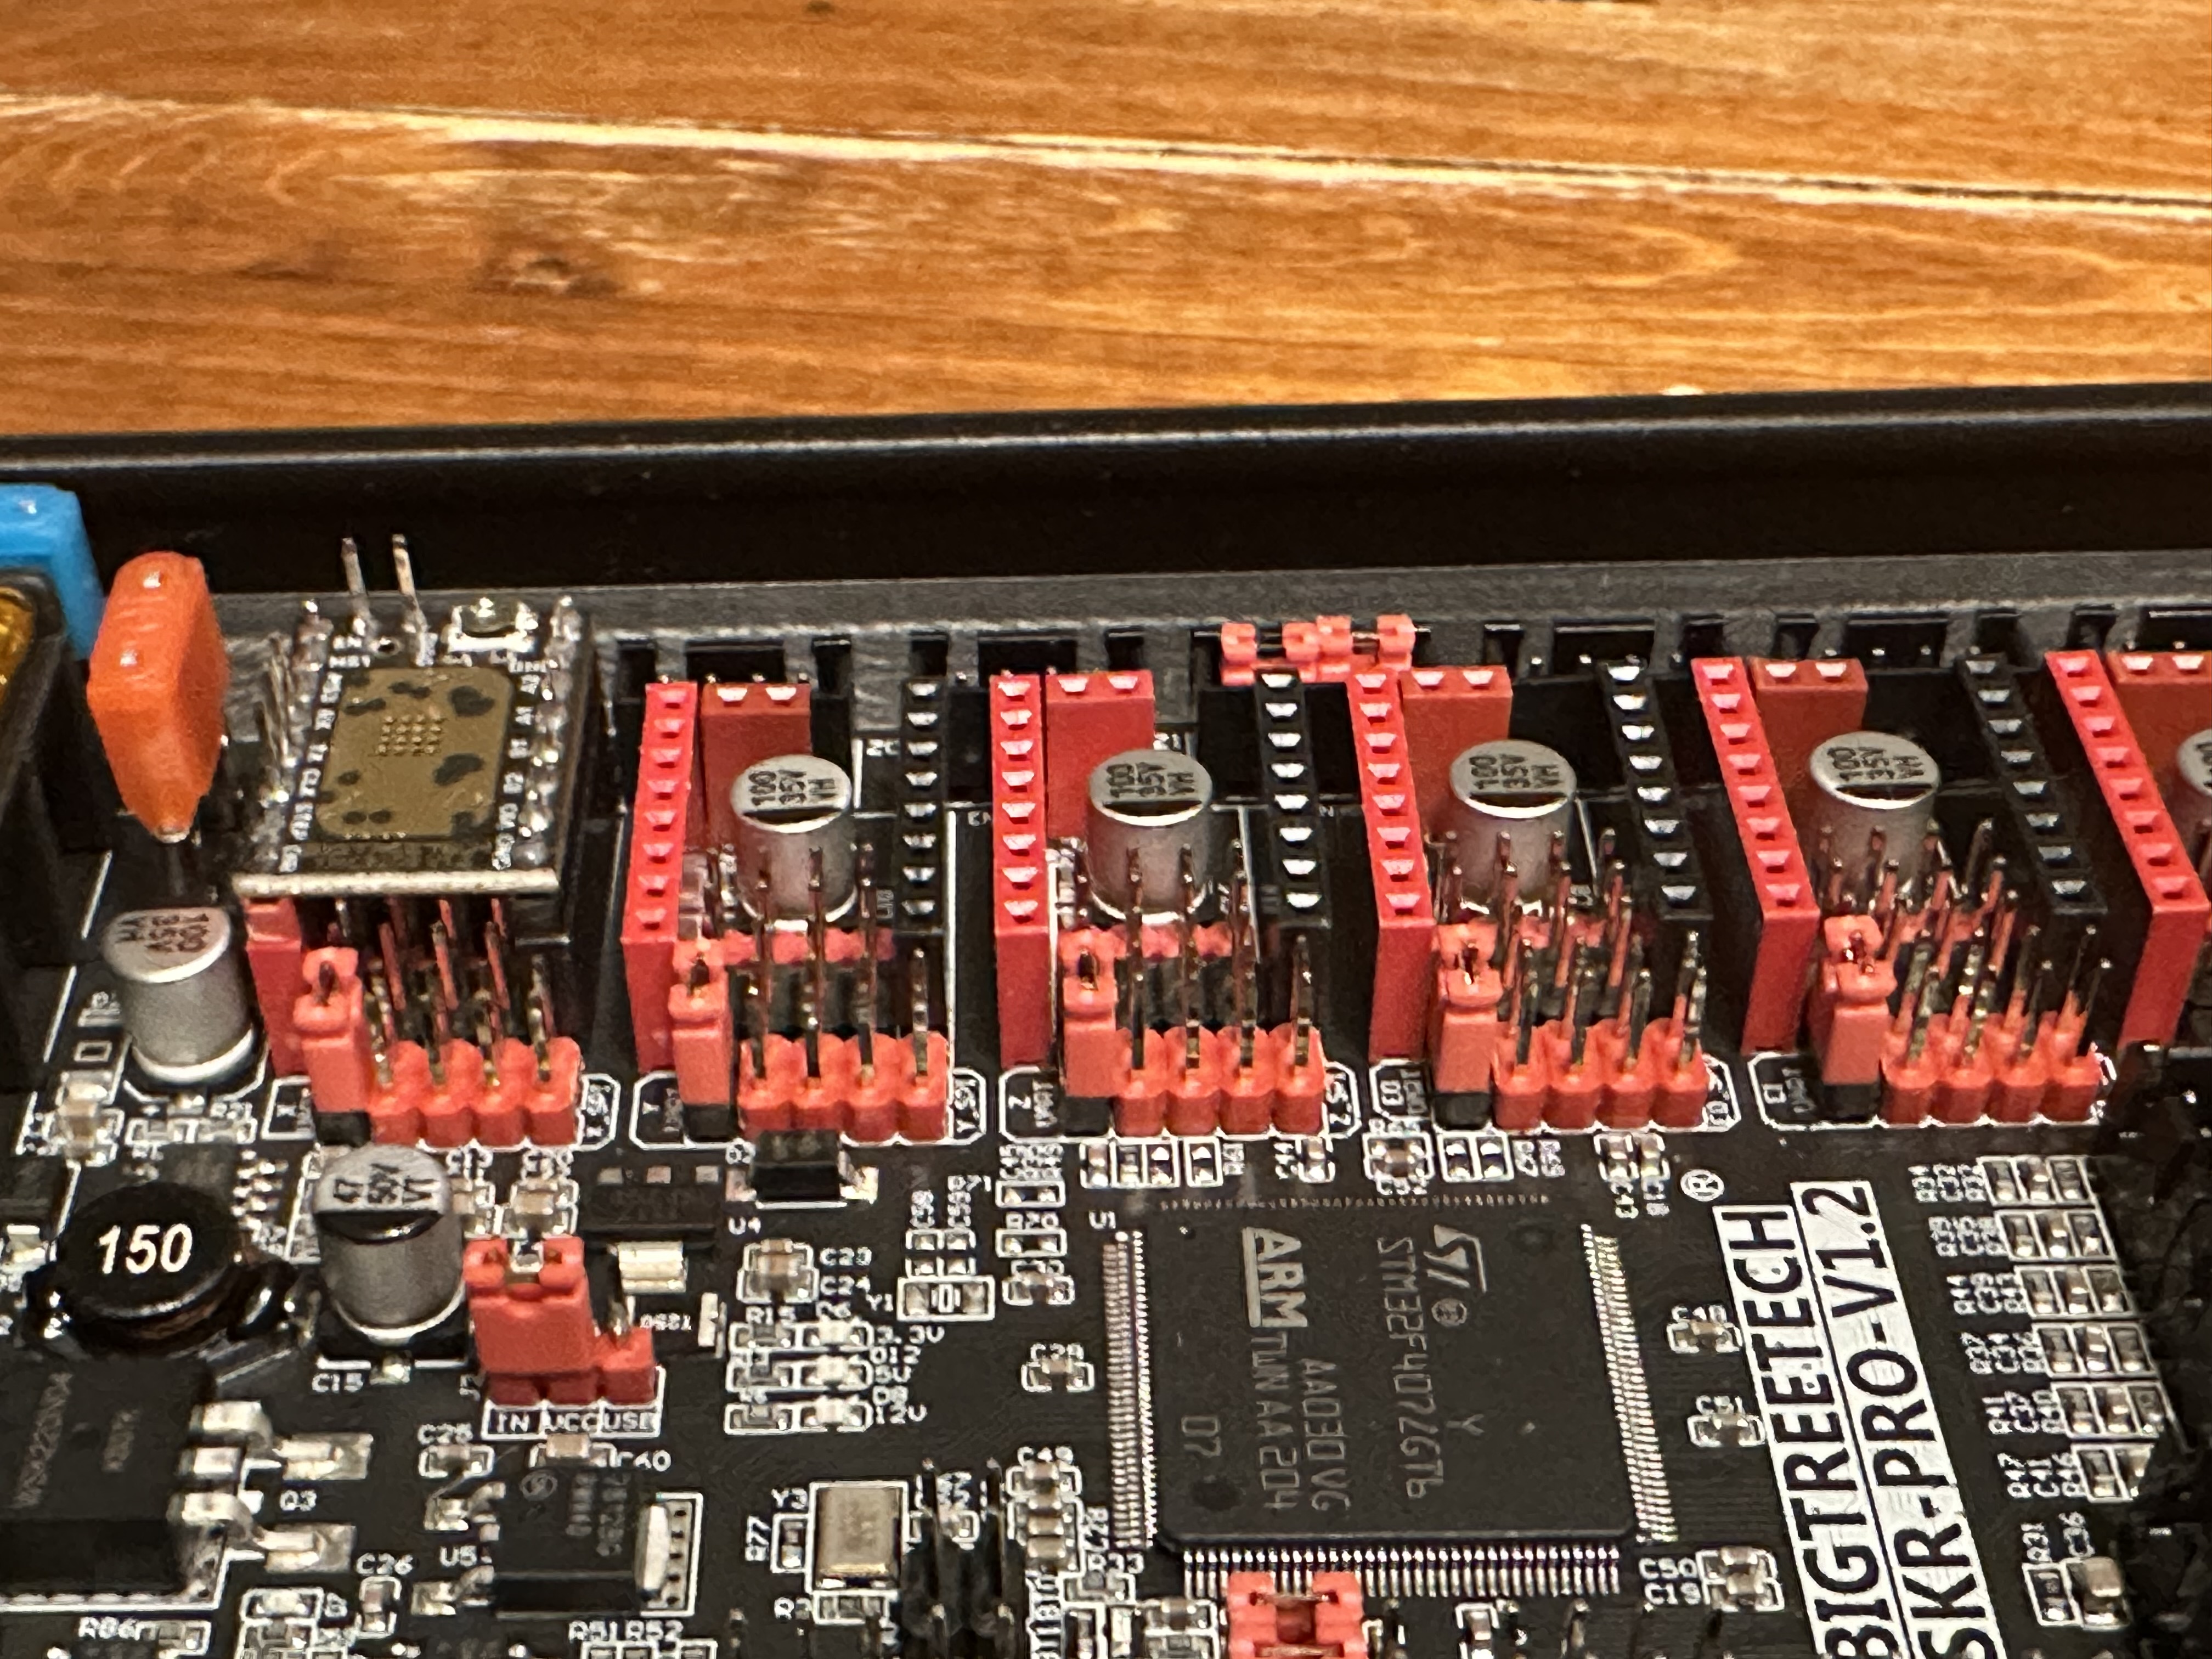
1 Like
Jumpers look good. I would pull the black plastic from around where the steppers plug in. The DuPont connectors will attach much better that way
1 Like
So on big projects that have a little money behind them I always hit panic mode that I am doing everything right. So last night on a clean table I connected everything to the board with the steppers in un restricted so I could observe their motion. I turned the system on just to check and see if I had everything correct and this is what I found.
Y Drives worked great on manual movement but when I hit the y home only one of the steppers moved. When I hit the end stop microswitch the one moving would stop as expected and the other that was not moving would kind of jitter and stop.
Z Drives worked amazing manually as well as homing them micro switches would activate the stepper motor to stop. No problems spotted there.
X Drive would step on manual movement but again homing would make the motor kind of step forward them nothing.
I am assuming through reading that this is possibly an End Stop issue in the wiring or is it possibly something else.
I disconnected everything so little hands would not decide it was a great idea to plug it in but can reconnect as I had it and take a picture if needed or would everyone recommend going through with the build and getting Repetier-Host running and sending M119 code to get a feed back from the end stops. Thank you
1 Like