New build located in Australia. I’ve been reading and researching for a while now and finally decided to start pulling together the parts list.
It may be a bit of a slow build so I do apologise but I feel like I’m finally at the point to start a build log.
I will definitely have some questions along the way.
Keeping with the default size for now until I feel adventurous.
Completed:
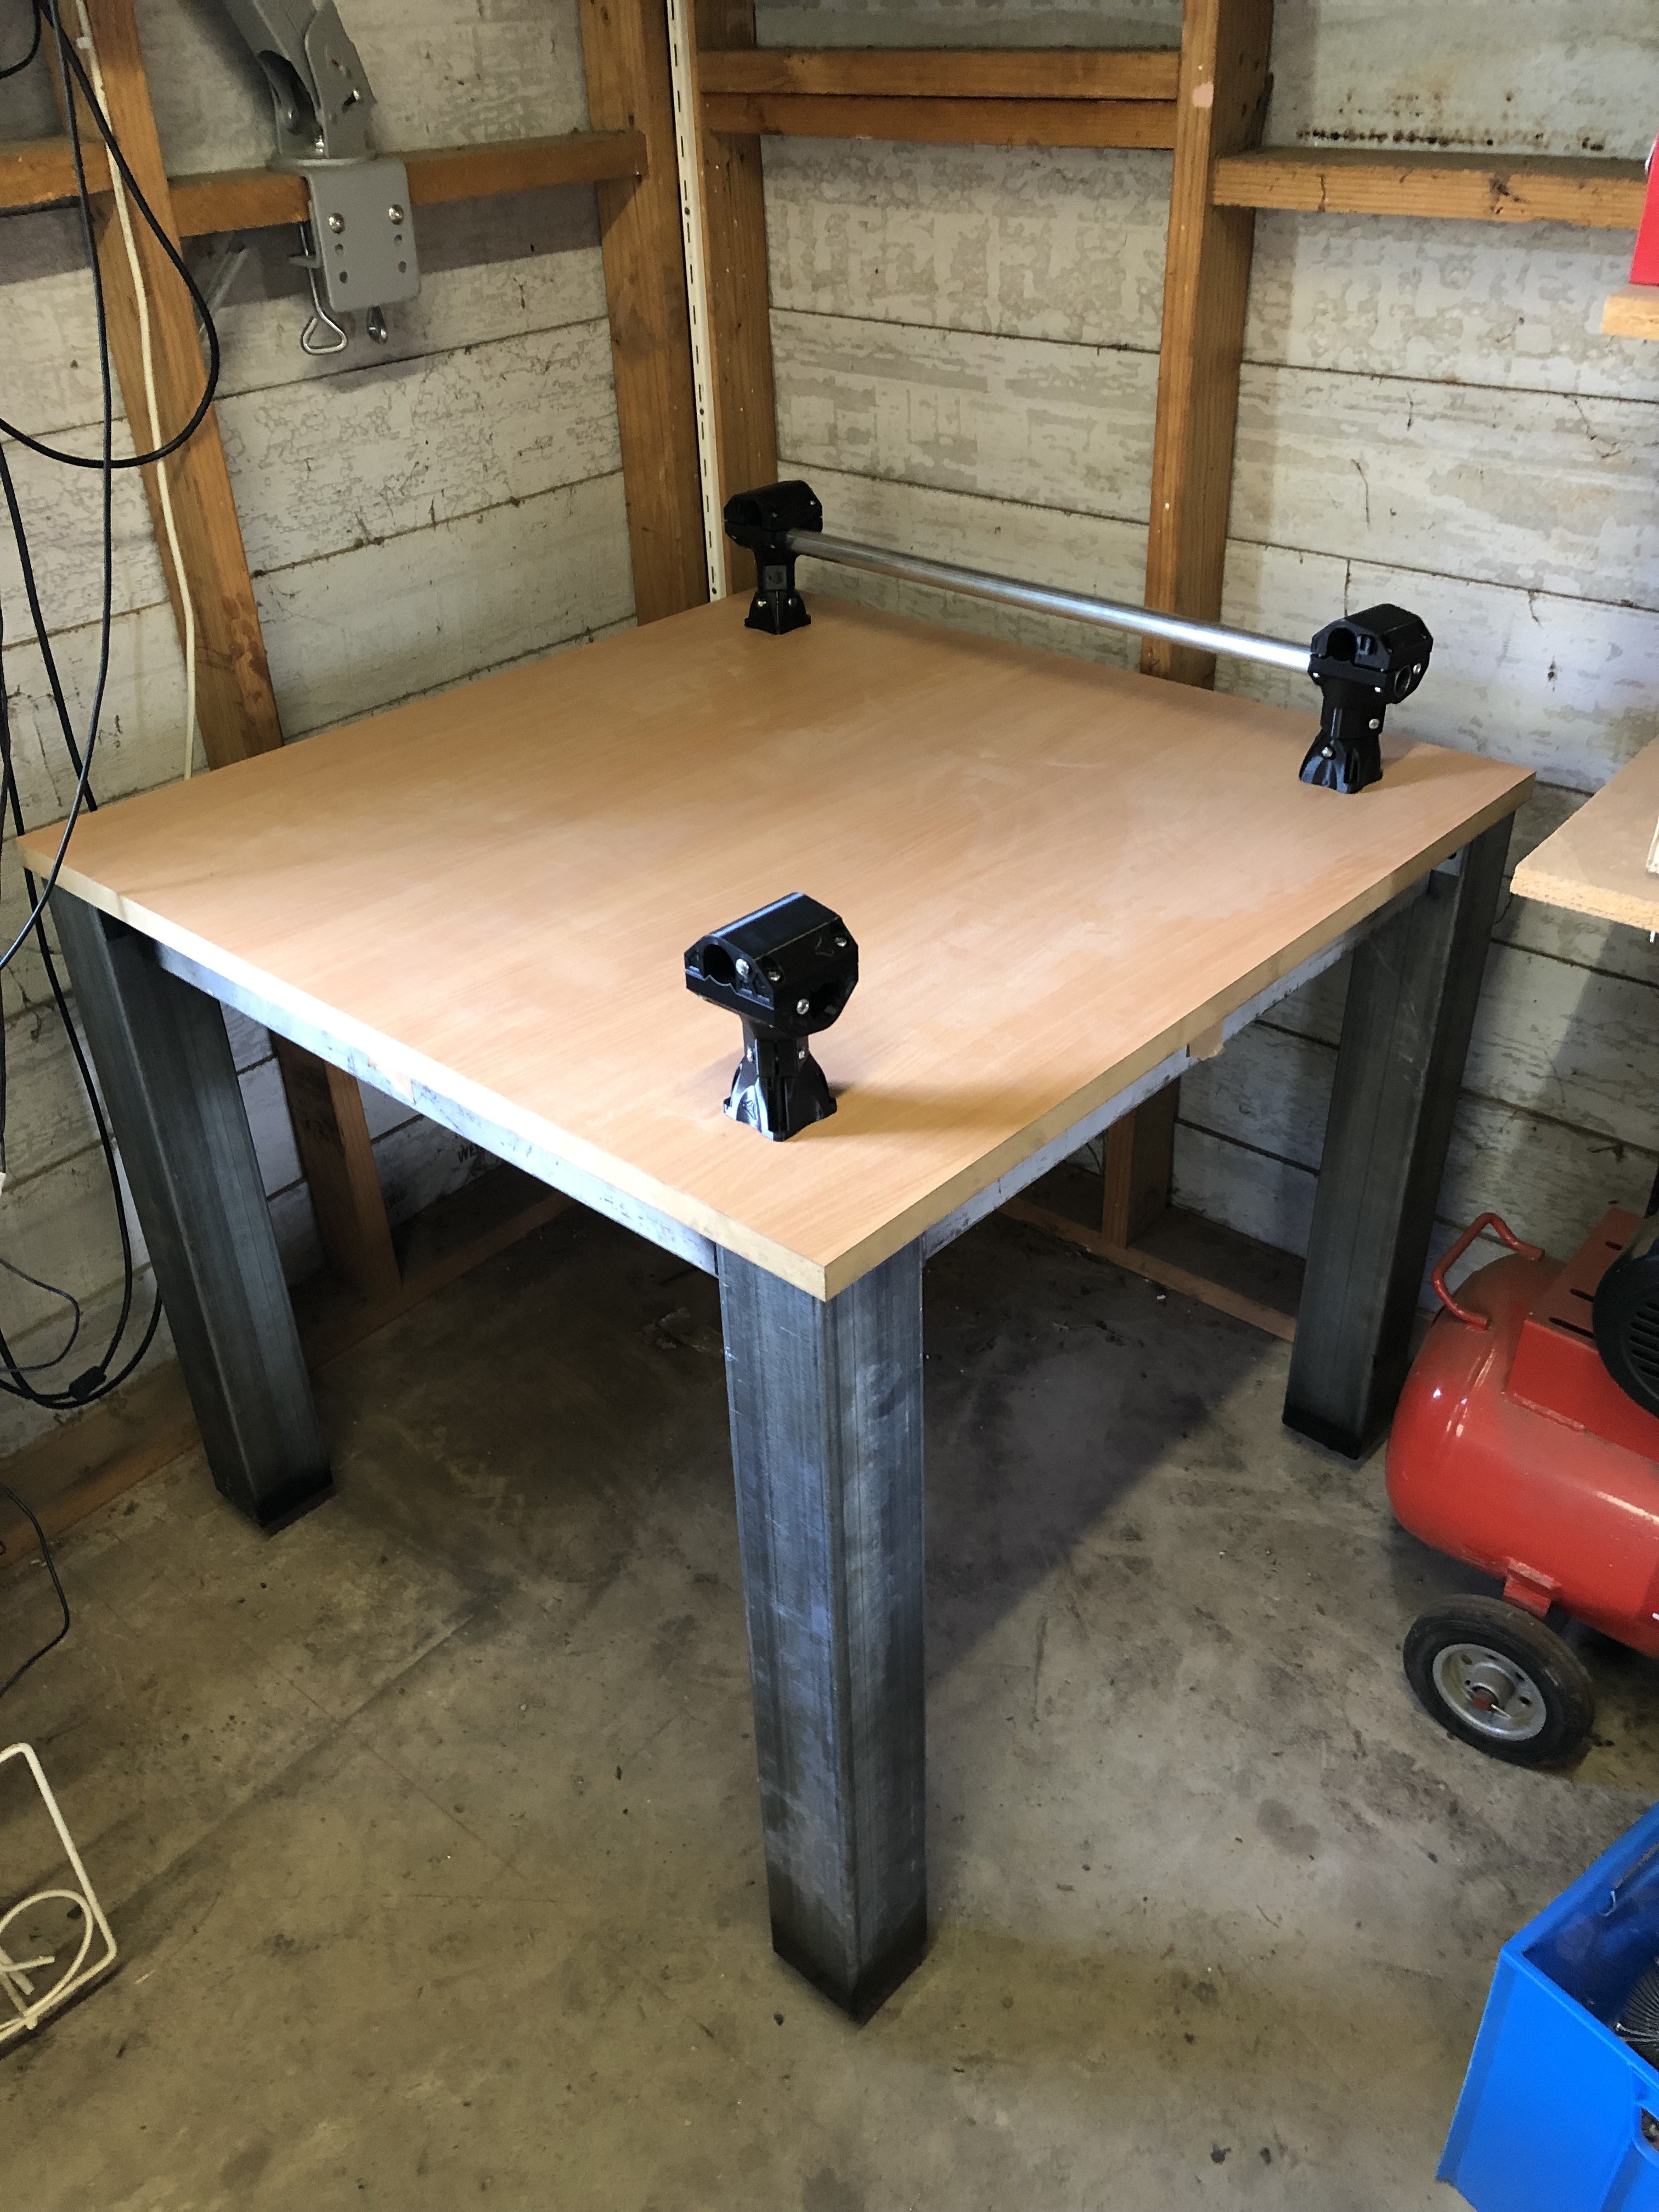
Table
Printed Parts
Nuts and bolts.
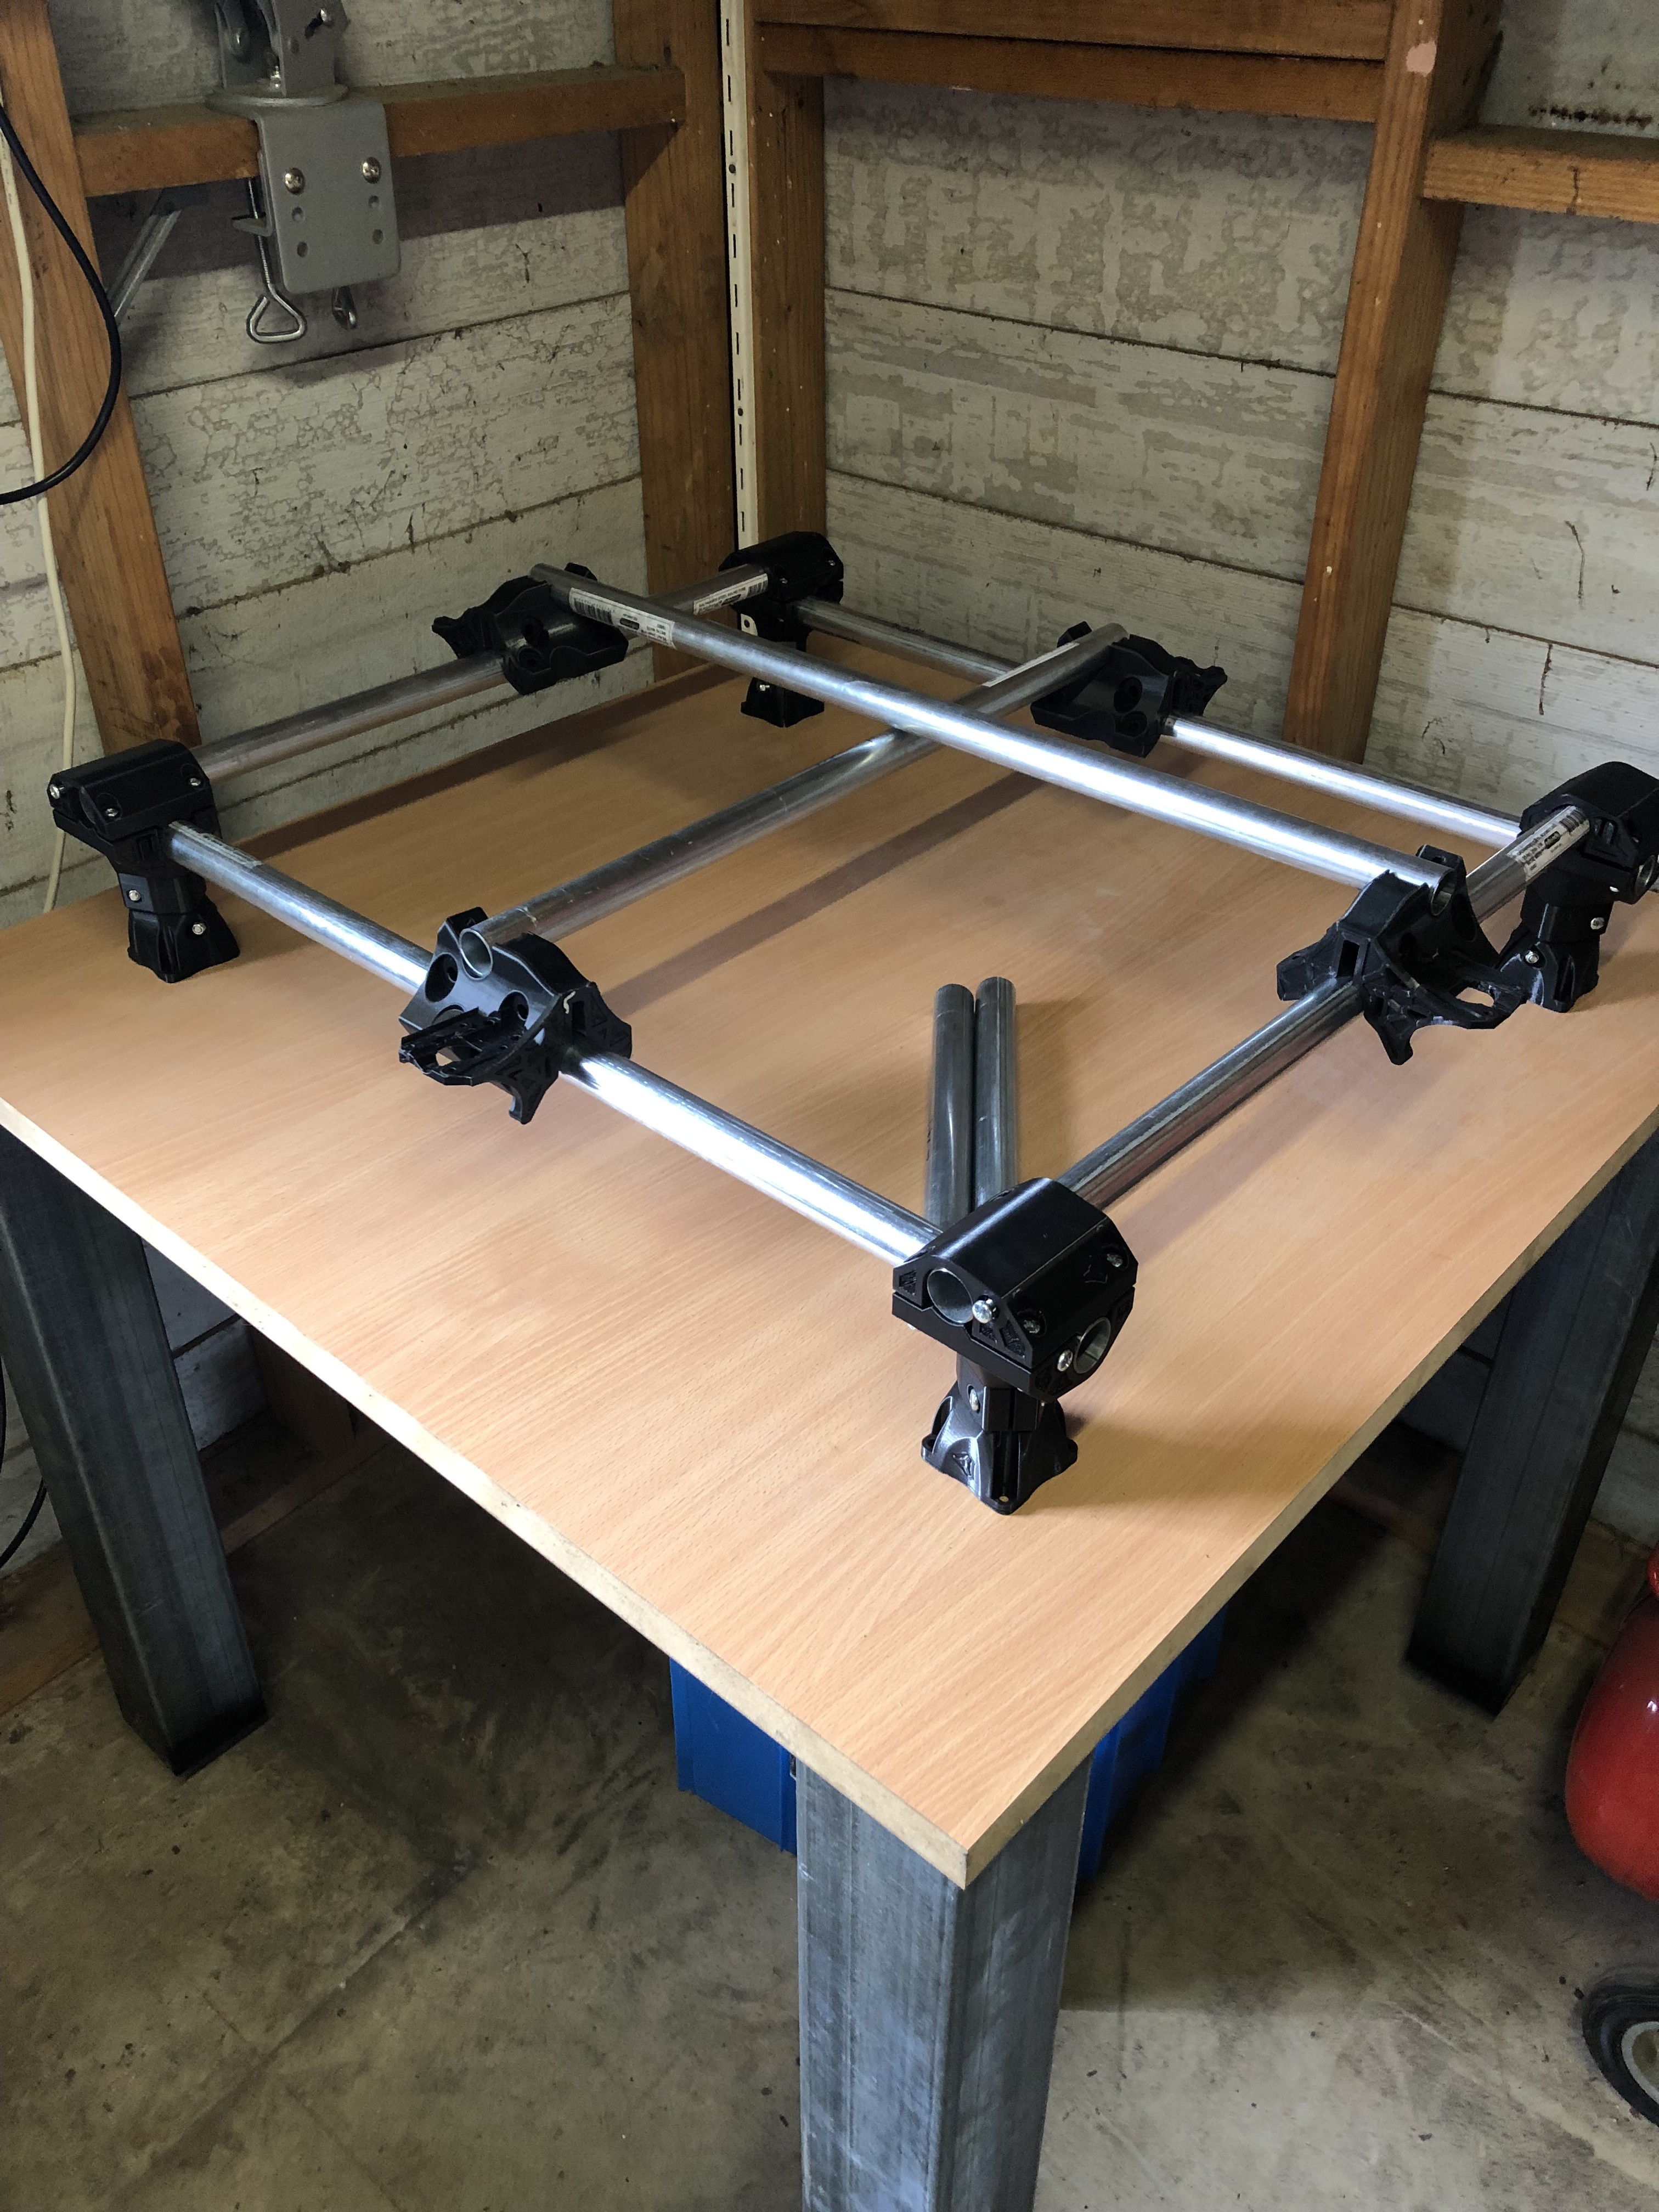
This week I will finish cutting the tubing, square the base and the mount it all to the table.
The plan at this stage is to run Mega2560 with RAMPS 1.4 board and A4988 drivers.
This is not set in concrete so if there is any reason I should avoid this path please let me know.
Great design Ryan and fantastic community that has been built here. Looking forward to being more interactive.
My LR (version 1) is still running fine on RAMPs 1.4.
Just be careful wiring the limit switches. Put one in backwards and smoked the voltage regulator.
Cost me $3 to replace it
Also used RAMPS 1.4 to run a mate’s CNC plasma cutter with no issues.
I use Fusion 360 for tool path generation and Repetier Host for the cutting.
No reason to avoid the RAMPS. My first MPCNC ran just fine on it for the longest time. I only switched out the controller because someone was kind enough to ship me a better one they weren’t using.
If you’re thinking about eventually going larger, you can use longer belts and just roll the excess up and tuck them in the end of the tubes. That way you won’t need to purchase new belt if you do increase the size.
Thanks Tom. Ended up giving them a quick cleanup with the drill and bolts fit well now.
Nothing much to update. The legs are screwed down. X and Y are also fixed down now as well.
Just waiting on good old AusPost to deliver the bearings.
Will take a small break from the CNC and give the car project some attention while the weather is warming up.
The Beetle needs some love as well. I have some brand new bearings and brakes just sitting in boxes collecting dust. Given the delay with delivery I’ll try to order a some of the electronics and pick back up when they arrive.
The bearings finally arrived but there is a slight setback.
I may or may not have over tightened the corner tops and split all 4 of them . . . . . . . and 1 corner bottom
I swear it was the pesky shed gremlins, you know the ones that steal the 10mm socket or the roll of tape I know I left on the bench.
Anyway it looks like I will have to wait until I can get these printed as the printer is currently tied up with another project. @bitingmidge I believe this is challenge accepted for the slowest build. Your move lol
Ow. Well, it’s not helpful to say “Don’t do that.” but I have to say that it’s impressive that you managed to get all 4.
Ow! Y’know at this point, I’d be breaking out the soldering iron and the heat shrink tube. No pins and crimps. Cut the existing wires, and extend them from the middle. But you already know I’m a more impatient sort.