Hello all, I stumbled across MPCNC project early in February and thought I’d have a shot, and although there’s been a little difficulty (I’m looking at you Repetier-Server) from time to time, overall it’s gone pretty smoothly.
Maybe it would be of interest for me to run through the things that went well, lessons I’ve learned and future plans…
My first decision was whether to order or produce the 3D printed parts. I knew nothing about 3D printing, but I felt like that would be a good opportunity to learn, so pulled the trigger on an Ender Pro, ca. £200 and a couple of reels of PLA (Blue). It was a good decision, because it’s allowed me to print additional things, some MPCNC related, some not. Learnt a bit about 3d printing too.
I heeded the advice to print off one piece (I chose a foot) and check it for closeness of fit. I took it to screwfix, checked it on their conduit, and concluded it was a good fit. Bought 6m for about £20. Then downloaded the correct parts package and started printing. Annoyed the missus and the kids by printing 24/7 (the printer isn’t that noisy, but some of the sounds penetrate walls quite well!). After a few parts, I created a simple table with a picture of each part to make sure I printed all the parts and their mirror images without duplication, after getting a little lost a couple of times with what I had and hadn’t printed. Simultaneously ordered the rest of the stuff from Ryan (I owed him this, it’s a stunning project)
Mostly Printed CNC Parts Bundle × 1
Wiring Kit × 1 (Series)
Mini-RAMBo 1.3 × 1
SD Card 8GB × 1
Full Graphic Smart Controller, Big × 1
$356.39 USD (Got stung for £45 in duty, so be prepared)
In terms of size, I went with approximately 30" (x-axis) x 20" (y-axis), because that was about right for my plans (mostly engraving wood I think), but also because it was the size of a spare piece of 18mm ply I had lying around. This gives me a working area of about the size of a piece of A4.
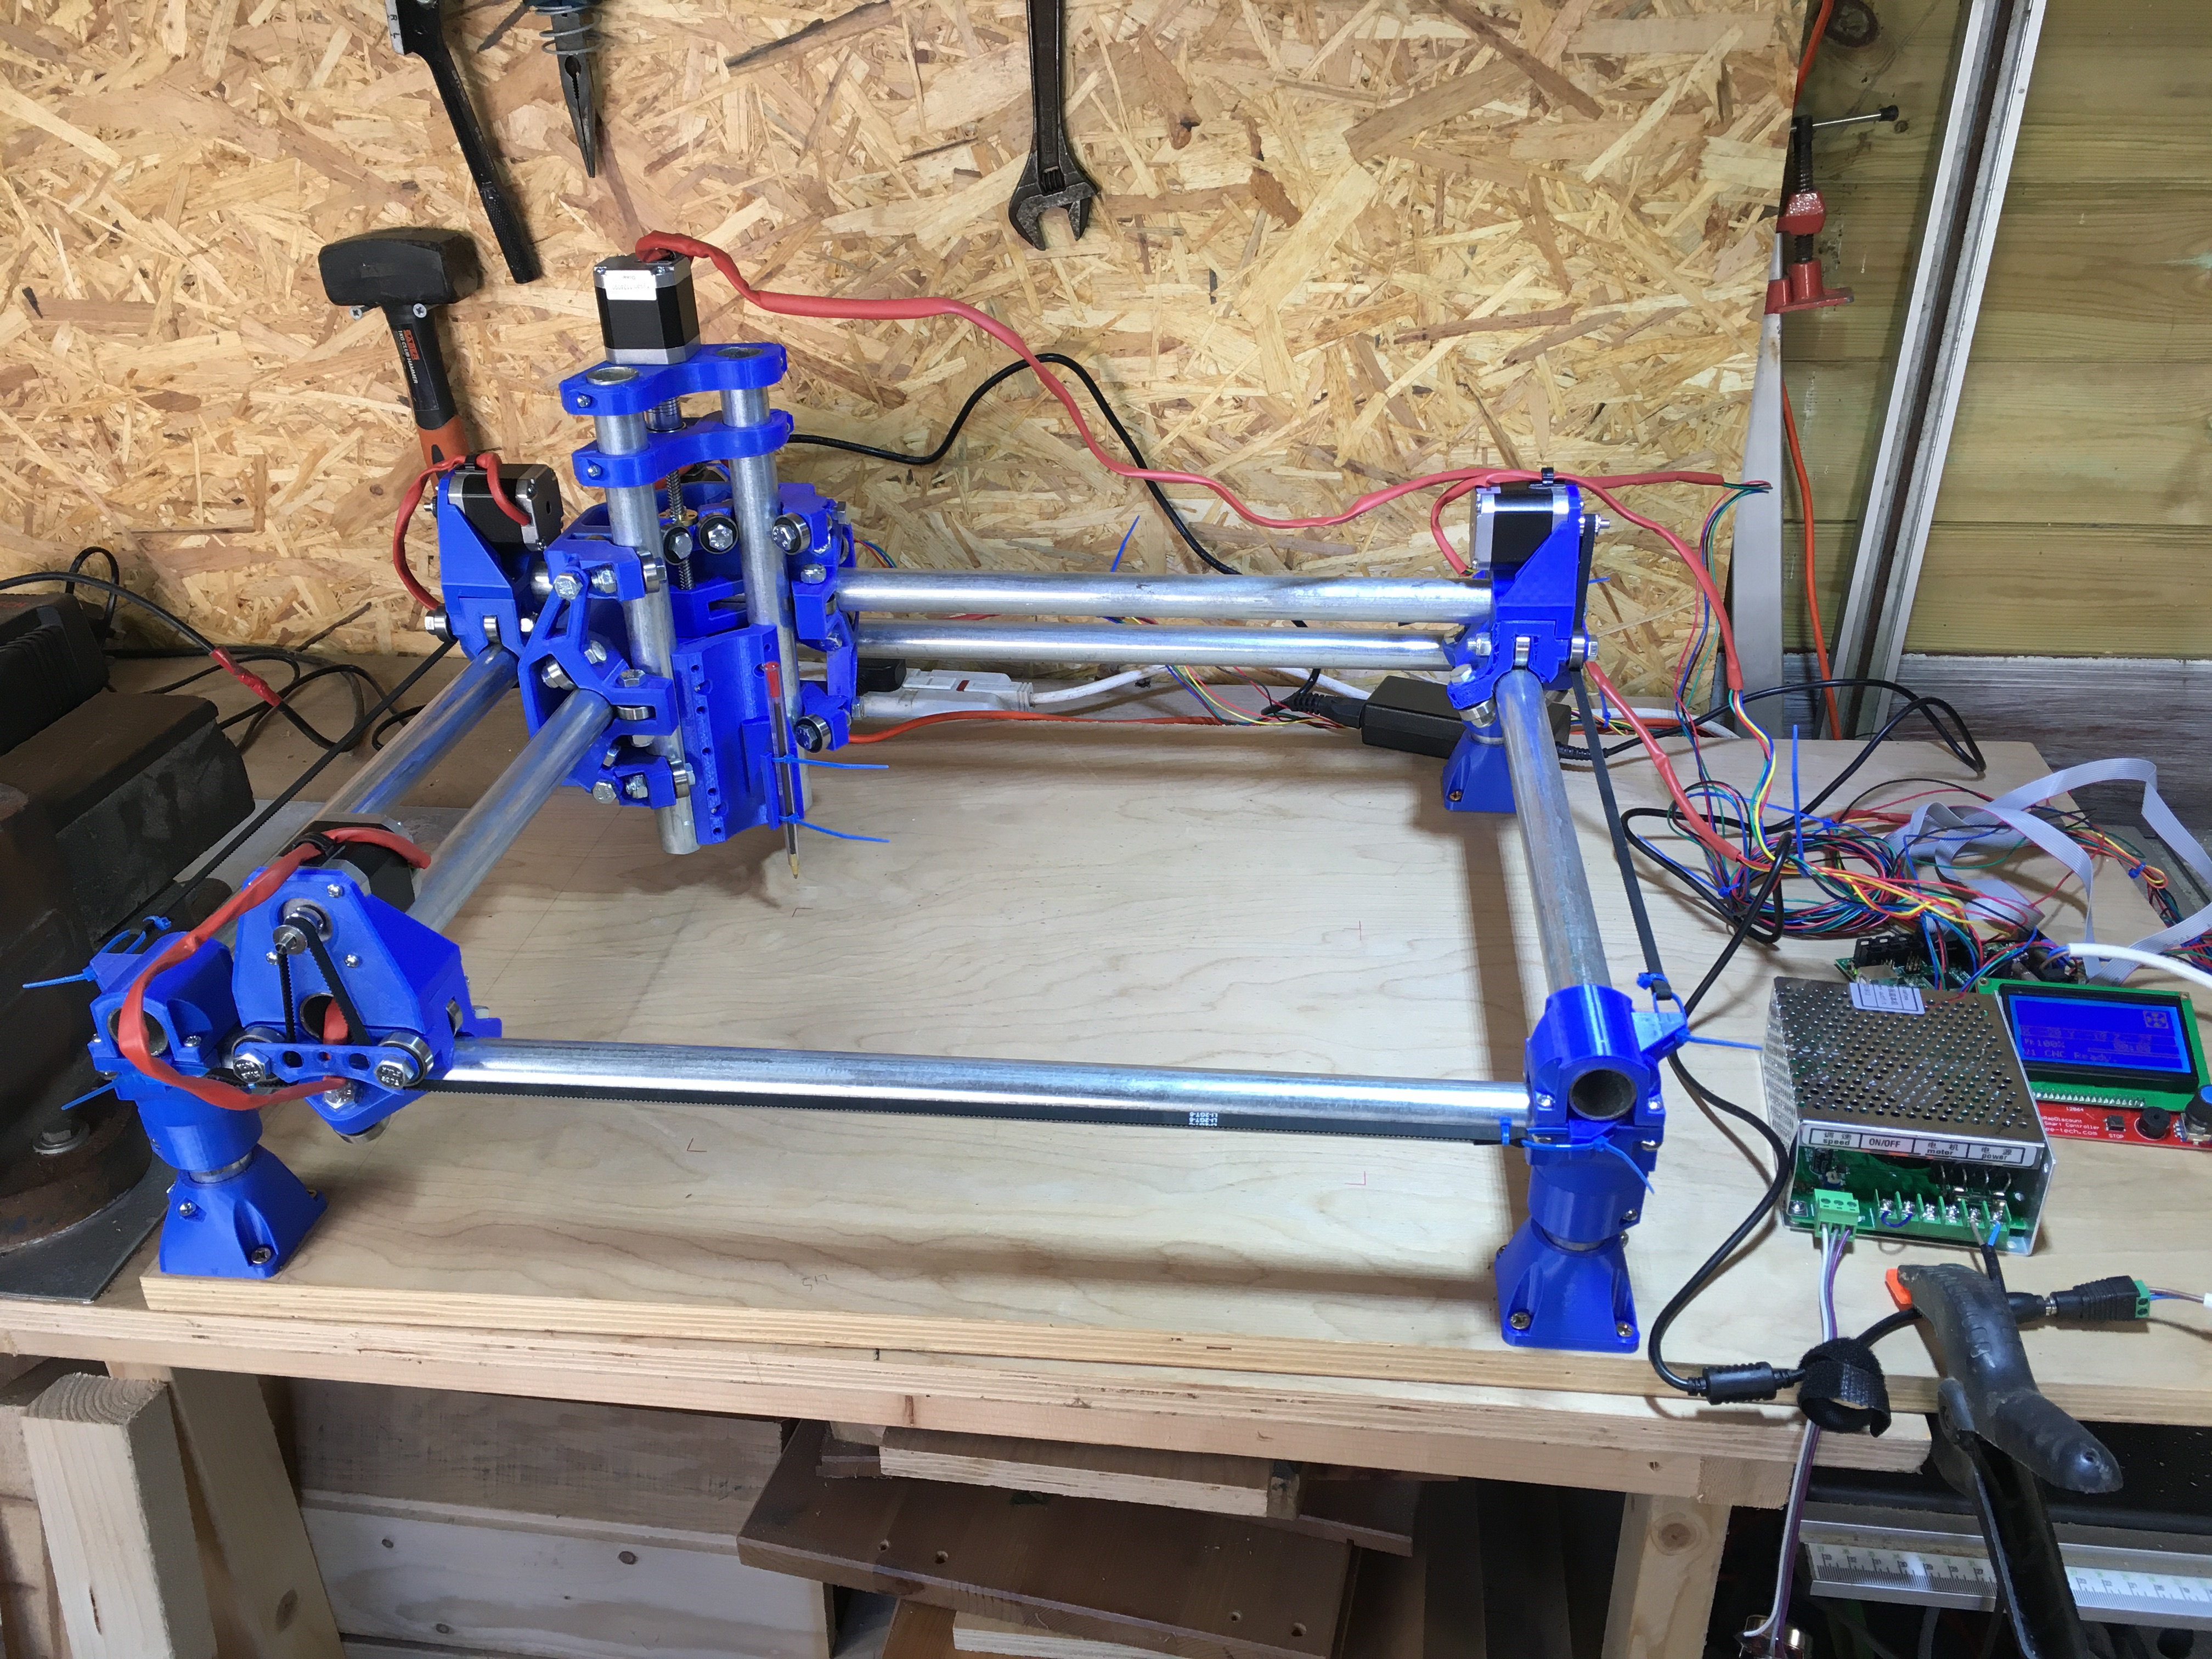
Construction was pretty straightforward. I fitted some of the belt holding corner pieces the wrong way round because of an otherwise helpful YouTube video, but that was easily fixed. I fitted the longscrew guide to the bottom of the tool mount, and since I’d already fitted the board, it was a pain to swap round (I have used short legs, because I don’t plan to use much height, but I may alter this later).
Before I started the Z-assembly, I thought I may as well try out the X and Y motors. Basic mechanical stuff, I’m OK, but electronics and software are not really my thing. I downloaded Repetier host, procured the correct lead from work and set about getting some basic movement from the motors (I have the LED controller, but I hadn’t connected it at this point). Nothing. Tweaked things, checked wiring, nothing. Got seriously frustrated, tried moving using the Arduino software (I’m still not sure what that’s for), nothing. Arduino gave me a hint though, no access to port COM3. Discovered Repetier server was running. Quit that and all problems solved. I had read about this problem and definitely didn’t intend to download and run server too, but I did.
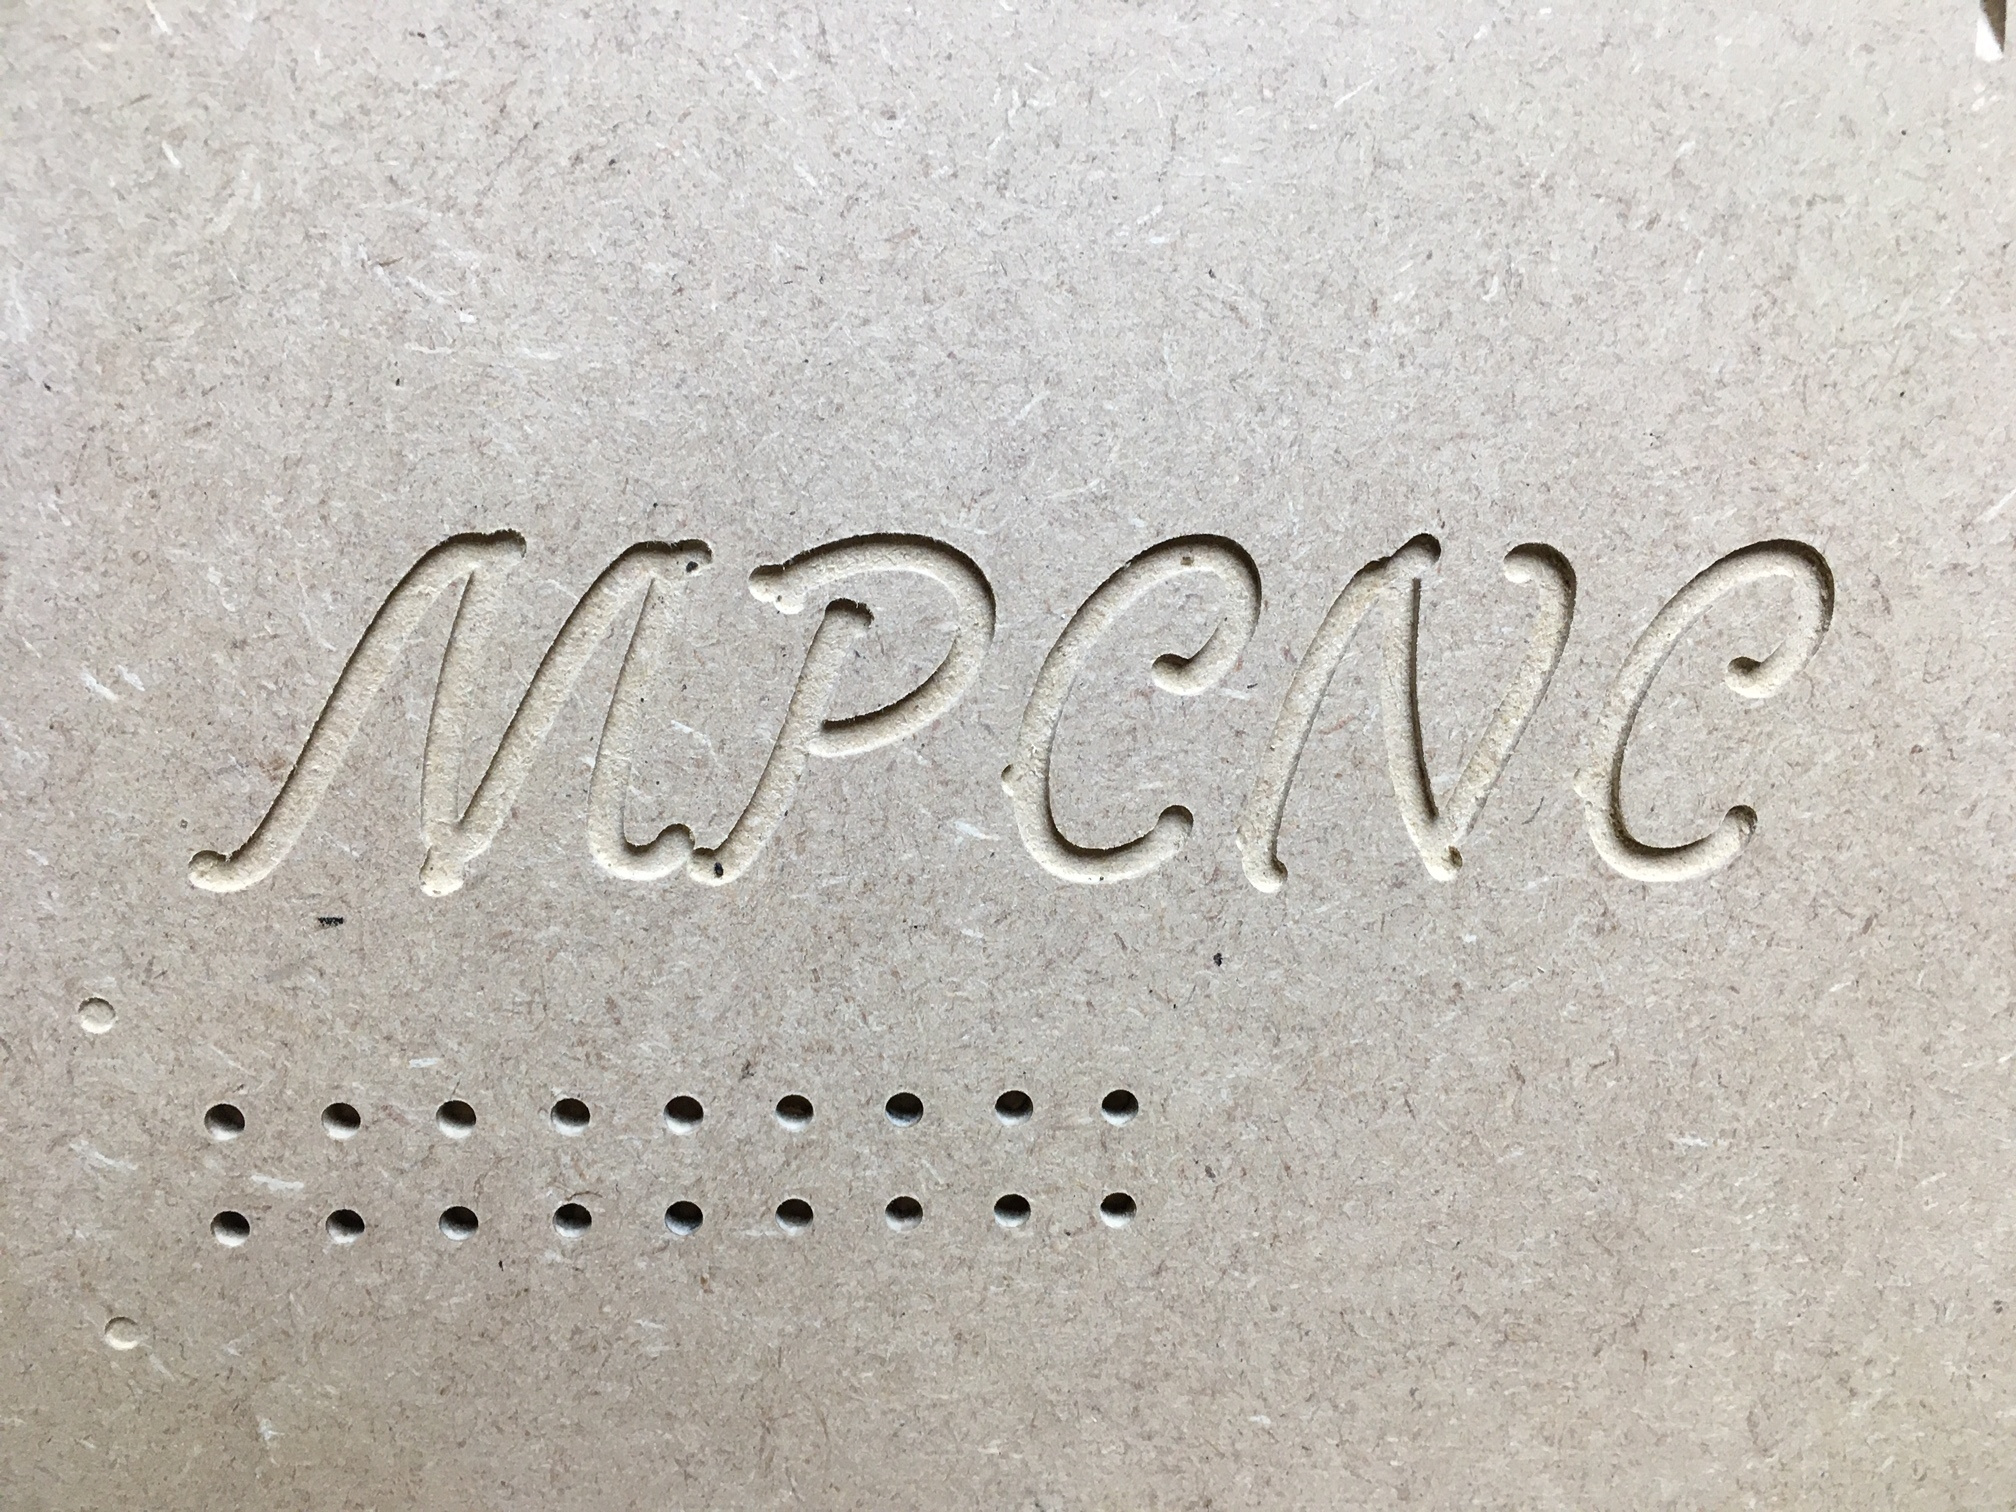
Fitted Z assembly, printed pen holder, crown test: all good. Very pleased. Chinese spindle arrived along with various endmills, that’s next, once I overcome my last mechanical problem: the mount brackets I’ve printed mean the supplied bolts aren’t quite long enough to reach the (implanted) nylock nuts. I think these are M3 (metric), so I need some longer bolts.
Then I have my biggest challenge: Estlcam. I need to be patient and I need to think clearly about CAD and CAM and precisely what I’m trying to do, but so far it’s all a bit strange and my progress is really slow (think glacial). I may try F-engrave too, as I plan to mostly, well, engrave.
Once that’s sorted, no matter the occasion, birthdays, Christmas, wedding, whatever, you’re getting a wooden engraving.
I think a final note on suitability of the project for people: this isn’t a Lego kit, but neither is is rocket surgery. Honestly, I think the quality you need most to build this is persistence rather than technical know-how. Just my $0.02.
Lastly, thanks Ryan and forum members. It’s been a privilege to put this together with all your help (that you didn’t know I was using!)