Building out the MPCNC. Starting printing from a humble Anet A8 modified with an SKR V1.3 and TMC2130’s. Using a brand of filament called Duramic, which prints like crap but the parts felt sturdy so I just rolled along. Took about two spools but there were calibration prints and other prints in between. I measured the time each part took and weighed each of the parts after printing to compare to the listed projected weights in the parts section, most of the weights were within a margin of error but others were way off, which concerns me a bit but not enough to not put the machine together.
Projected total filament used: 1793.28 grams
Actual filament used: 1589.6 grams
where most of the difference was made up by just a few parts but mostly the XY_C_Burly with a projected weight of 201 grams and an actual weight of 139 grams , oh well.
Printing times were mostly accurate, there were some time savings since I was printing at .32mm layer heights but nothing to write home about since the print head was moving at 40mm/s
Waiting until this weekend to go do curbside pickup of the conduit and table materials with the control board, 660 and other parts being delivered later.
Picked up the archim 1.0 since it was available on this site. I’m familiar with creating custom marlin builds with platform dot io (can’t include links) from getting that working on the SKR, so it shouldn’t be a bad choice.
Does anyone here have any recommendations on how guides on how to build an enclosure of the printer table? I want to eventually cut aluminum and also have heard that wood dust is pretty gnarly stuff (cancer…) so I wanted to build something that was as clean and safe as possible, help here would be awesome. If it helps, the machine will be placed right under a window in my garage so access to easy ventilation is possible.
The plan is to have something that I guess is considered large, with a conduit X and Y length of 43" and 33" , which may hinder the aluminum dream but we’ll see.
Will hopefully have a mostly built out pic of the CNC by this Sunday. Looking forward to feedback.
6 Likes
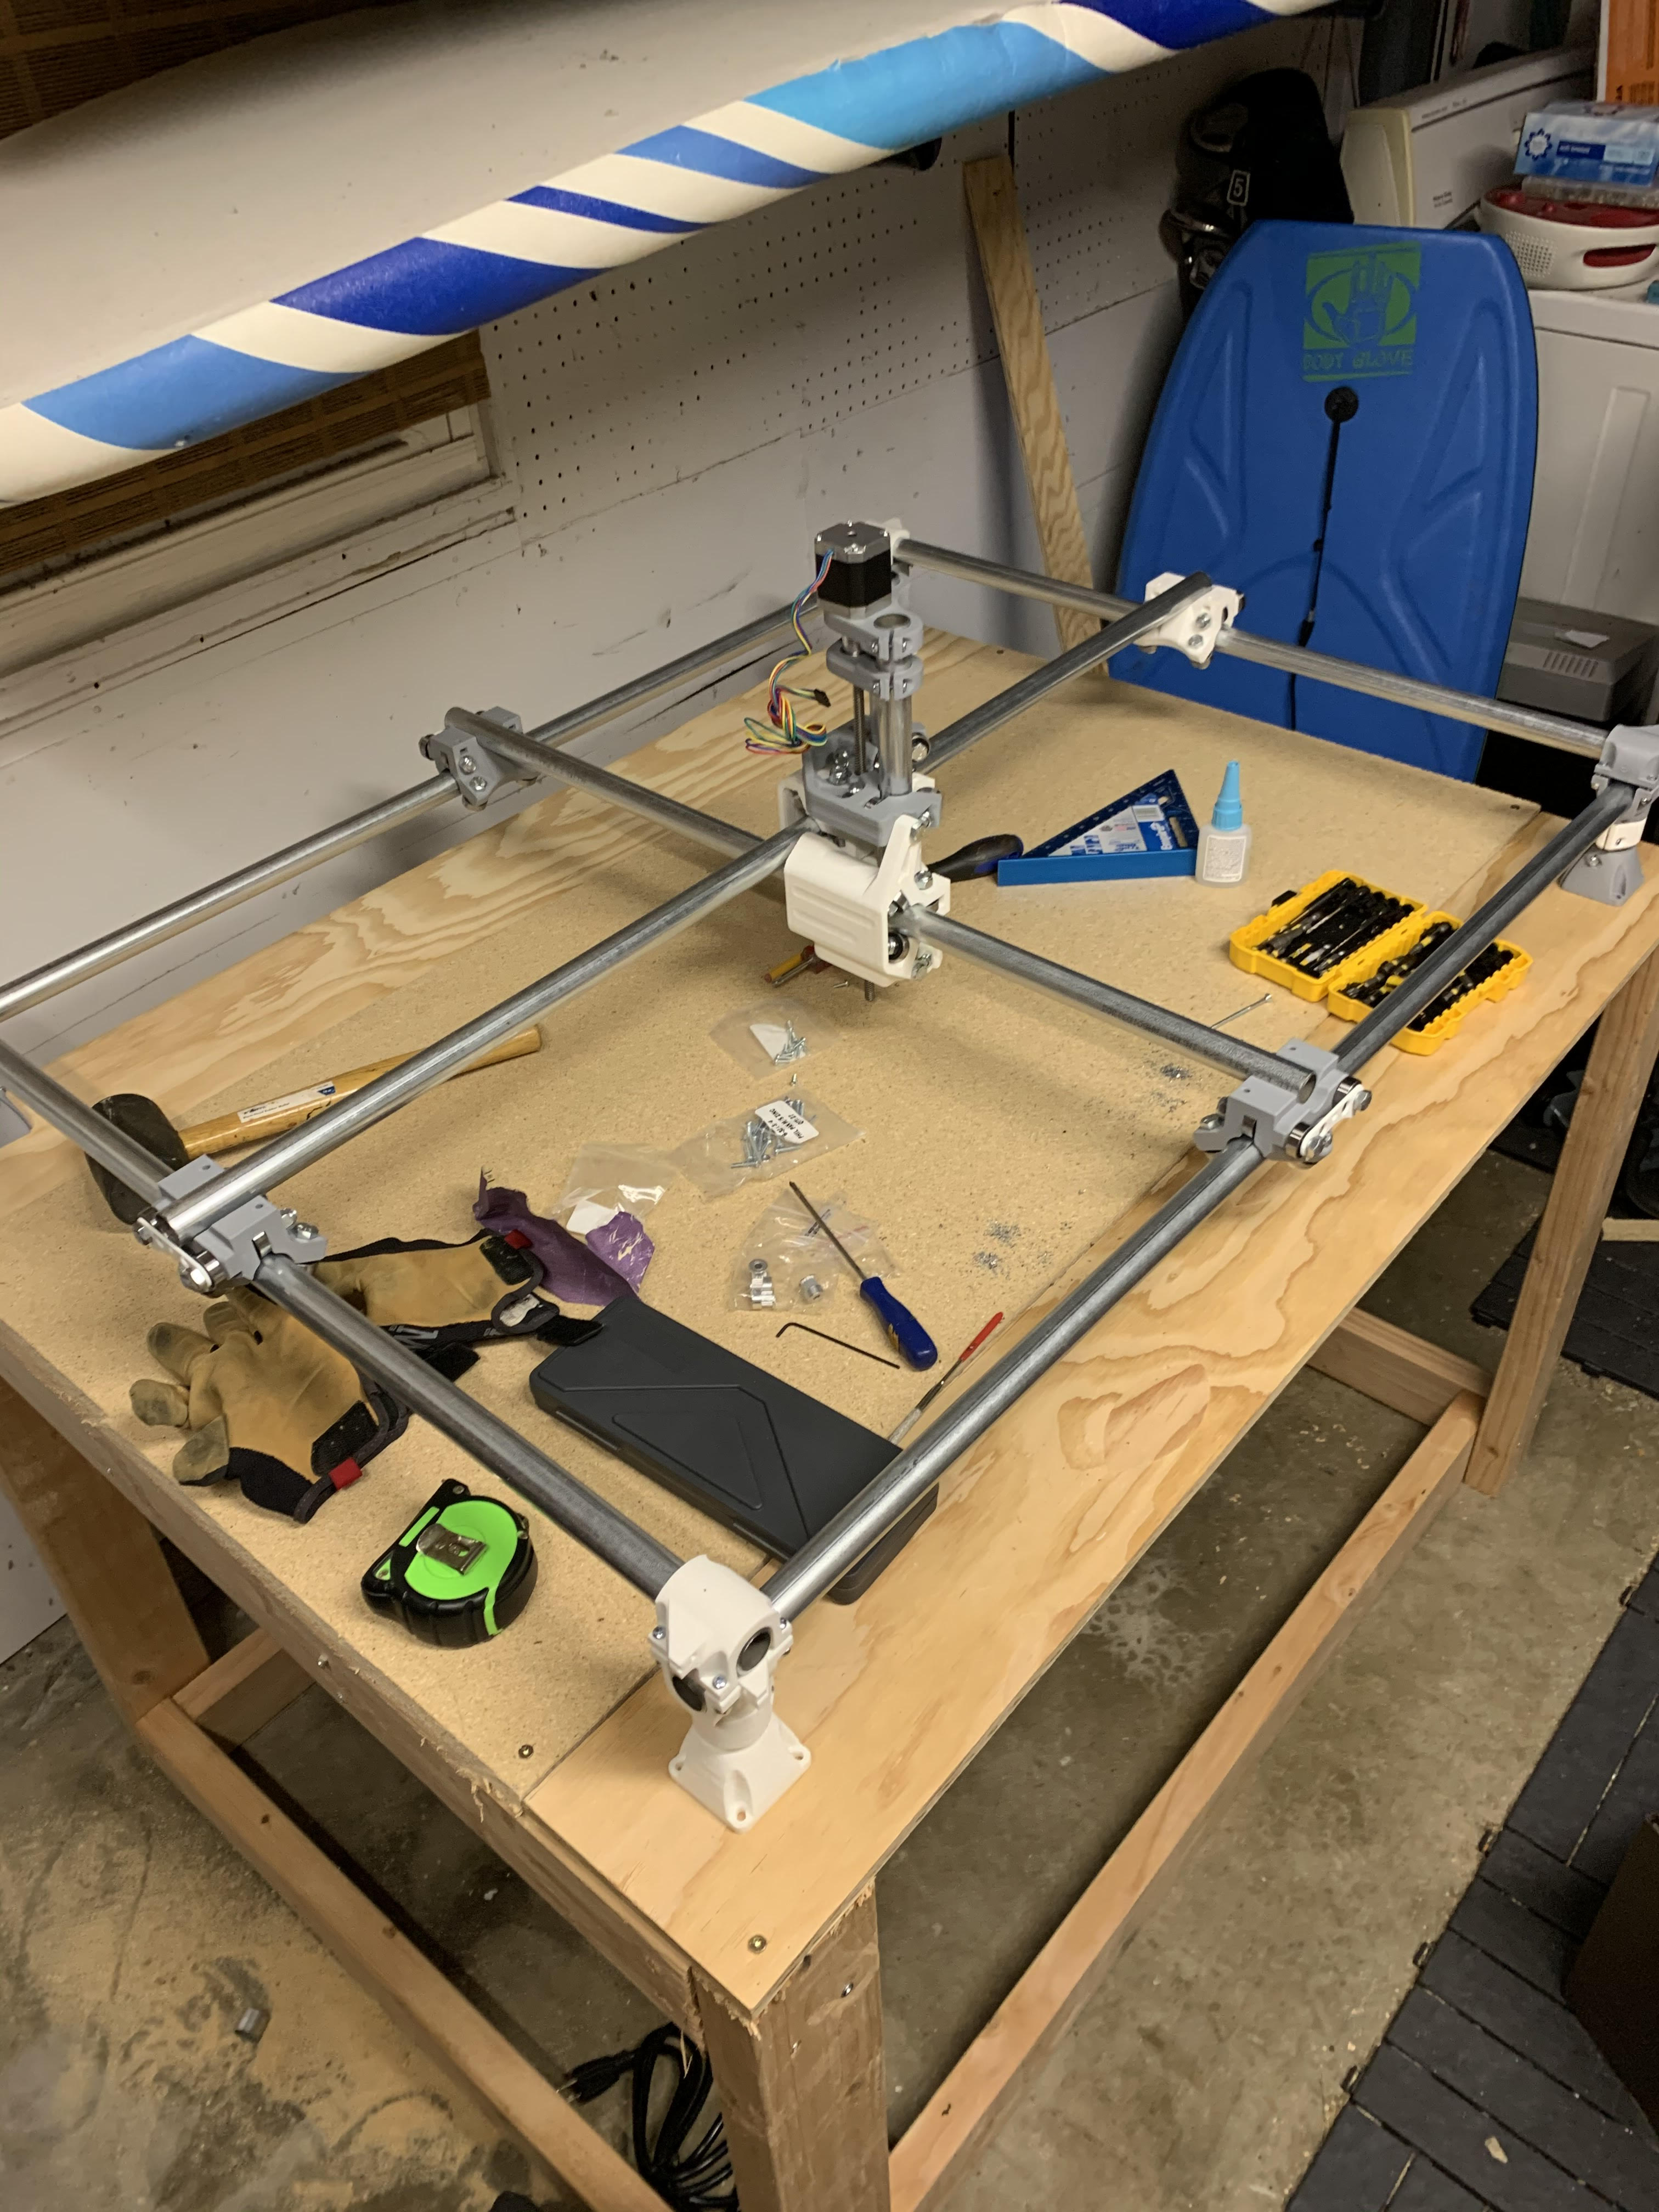
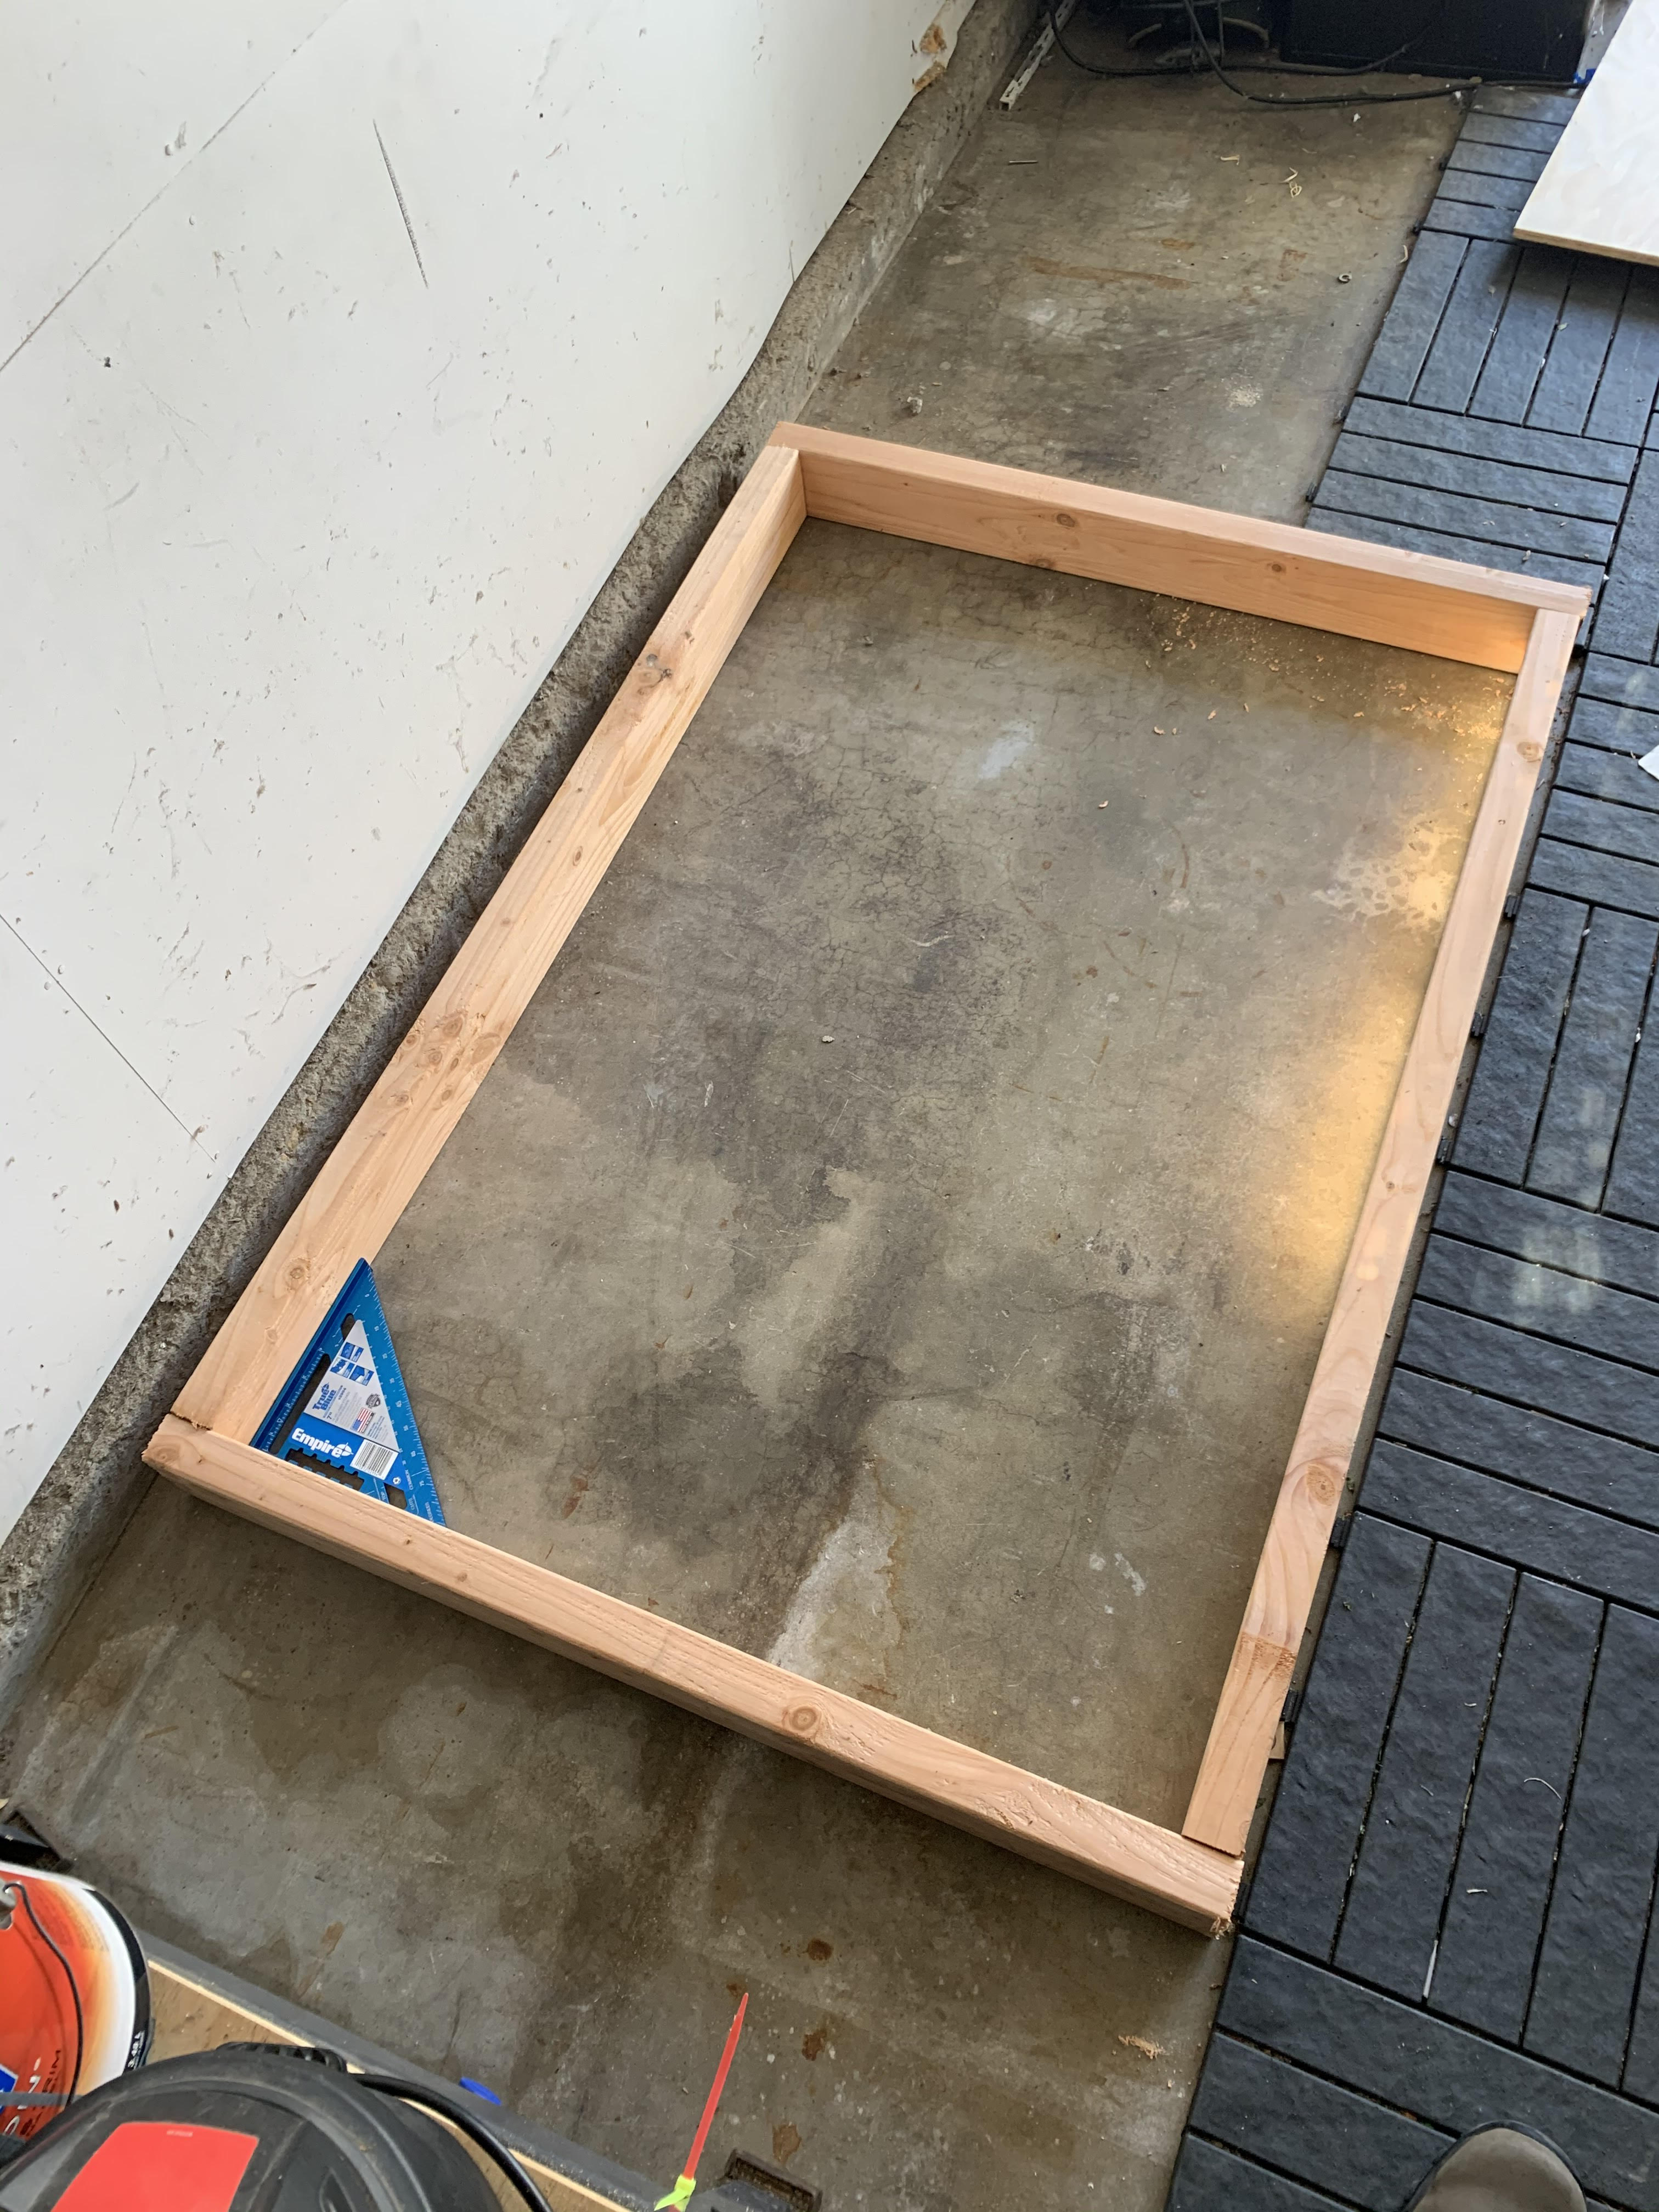
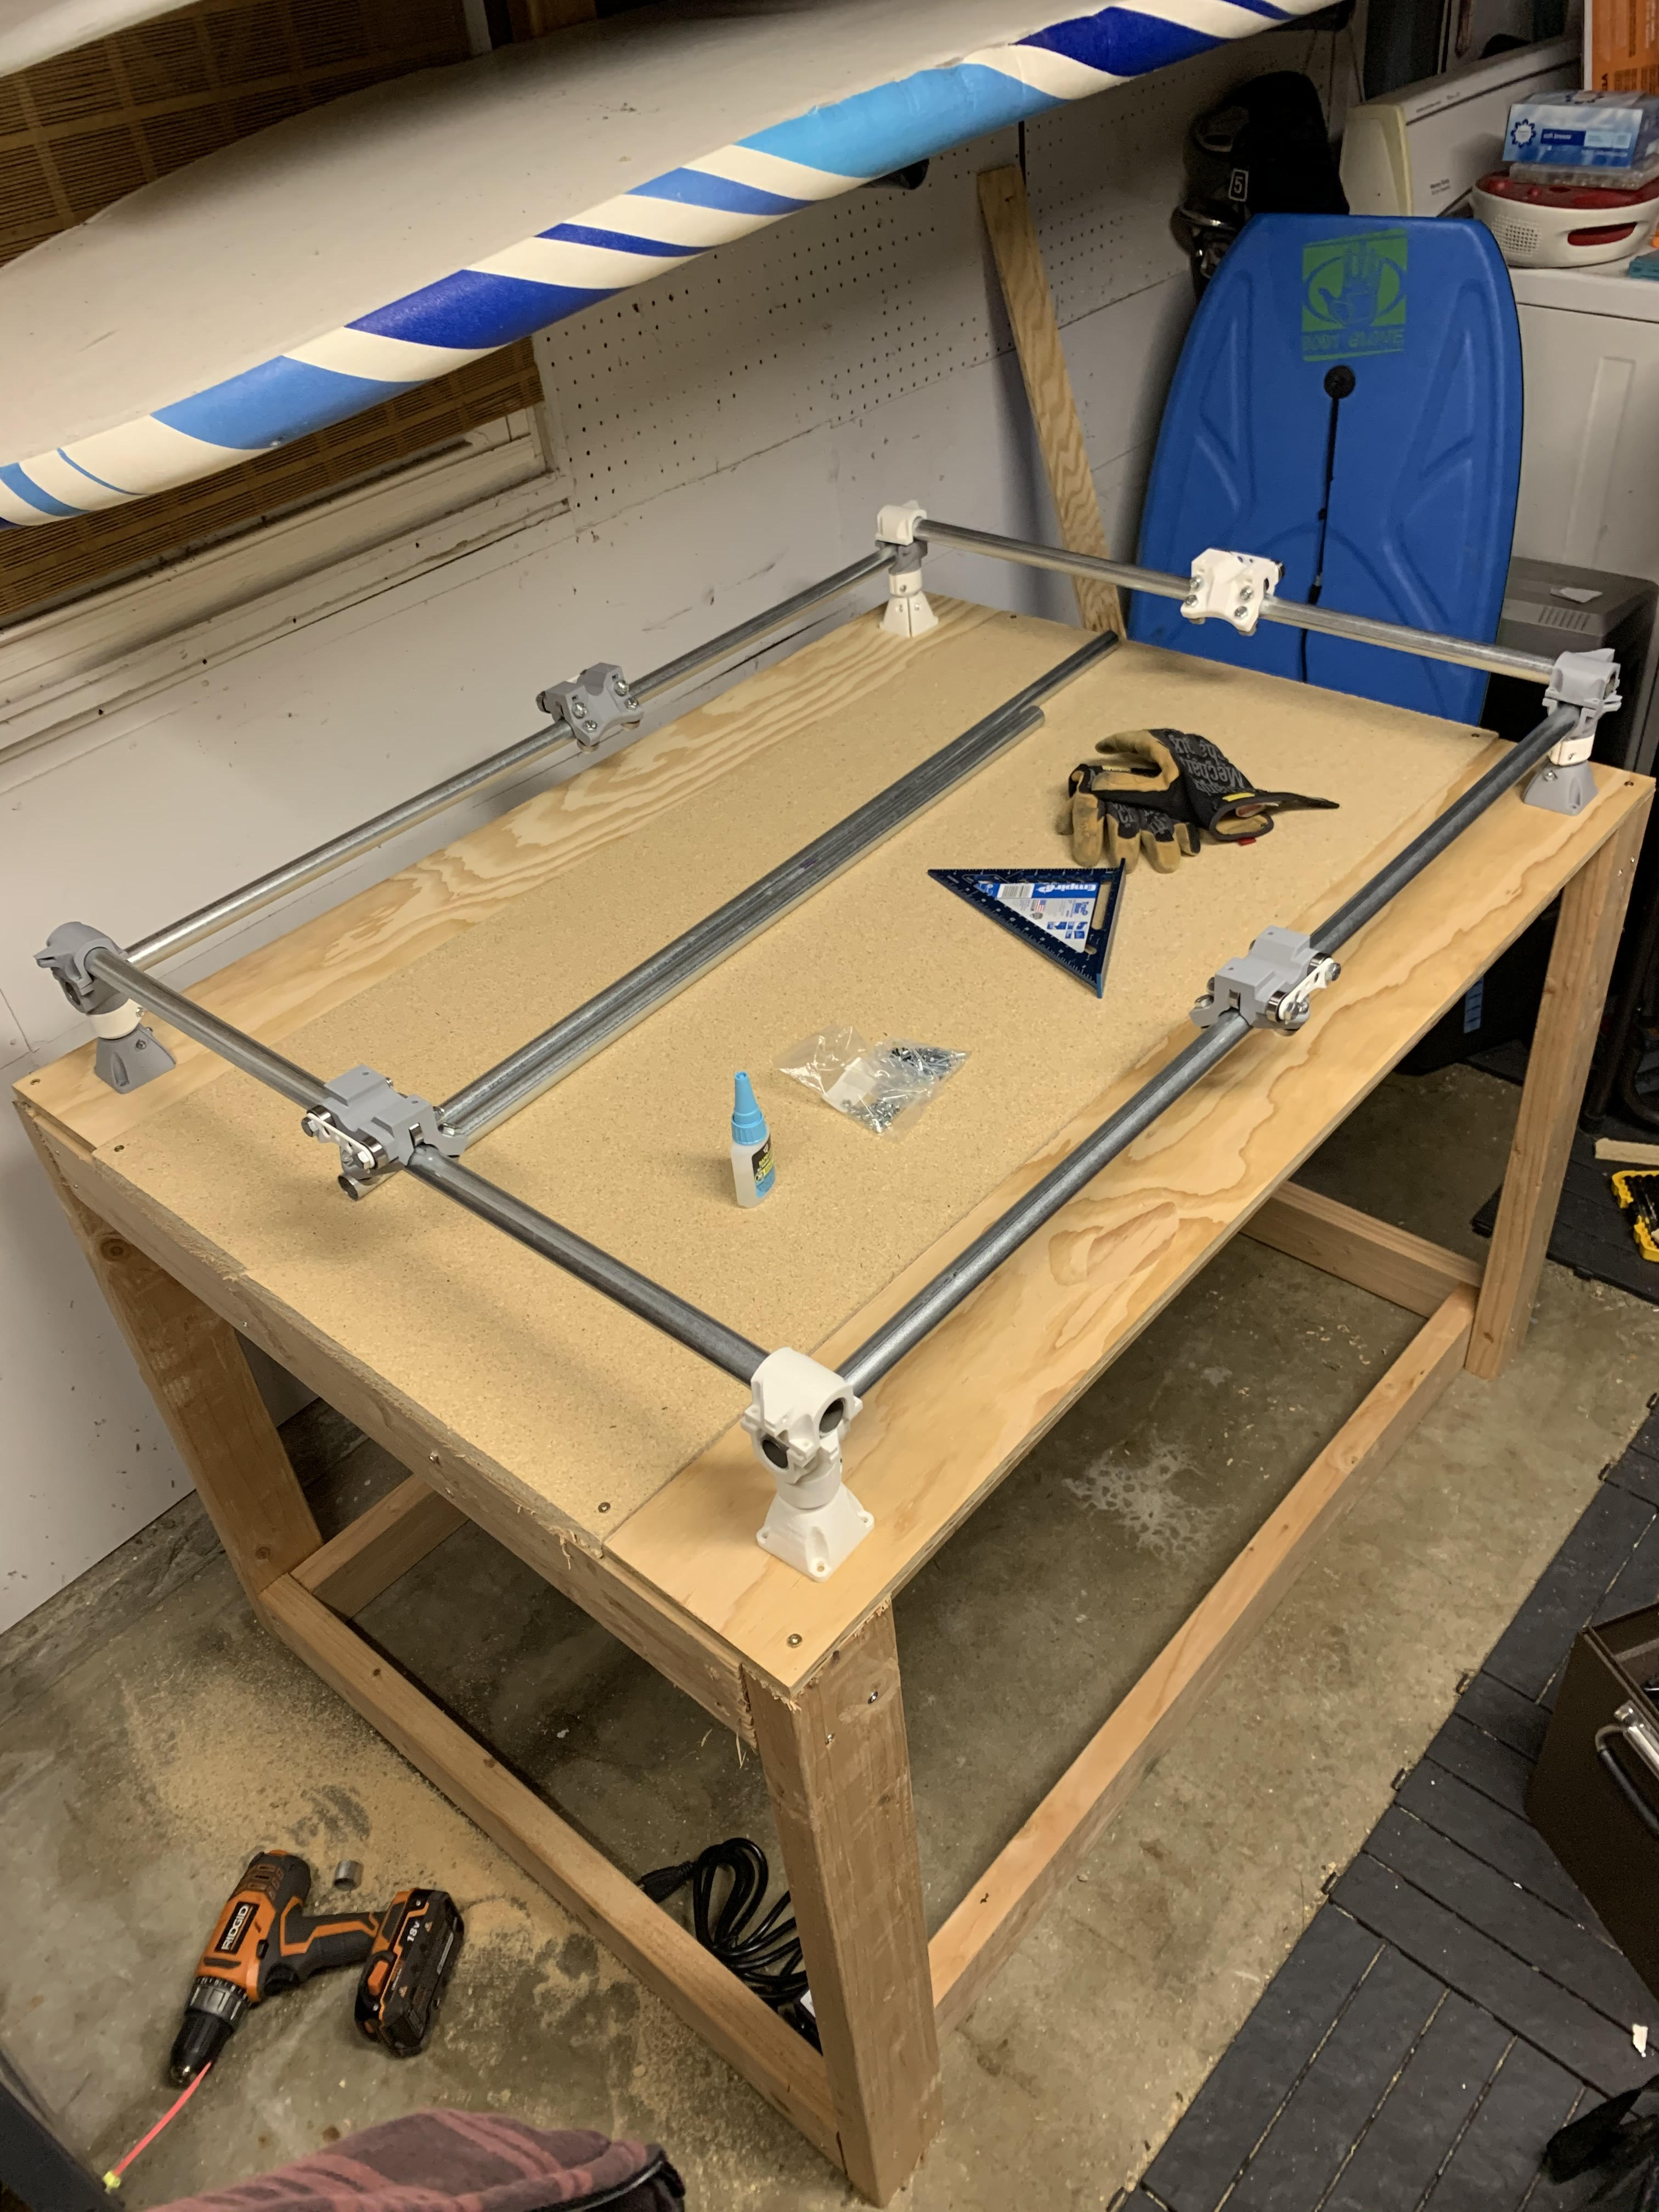
Naively optimistic timelines for completing projects seems to be something I’m really good at, so after one day at home depot (in line to get in and a huge line to pay), a days worth of work on sunday and several hours tonight I now have the table, the gantry and middle parts assembled but not bolted down. With squaring, motors, cutting the threaded rod and electronics still needed, not to mention drilling out the spoil board for threaded inserts, getting a shop vac filtering system and maybe changing out the x-y rollers with the double endstop variety. It will be worth it though!
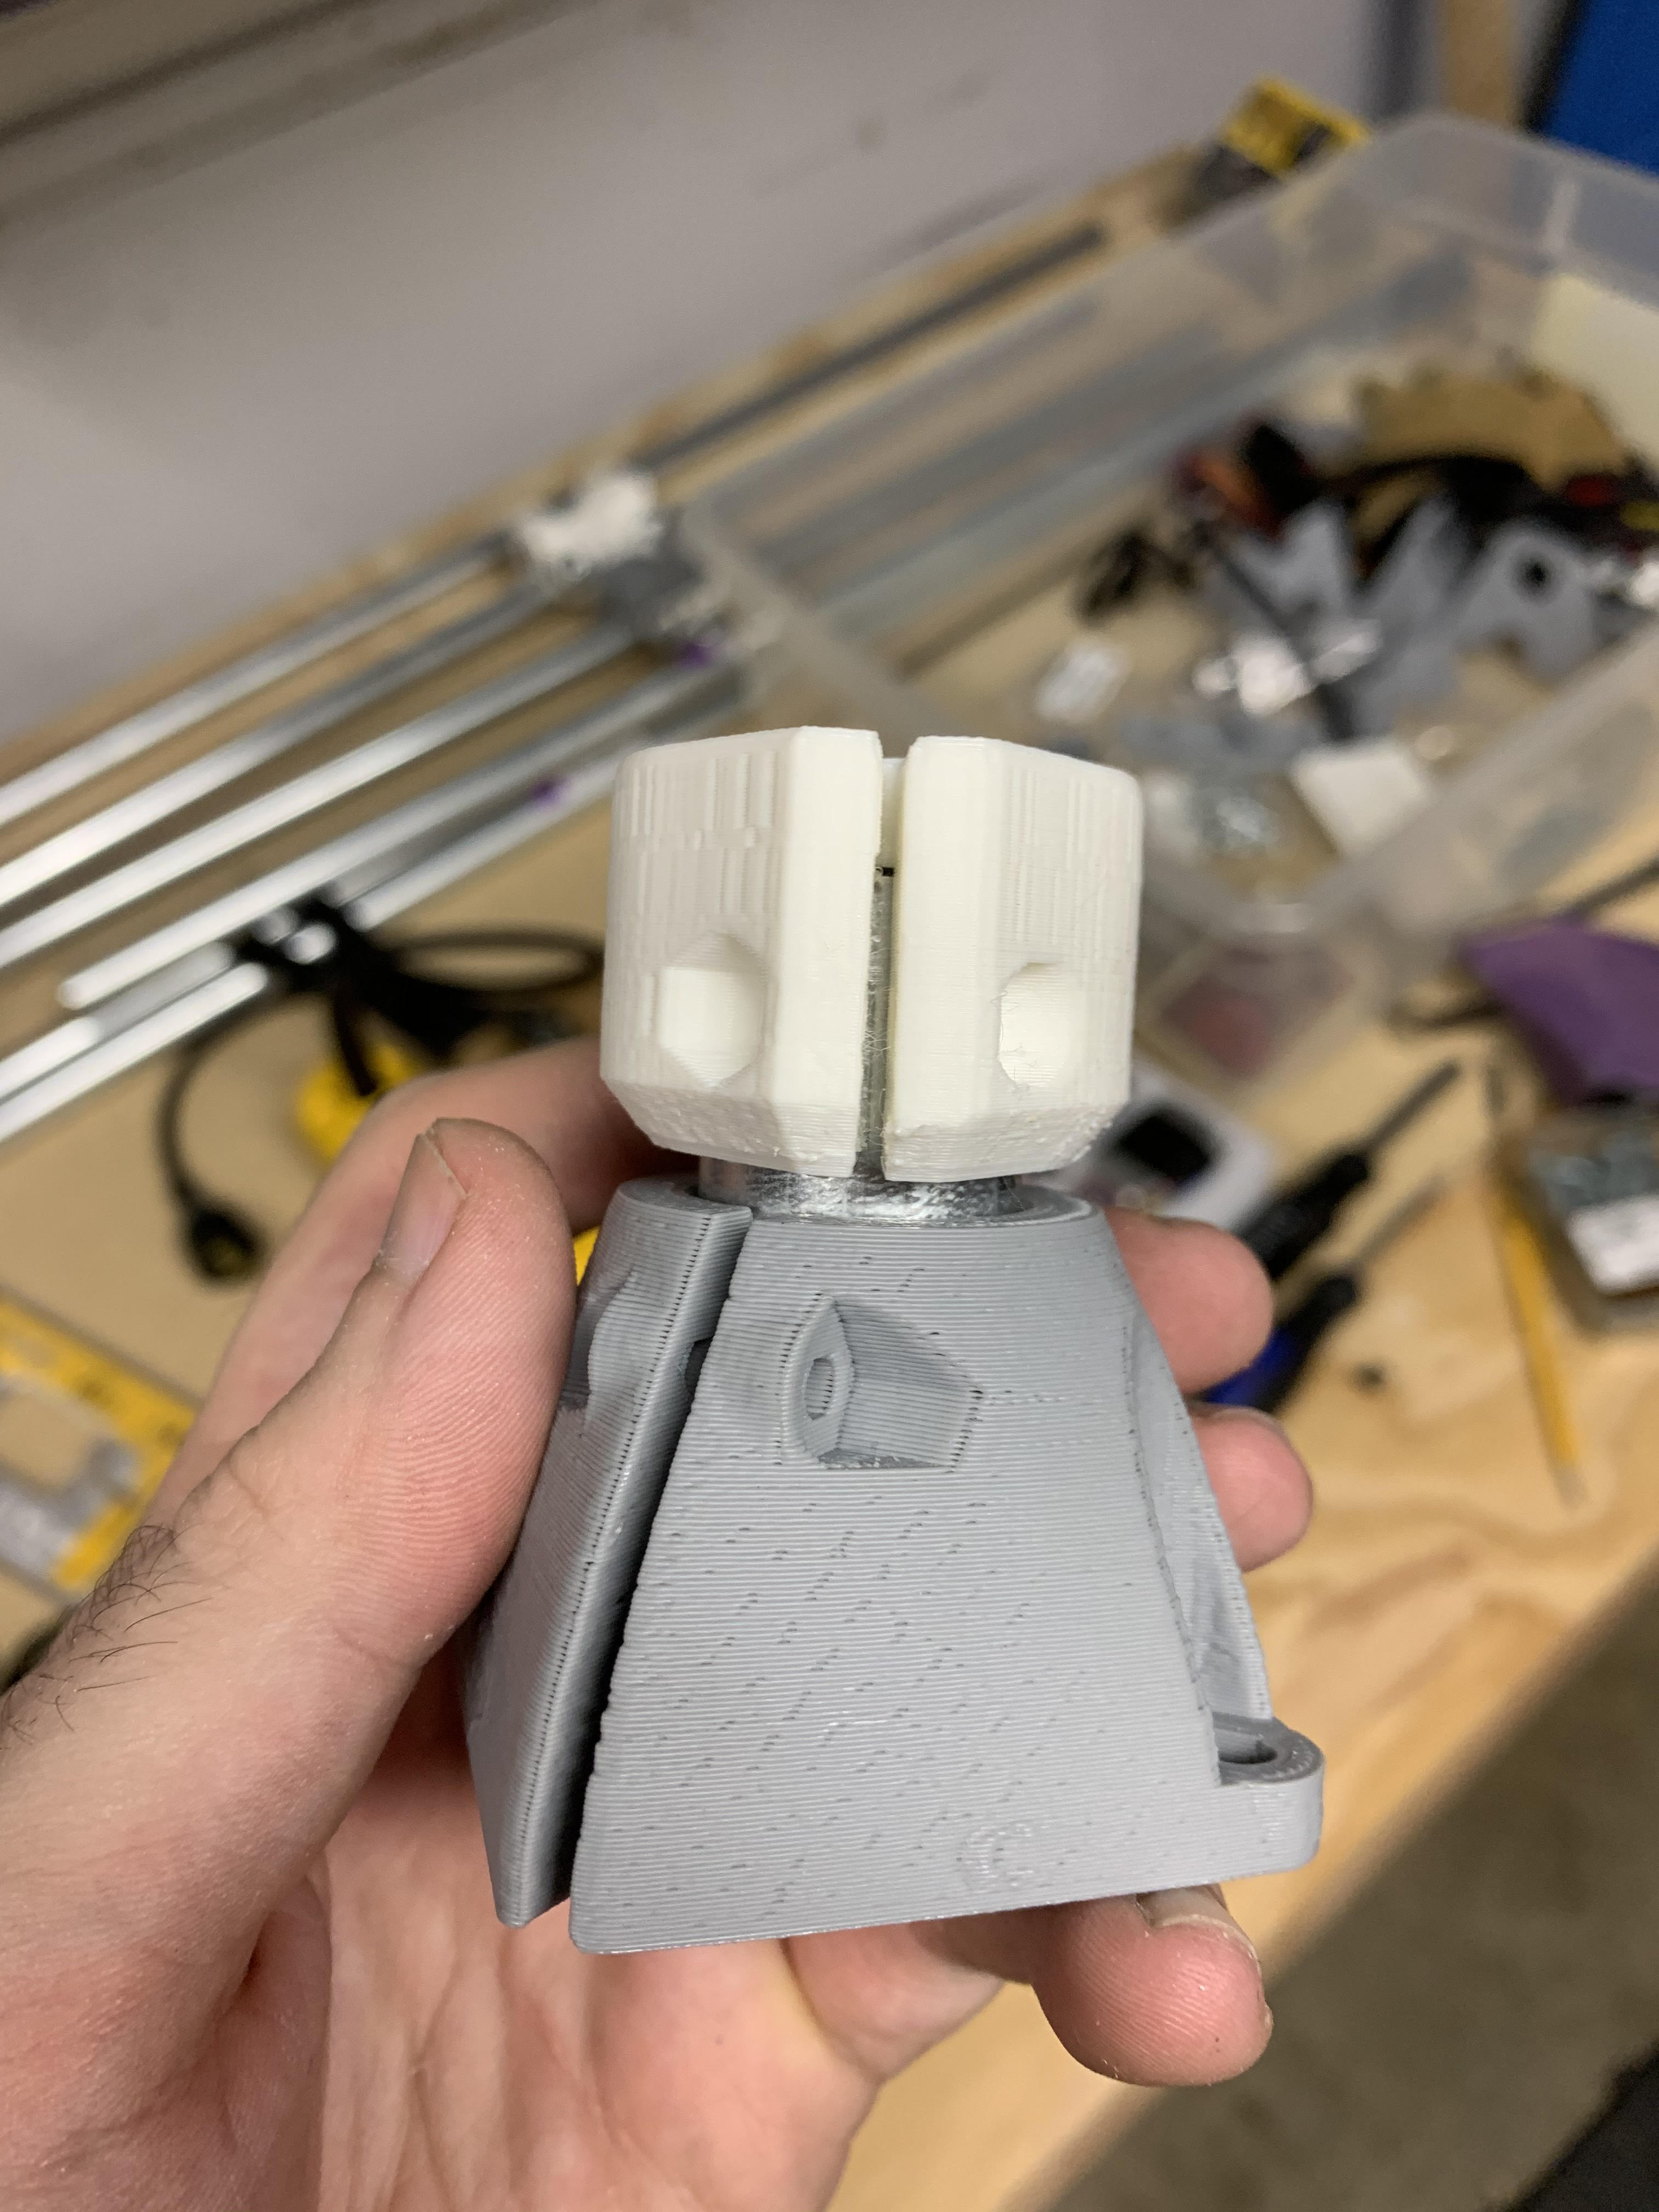
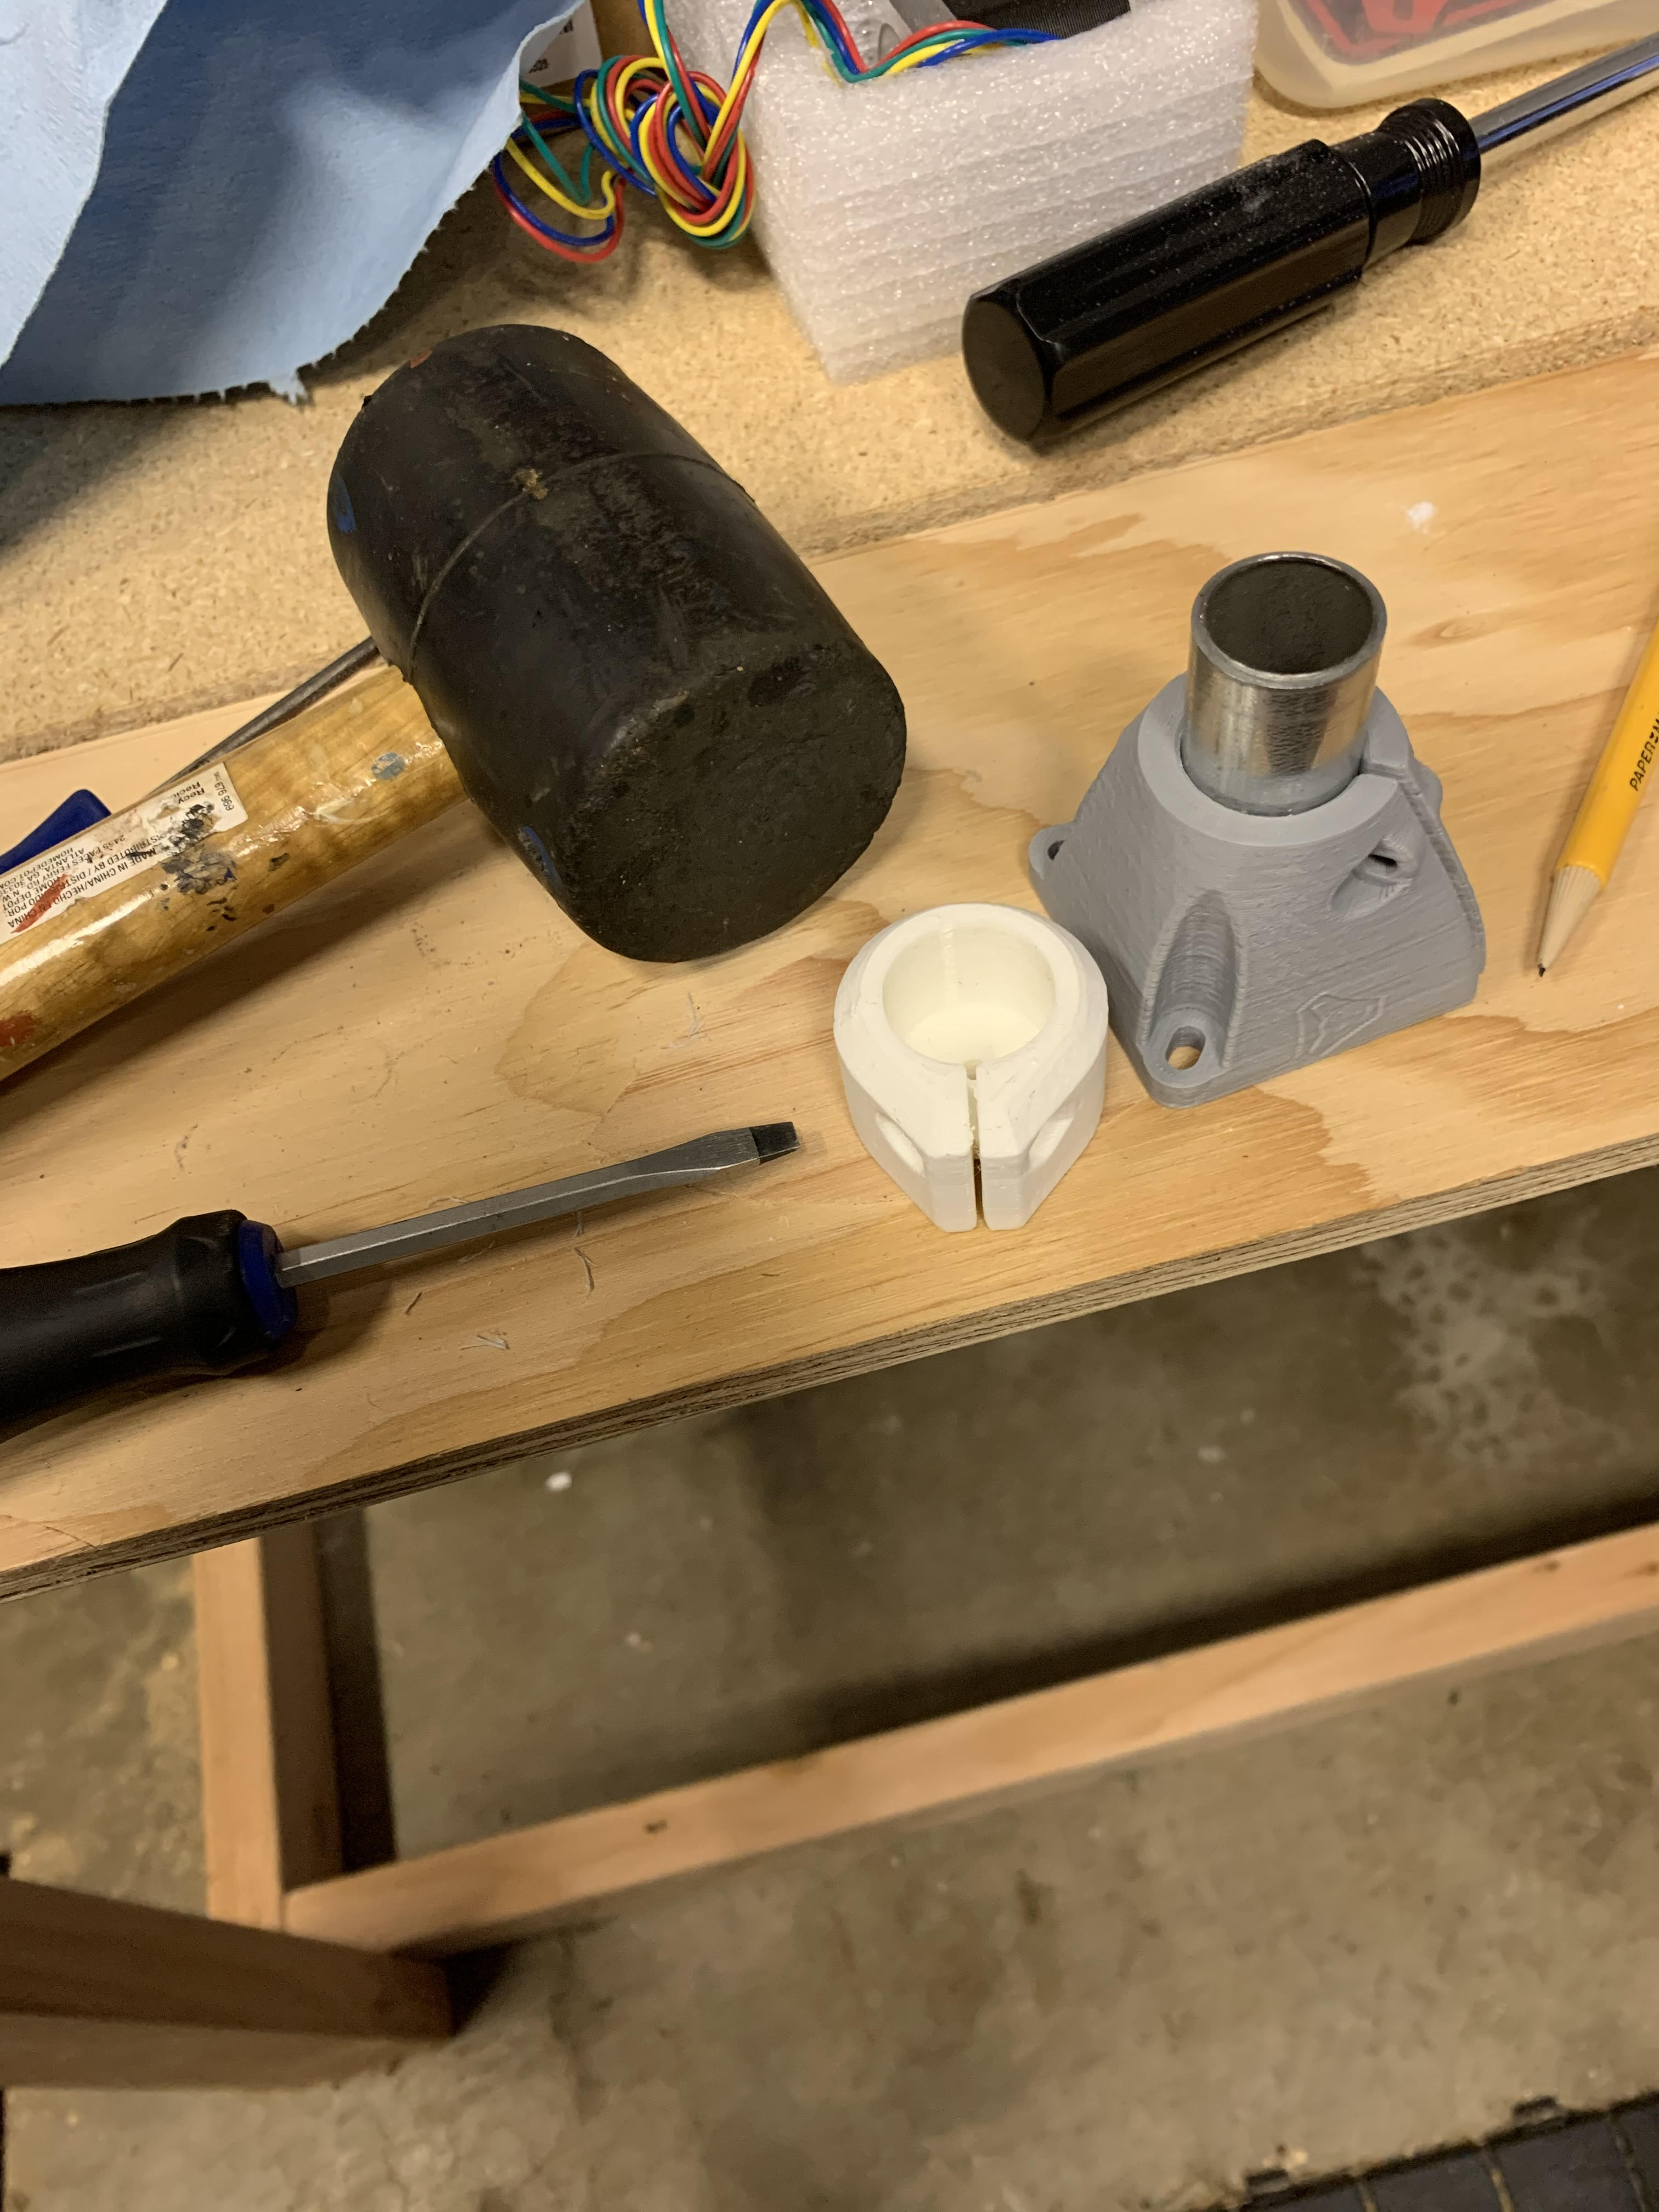
Some of the parts fits so tightly together I had to hammer in the conduit to the foot assembly, thankfully nothing cracked.
1 Like
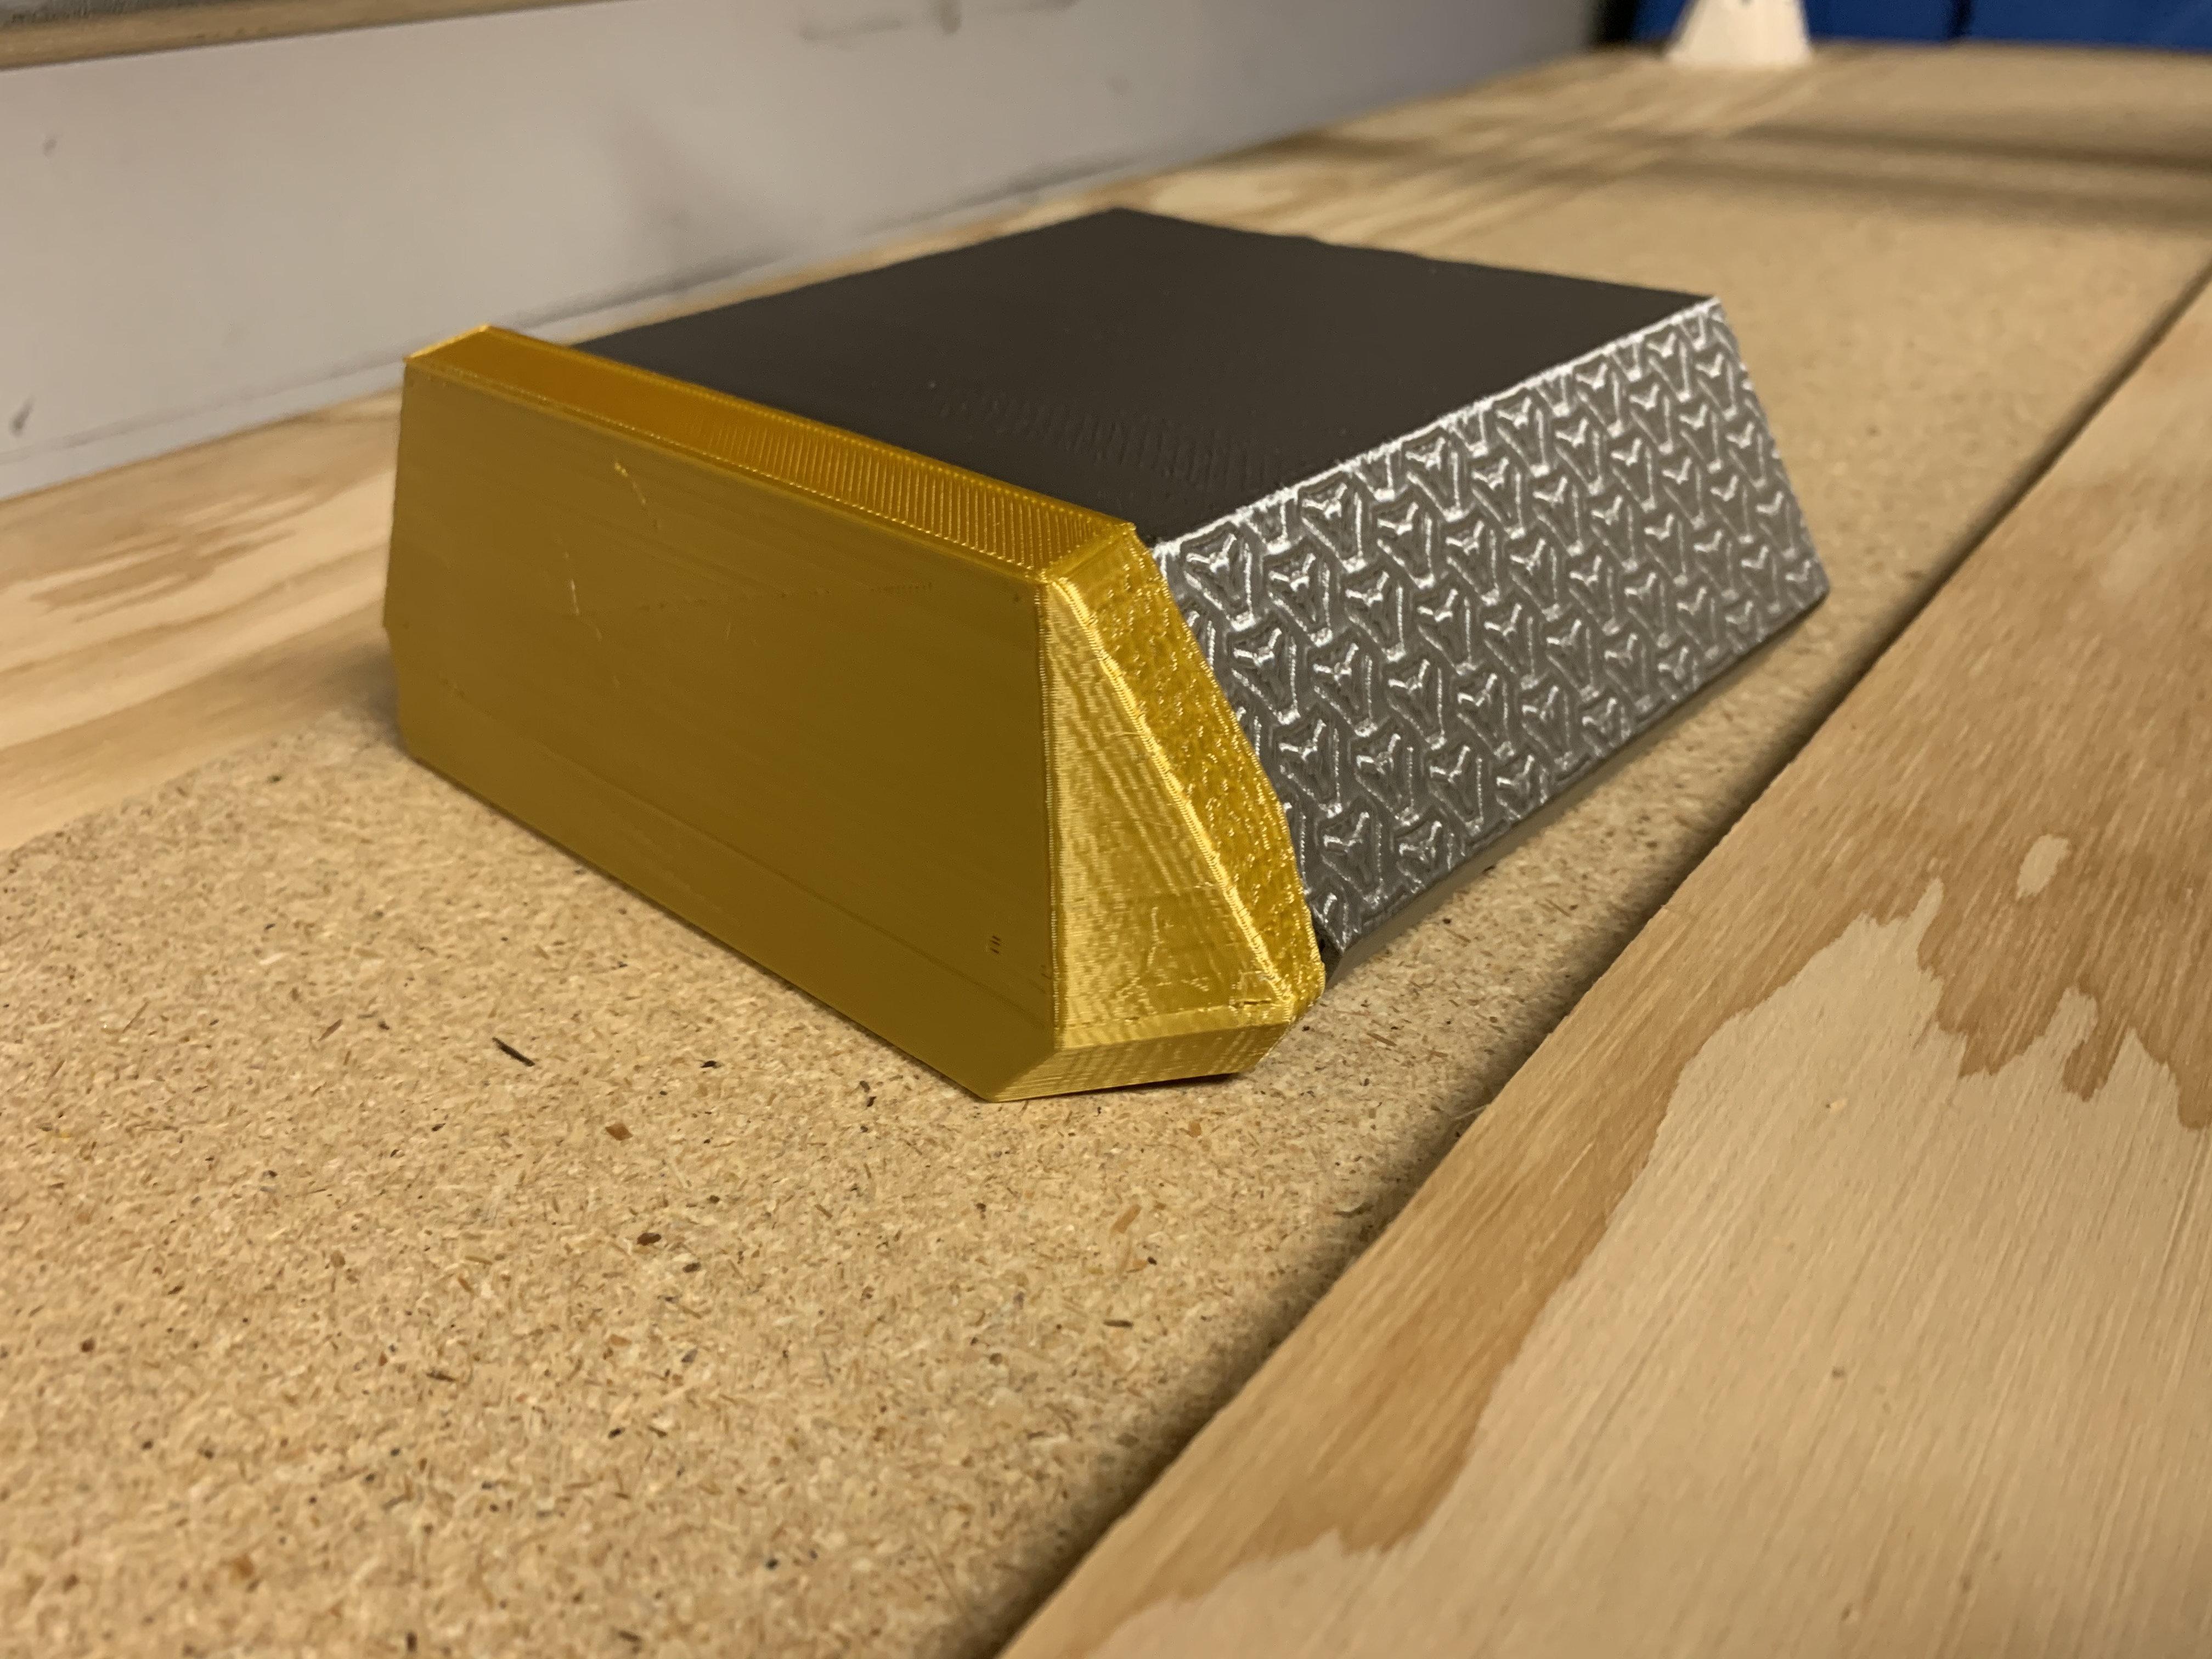
Looks like underextrusion on that foot on the 3rd photo and might affect stability/rigidness.
we’ll see, the infill didn’t look like it suffered from any under extrusion, and this is supposed to be some “PLA plus” stuff. I needed to open the foot with a flat head screw driver through the gap and didn’t feel as if it was brittle or weak. But failure is always an option. Honestly I won’t buy the same filament again, it either suffered from over extrusion or weird under extrusion like the foot piece and would constantly pop when being extruded.
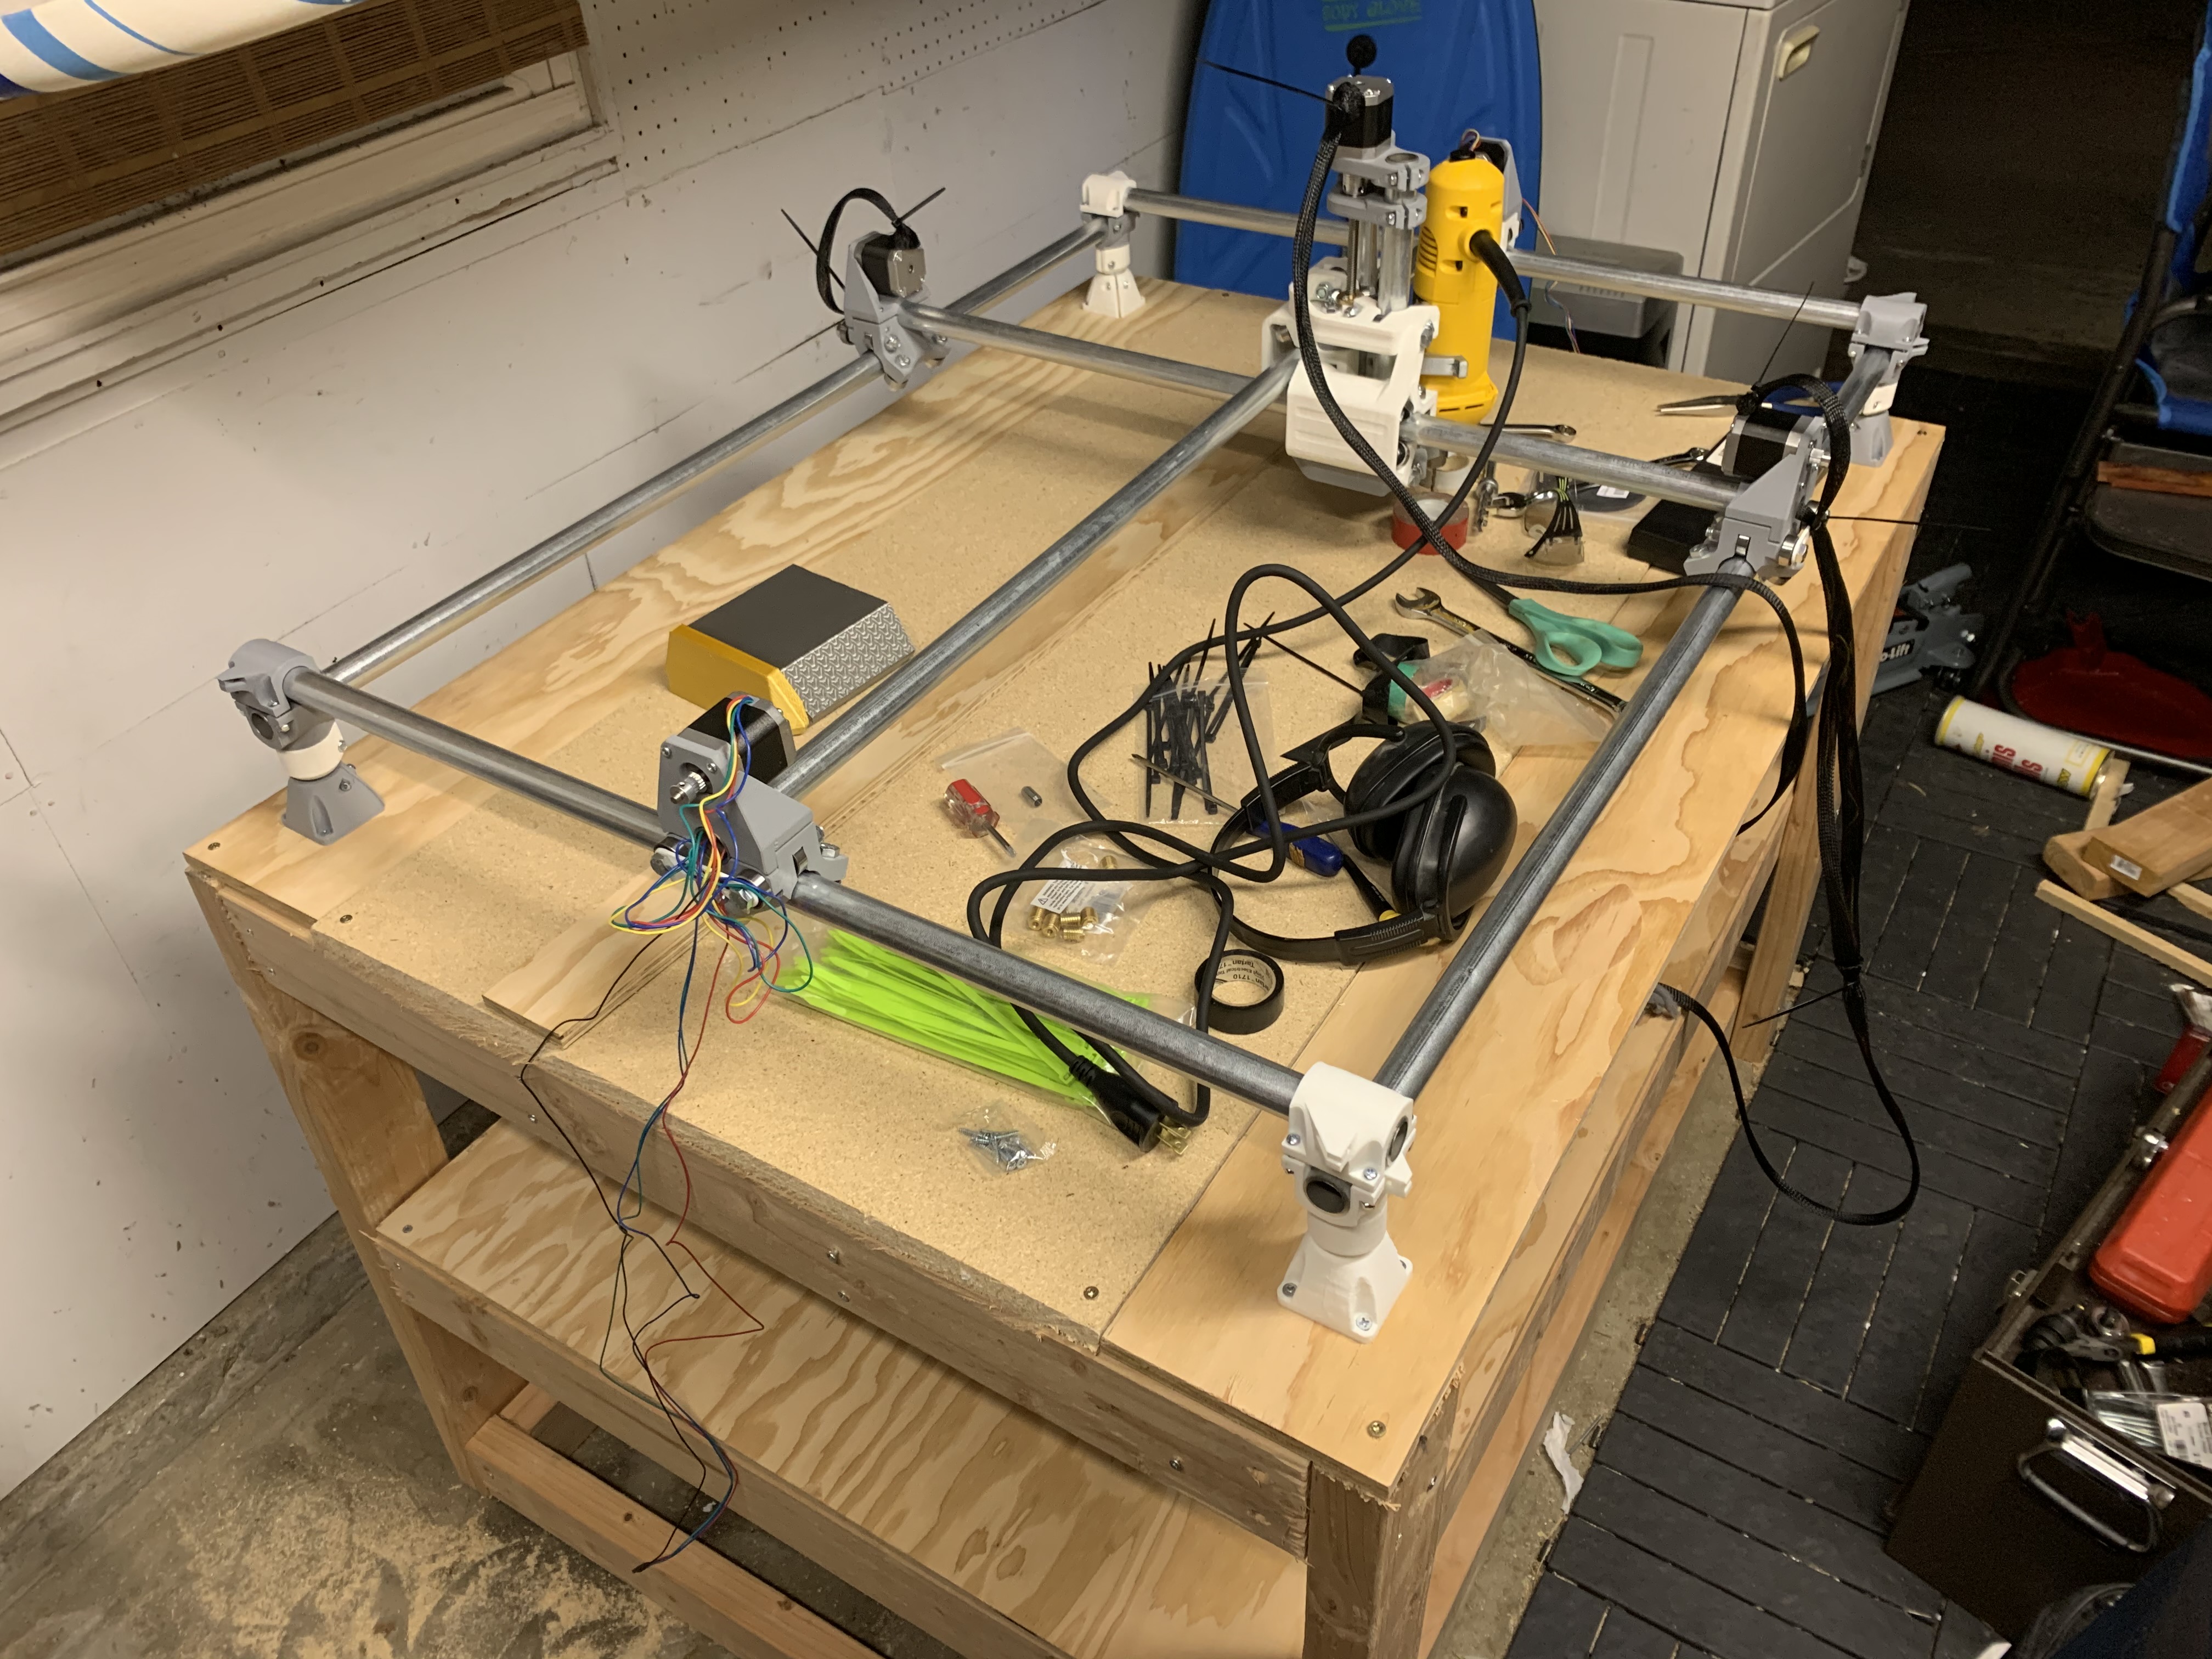
Printed the electronics box, added the motors and started getting wiring together. Tested the router and router speed limiter. Working next on getting IR rpm meter, wii nunchuck controller, octopi instance and firmware on the archim v1.0
2 Likes
I’ve been pretty busy at work so I haven’t been able to put any time into this until tonight. I have all the electronics setup with the raspberry pi running v1pi. I tested the stepping and the motors are all moving in the right direction BUT the stepper motors are constantly buzzing when idle. Is there a way to avoid this? I’m using the firmware that was installed on the board along with the most recent release of v1pi.
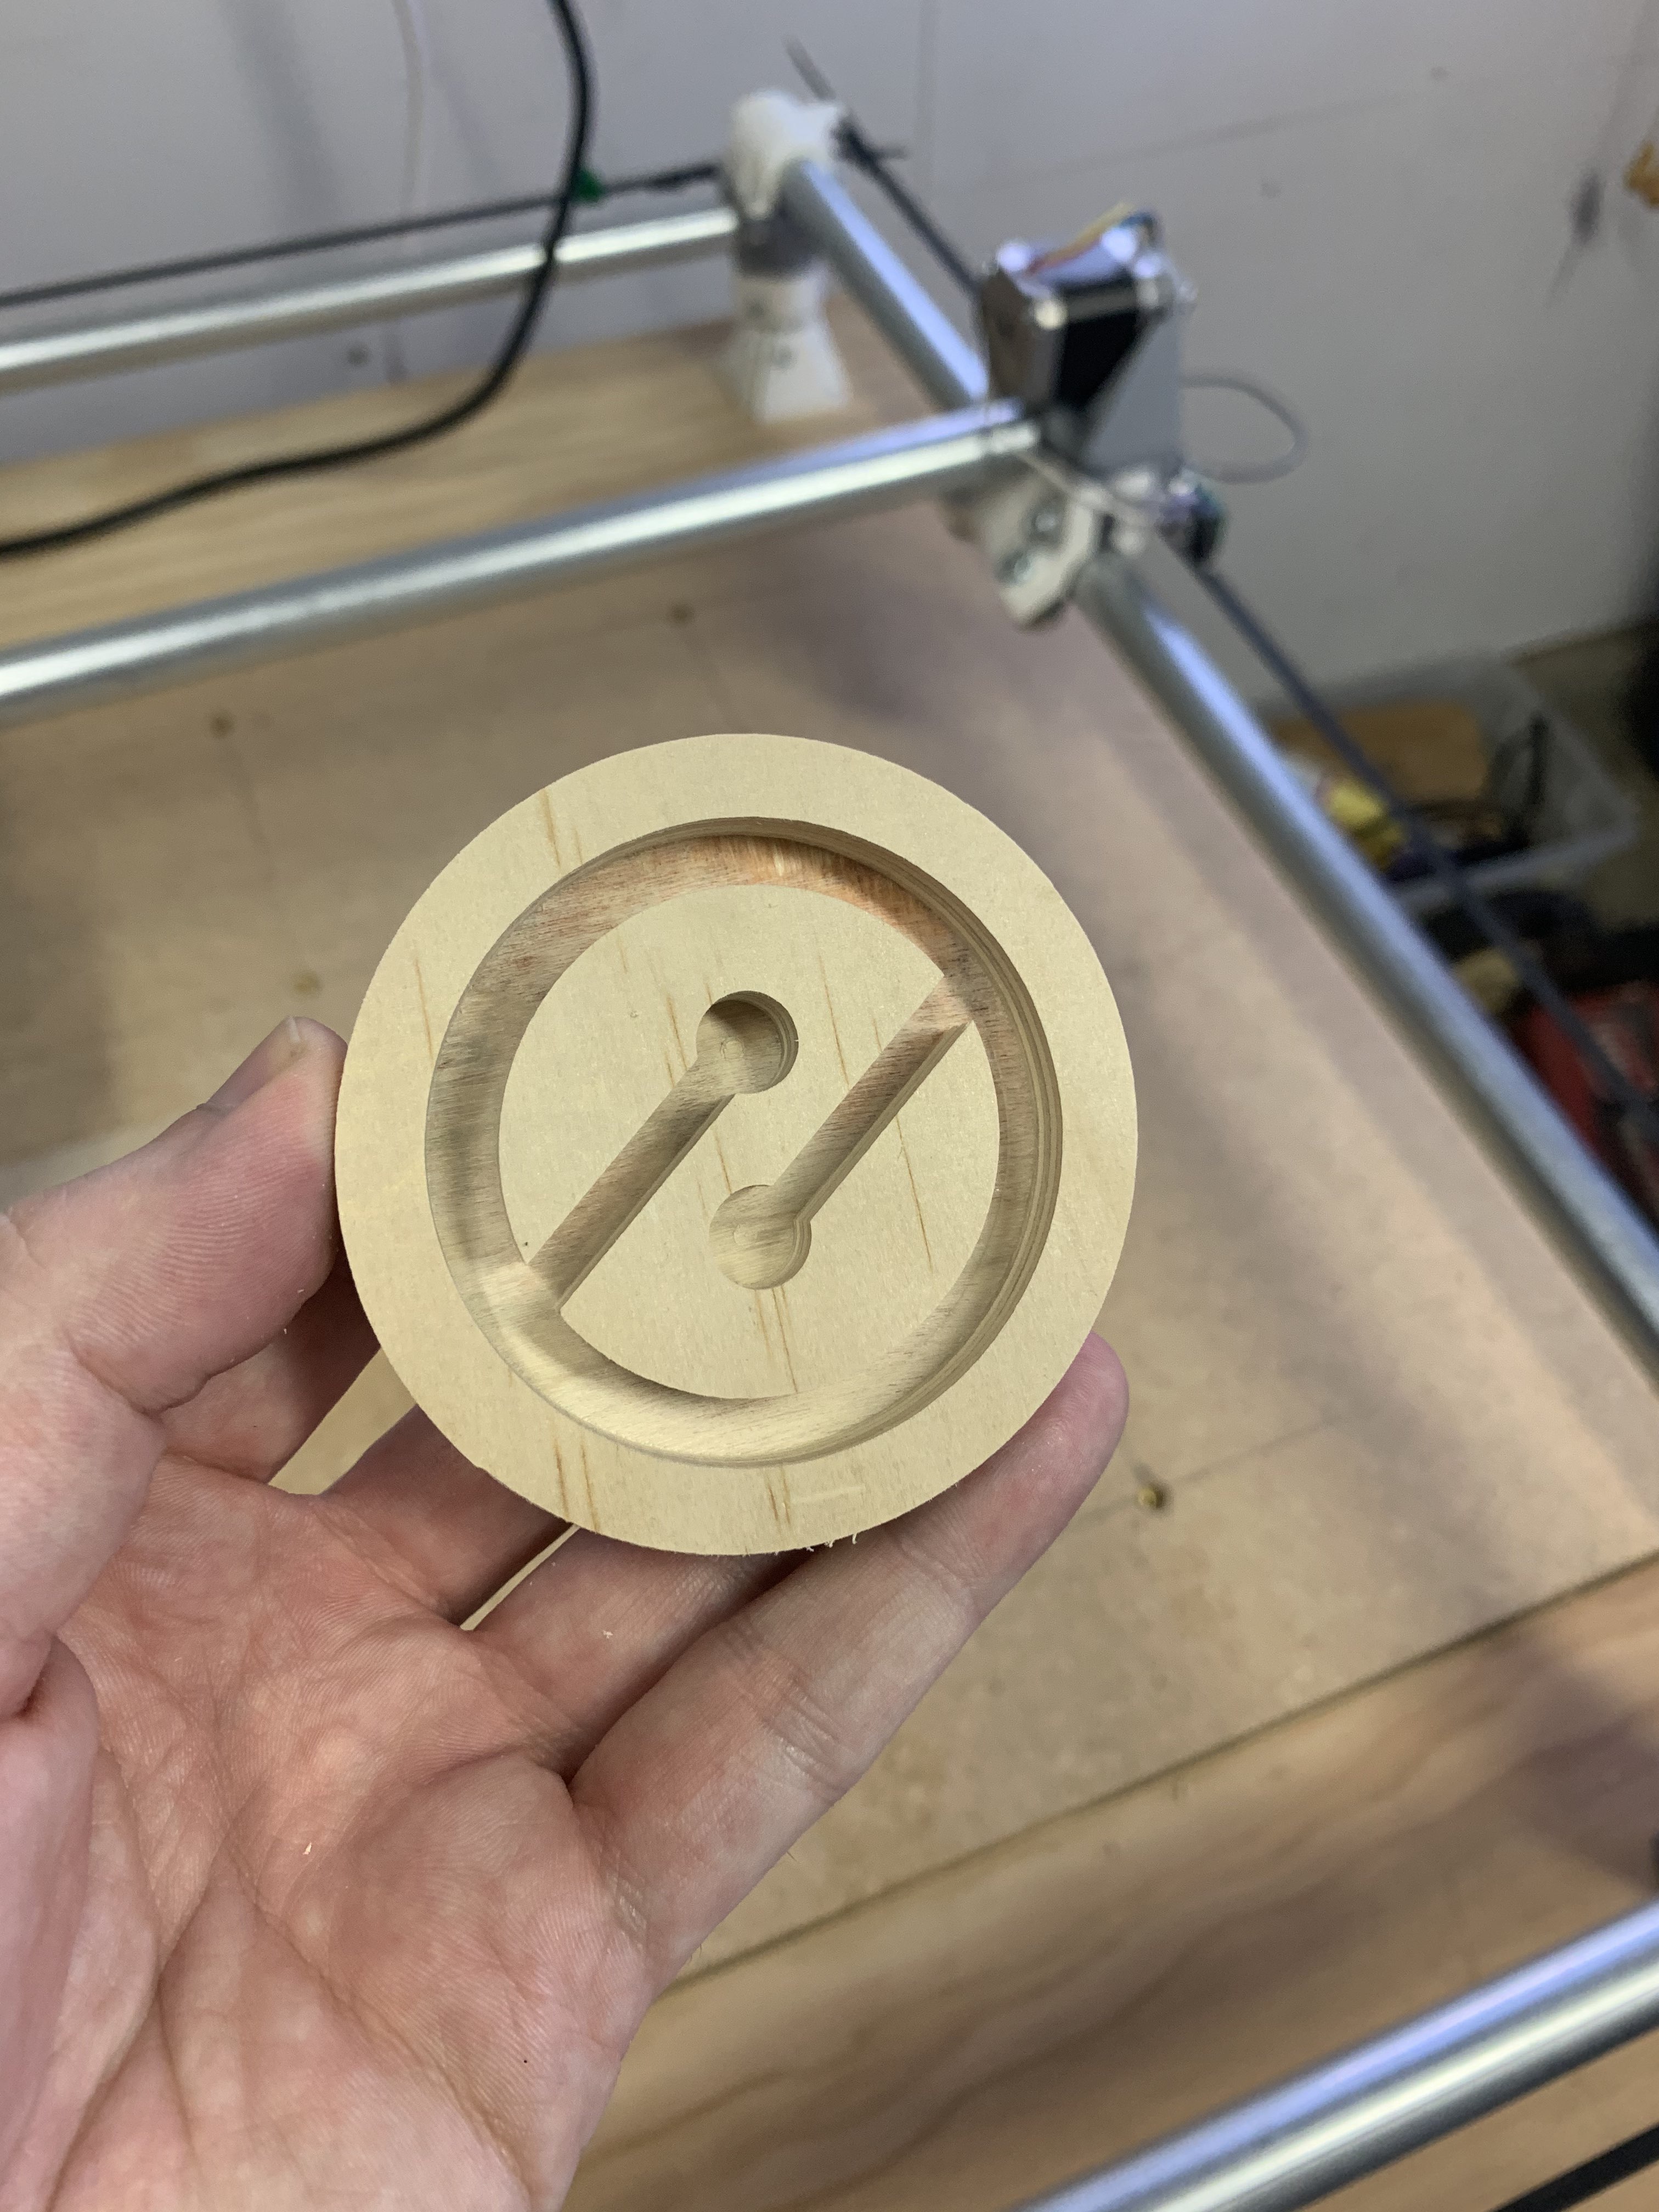
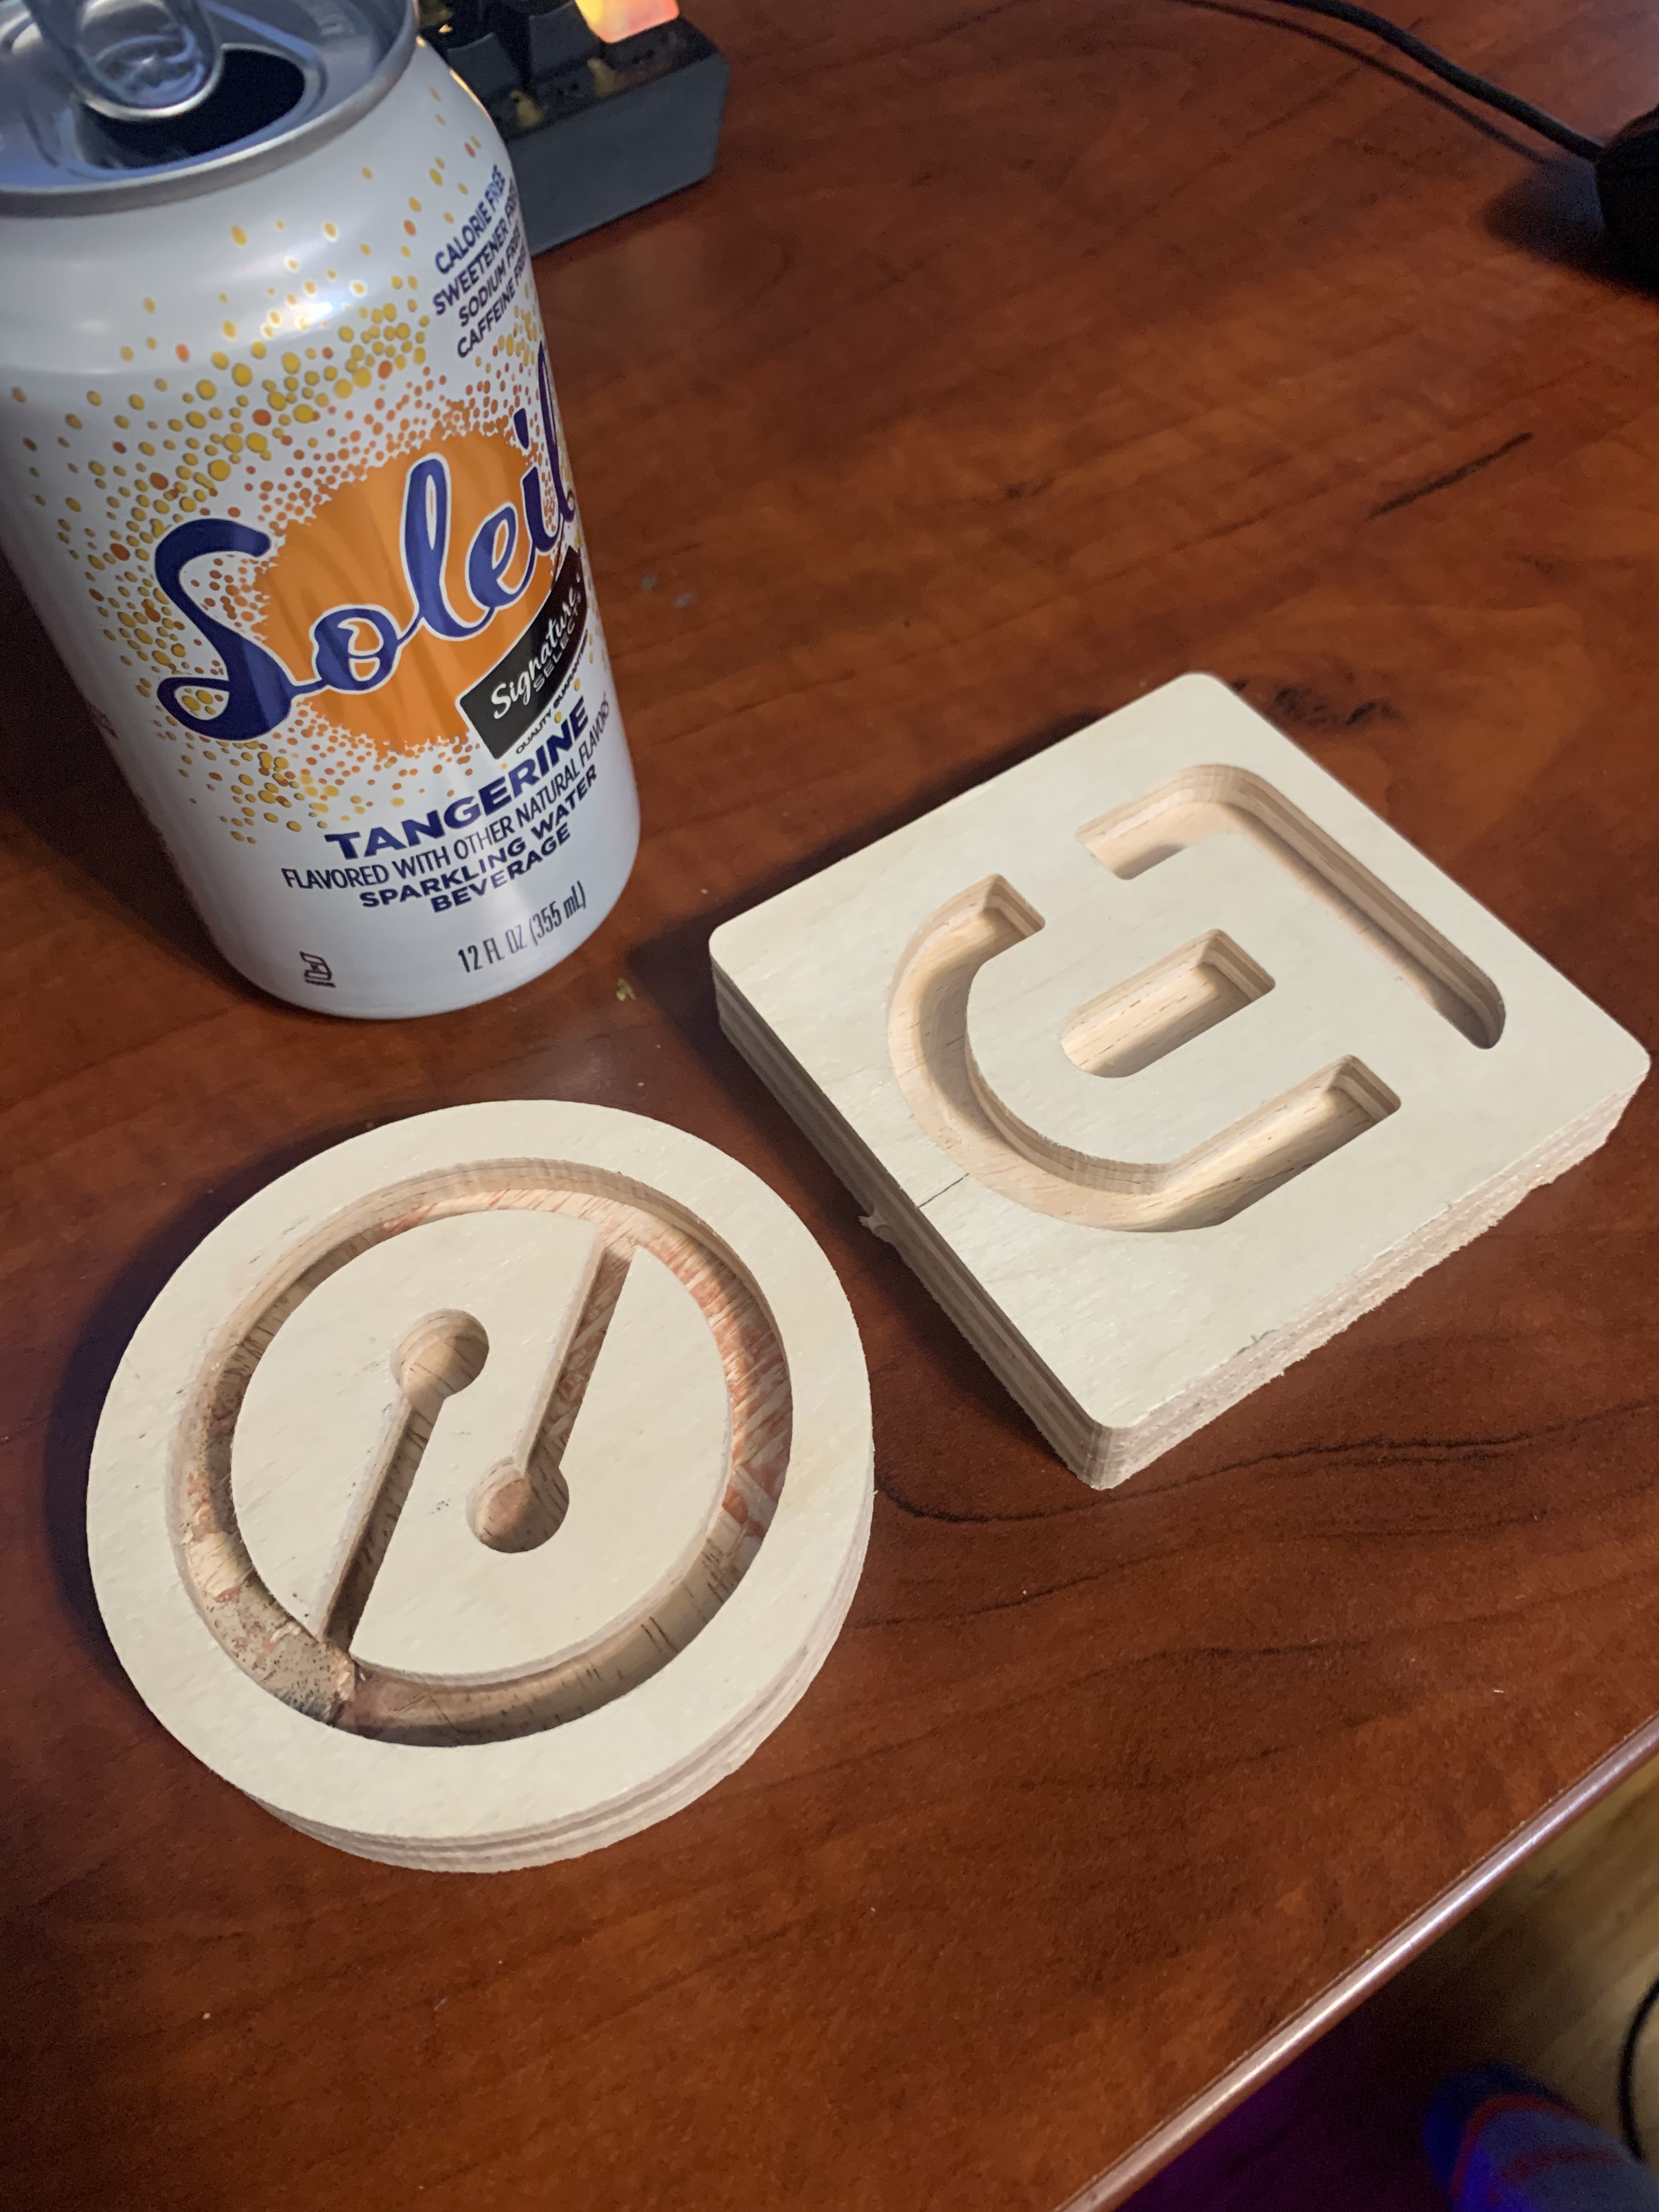
It has been about a year, but I got back to this and have my first cuts going. Auto squaring wiring and firmware is next, the circle came out a bit oblong.
Used an 1/8" downcut bit for the ply wood. Feeds and speeds were slow, 180mm/min z, 480mm/min xy with a spindle rpm of “I have no idea”
4 Likes
I’ve successfully gotten dual end stops for auto squaring working. There are some issues though. One being that once the axis’ are square there’s a good amount on tension in the X and Y axis tubes. This causes the motors to jitter while moving with or without cutting force applied. So there’s so much tension in them it’s hard for the motors to move them. Thinking on it I could loosen some of the bolts on the motor mounts to try and alleviate that but I’m not sure that’s a permanent or good solution.
I continue learning Fusion 360 by creating new little 2D coaster designs to cut out but once I get rid of this jitter I plan to graduate to cutting out wooden cases for my Ergodox keyboard and maybe making a table top arcade machine. We shall see.
1 Like
The LAST thing you want is for the machine to be fighting itself. It has more than enough on its plate cutting for you.
Caveat: I have a Primo.
Get the machine square, and see if you can release tension on the rails. I’d start with the core myself. I haven’t taken a super close look at the Burly core, but the rail guides should allow some adjustment. Any excess flex here is going to translate to weirdness in X/Y accuracy, and is not your friend.
After that loosening and making the truck mounts square should relieve a lot of tension in the machine.
I tore the whole thing down and attempted to re-square it. Then sanded the conduit to remove all the burrs and it seems to be performing well. Finished a 3 hour long cut without a problem.