Looking good.
They look like some nice deep cuts.
2 Likes
Looks great dude nice work.
2 Likes
was able to address my square issues manually, by squaring with a engineering square and powering up. I wasn’t able to get repeatable movement adjustments just by following the squaring guide. I’m likely doing something totally wrong trying to adjust it.
I’ve ordered another board to get dual endstops going so that will hopefully land me perfectly square every time.
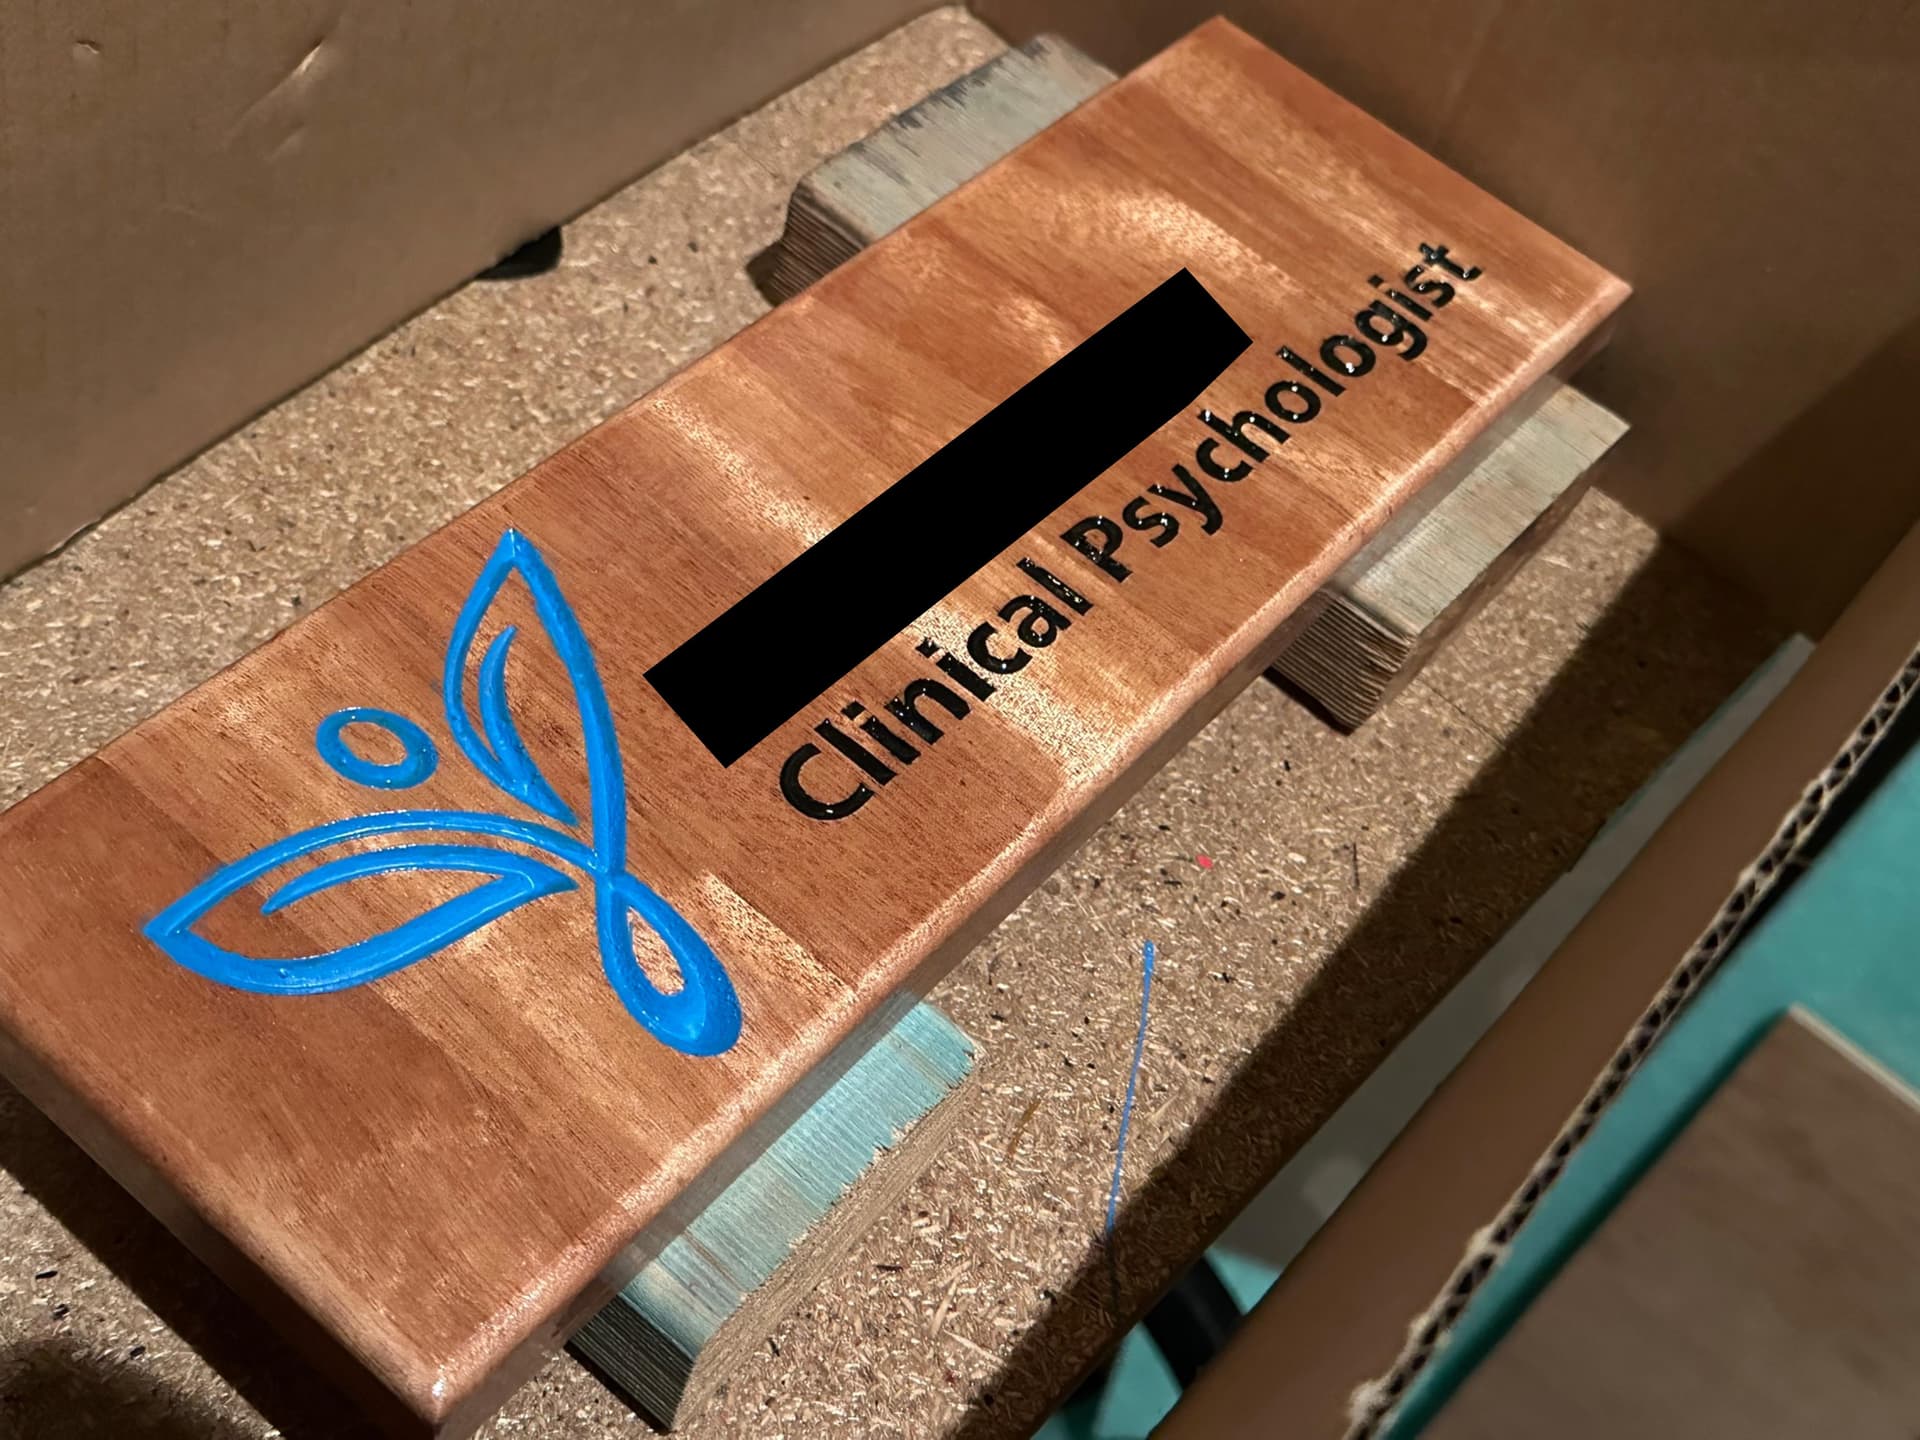
I’ve also done another round of test cuts and feeds and speeds testing, plus recycled another old laptop to be a more permanent controller. Test cuts helped a lot and my redo of the psychology sign above looks much much nicer. Will photo when I’m done painting.
Totally hooked on this thing now  I’m super grateful for the design @vicious1 I am in constant amazement of how accurate this thing is.
@Melcour I forgot to reply re the dog holes. I am using the ones at the base edge almost permanently to keep material square. I need to make some clamps for the top and sides though. The only issue with the dog holes is that my surface area is quite small so it doesn’t take much to chew up all your space. I think if I did it again I’d start the holes at just off zero, so I’m not wasting as much cut space. The holes themselves I just cut out to exactly the size of some bunnings dowel, I think 19mm. Then I just cut off some 3-4cm chunks and use them to align everything. Without the clamps I’m just using double sided tape which does the job but it’s not where I want to be long term.
3 Likes
Thanks for the info Gritters. Looking forward to seeing the Psychologist sign v2.
It’s hard to tell from the photo but did you put a flat bottom on the lettering?
That first sign came out really clean. Looks great.
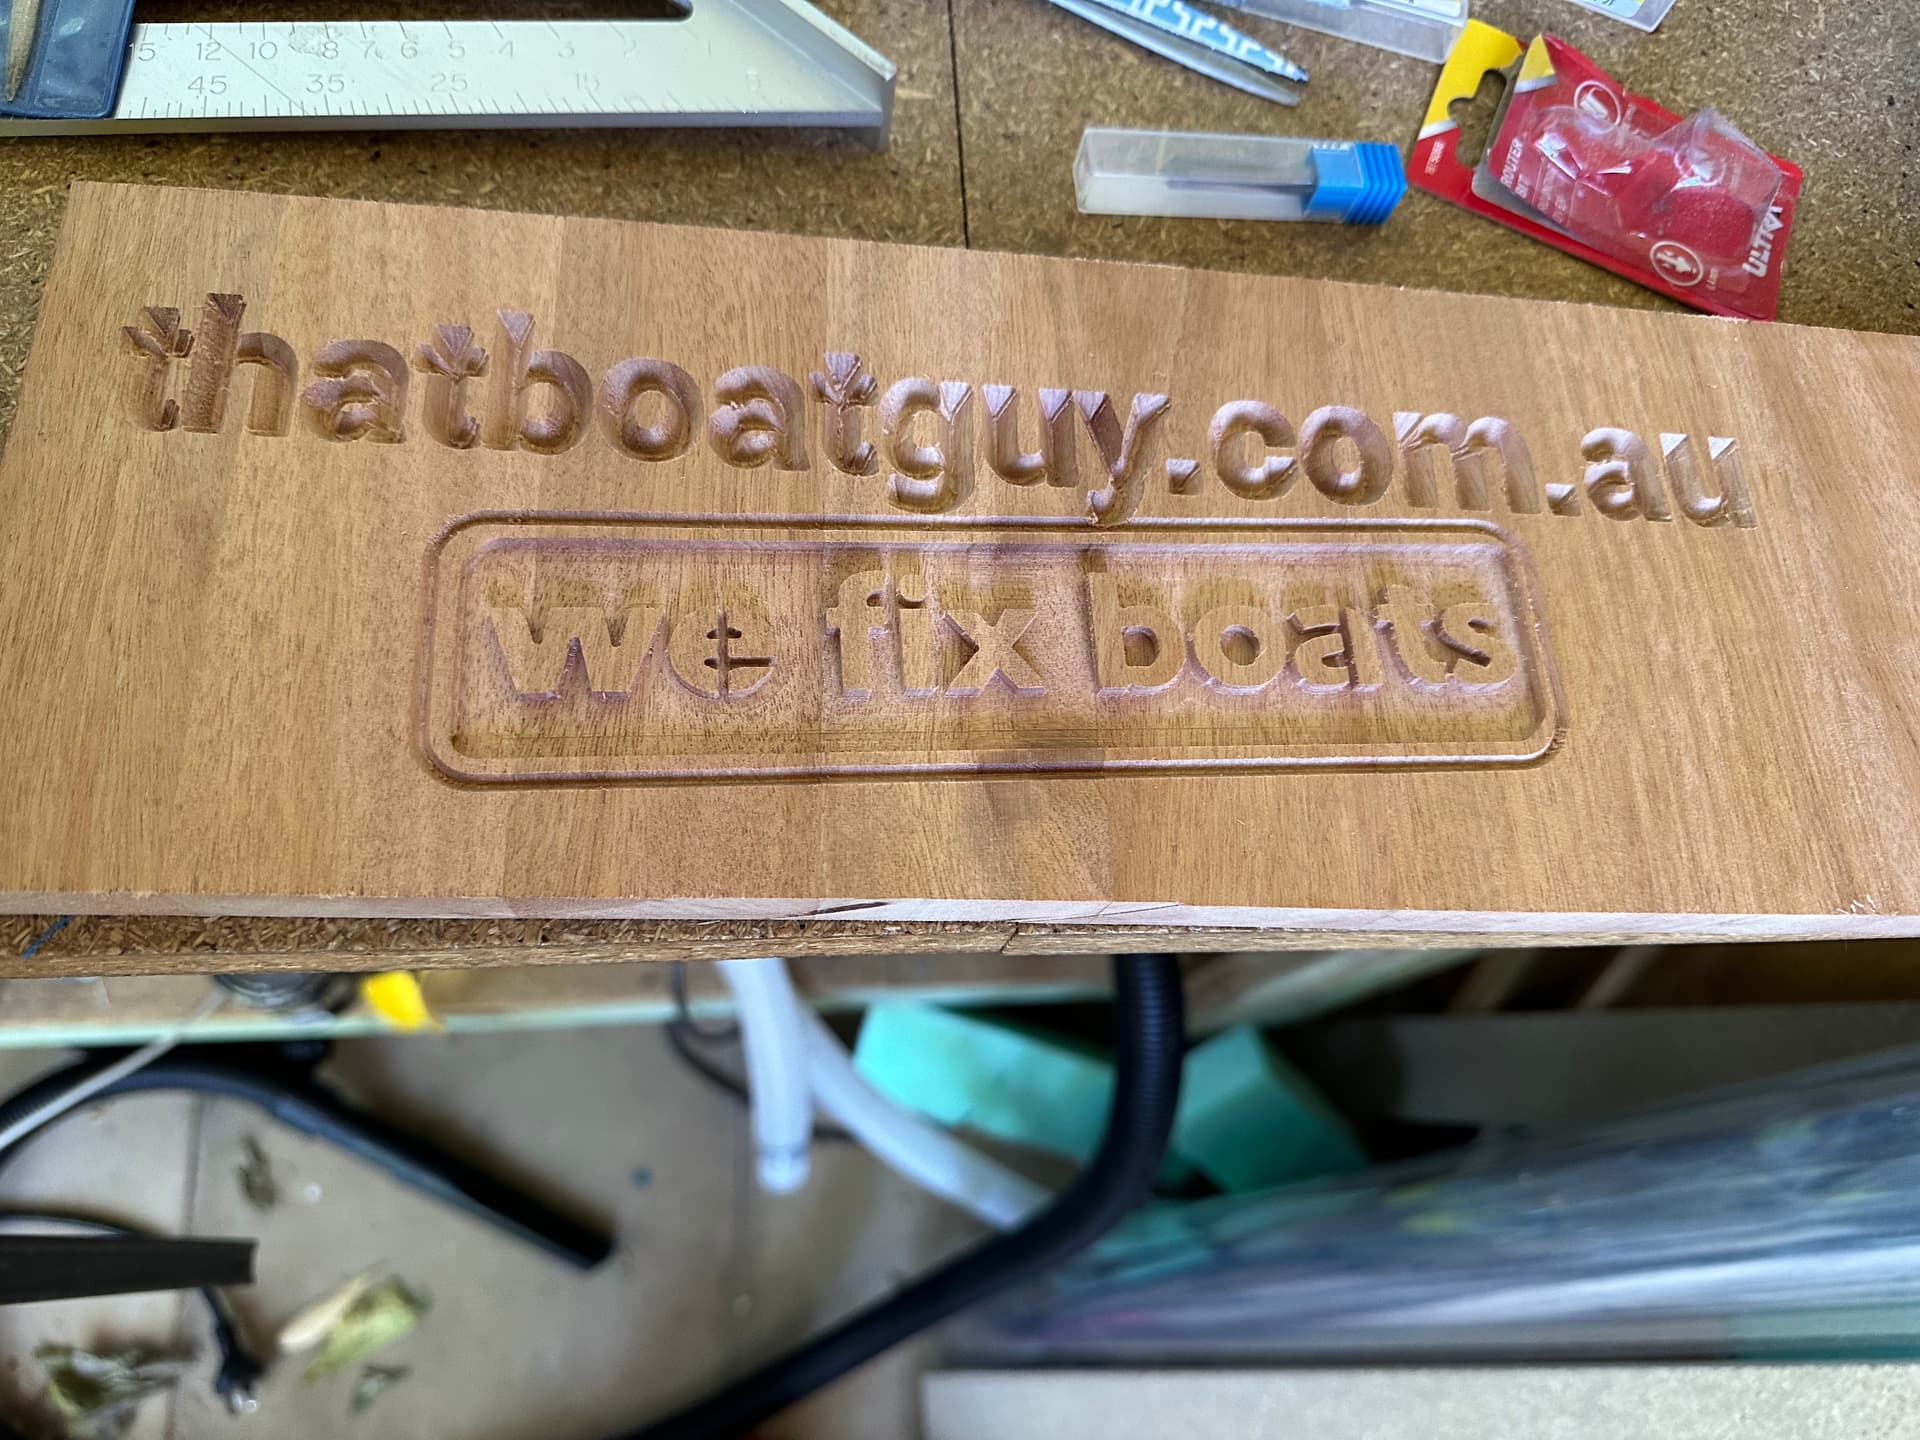
finally finished something have my painting technique pretty down pat now so if I want to do another v bit sign it should be a lot quicker.
@Melcour this was just a simple v bit carve, no flat bottom. The only flat bottom was in a couple of place on the logo. I’ve had no luck with flat bottom carves so far, I don’t have any up cut bits so it’s looked pretty rough.
4 Likes
The easy cheat is a 2% step over and no tool change. It just takes a lot longer that way.
2 Likes
That is some crisp edges right there.
Great work.
2 Likes
You need to post those to „Things you have made“!! I rarely check the build threads but I am always interested in the things others create. You can also add them to the gallery, which makes Ryan happy. 
1 Like
i’ve bought a duet 2 wifi clone board so this weekend will be upgrading to dual endstops. haven’t landed on a firmware yet but will play it by ear.
biggest pain will be all the rewiring but at least the stepper connections are easier than series wiring.
I have working configurations for RRF 3.x for both the Primo and LowRider dual endstop for the Duet2 WiFi. I use the PanelDue screens on mine but they are perfectly good over WiFi as well. I think those configs are in my PLOG topics. Can’t send them from where I am (in the airport now waiting to board a flight.)
I can get the config and homing files once I’m at my destination, I just need to VPN into my home network.
I also have macros for using the Z probe, setting the workspace X and Y to zero and have the pause/resume routines set up.
3 Likes
Good build and I really appreciate the documentation. Could you please say if you have changed your fuidnc/fysetc e4 config from the August post or is all still same and working well. I know you are changing soon so would be good to get your last working here documentedif you don’t mind because it’s where I’ll start
Hey mate
Latest working config here: FluidNC Primo Config for FYSETC-E4 board - #2 by gritters
The downside for the fysetc-e4 board was only 4 drivers so I couldn’t do dual endstops. I never really understood the appeal of dual endstops until I started realising I was getting drift from my frame that I couldn’t easily fix automatically. Apart from that it was a perfect kickstart board and I was able to test all the hardware end to end very easily, including normal endstops and an xyz probe. Plus I got it as a freebie from a mate so the price couldn’t be beat!
Perfect thx.Ya I got one for $20. I have an 8 driver octopus board unused that I will likely move to once I get evrything working decently to move to dual endstops, etc. Thanks once again!
refresh that config page i pasted the wrong one
I had my first ‘the magic smoke escaped’ situation yesterday and burnt out one of the drivers on the new duet wifi board. I had used the online config generator and not checked the generated config.g file before trying to move the motor. Somehow the config generator set x and y to 300,000 mm/min. It appears the trap is that fluidNC uses mm/min and the reprap config UI uses mm/sec, so I overshot by 60x 
Anyway one driver fried (apparently on just a single coil), so I’m stuck on my old fysetc board for a little while until a replacement arrives. Have been redoing all the wiring in the meantime so hopefully it will be a quick plug-in upgrade in a week or so.
That is crazy. Hard to believe that would pop a driver.
1 Like
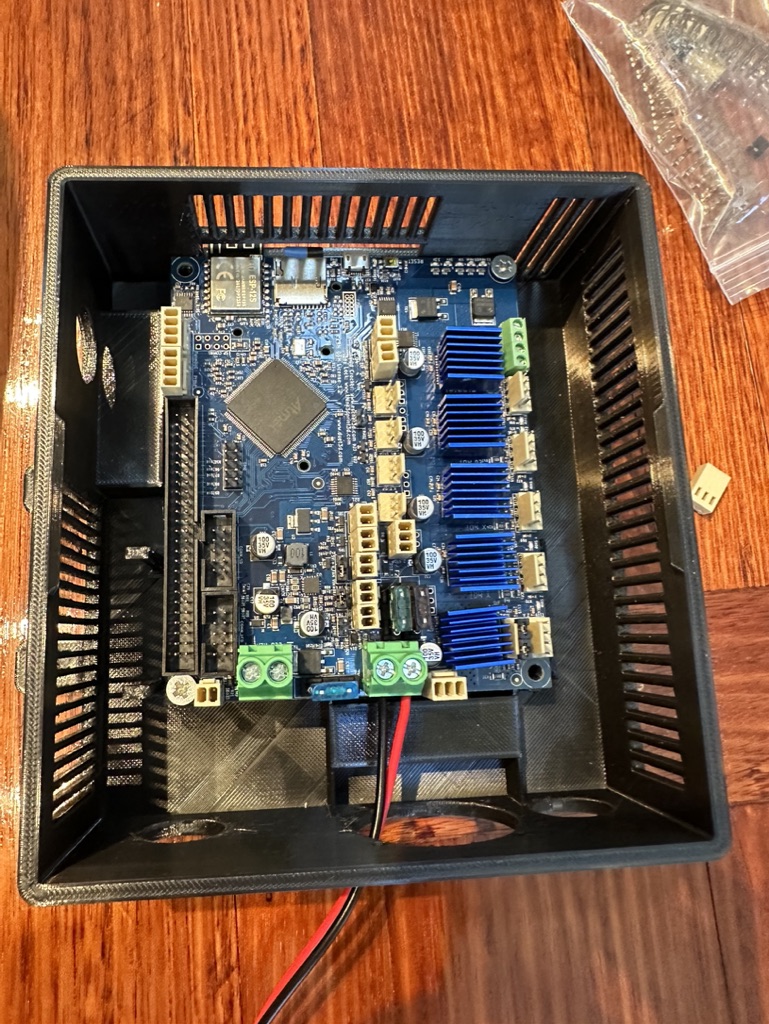
Replacement board ready to go. Case from here: Duet 2 Wifi Case - 2020 Profile - Tronxy X5SA by pr0xyfl00d3r - Thingiverse
I modified the lid as I wanted the wiring to come straight out the top.
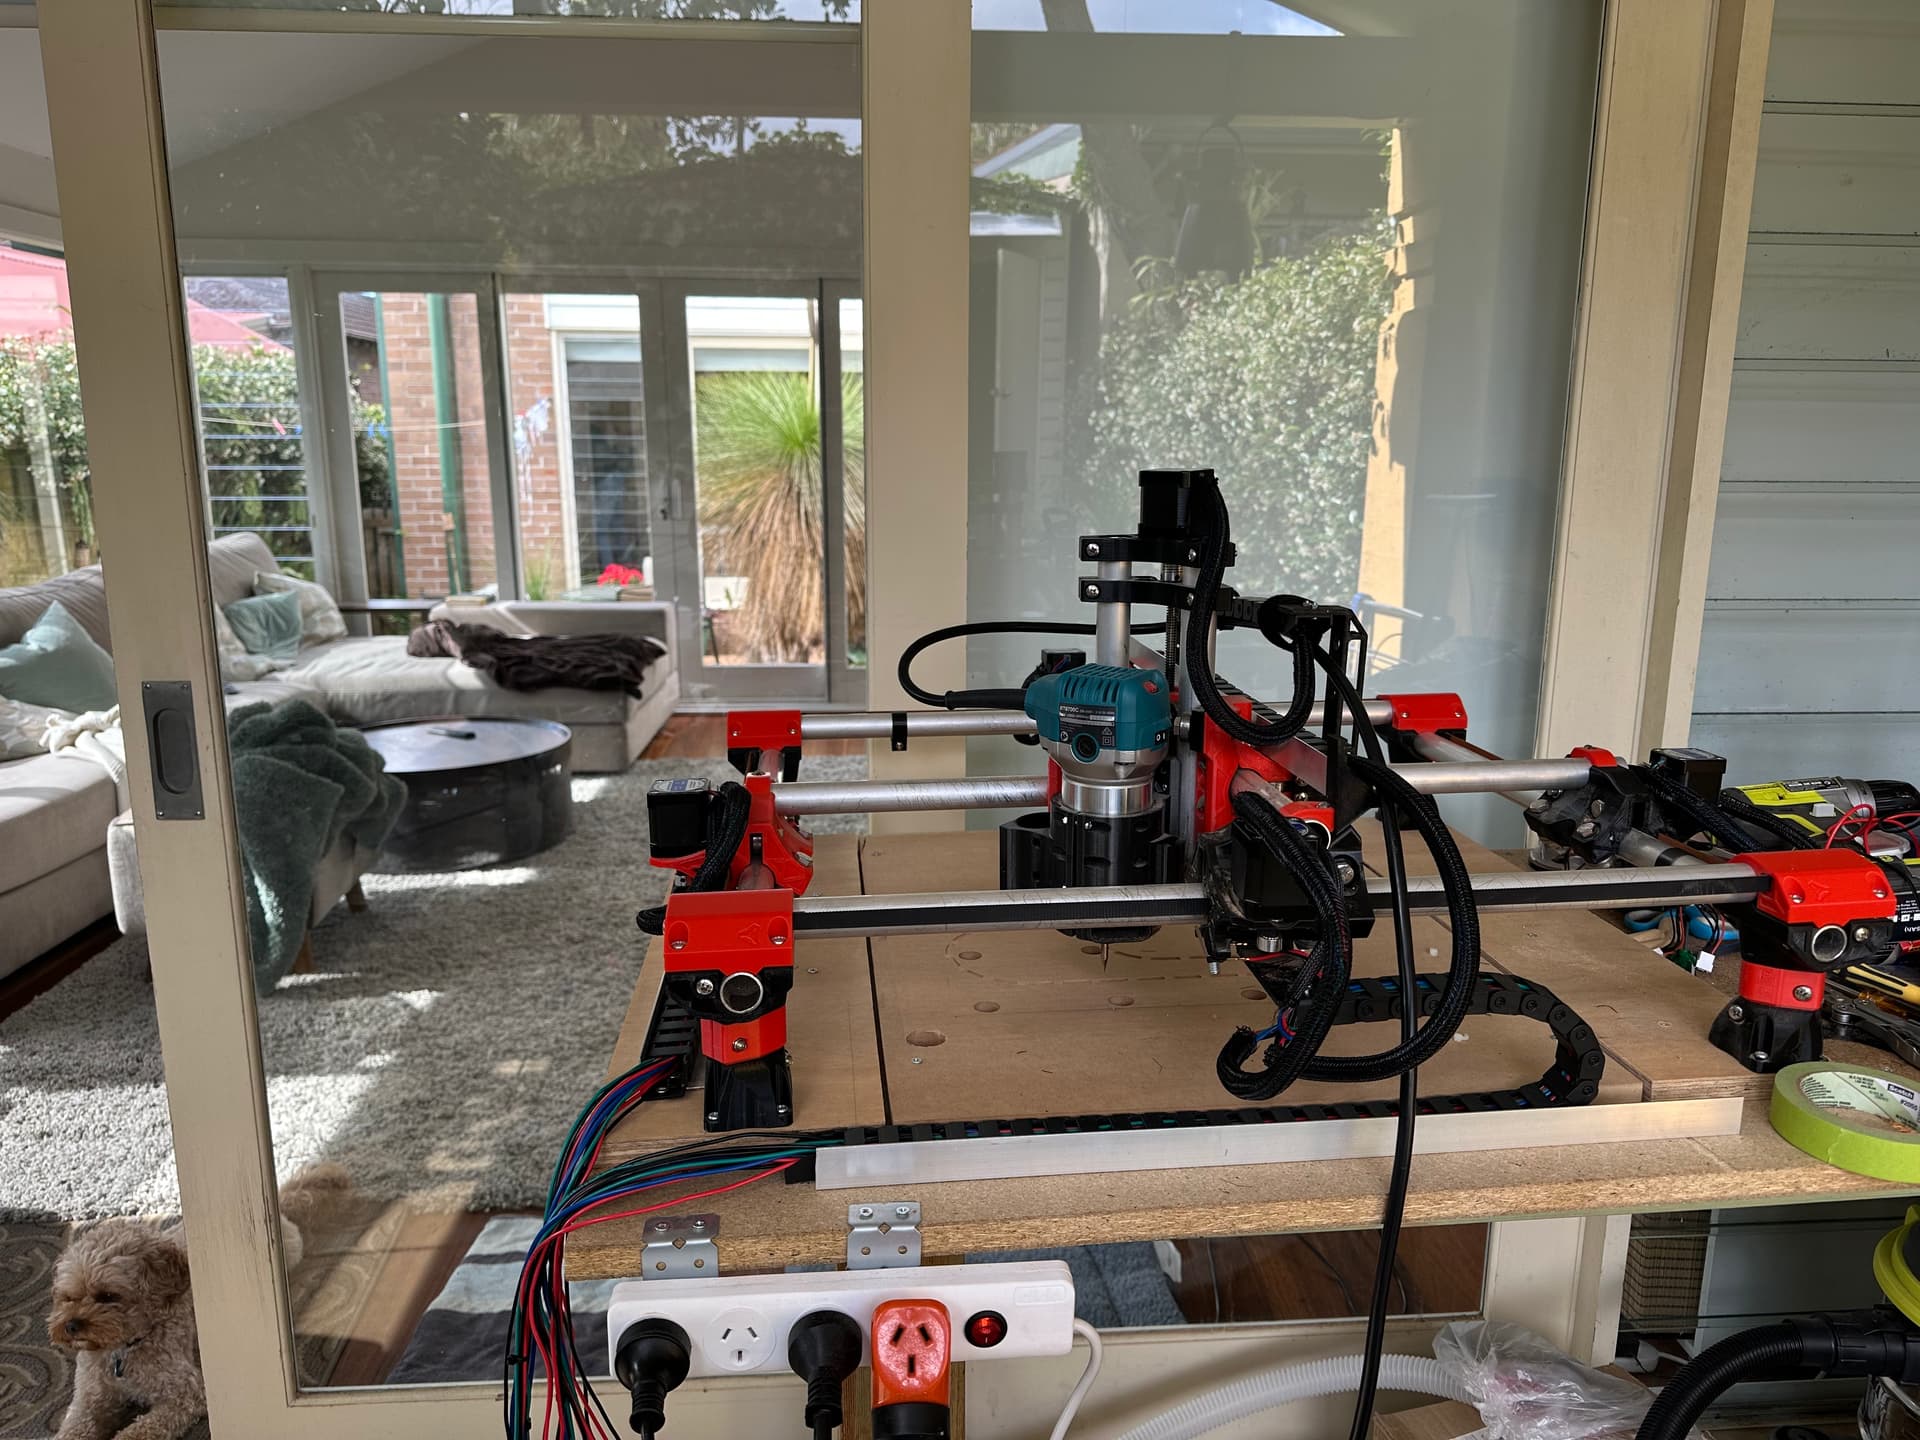
Rewiring for dual endstops complete. Complete do-over of wiring. Endstop switches tested and ready to test with the motors. Dog keeping an eye on things.
3 Likes
woohoo all motors and endstops working! calibrating this afternoon and then time for a cave with the new board.
2 Likes