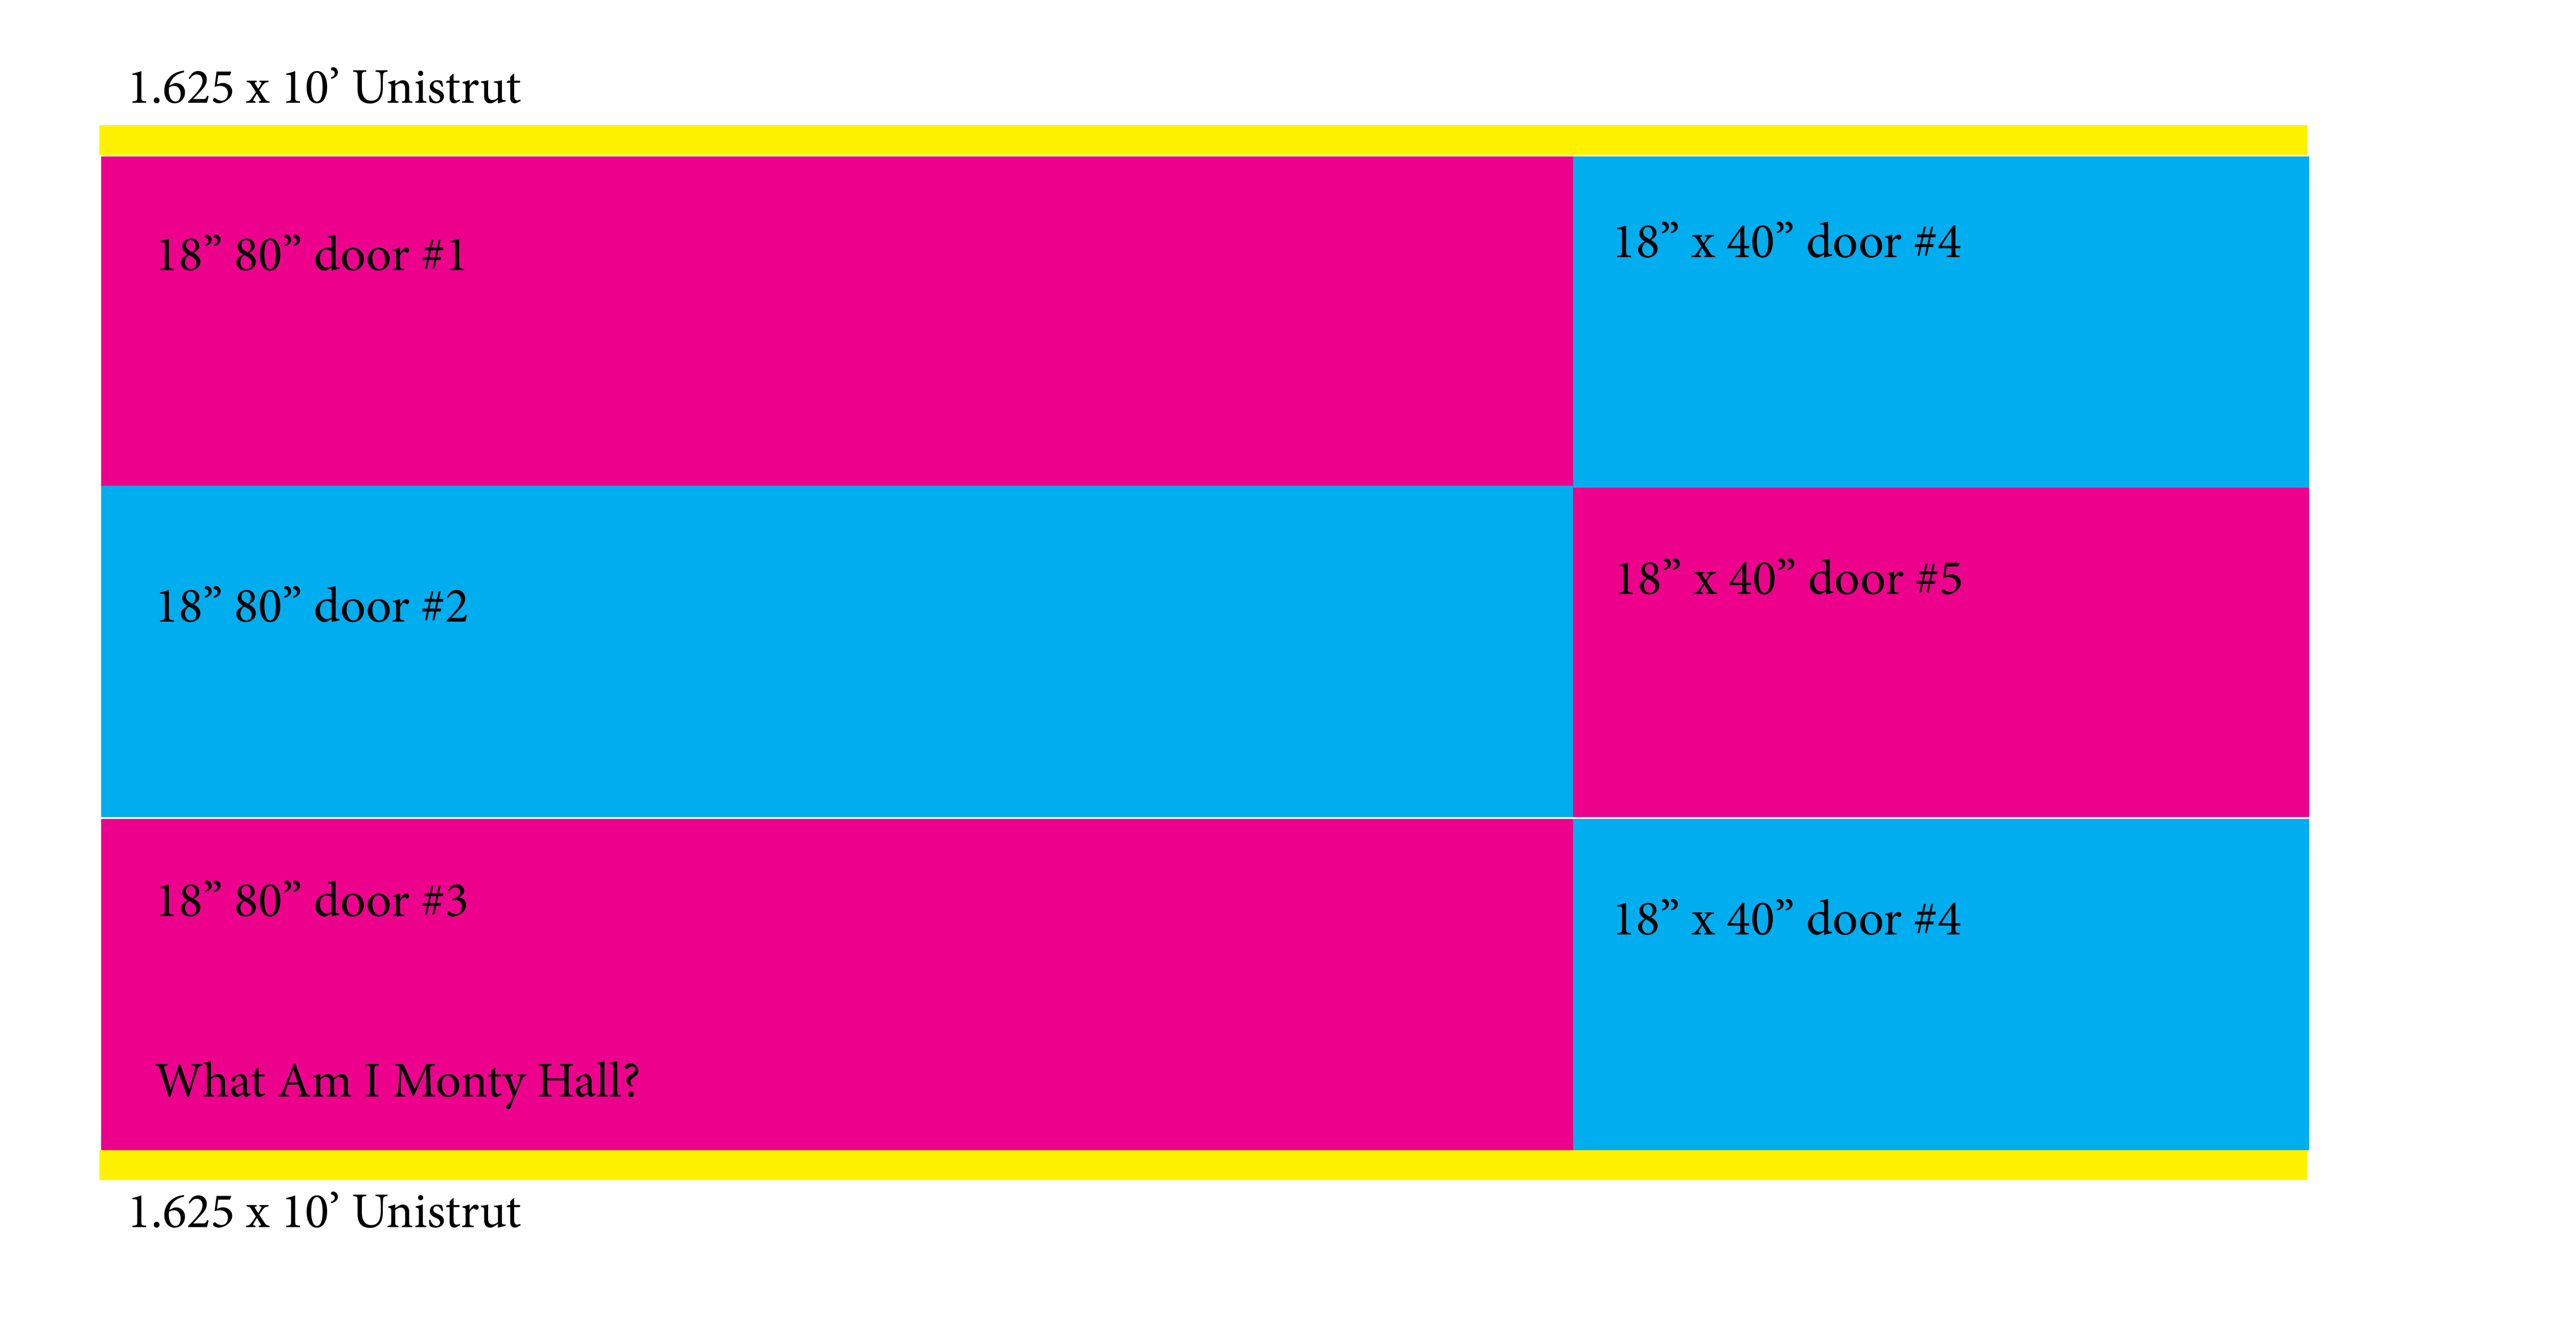
I know I know, I don’t have the MPCNC finished yet, but I just finished reading about those using a door for a sub table surface and it got me looking. Low and behold, thanks to Craigslist, I just scored (5) 18" x 80" Doors for $25.
I figure I can craft a 57.25" x 120" table out of them along with some two by fers and what not.
A number of folks have used doors as a table base. A clever idea in my opinion.
I’m wondering if you might want to layer the doors more similar to a wood floor such that there will not be a continuous joint horizontally across the table.
I’d be tempted to flip your middle row, just to avoid all those four-corner joints. As long as you have straight cross members supporting them, you’ll likely be just fine.
Slow going, between refining the MPCNC, learning inkscape, estlcam and working on this.
Wasted a lot of time on dust collection options for the MPCNC that did not work out, at least for me.
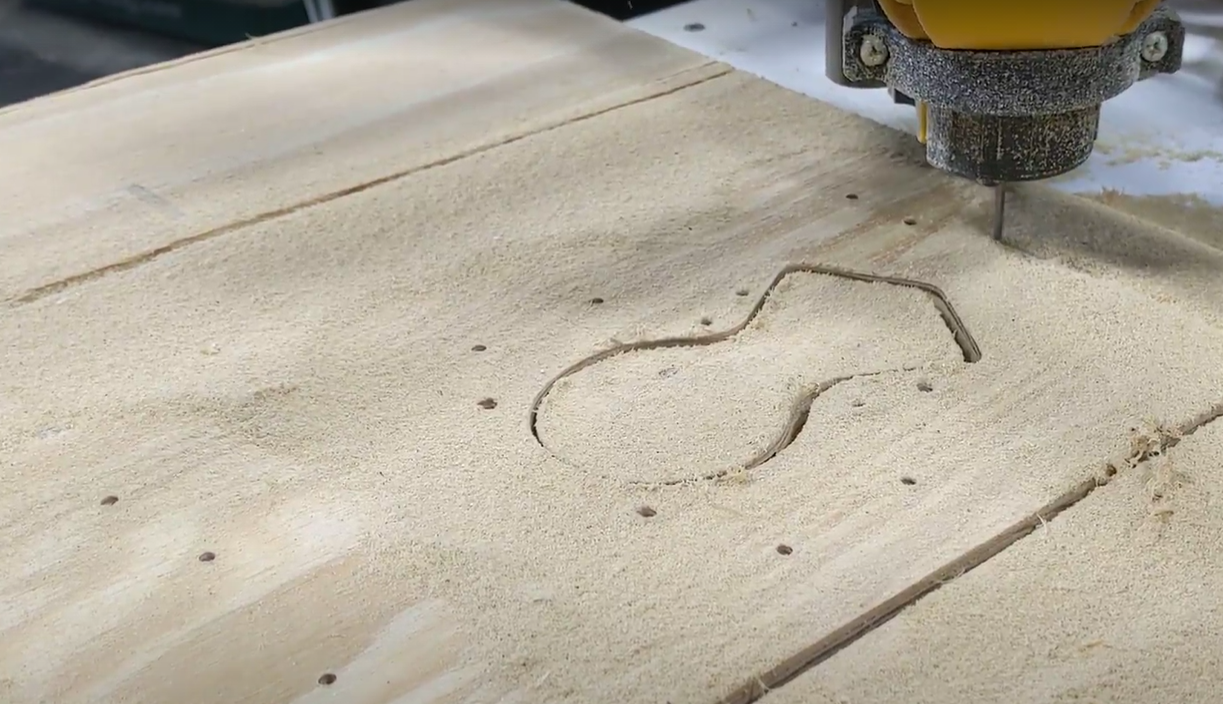
Got the 611 and Y plates cut out this week. After reading a lot about flexing, went with .5 &.75 baltic birch.
Have to say very happy with the MPCNC, my first CNC that has actually produced sawdust instead of frustration.
Huge shout out to Ryan for making this all possible.
No update in forever.
Bifold table project ended up 1/2 success, 1/2 disaster.
Pic’s to follow, but suffice to say, table droops on 1 side, needs support legs at the very least.
Tried to follow a folding table design found here, that part worked out great.
Thinking of using long enough to cut out and build a better table.
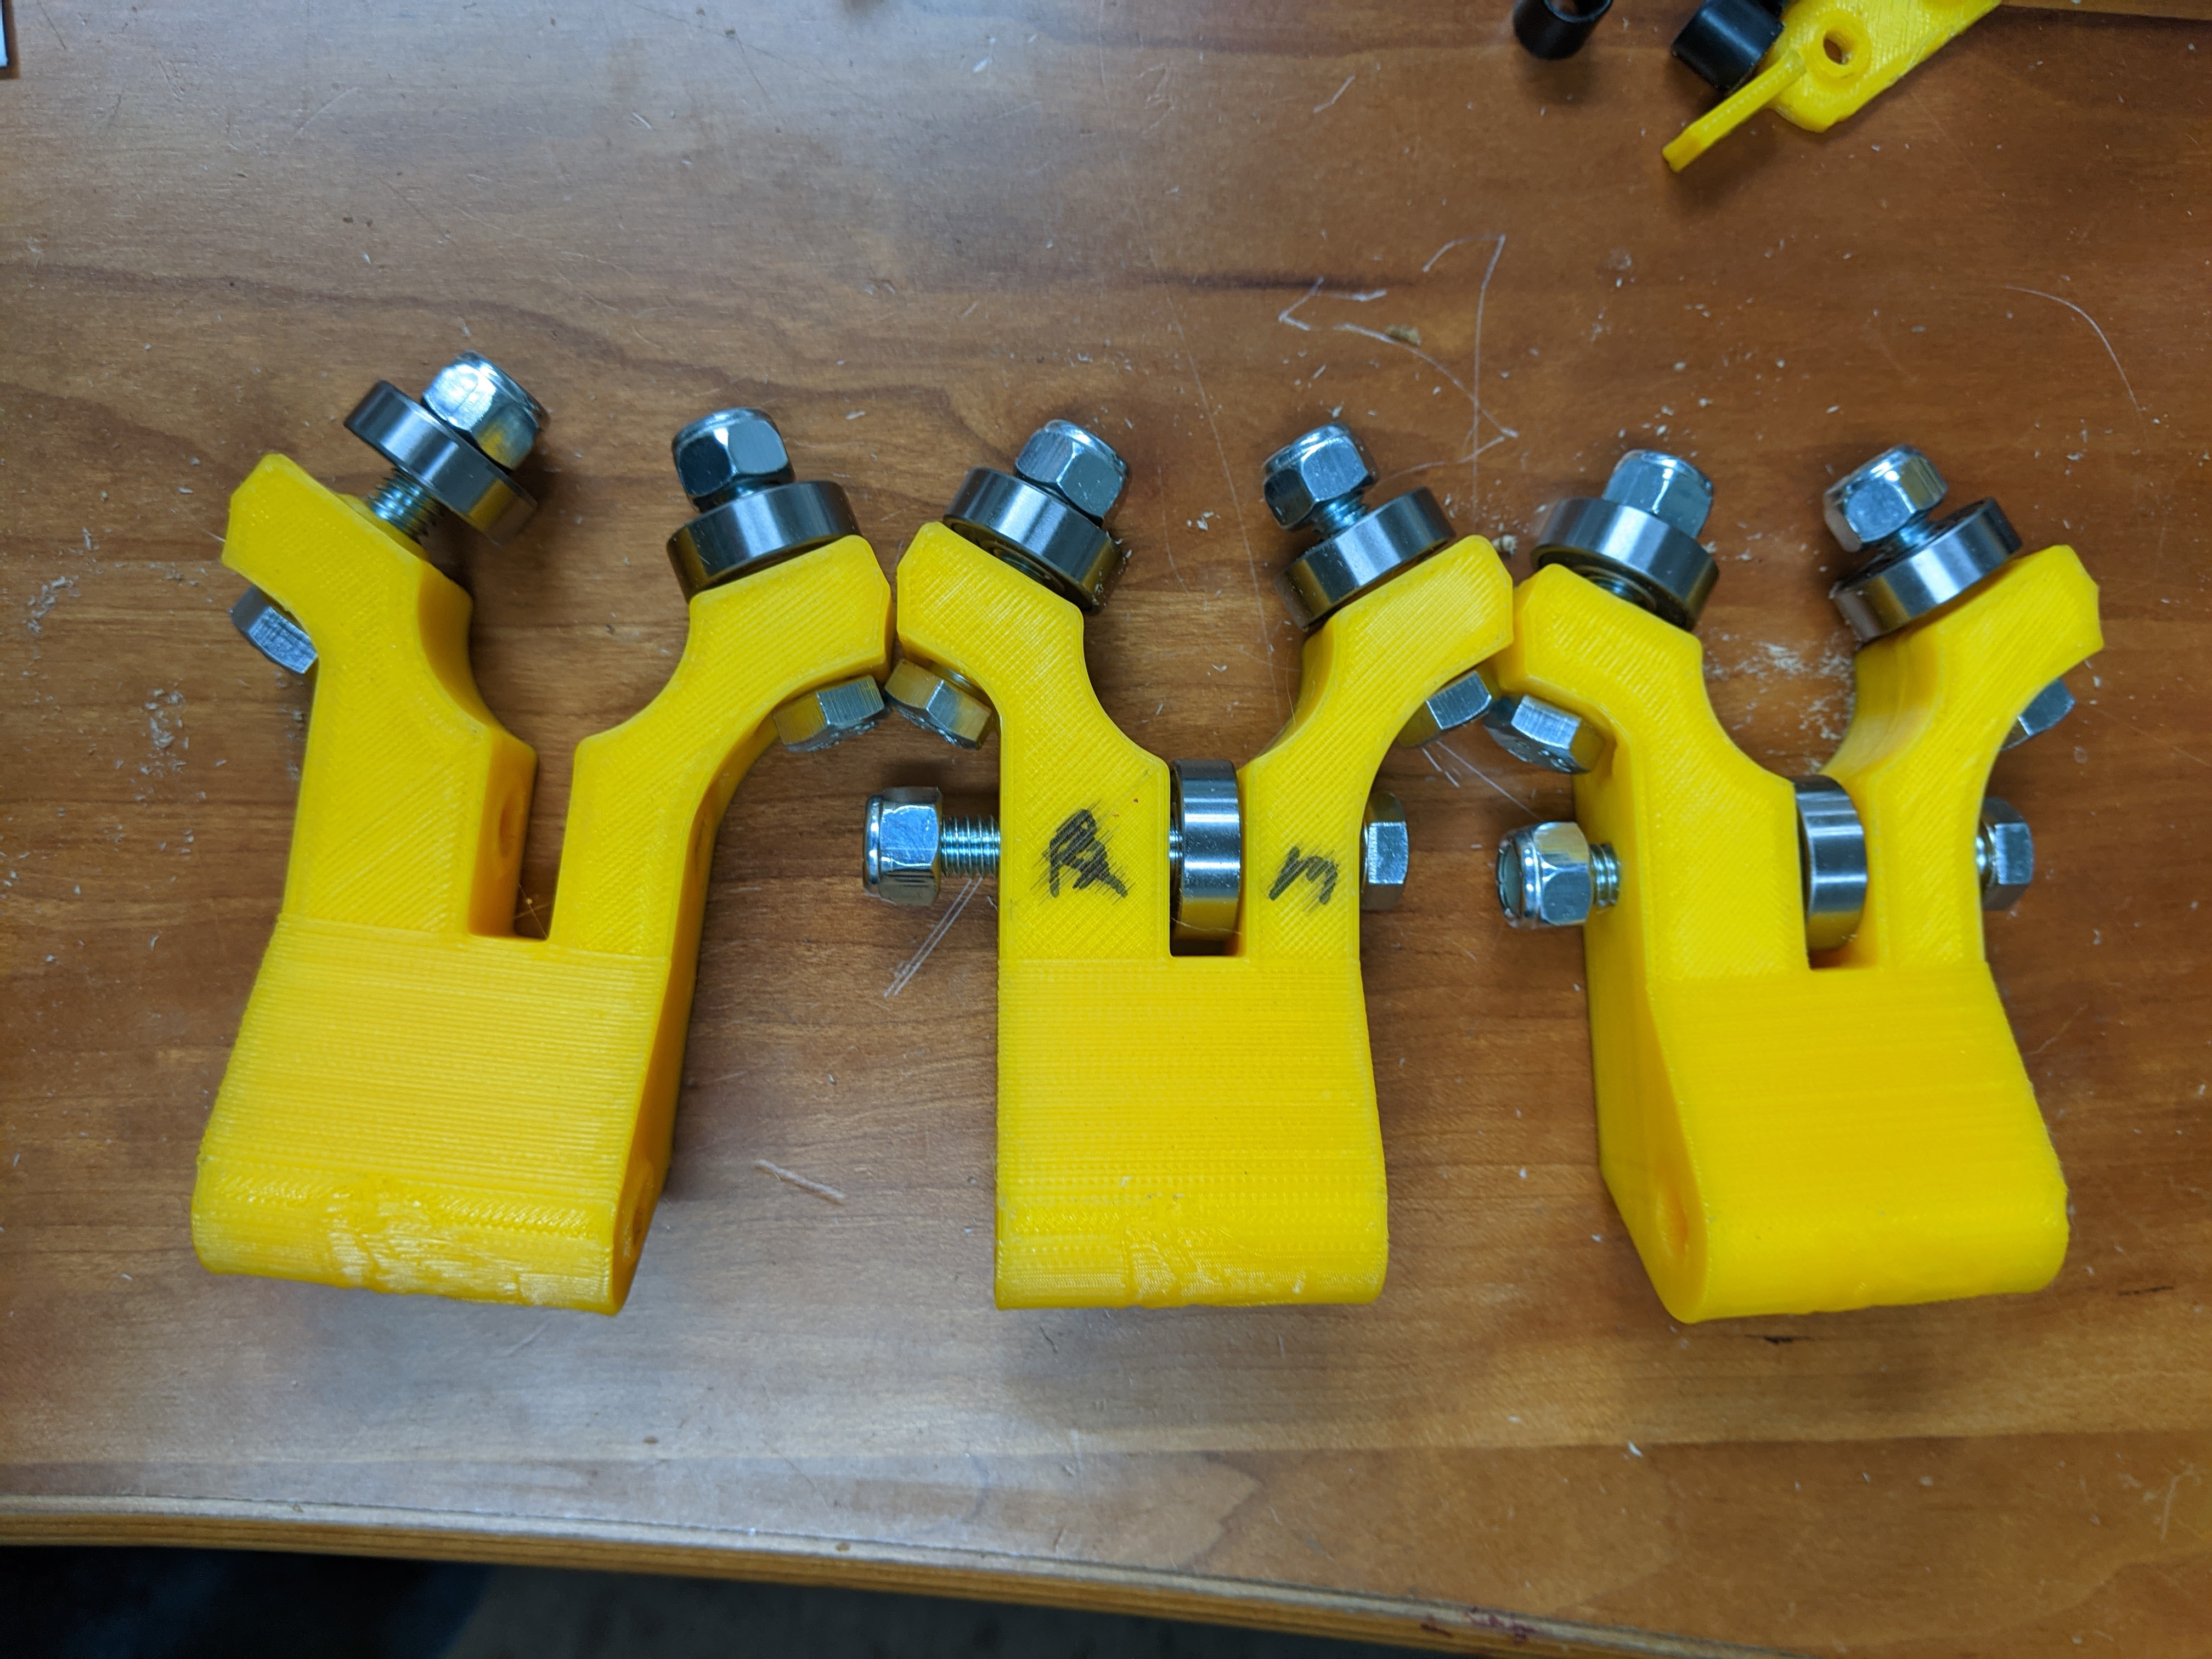
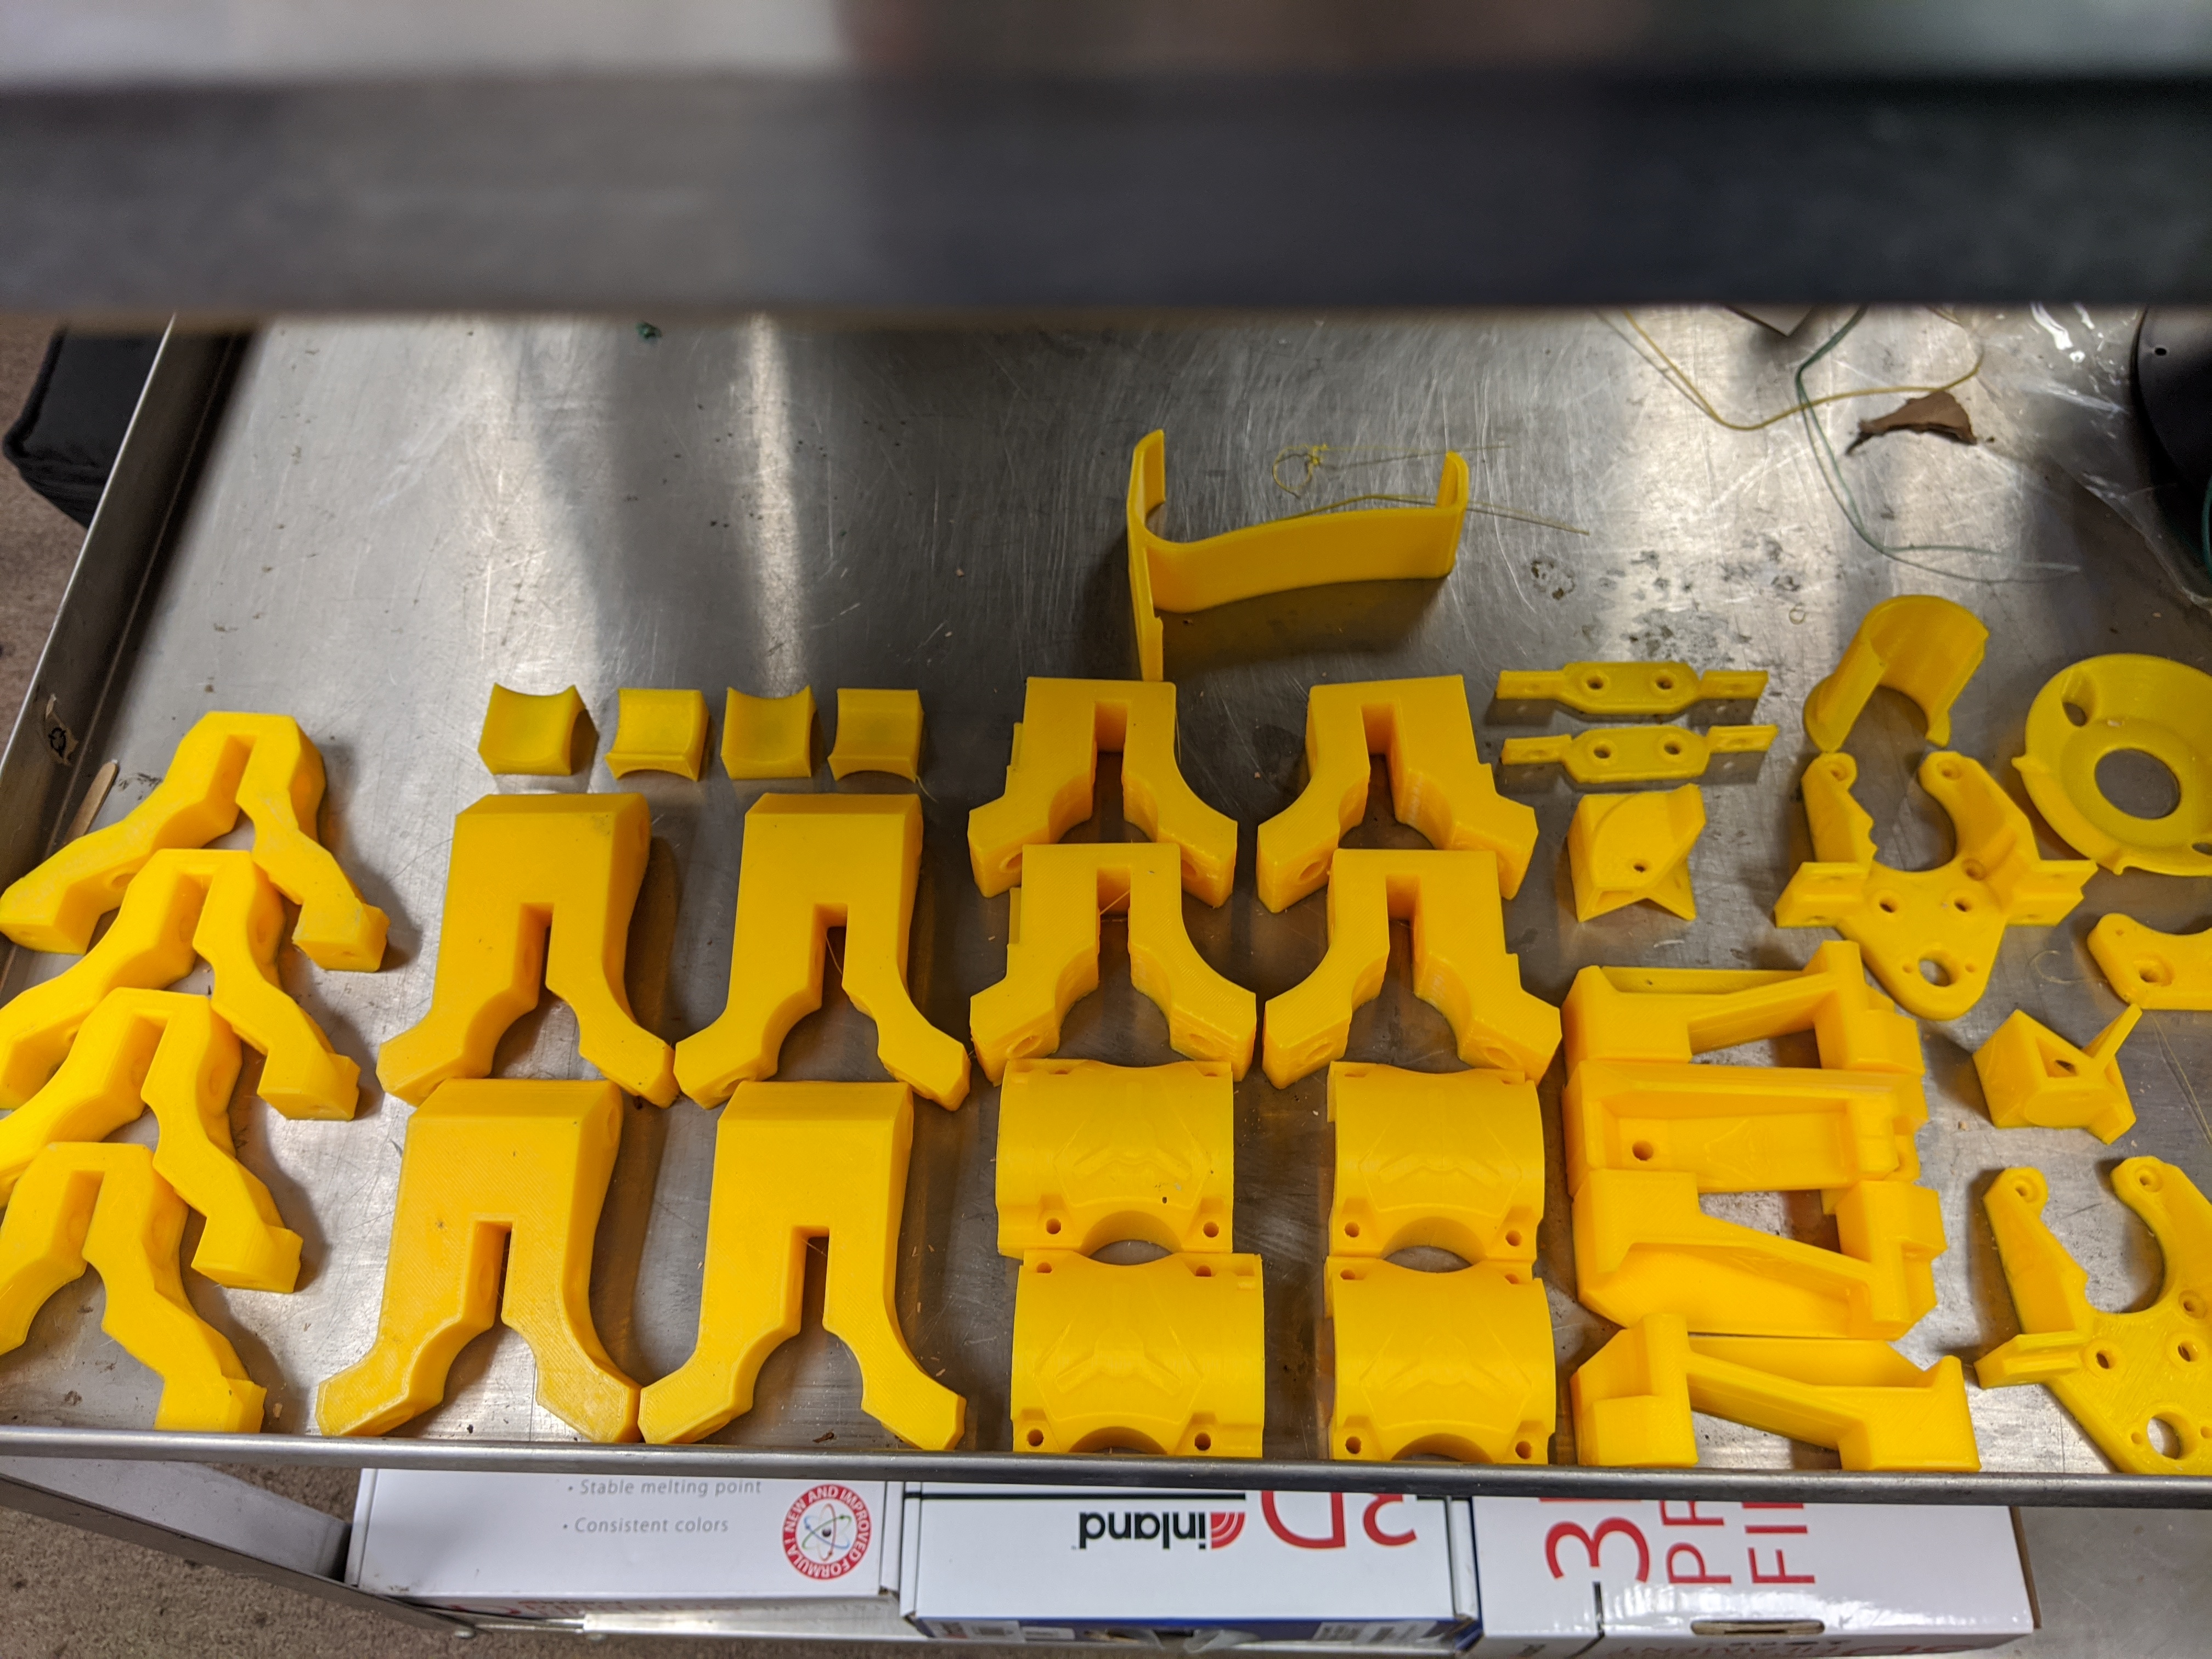
But there has been progress, especially on part identification.
Or knowing the difference between a part and a mirrored part !
Three times now I’ve tried re-printing the two parts, and my ender has screwed up all three times. Not the ender so much but the filament.
Another lesson learned: Don’t ever try indland’s spool-less filament, for me the filament can’t get put into their two-piece spool easy enough, and it ends up binding and jamming.
I thought it was a good idea to help the environment, save two bucks a spool to boot, but not enough to offset ruined work.
Hopefully major progress over the next two weeks!
I have filament problems a lot. I am glad to here someone tell me that the spooless filament is a problem before I buy it. My MicroCenter is so busy that there is a line to get in of something like 20 people and the checkout line is stretching half the depth of the store. It is a mess everytime I go there and I have given up basically. I think their staff is getting slaughtered with the volume of people in there all the time. It’s a crazy cirus
I thought it was a great idea, maybe it’s just me, but the two piece spool opens in the middle, which means you flop your spool-less filament in one half, and try to close the other, and I can never get it tight enough.
As far as MicroCenter, I agree. I’ve been reduced to ordering everything online and then going to the “online order” desk, – which is usually backed up 5 deep.
And going on a Saturday? fugetaboutit!
 !
!