Yessir, I hope to. First up would be a BOM, then build pics, then filling in the details.
It is good to go at this point I am just starting to use the two I have for production so I am getting lots of identical parts to start making sure accuracy and precision are as much better as the prints are. Parts for the instruction build printer are in the area and hope they get delivered soon!
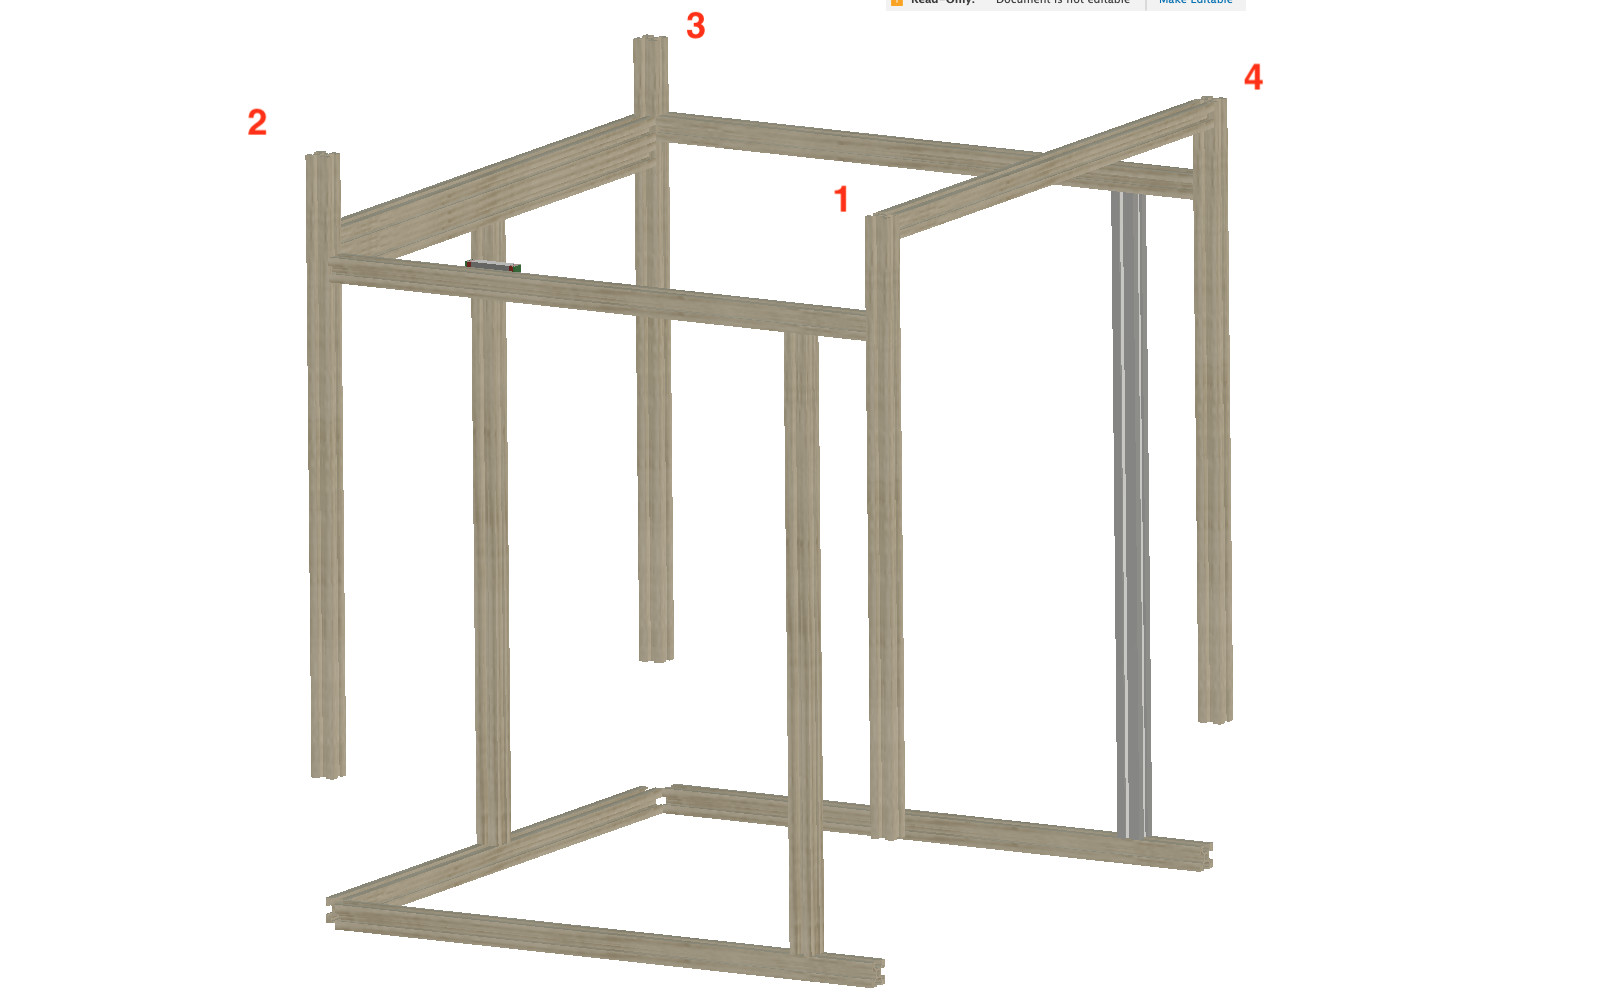
Started printing this morning. I am planning to build the wooden frame so I’m excited to see the assembly pictures and instructions! This build looks like a lot of fun, thanks for all your hard work.
Got bit by the COVID bug and am now forced to quarantine for a bit, so… Another MP3DP3 started printing this morning. Thanks, Ryan.’
Gonna shoot for a 300x300mm bed size, mostly because I already have a bed that I could use for it. Headed down to my shop shortly to go and cut up all of the extrusion and drill for blind joints,
You know, this never gets old. I really feel like a dude messing around in his garage, having fun building stuff. Then a comment like this pops up and I realize people actually build this stuff, like a lot of people. So weird. Glad to keep you occupied, hope you have fun, and remember you are an early user so there are bound to be some questions. Hopefully there are tons of people following right behind you!
Sorry About the Covid part, hope you will be better soon…
You will have fun building it.
That is pretty much my bed size I used a CR10S Pro Bed witch is 310x320 , I had a bunch of linear rails left from a previus project 400mm long.
If you haven’t seen it yet here is my Build Thread also Dan @SupraGuy built his at the same size. Here is his Thread
If you need any of the files for that size printer let me know and I will share with you.
Good luck and let us know how it’s going.
Thanks for the positive vibes, gentlemen. Much appreciated.
Feels great knowing that you contribute to the world somehow, huh? None of us are impervious to the need for a sense of purpose, no matter how it manifests itself in our lives. I think that we can always fulfill that need simply by doing what we are good at and letting the rest of the world fall into place as it may.
In your case, definitely keep this train a’movin’! Whether you stay where you’re at or place more of a commercialized emphasis on your product, I think that you’ll always find that the greater majority of us will stand behind you and hope that you are able to continue doing what you love. We sure as hell appreciate it.
While I’m thinking about it… If you ever want to put together more “dumbed down” build guides, let me know. I have a lot of experience doing that sort of thing.
MUCH appreciated! I might take you up on a dxf of that sexy face frame that you have on your machine. Looks awesome.
Cool. Well I do a lot of shop drawings for large scale sign fabrication, so I’m well equipped for such a task. I’d be more than happy to give back to the community that way if I can. Just need to get through the holidays so I can put some focus back into my life first.
Here it is. DFX and Step file. I only have the Free version of Fusion 360, I can share the file but I don’t think you will be able to download. share file Front_panel.zip (268.5 KB)
Edited …
try to add fusion360 archive zip file but is to big…let me see what I can do…
I have the exact same issue with these fans, most of them get very noisy, either right out of the box or after just a few weeks.
Most of the time I managed to fix them by removing the sticker and putting some fresh oil in the bearing. Doesn’t always work though, sometimes I had to change the way the fan was attached to overconstrain it, which usually solves the issue (it can’t vibrate much anymore if the casing is constrained, as you already figured out by pressing on the right spot).
These cheap fans are a pain, I can’t seem to find good ones that will last more than a few weeks witout screaming loudly. I’d be ok with paying a little more to get quiet ones, but I haven’t found anything good yet.
Part of it depends on how long your rails are. My Y rails were 450mm long. @gpagnozzi has 400mm rails, so he could have had his printer 50mm less deep, though I think he kept the same exterior dimensions as I had. For what it’s worth, I think 400mm is the best size for the 310/320mm bed size. I have more than 60mm of extra addressable space in front of the print bed.
For the Y axis, you need the length of your rail, plus room for the motor mounts and corner pulleys. For me that came to the length of the rail plus 110mm as being the distance from the front edge to the inner surface of the back plane.
The X axis, I just took Ryan’s measurement and added 110mm (I think) to make up the width difference from 200mm to 310. I might have added 120 if I think about it, I don’t remember clearly exactly what I added.
Ok, if you have Ryan’s Fusion file, change the length of the X axis “Carbon Fiber 20mm Rail”, Ryan has it set to 340.2mm add 100mm to it size, that will change all the parts extrusion for the X axis, then you change the Lenght of MGN12H_275_Rough Y Rail, add. 100 to it or whatever Rail size you buy it, in my case I had 400mm on hand, so I added 125mm to the measurment.
And same for the MGN12H_200mm_Rough Z Rail…
That should change change the extrusion Lenght on all.
Hope this help
I just check the model, doing what I just told you on my previous post, Corner Extrusion 2 and 3 need to be 20 mm long and 1 and 4 should be 120 mm long then the is show in the model. That is if you are using 400mm Rails.