Ok, I watched at least a dozen videos, cut dozens of strips, and I’m not getting any better at panel Glue ups.
I’m having issues getting my saw blade perpendicular to the table, running the board through straight, maybe both.
I’ve cut one side to the left of the blade and the other to the right, thinking that would make up for a slightly tilted blade.
Every single joint ends up with gaps. I don’t have the budget or room for a bigger/better saw right now vs my skilsaw (trying to get organized for the new house).
About the only thing I have tried yet is strapping a board to the cnc and running down the edge.
Anybody got tips?
Are your panel strips too big to cut on your CNC?
How square is your saw’s fence? Measure it to the near side of the same tooth on the blade at the front and back of the blade’s throat. They should measure the same. This is regardless of how square the blade is to the table.
How stable is your saw’s fence? Have you tried adding clamps to it to create an even more stable surface to rip your strips against (i.e., clamping it to the table)?
Are you seeing gaps on both sides of the glue-up, or only on one?
I have a pretty “crap-tastic” skill saw table saw as well. I use the end piece of an old combo square every time I change anything on that saw. I also have an old adjustable drafting triangle that I use for any thing that’s not 90 degree. That’s gotten me close enough for what I’ve needed. Haven’t tried any glue ups for the CNC yet though.
I’m pretty sure I can get it done on the cnc, just not sure why this very basic skill eludes me. Well, actually, I do kinda know, lol. Because it ain’t calculus.
The fence locks down super solid, I just have to be careful to measure against the blade because it WILL let me lock it down crooked.
The gap is sometimes bigger on one side or the other, and isn’t always the same width all the way down, which is why I think it’s at least mostly my fault.
The right tool for that is a joiner. If you had wood that was already surfaced top and bottom, then you could joiner one edge, and then run that edge against the fence of a table saw.
Short of that, you can make a joiner jig for the table saw. That just holds the wood (however it lies) on a sled, and cuts that edge, while not depending on the far edge’s flatness. Then you would run your freshly cut edge against the table saw fence and trim the other side straight.
The pros start by flattening one wide face with a joiner, running the opposite face through a planer, then joining one edge, keeping the reference face against the joiner fence. Then they cut the last edge on the table saw.
I’ve also seen people do very good work with a joiner plane (a hand plane). You can spend hours just learning about sharpening for them, but the trick is you take the two edges you are going to join and hold them in a vise and plane both edges at once. If you don’t have the perfect angle, the error will be present in both pieces and they will cancel out.
Better than the table saw would actually be your skill saw. If you have a door board, or a fence like that, you can clamp it to your work and then the straightness of the edge will be based on the straightness of your door board, instead of the mating of the fence and the other edge on the table saw. You could then use that flattened edge against the table saw fence and get something parallel.
I wonder of a similar trick to the hand plane trick could be used with the skill saw. Flipping the second piece over, like you were closing a book, and then attaching the door board on top and making a small cut through both. Then, if the skill saw (we’re talking about a circular saw here, right?) had any errors in the angle, when you opened the book, the errors would cancel out.
I think @jeffeb3 has hit the main points.
If the edge of the board riding the fence isn’t straight, the edge being cut likely won’t be either. A sled can be used to get one edge straight.
Likewise, if the face of the board riding the table isn’t flat, the cut edge isn’t likely to be “square” either. It needs a flat surface to be square to
A jointer is the right tool for both jobs, but there are work arounds. The table saw sled works for getting an edge straight and a similar sled approach can be used with a planer to get a face flat. The CNC could be used to mill a face flat too, assuming it’s flat.
I don’t own a jointer and don’t know where I’d put one…I use a table saw sled to get a straight edge, and usually hand plane one face roughly flat before running it through the lunch box planer…
Edit to note that I usually try to get the faces flat first, and then use the table saw sled to get a straight edge
1 Like
My table saw is a bit small for any of the jigs/sleds I’ve seen. I don’t have a jointer (or room for one) but I do have a planer. Maybe I’ll try running it through that a few times and see how flat I can get it. The planer pushes down quite a bit, so I’m not super confident.
Thanks guys
There are sleds for turning a planar into a wide joiner too. You can’t cut the edge, but you can make one side flat.
You nailed the problem with sending it through the planar, it wil force it flat. The sleds help you shim under the board to help it keep its shape. Then you can cut one side until it is flat and send it back through.
The joiner sleds for the table saw don’t have to be much larger than your workpiece.
1 Like
In my head, I know what’s supposed to happen. I can do it in my head. Just can’t make my hands and tools deliver results in the real world. I’ll let y’all know how I fare next weekend.
There’s many ways to joint boards without a jointer. Here’s another option.
If you have a router, you can use a flush cut bit and a straight edge to joint the edges. Put the two boards back to back. Clamp them to the straight edge, then flush cut both at the same time. If your boards are too wide to do this, then you can do the two boards separate. Be sure and put the boards on opposite faces down. In other words, if you joint one board face side down, then joint the other board back side down. This is to have any kerf offset each other.
It took me lots of practice to get decent boards.
2 Likes
Thanks. I’m going to check whether my flush cut bit is long enough for this. I like the idea of being able to clamp a straight edge to a board and the board to my table so I can use both hands.
Late to the party but as mentioned you can turn your planer into a face jointer by putting it on a sled and shimming any gaps underneath it so the board doesn’t squash down. Also, clamping panel glue ups is not trivial if you want to wind up with a flat panel… I have tried it a few different ways and am resigned to buying or building panel clamps next time.
1 Like
I use a big piece of quartz counter top. Then I use cauls to clamp the boards to the quarts after clamping the boards together.
2 Likes
I used something similar last time but I think my wooden cauls flexed a bit. I saw someone on YouTube set up something with box iron and bolts I might try next.
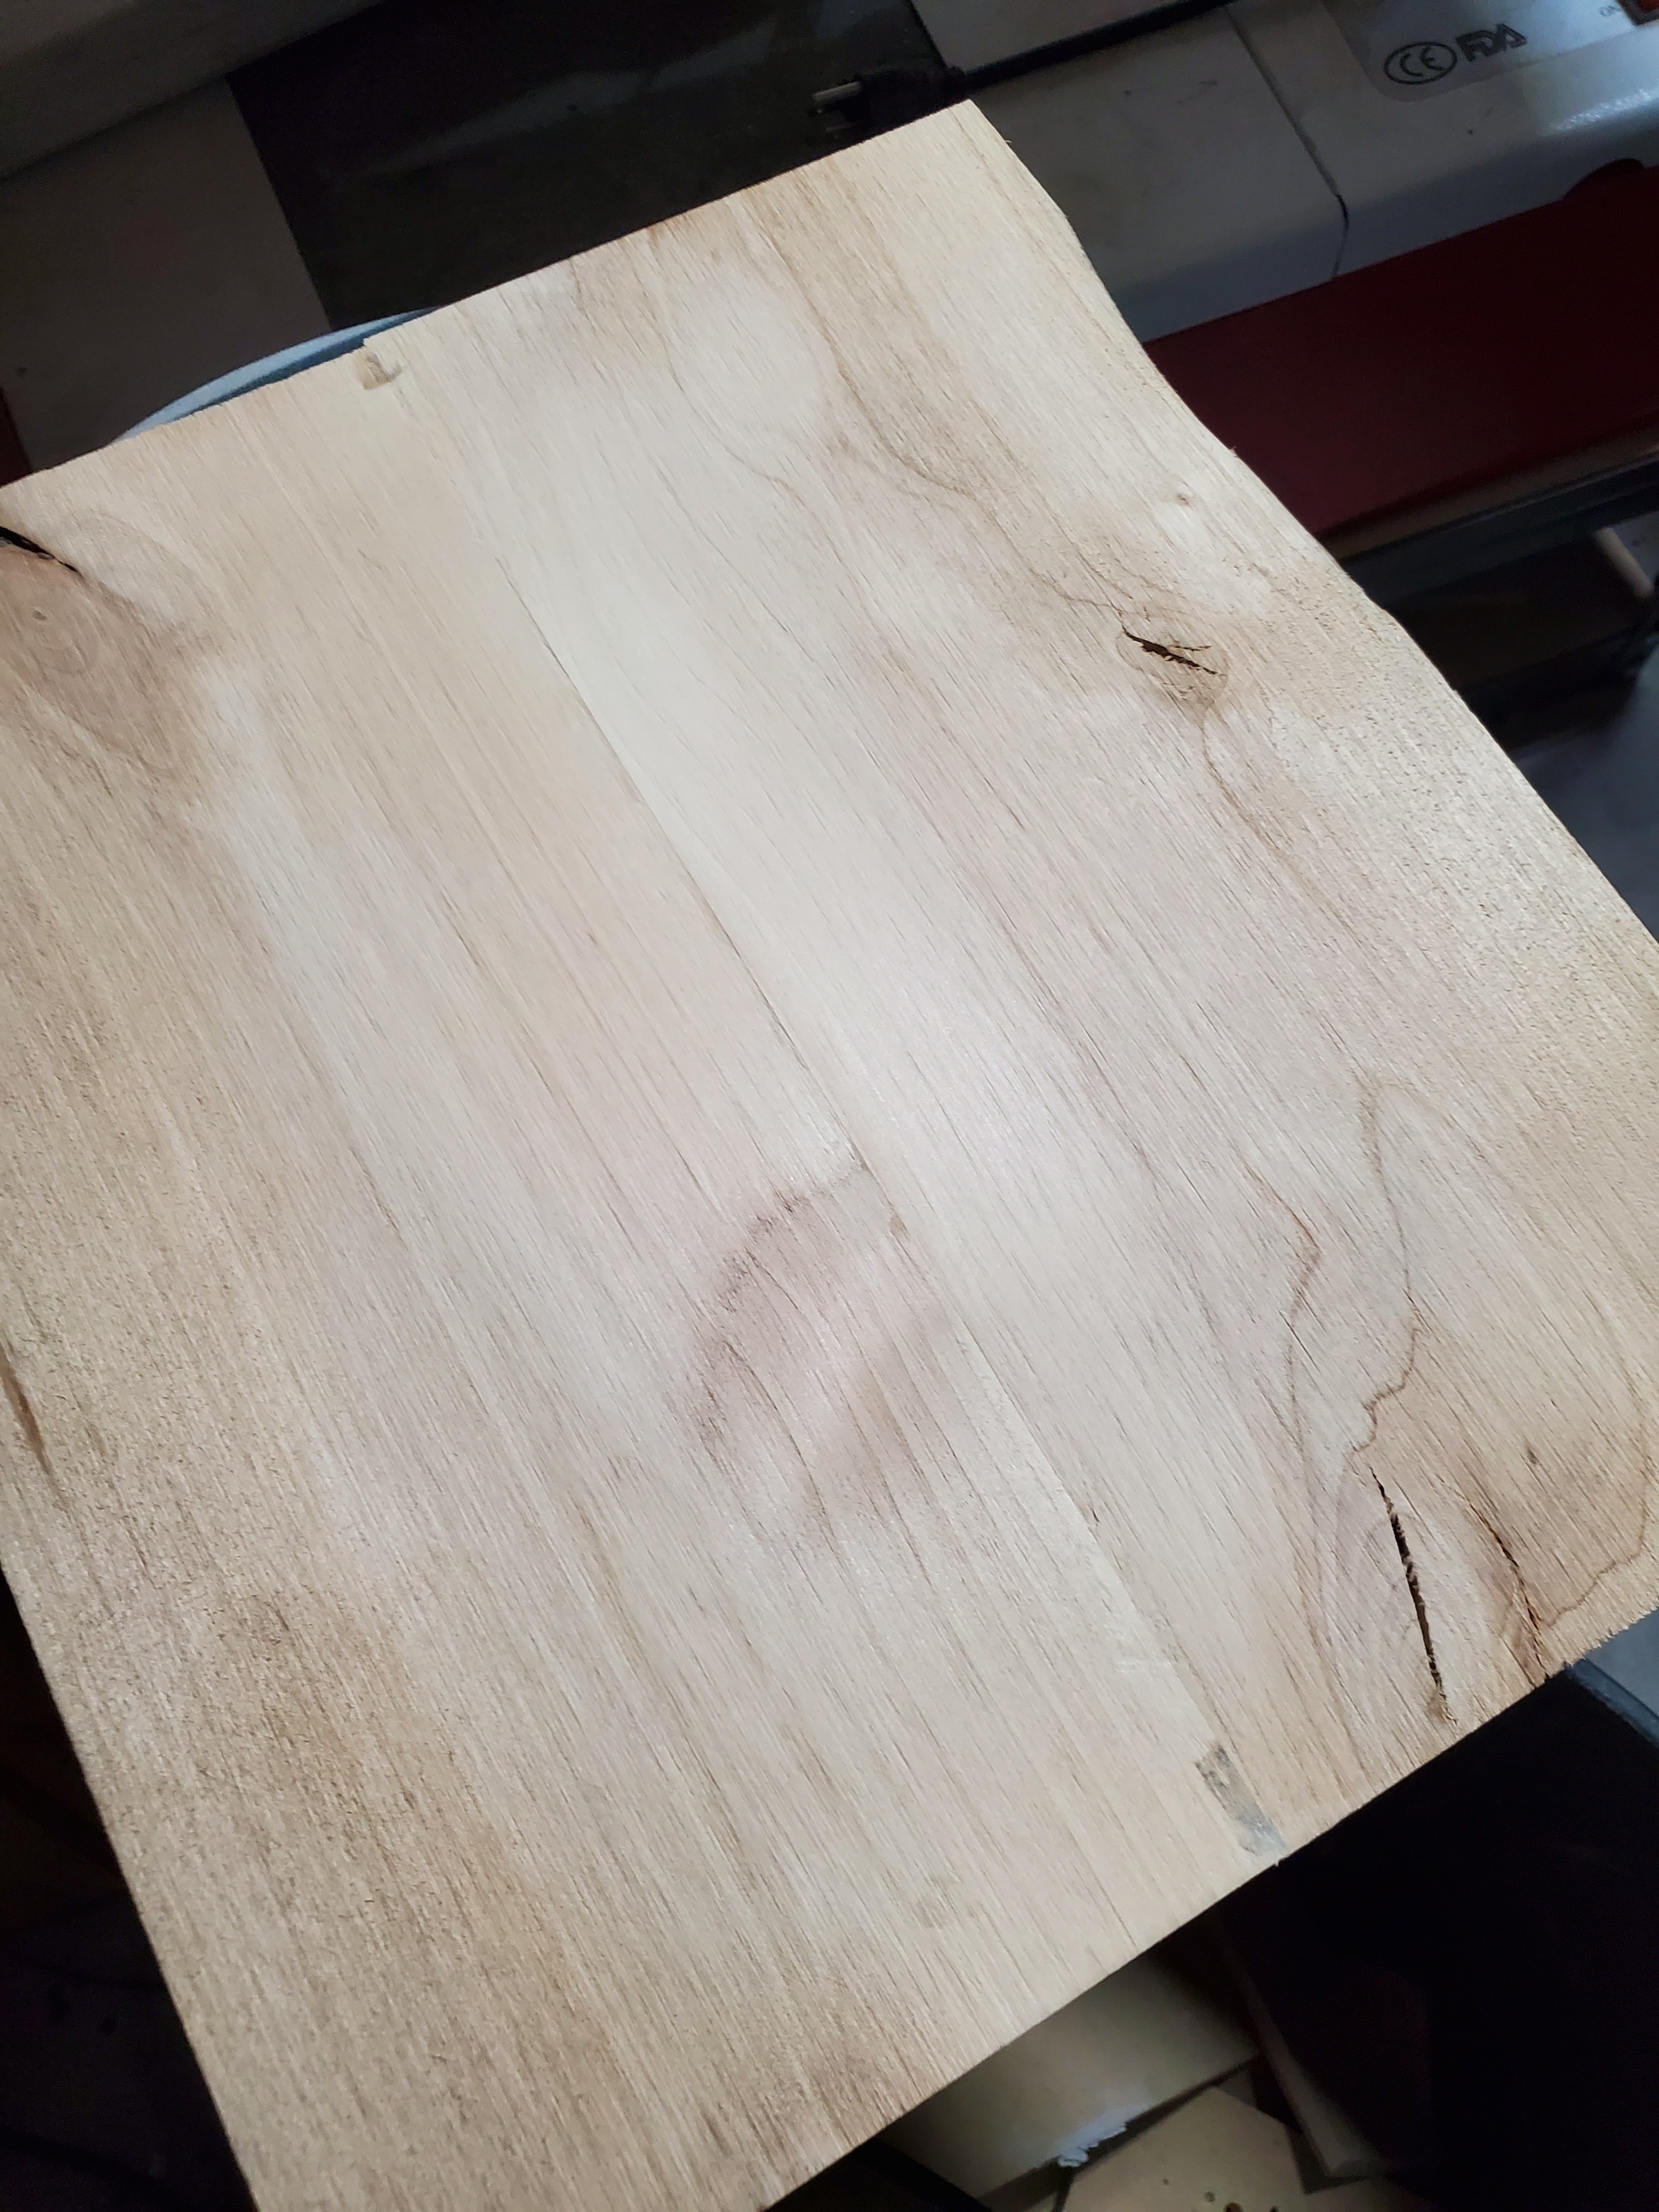
First try with the DW611 and a straight edge.
Looks like gaps in the photo, but I think it’s just low spots that filled in with glue. The dark spots on either end of the joint are from the clamps I used to line up the boards.
I need to come up with a way to extend my straight edge past the end of the board (used a large clamp today) because I lost a couple inches from each side. Alder is cheap, so NBD, but if I get courageous enough to glue up something nice, that’s not gonna be fun to lose.
I’m pretty pleased right now.
Thanks all.
That looks really good.
I used a 4’ straightedge typically used to guide circular saws. It had a really thin profile and is lightweight aluminum.
Oddly enough, looks like the one I have is still being sold:
I recently had one of my best glue ups so far the other day. It was walnut. I started with a 5/8" thick 6" wide board. I split it in half on the table saw (surprisingly enough, I managed to actually get it in ‘half’). I then used my little 4" jointer to clean up the edges before gluing up.
The last thing I did was used the masking tape and CA glue trick to glue the flat side of the board to a piece of MDF so I could run it through my planer and flatten the side with the bandsaw marks.
I don’t have a picture of the panel itself, but here it is in the insert I was making:
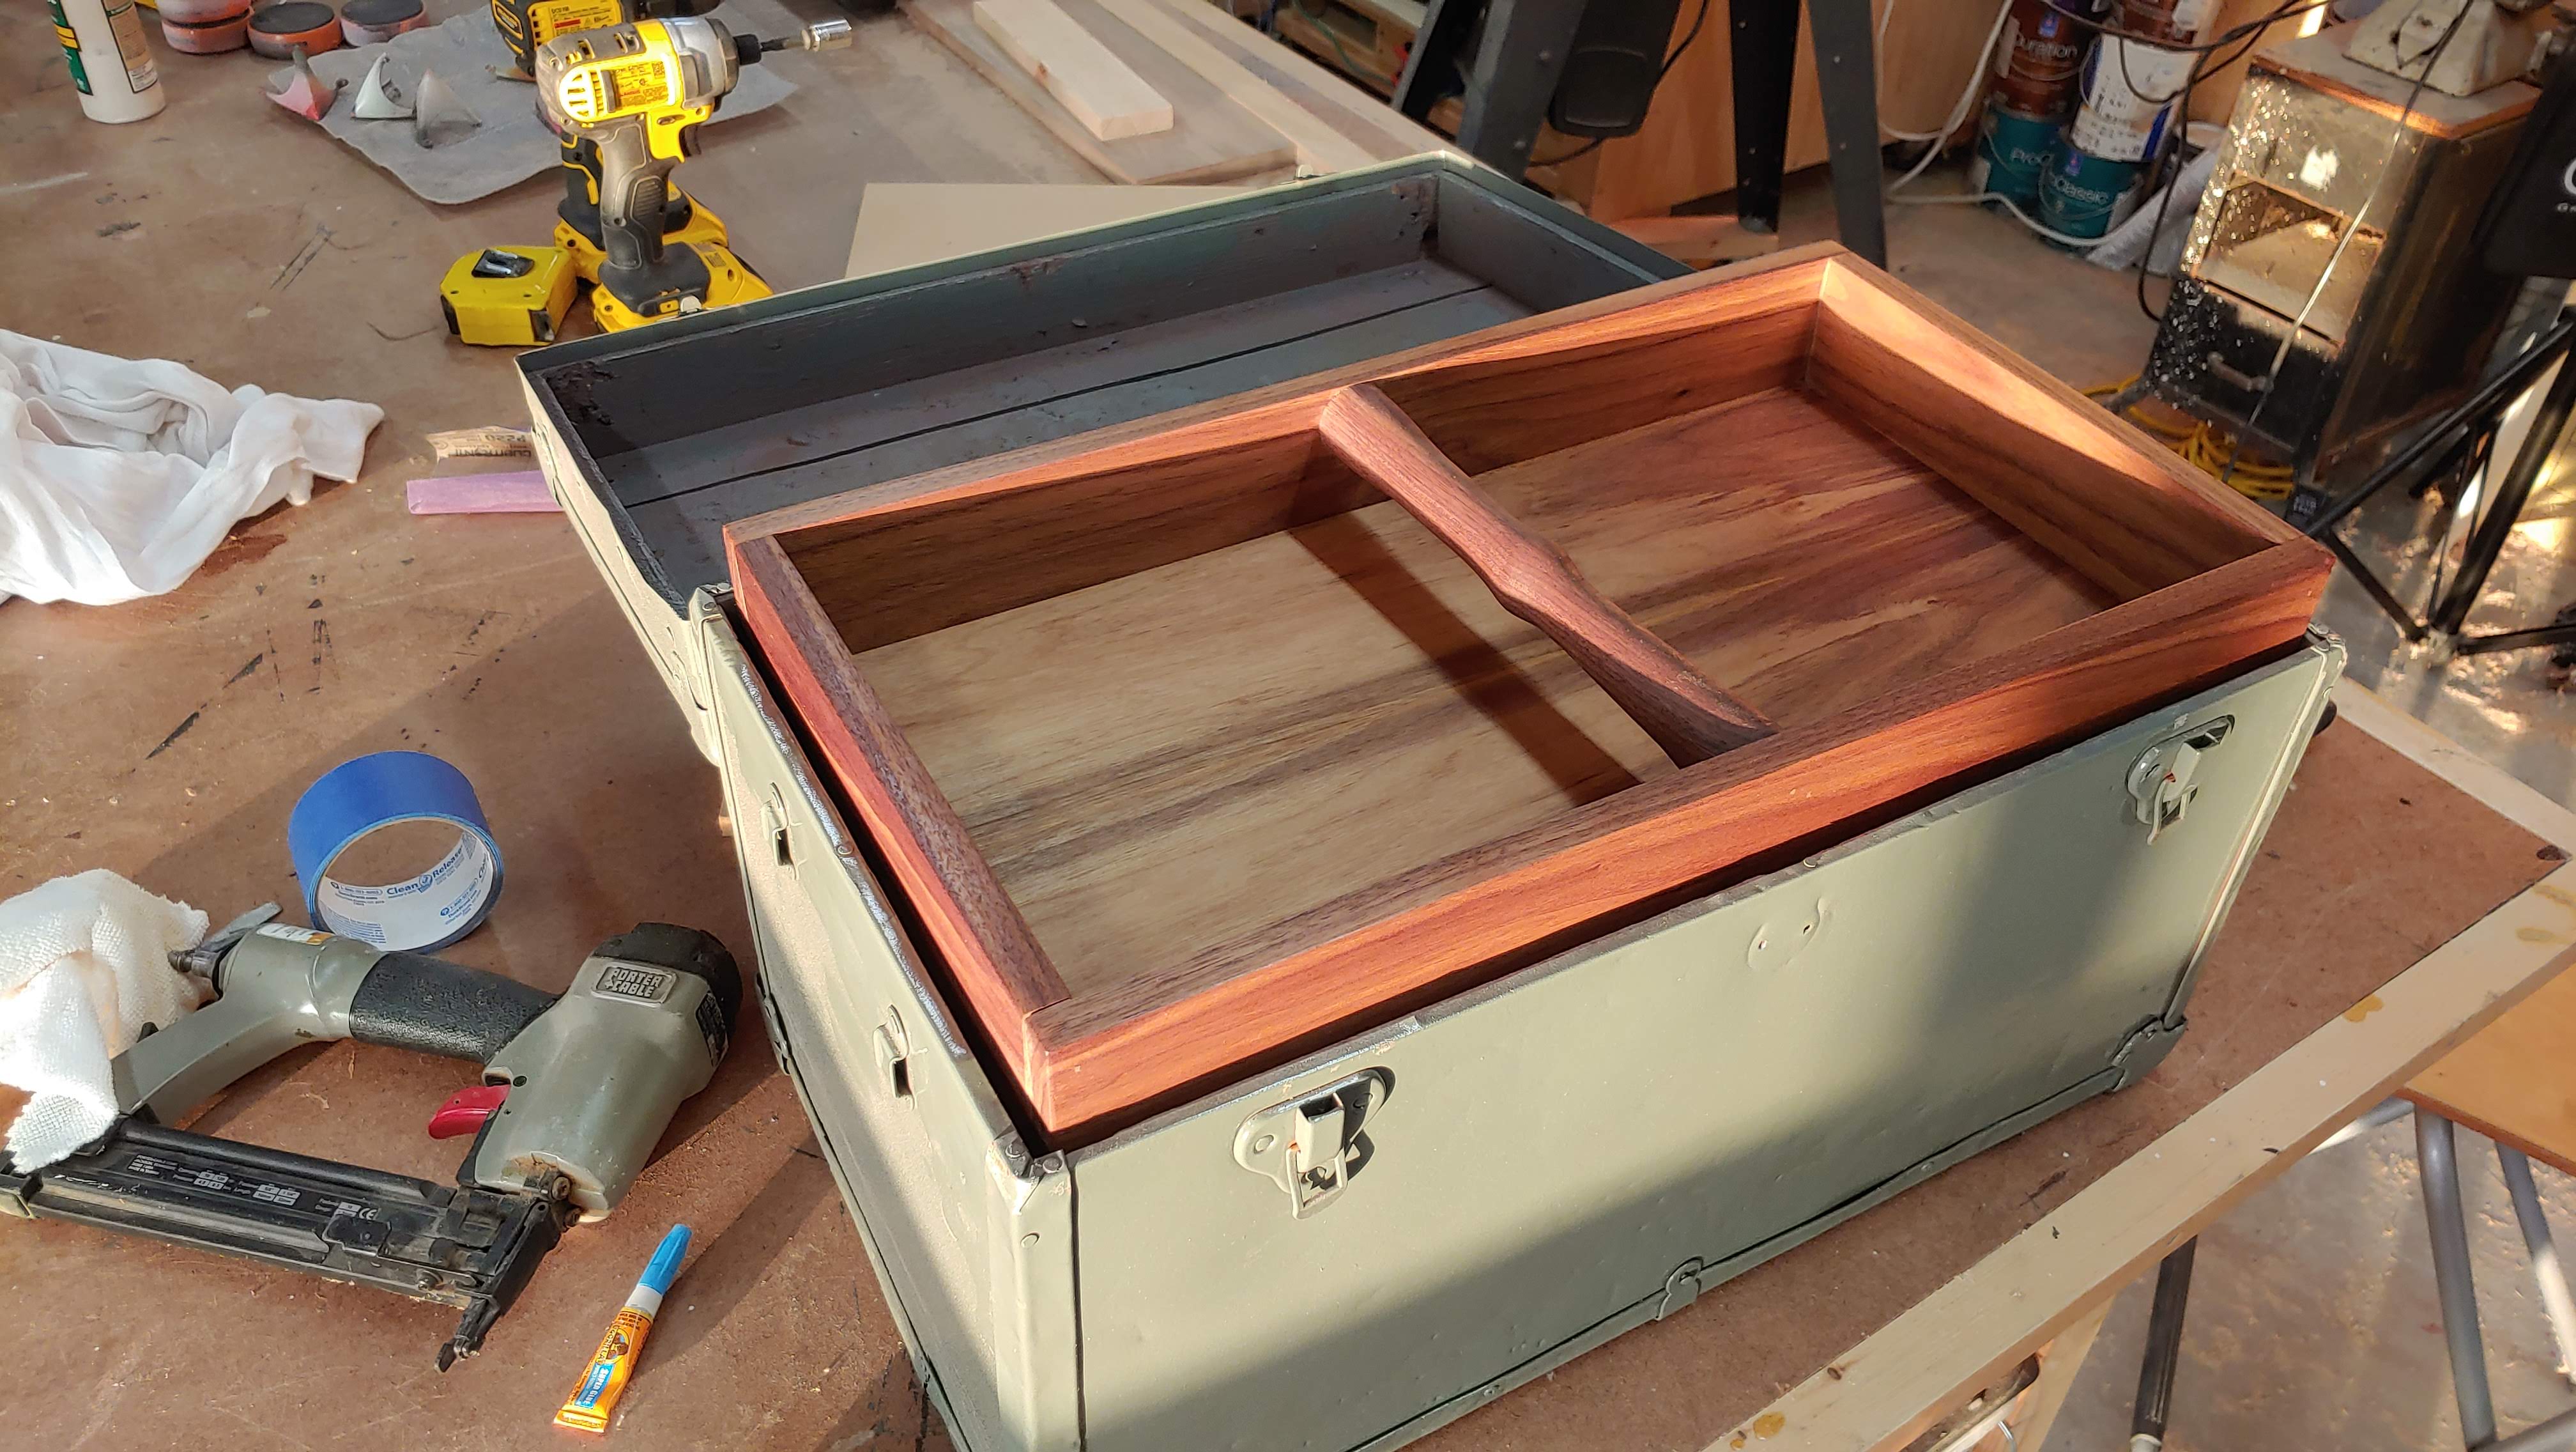
3 Likes