Trying to expand my woodworking hobby and have been playing around with a 3018 small CNC, been learning a lot and having a blast. Bought a 3d printer, decided to build a new Primo.
Printed my parts, bought a kit from V1 and have just about finished the mechanical part of the assembly.
The only glitch seems to be the lower belt adjusters, the instructions show the insert for the belt to be off centered and say to insure the mirrored pairs are installed on the correct spot, however after printing I can see no difference in normal and mirrored sets.
So far, so good. now comes the fun part… the wiring.
I think I know just enough to get myself in trouble. I bought the Jackpot controller and have been checking out the forums. As a complete newbie I think I’ll be OK, just an initial question.
How are the stepper motors designated as X1, X2, Y1 and Y2, which is which? Z of course is easy. I have been unable to find this any where.
Not an expert here as I just finished mine and have it running. As far as the steppers being X1, Y1, X2, Y2 I don’t think it matters (at least for me it didn’t unless I got lucky). What does matter is that they move in the same direction. I wired one at a time and move it to make sure it was wired correct (moving correct direction). Hope this helps.
Been a while since I wired mine. From memory it doesn’t matter which is which, but they do need to match up with the appropriate endstop if you’re using the dual endstop firmware. This is because each motor homes until it hits its endstop, so if they’re switched then when the first endstop is hit the opposite motor will stop, leaving the motor that has just hit the endstop to keep moving until it crashes and never actually completing the homing process.
I would wire it all up without the belts and make sure the rotation of each makes sense. You should be able to home in X and watch both X steppers rotate in the direction that pulls the truck along the belt towards the end-stop, then when the end-stop for the corresponding motor is clicked it should stop rotating.
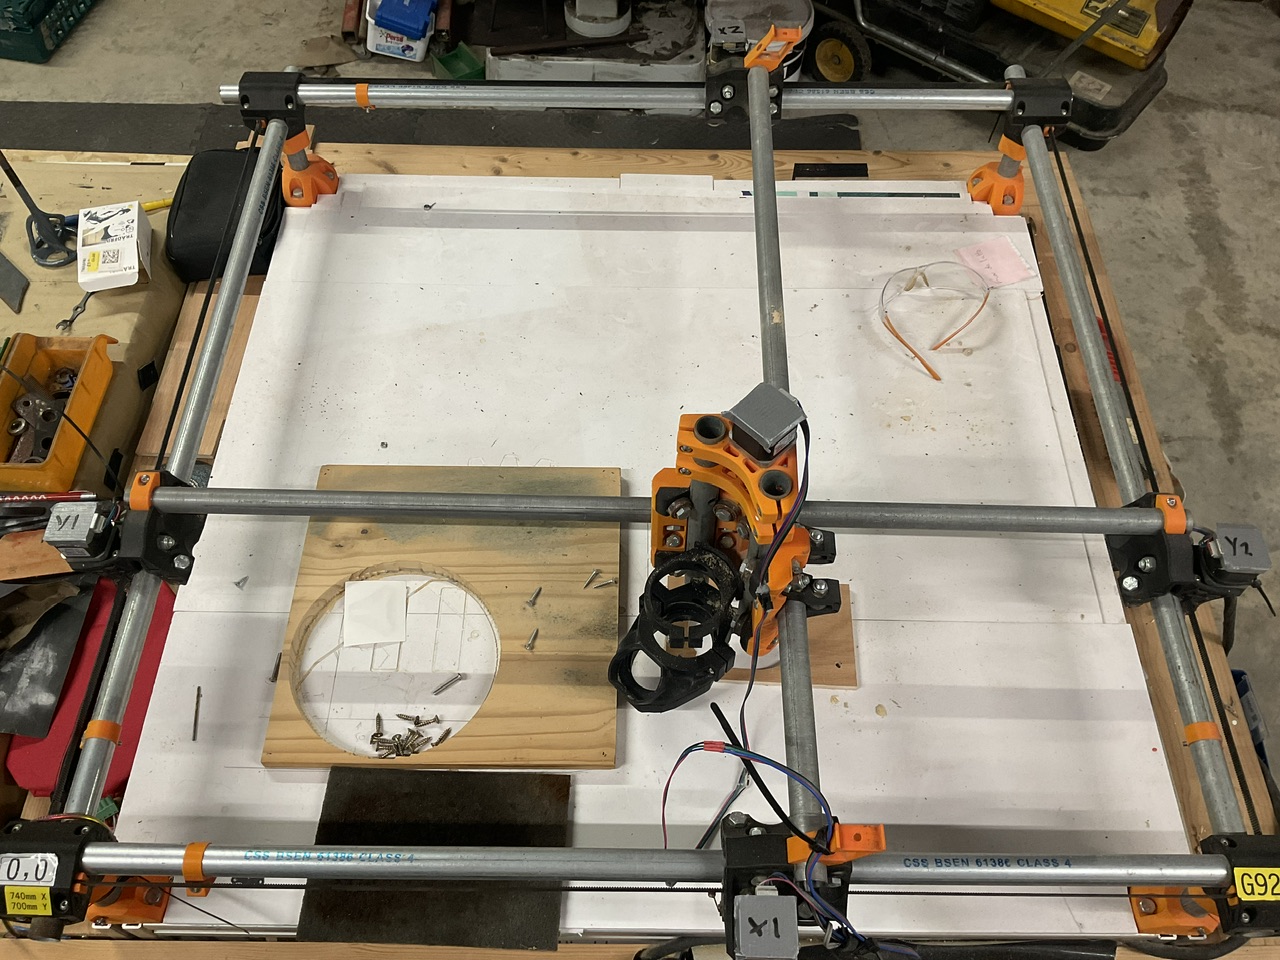
Been a while but as far as I remember If you’re.standing in front of the machine with the router mount side of the core facing towards you and to the left then;
Looking from the top down the bottom left corner is 0,0 for x and y - or HOME.
X1 is south. X2 is north, y1 is west, y 2 is east as far as I remember.
Moving X a positive number suould move the core east. Moving Y a positive number is moving North - in both cases the direction away from 0,0.
If a stepper goes the wrong direction just power everything off and flip the 4 pin plug going into the board the other way. As long as you swap them when the board is powered off you can’t really hurt anything if they’re the wrong so don’t worry too much.
Here this is maybe easier;
Thanks all, I think I’ve got it. I check in again if I have any more questions. I’ll let you know when she’s up and running.
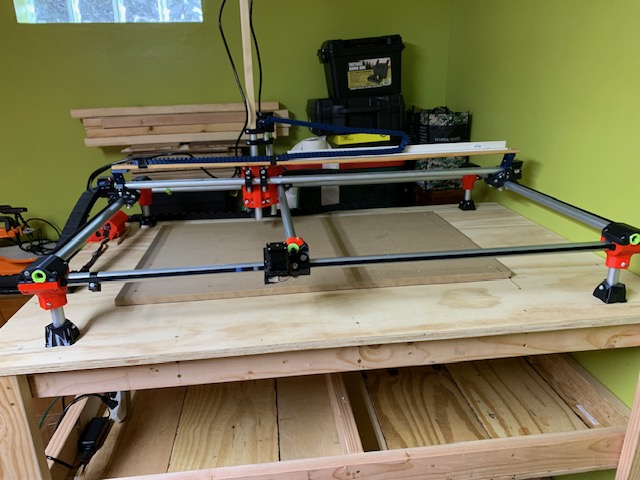
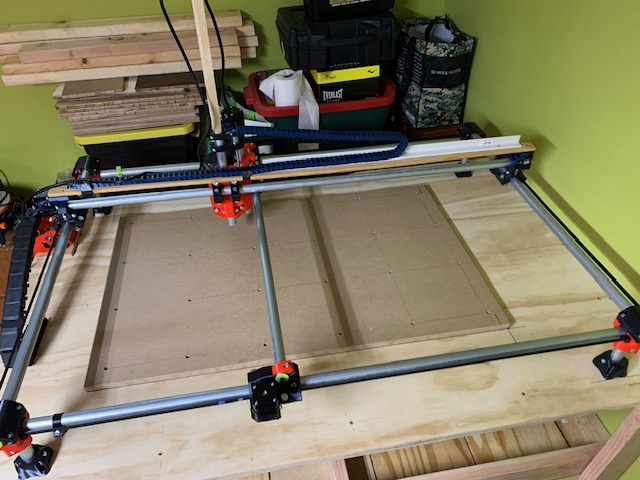
Finally finished my MPCNC build, 60cm x 95 cm carving area, I’ve got the spoilboard installed, I’ve done the crown, it turned out OK. Installed Carbide compact router, seems to be powerful and quiet. Next step I think I’ll surface the spoilboard, then some practice cuts, to tune in my speeds and feeds. Thanks to all who helped with a few technical/software problems.
Carbide Router:
A couple of photos: I built it 41 inches high so I don’t have to bend over so much.