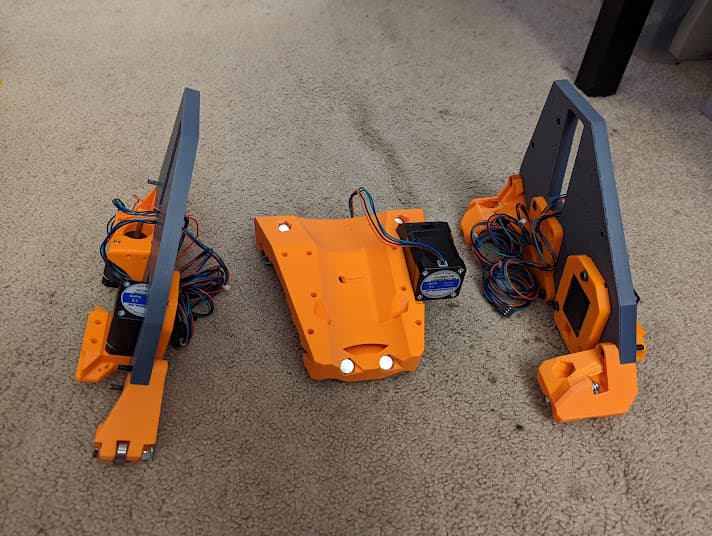
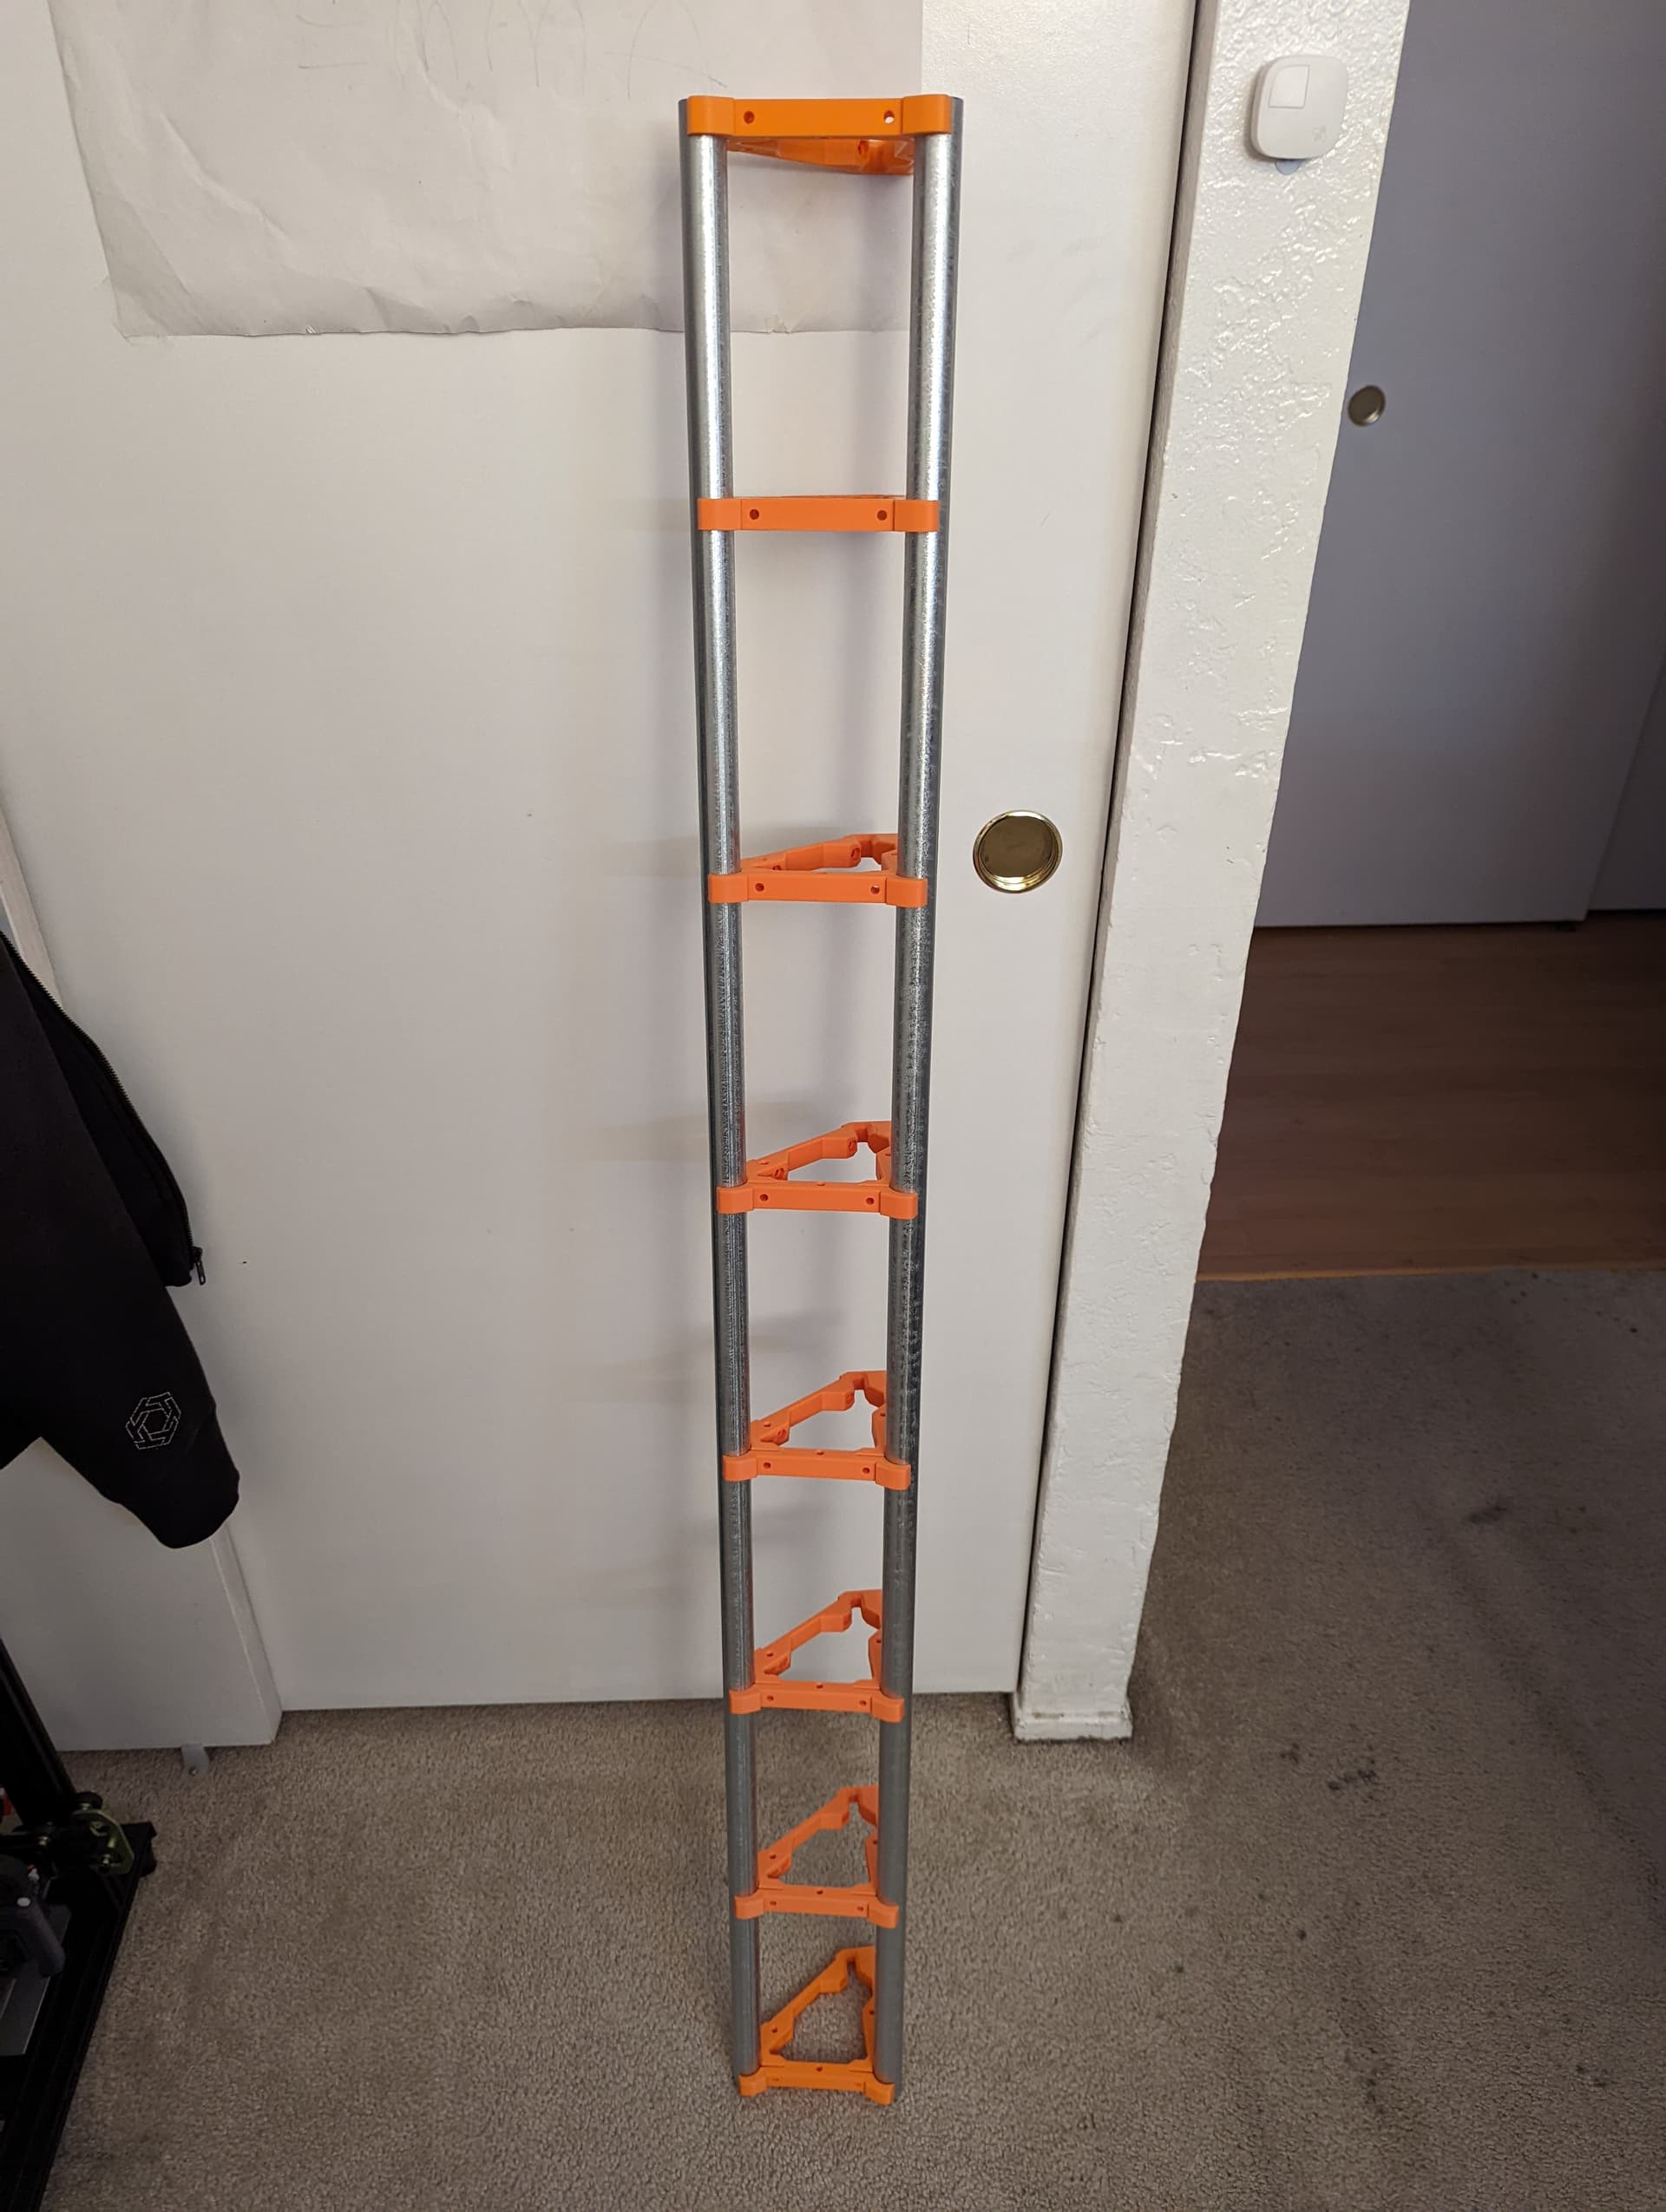
X rails cut to 55-in and I managed to drop only 1 on my bare foot. I’ll spare you the picture of the half circle “bite” mark. Safety first folks!
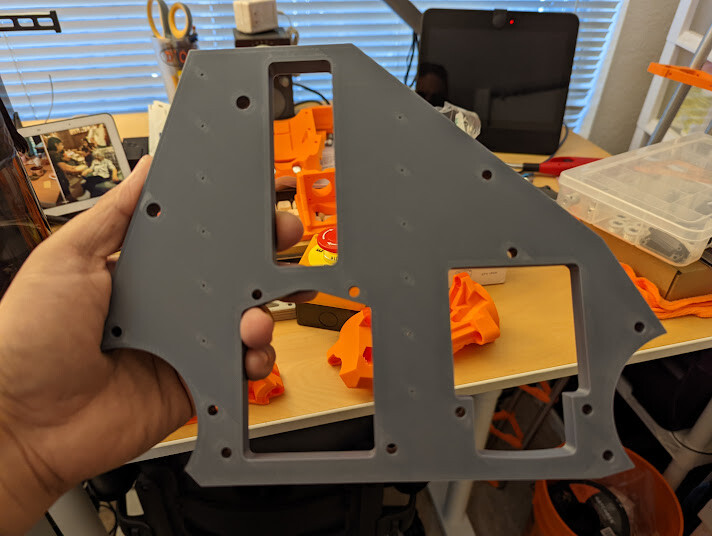
I attempted to space the braces to several interpretations of “no less than 8 inches” with no luck. I’ll have to double check the strut plate DXF files to see how I’m mathing wrong. The plan is for a full sheet build by the way.
I should have a bunch of screws and steppers from Amazon arriving this evening.
I have both a SKR 1.3 & 1.4 with a fist full of TMC2209s to potentially use with this build. I may also go with klipper in the long run since I also have a spare Pi Zero W to contribute to the cause. Man, I can’t wait!
I honestly do not know what I’m going to do with it once it’s built. I would just like to option to cut something really big if I ever needed to.
Thanks for the heads up though. Thanks good information to have in the back of my head.
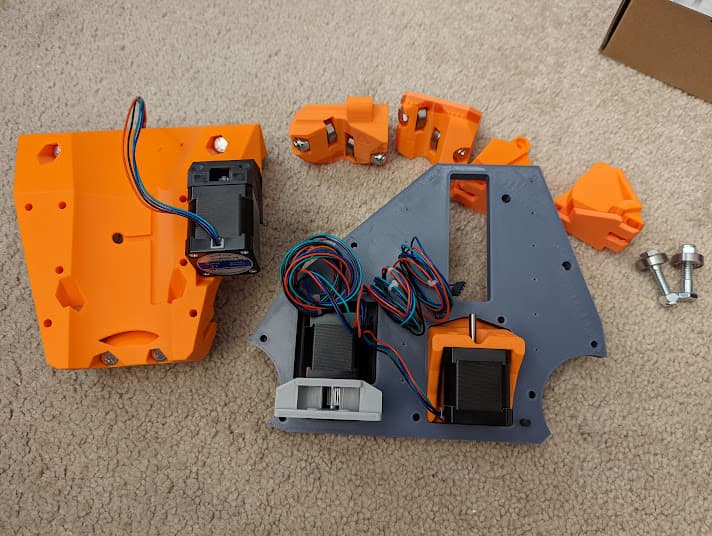
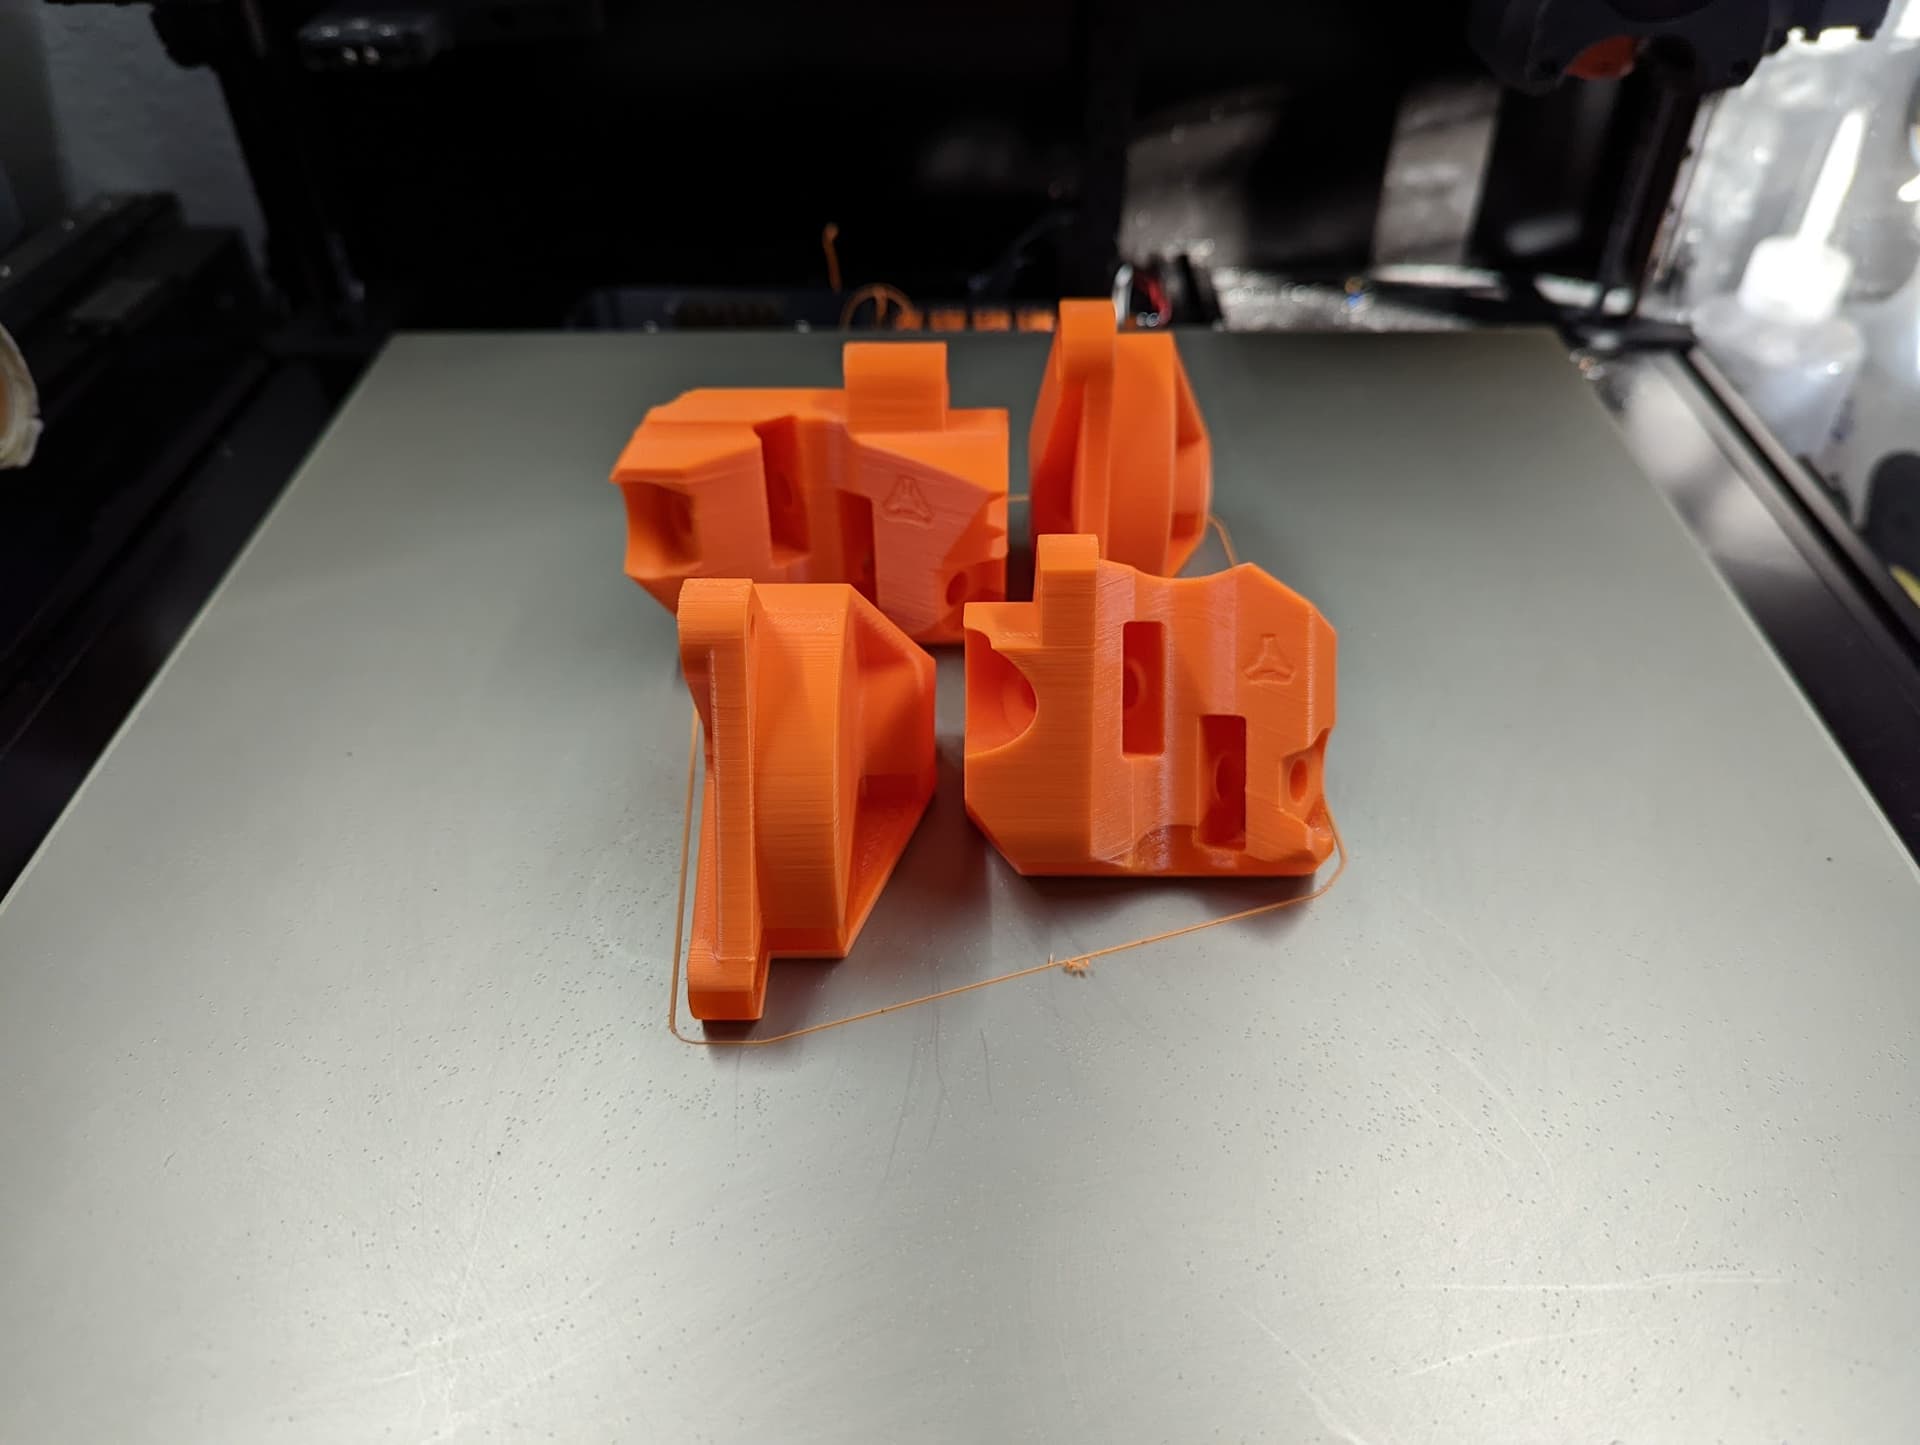
Steppers, belts, pullies, idlers, and M3 screws came today, Now I just need to wait for a care package from Ryan and maybe build a table for all of this.
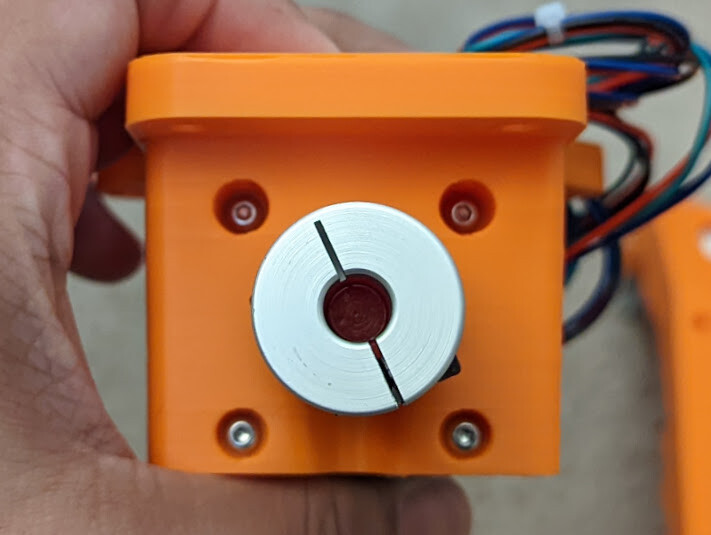
NP. I may have some on some older printers that have spring couplers that I can swap out. If not, prime to the rescue. Thanks for getting that order out so fast!
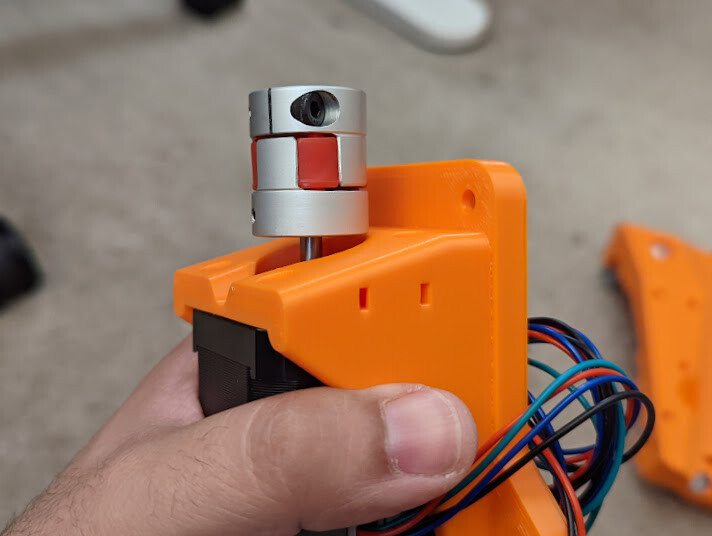
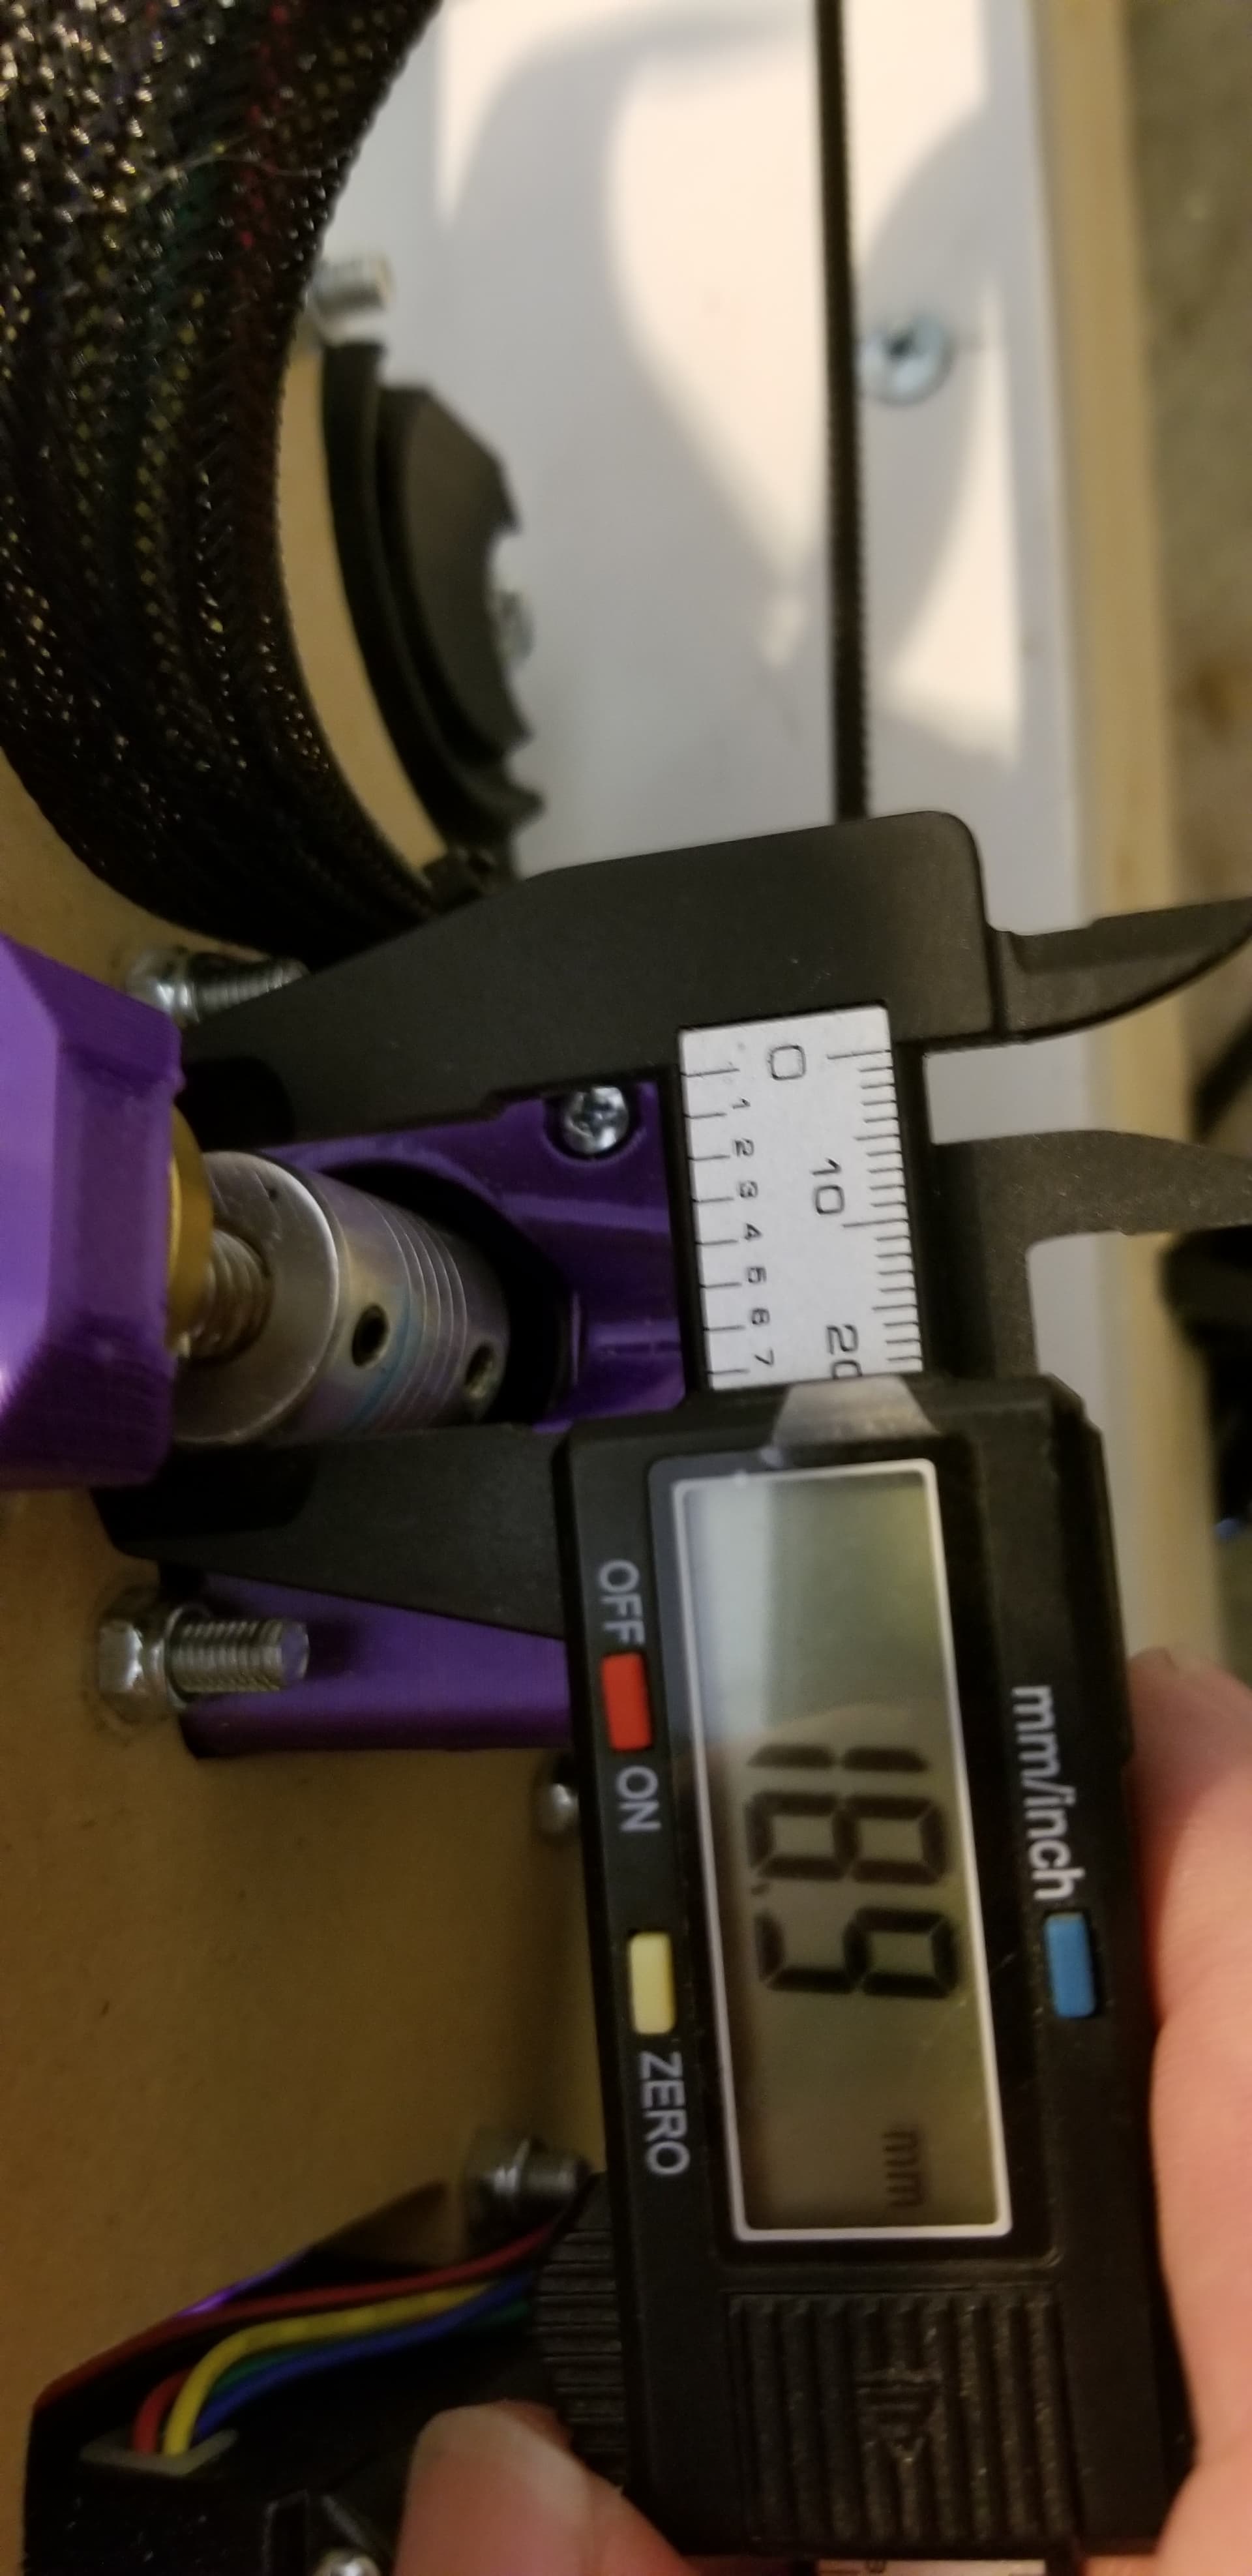
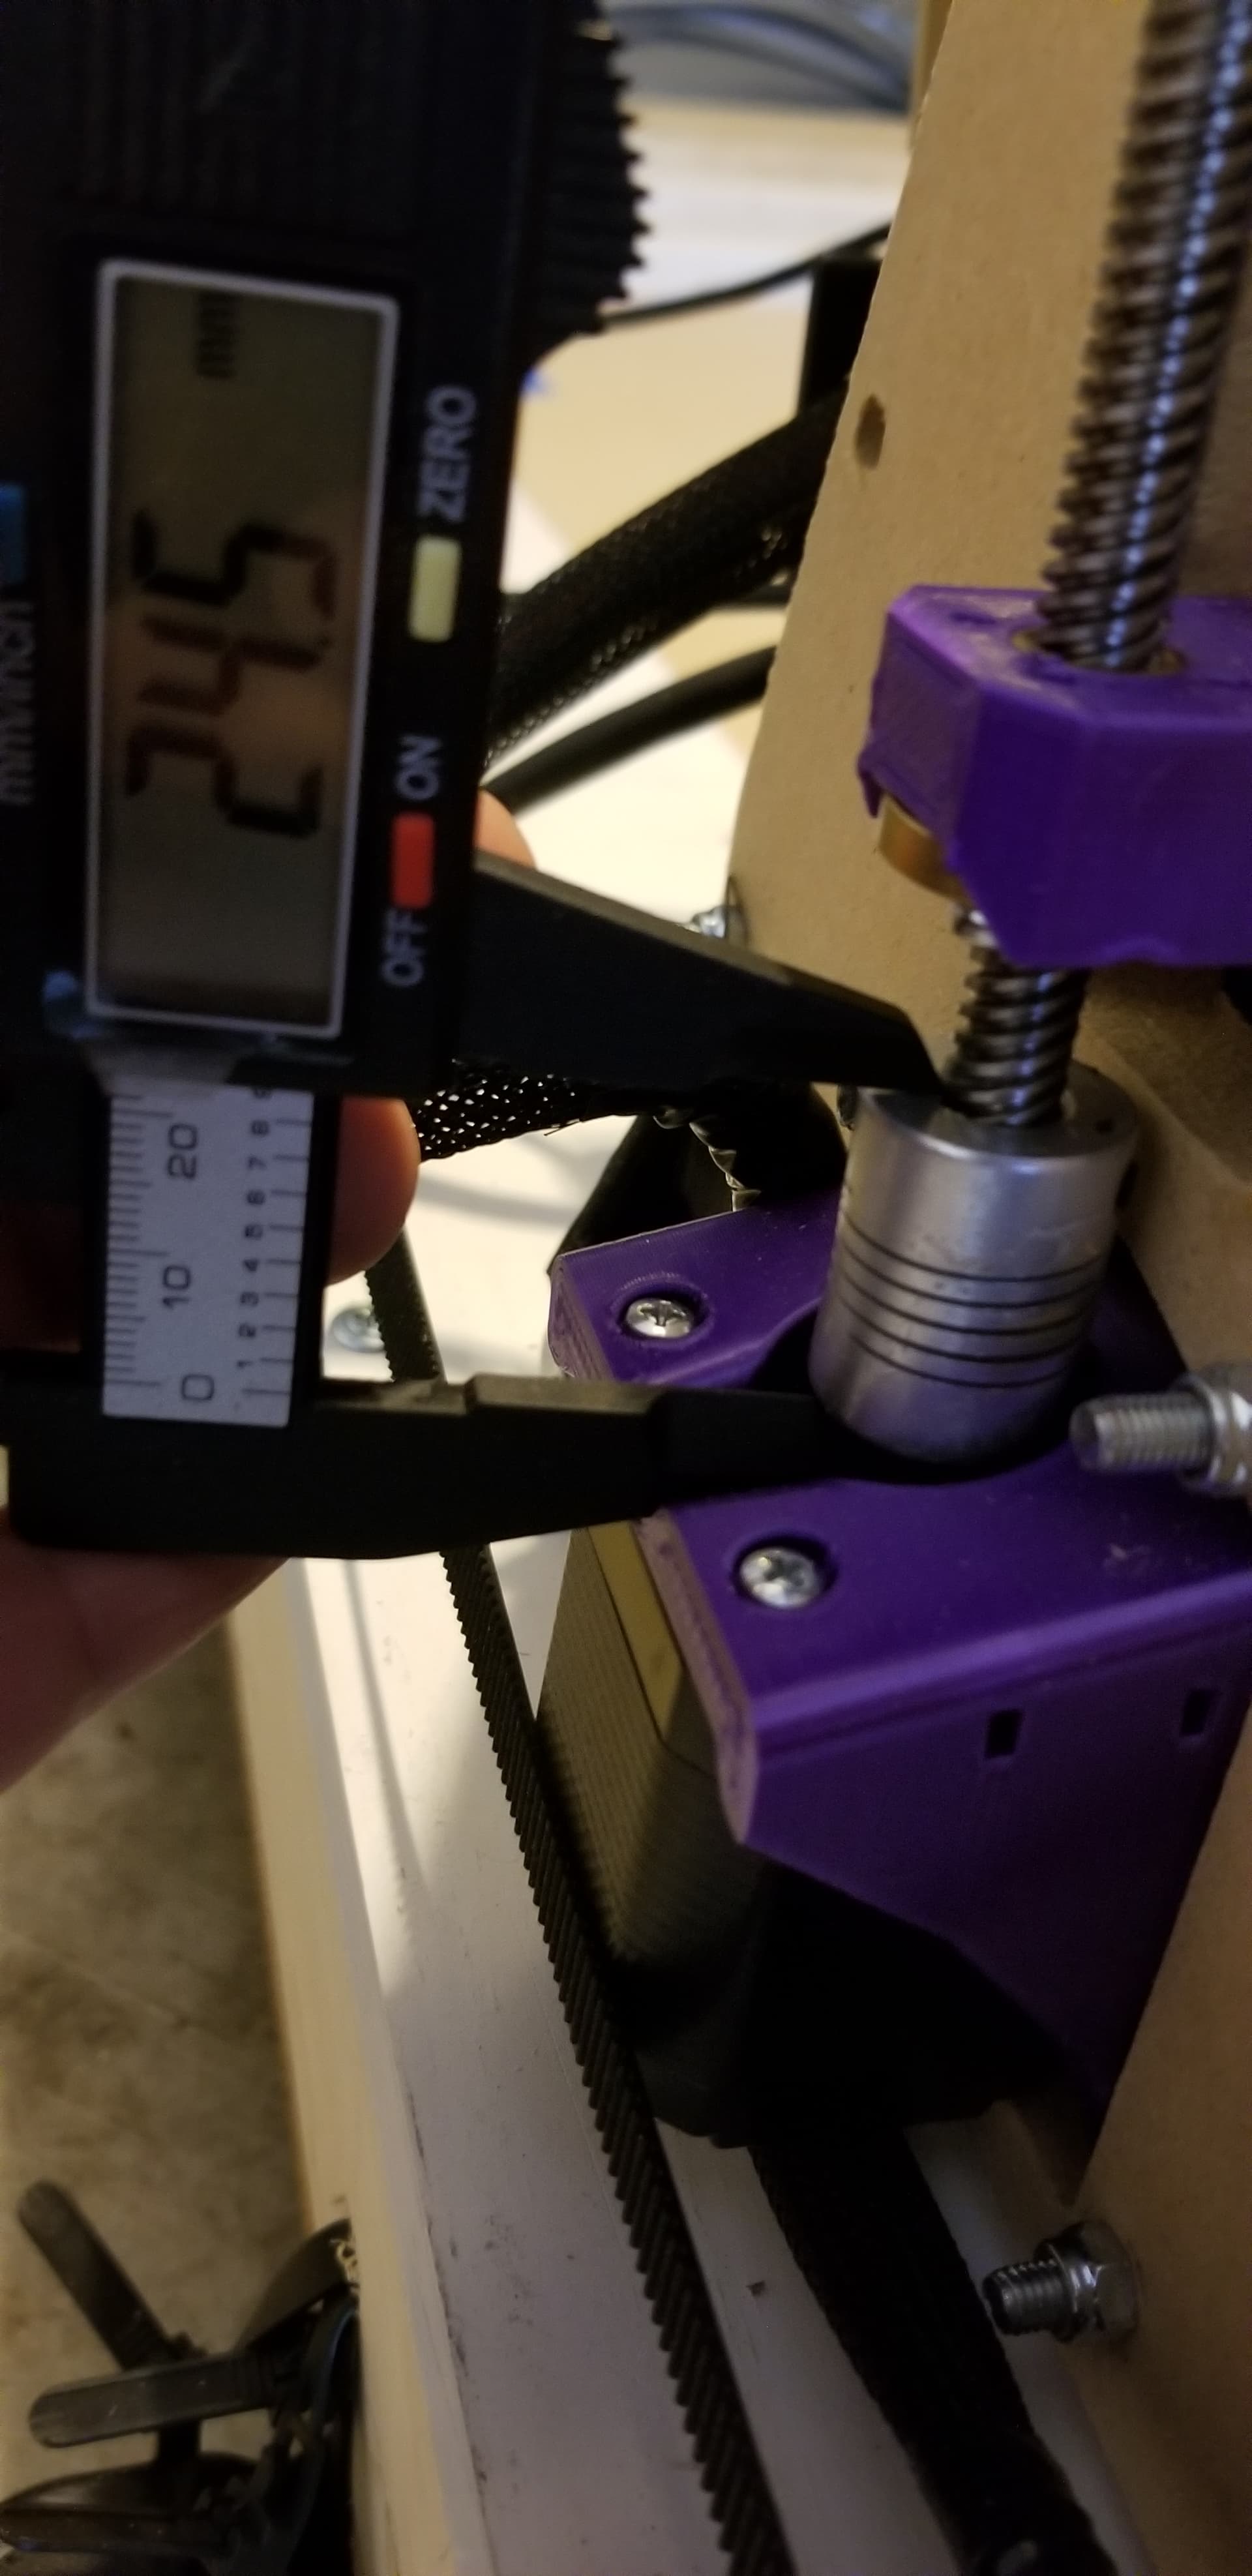
Does anyone happen to know the diameter of the “spec” couplers? I may be able to find something else on Amazon then Ryan can setup an affiliate link for me to use.
Flex is always nice because nothing is perfect. You can use a rigid one, just be on the lookout for binding as they are very unforgiving to bent lead screws.
I think I’ll put some amount of effort into getting the controller/firmware setup. From what I have gleaned from some of the docs and forum posts, I’ll need 5 stepper drivers and up to 6 endstop ports/pins. If I go the klipper route, that leaves a ton of open pins for silly things like cooling fans, lights/neopixels, toolhead and vac control! I can both power the Pi Zero and attach via UART from the SKR TFT port. Maybe go with a Pi 3B and run klipperscreen. So many options.
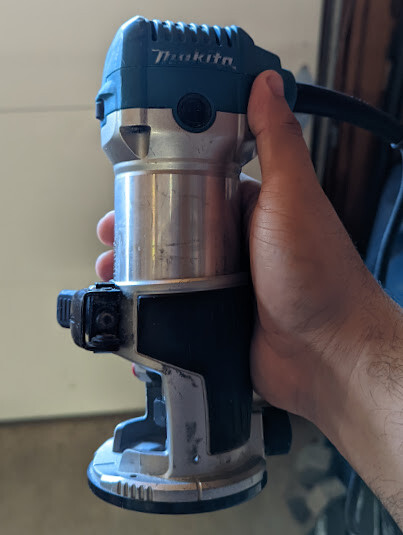
I picked up the HF Bauer palm router on sale to get this all kicked off. Before that, I had been following several eBay auctions for the Makita. Well a reminder popped up for a hell of a deal with minutes left in the auction and…
Klipper is installed and partially configured as a cartesian with no extruder. Odd one for me. I still need to dig through the Marlin config to see what bits I may have missed, but it might just work.

 I would just like to option to cut something really big if I ever needed to.