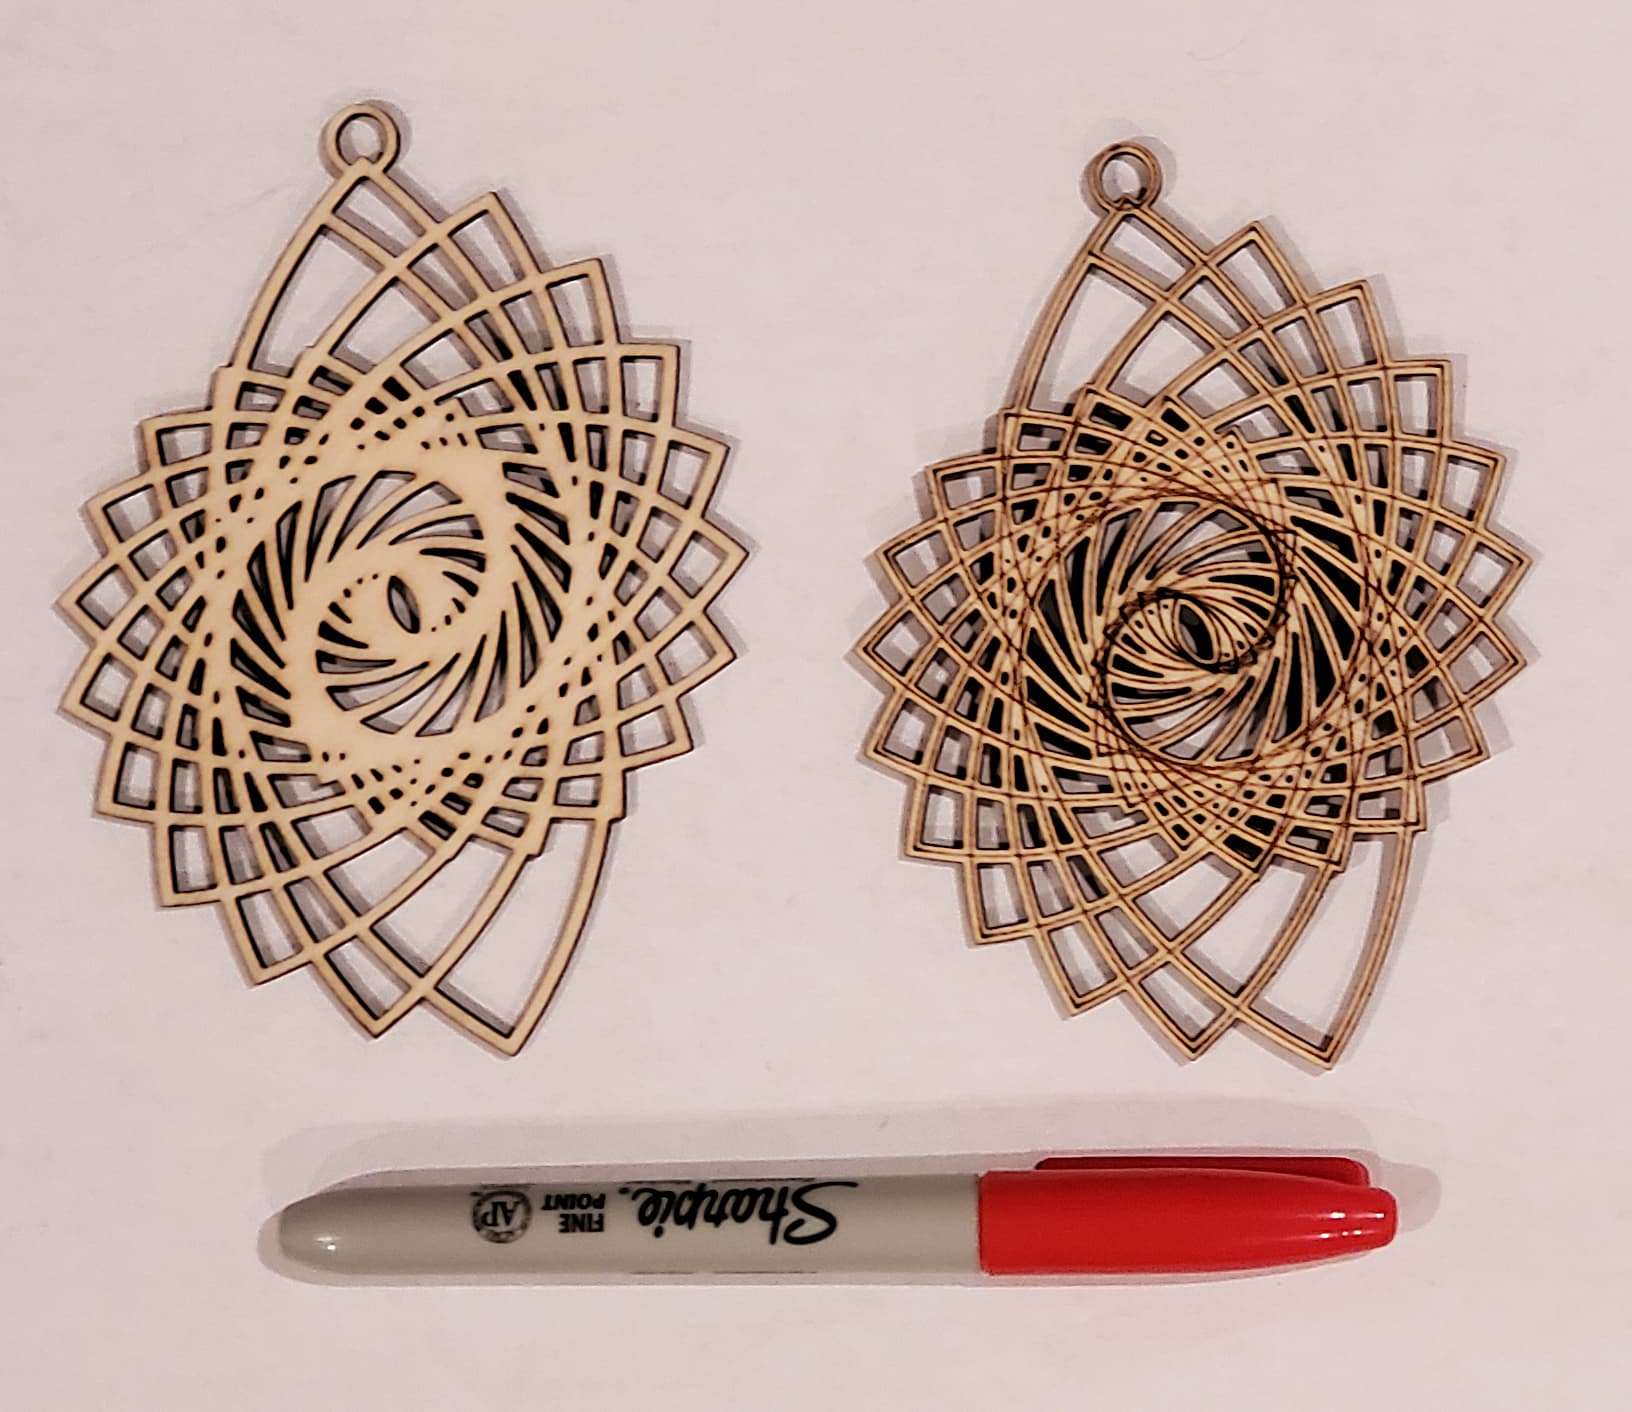
I was doing some research this morning, and by chance bumped into some laser cut earrings of a looping design that looked like they could have been created using Sandify. The idea of using Sandify for laser cutting has been nagging at me since then, so I spent a bit of time this evening exploring. Here is the results from two tests:
Not fantastic results, but the technique shows promise. I saved the path out of Sandify, used Inkscape to clean up any lines I found bothersome, and to thickened the lines, exported an image of the design from Inkscape, and traced the result in Lightburn to create the cut path. For the one on the right, I further saved the path from Lightburn and engraved it. I’m not sure about using this technique for earrings, but a larger wall piece that allowed more of the “lace” to be cut might work well.
That is awesome. Very good idea. This is a really strong case for making tools that do one thing well. I never. Thought of doing this with sandify, but because inkscape is so good at editing svg and lightburn is so good at cutting from images, you get a ton of new possibilities.
As an svg?
And the image you saved from inkscape, was that an svg or exported to a bitmap format (png, jpg, bmp, etc.)?
How are you going to go smaller? Or do you like them that big?
I saved it out of Sandify an SVG. As for saving the bitmap from Inkscape, I just clipped the image from the screen. Inkscape has good tools for saving as PNGs, but I have a higher resolution monitor, and I didn’t think it would make any quality difference for the added steps.
How are you going to go smaller? Or do you like them that big?
The problem with going smaller is Sandify. Most of the patterns I generate from it have far more detail in some areas, including the center, than other areas. As I go smaller, the lines merge in areas with higher line density, and the pattern turns muddy. I can think of some workarounds, but I have no one in my life that would appreciate this style of earring. They either don’t have pierced ears, or they don’t wear dangly earrings, just studs.
Or do you like them that big?
This size begins to show the possibilities. Smaller and the pattern became muddy. If I was going to move forward with the idea, I’d go much bigger. That would allow for layering. To see the possibilities, do an image search for “layered laser cut.”
This is a really strong case for making tools that do one thing well.
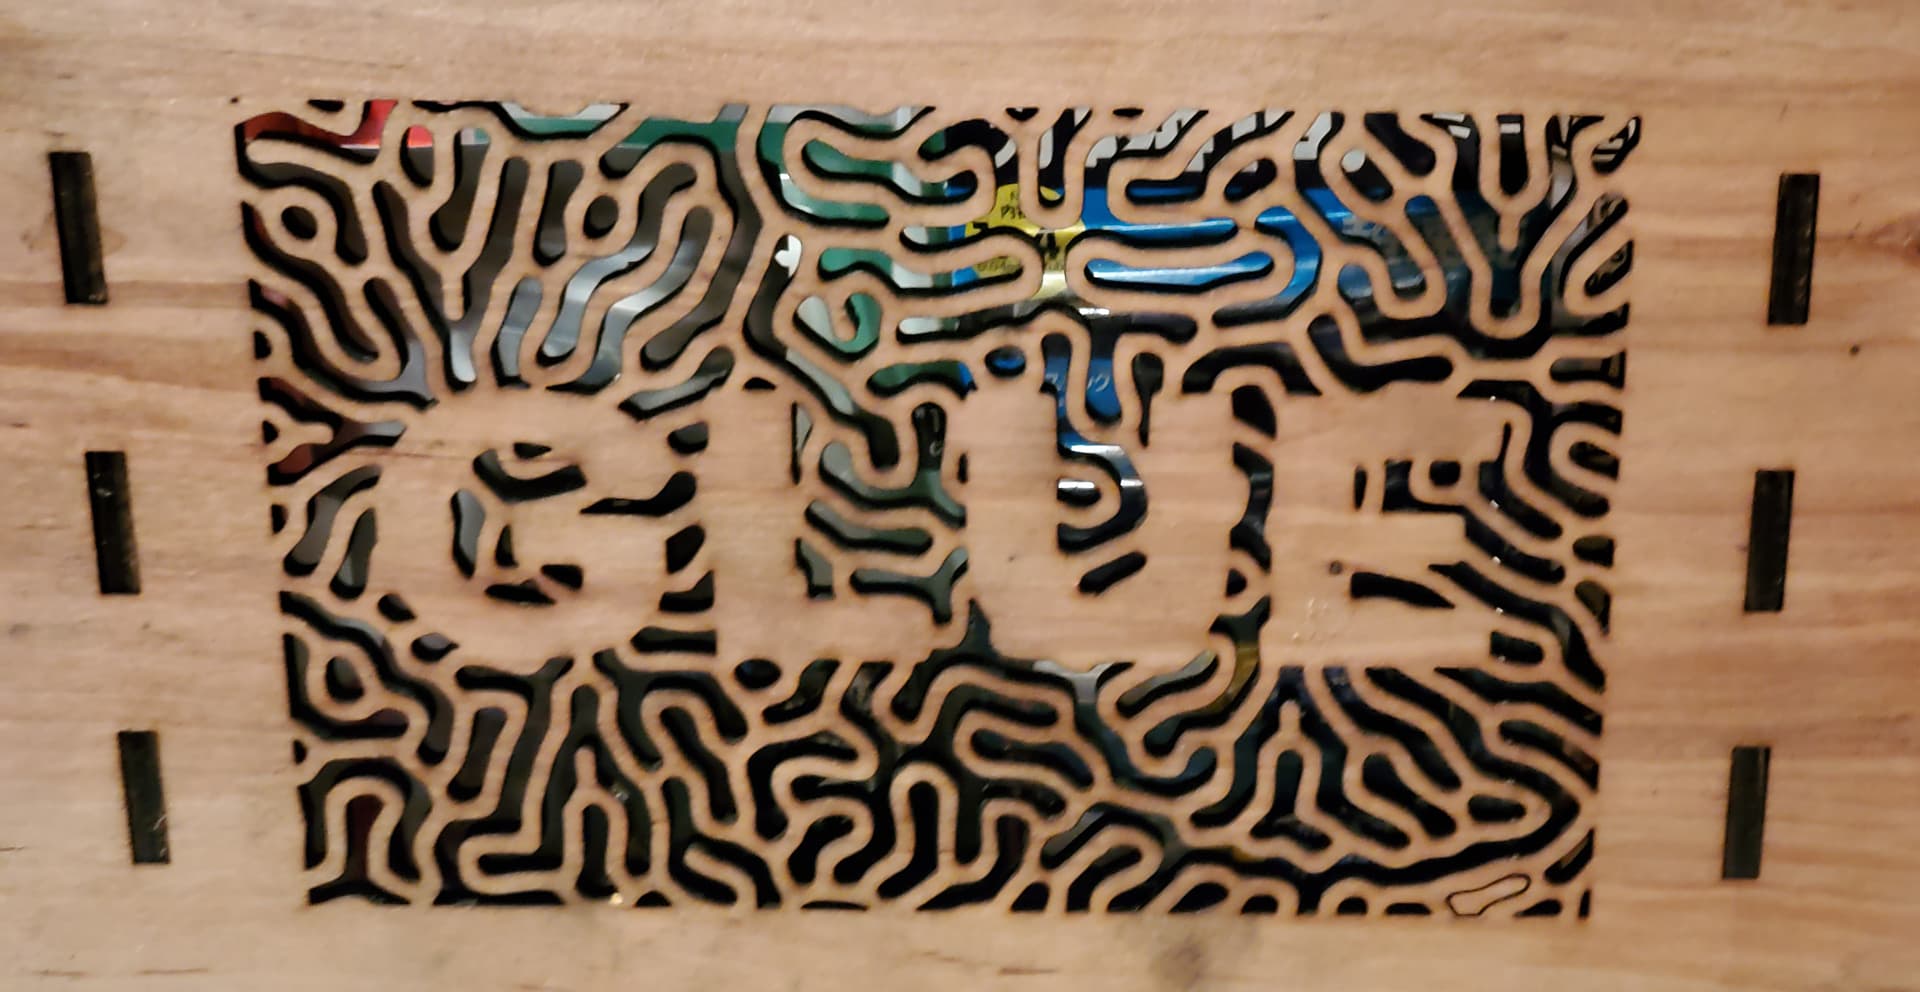
I like making art, but have zero art skills, so I’m always on the lookout for web apps that I can use to make generative art. Sandify fits right in. Another one I’ve been playing with lately is a reaction diffusion simulator. Laser cut example:
I’m glad you like the results. To me, the areas of lost detail due to merged lines are bothersome. And maybe I’m being too hard on the idea because it was too easy. It was less than 10 minutes from the time I decided to run the test to the starting the cutting on the one on the left.
As for my laser, I use a NEJE A40640. A lot of people on the forum have them and are very happy. But for this particular cut, you don’t need that expensive/powerful of a laser. It was only 2.4mm plywood. The much cheaper NEJE N40630 module would have easily cut this thin plywood.
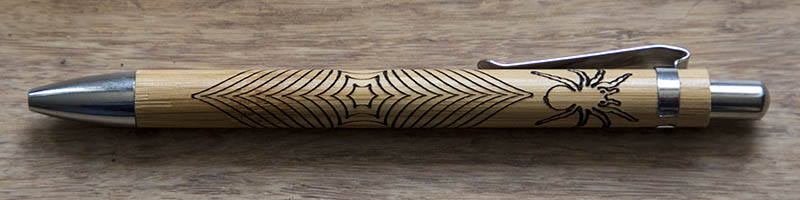
I engraved a spider web pattern generated with sandify on a bamboo pen. I added the spider from makerunion.com dxf files. The web goes all the way around the pen. Here is a photo of the bamboo pen.