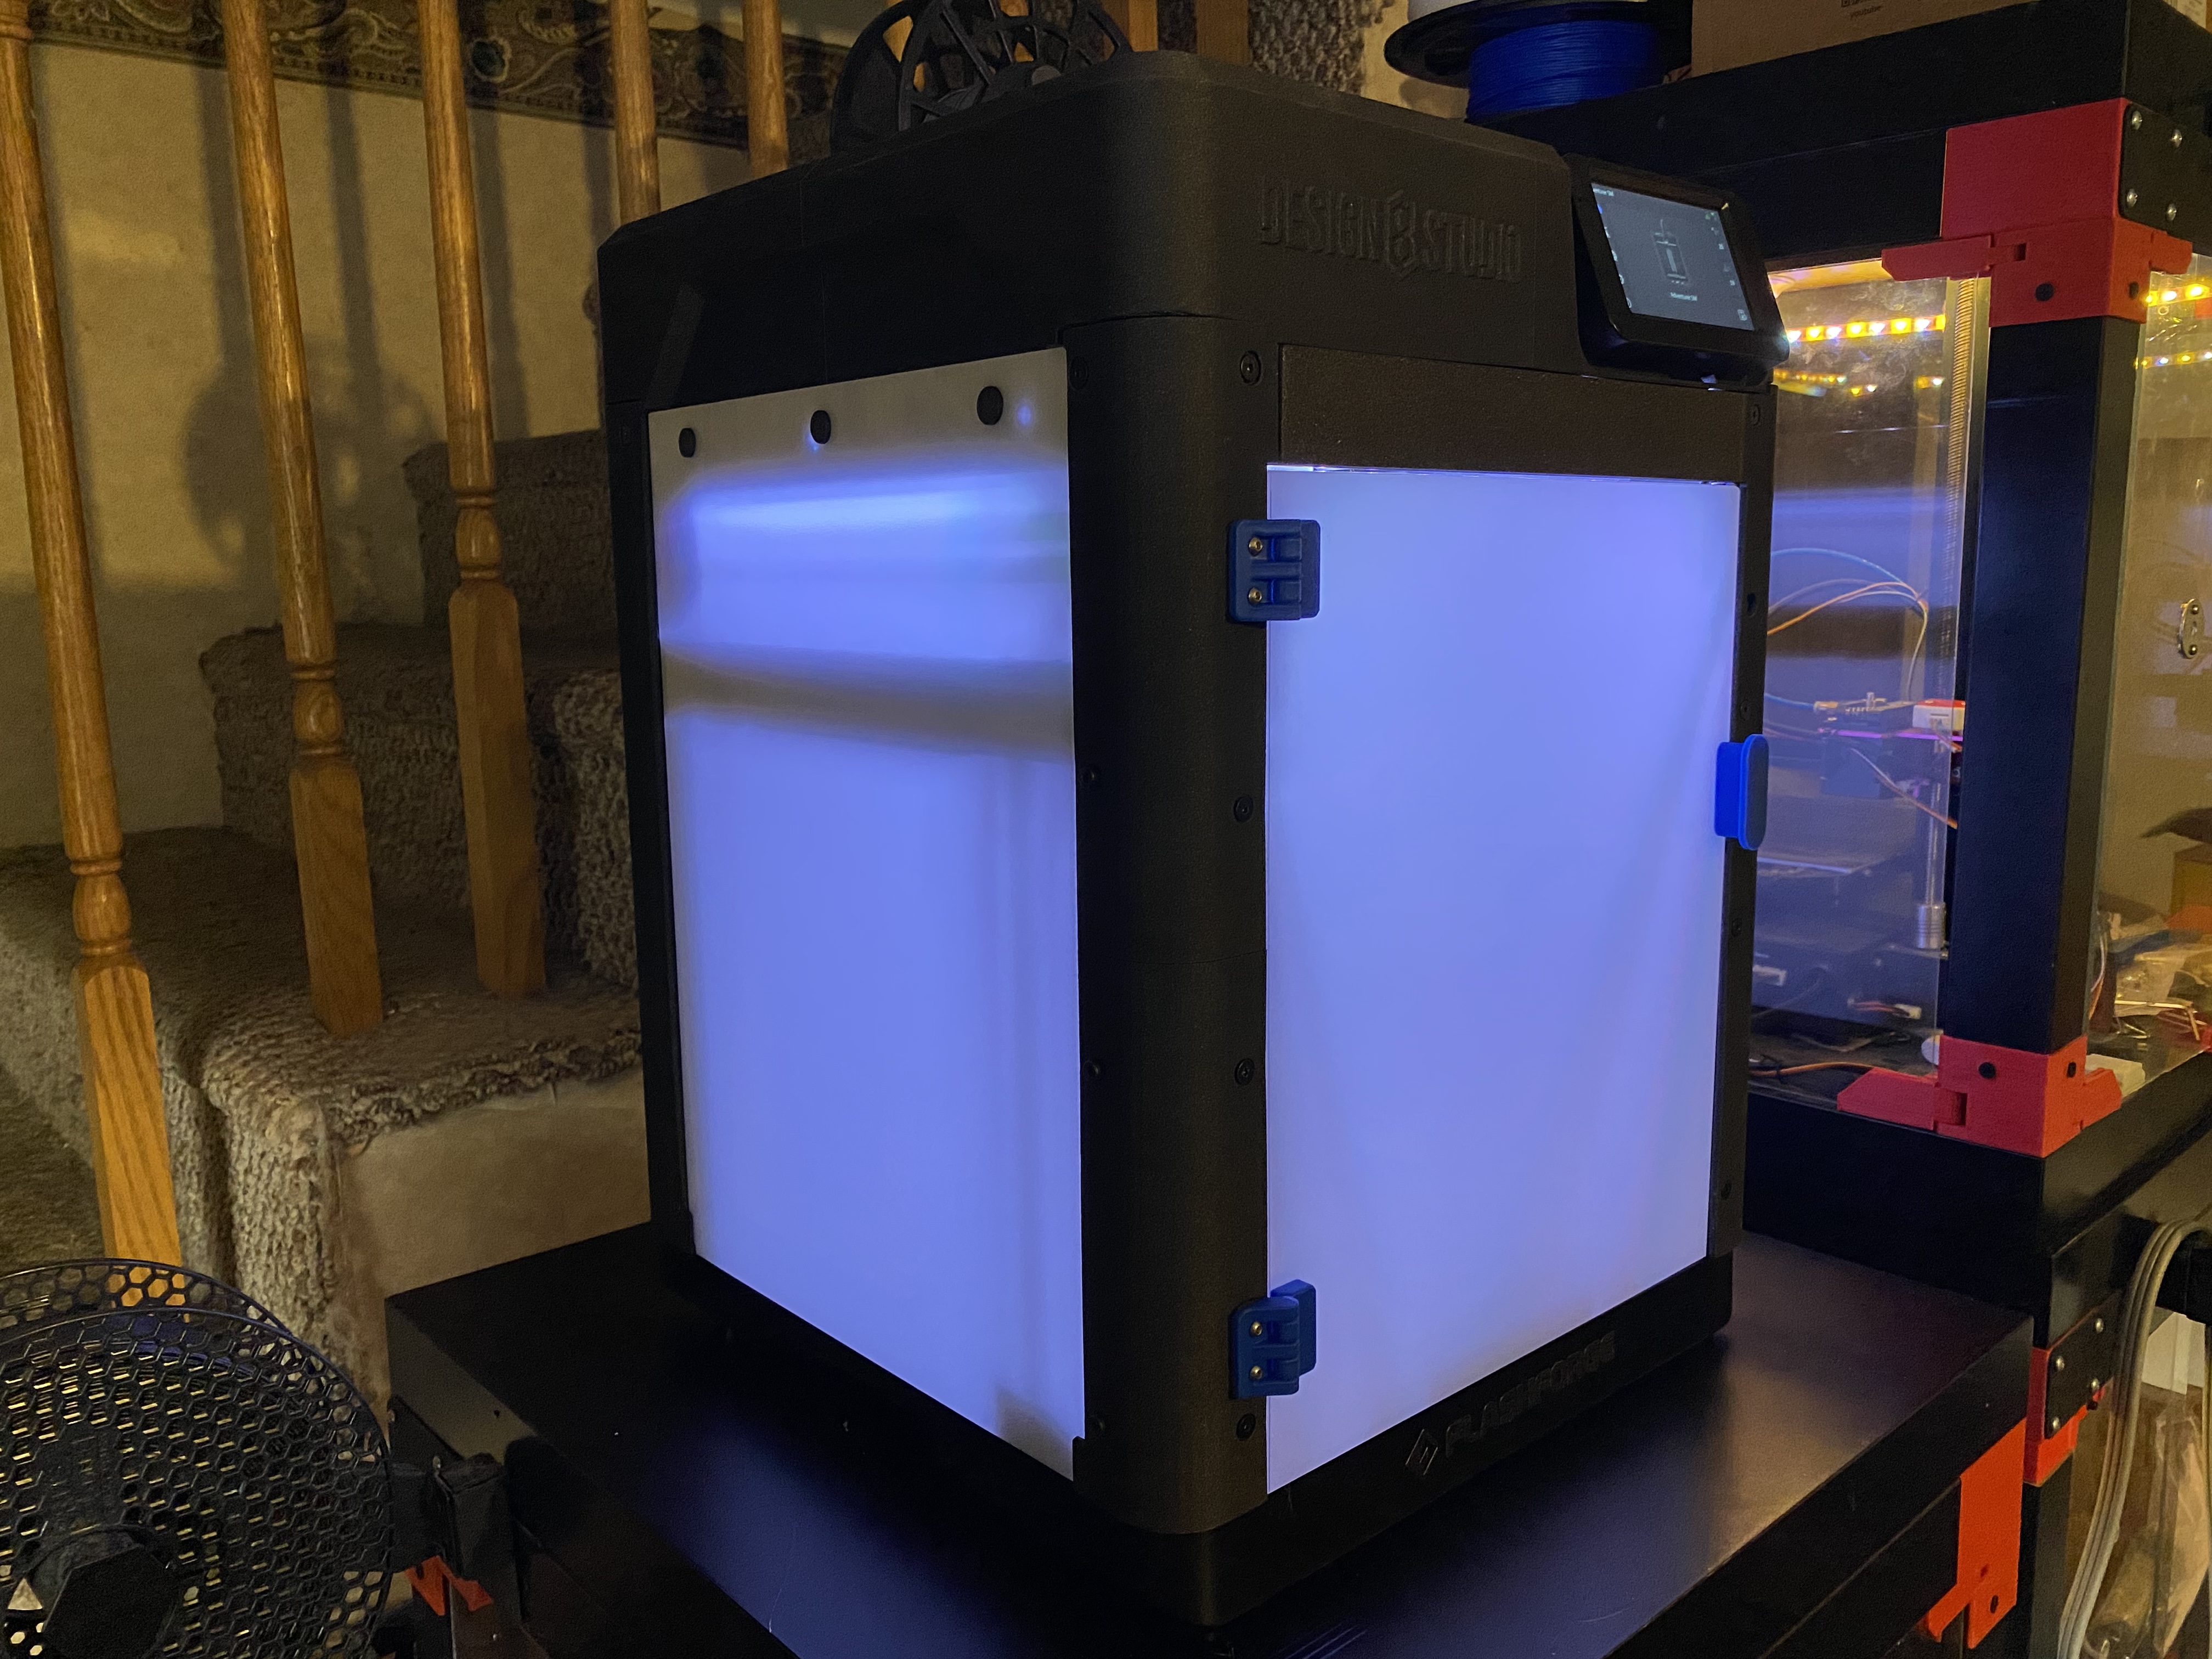
I shared recently that I bought a new CoreXY 3-D printer. It brings (out of the box) printing speed akin to a Voron or a Bambu Labs printer, but at an amazingly low price point. I posted a link and info about that. Well, I saved a chunk of money by buying the non-pro version, which does not have a full enclosure, but one can be added to it. It also does not come with LED light bars for illumination, but those can be added to it. So I did all these upgrades. The LowRider is particularly helpful for cutting the acrylic plexiglass sheets for the front door, lid, and two (removable) side windows.
So here’s my silly mistake. My acrylic plexiglass sheet was protected with an adhesive layer of paper (kraft looking brown paper) on both sides. I had all the parts cut and ready for installation, only to find when I peeled off the protective layer, I had cut frosted white nontransparent plexiglass instead of the clear that I wanted. Aside from the fact that I have to do it again is the fact that I now have these panels that aren’t going to be usable. Frustrating.
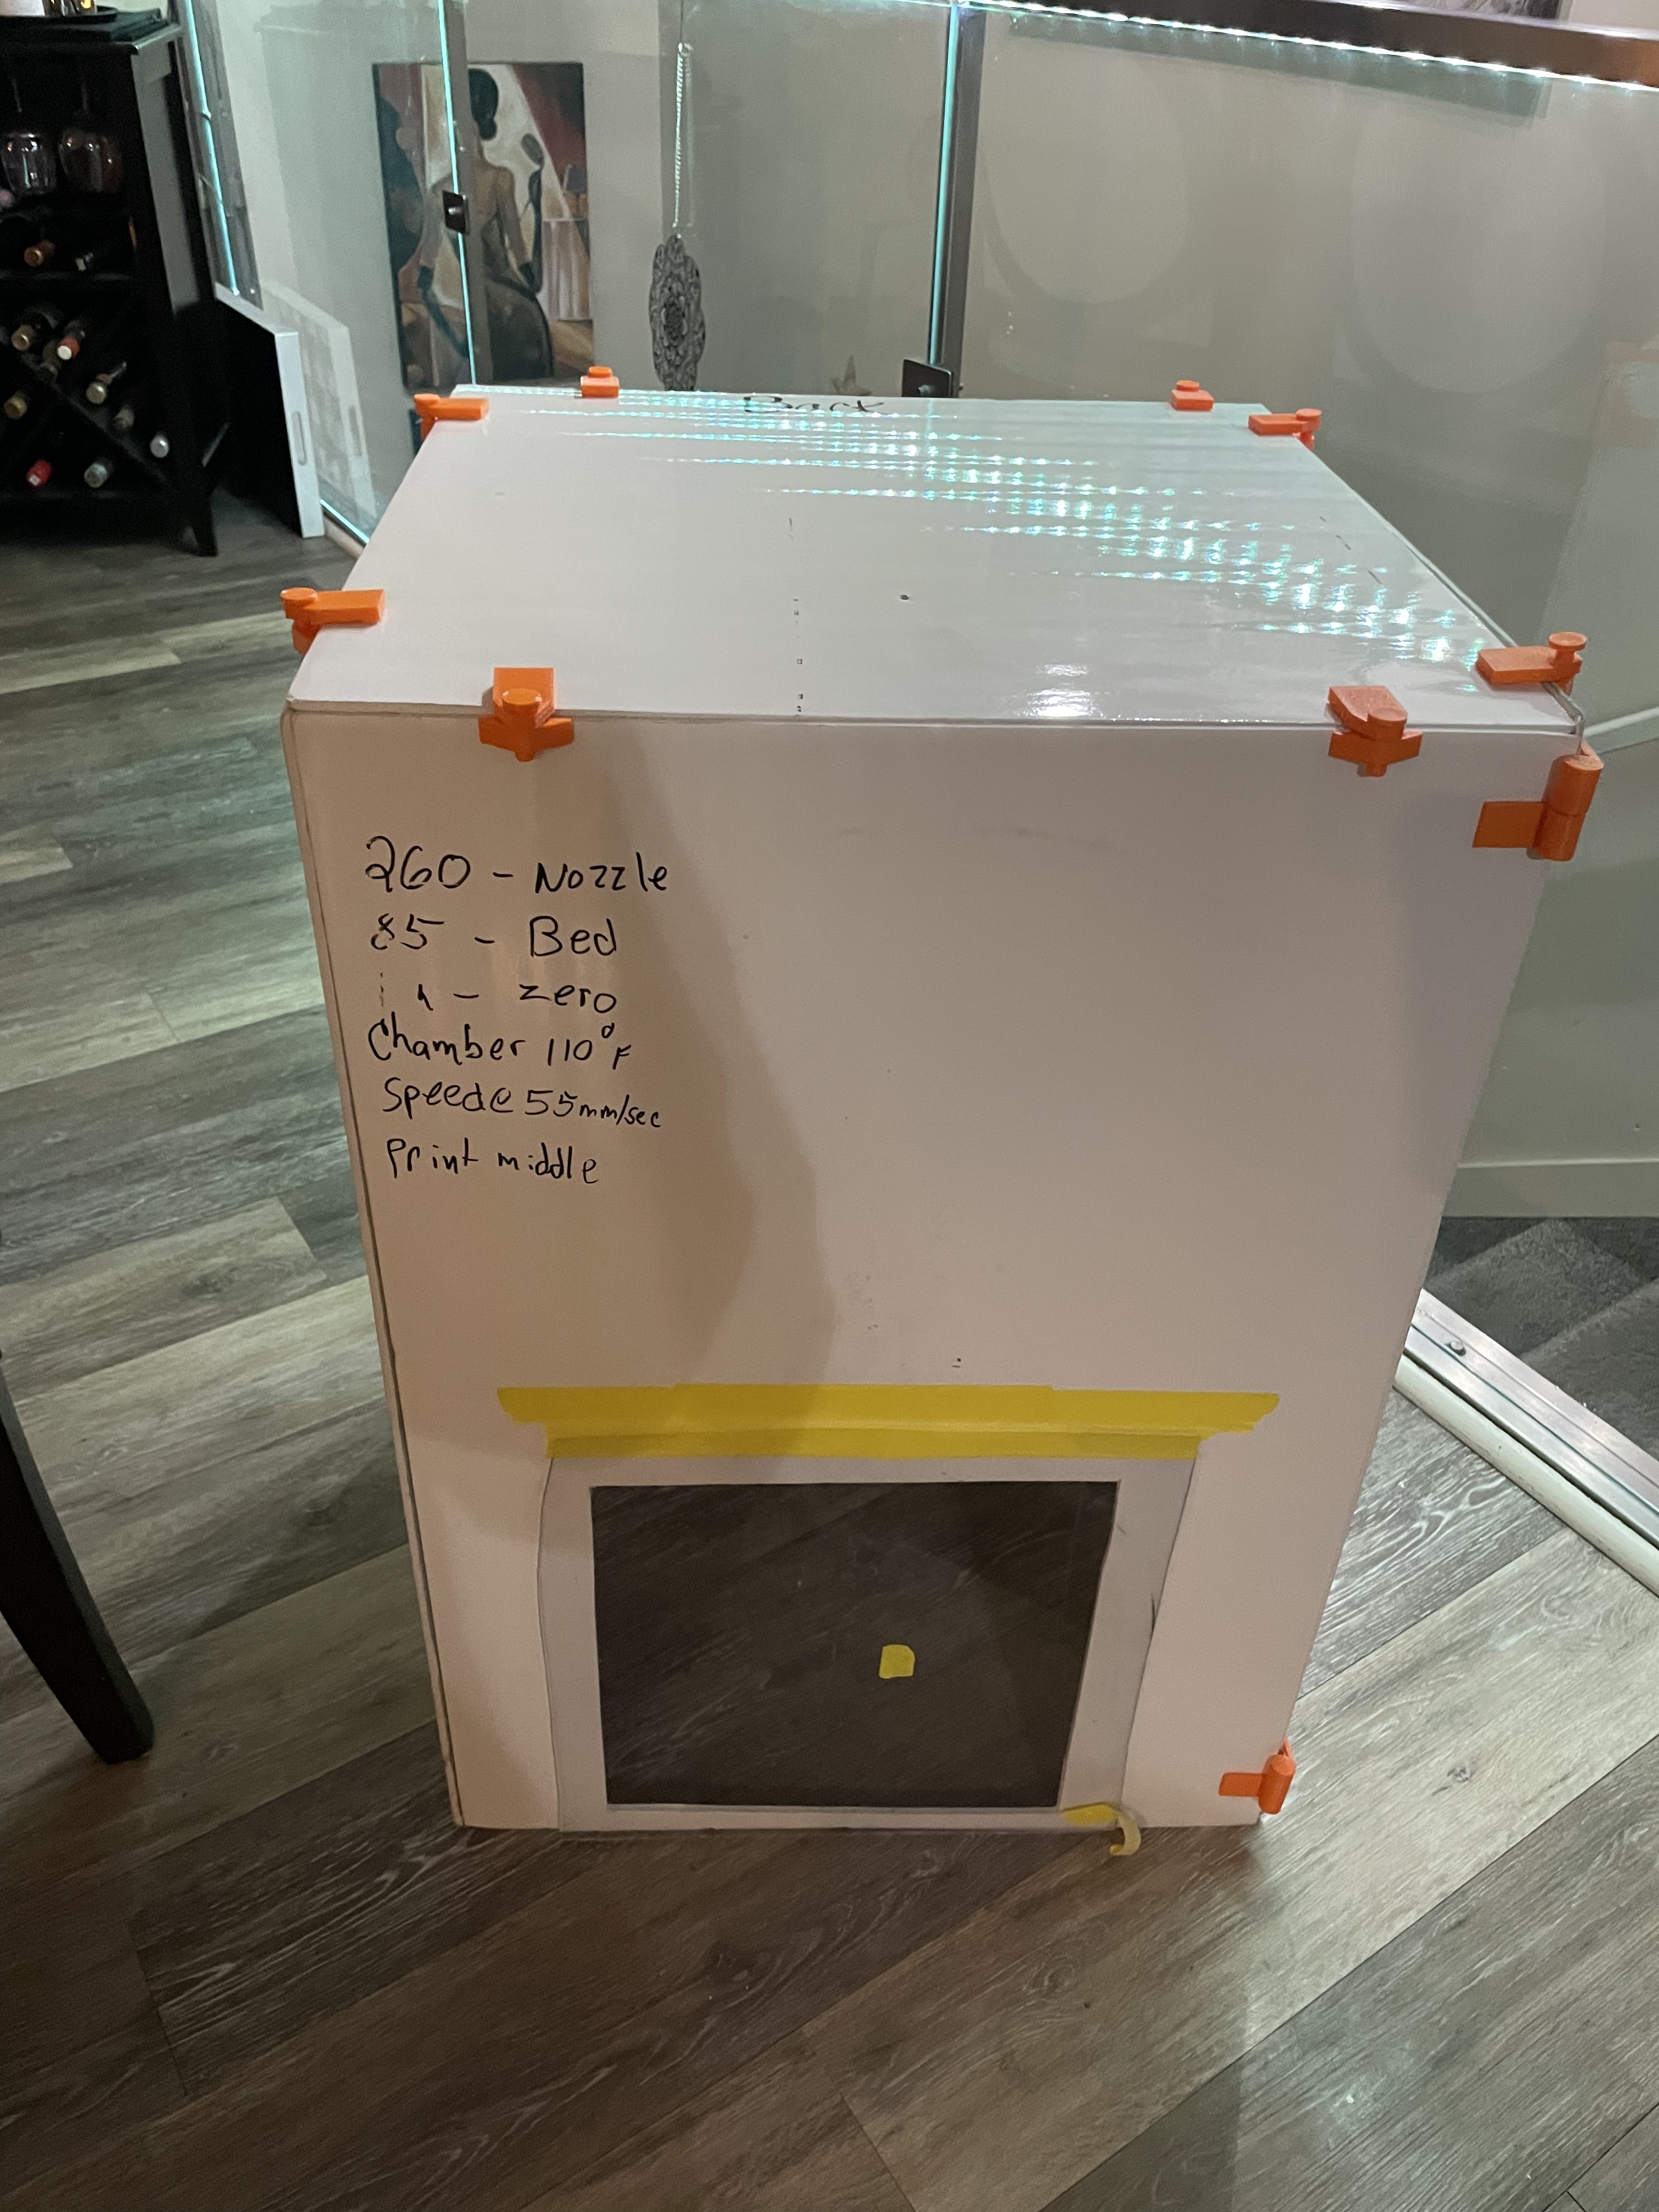
I wondered what that black piece you had printed shown in the printer thread was for. This is true bootstrapping with the printer printing its own enclosure. That is a really nice clean professional enclosure! How much filament did you use to make that?
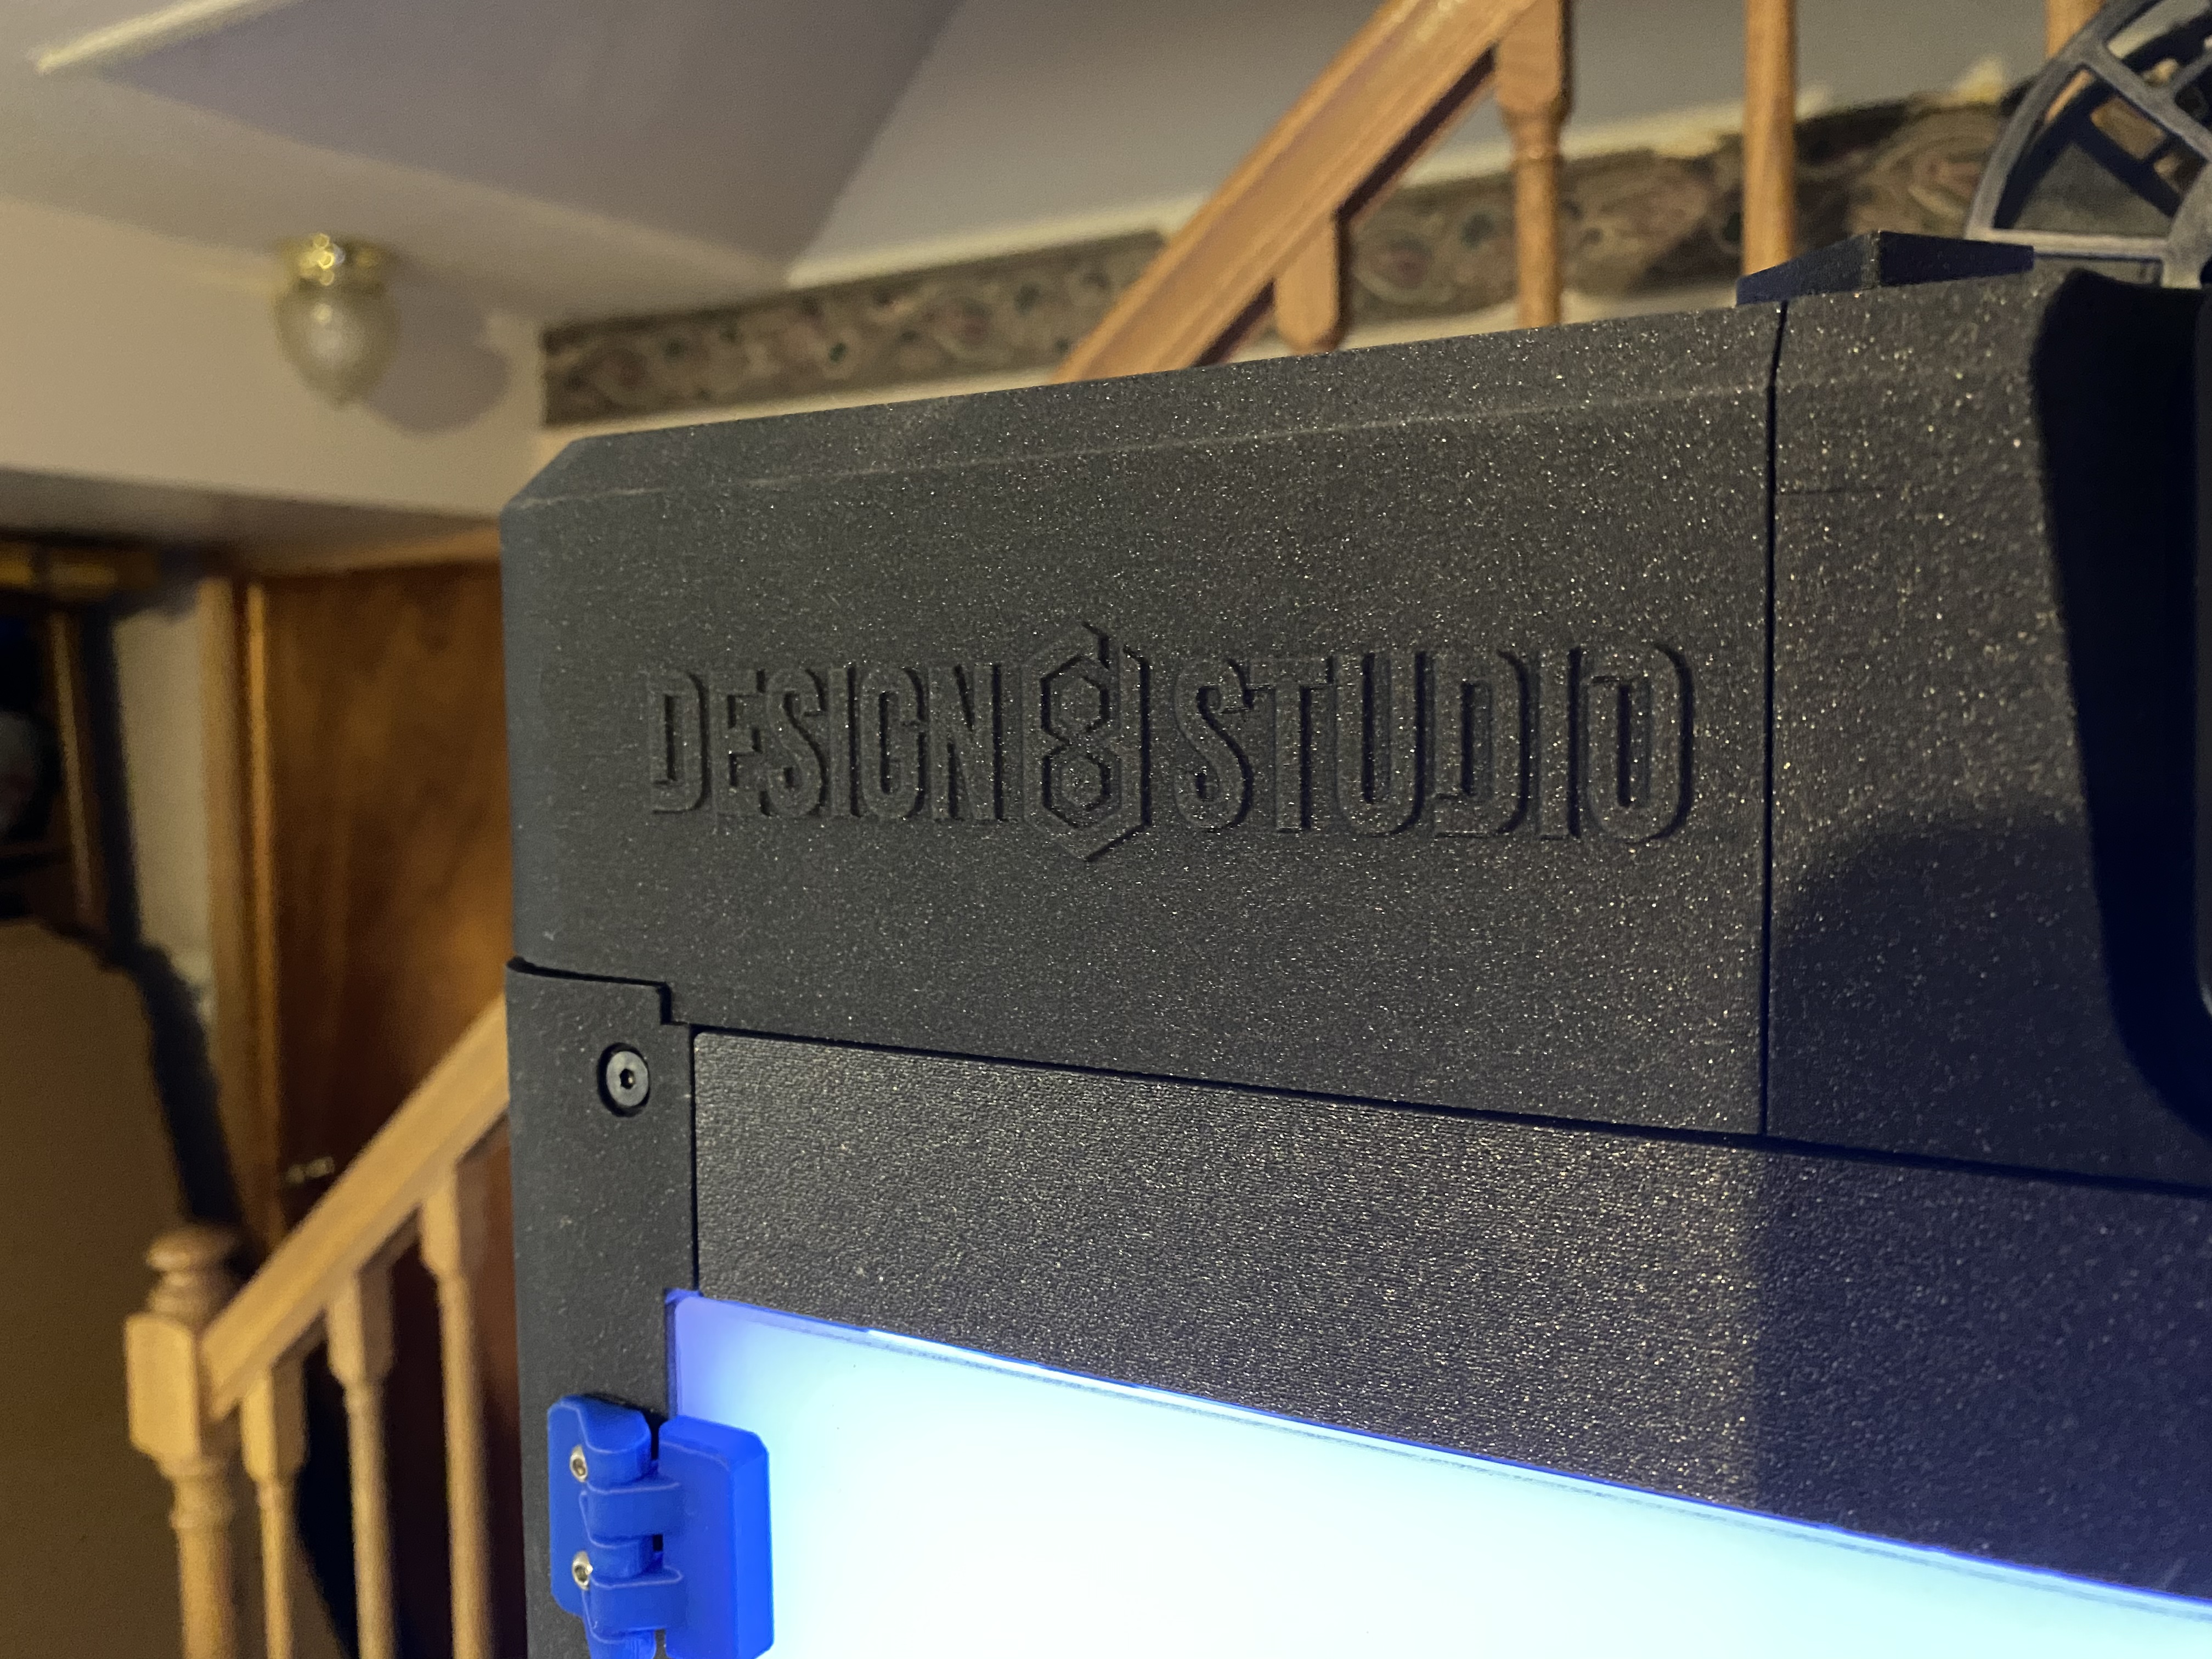
So the enclosure is a design offered for free by the maker of the printer. The only thing I did was swap in my name/studio logo for their brand name. They had their brand name on that one piece.
This particular filament is Prusamint Galaxy Black. I had some free rolls because Printables gives those points for downloads etc. I had been saving them up for something nice and decided to use some for this.
Well that’s fancy wow !! I bet you could get away with a clear piece just for the front for now.
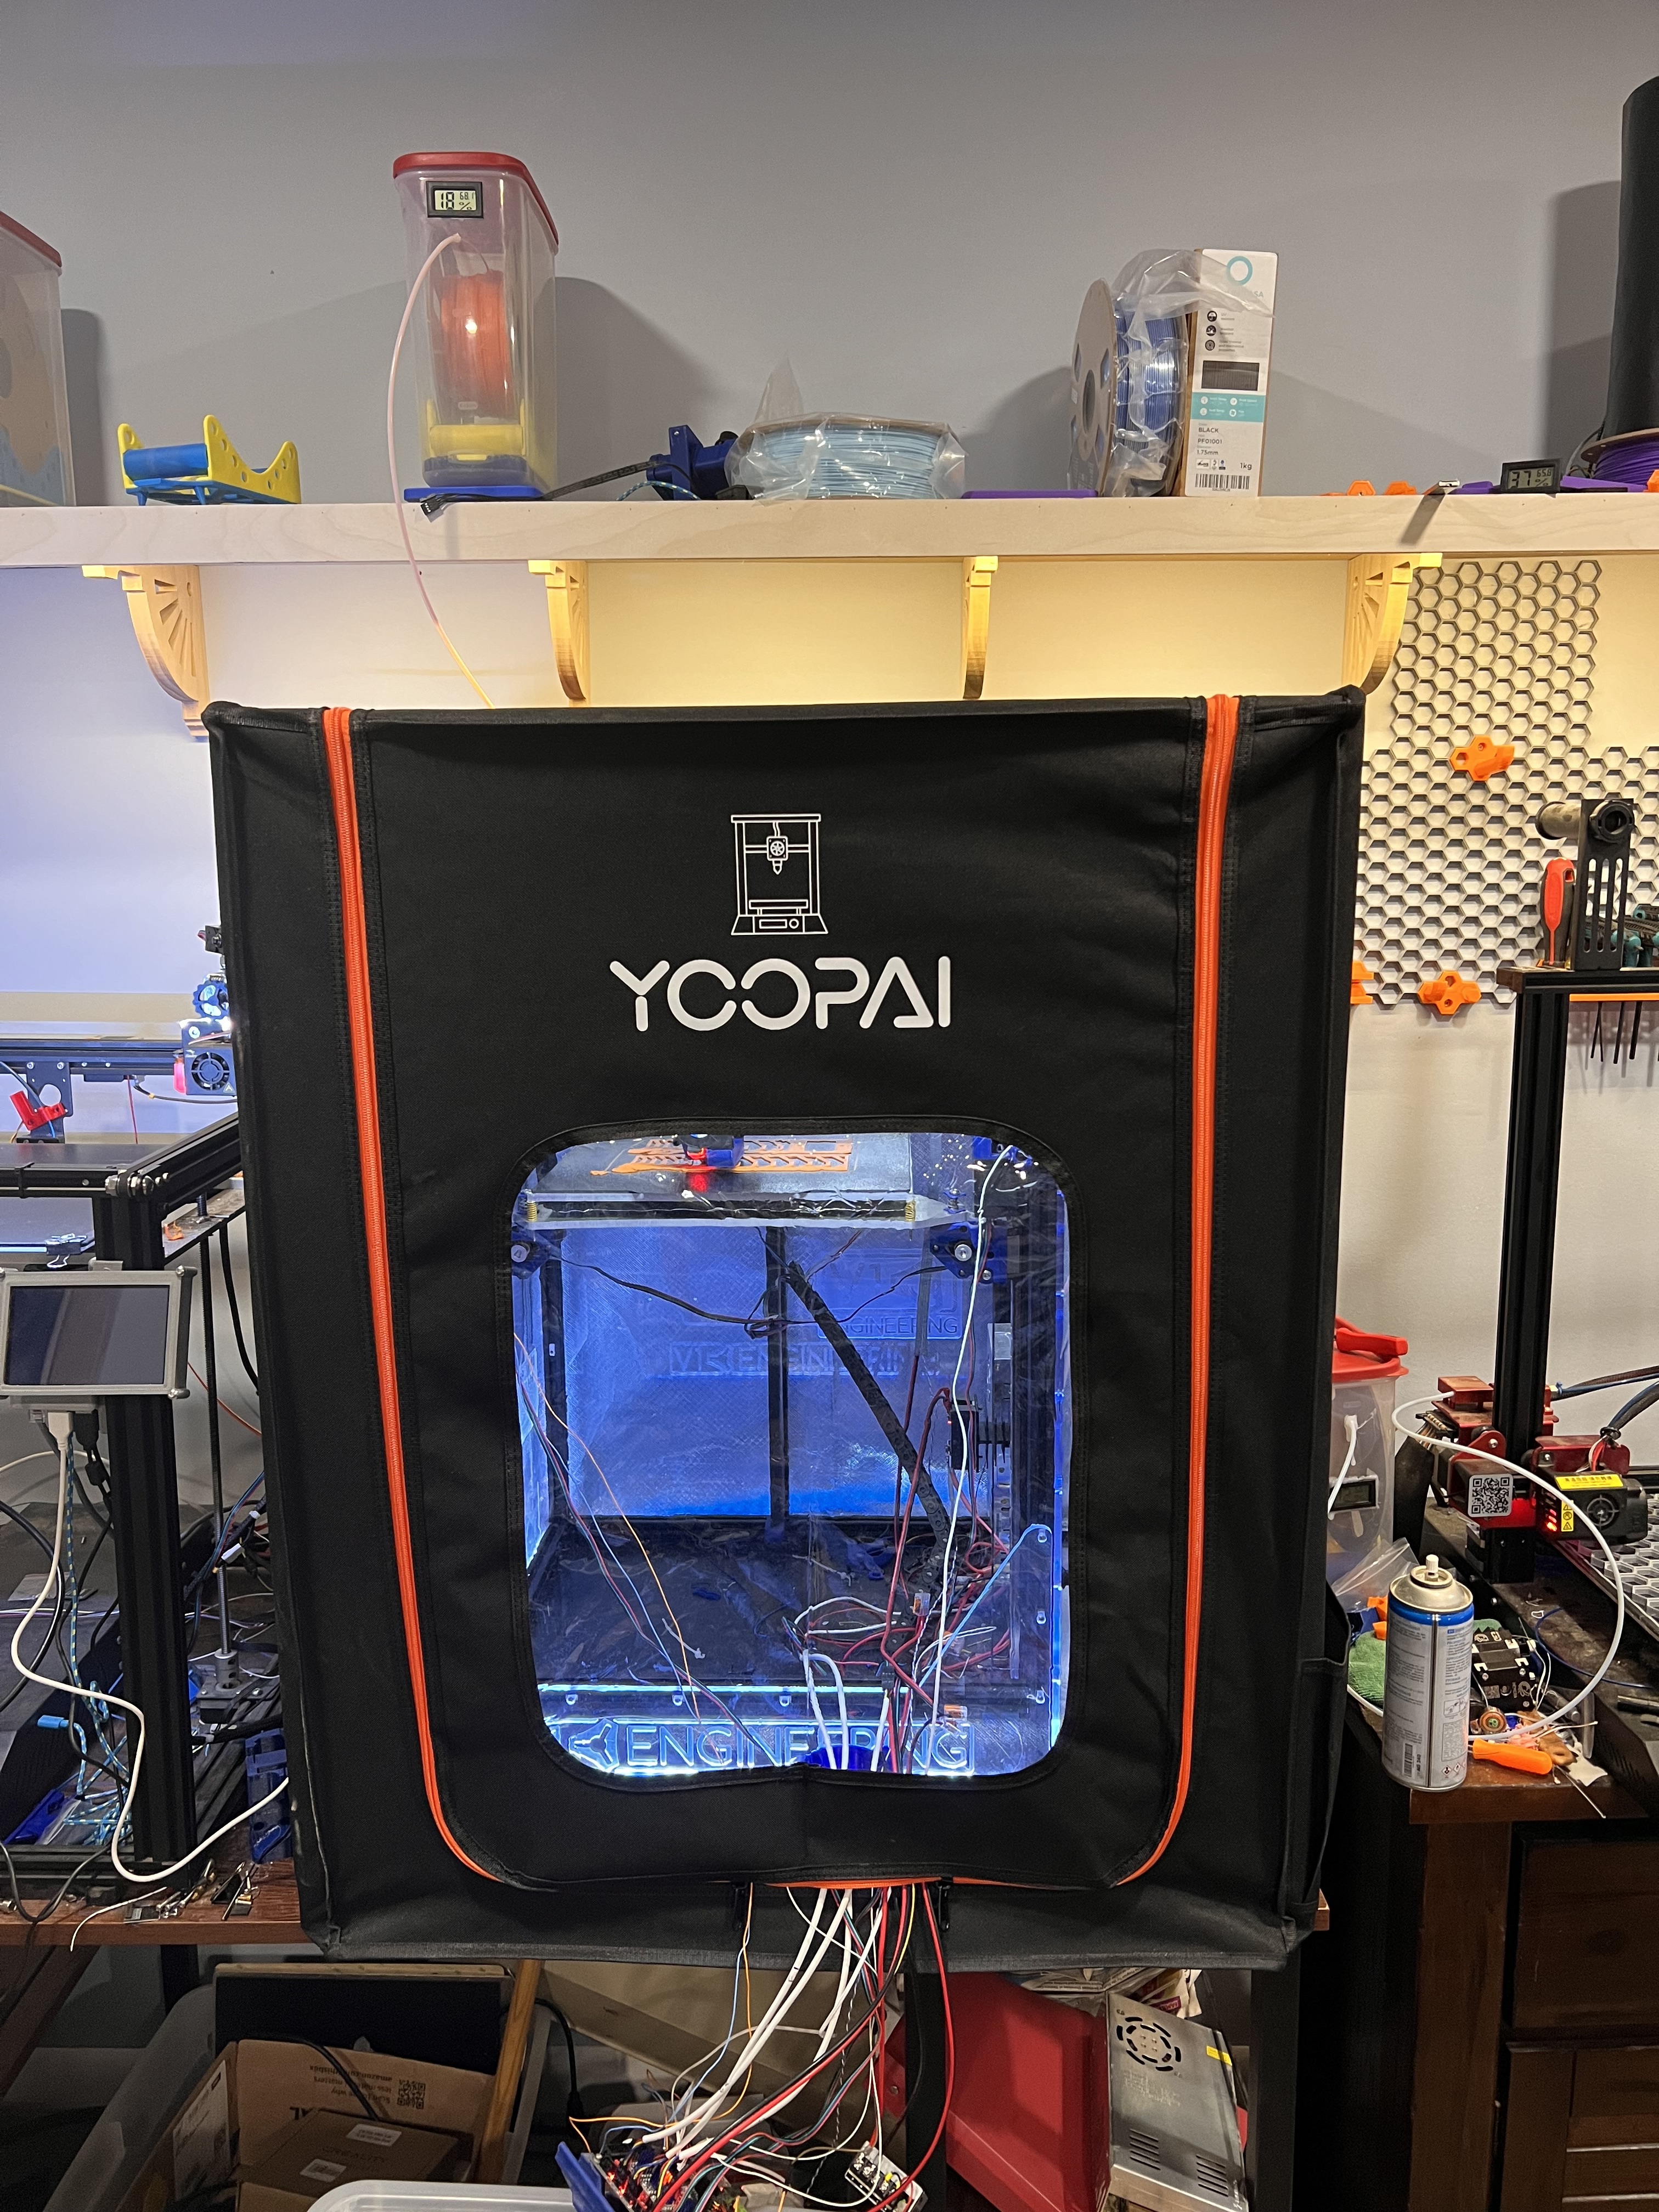
Also just to cheer you up with some contrast look what my enclosure looks like lol
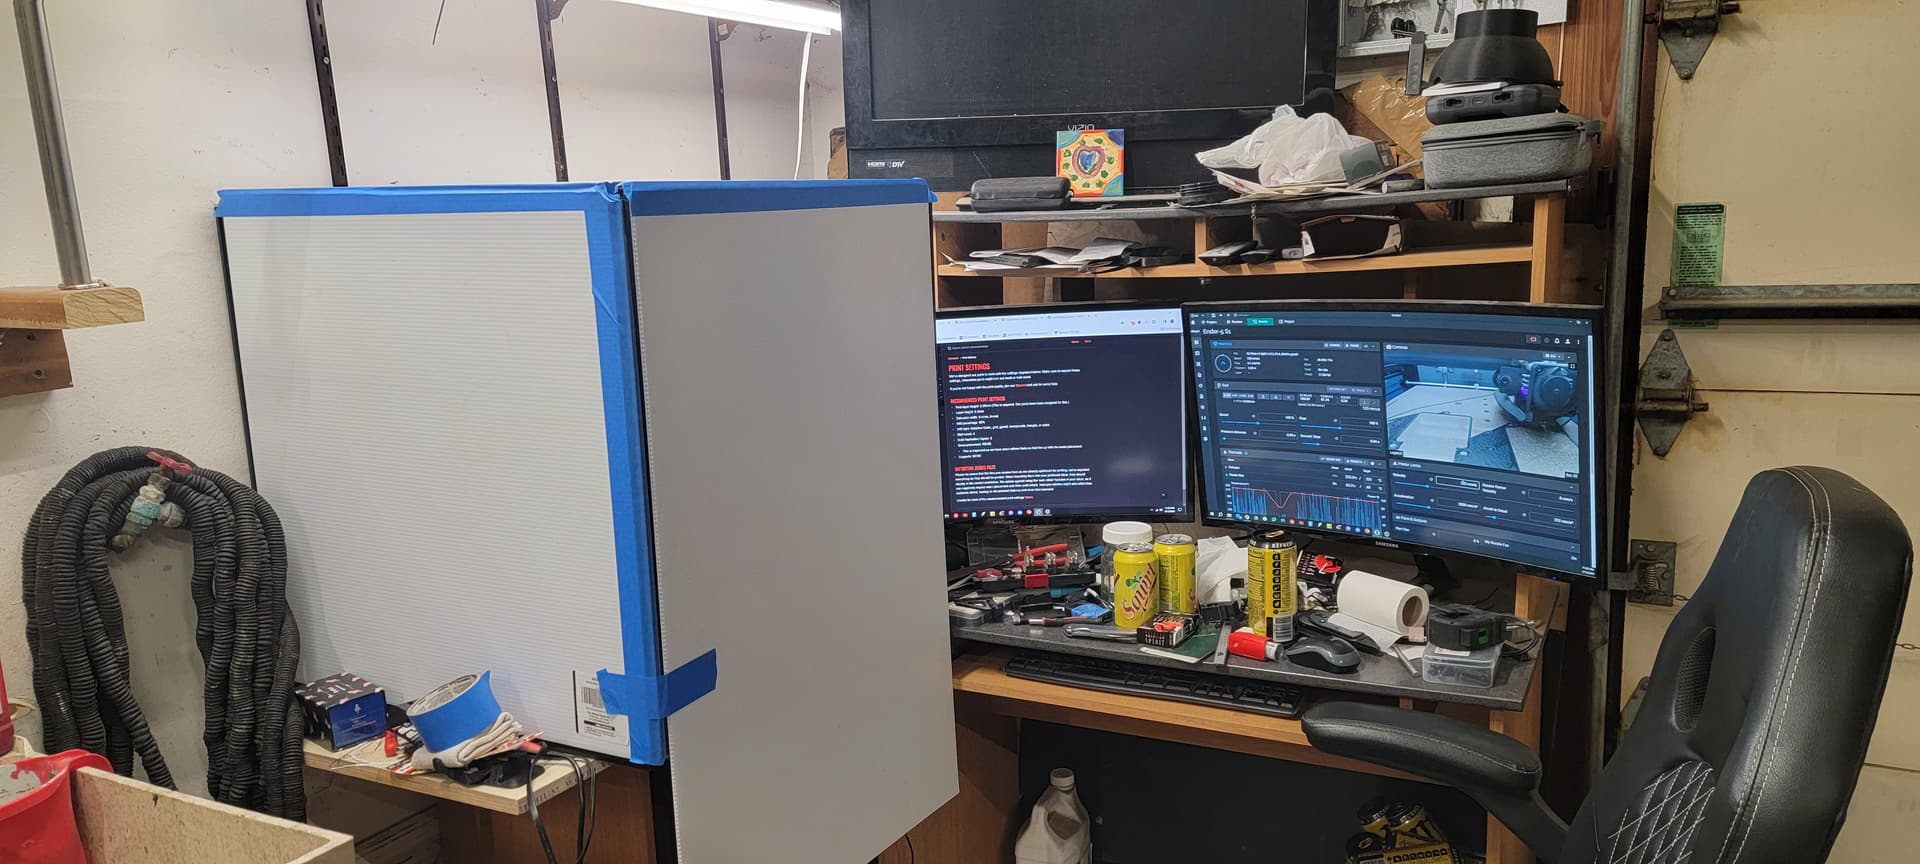
No mine didn’t have an enclosure, I just have side panels. I may make the panels to full enclose the V5 but they wont be mounted all the time. 99% of the time I’m printing PLA so its not needed
My problem now is space lol. Already have 4 printers in this room with tons of other shit. About to put a 5th one. Don’t need it but cant not build it LOL. I do think I will make it “enclosure ready” so that I have 1 printer that I can enclose if needed. Already planning for electronics to be on the back outside of the print space so that will be better already. Dealing with them for that add on enclosure was a ROYAL PAIN!!
Yes that was my kind of idea too. I Cary my printer to work pretty much everyday so a foldable portable setup is what I needed. Maybe some day I will have a work printer and a home printer lol.
Did I read this right?? You take your printer back and forth daily? How the hell do you keep it square and tuned?? Not at all meant negatively, just very curious!
What 3D printer are you carting around?
Curious what weight and usable space you have?
Still trying to figure out if/how to make a rmrrf project that’s hand luggage or checked luggage. E.g. Foldable frame with panels to square up, dimensions down to hand luggage constraints.
The Pro version comes wrapped in its own skin. The non Pro version can have a skin added. The manufacturer is planning to offer a kit for sale, or one can DIY it, which I did.
It’s a old elegoo neptune 2
220mm. I have really only had to level it off like maybe 25 times total. I just grab it by the top bar and put it in my trucks passenger seat. Print at work like today doing some tpu firewall plugs for a old corvette.
Then at the end of the day I just pause it if I have a print still going and take it home to finish. I just finished 225 mini screw drivers for a trade show so I had it going 23hr 7days a week (minus drive time). Idk if I fluked out or what but I have only had one small thing ever even brake on this and it was the stock plastic tension arm.