And the Journey begins, finally! I look forward to making some dust in the near future. Thanks Ryan for the awesome Job and hard work! Also a really quick turnaround on my order.
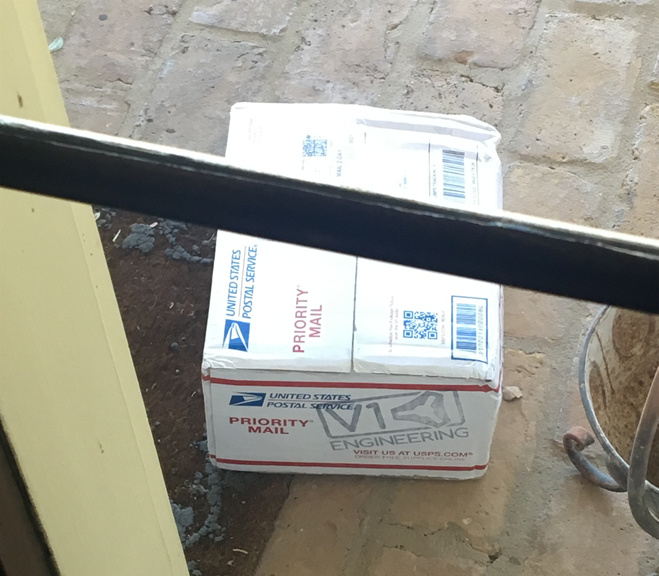
The package was a little damage but it was on the side with the bearings so nothing looked damaged inside.
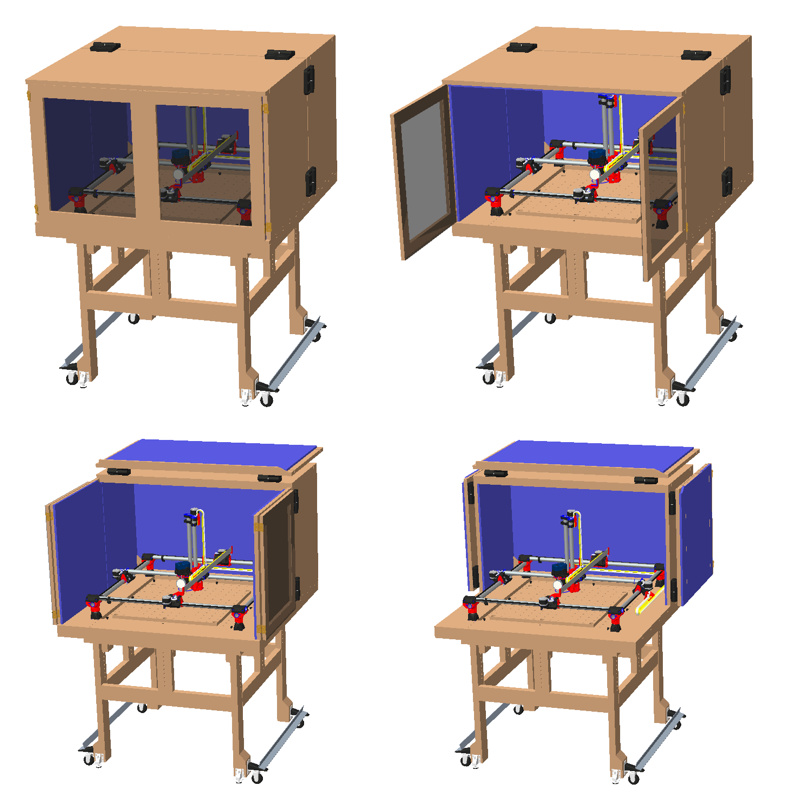
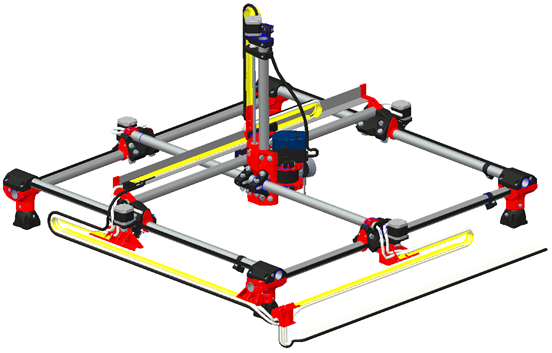
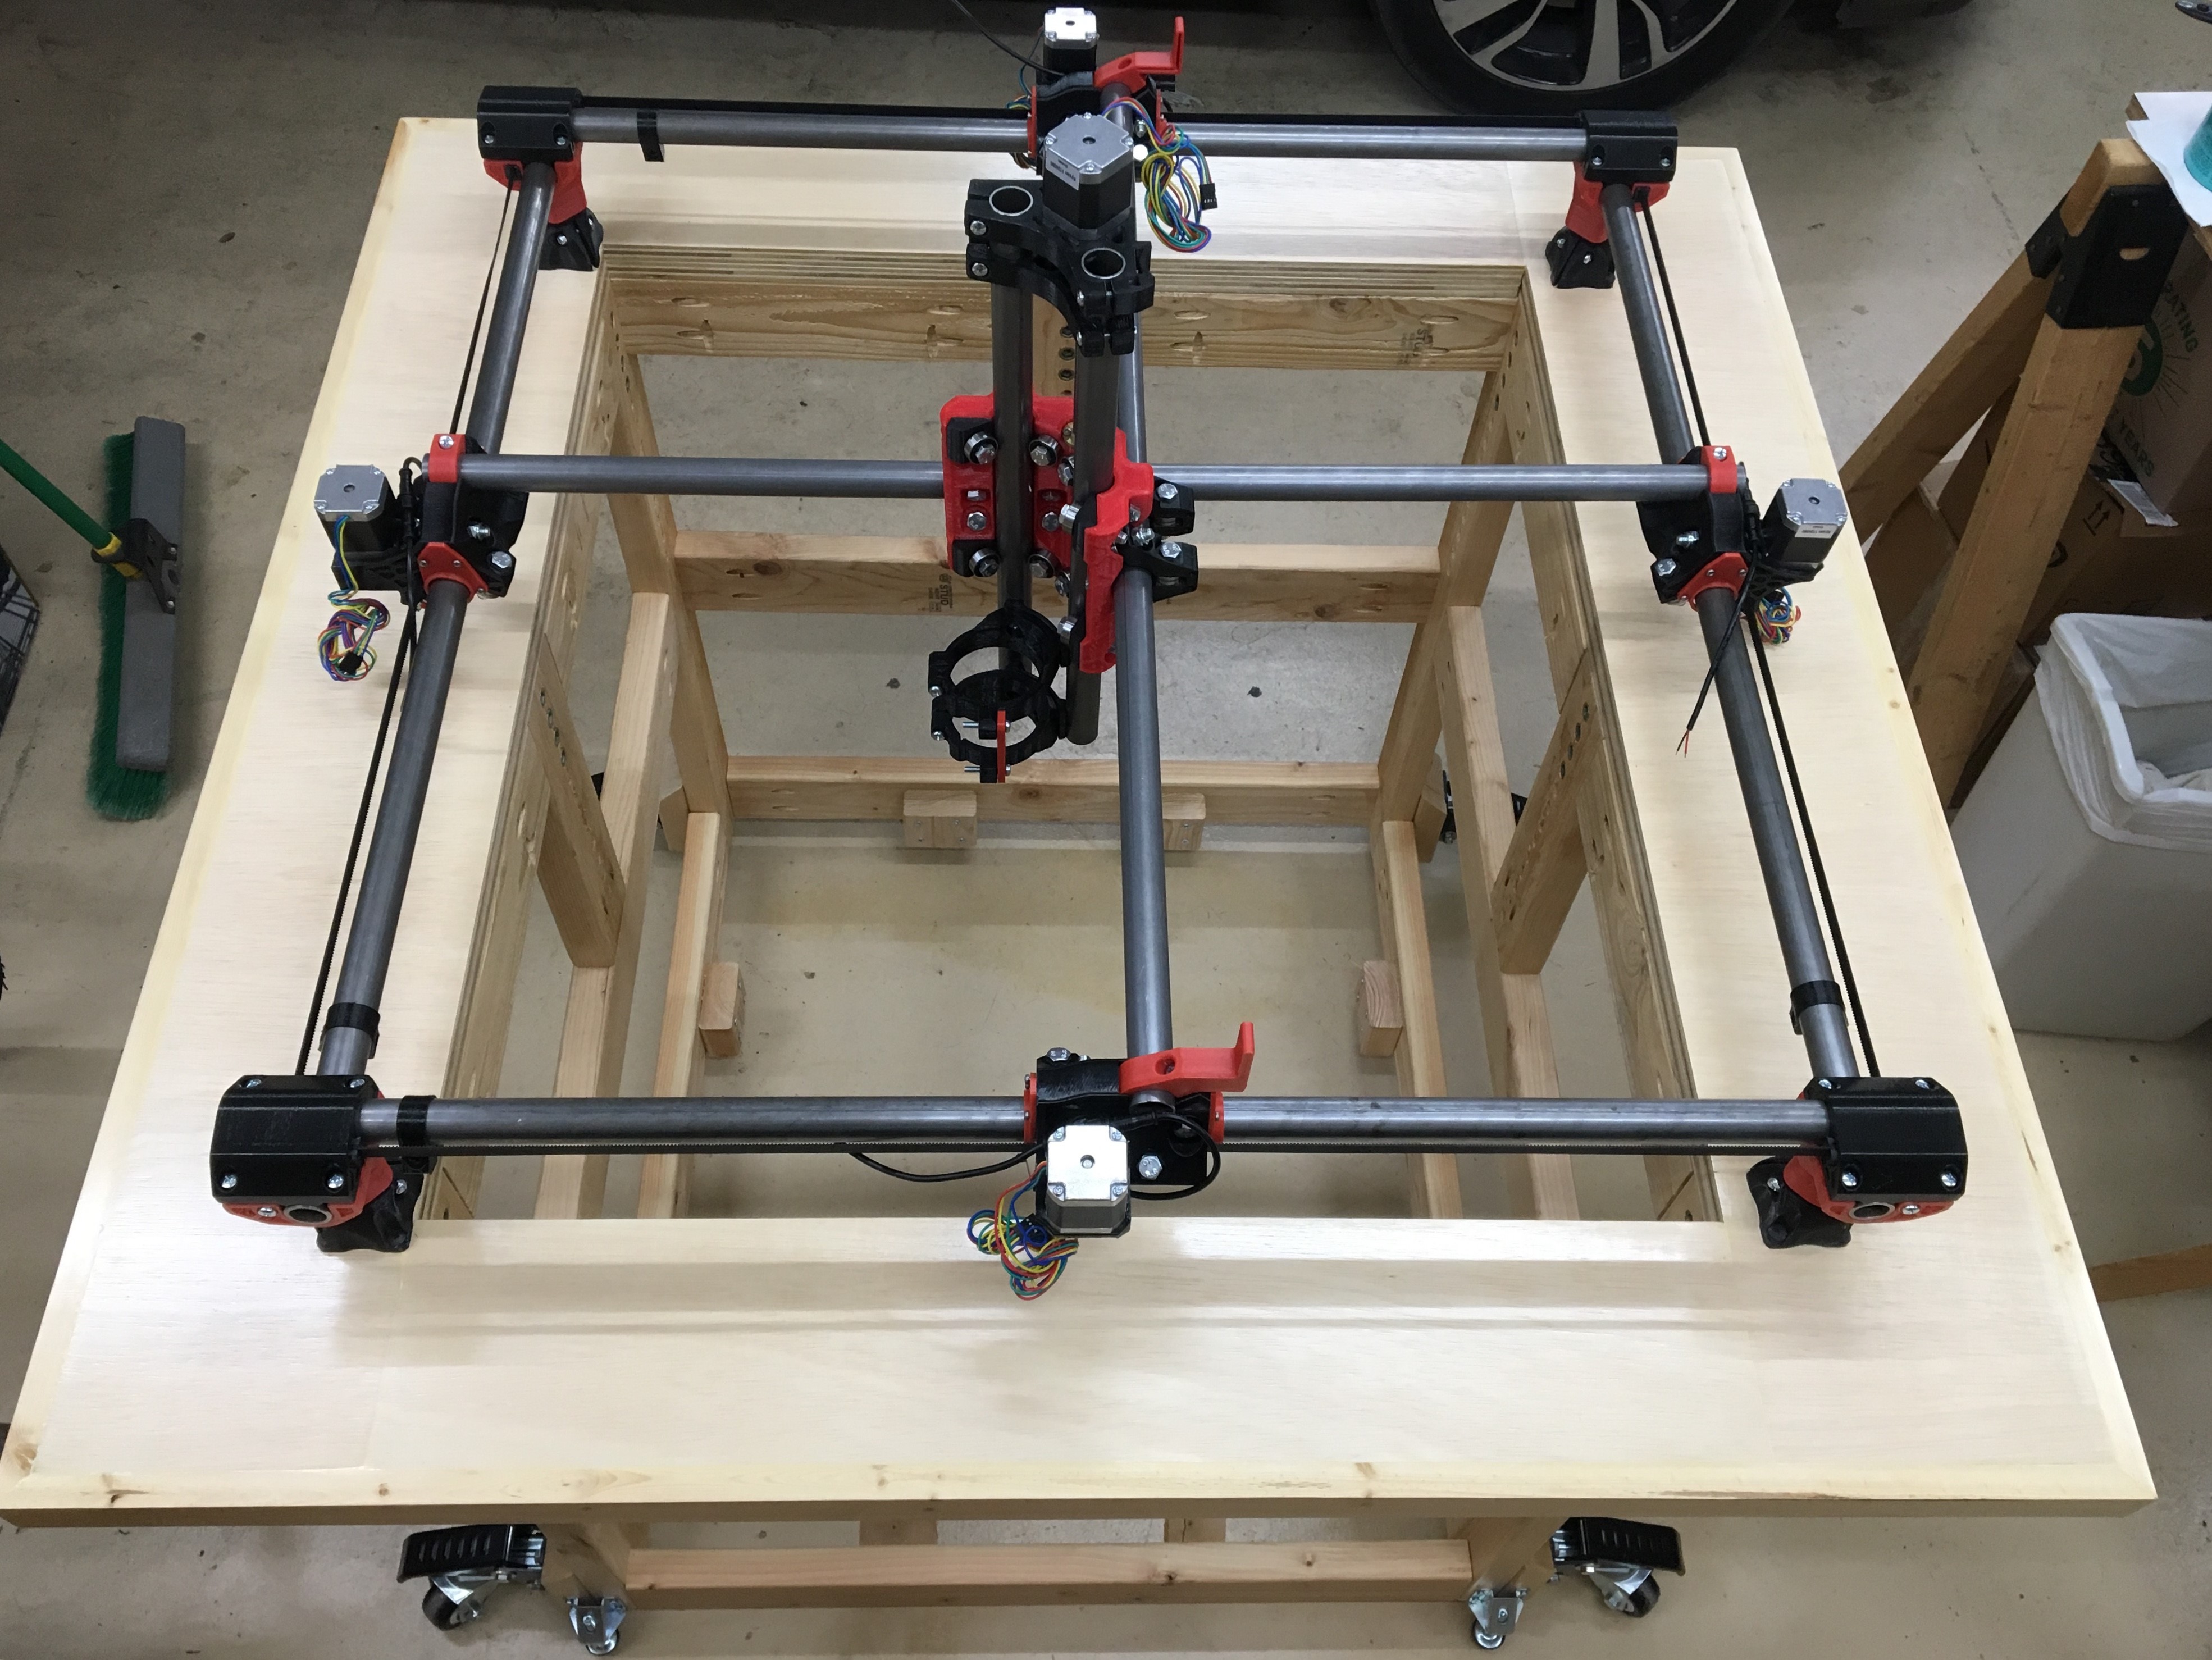
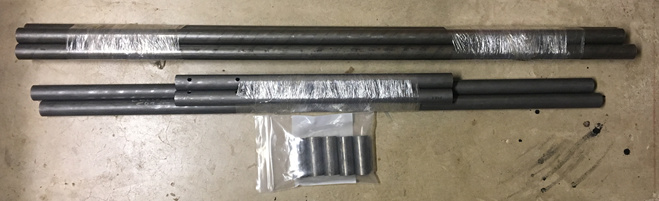
Working volume: 630mm x 630mm x 250mm (drop table to support the larger Z) Stationary Tubes: 1" DOM 0.120" wall thickness (from local supplier) Moving Tubes: 1" DOM 0.065" wall thickness (to reduce weight) Spindle: Ryobi Laminate Trimmer (have 2 on hand so thought I’d start with those first) Control Board: SKR Pro 1.2 Kit from V1 Steppers: NEMA 17 - 76oz/in from V1 (w/ dual end stops) Cable Mgmt: Tape Measure Trick Print Material: Anycubic PLA (Black & Red) Printer: Anycubic Predator (Delta)
My one suggestion is run the X and Y cables next to the trucks or above. I really need to add some new pictures but it really frees up the table to do things and keeps it much cleaner as well.
Thanks for the advice. Yeah, I noticed that my current design restricts access a bit if I have a workpiece that is longer than my table. I made the rear of the enclosure removable for that situation but the cables may cause issues. I should be able to redesign my brackets to lift them next to the trucks. Thanks again for the suggestion. Let me know if you see anything else.
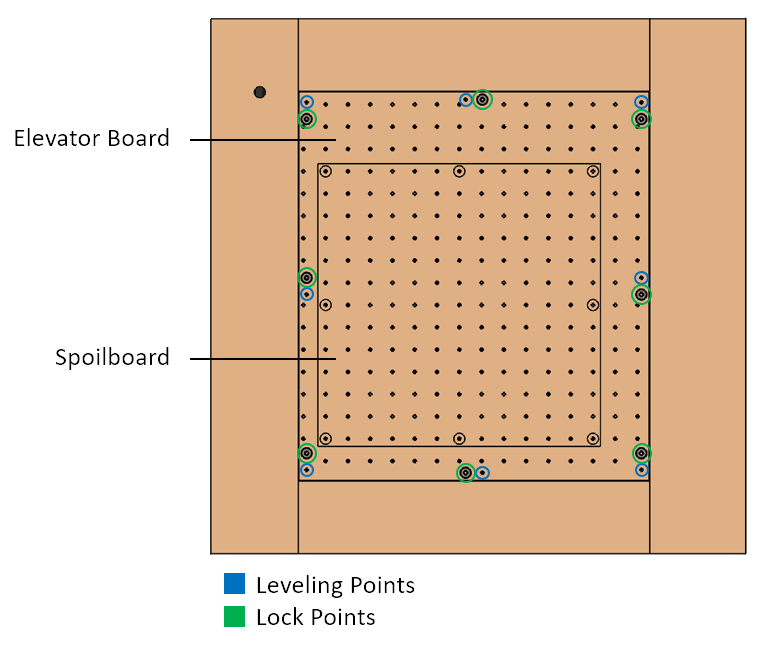
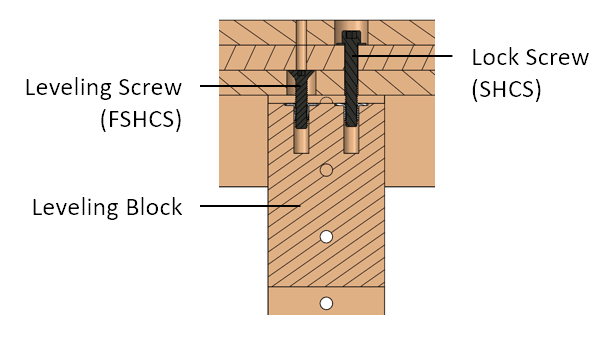
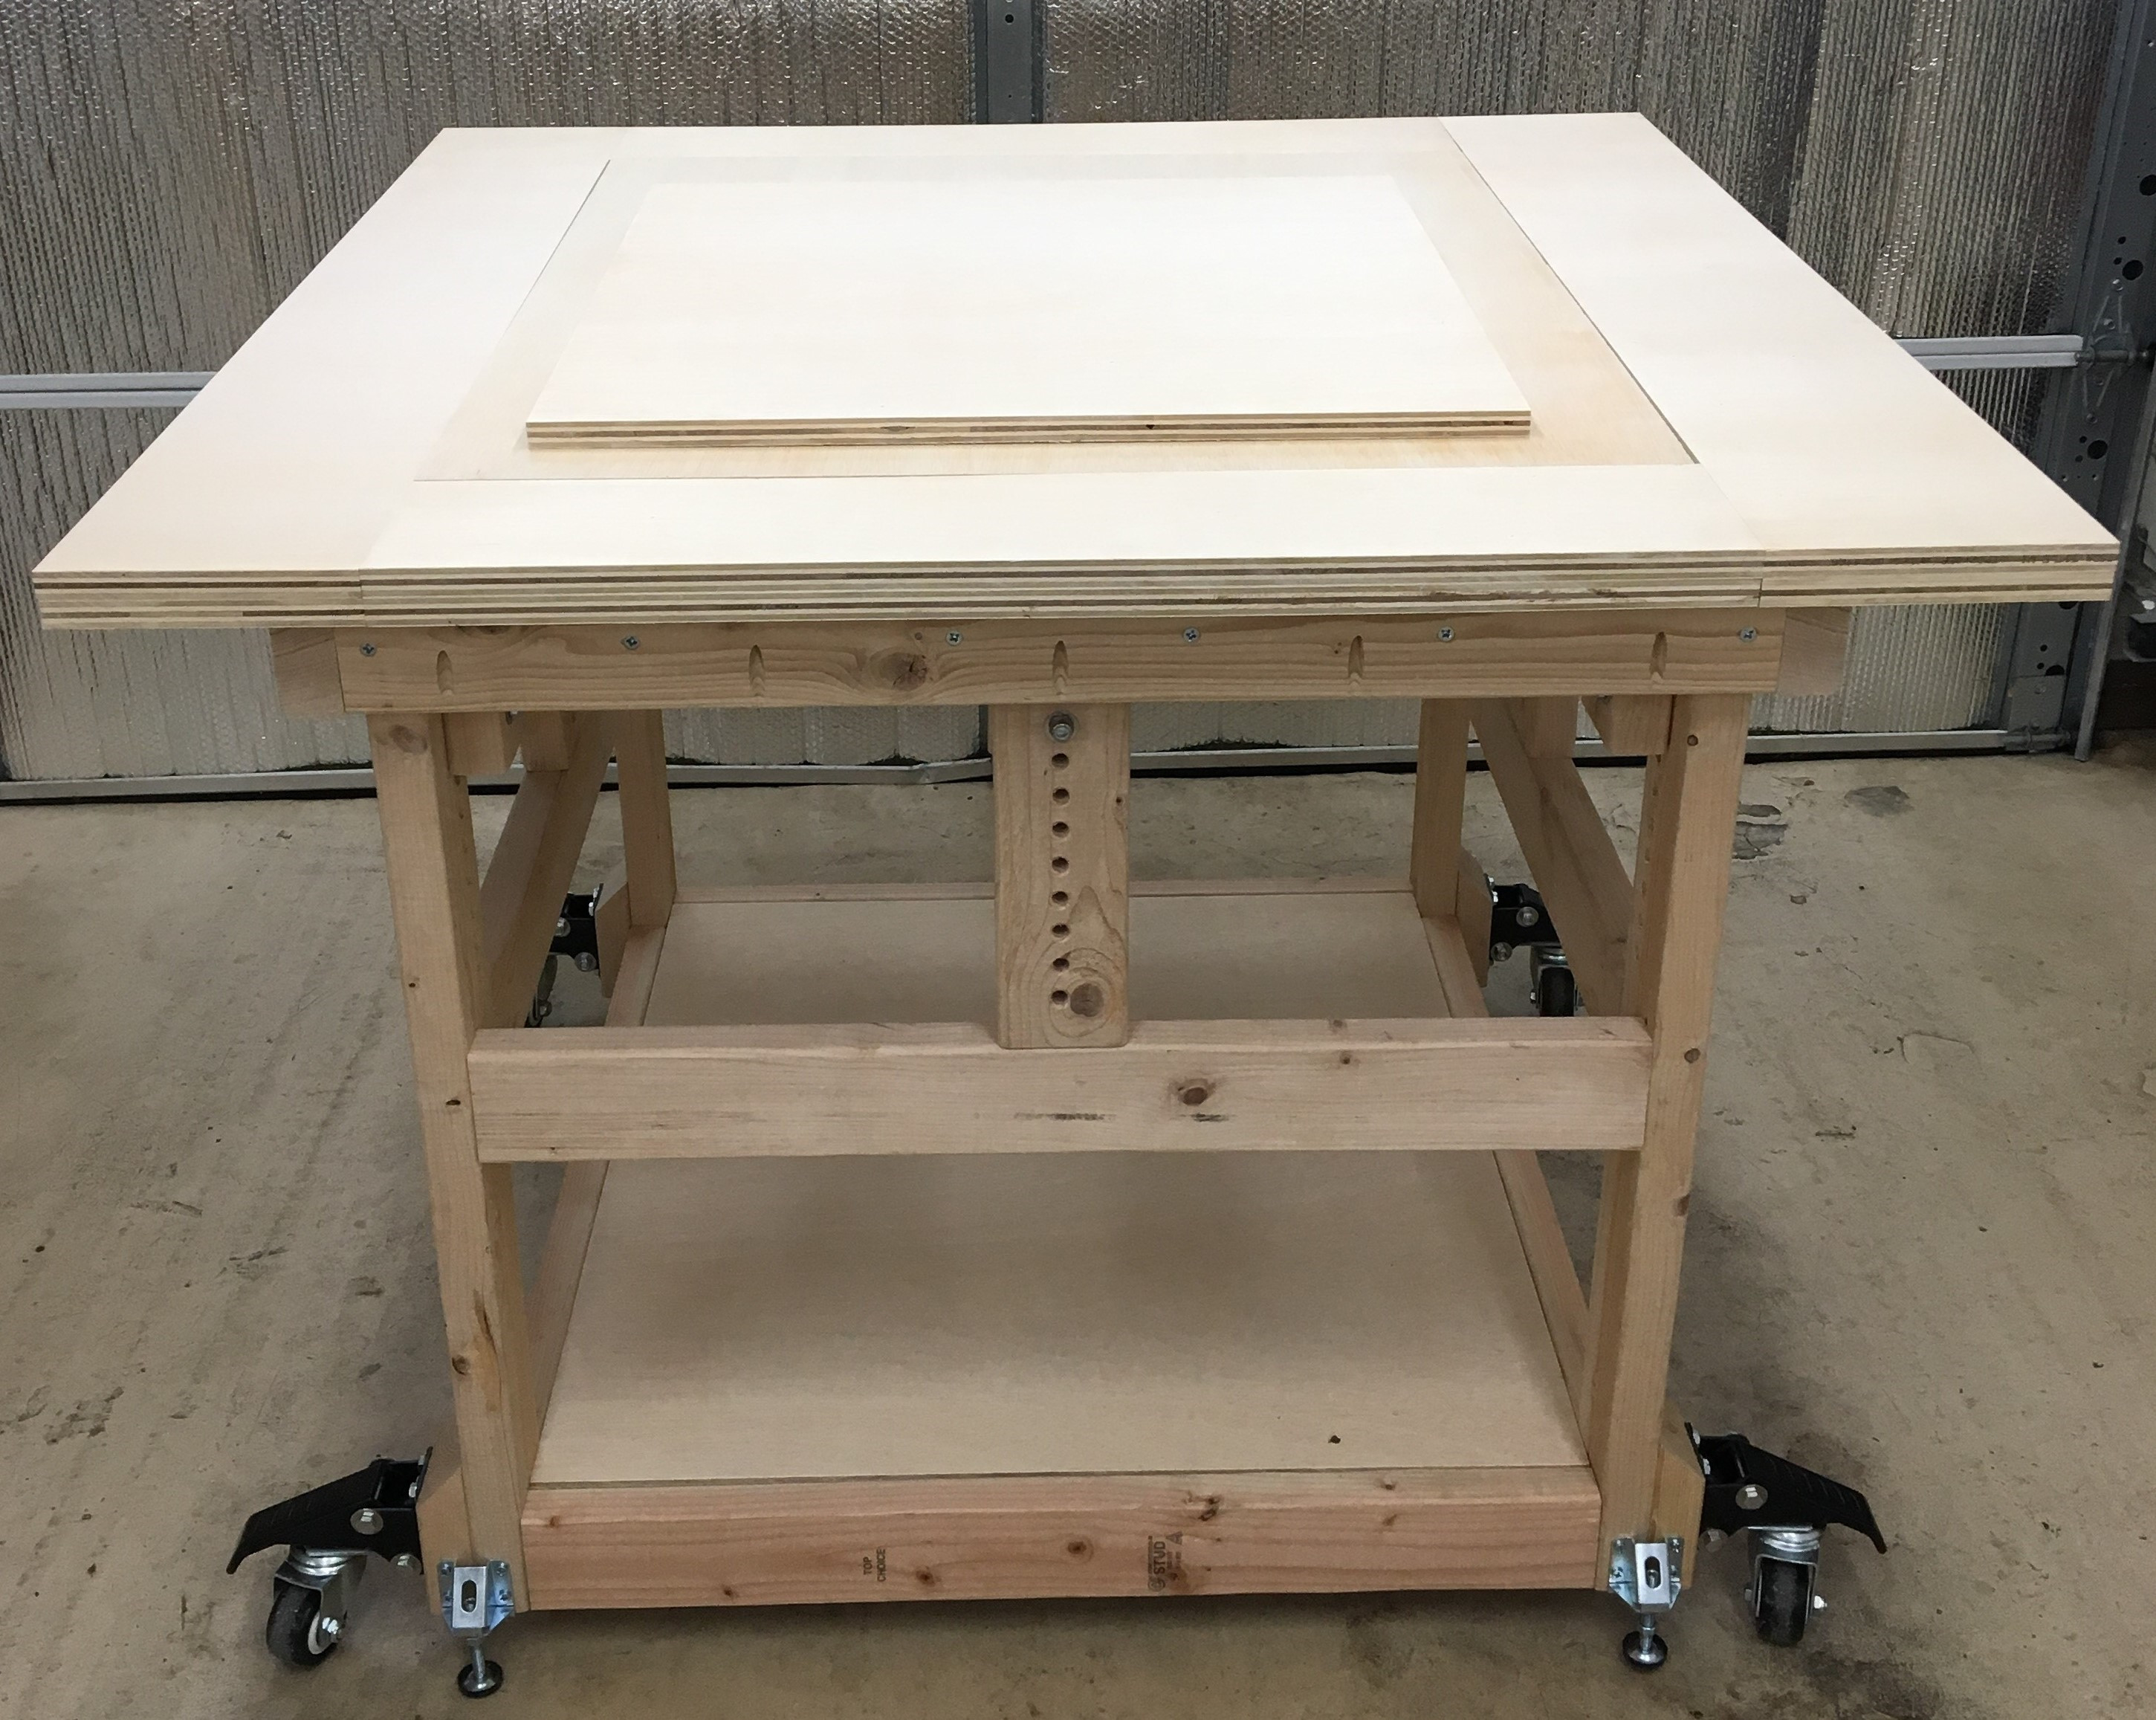
Here’s my bed leveling solution. I’m planning on having 8 leveling and lock points around the perimeter of the bed. I plan to mount an MDF Spoilboard on top of the Elevator Board that will allow me to level and surface it flat if needed.
That will probably work but the easiest way is just make you spoil board your exact build area and surface it if you need to. I have never needed to for the stuff I do.
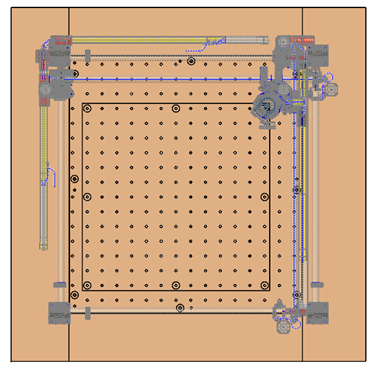
The Spoilboard (inner square) is currently sized to my build volume.
The Elevator Board extends beyond that to allow for the Z-Axis movement down into the table and some future expansion I have in mind (clearance for vacuum, rotary table/4 axis…). But I haven’t modeled any of that up yet so I’ve (hopefully) left a decent amount of room.
@Atom Quick update. I’m ~90% done with my printed parts. I had around half a spool left over for the core so I decided to order a new roll so I don’t run out before complete. I’m also almost done modifying my cable routing based on Ryan’s suggestions. I’ll upload some updated screen shots when I’m done.
Ha, ha. @Atom No, unfortunately I haven’t started that yet. I have a couple other woodworking projects that I need to clear out of the queue first. Then I can clear out some space since this table going to take up a decent amount.
I also have a partially built router table that I was thinking of attaching to the side of the MPCNC with a hinge. That way I can fold it down when not in use to save some space. Just a thought right now as I plan out my garage layout.
i understand, its a big project. I’m currently clearing out my garage for it. i have seen others who have put hinges or something on the lift board so they can clamp projects to it for box cuts. I’ll be honest, I’m new to this whole thing, but i want to make it as versatile as i can.
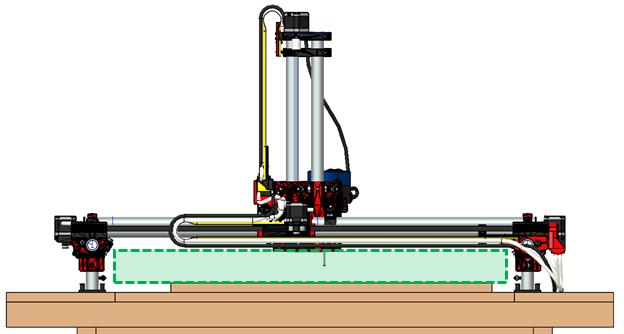
X/Y Cables have now been moved above the bottom of the Trucks so I’ll be able to use the whole region if I want to cut a workpiece that sticks out past the feet.
Printing new parts now. We’ll see how it works in the real world.
This is REALLY cool! I’m just now at the phase where I have all the tubes cut and I can start building my MPCNC, but I’ve been holding off because I can’t think of a good table design.
Your design is well thought out and it looks easy to build first, and add a sound dampening cover after the fact.
I hope you don’t mind if I do a similar table. The uncreative part of me will ask for your plans with dimensions that I can modify, but I totally understand that you might not want to share them after putting this much work into it.
 ).
).