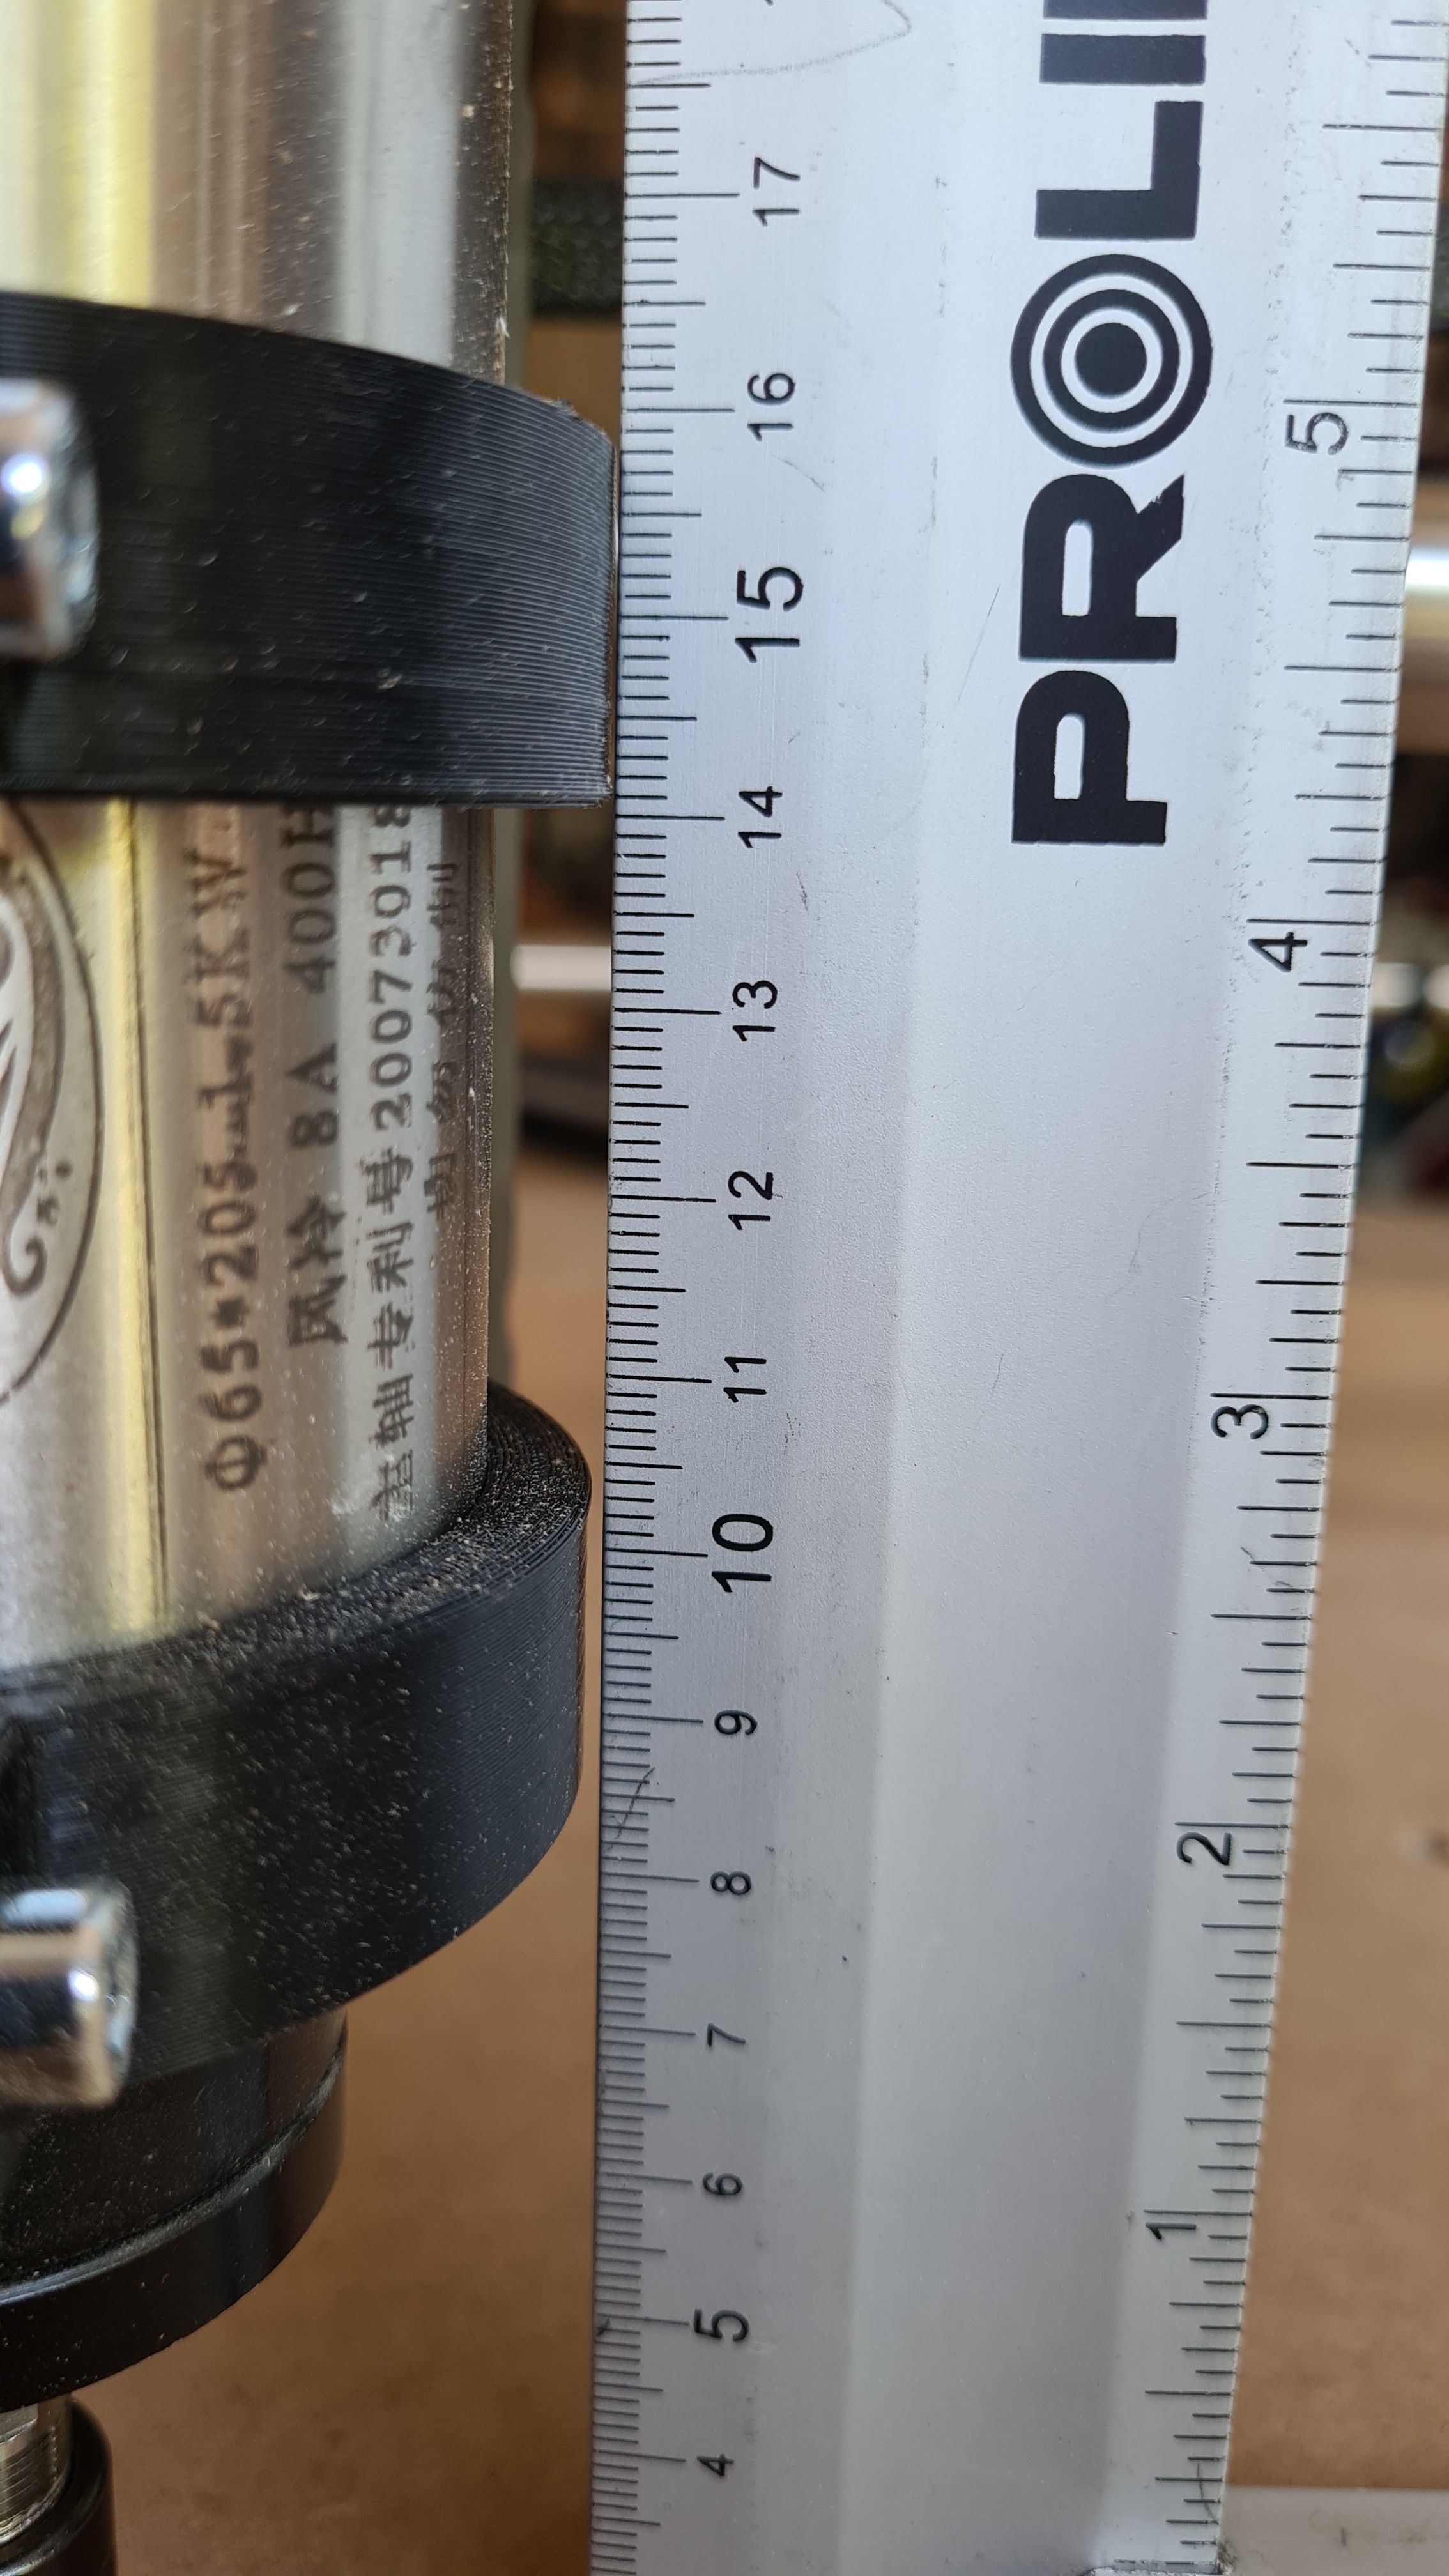
Assuming your ruler is perpendicular to the work surface, you are off by a lot. I would explore a manufacturing or assembly problem before I took the shimming step. I’m not sure if this applies to the Primo, but there was a squaring step in the Z assembly for the Burly,
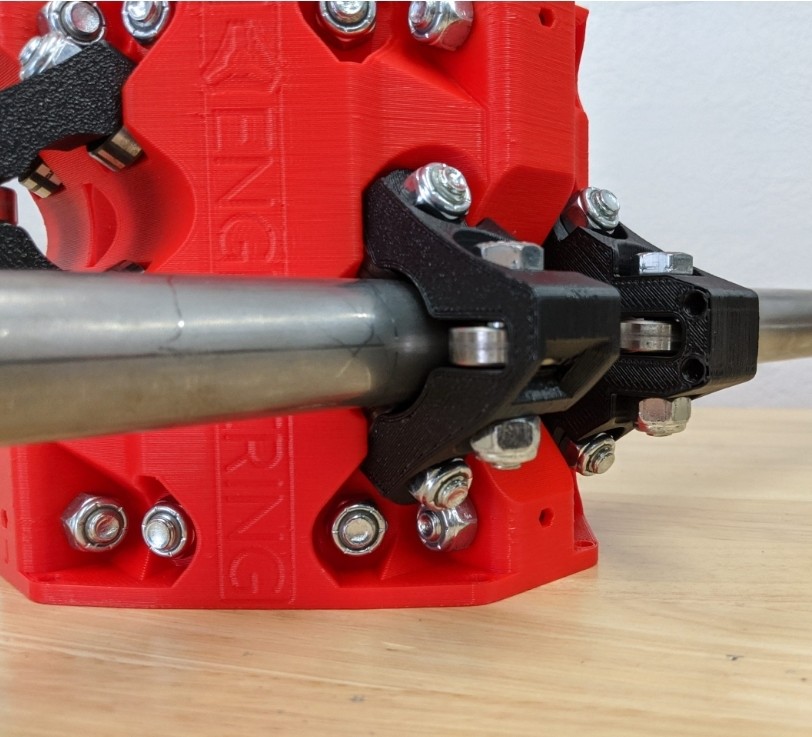
Ryan: At this point hang the assembly off the edge of a table. Make sure the rails are sitting flat on the table, if it is not loosen, push down on the rails, and tighten the toolmount screws. If the rails are twisted it will rock back and forth…that is bad.
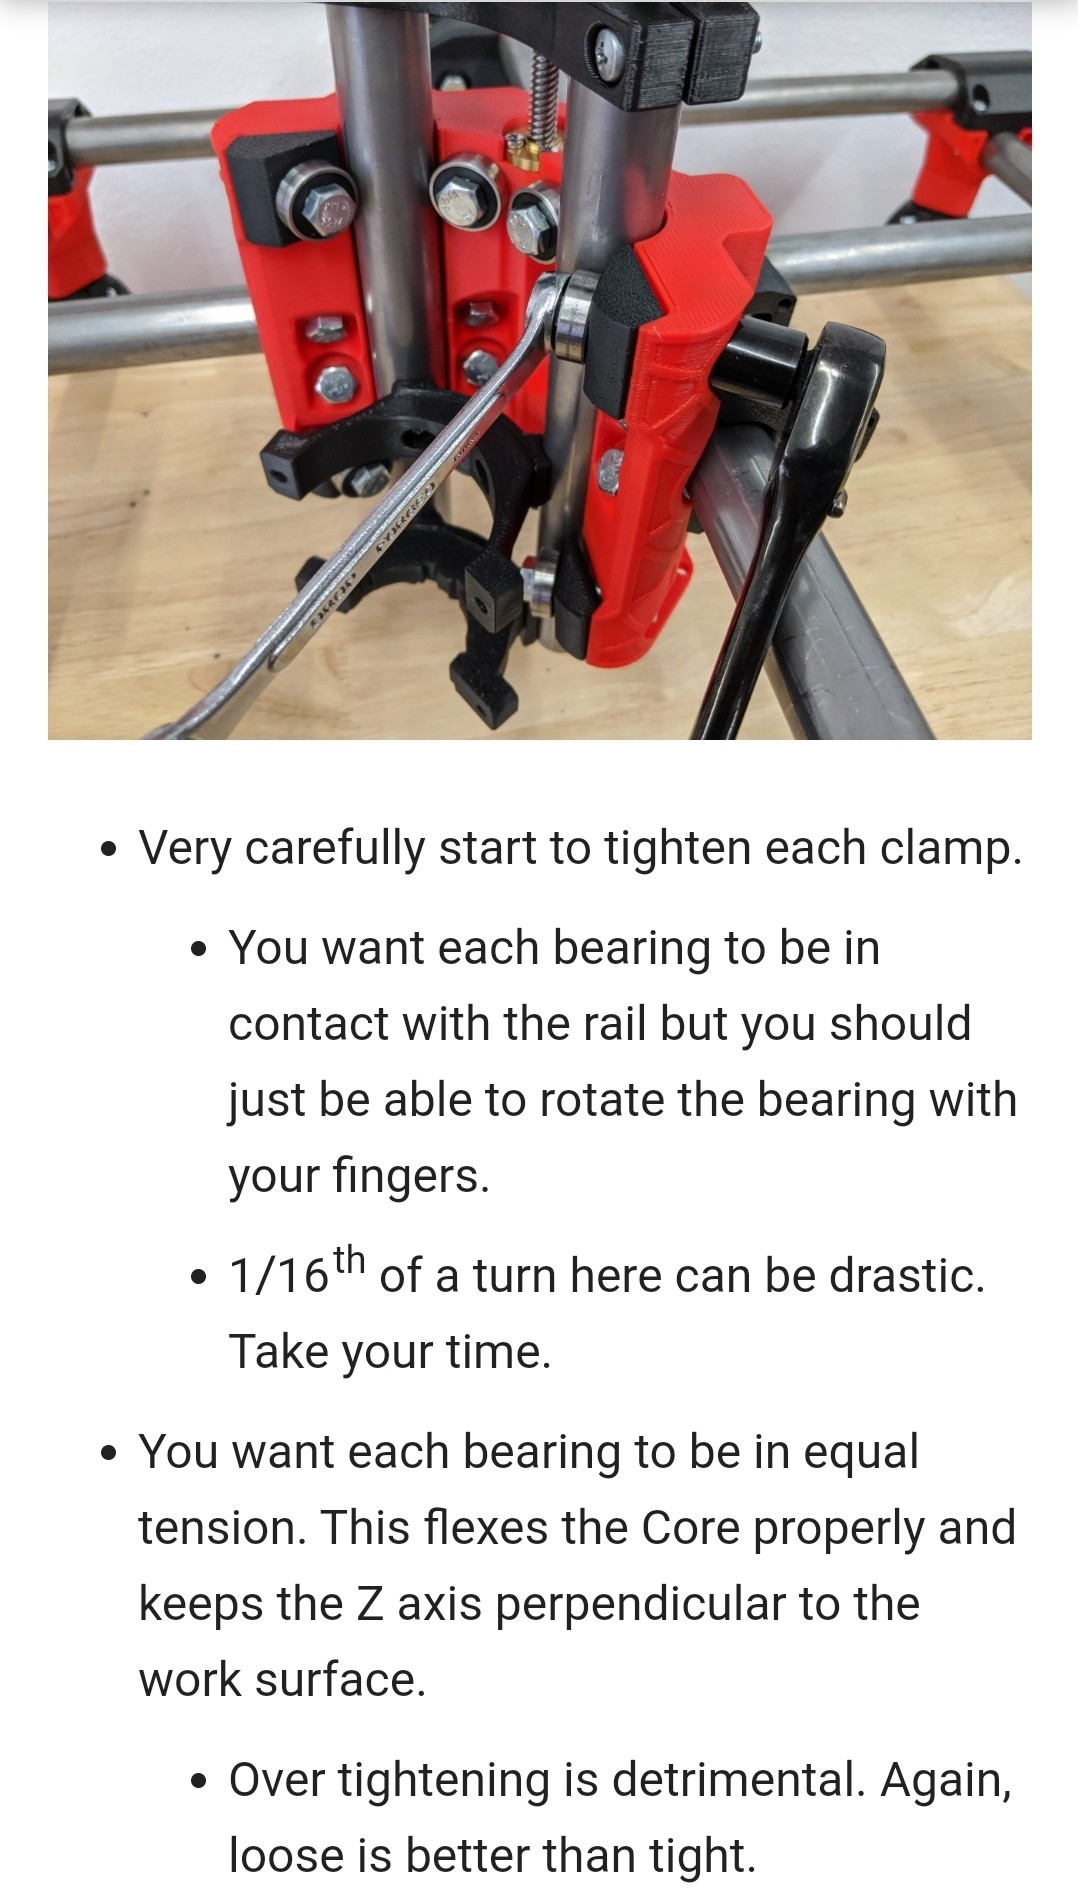
On the Primo, there is also this note about adjusting the core:
Ryan: You want each bearing to be in equal tension. This flexes the Core properly and keeps the Z axis perpendicular to the work surface.
And you want to make absolutely sure your legs are adjusted to the same height, and indicated in the the “Leveling” step on this page.
If you are confident that your assembly is correct, then you can resort to tramming and shimming. Shimming inside the mount will give you more flexibility than trying to shim at the attachment points. For determining where and how much to shim, a tramming arm is used. There are a couple of simple tramming arms on Thingiverse, plus they are easy to construct out of scrap wood. By rotating the tramming arm and measuring how far it is off the surface, you can accurately determine where and how much to shim.
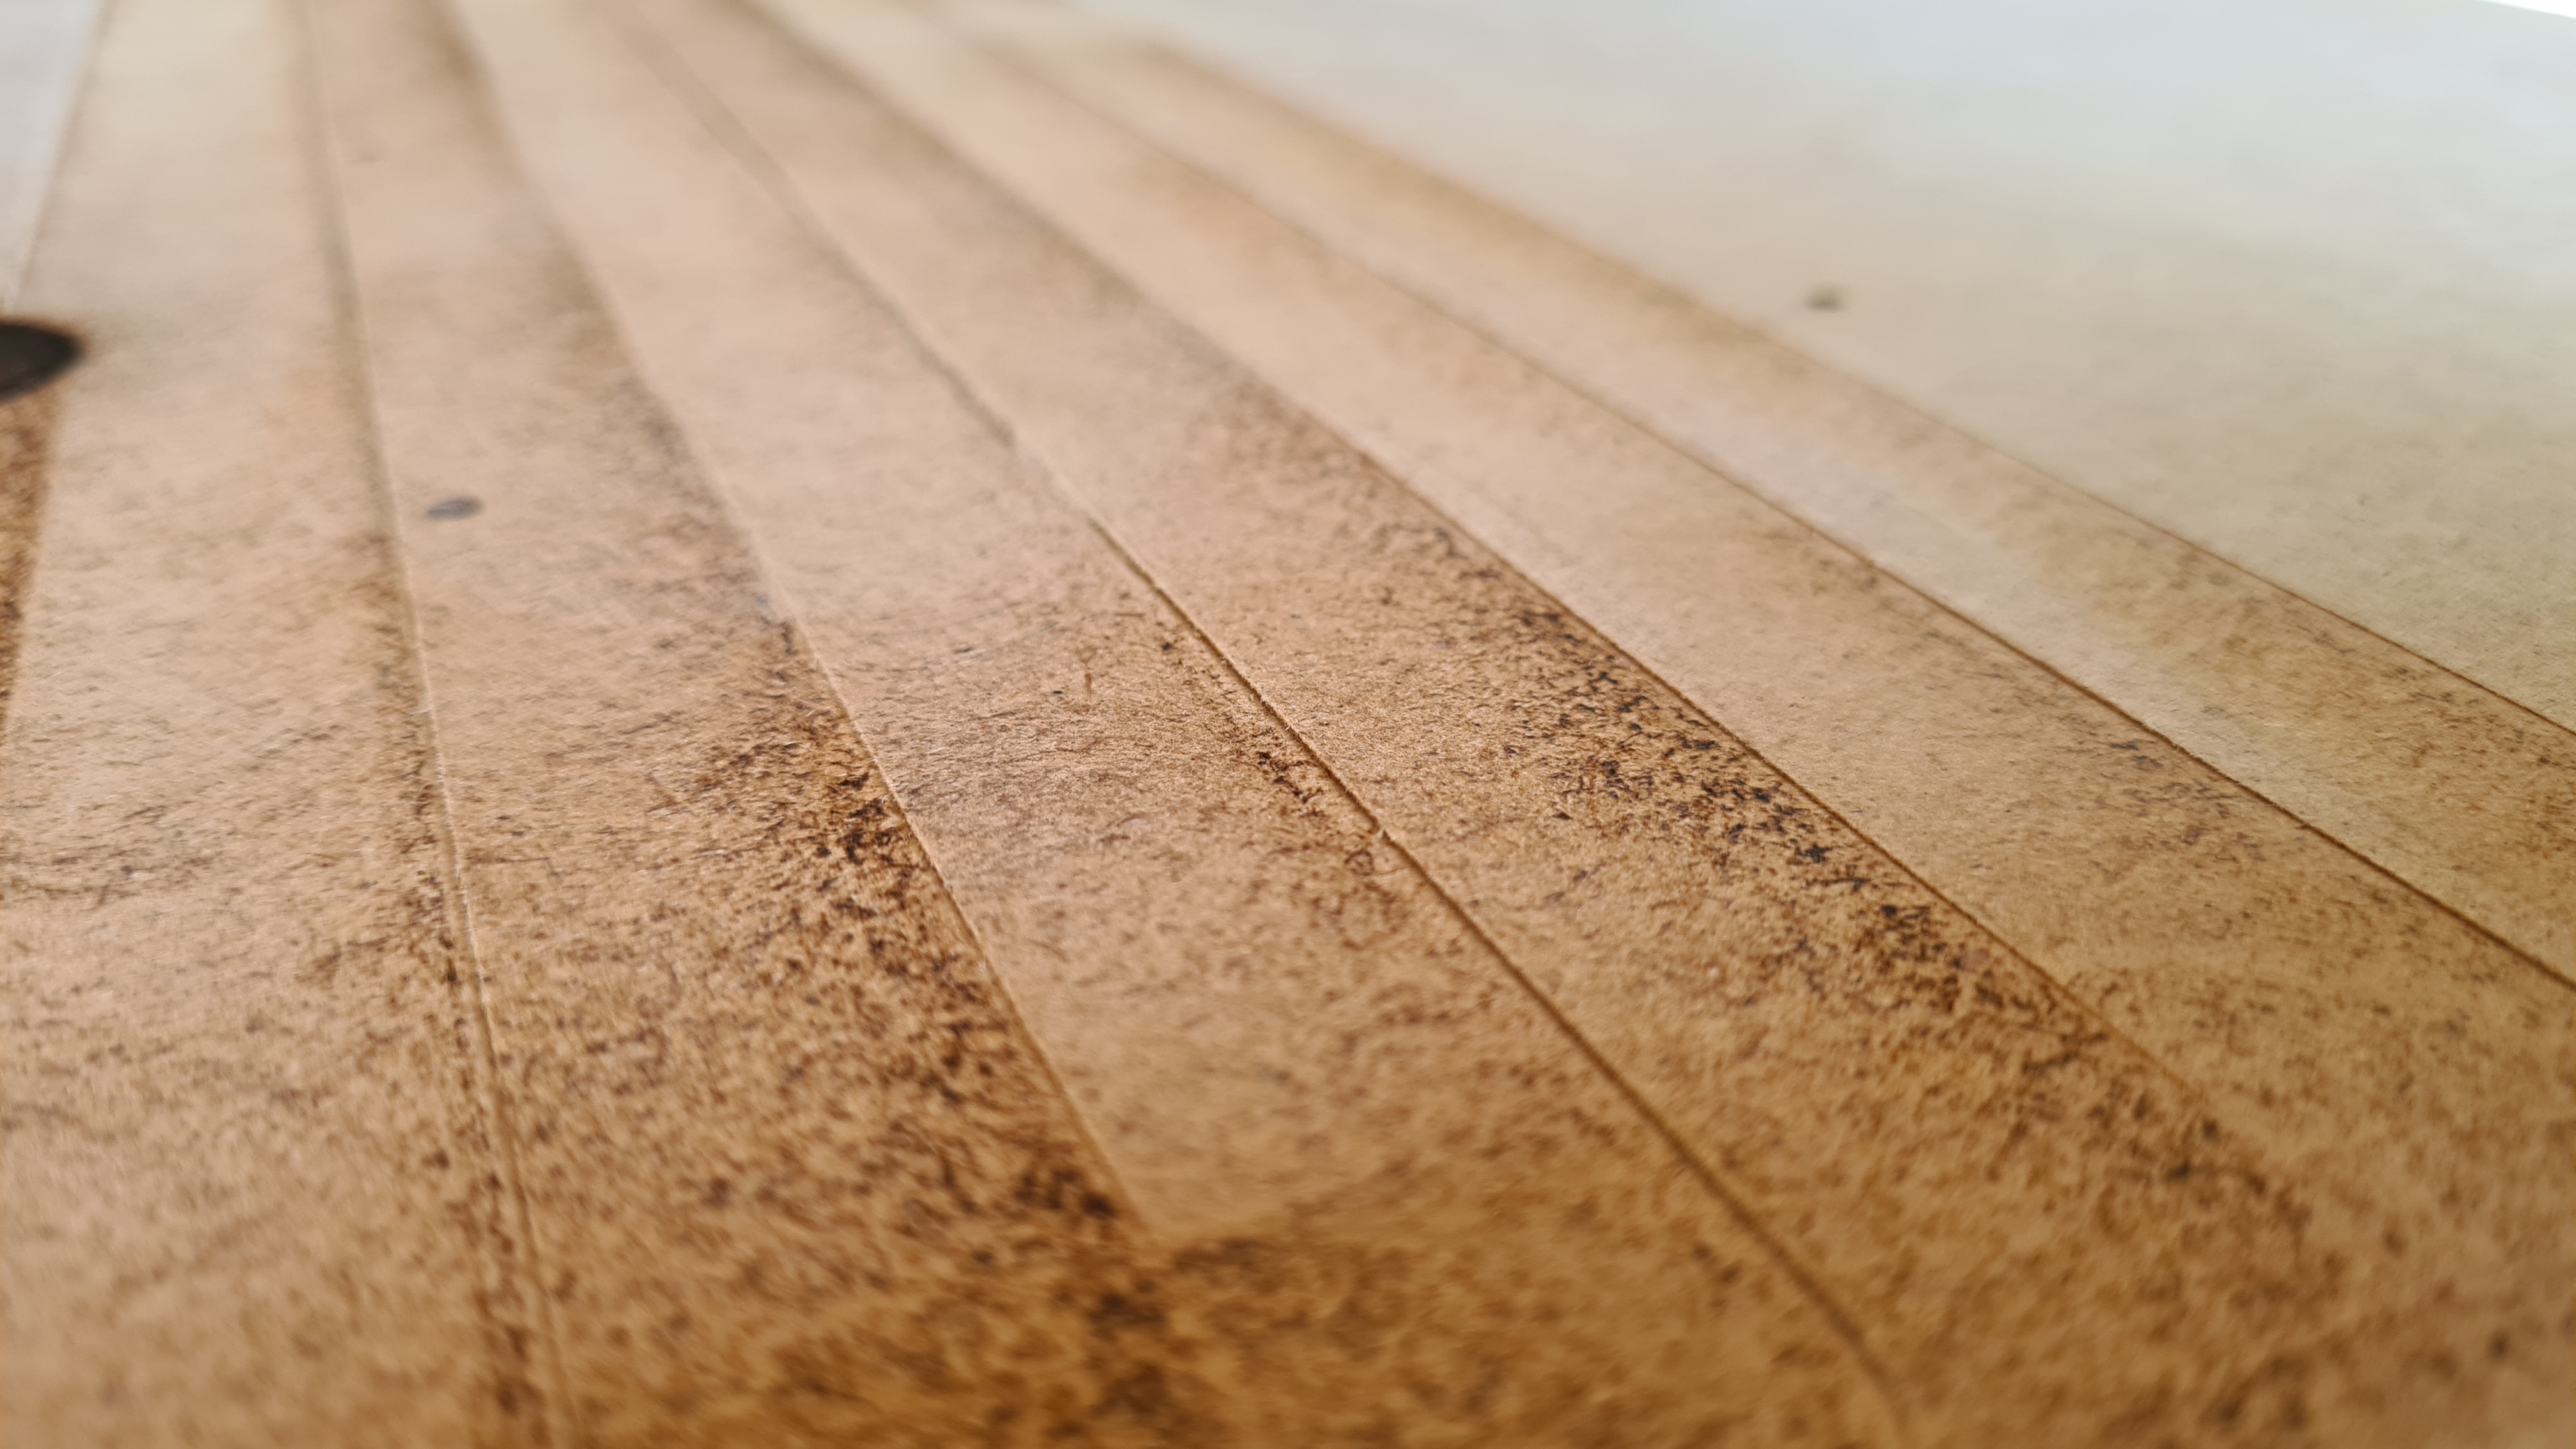
As for the burning, with a sharp bit, it is usually caused by either 1) the RPM being too high, or 2) not moving the router fast enough. Each turn of the bit needs to shave off material, moving too slow or at a too high RPM means you grind the material creating heat.
In addition to the router being off square, scalloping like I see in the photo can also be caused by deflection. And you can have both squaring and deflection issues. Deflection can be caused by pushing the limits of the machine, but can also be caused by looseness in Z the axis. Check your Z axis for play. If it is okay, then reauthor your surfacing pass with a smaller DOC plus a smaller stepover. I think I use 1/4 of the cutting width (6mm) for my stepover when I surfaced my spoil board. I’d practice on some scrap to make sure the problems are worked out before I resurfaced the spoil board.