So I’m about to install the spoil board I intend to use for the foreseeable future, and I find myself torn. I see a lot of builds where the spoil board is larger than the work area. Leaving you with a lip after surfacing. So my question is from those of you with experience should I cut down to match the work area or leave as is. How much does that lip effect you.
1 Like
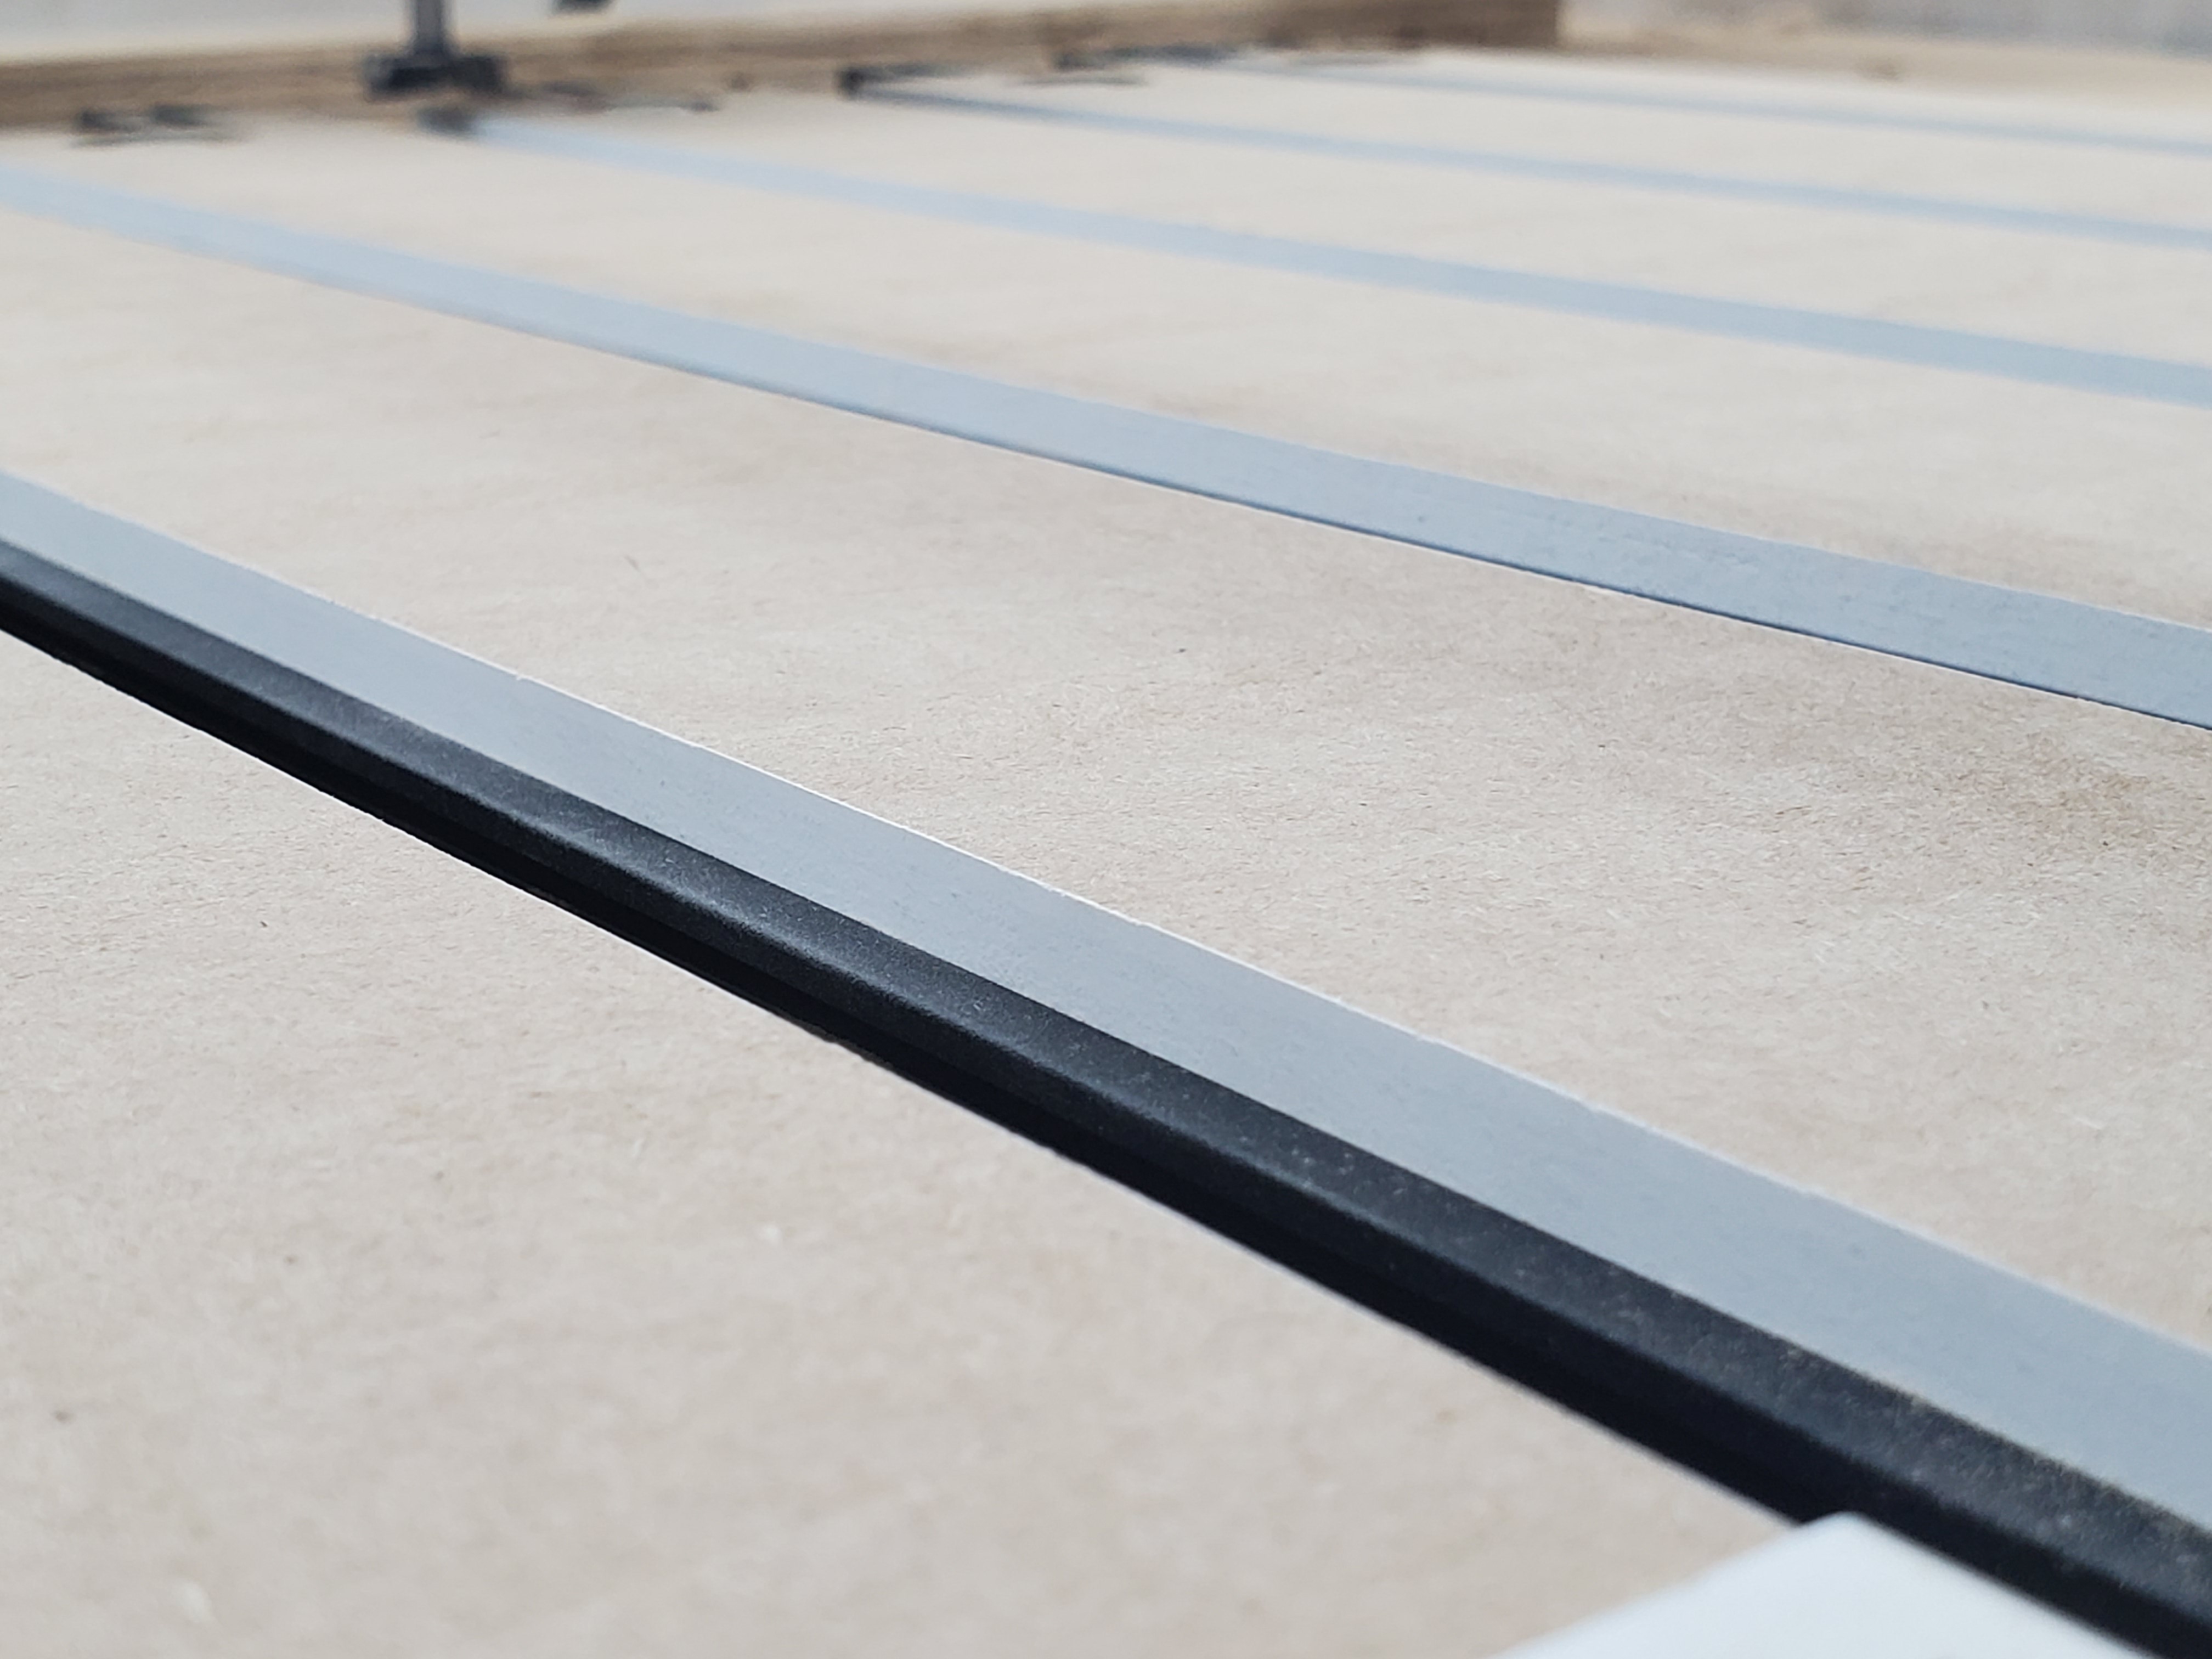
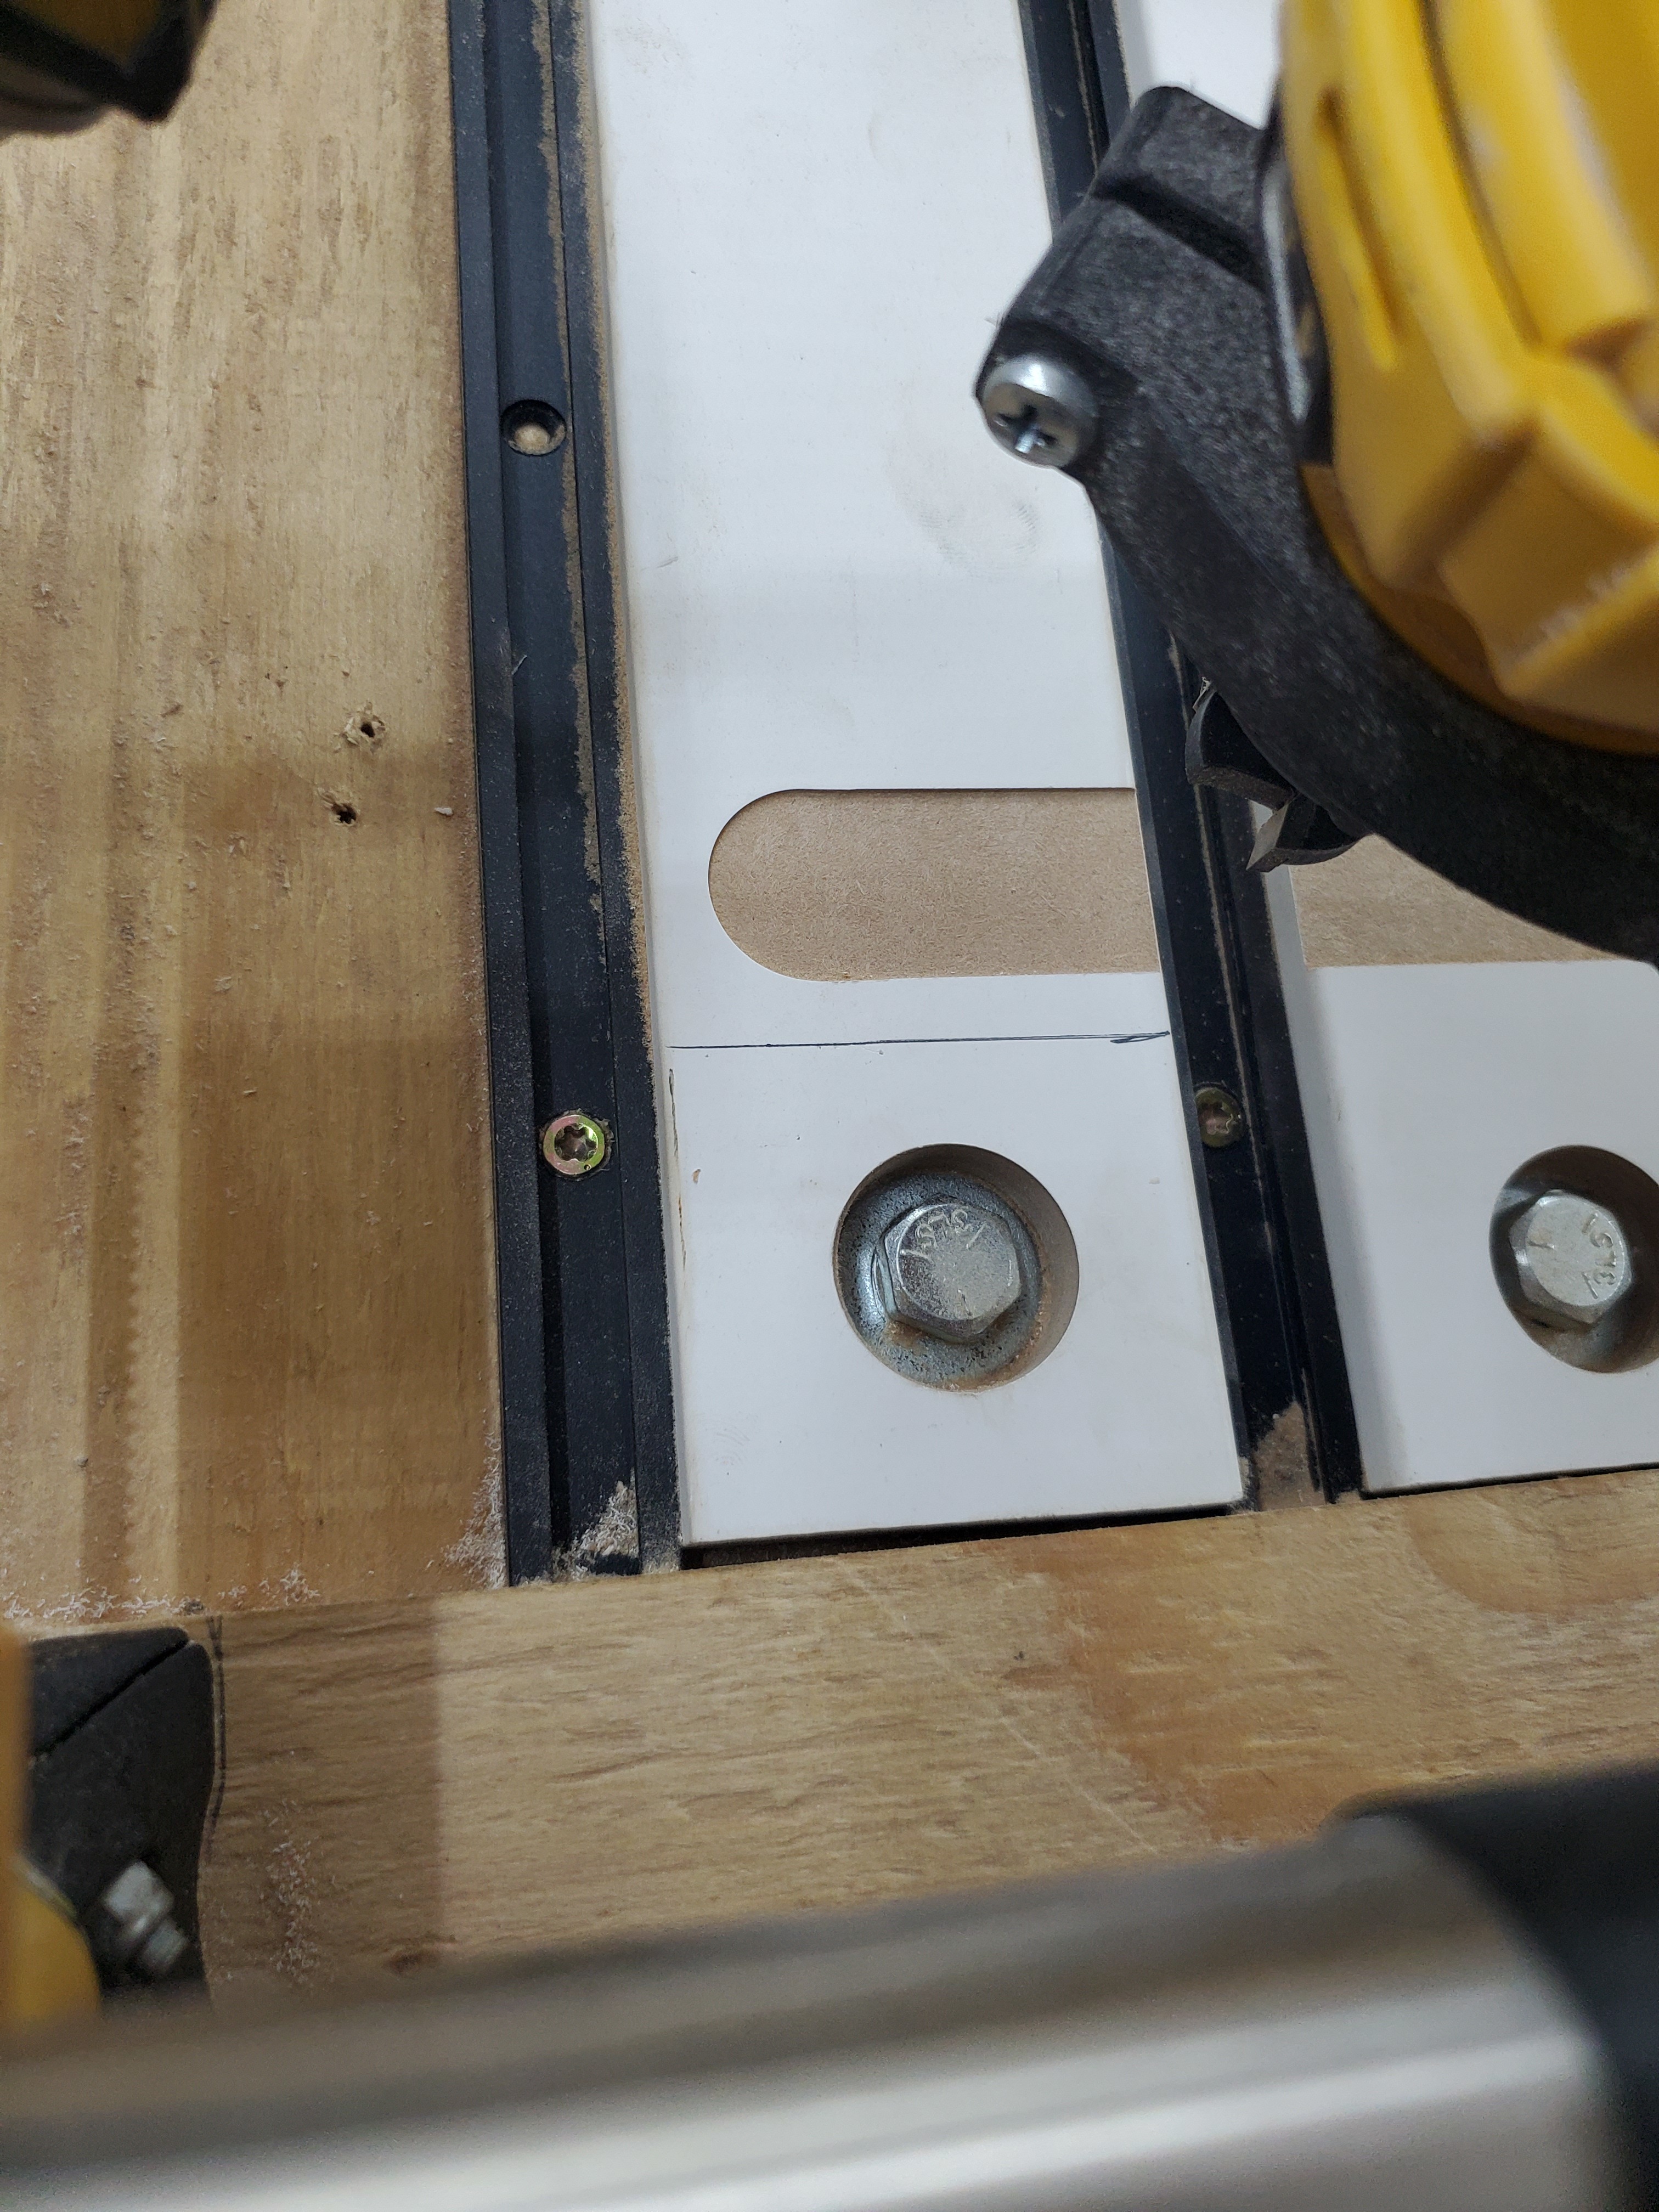
I had a lip/pit on my Burly. It was a problem anytime I wanted my stock to extend outside of my cutting area. This is not just milling things bigger than my machine (which I’ve only done once), but also if I was trying to preserve stock by not cutting it or it was just more convenient to mount an odd shaped piece of stock where part of it hangs off the cutting area. When I upgraded to my Primo, I mounted my legs on a base board and had my spoil board mounted on top and sized to my cutting area to eliminate the pit. Note that if the spoil board is placed accurately, you can surface up to 1/2 the surfacing bit width outside of the cutting area.
Yeah I already started considering that because the bit I got is or almost is an inch in diameter.
Just checked the Amazon order it is indeed an inch
I had a lip on my spoilboard. I just hit it with some 60 grit sand paper and knocked it off.
For a while I left the lip on two sides and used that to square up stock on the machine.
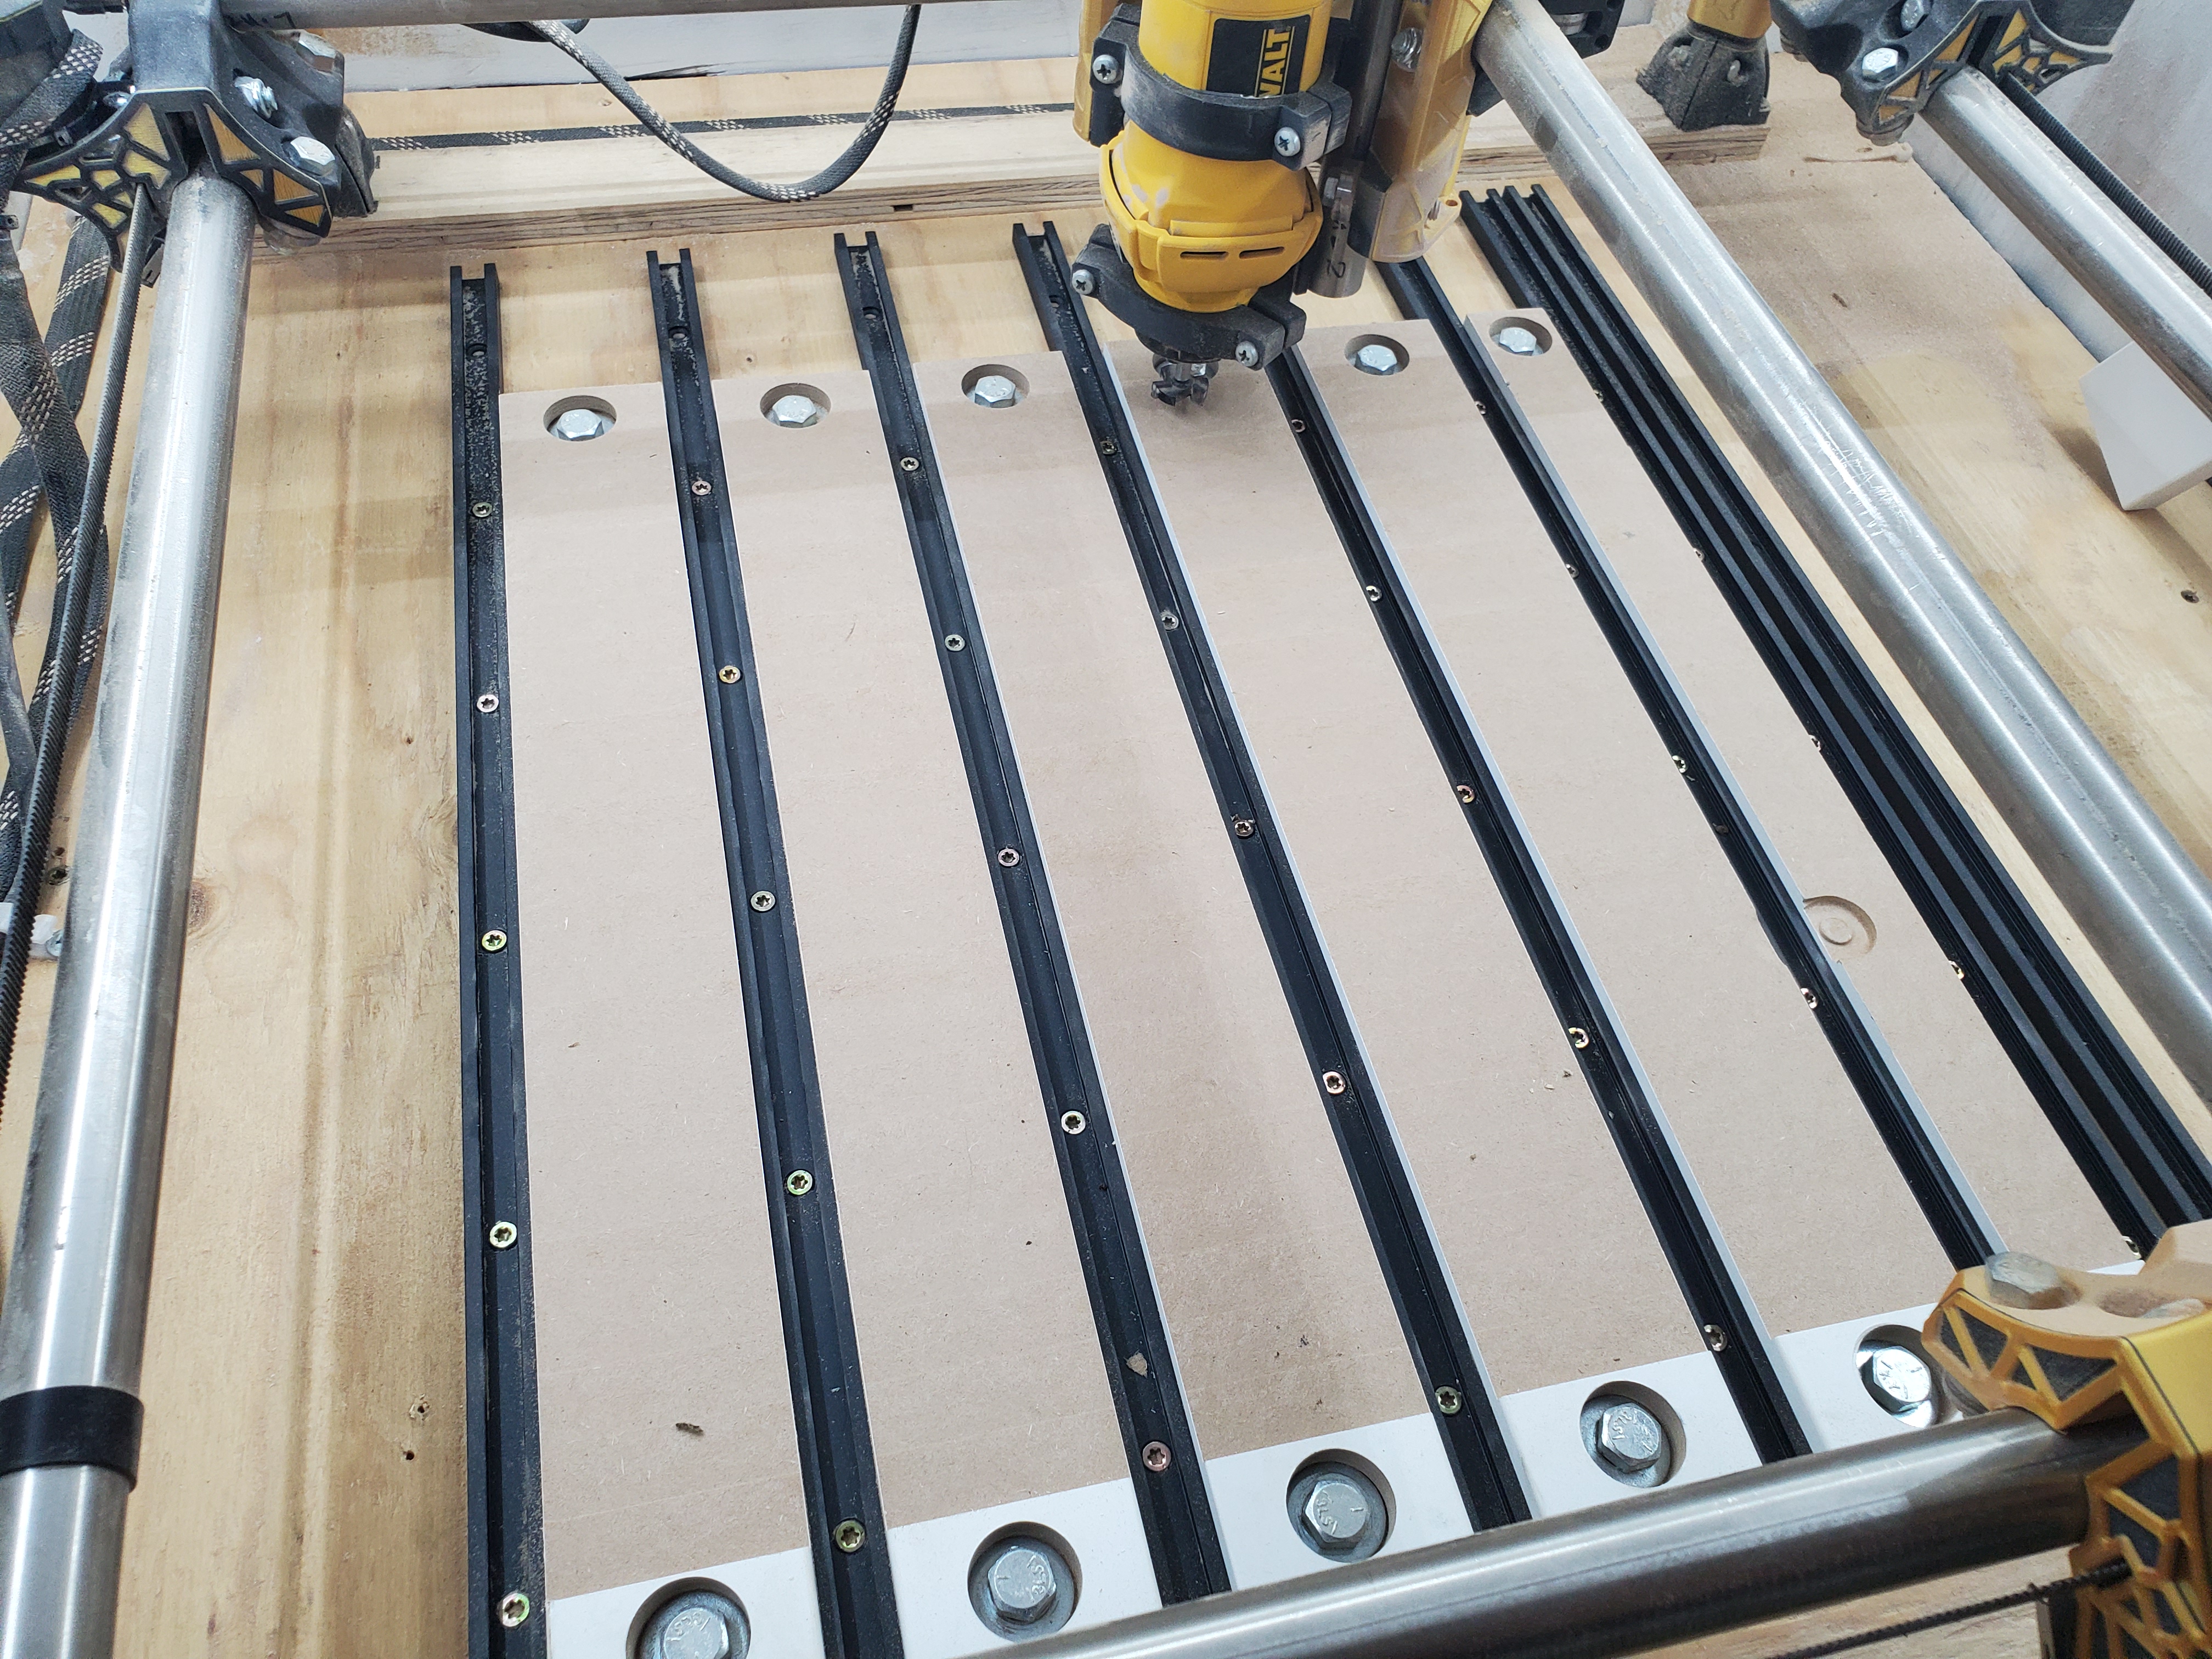
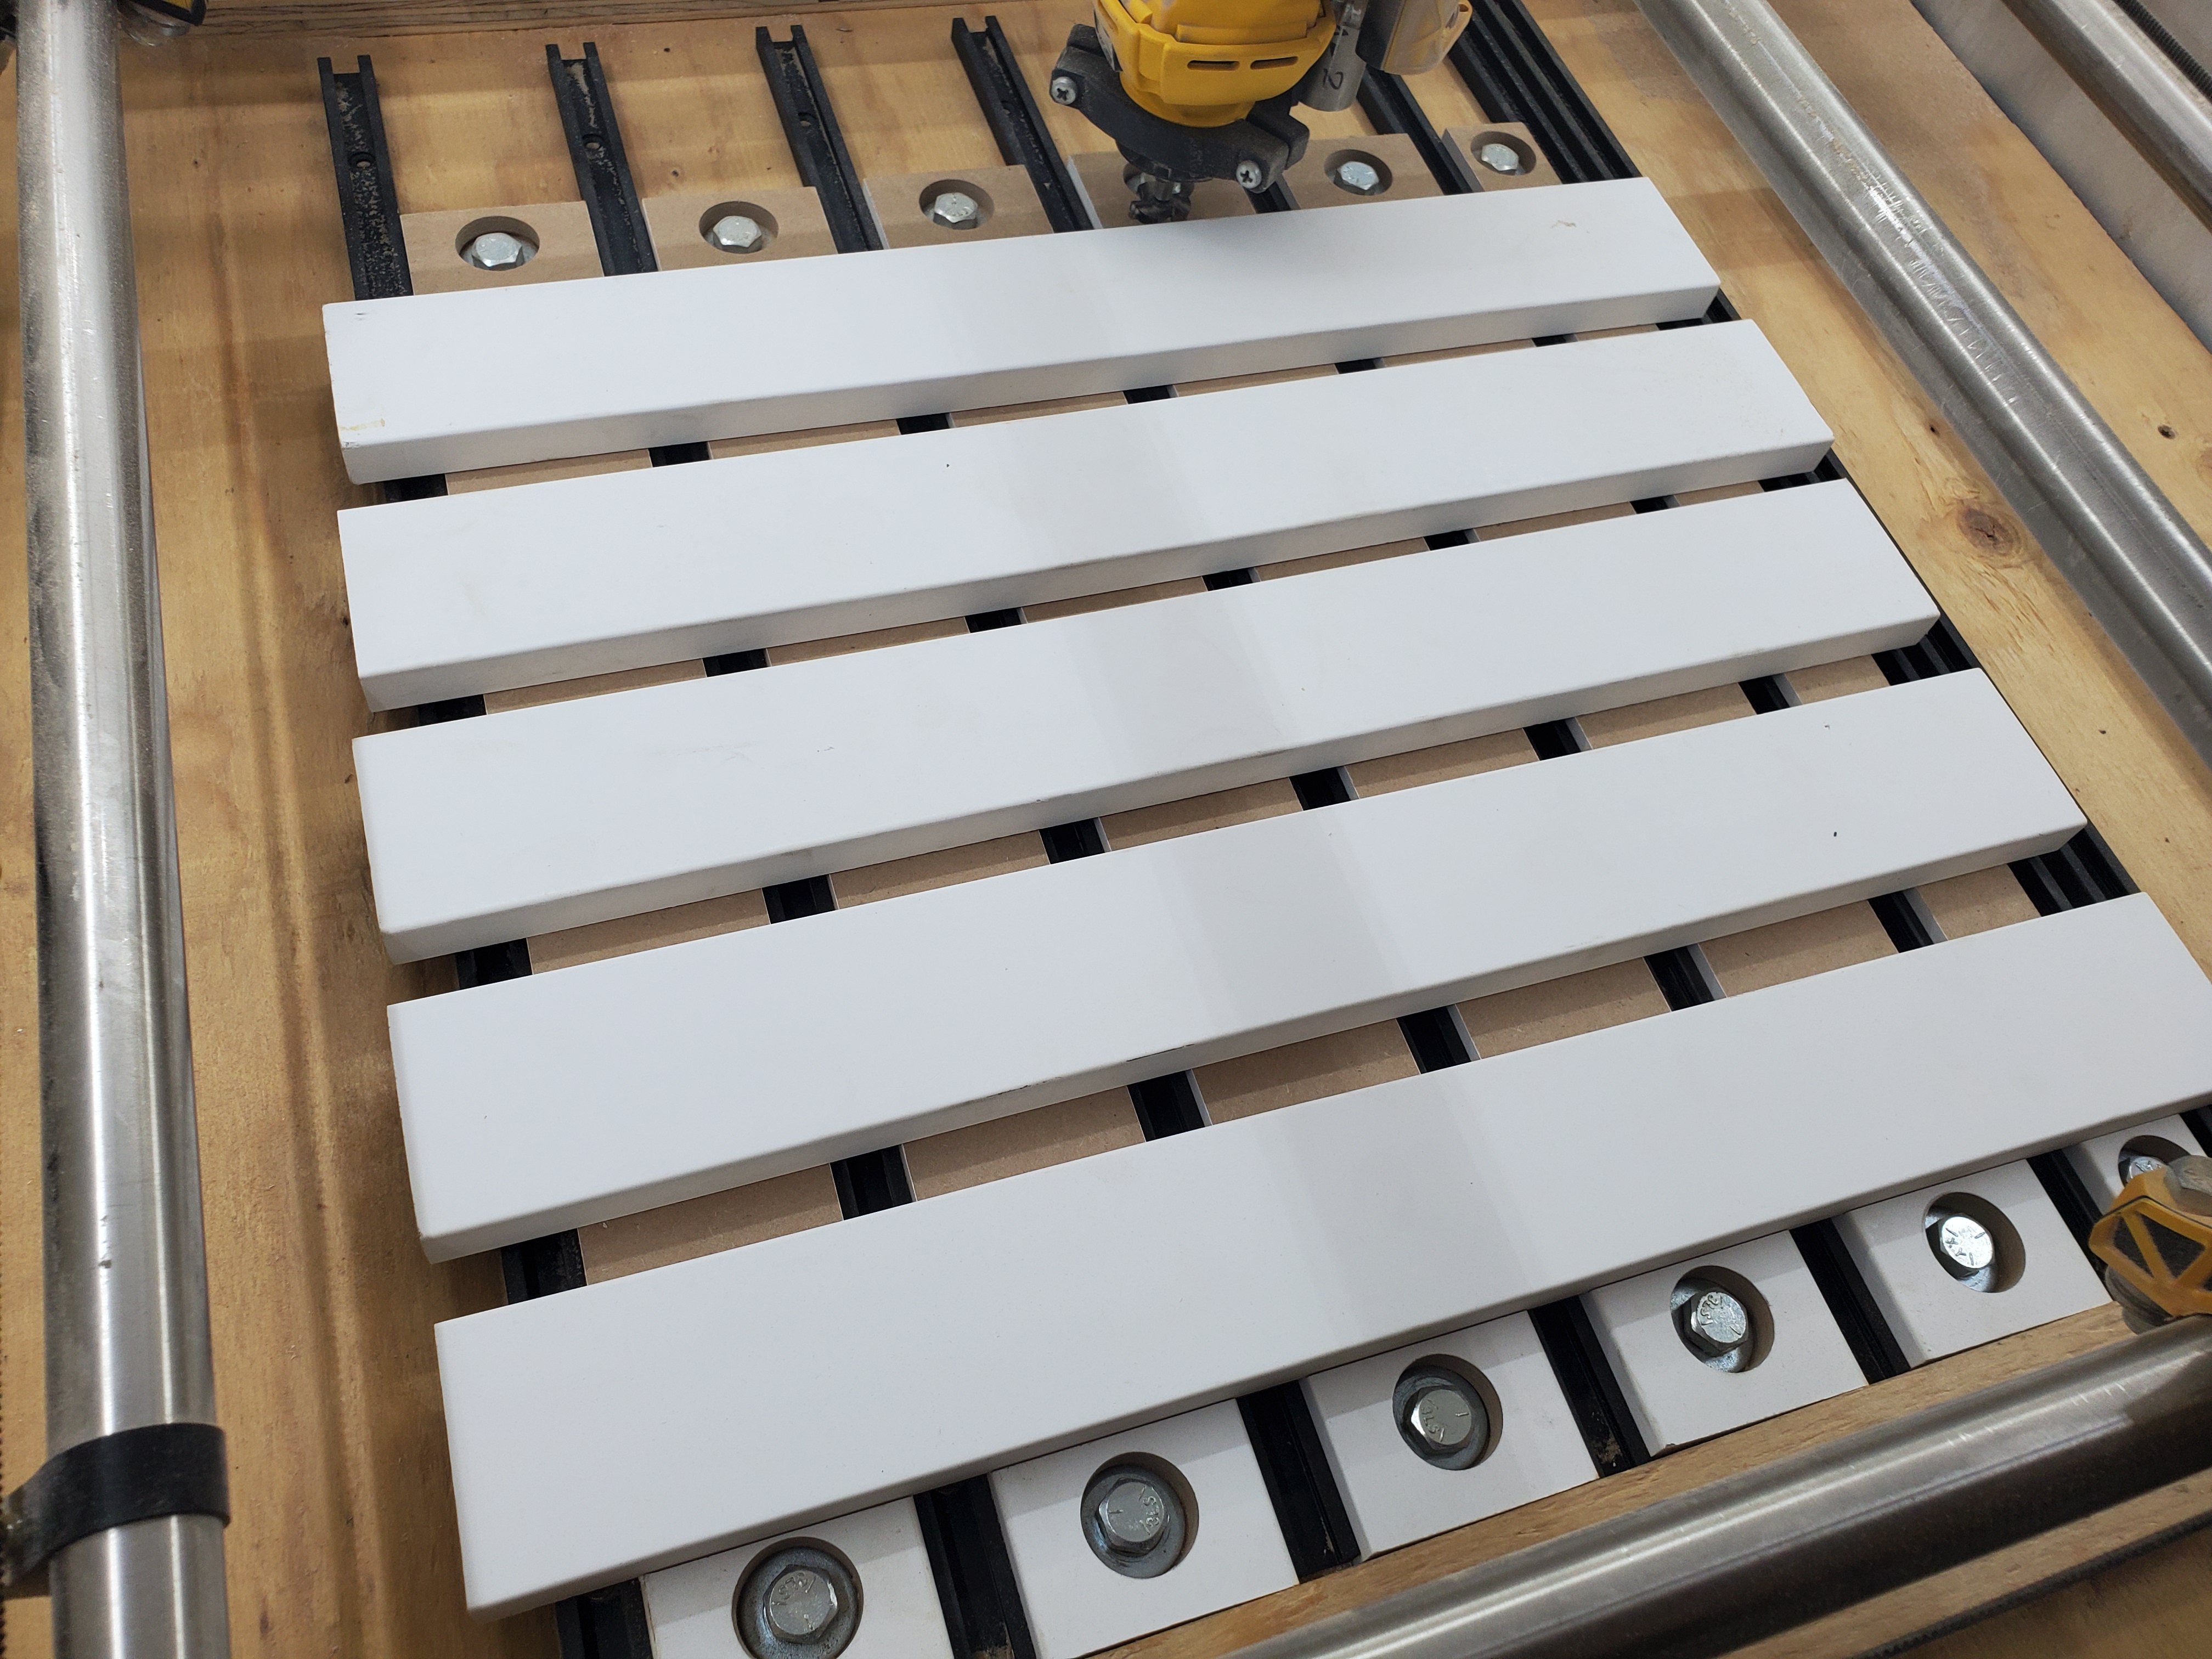
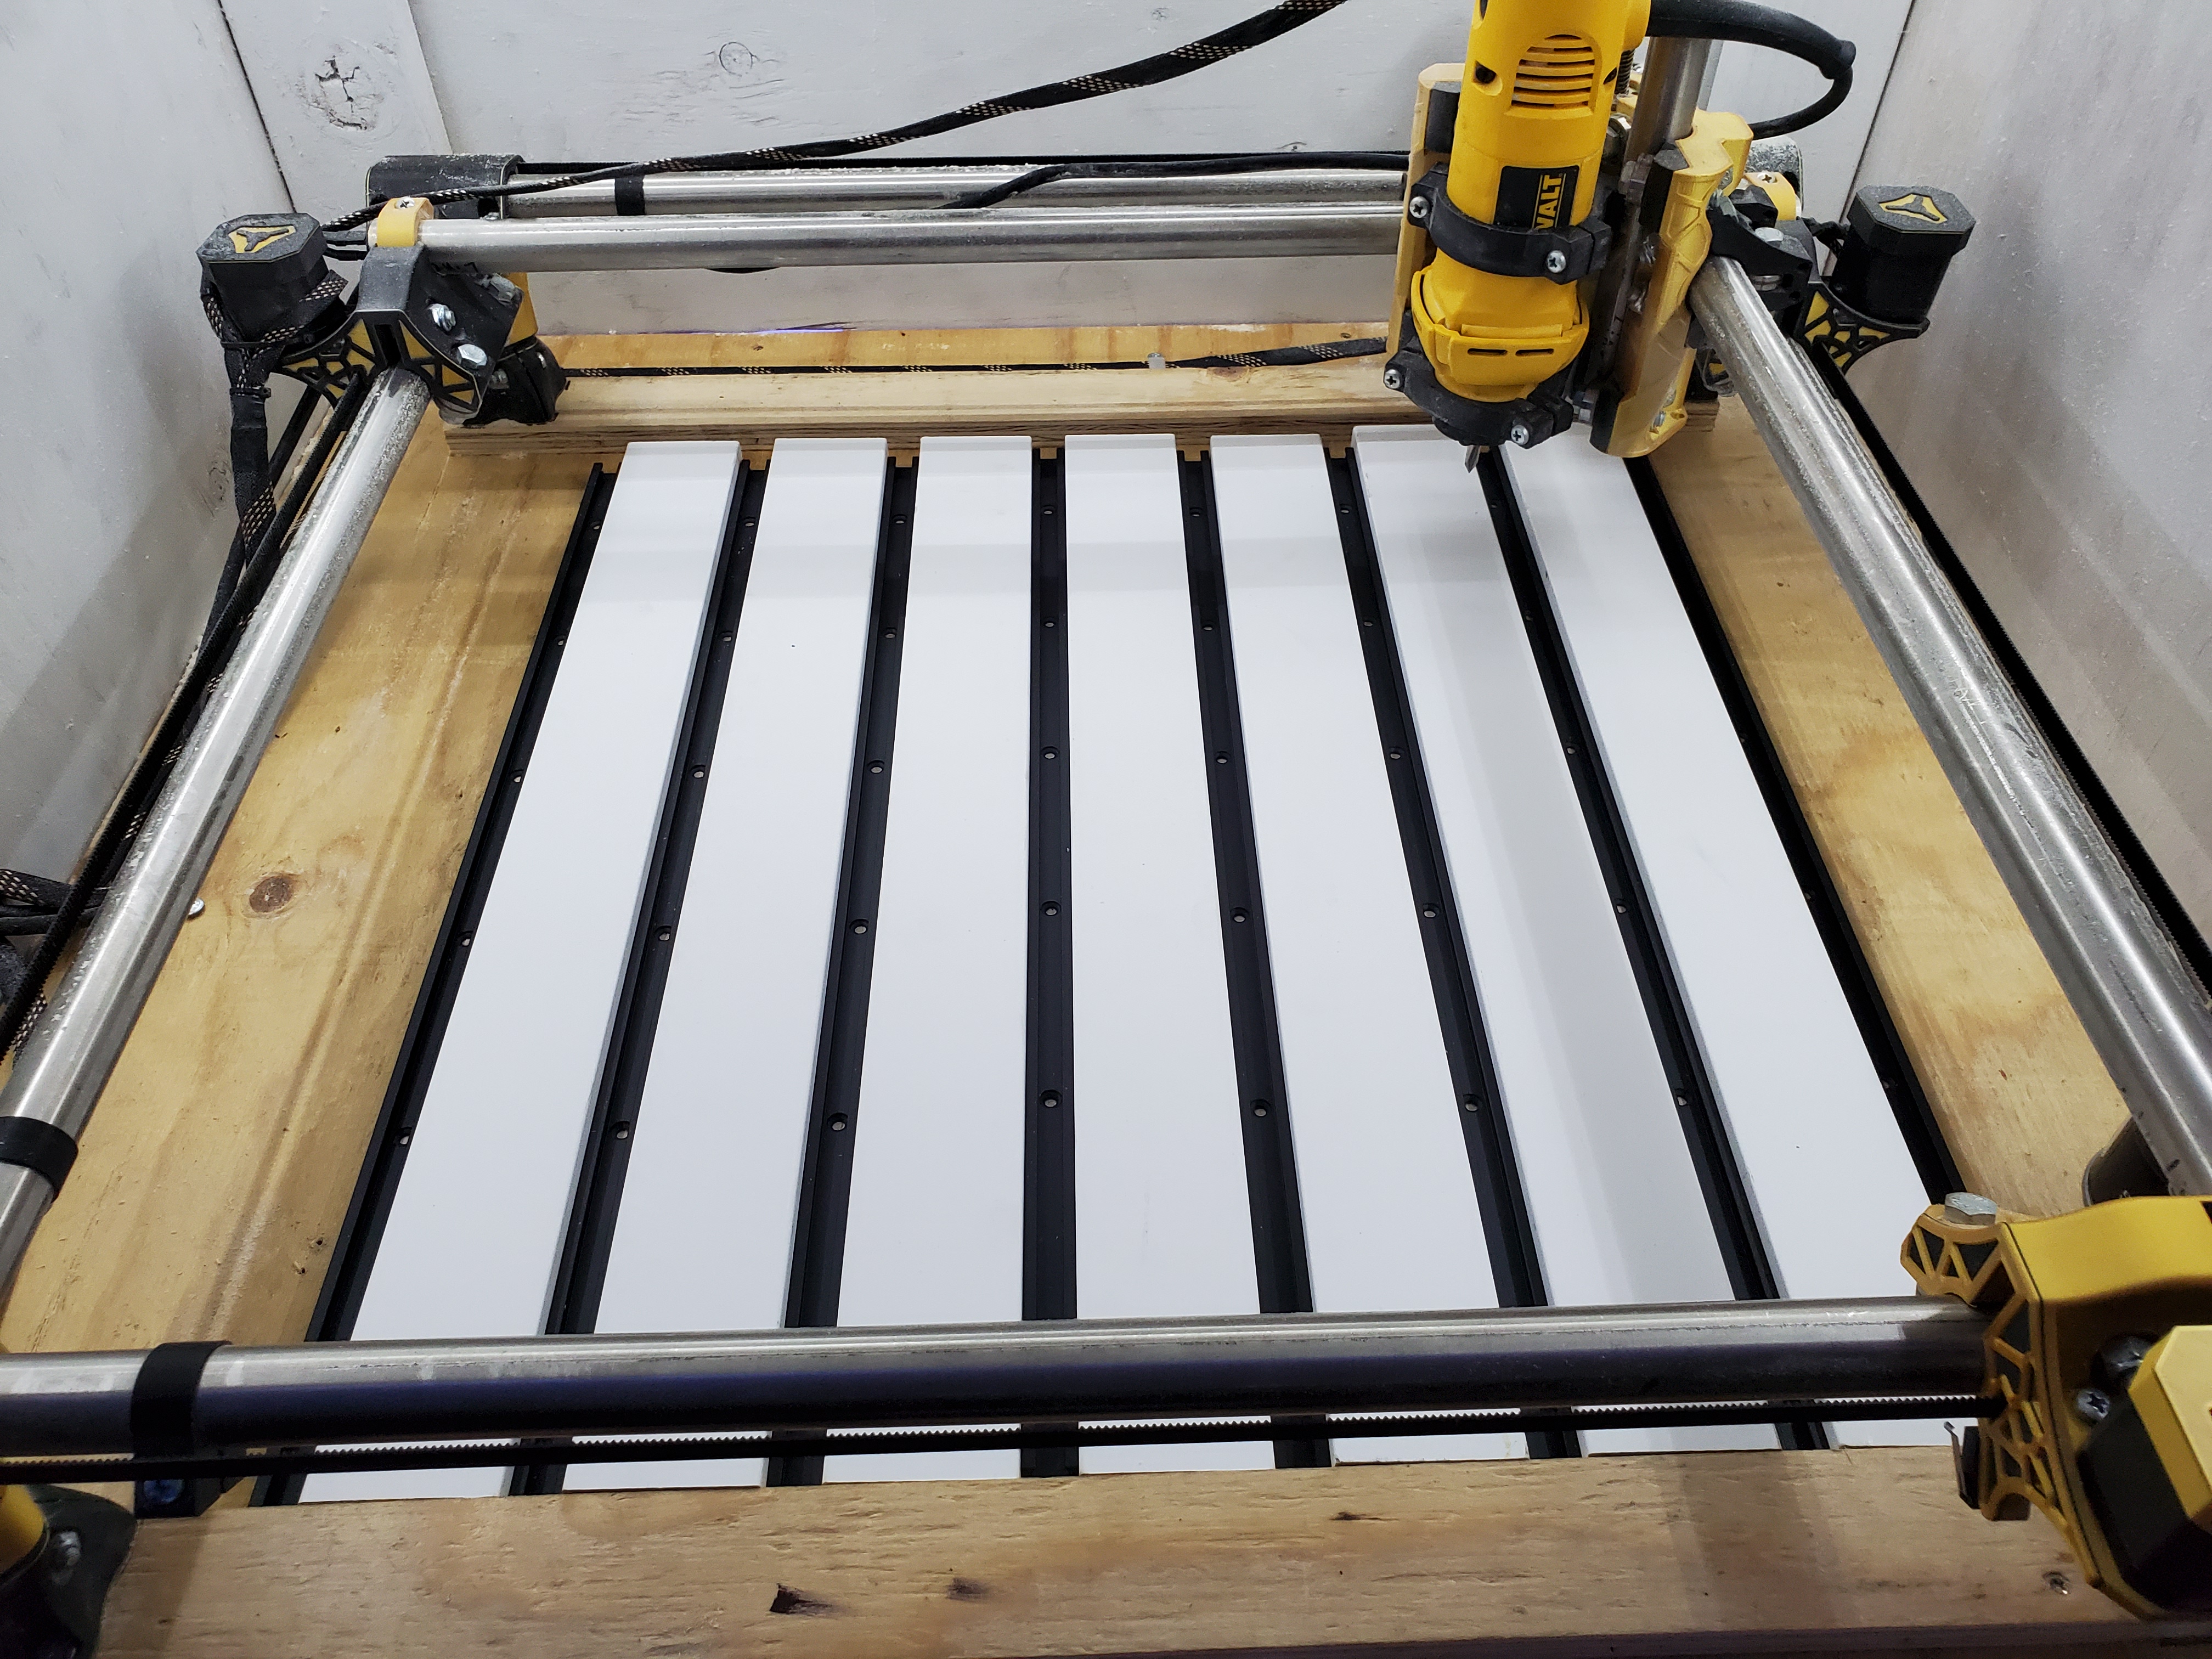
I decided to make it within the work area and have one lip for squaring. I have already mounted the mdf just waiting for a 1/4" collet for the dw660. I apparently missed that when buying the endmill, but now I will have three collet sizes. I will post pics when I finish.
1 Like
So I am struggling to get RH to start cut from z home. Any suggetions?

I tried matching the work area to the object size but the program compensates and make it larger
Not sure what i did differently but i figured it out
I still can’t connect to a computer right now. Unfortunately.
Or is that something i can do in RH?
In RH, under Manual Control you will find a g-code text box with a “Send” after it for typing in g-code. Of course RH only works if it can connect to the Rambo board. If you are running headless, then you can put the G92 command in a .gcode file and execute that file from the display, or you can power cycle the electronics. Note that if you manually (steppers disengaged) position X,Y,Z, the electronics will view that position as (0,0,0) when cutting starts.