Has anyone used estlcam for leveling their spoiler board? I don’t see a way to do it. The carve function demands to use a pointed bit. Which isn’t going to work obviously. All the other function only cut along the line of whatever shape you have. I have a large square representing my spoiler board and those functions won’t clear out all the middle area. Anyone have some advice?
Ok disregard my previous post. I figured it out. It was right in front of me the whole time.
Could you share how you did it? I am the point where I need to level my spoil board also
The way I did it was to make a rectangle the size of the area I wanted planed, using inkscape, then export it as dxf. Load it in estlcam and use the inside cut tool and then in the pop up window choose pocket. Then set your depth you want and how much to take off on each pass. Just don’t do it like I did or it will take all day. I put 1mm total to come off and I removed .25mm each pass and it ended up taking like 5 hours. I could have done it all in one pass but I had never cut anything before so I didn’t know yet how much I could take off. The dw660 is a little beast and can handle more than that. The end result though is a perfectly flat cutting surface.
I have a customizer part on thingiverse to make a block any size you need.
I feel I should put it out there, you should only be shaving off the surface of you cutting area if it is raised above the rest of your machine. When you build it it should be pretty flat already, if you were going to make a small part that needed that kind of accuracy you could do just the are of the part, hope that makes sense.
Now imagine if you had to shave it down (exageration) 5mm. You would be left with a 5mm hole in your cutting area. If you were cutting a larger piece than you cutting area it would need to hang out the side, when you clamp it down it would be worse because of the shaved out area. Dang, Not a good description but I hope it makes sense. All your material will not fit in your level area is the gist.
yah I ended up with a swimming pool 1mm deep in the middle of my spoiler so anything larger than that is going to be a problem. Learning as I go though. Next time I won’t make that mistake. On a side note my machine came out perfect. It’s so accurate I can’t believe it. Really loving your creation and thank you for sharing it.
We are all learning together, everyone has been polite so far and haven’t expected me to know it all.
Glad its been fun for you, thanks for saying that!
I finally have had time today to get my shop organized and unpacked. Hopefully I can start to get it dirty here real soon and join you guys again.
The problem I had with leveling was I didn’t have the spoiler board screwed down good enough. When I made my table I and mounted the machine I was careful to keep it all level then when I put the spoiler board on I was finding when cutting stuff it wasn’t level. I only put screws in the spolier board around the edge outside the cut area for fear of hitting the screws so it was humped up. I put some more down the middle and that got it level. I sunk the screws below the surface so hopefully they don’t get hit.
1 Like
I’m looking at leveling the spoilboard but will probably wait as I built the table on a relatively un even floorboards. Best I work from the ground up
My main problem is getting the surfacing bit to plunge down on an angle (using ESTLCAM)
It simply drops 2mm straight down and burns a hole into my test material
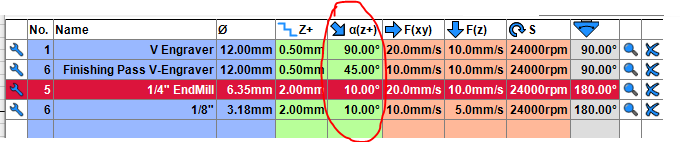
This parameter in tool table
1 Like