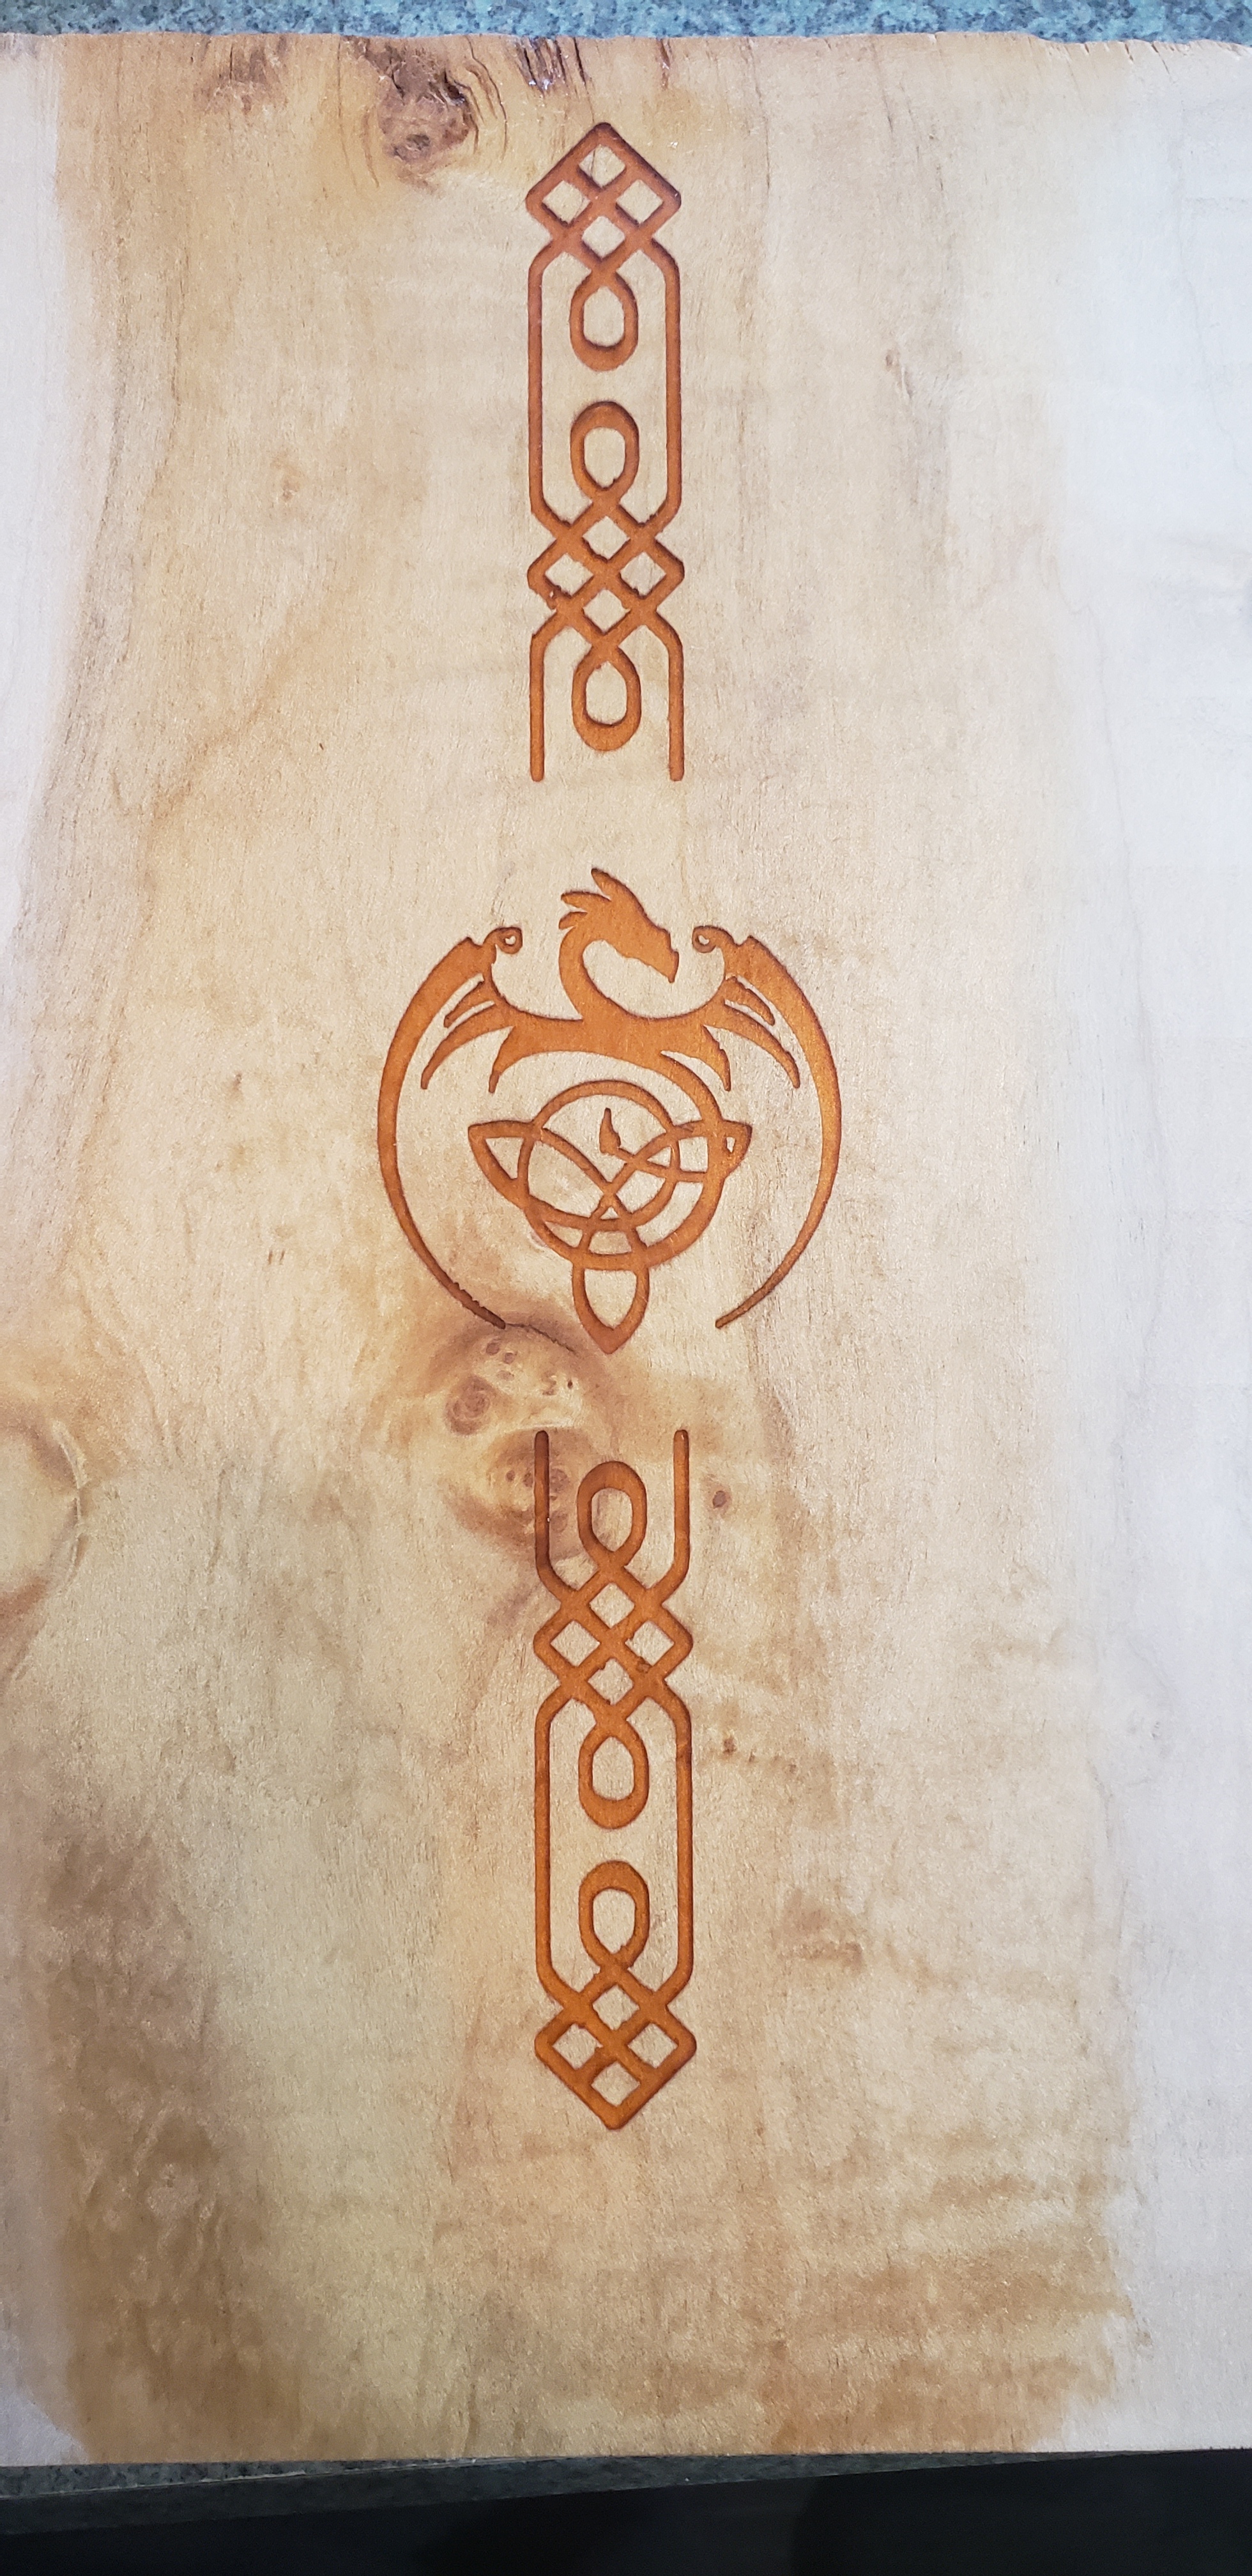
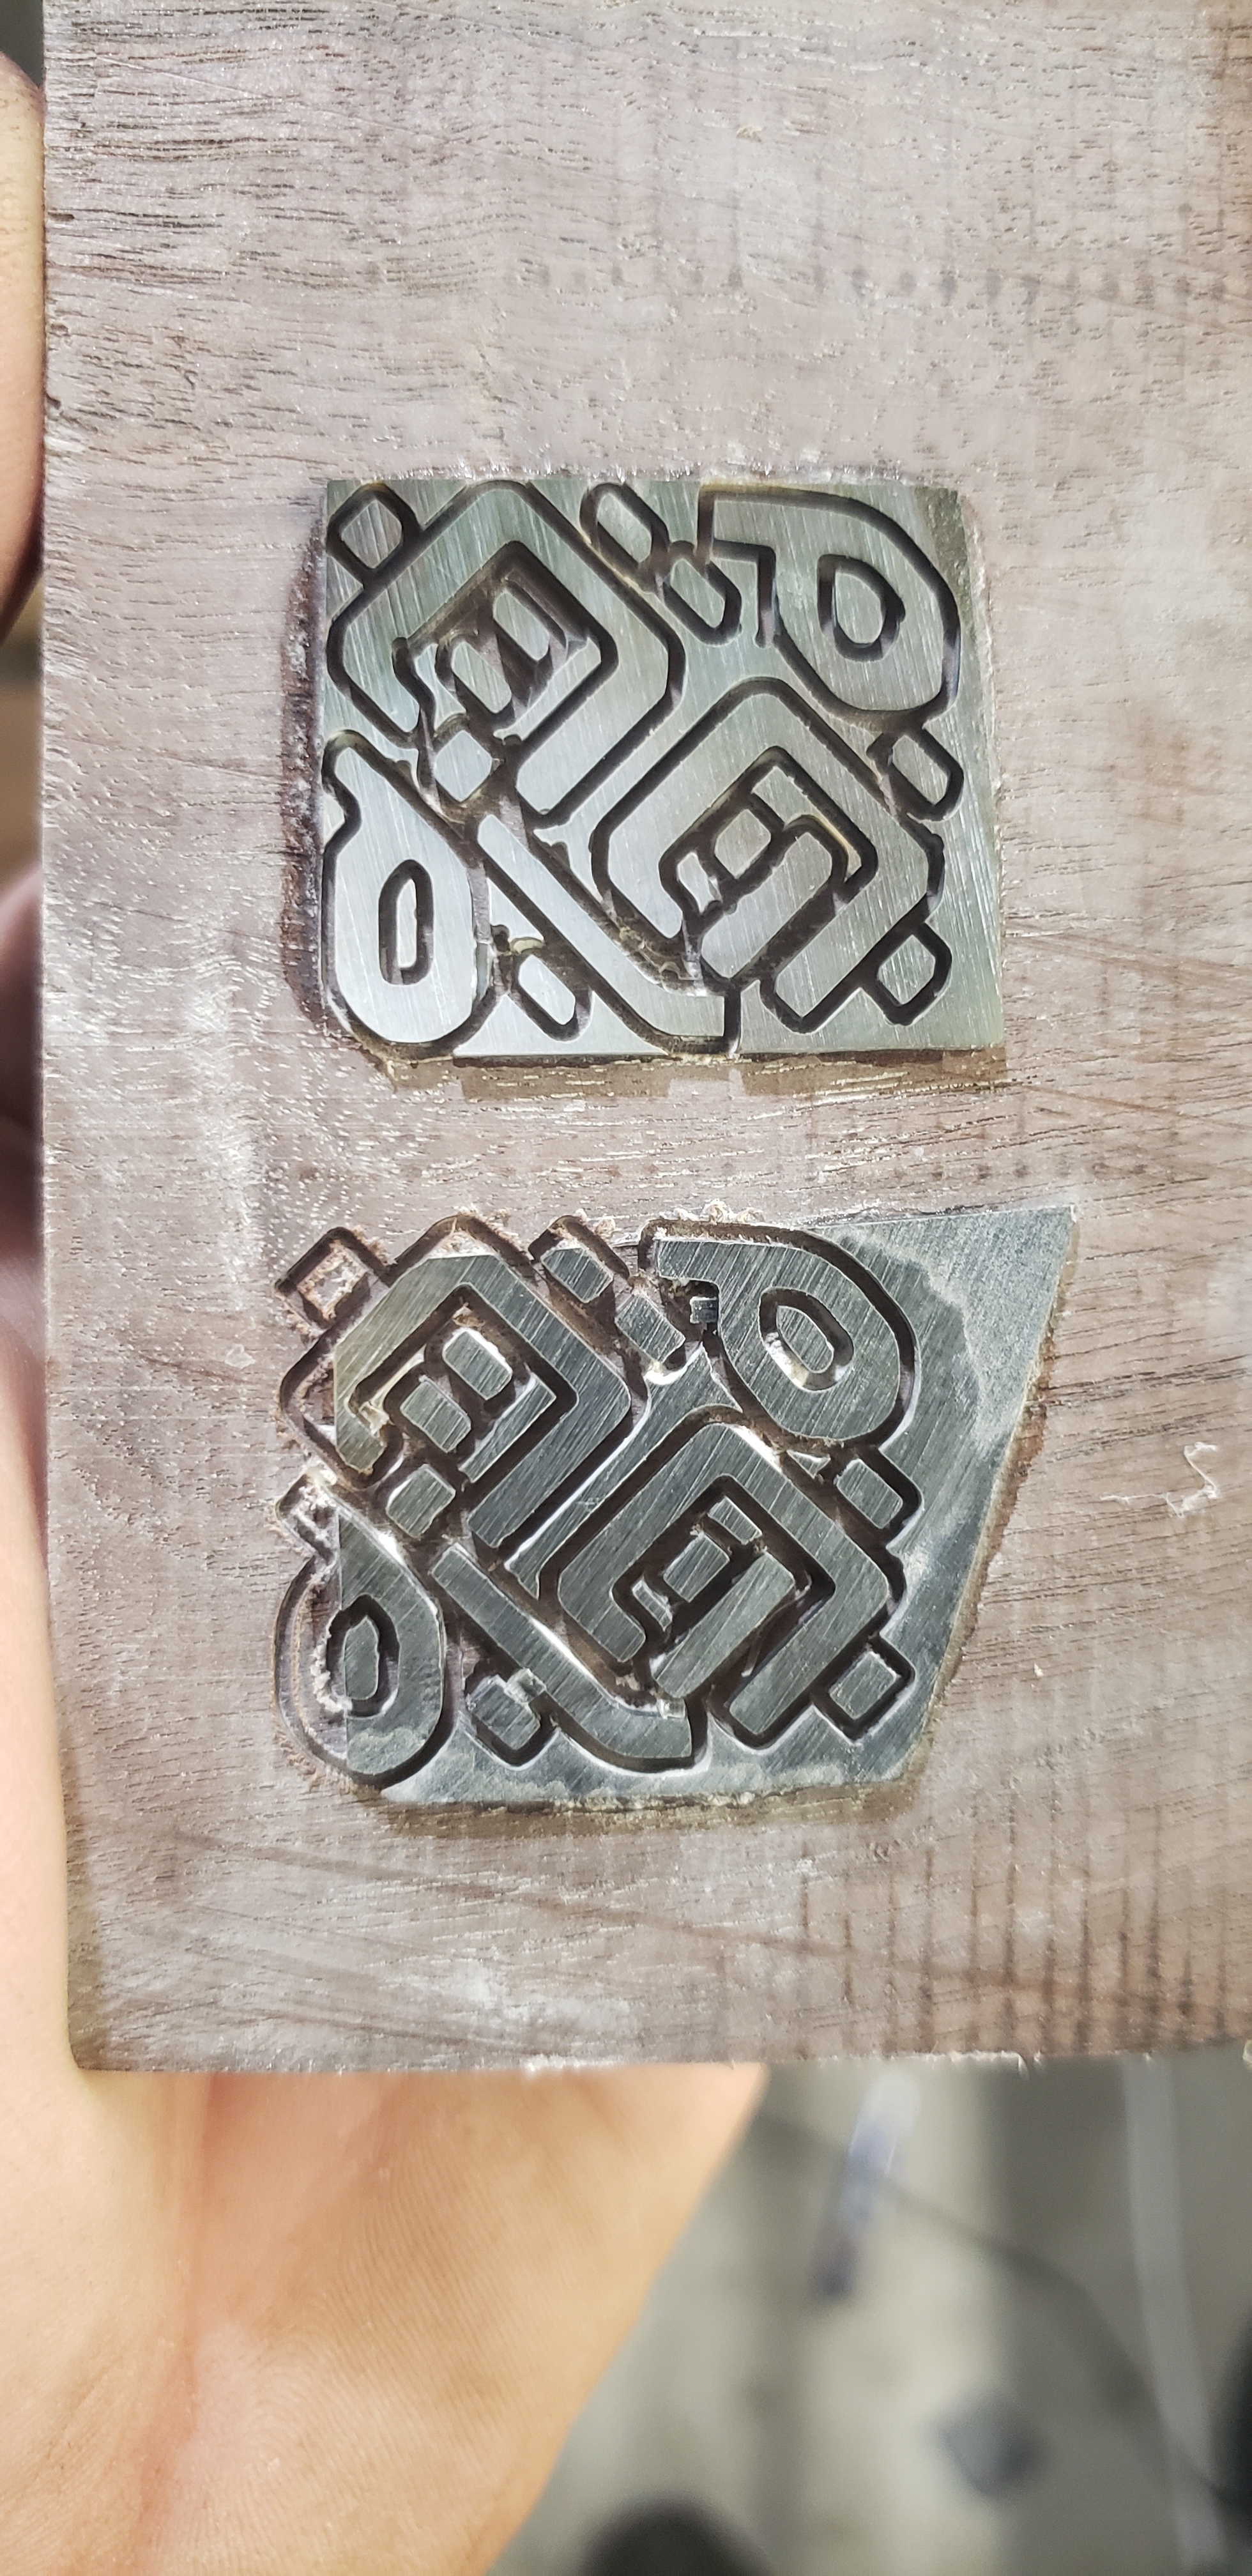
Theres a huge size difference in my positive and negative for these. At first I thought it was deflection but no matter how many times I rerun the gcode it’s the same size. Also round things aren’t round, again I’m thinking due to deflection and climb machining.
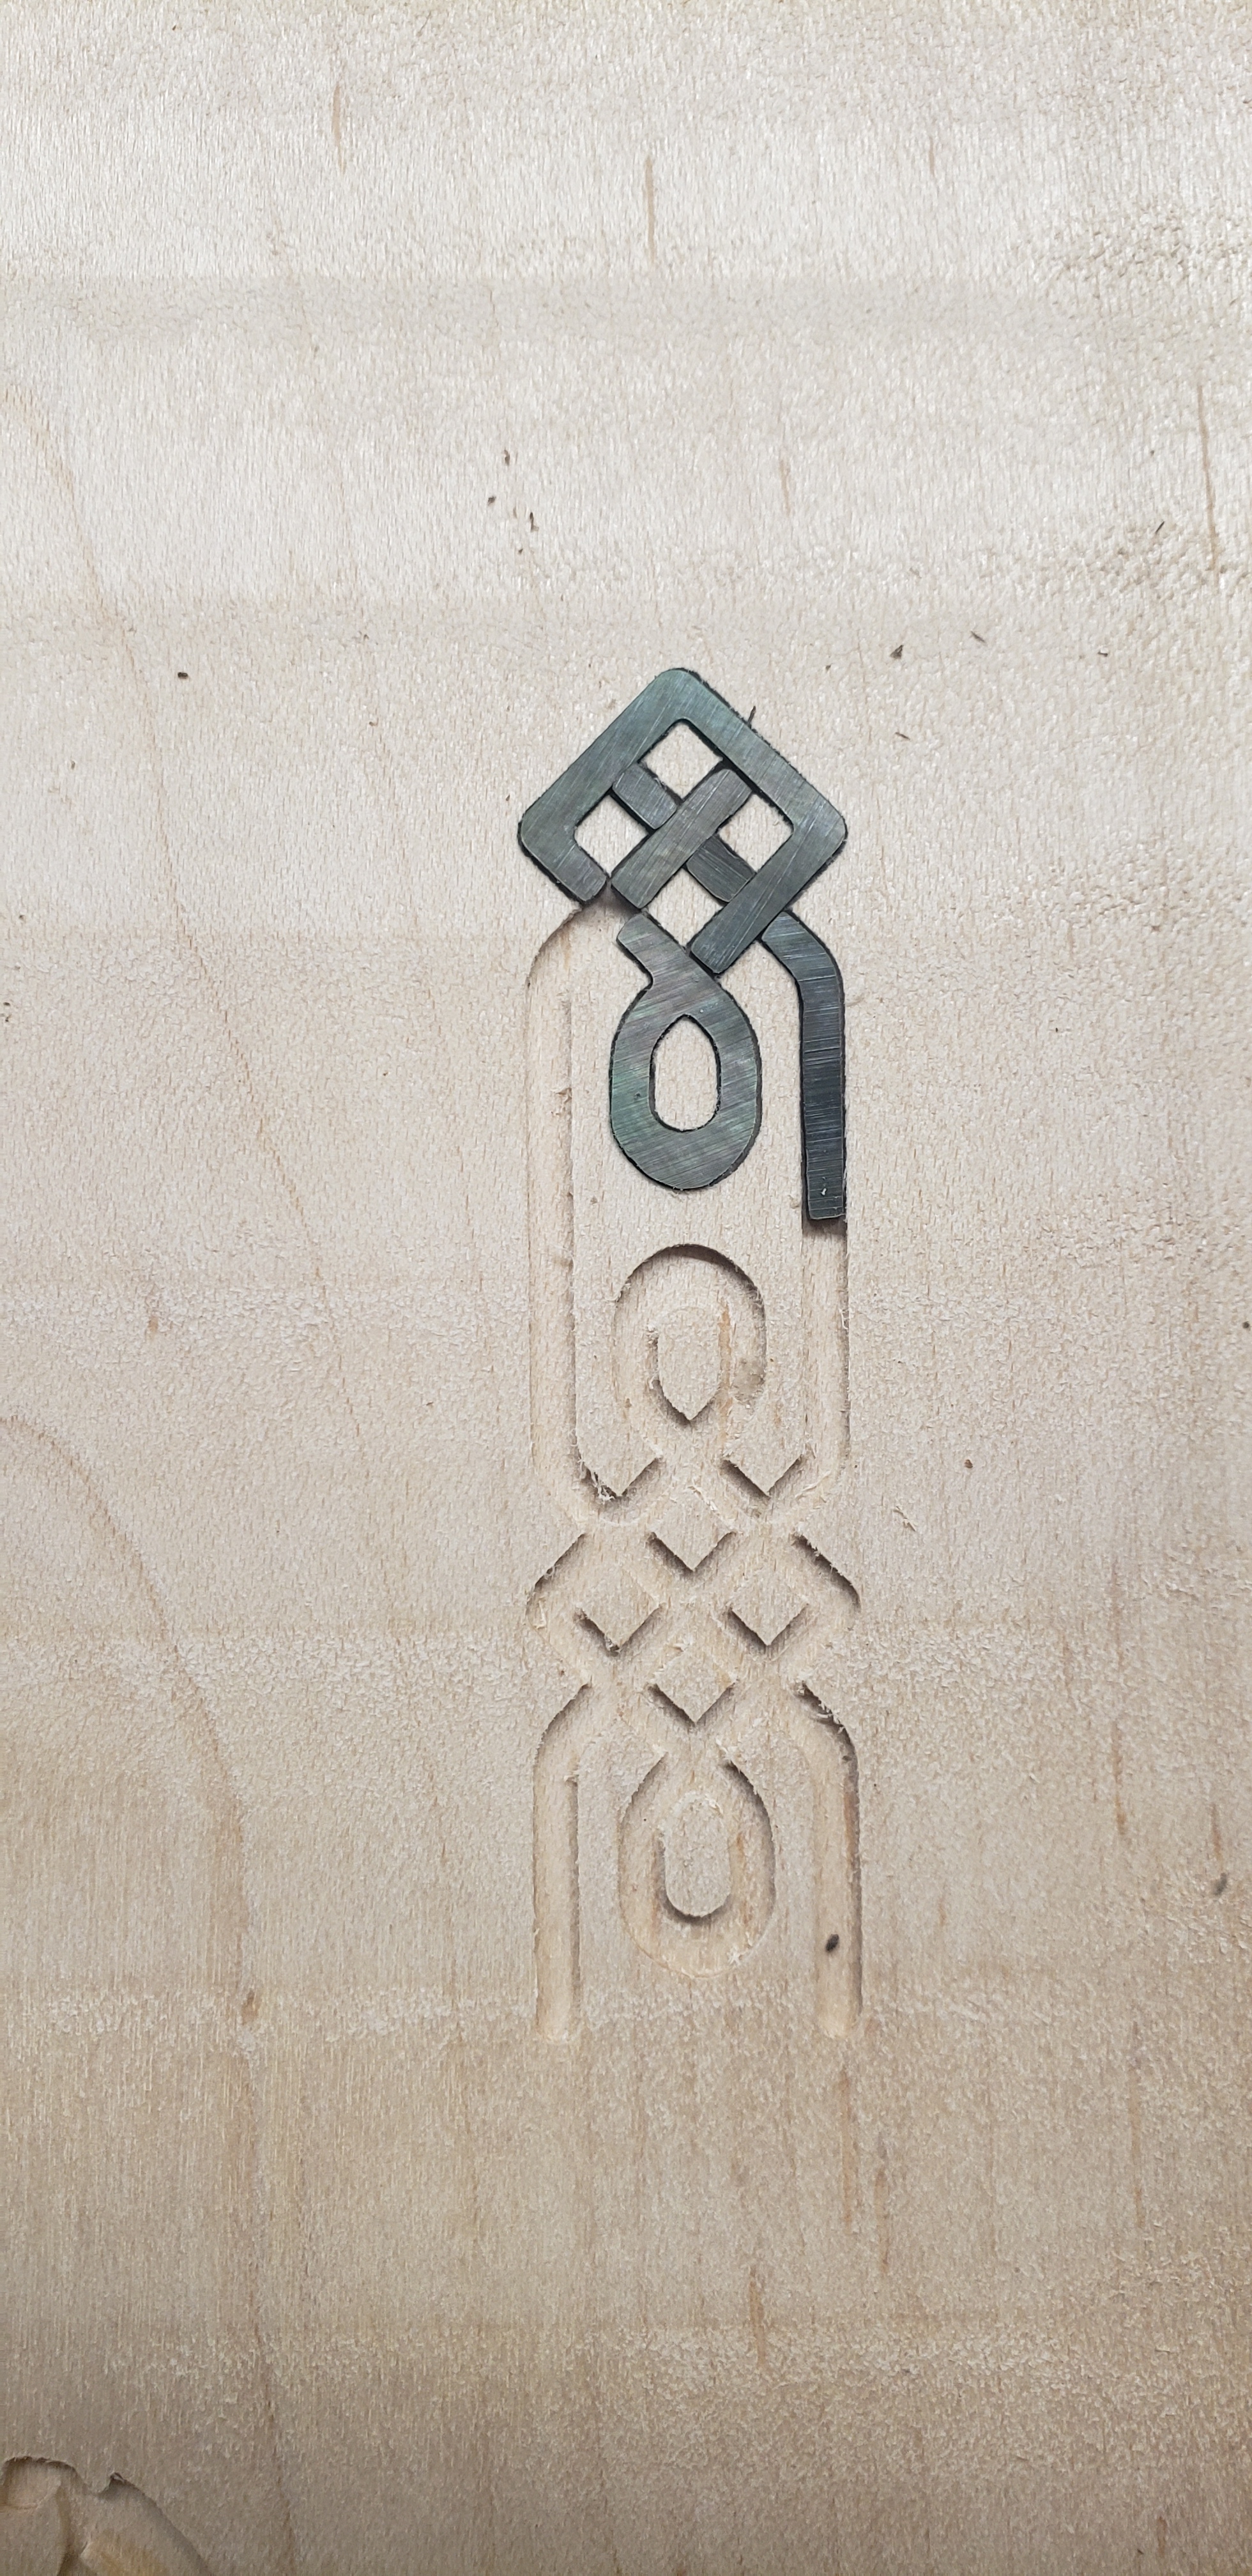
Worst case I guess I’ll just follow them with epoxy as this test turned out rather nice.
Maybe the picture is deceiving, but I think I spot a few places where the cut is “jittery”. I had similar issues on my first cuts and discovered that one of the timing belt wheels was a little loose. So it always had a little gap it could use when switching directions. I noticed that especially when using ESTLCAM and trying to cut a simple circle. As ESTLCAM is reversing directions around the circle on each deeper cut, they came out as two slightly different ovals on each deeper cut.
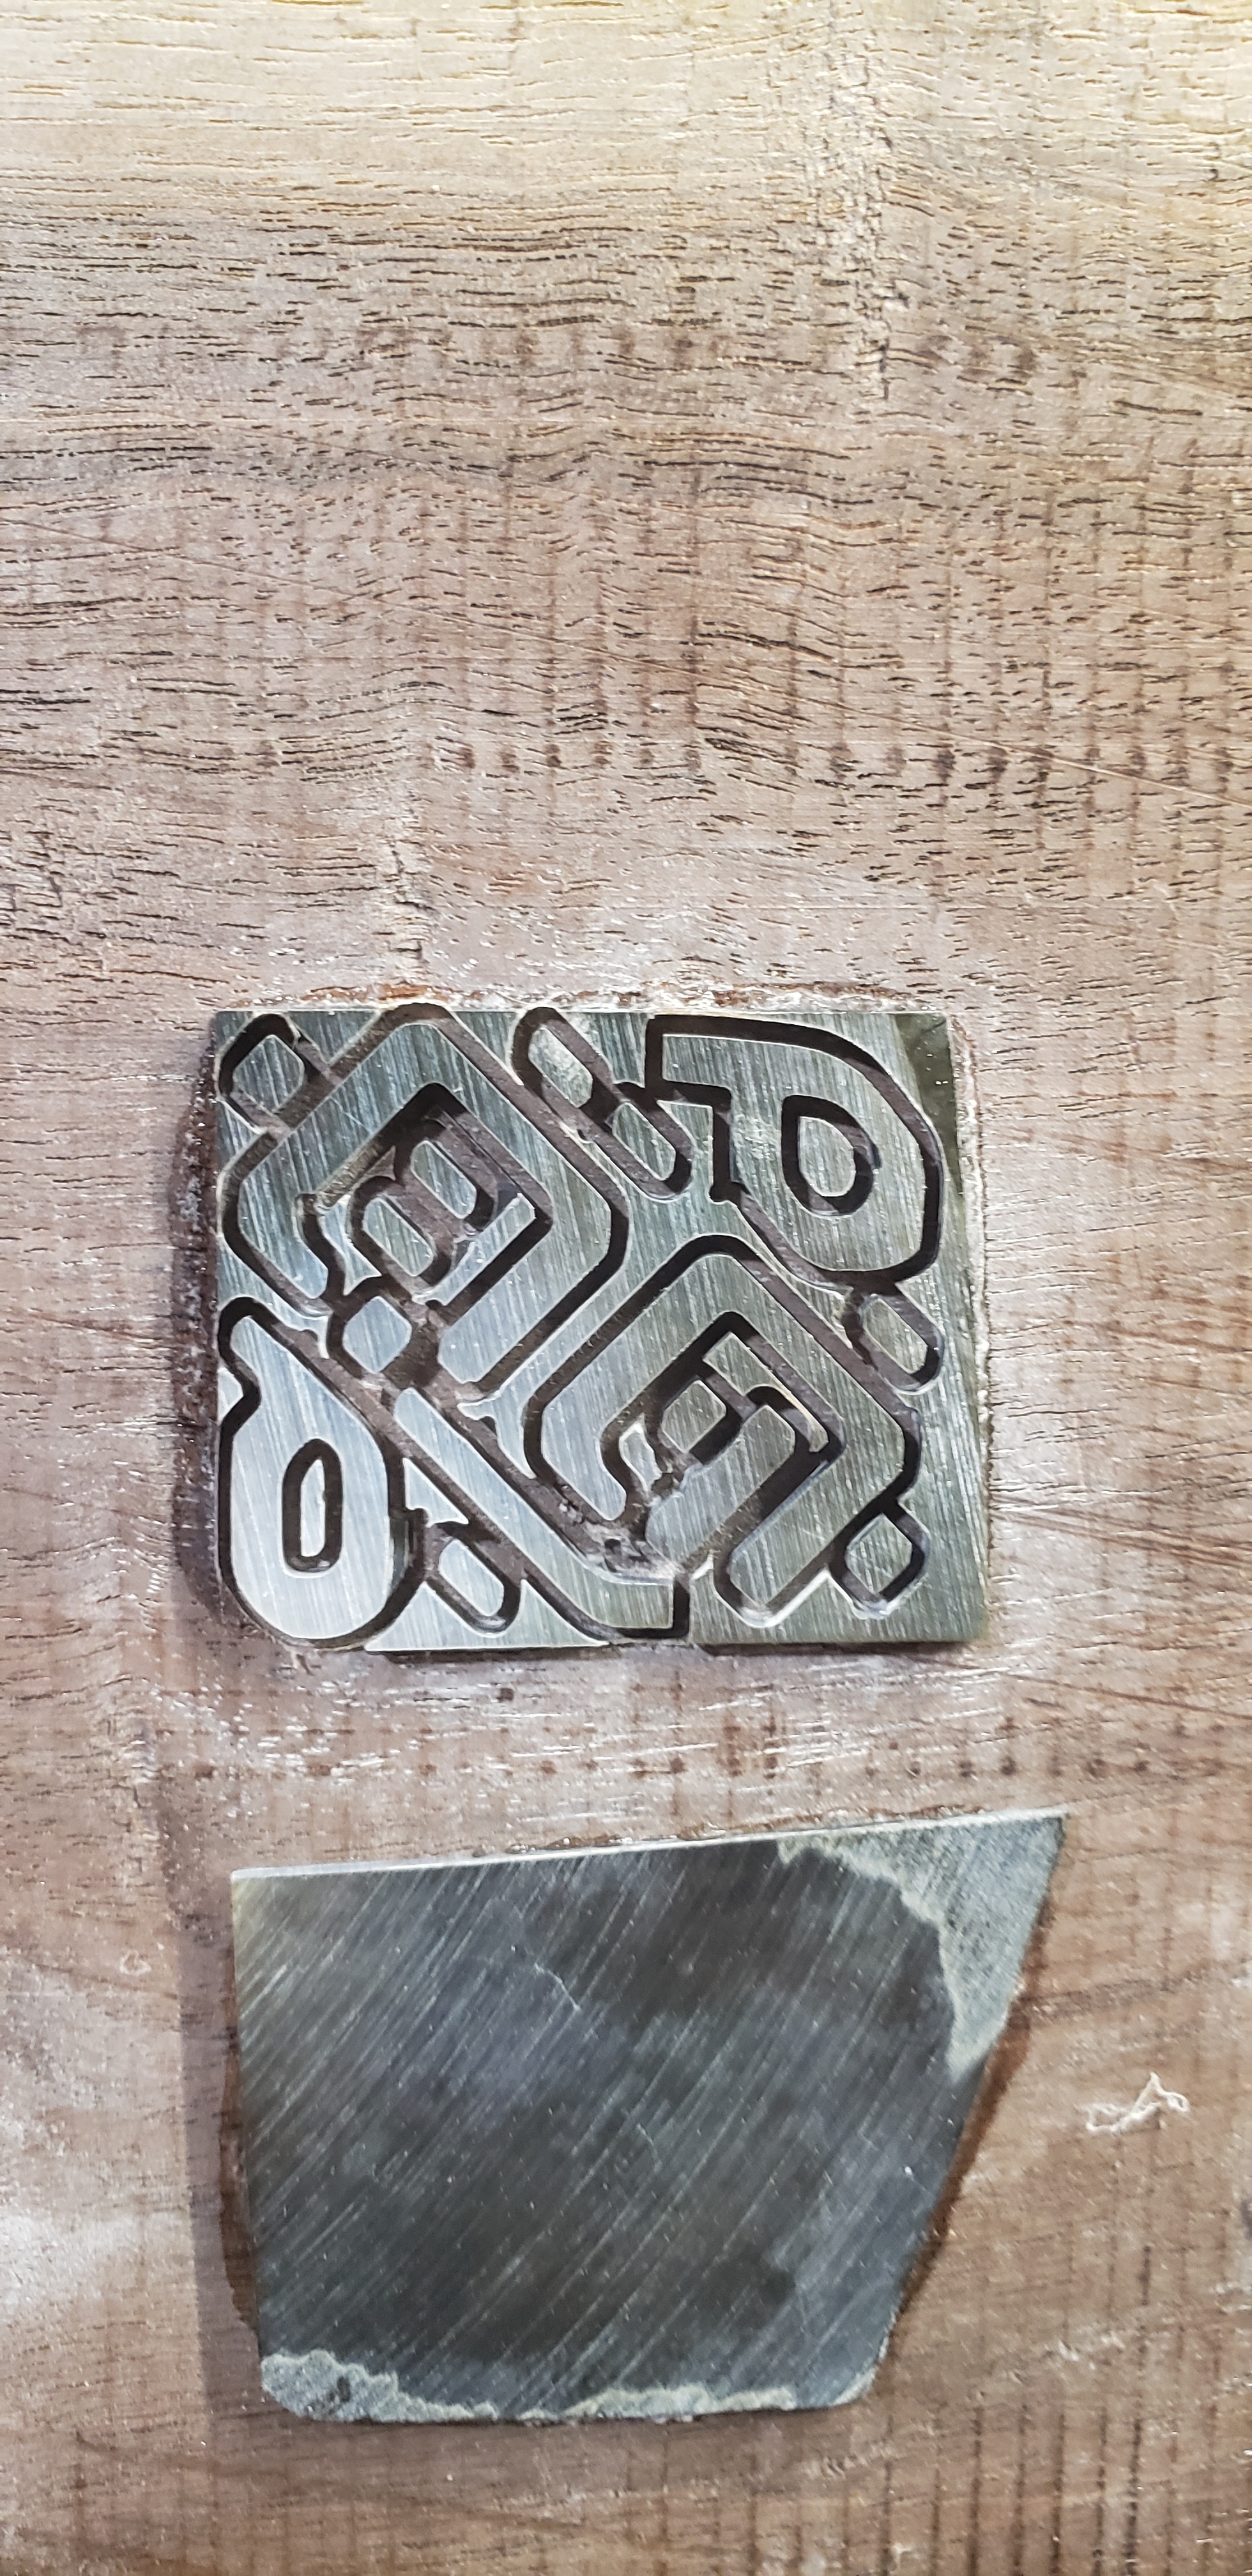
I did so far one successful inlay - my first and only - and it was pretty easy with a 60 degree V-bit instead of a straight cut for the male and female version of the inlay. With the V-bit, the two pieces fit very well. I followed this tutorial: https://www.youtube.com/watch?v=l4VMo9DCzO8
It draws a circle with the pen just fine, within 1mm all the way up to a 15" diameter.
I noticed ovals when cutting. Its oval’d one way when climb machining, and the other when conventional.
Here you can clearly see my issue. All the shapes in this should be the same width on each segment. The ones that look like 6s, are identical drawings in cad.
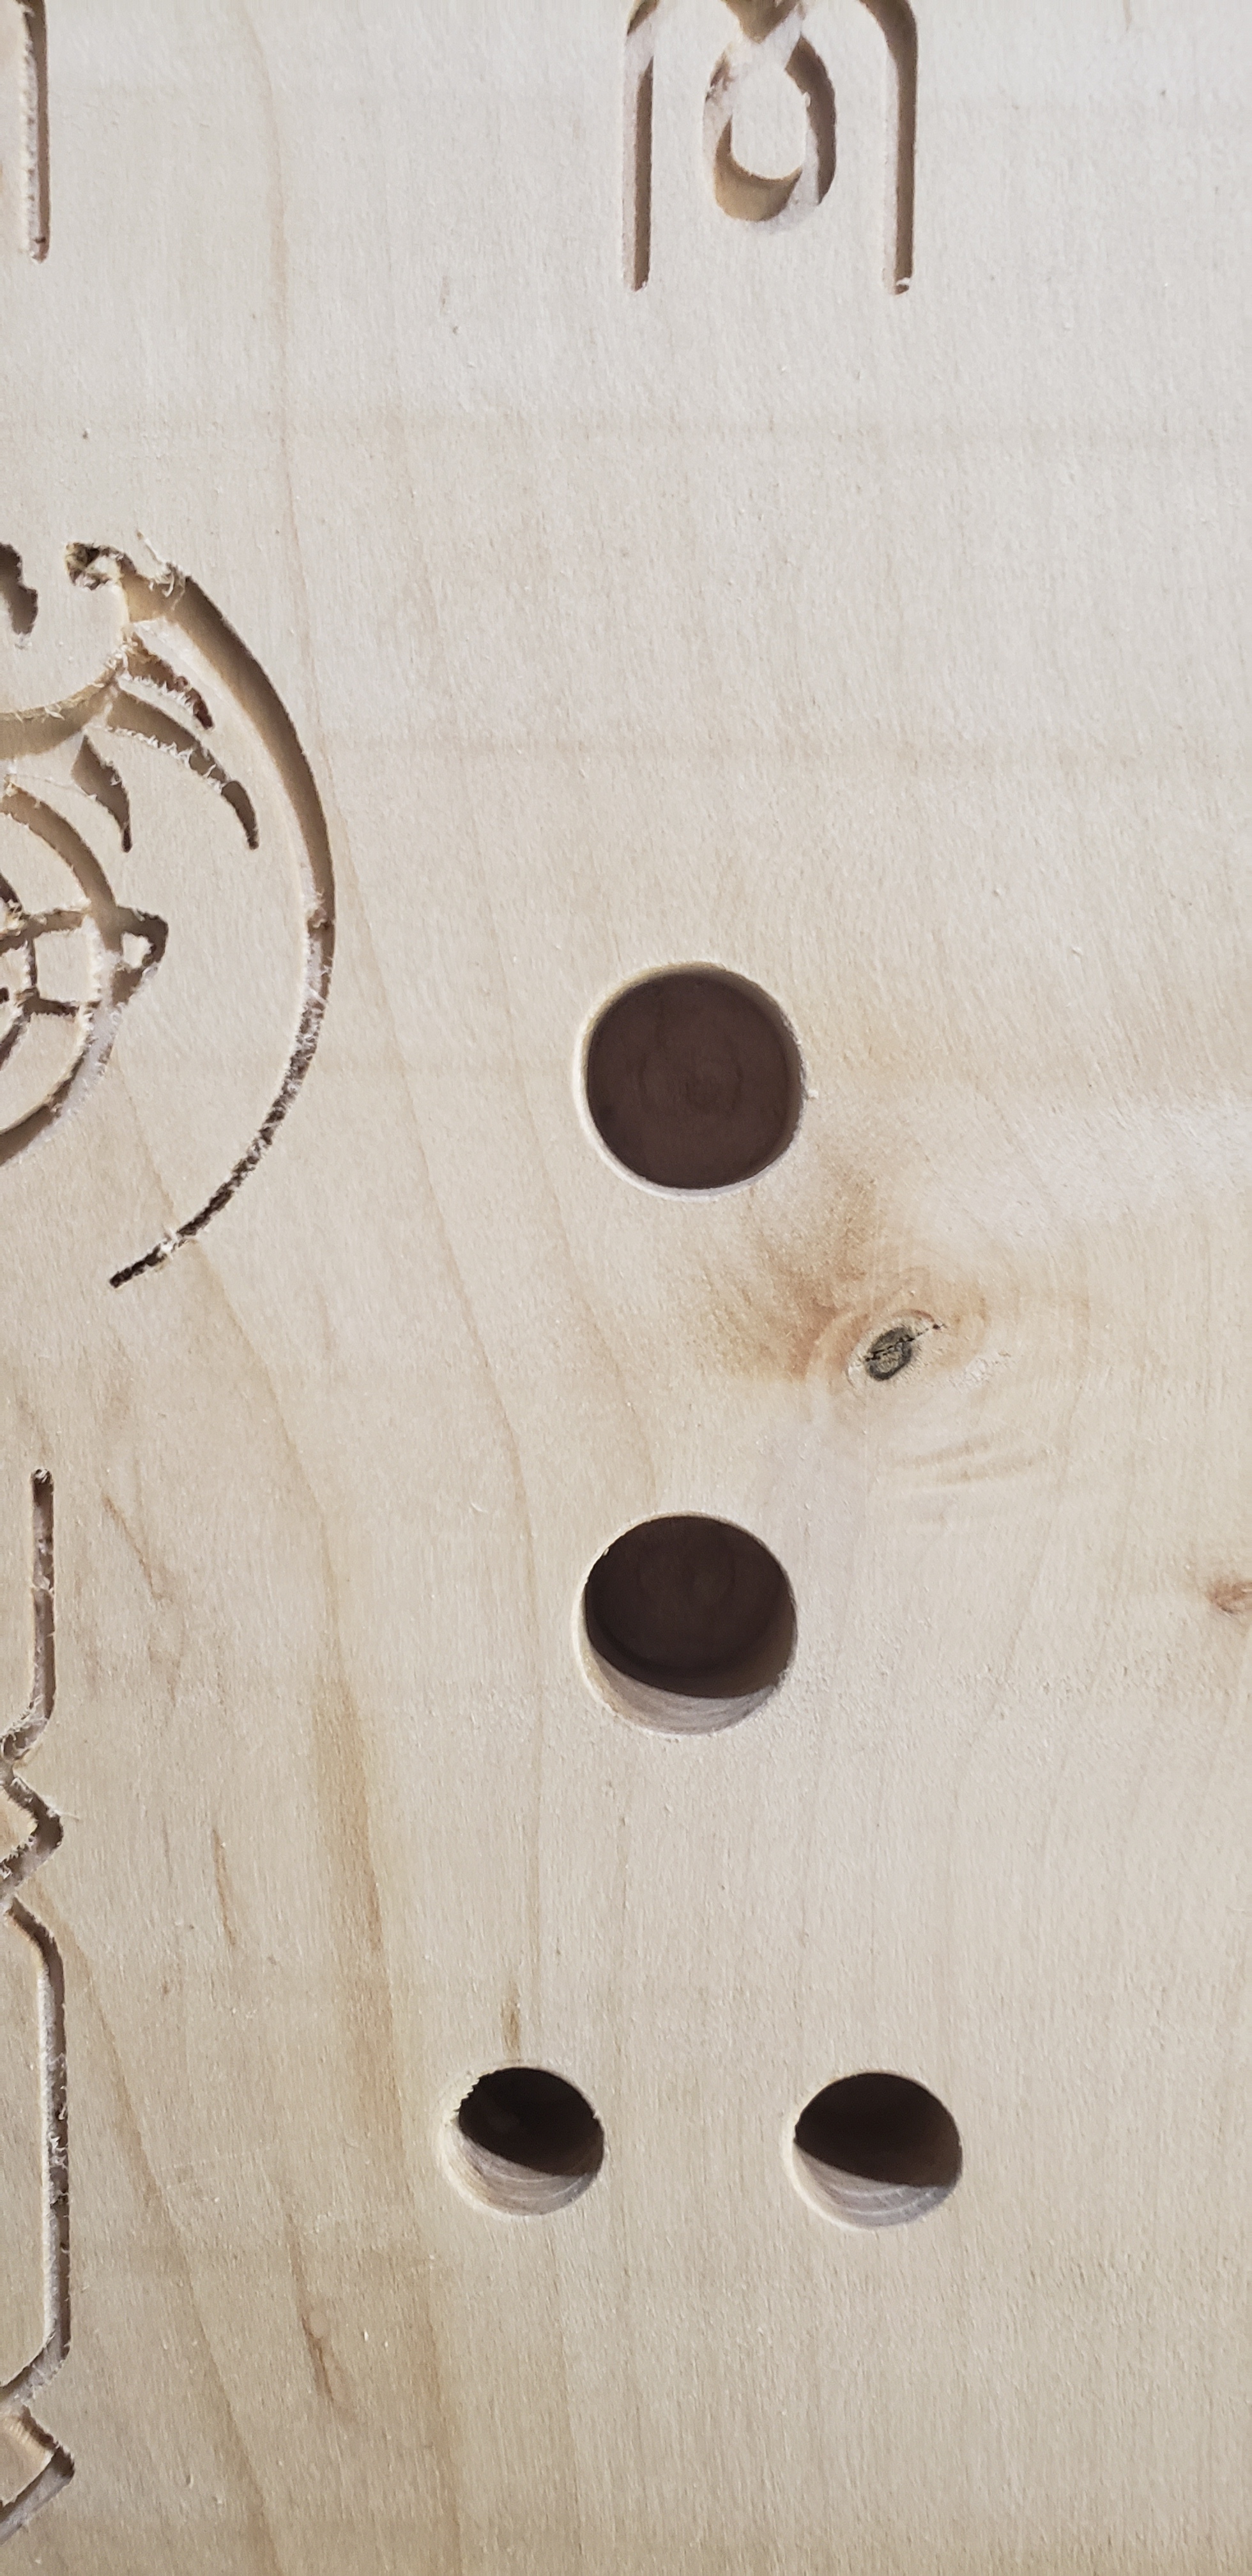
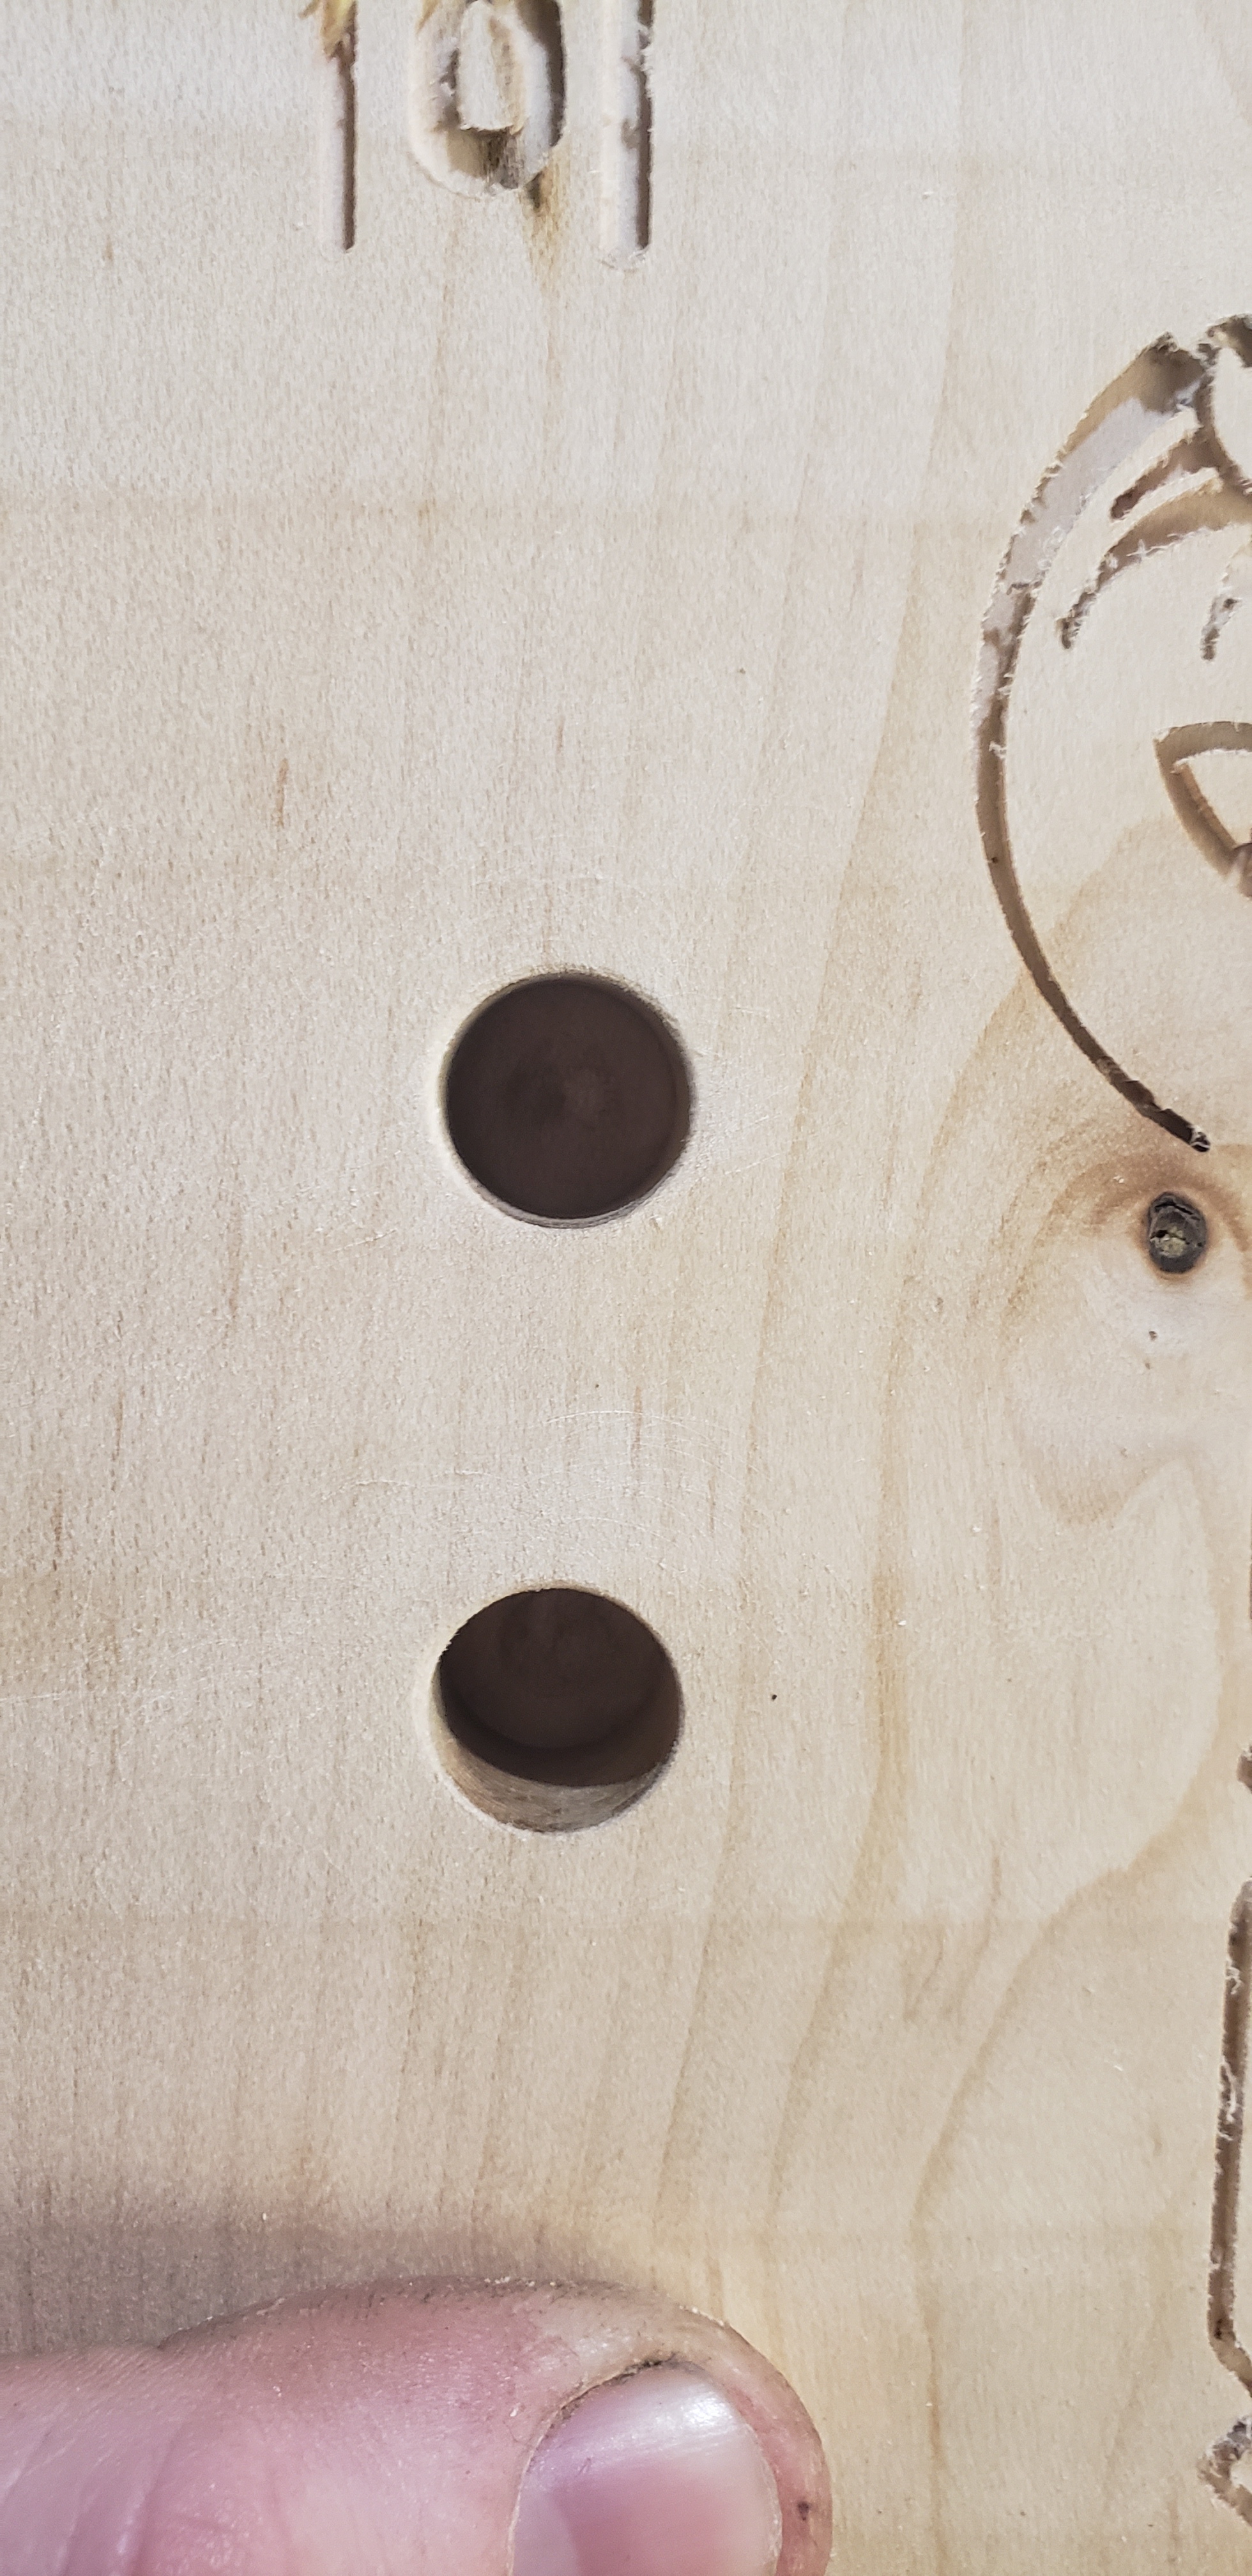
Well here’s a before and after of some holes. You can see how out of round those are. They were worse before tightening the belts. So tighter belts got me close.
2and pic shows after tightening the screws holding the motors to the carriage, and the motor housing to the carriage.
If you use a finishing pass, that should really help with all these issues. Correct speeds, getting oval usually means slow down or take a larger finishing pass.
It take s a bit of everything to get something as exacting as an inlay, so do not get discouraged this is as difficult a task you can do in wood. Any error is multiplied. So proper tension, sharp bit, proper feeds for roughing and finishing, and a full depth finishing pass of the right amount.