So … a few weeks later I received yet another SKR Pro board…
.
.
.
and…
.
.
.
.
.
.
.
.
.
.
.
… wait for it …
.
.
.
.
.
.
.
.
.
Problem solved! I homed it 20-30 times without issues with the machine cold and warm and with increased and decreased motor power etc… no issues at all ! (so far). Will do more testing tomorrow.
Regarding motors getting hot at 900ma… mine were completely cold. I think I noticed a few skipped steps during some cuts, so I increased the current using small increments and left it at 1200ma. Anything higher than that makes the stepper heatsinks hottish while the motors are only slightly warm.
Next tasks: make the table more rigid, connect the vacuum and finally do the first foam cuts! I am slighly worried that the super light foam chips might clog the vacuum quickly, but we will see.
It still seems to depend on the temperature, worked fine yesterday when I tested the board in a box without the lid. Today I put the lid on, after some 10 minutes everything went back to weird mode.
I will be replacing the endstop cables and go through the list of suggestions from @SupraGuy . One thing I noticed about the endstop cables is… not sure how to say it in English… basically the cables are thick, but there are many wires inside that are super thin and when I solder them they have a tendency to burn and get damaged. I think the contacts might be weak.
TMC drivers will reduce their current if they get too warm. You may be setting the max current to 900 or 1200mA, and it is dropping it to the point the motors are cool to the touch.
The fact that it works without a lid is a good sign that the drivers need some cooling. Instead of a lid, install a fan.
The serial log can give you a hint about this. IIRC, there is a print anytime the current setting changes due to heat. M122 also has a lot of info, including OT prewarn (which is over temp pre warning).
In the end this seems like a very simple solution which doesn’t need any cable rewiring etc. So far homing seems to work, will see how it goes in the next few days after I do some cuts.
Overall the 2nd board worked better than the first one. I did have homing issues but not nearly as often as before. Also, the first board usually failed at homing Z axis, and the 2nd board usually failed at X… Hopefully this solution takes care of both problems.
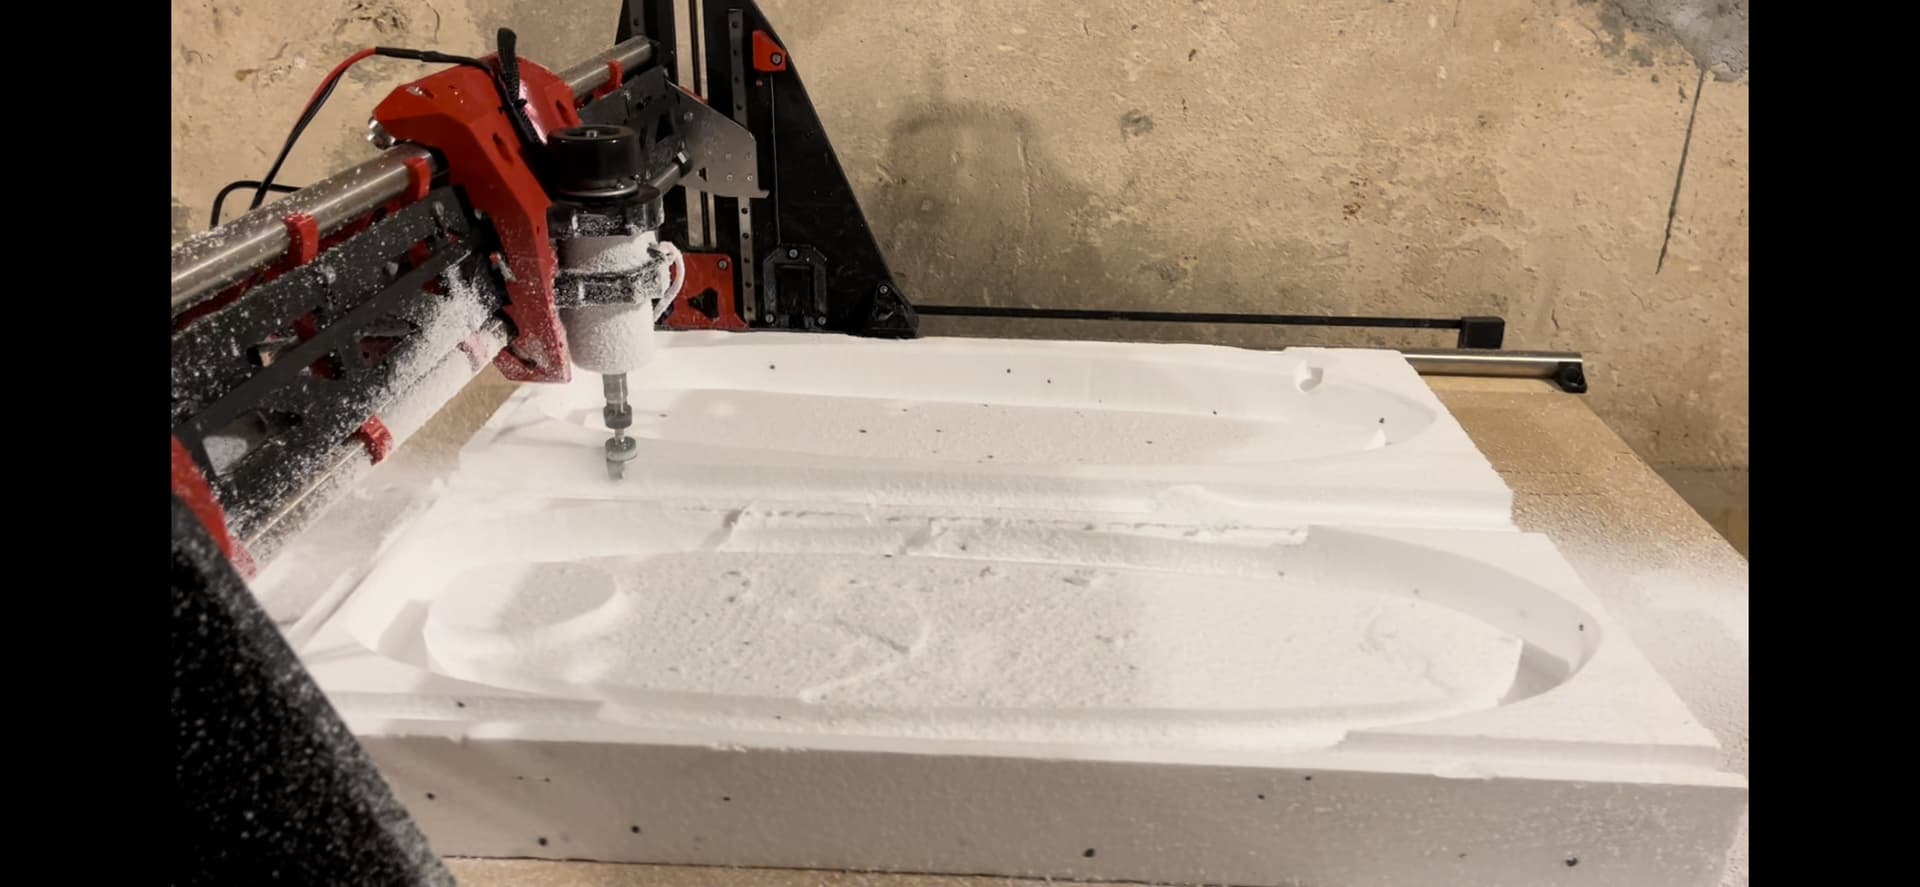
Today I tried to cut foam for the first time. The machine is going through the foam as if it doesn’t exist! Well, almost I will want to increase speed and also increase stepdown to make things faster.
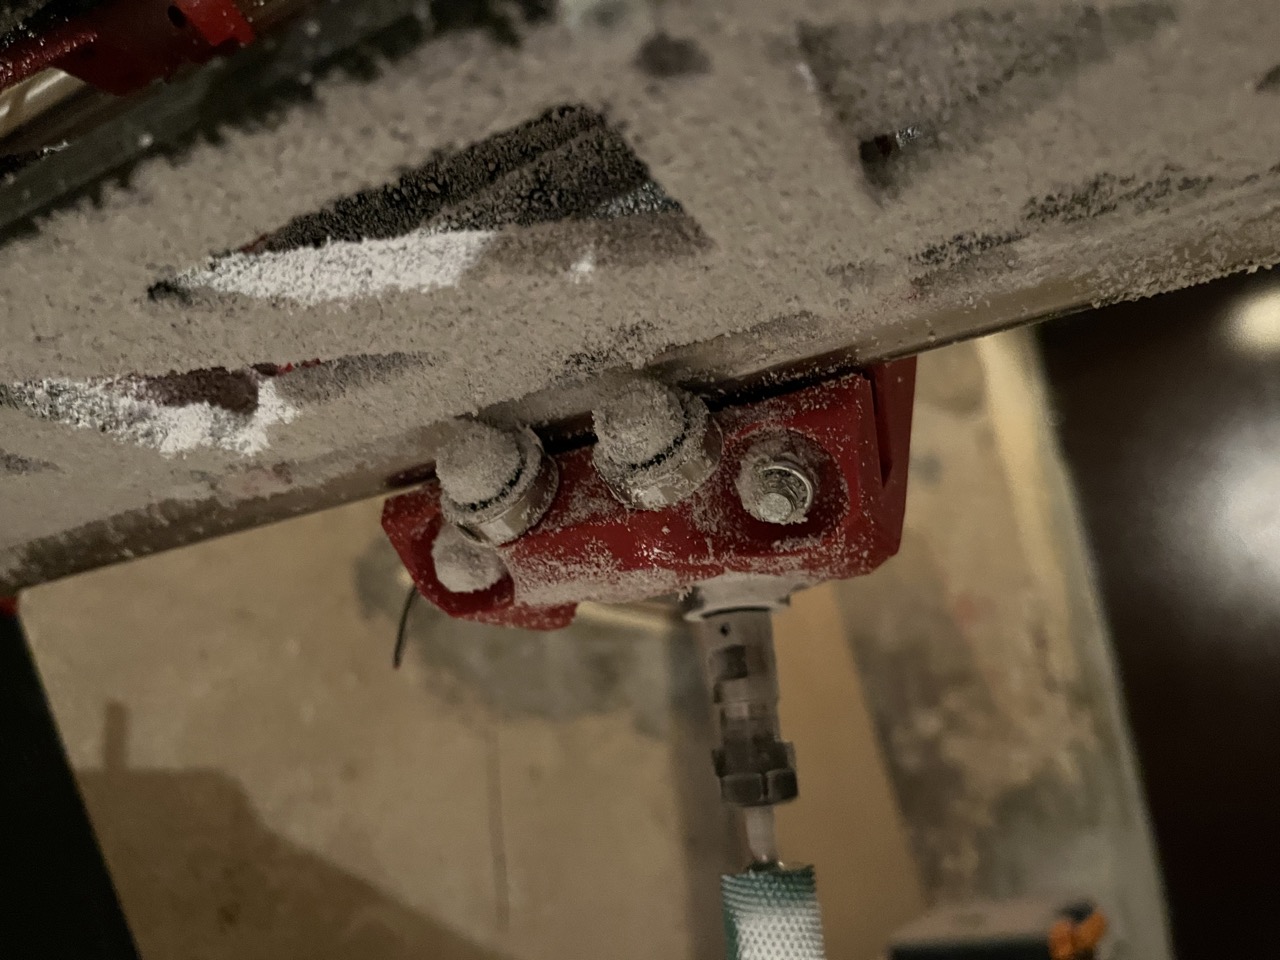
Since the foam is going to be everywhere anyway, I thought I would get away without using the vacuum system and then just clean up after finishing the job, but unfortunately it doesn’t seem to work that way. The foam dust sticks to the X beam tubes so much that it restricts the bearings from moving freely. I will try loosening the adjustment nuts a bit, but I have a feeling I will have to use the vacuum anyway.
I think I might have had them just a bit too tight. Loosening half a turn seems to have fixed the X jamming problem and the LR core still seems to be sitting very stiff on the beam.
No matter if I use vacuum or not, the bearings get covered in foam dust in 2 seconds when milling large amounts of foam at higher speed. My last setting was 20mm stepdown @ 8m/min. Eventually I will buy a larger milling bit so there will be even more dust than there is now
Do you need to have the cutter hang down so far? If you do you need to make the dust shoe longer with bristles or soft plastic. Vacuum only works in close proximity to cutting.
Yes that is a burr! All of the industrial cnc’s I’ve seen use these for cutting surfboards. It cuts the foam super easy and smooth.
I’ve tried a traditional endmill as well. It produced bigger chips but the chips were flying further away from the machine so in the end I liked the burr better, as the dust settles more around the area of cutting instead of flying everywhere.
I need to cut 10 cm deep around the edges. So I either need the endmill to hang down 10 cm below the core or I need to cut all the foam around the edges to prevent the gantry from hitting the stock.
When the endmill is so far down, the dust collection is much less effective.
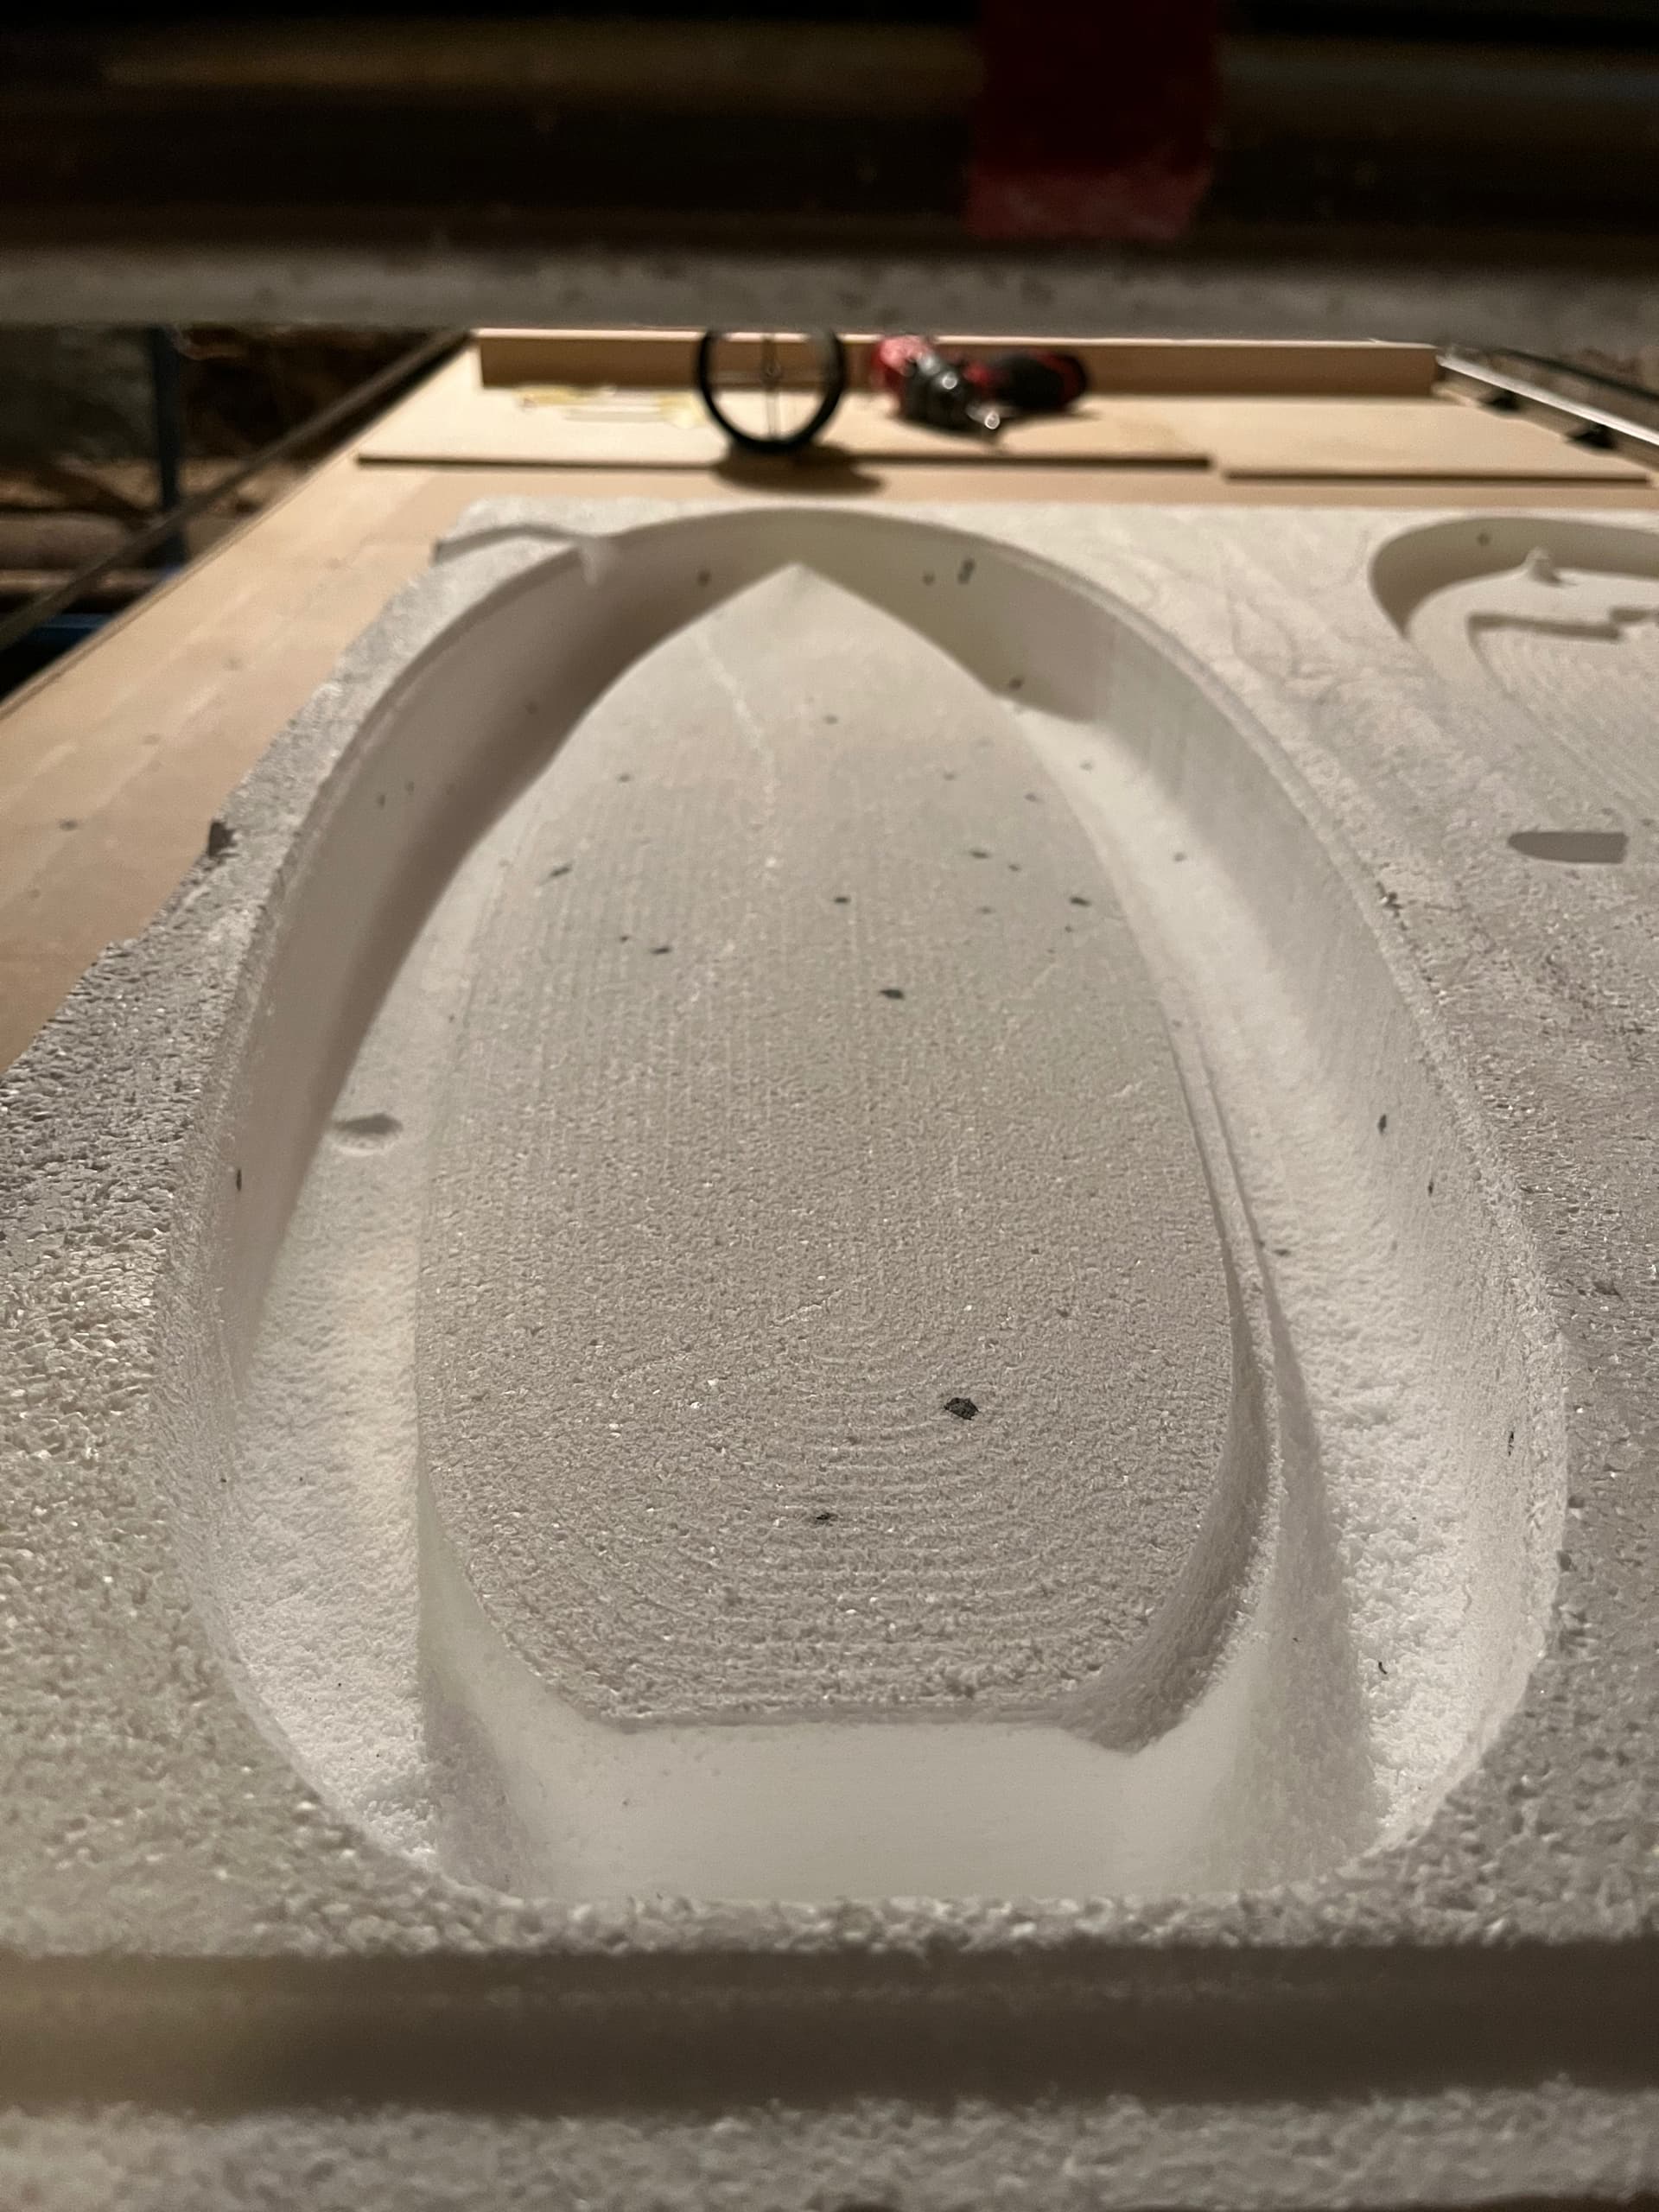
Below is a scaled down version of a board. I expect to mill full size next week.
Hold-over from a mis-spent youth, before “coffee house and pastry clerk” turned into “barista”, and the green goddess escaped from Seattle… I could probably still use one of those big, copper and brass Italian monstrosities with the slot-machine press…
Today I had some free time and checked the speed limits of my machine with the current 12V PSU.
Got first skipped steps at:
X axis: 20m/min
Y axis: 22m/min
Z axis: 4.2m/min
Those were the tests without any load. The torque seems to be pretty solid at 75% of top speed. Unfortunately I don’t have any tools to measure it, so I just put some resistance with my hands and checked how strong the machine is pushing before the steppers start failing.
In general those numbers are higher than I expected.
I want to do more tests with a 24V PSU and also check what the max speed is in a real world scenario such as 20mm stepdown foam cut.
Another thing I noticed is that in order to drive the machine at higher speeds I also need to increase the acceleration, other wise it doesn’t have enough room on the table to reach 20m/min.
No homing issues so far after soldering the pullup resistors.
Those are very fast speeds. But it isn’t really fair, since there was no load. The available torque drops at higher speeds. What youve measured is where that torque drops below the torwue needed to move the gantry. But not where that torque drops below what you need to mill.
One thing I’ve done to add a constant load to the bit is to tie some string to the bit, and then drape the string over the side of the table and hang a weight of a specific size (0.5kg or 1kg). Then the gantry has to move on its own, and also lift that weight (which is constant force, ignoring friction). That might give you more realistic top speeds.
You did up the firmware speed limits for moves and travel right?
I think that is close to what I was finding with no loads, but with a router and hose on board. Cut those down significantly and you have some safe rapid travel speeds to use.
I changed to a 24V power supply today. I was able to get to 40m/min on the Y axis with the spindle attached, but no hose. The motors didn’t skip at that point and still seemed to have more than adequate torque. I didn’t test any further because if one of the motors started skipping, the gantry would jump off the rail and things could get broken. Sometimes enough is enough. I won’t be cutting at this speed anyway. Honestly I moved away from the table during the tests, as it didn’t feel very safe to sit next to CNC moving around like an F1 machine
40m/min is a lot. To be honest even 20 is a lot. I haven’t decided what speed I will use for the finishing passes, but I will probably concentrate more on acceleration settings to make sure all the movements are nice and smooth and accurate.
Then I did another test with a 20mm stepdown into the foam. I went all the way up to 9m/min, then I could hear the spindle slow down and chunks of foam started to break off. The machine was pushing it no problem, so it seems that my chinese 500W spindle is the bottleneck. I think it is rated 10k rpm, so a faster spindle/router would be a good idea. In any case, I won’t be cutting at this speed either. Somewhere between 3 and 5 m/min is probably realistic.
During the speed tests the current didn’t go up more than 1.6A on the 24V PSU. The motors were almost cold, the drivers warm but not too hot. I had the stepper power set to 1250 mA.
Below is a picture of LR3 cutting through the foam at 8m/min with 20mm stepdown. I wanted to be able to remove large quantities of foam quickly, and it seems that LR3 can do a very decent job here )
BTW the faster I cut, the more dust is thrown around the machine. The MGN rails were all covered in snow today and I already had to lube one of them to keep it moving smoothly. I will try to put the vacuum back on and see if I can come up with a better way to contain the dust.
Yes, Z travel was limited to 200mm in the default firmware, and mine is 230, so I had to recompile anyway to get the full Z range. Now I just use M201/M203 commands to set the limits, not sure if that was possible with the original firmware or not.
I need to buy a longer vacuum hose and I think my machine is ready to mill the first board!
Not distance, speed. I have the firmware hard limited on max speed, max travel, and max accelerations. I have it set to a max of 50mm/s with you getting 666mm/s you would need to make a lot of changes including acceleration or the machine is not big enough to get over 200 or so. I have 24V speed tests in another thread.
Both of these sound high. Your power supply was drawing 1.6A at what voltage, meaning before or after the brick? What steppers do you have that 1250 didn’t melt the mounts?

 I will want to increase speed and also increase stepdown to make things faster.