I’ve had the Lowrider2 for about 2 years now. I’ve tried aluminum several times over this period, generally with very poor results. I concluded that aluminum is best left to the more rigid MPCNCs.
My first mistake, like most, was using endmills with too many flutes. With 4, 3, even 2 flutes, I might get a few minutes of cutting before the mill inevitably clogged up with soft aluminum. I also simply couldn’t get a handle on feeds an speeds. Metal is harder than wood, so I should feed slower and spin the router slower, right?
With a project at work that needs a bunch of simple milled parts in a hurry I decided to give it one more go. I’m still trying to master the process, but I’ve changed my mind: Yes, the Lowrider is absolutely capable of acceptable aluminum parts (depending on your definition of acceptable of course). And as I’m pretty sure it was Shakira who said, these chips don’t lie.
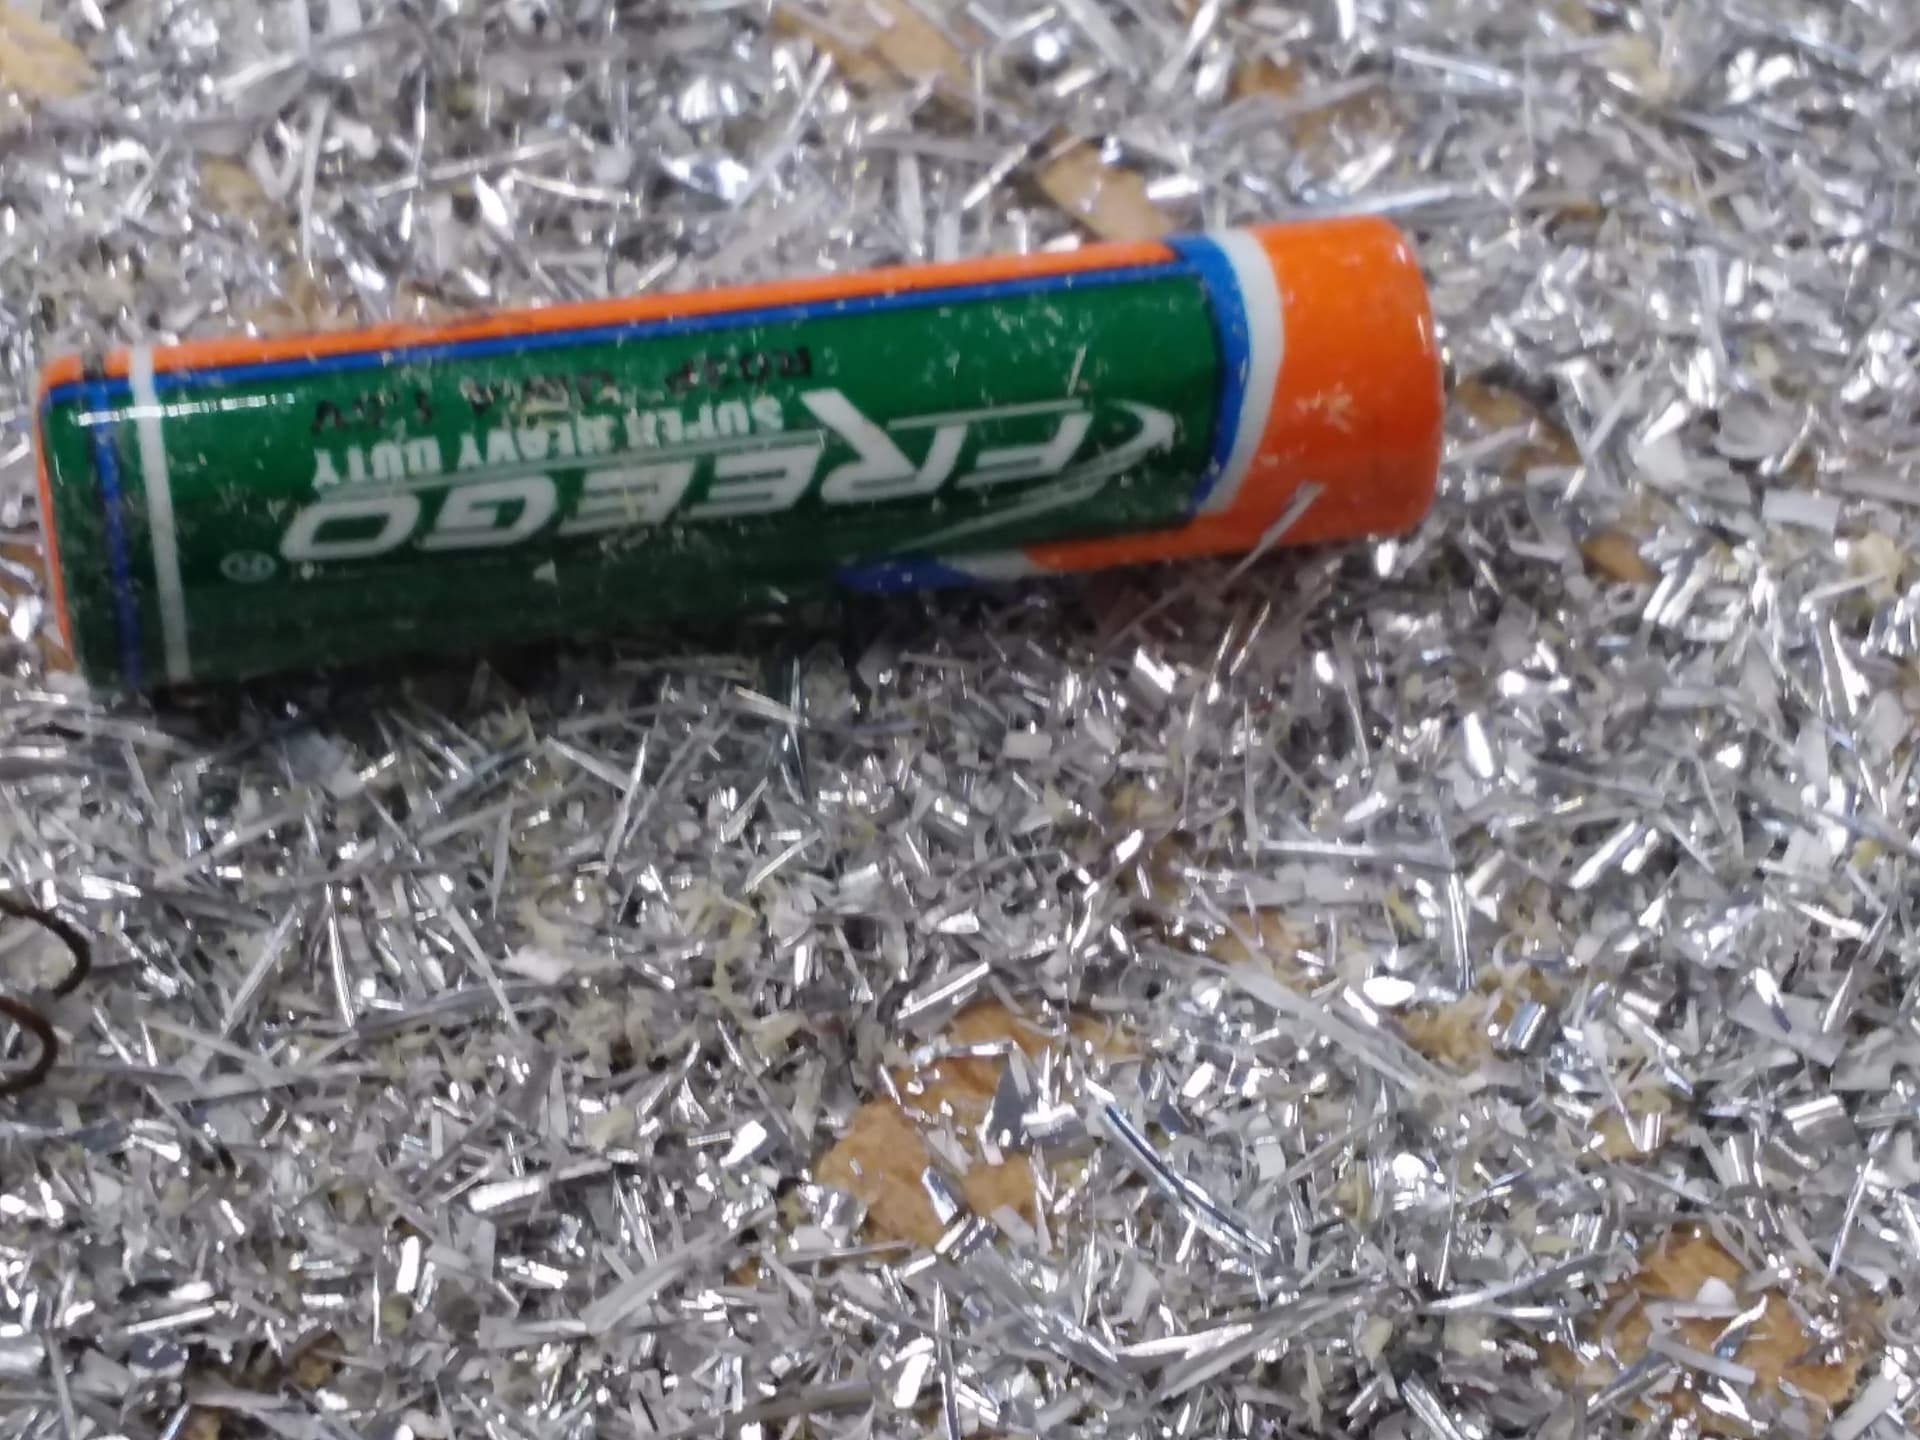
(AAA cell for scale)
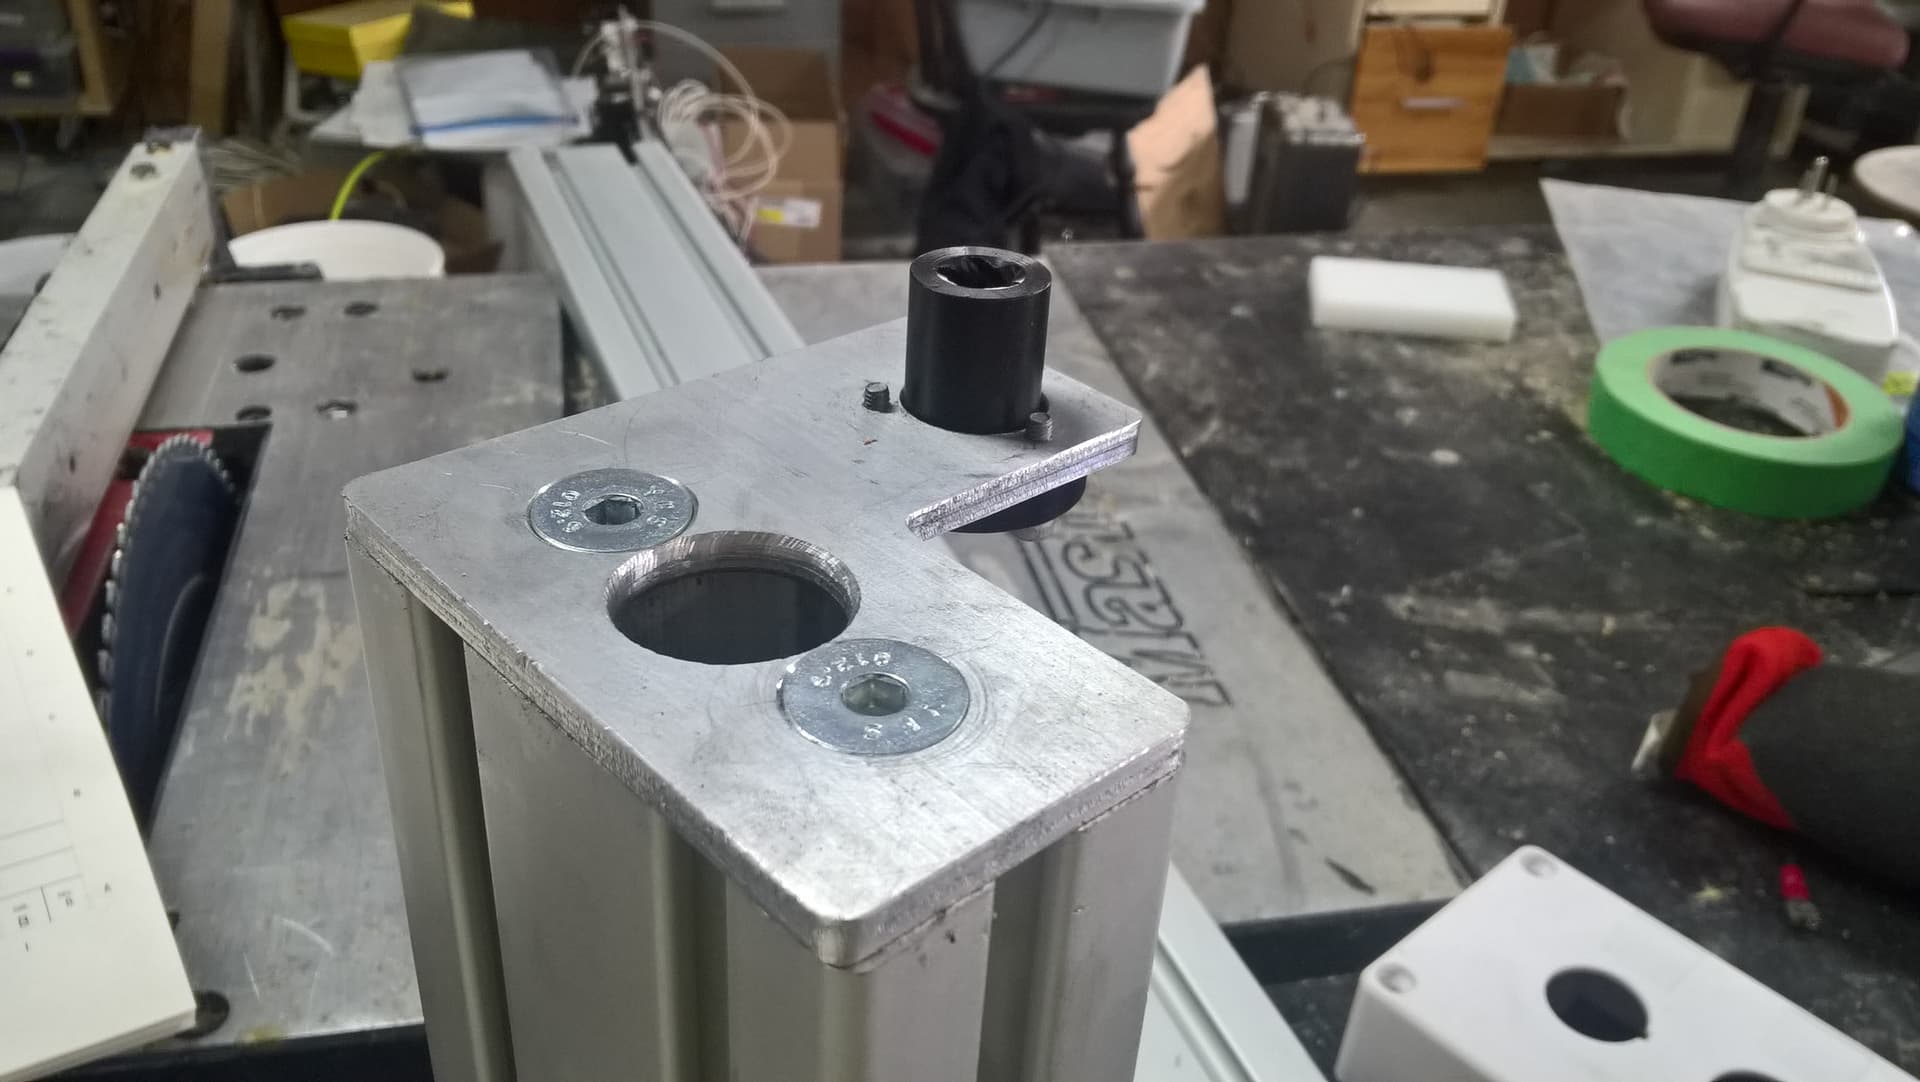
This is an example of a part I made. I’m still figuring things out… like why I lost steps on that one tab, but I’m getting +/- 0.1 mm in one axis and more in the other axis.
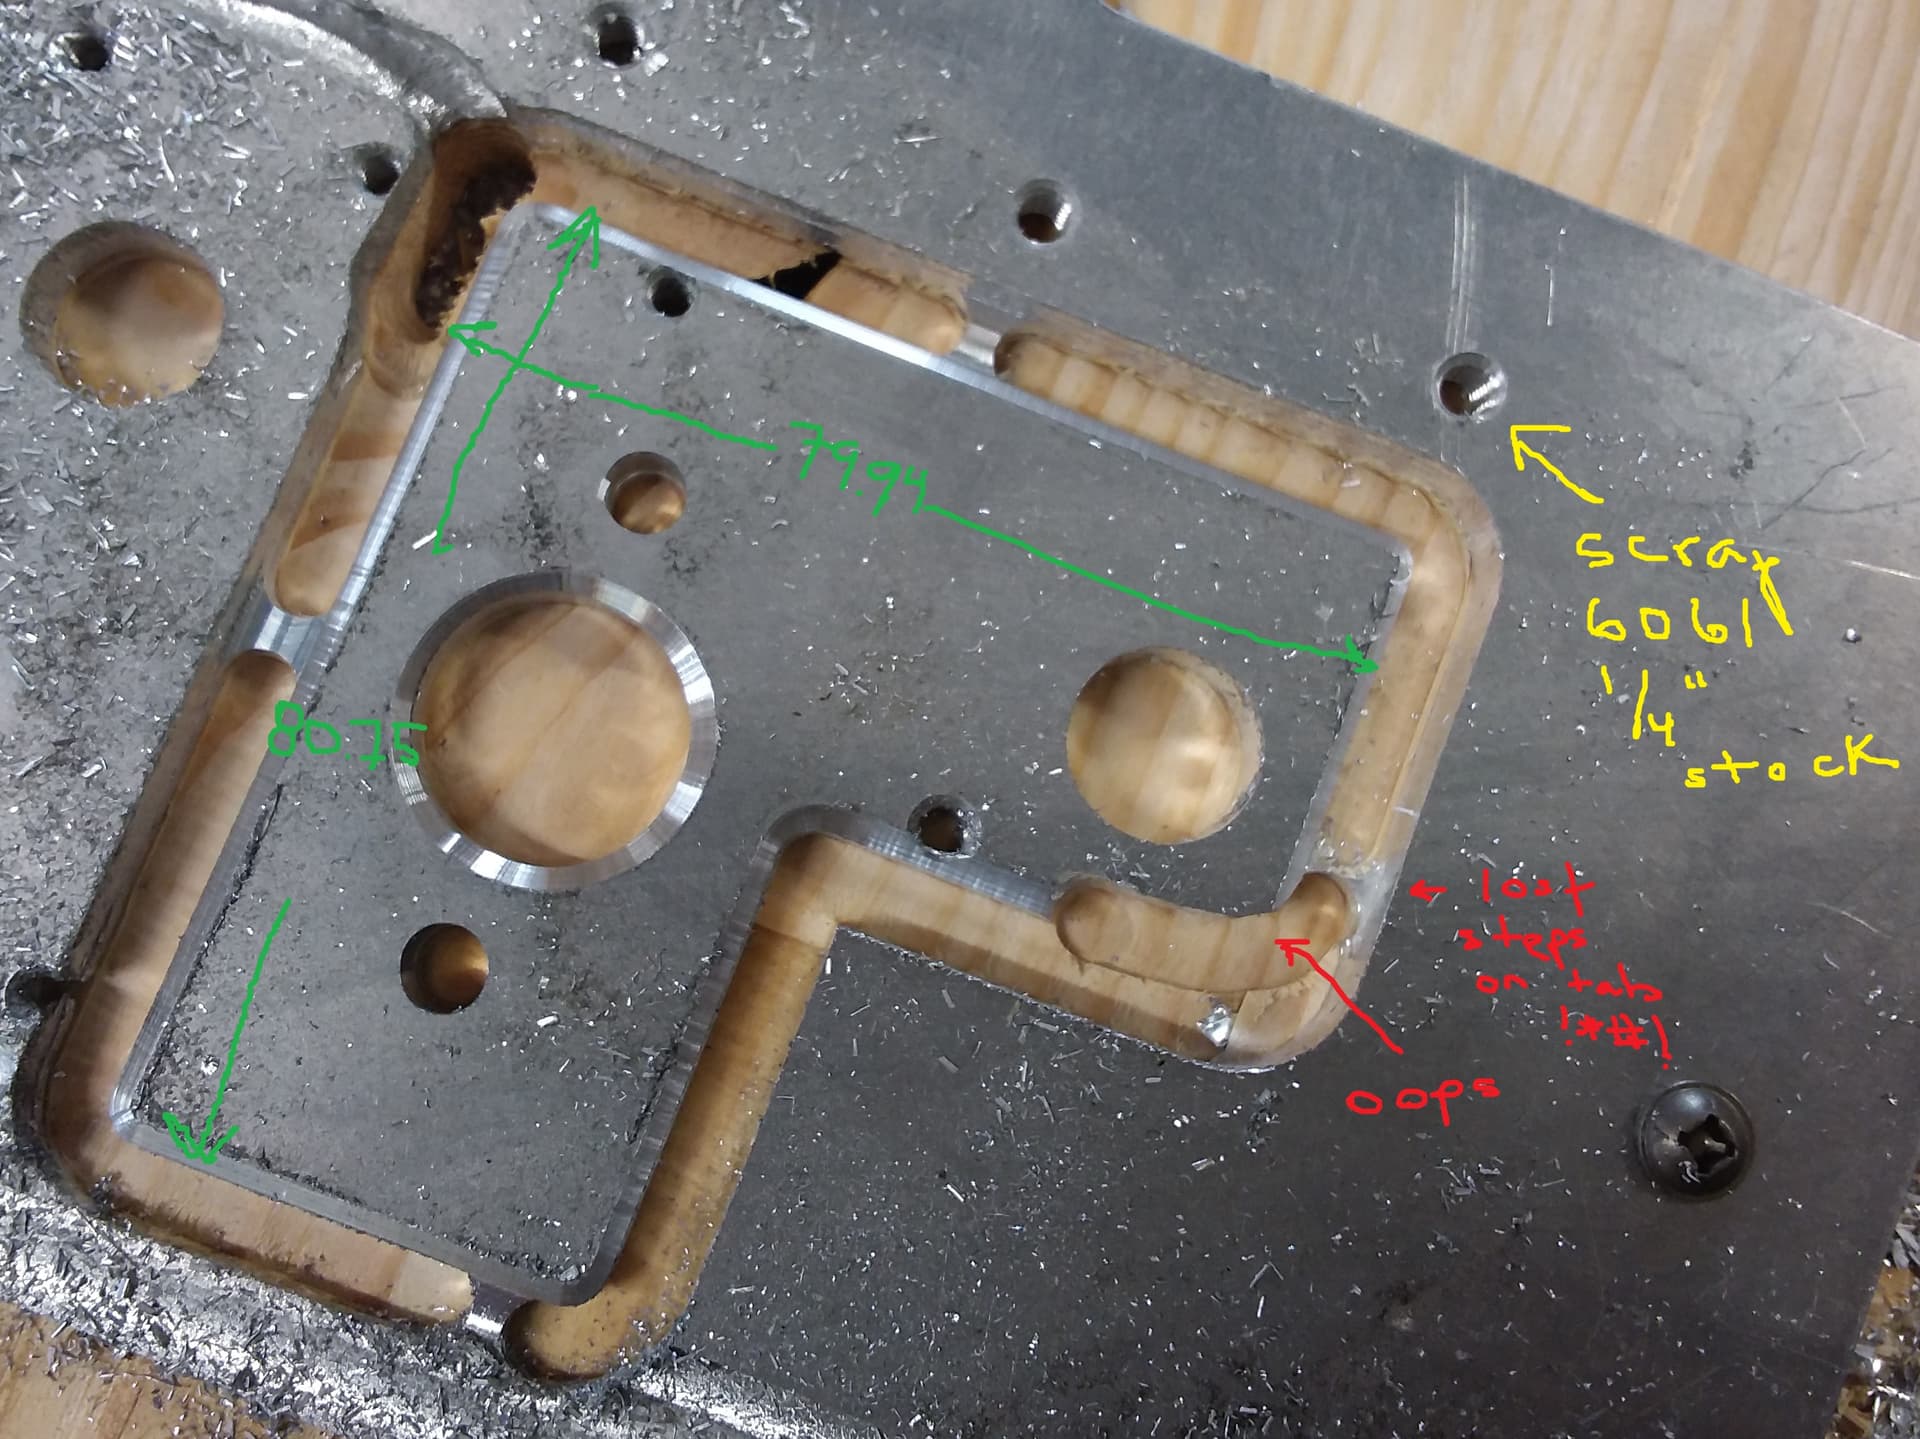
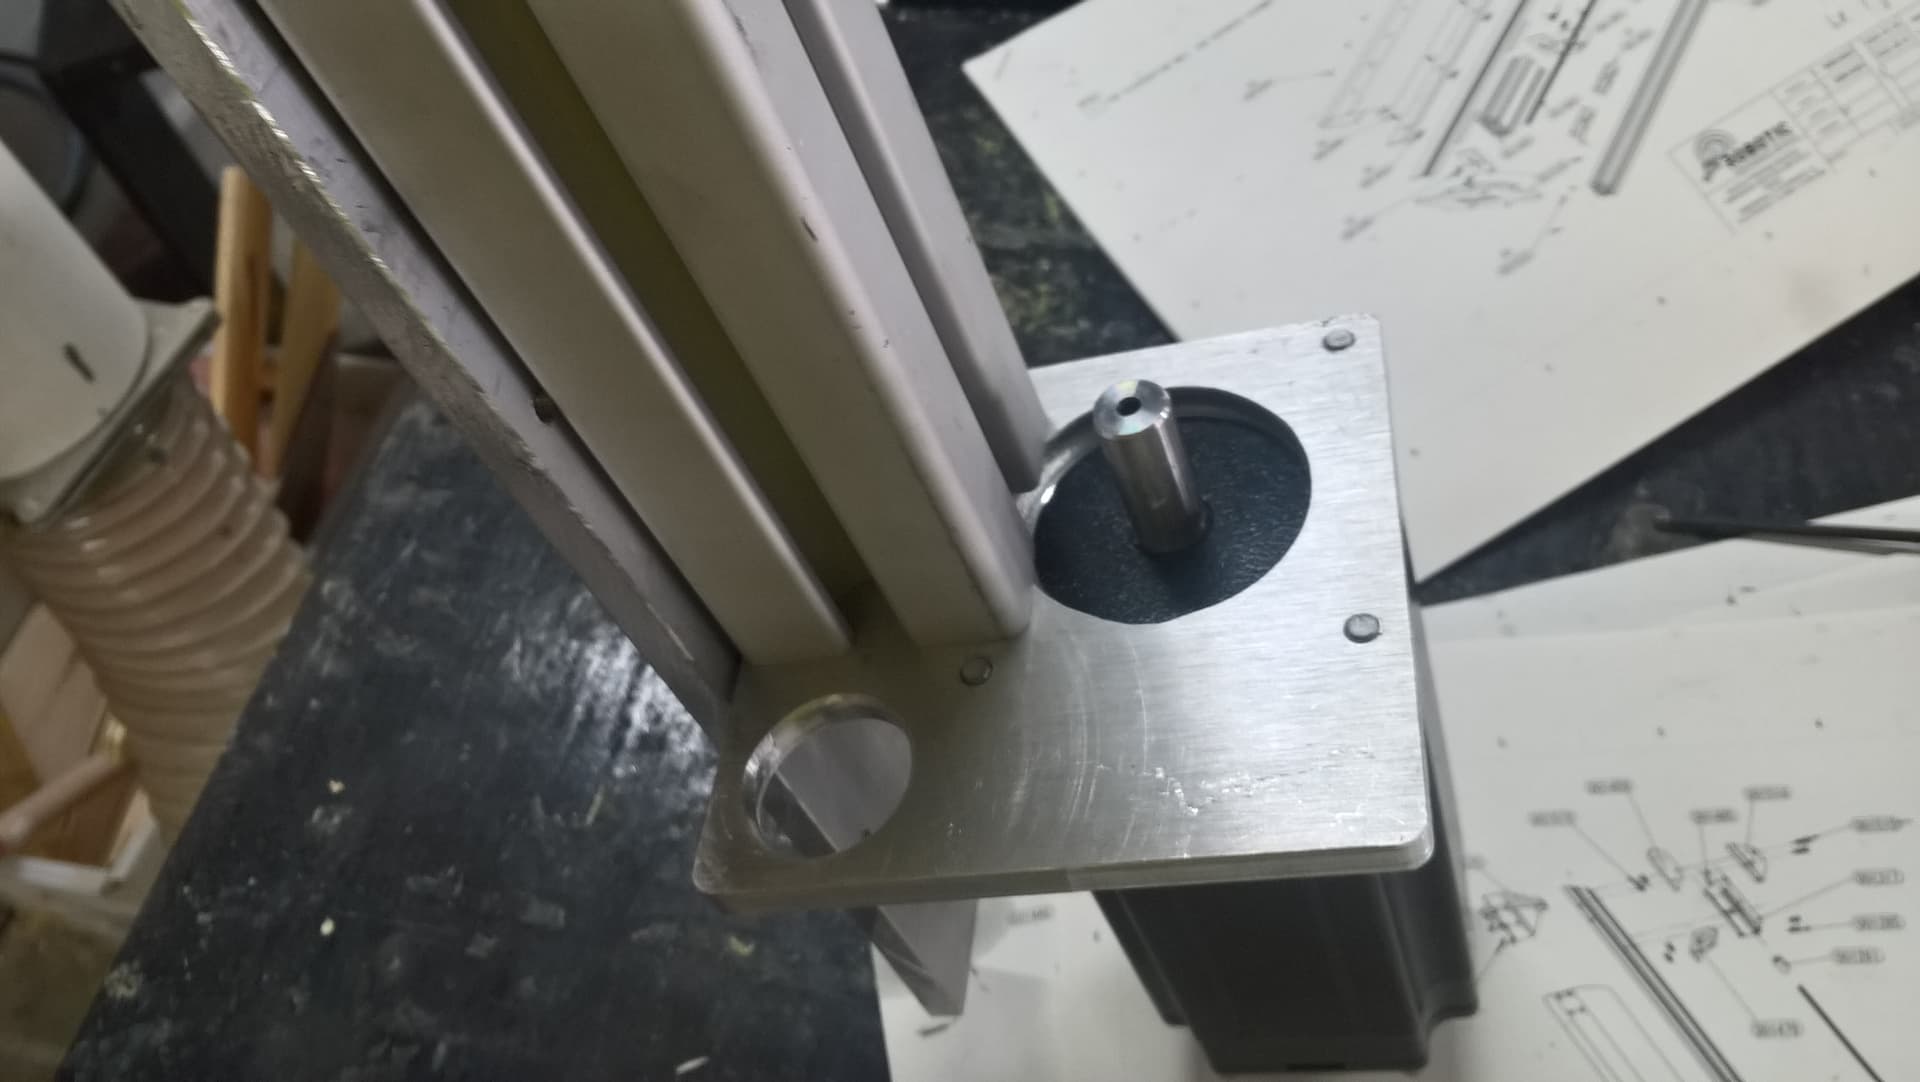
I even made a successful tool change to cut the chamfers. The part took about 25 minutes to cut.
Anyways, what made this attempt work better than all my previous was to do the opposite of what my intuition told me:
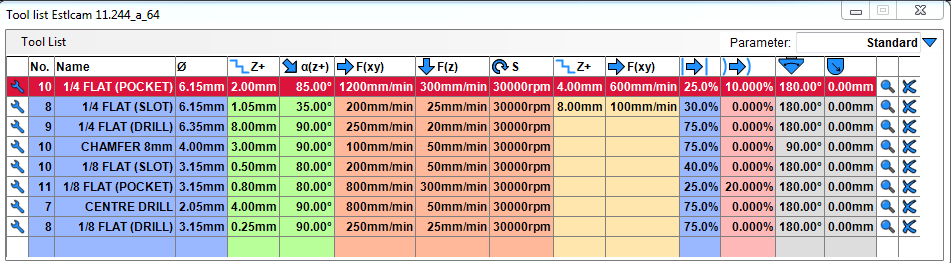
- Use a 1/4" endmill instead of 1/8 for the major slotting and clearing work. I’m using a single flute carbide upcut spiral flat endmill. It has so much more room to clear chips. Previously I only tried 1/8 bits. I also think the 1/8 bits flex too much for the high side forces.
- Stay sharp. I usually buy the 10 packs of bits from China for a few bucks. I didn’t break the bank, but I did invest in an $18 HRC55 Tungsten Carbide bit that is as sharp after an hour of cutting as when I got it.
- Go deep. It will happily cut a 2-3 mm slot without issues. Previously I was shaving 0.2 mm at a time.
- Go fast. 1 mm slot at 500-600 mm/m, 2.5 mm at 250 mm/m. Previously I was going 100-200.
- Spin fast. You can’t do the last two without this one. It works best at the tool’s max speed of 30000 rpm. It also forces the chips to evacuate, flinging them many metres away.
- Use trochoidal stepover. I knew this in the past, but it is so much more effective with the larger bit.
It is all about keeping the tool and stock cool. Aluminum sinks heat so if you bite hard, it can take it, but if you move slowly, take small bites, or use a dull bit you just create more friction, which softens the aluminum and clogs the bit very quickly.
I’ve also been using cutting oil, which I don’t think makes a big difference, but doesn’t hurt. I use chainsaw chain oil. Its meant to stick to parts.
Anyways, I hope these observations help someone else. Any ideas how I can compensate for the backlash in the one axis?
Here is some video (turn your volume down).