I’m going to rebuild the mpcnc with new printed parts and will be flipping the x axis tube to change the wiring location from the left to the right and reworking the controller box. I’m thinking about wiring in terms of longevity and curious to hear and learn of the schools of thought for wire management. Of the available ways to tidy up your build, how do you prefer to route and access your wiring so it is organized, robust, yet serviceable?
Cable chain
Wire loom
Cable trays
Measuring tape
or other options? What do you consider a reasonable investment amount to “do it right,” with respect to wiring.
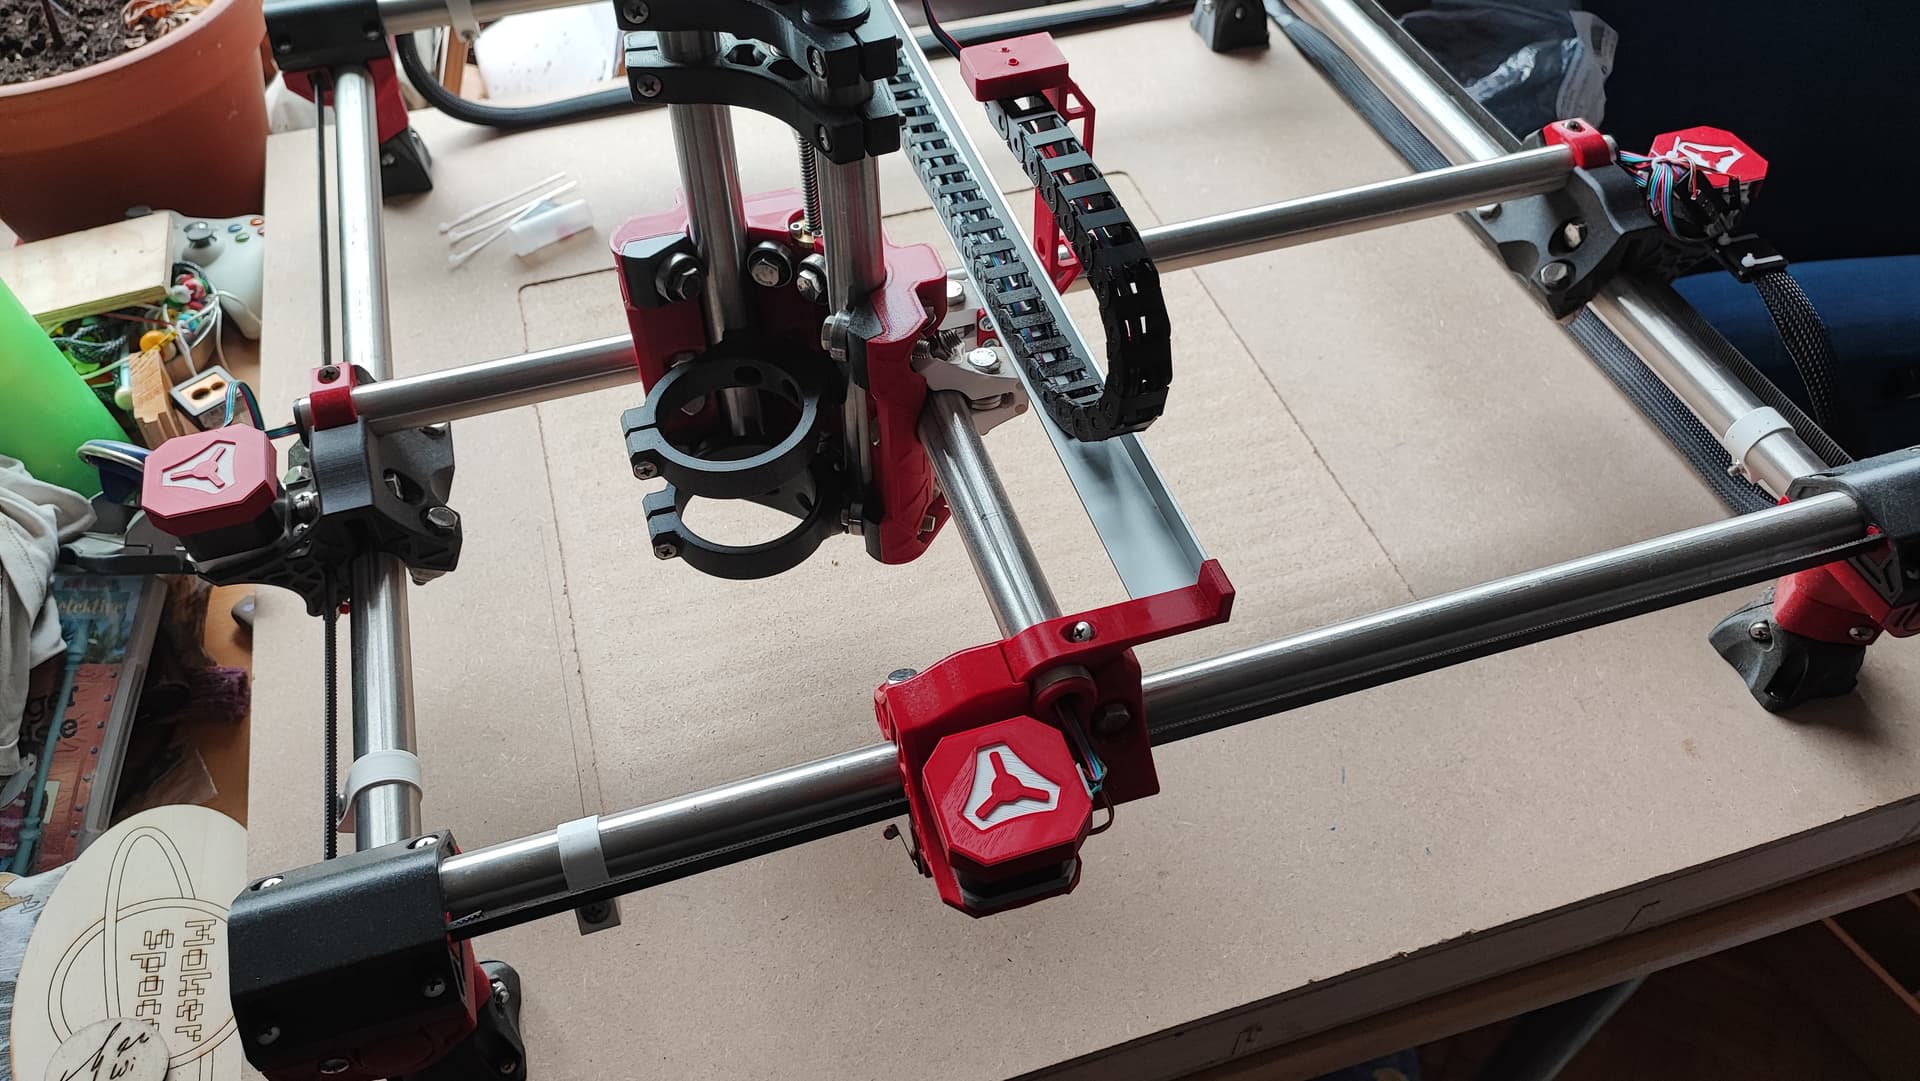
I used cable chains on mine. made aluminum angle supports for the full length on the gantry chain. Then made supports that clamped on to the legs to support the outside chains as my table was not much bigger than the machine.
I cut all the stepper motor wires and added JST connectors on them. Then uses 4 conductor wire to connect them back to the control board. Any where I could run a wire through a tube I did so, It cam out pretty clean.
It is gone now but the picture is in the for sale section.
If you are going to klipper you will these show up as noise on the input shaper graphs. They are heavy and add a lot of variable moving mass that is hard to tune out. Klipper builds can moves fast enough to whip these.
Going from a standard printer to a “fast” printer adds a lot of new things to worry about.
Keep an eye on the V5 builds JJ and Mike are using wire trays and they look great and are simple. I popped holes and used twist ties and zip ties on my first one (beta) but will be using something different on this next one.
The umbilical is the hardest part, you need just stiff enough to where it does not sag into the print path, but soft enough to where it can curl in the close corner/s. The bigger the build the harder the issue.
I’m pretty sure the first post says ‘MPCNC’ in it I think Ryan just has v5 on his brain.
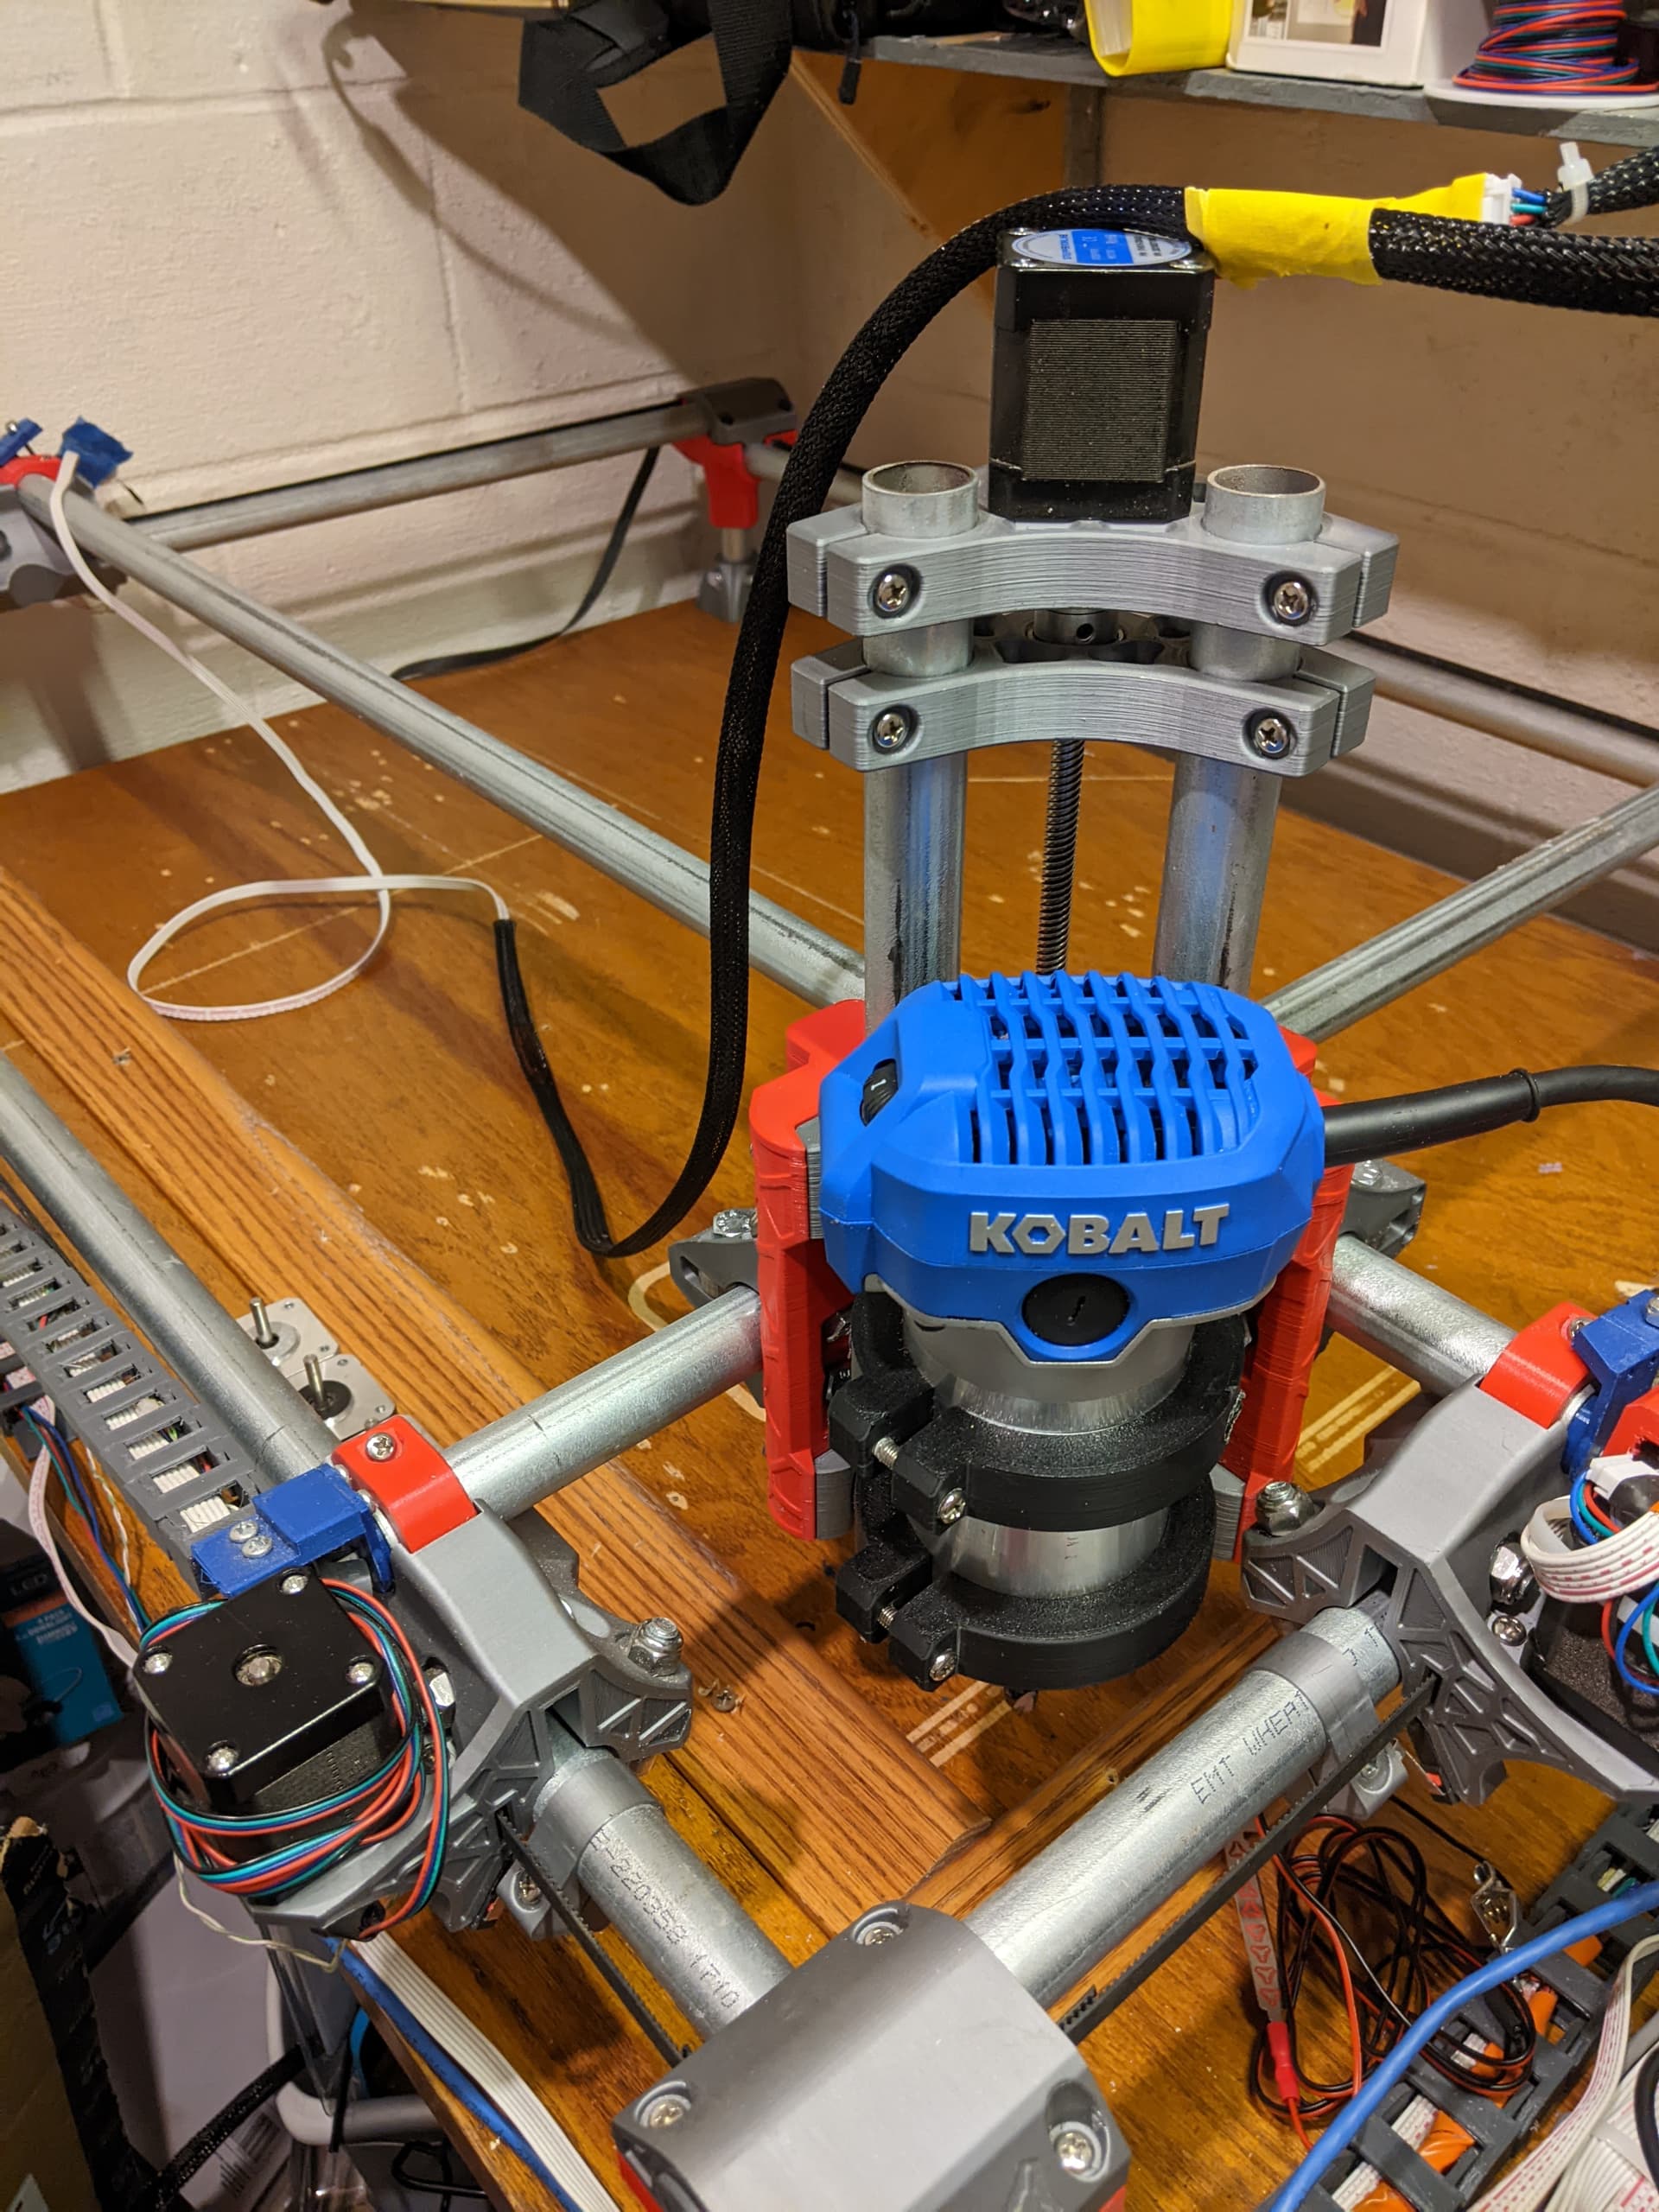
I did a combination of cable tray and measuring tape trick. It has worked really well for me. The XY axis are both just measuring tape running along the outside edge of my table.
The Z axis is a measuring tape running across an Aluminum L piece. I didn’t like the idea of the measuring tape just floating over the top of the machine.
that is a clean build. I had a hard time finding the x and y wiring at first. Thank you for sharing it.
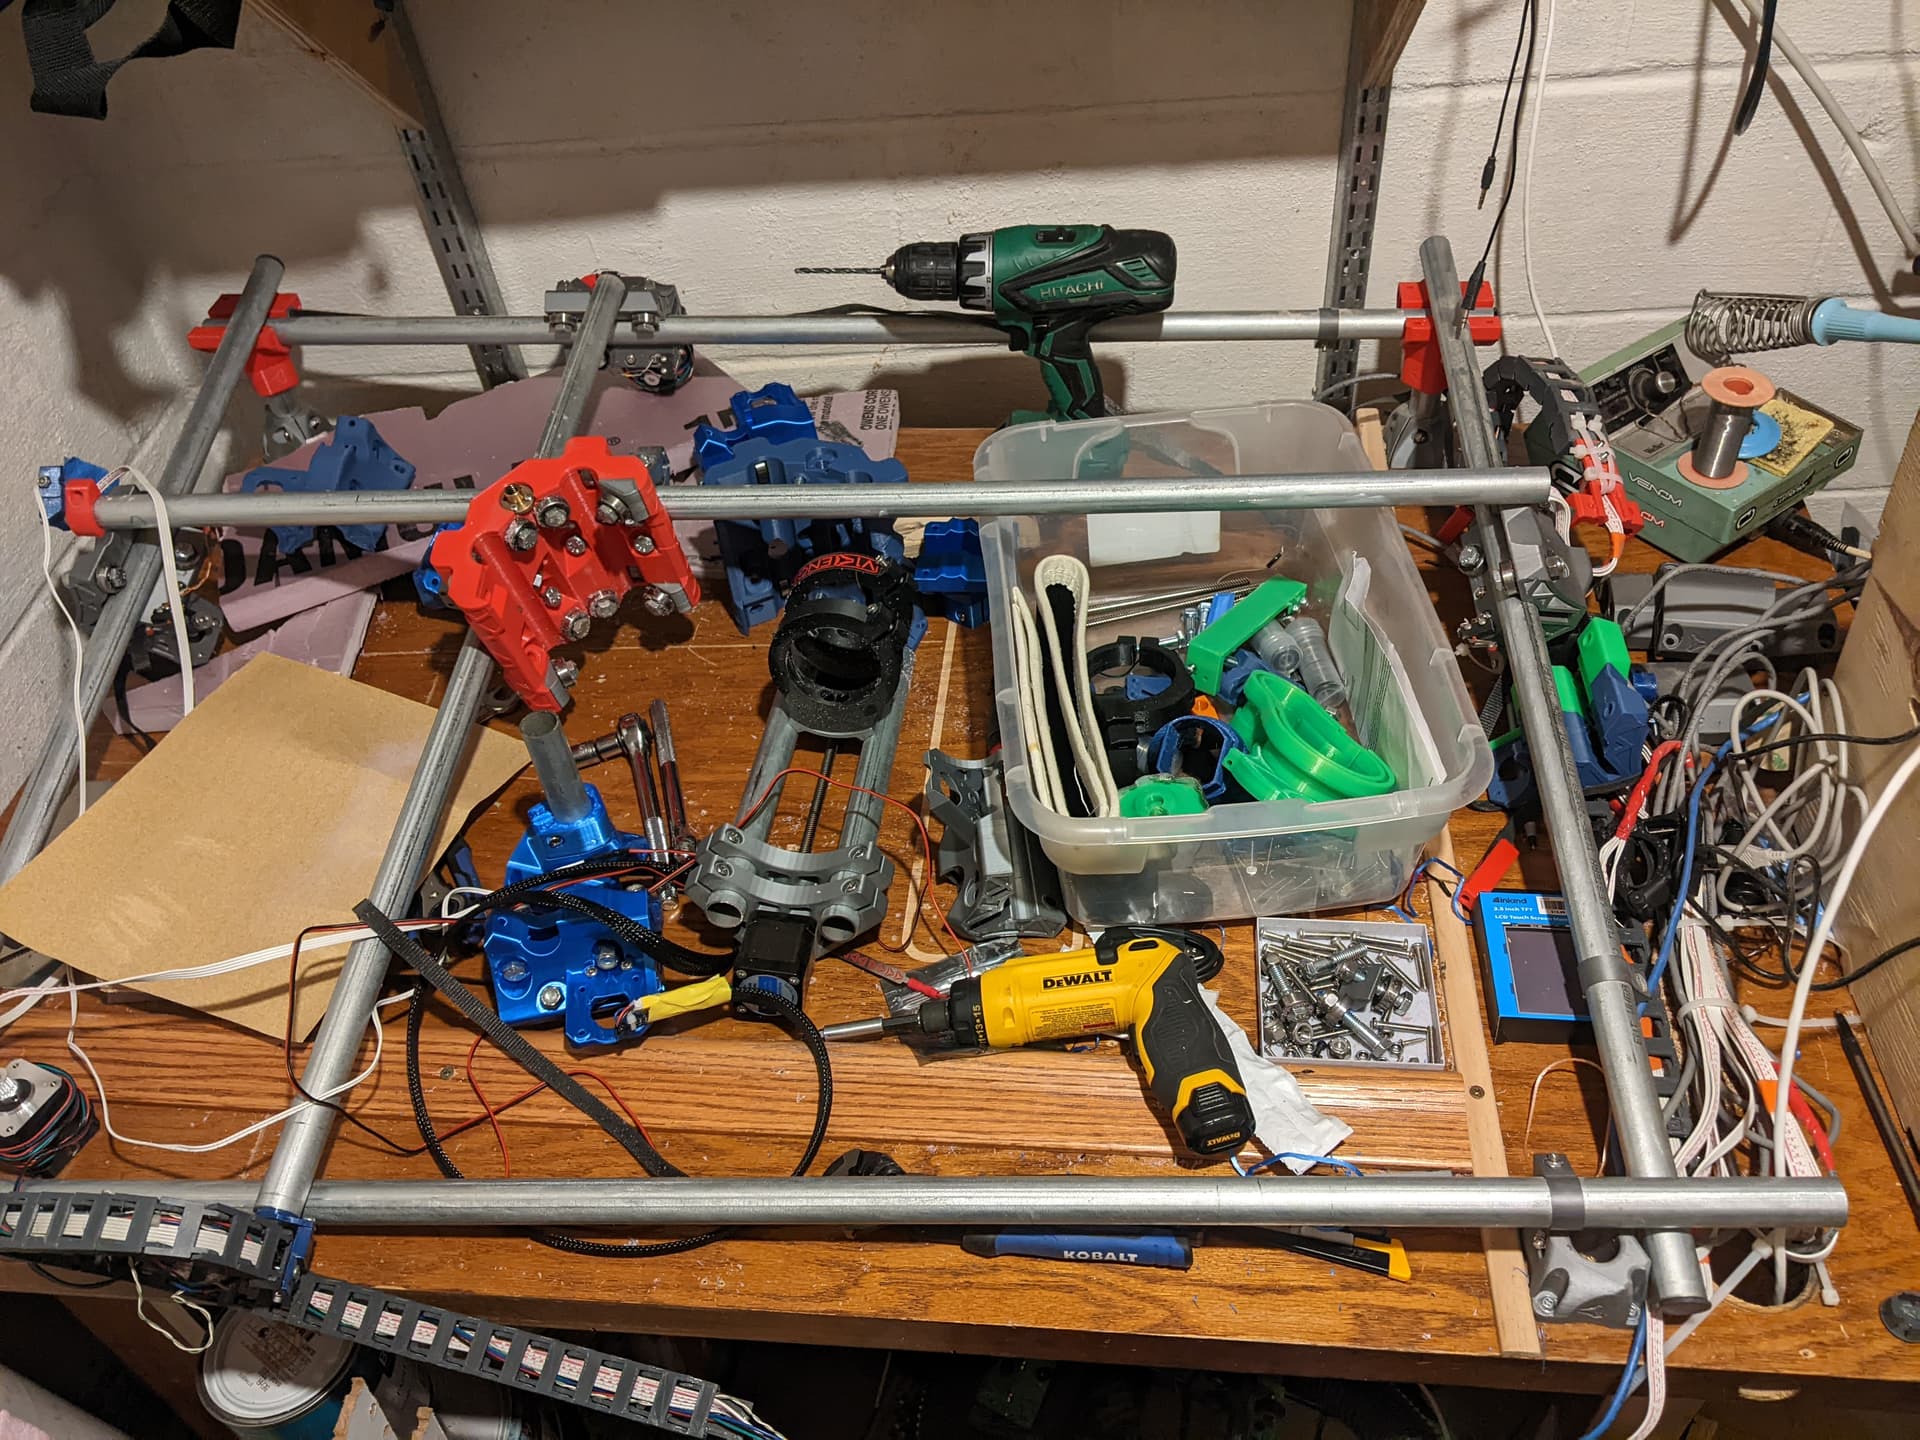
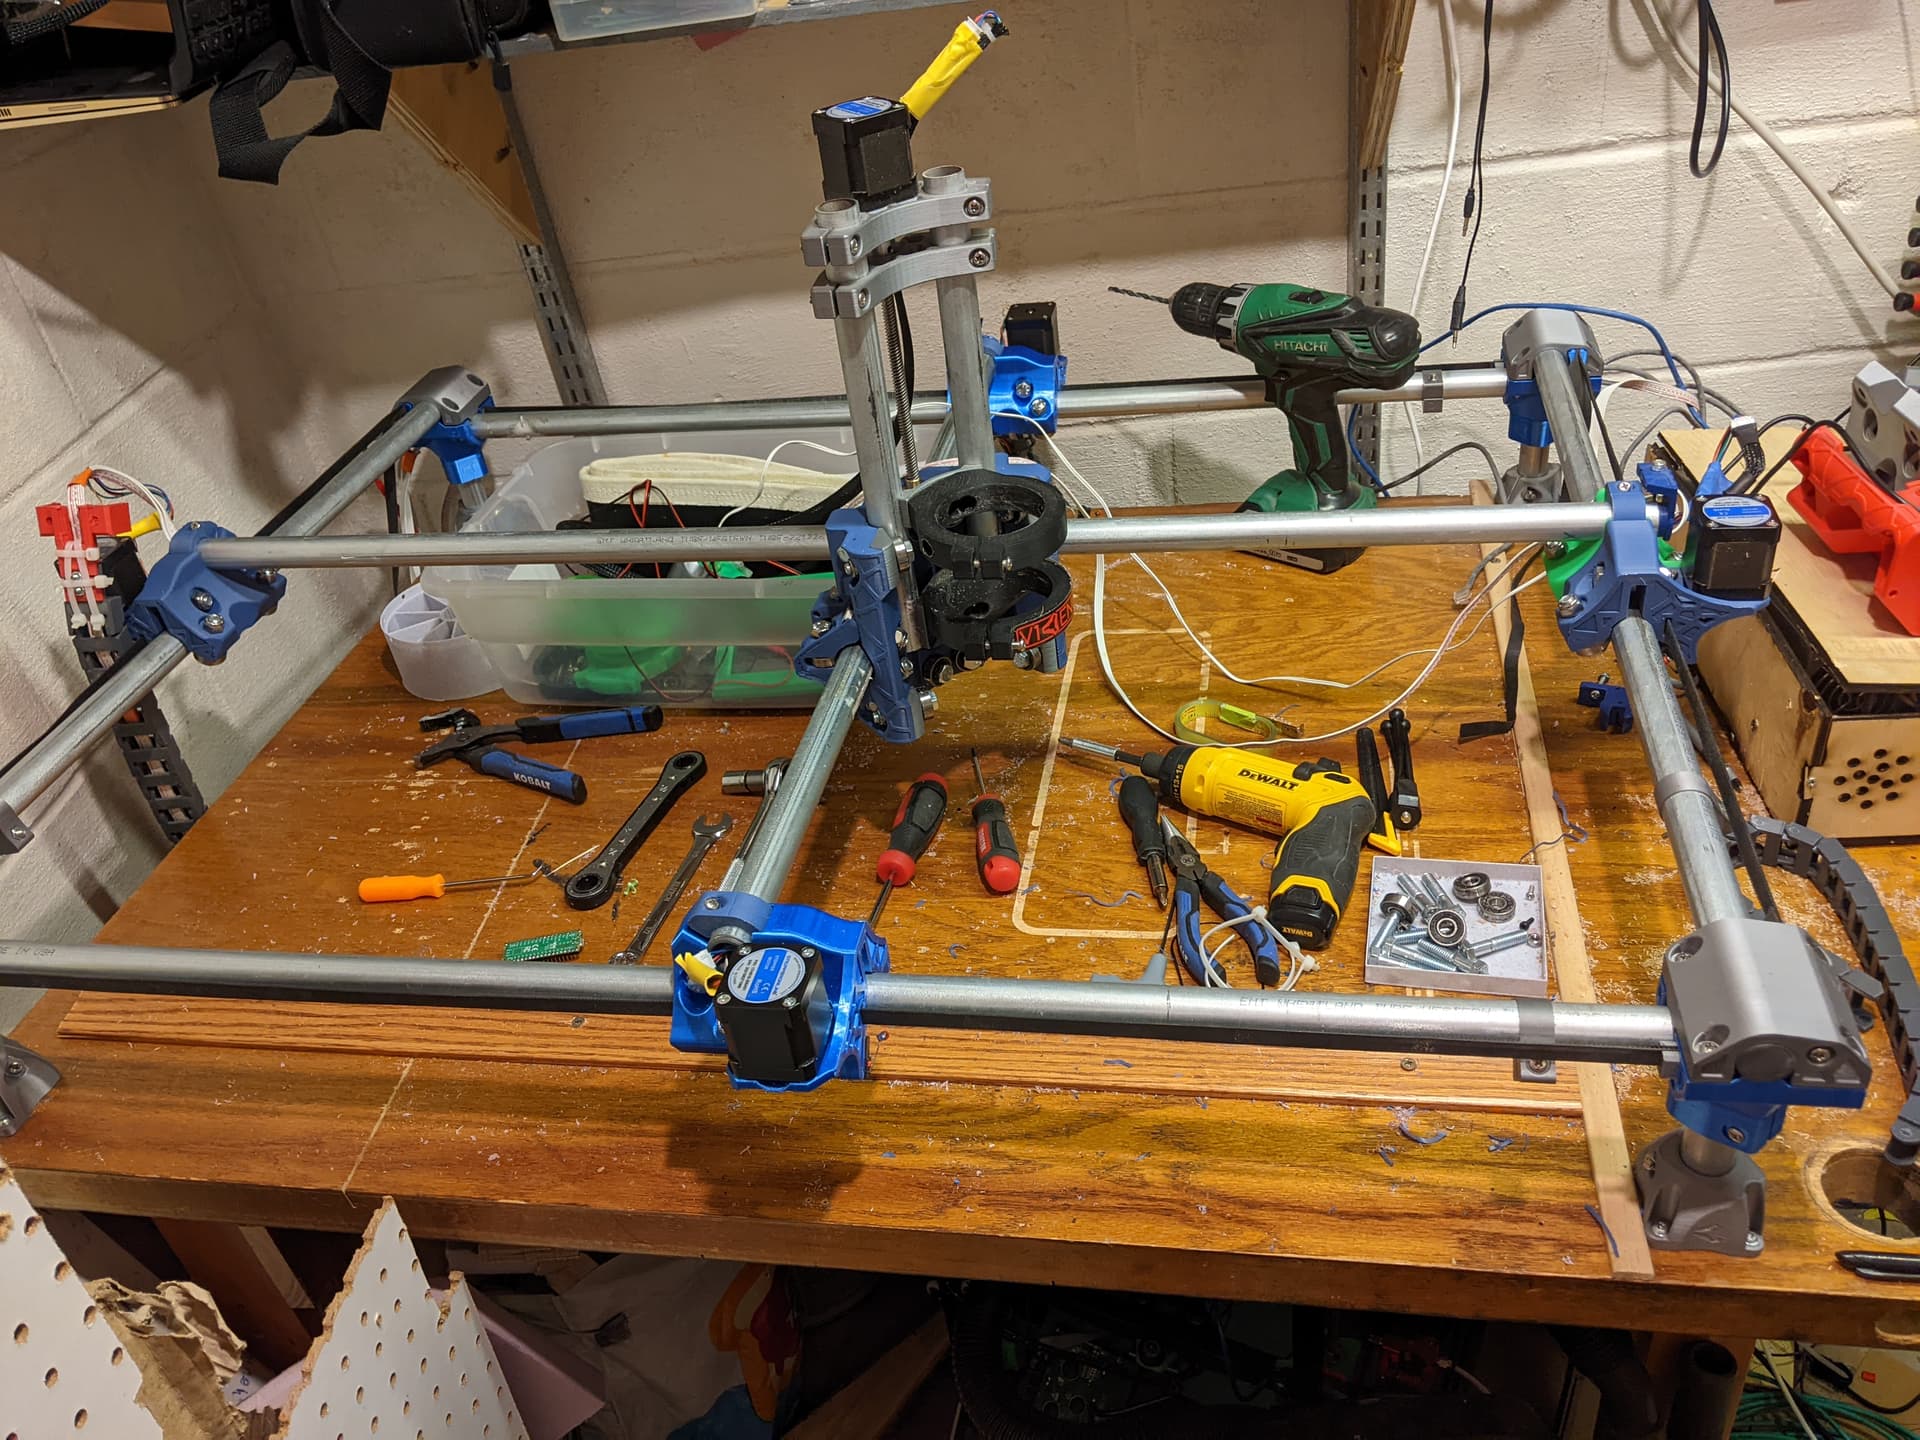
A couple things have plagued my build:
the attachment of the electrical to the truck for x and Y - with stepperonline steppers, they don’t fit the v1 stepper covers, so the shared mounts and accessories for wiring attachments are not quite right just yet.
the “tray” part of the span for the core… been using a hook on a bungee overhead so I didn’t have to build anything for it, but sometimes that doesn’t work out well.
After running it this way for a couple years, I’m ready to recommit to cleaning it up and so all the thoughts on this are appreciated.
Somewhere in my Schneewittchen thread I’ve got a collection of things I used (excluding the holders for the tape measure for the steppers). I can go look for it later.
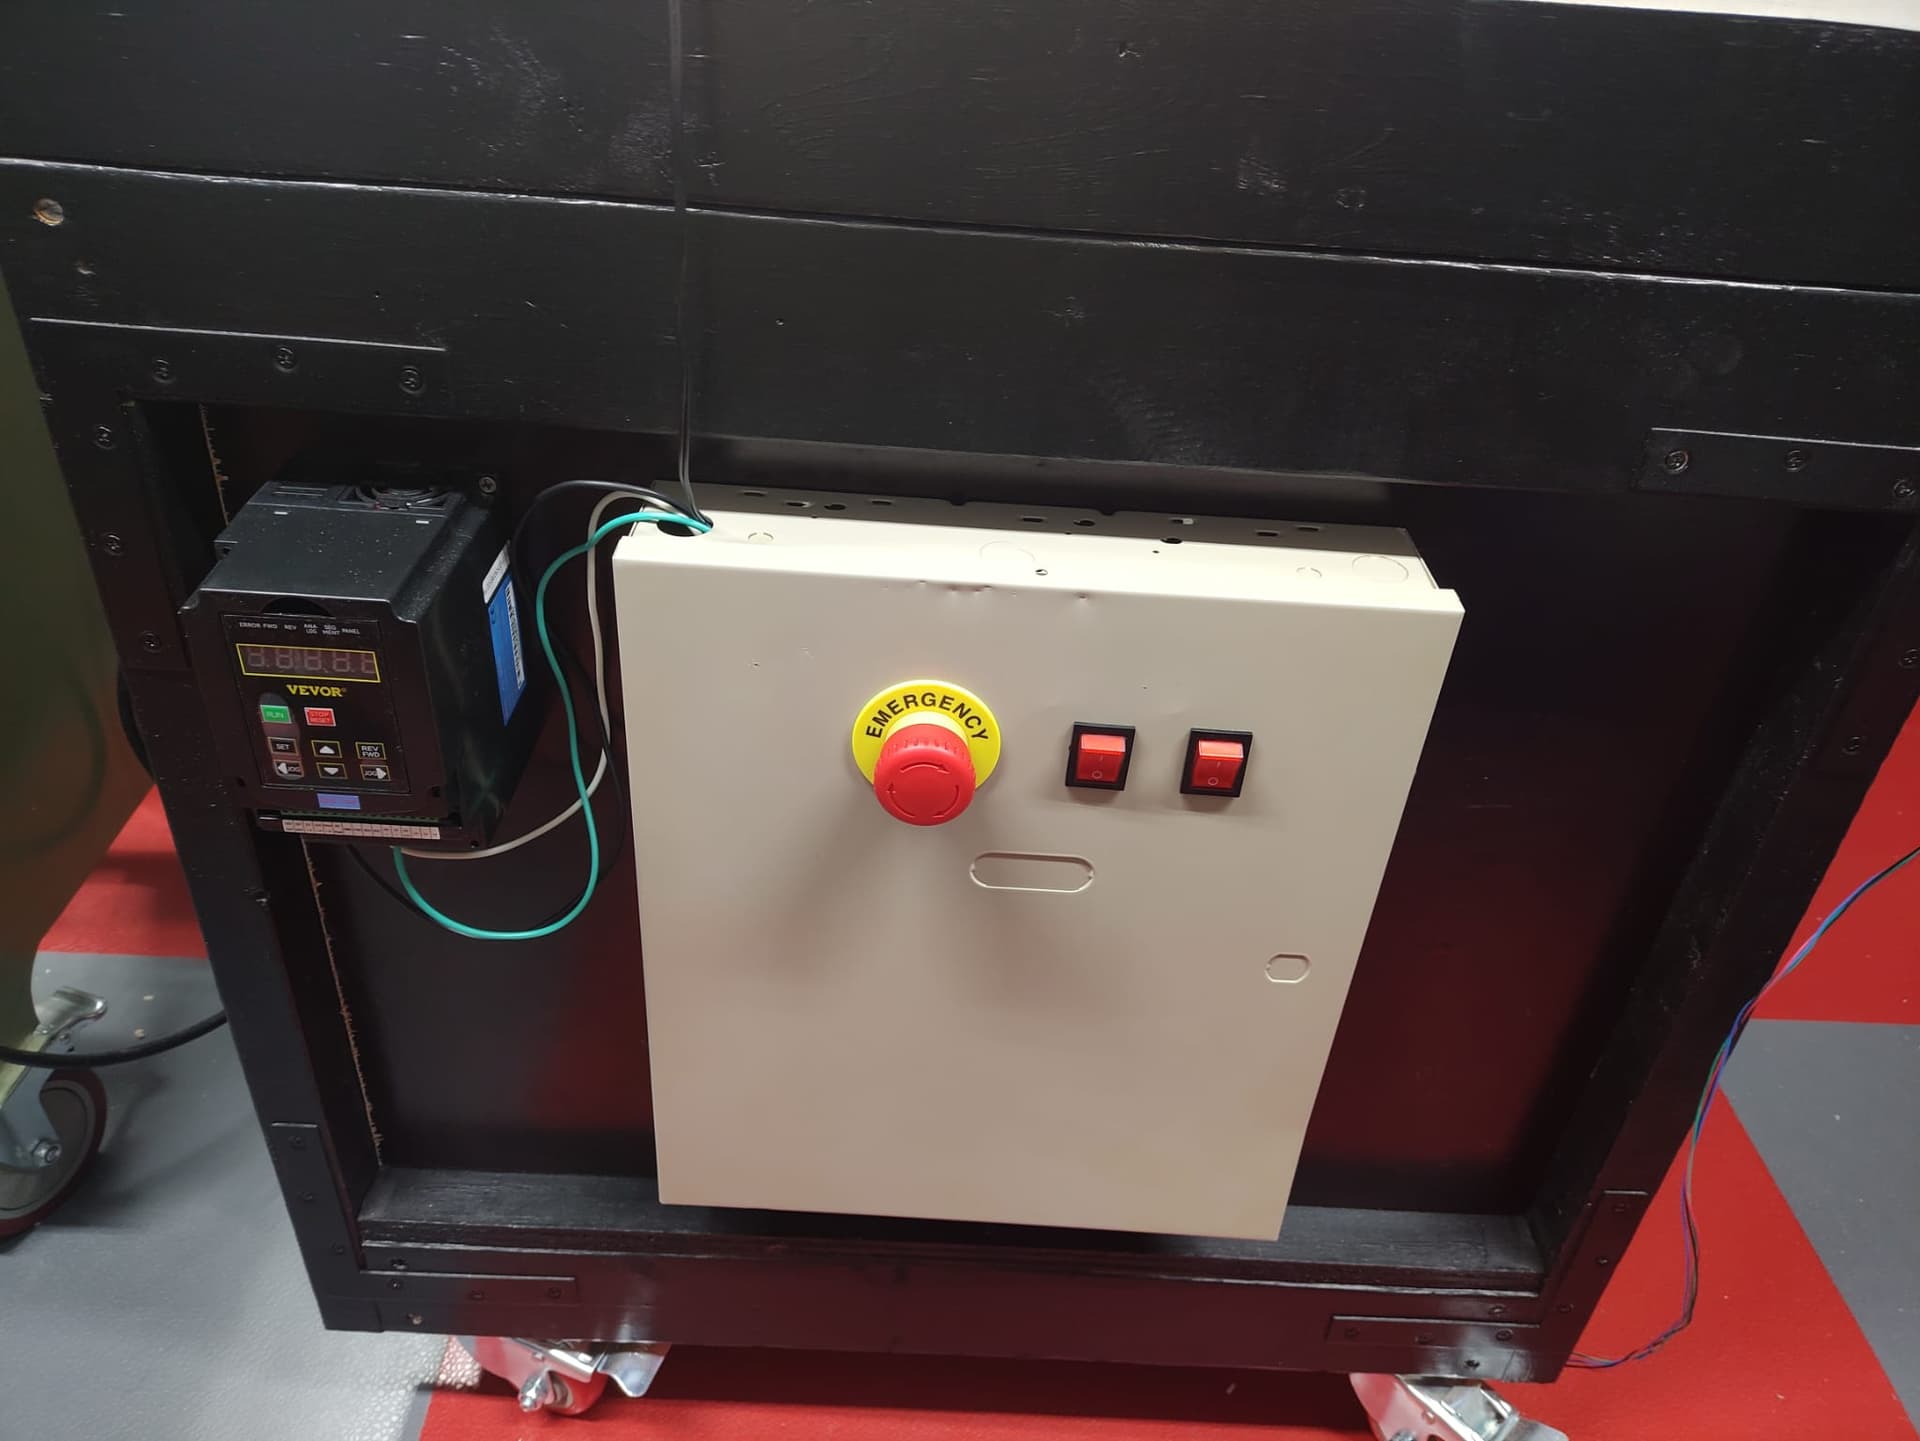
I know the discussion thus far has centered around wire management on the machine itself, but when you get to the controller cabinet I just discovered these and it has been a revelation. The cabinet on my new build is going really well.
I bought that same kit and used it for the high voltage input for the MP3DP. I bought something like this to go with it to house all the wires around the BTT board. Probably need more of that for the inside of this next rebuild too. Thanks for that suggestion!
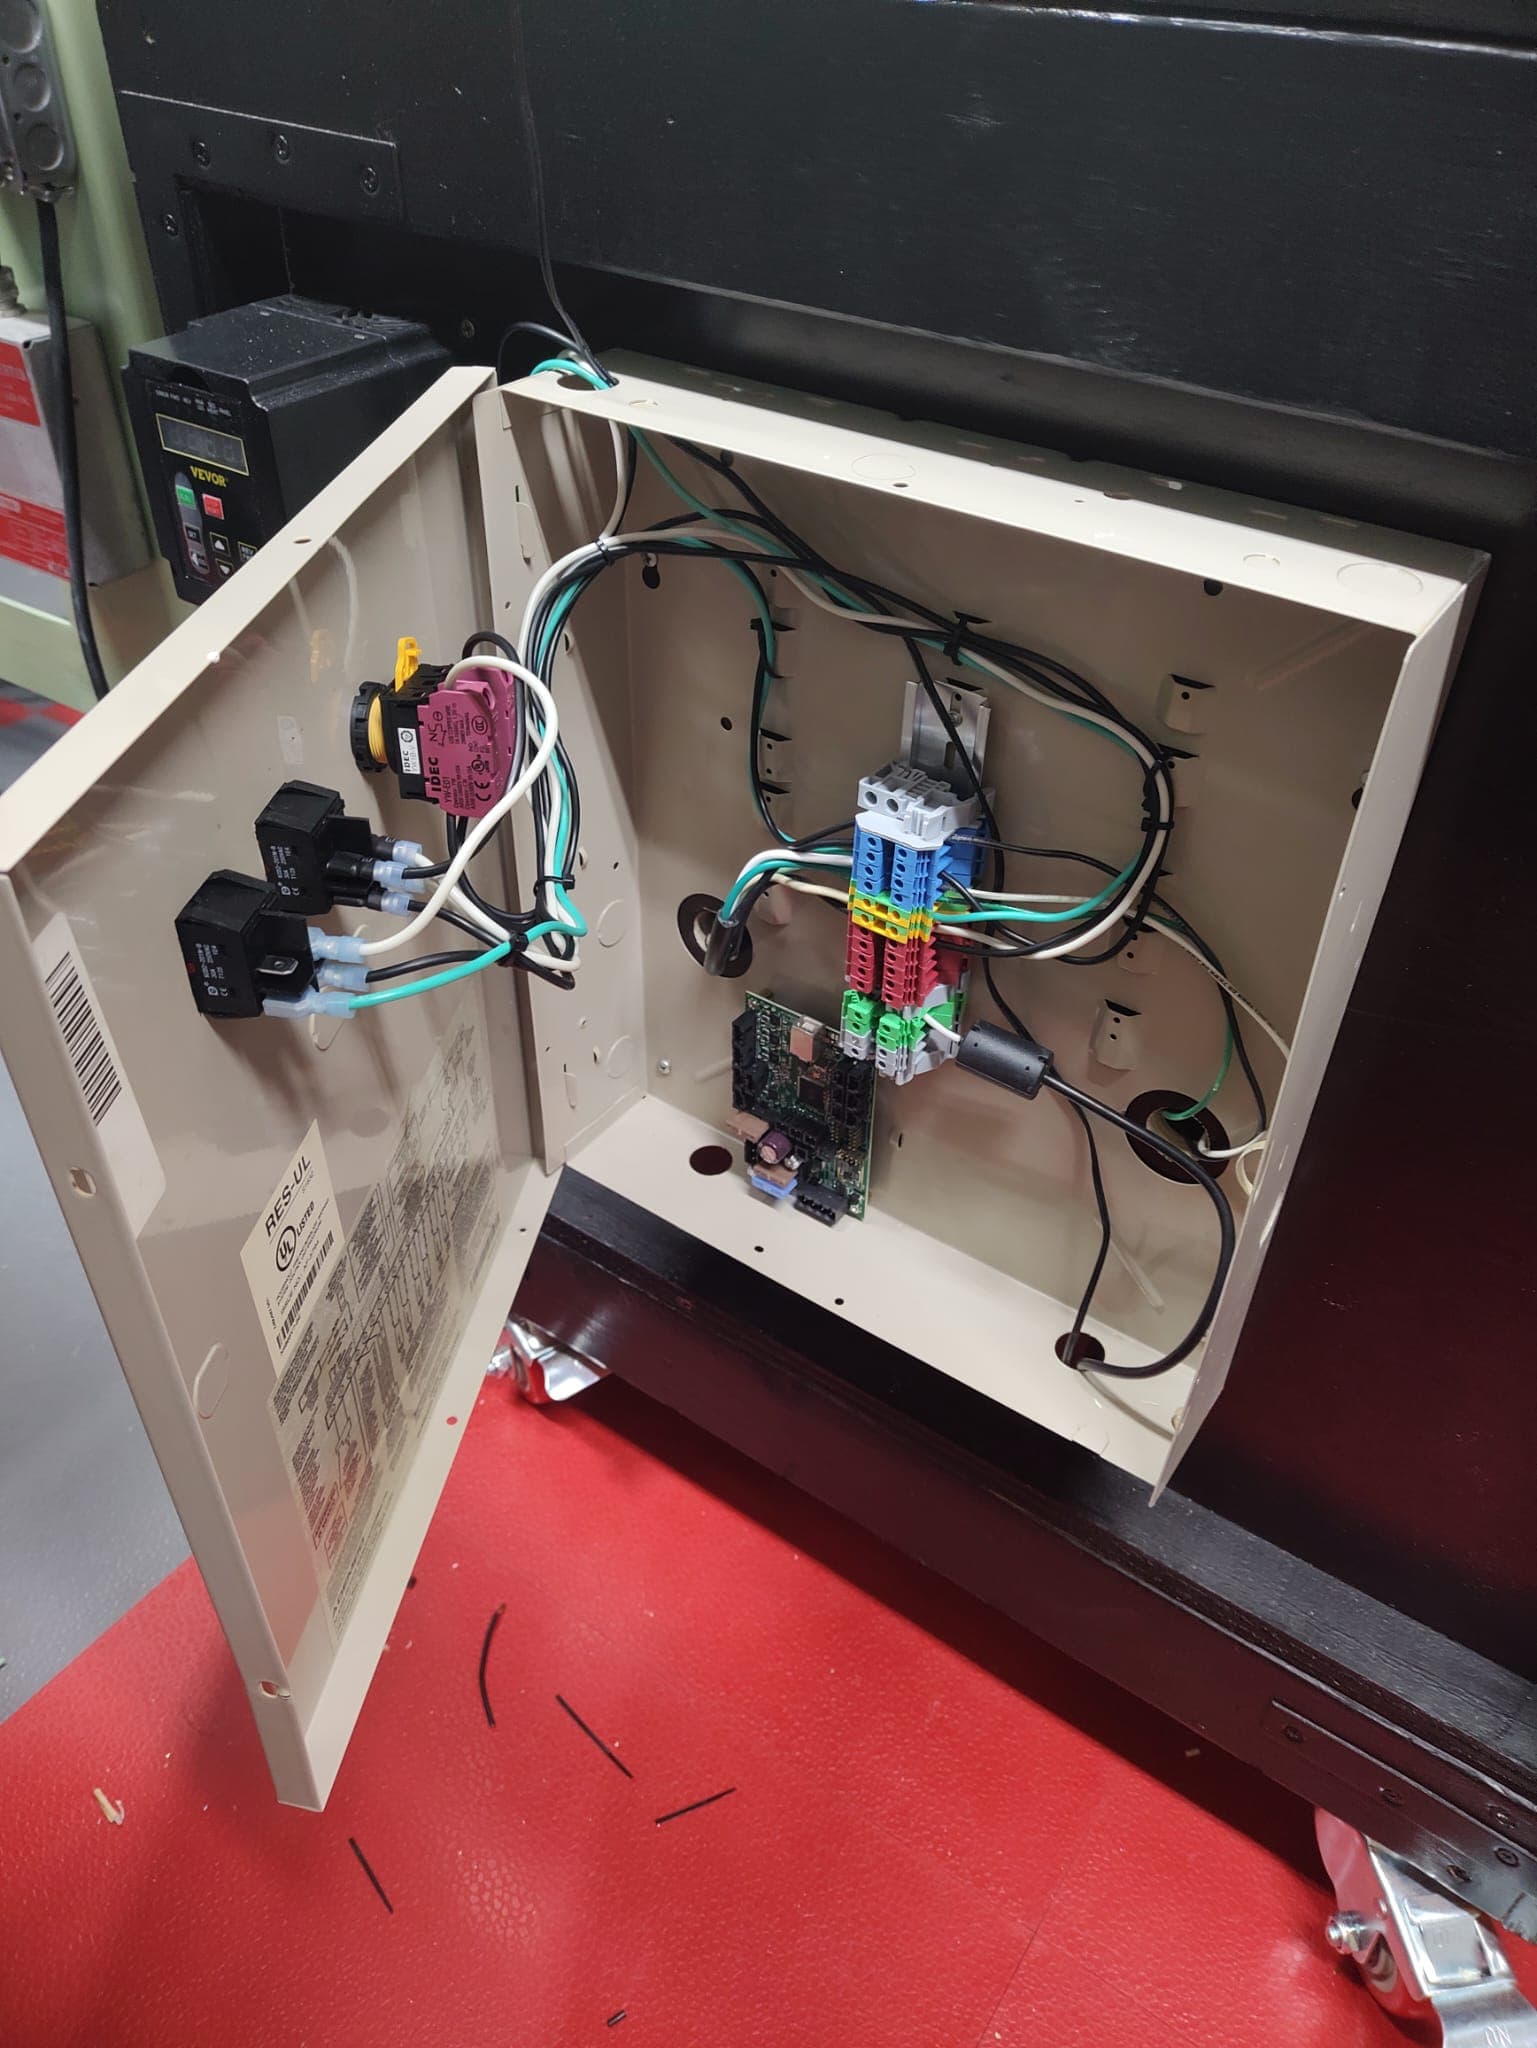
I’ve used those wire channels on some work projects and they are awesome. Wont work for me on my particular project due to the room needed for me to close the door with the components and wires mounted to the door itself, as well as where the inlets on my box are.
This was a salvaged box from a defunct alarm system, but nothing is sweeter than free…nothing some zip ties couldnt tidy up