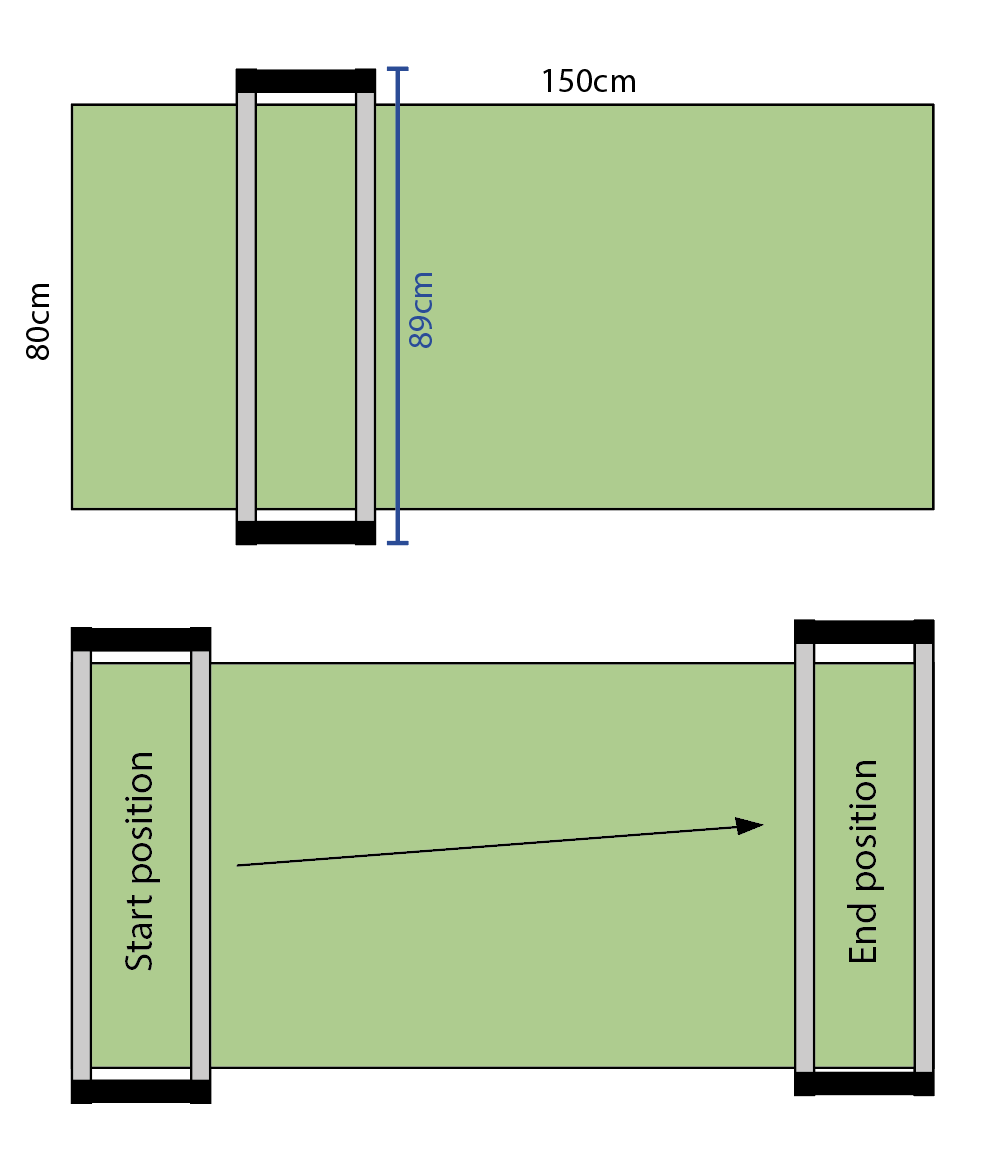
Even if I push my LR2 against hard stops on left side och table before powering up, it still wanders in illustrated direction. Difference is about 4mm. As you can see on the picture, table is 80x150cm and totalt length of gantry is 89cm (on both sides).
I understand that the machine don’t need to be square to the table, and that I should square the material to the machine instead. But since people seems to be able to get it rolling straight, I would like to achieve that too.
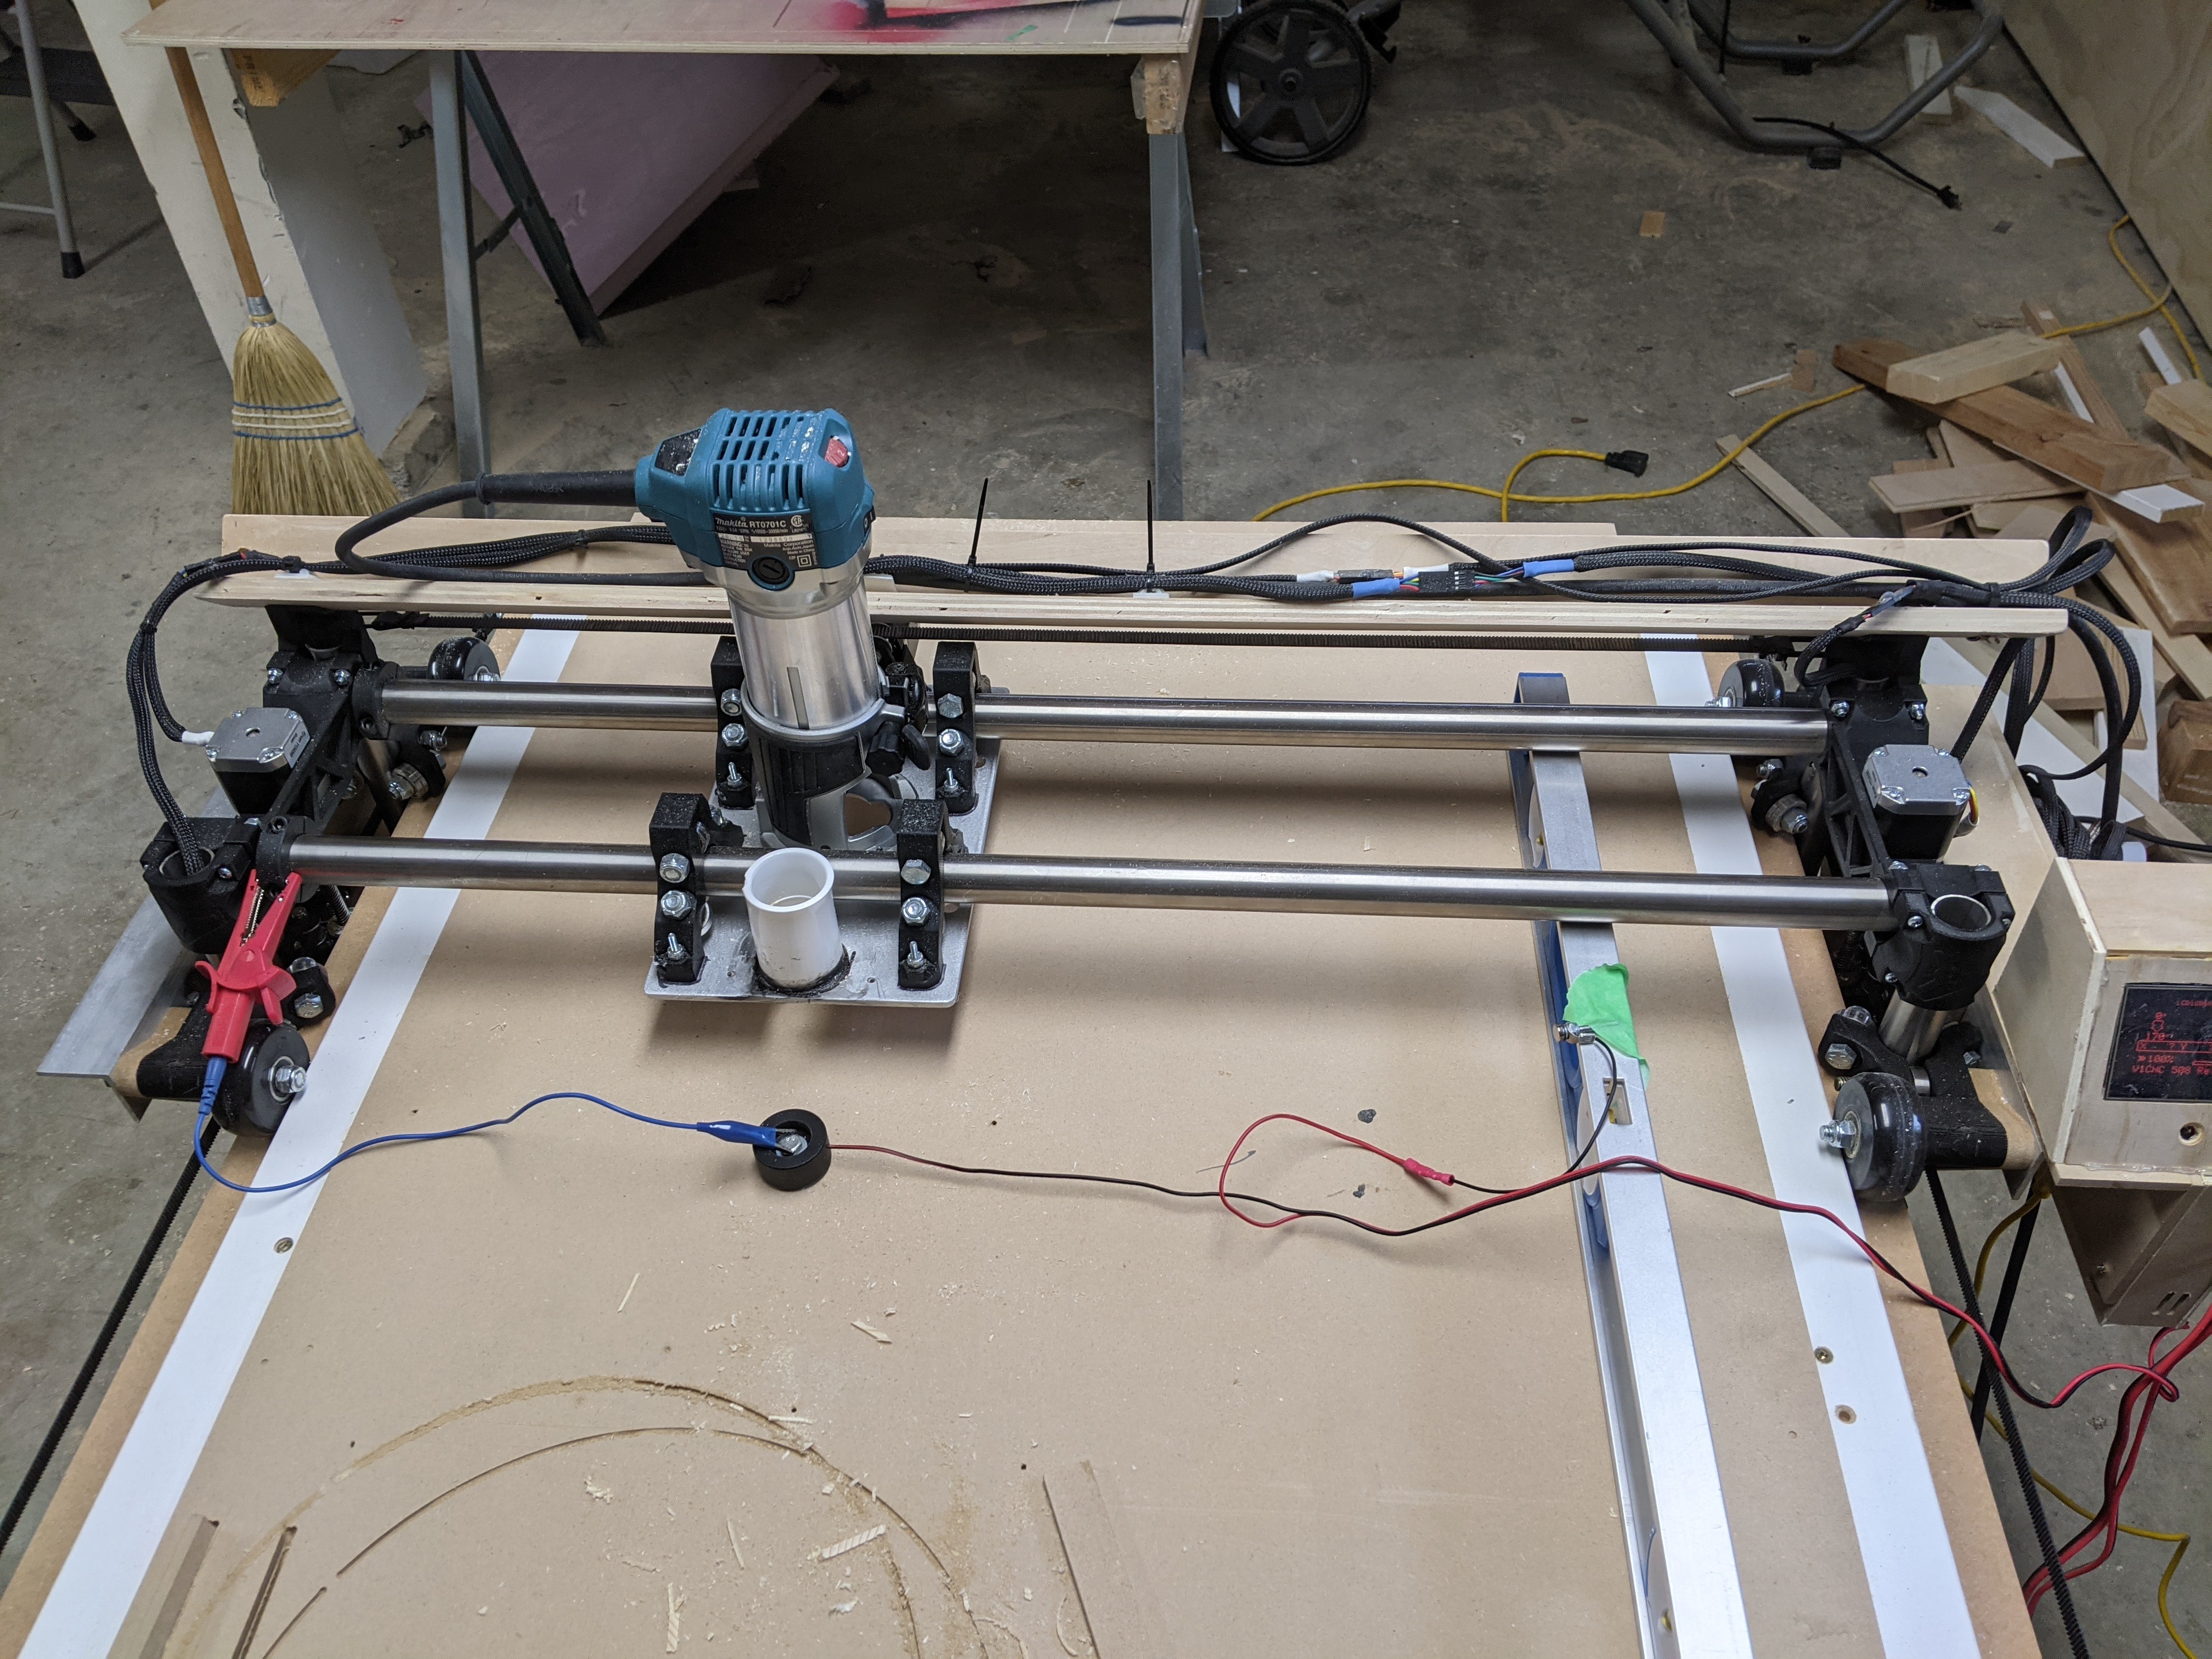
I’ve tightened the wheels (they were a bit wobbly). No improvement. But as other people have reported, the wheels are not super inline with each other. One wheel is actually facing in the direction that the machine wanders. I bought the hardware from V1.
What steps should I take to make it run straight?
EDIT: When checking the with the size calculator again I can see that the X-rails should be 87.30cm (when table is 80cm wide) instead of 89cm that I have now. Is that critical?
Make sure your x axis belt is not too tight. You can actually pull the wheels in if you are not careful. I noticed my MDF Y plates would flex so added some aluminum angle and ran the wheel bolts through it. It helped. That was after I added the guide rails though so not sure if it would have solved all my issues. The guide rails were my permanent solution.
It’s all about how you set it up. Yes it adds friction but has not been an issue, the matching didn’t even skip when my bit came looks and I did a 1 inch full depth cut into the mdf table top. Your x axis just needs to be perpendicular to your Y axis and it will always cut square. I simply put stop blocks on the table that I can start the machine against and I know it’s square.
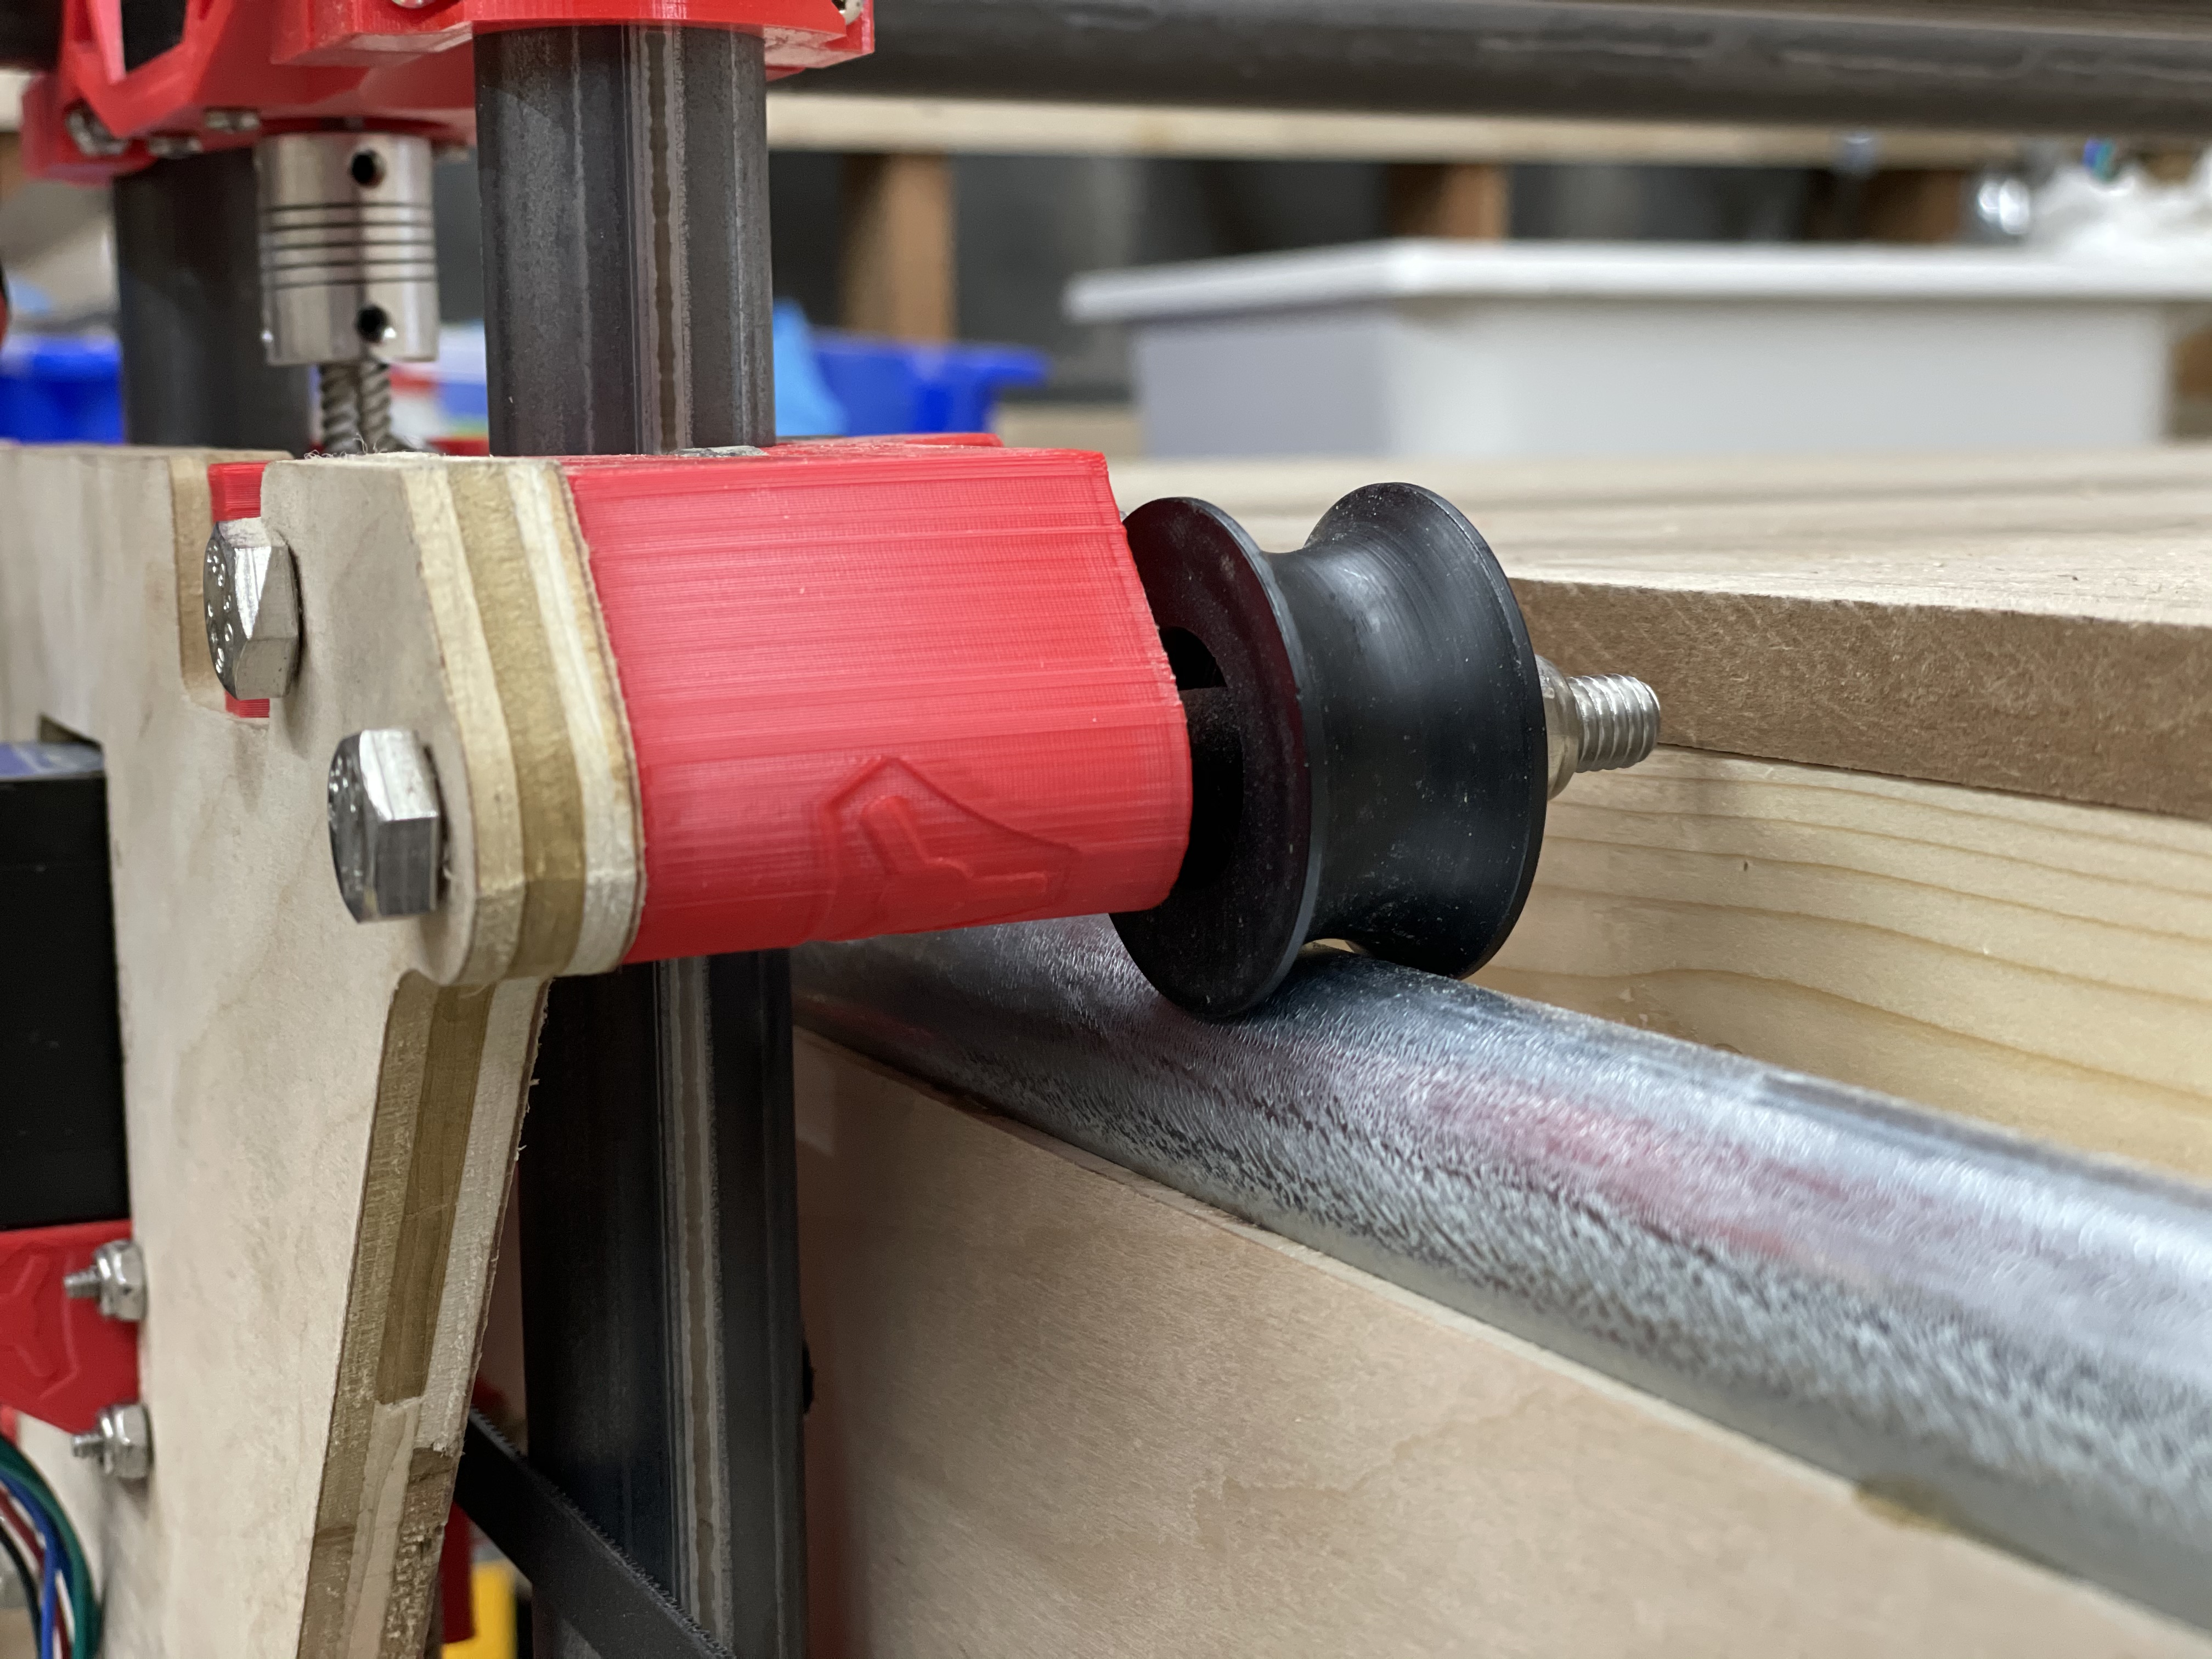
It attaches to the y plate with a bearing in contact with the table. I’ve not had trouble with a wandering lowrider, however on some of the cuts I make with larger bits the whole gantry can slide. Granted, I’m using insane parameters to make the lowrider gantry slide so please don’t take this as a given. I installed 4 of these to counter the forces on the x-axis. An emphasis before installing these items. Your table must be square or this will cause more problems.
Hey, i also have the problem with the wandering lowrider2. I already ordered the bearings but i cannot find the .stls on thingiverse anymore. do you have by chance a direct link please?
I can no longer find it either. I’ll see if I can dig up my modified version in fusion and if I still have it, I’ll upload it to Thingiverse. Don’t get your hopes up though.
No binding over the length (8ft). My rails are joined to the table at points with some spacer blocks. If your table wasn’t square you could just add tape/shims between the blocks and table at any short points as necessary to get there. Just roll it around without the belts on to see if any play develops anywhere and shim as necessary.
So far it’s been pretty spot on: recently made several boxes with half-blind box joints on it over the entire length of a sheet of plywood.
In fact, I think this would work excellent with a modified torsion box table: Just extend the 4’ internal struts to exit the sides by 4" or so with a half-hole on each extension’s top to receive the emt tubing, then complete the table. If you were careful assembling there shouldn’t be any shimming or modding necessary (I was careful and didn’t have to shim mine either). Pattern-cut or CNC those torsion struts and you’d have very parallel rails.
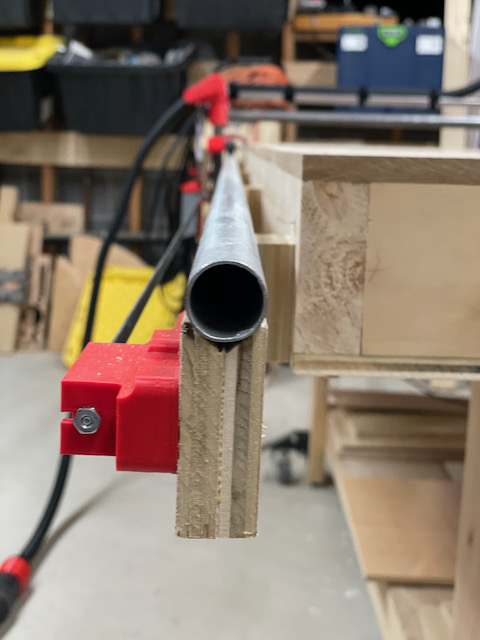
The wood has a V-channel cut in the top that you can see in the last pic. It worked fine while testing things with it just resting in the channel, but I bumped it several times while leaning over the table, so I spot-epoxied it to to the wood every 8-10” or so.