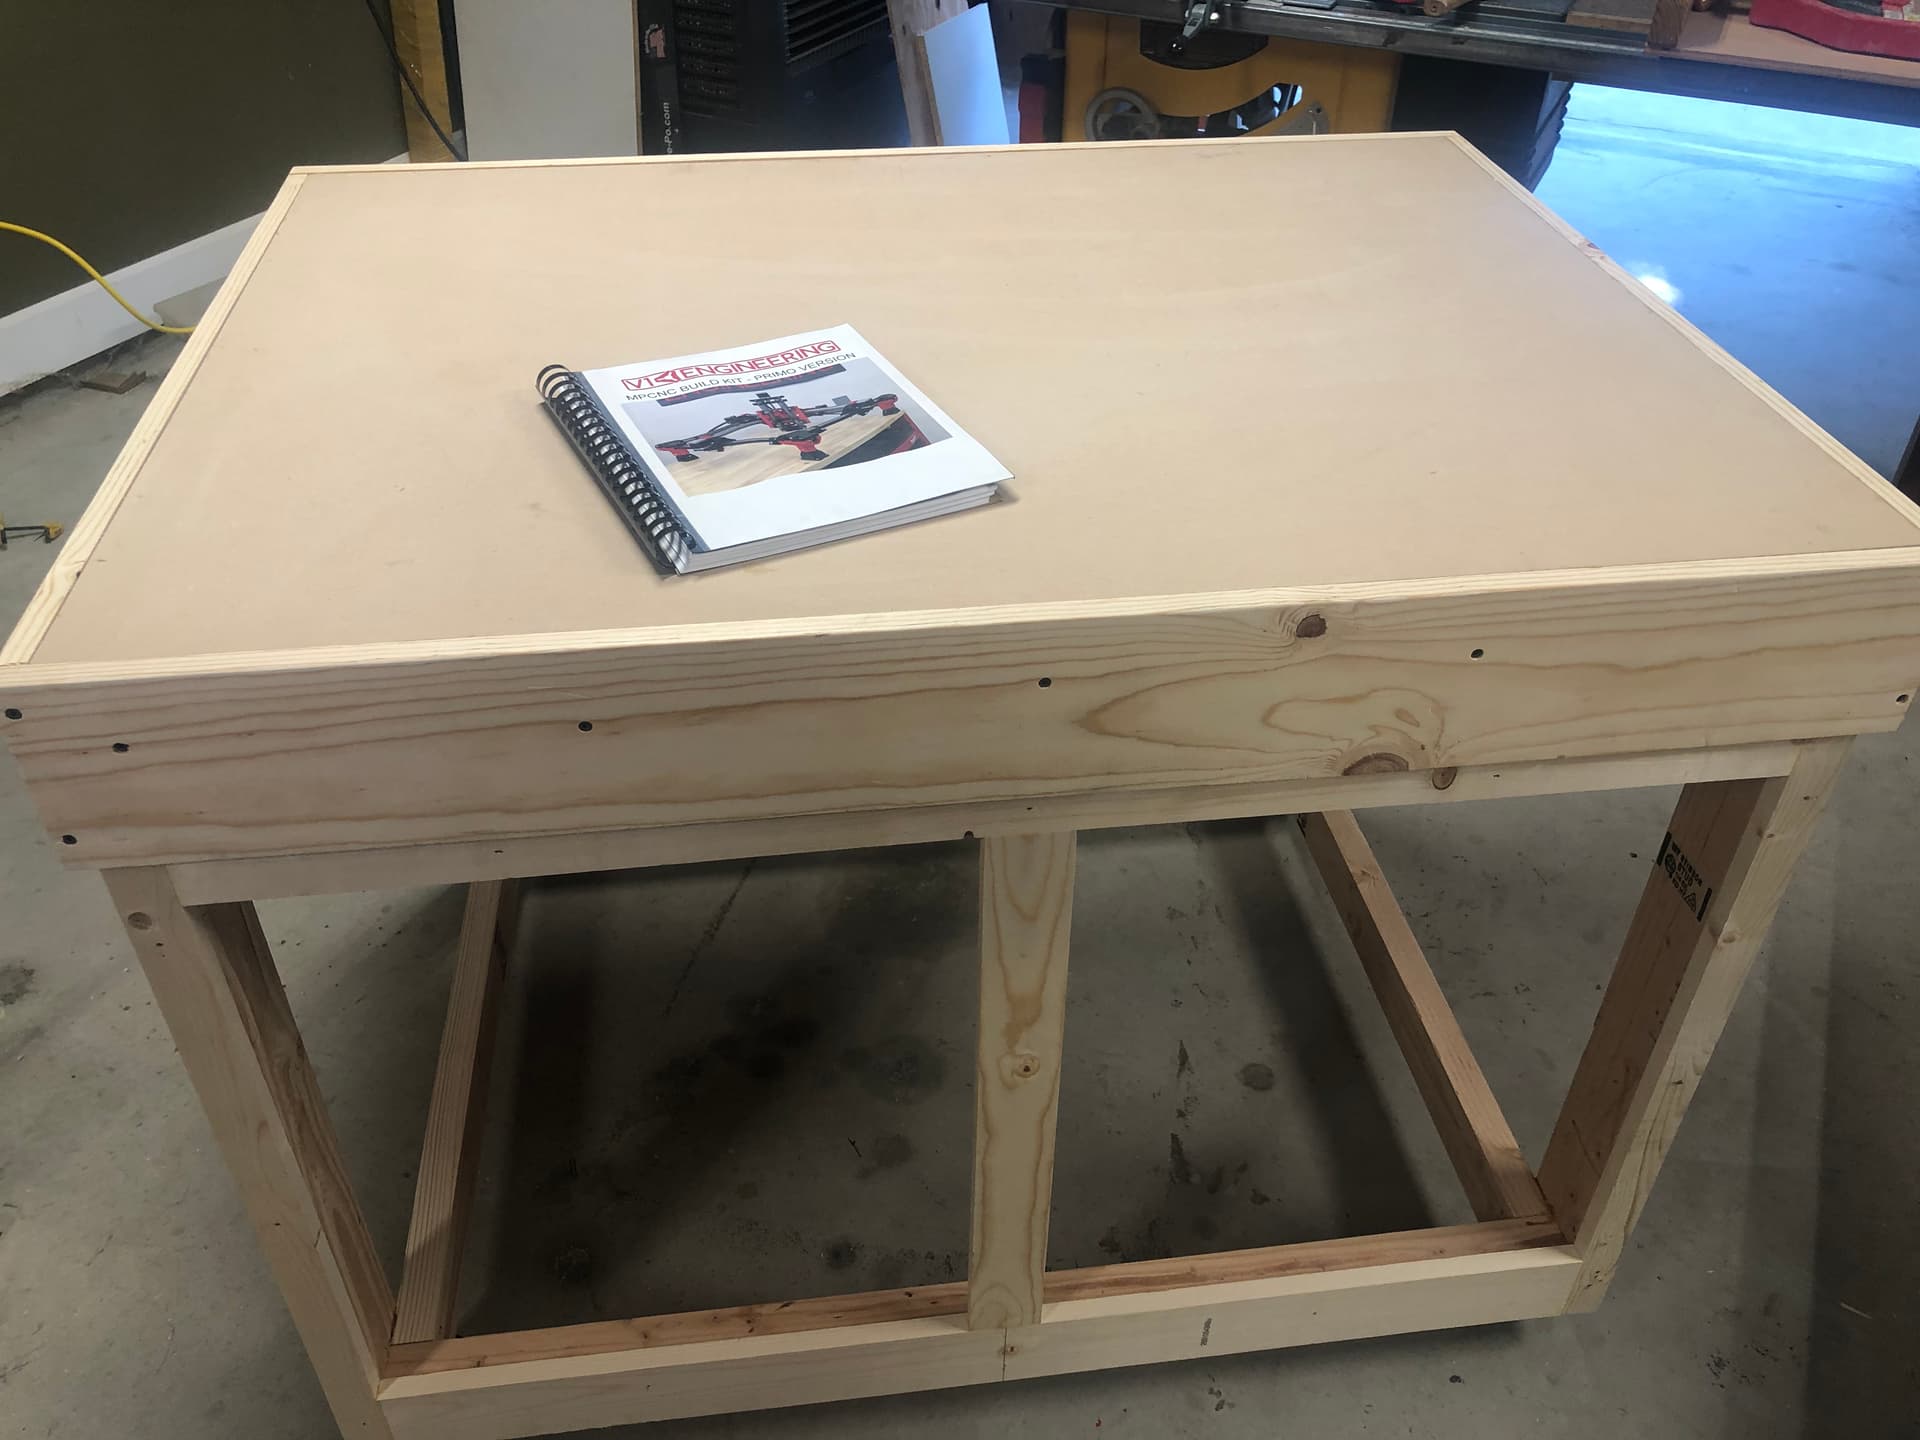
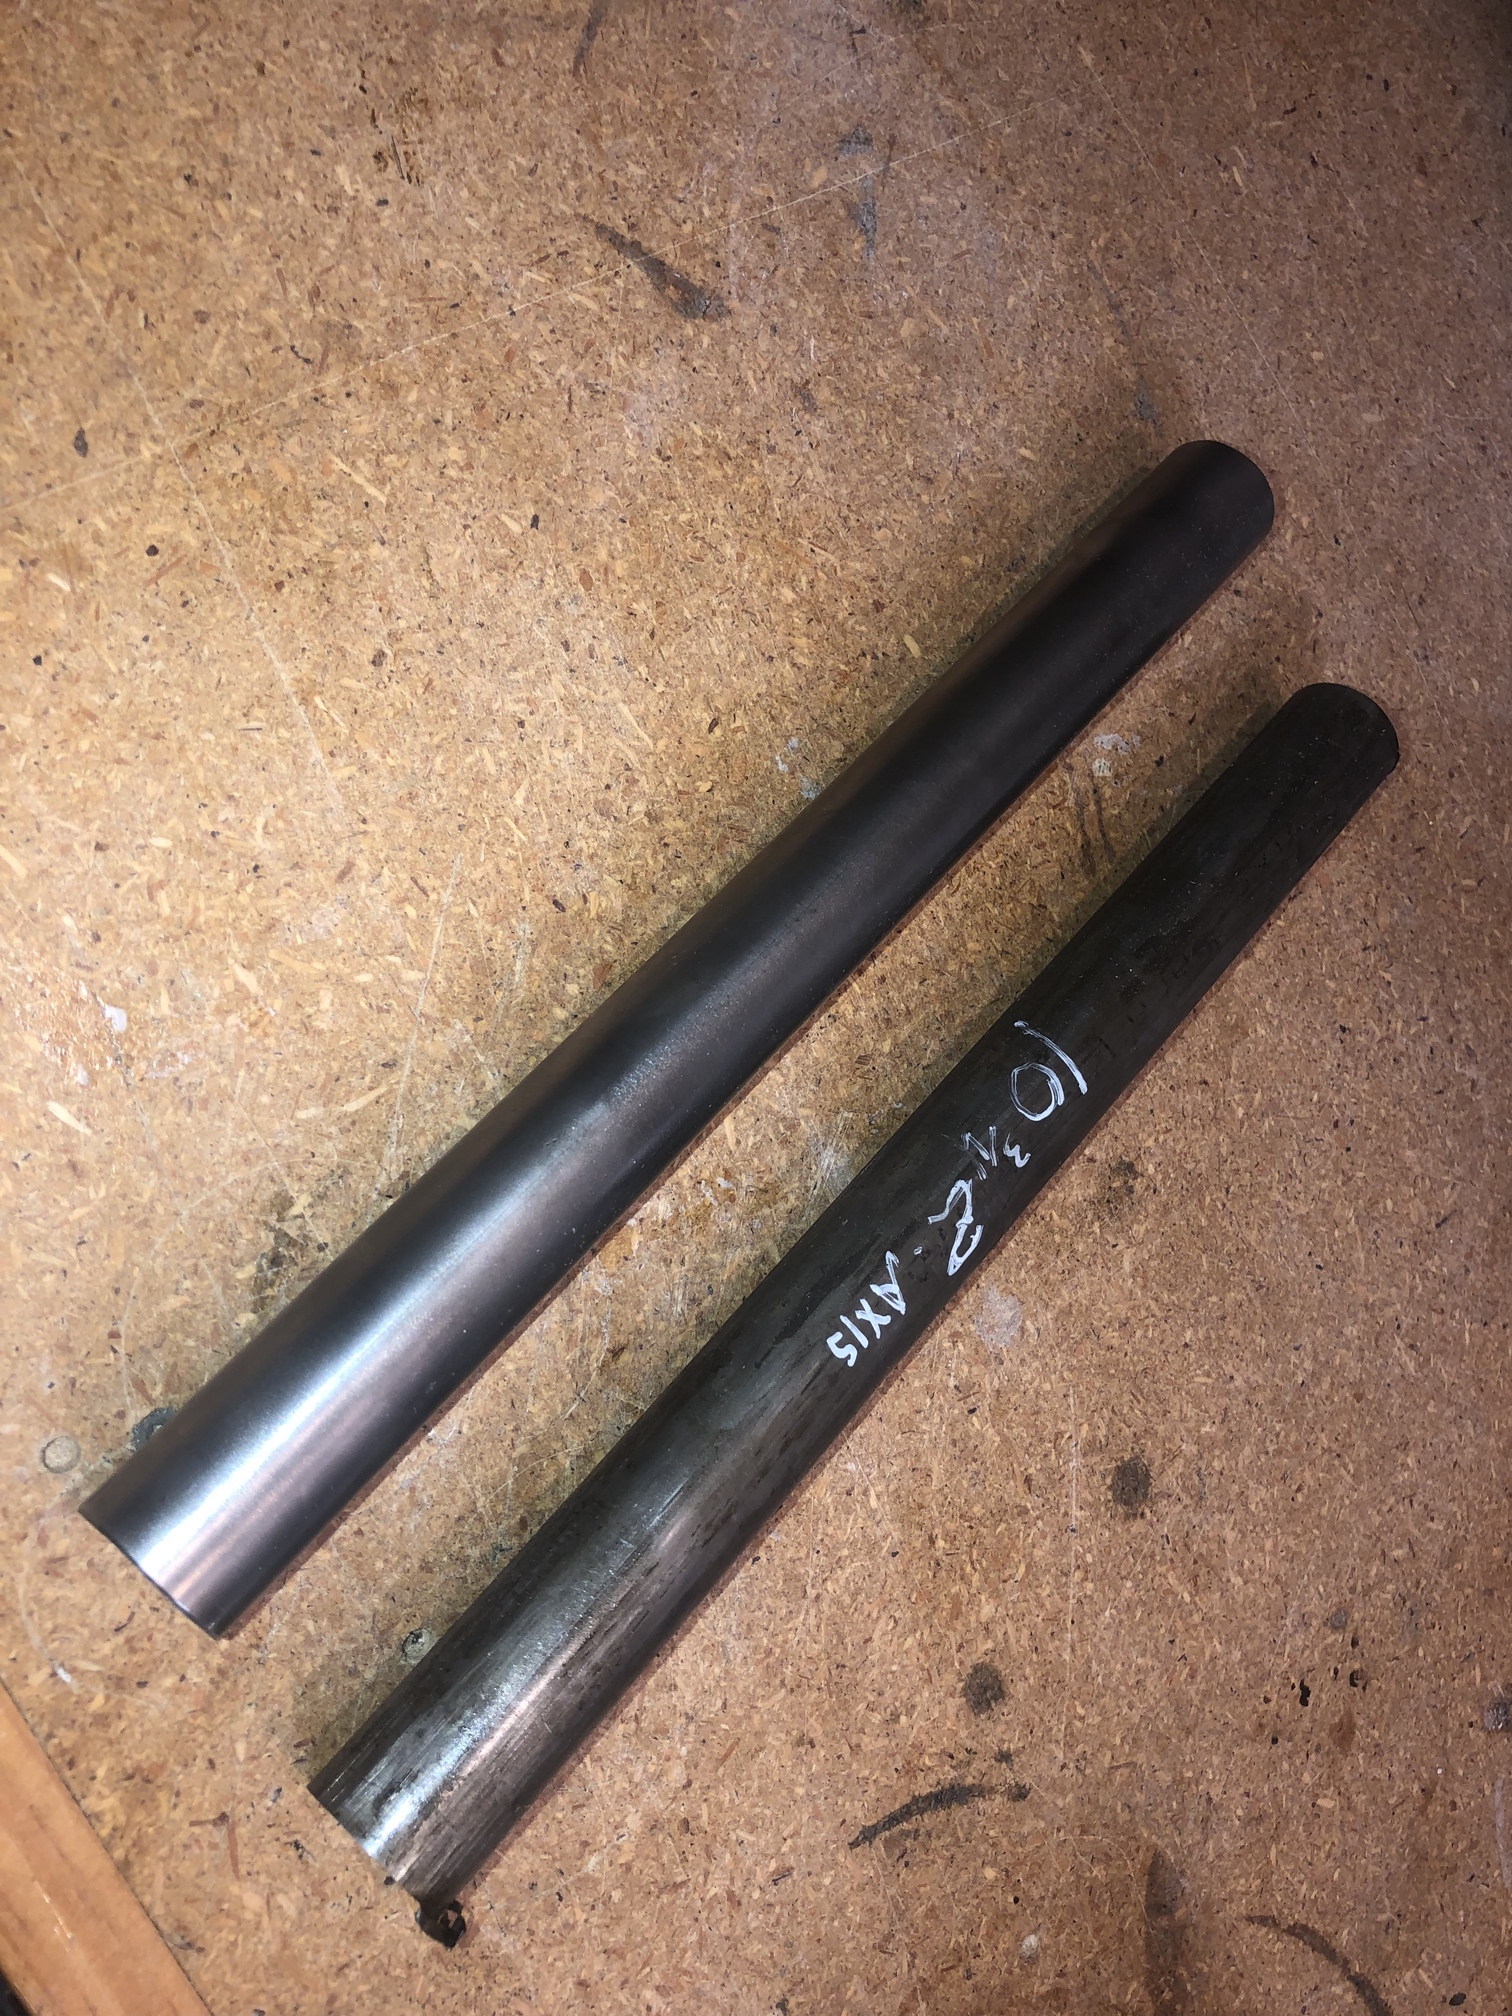
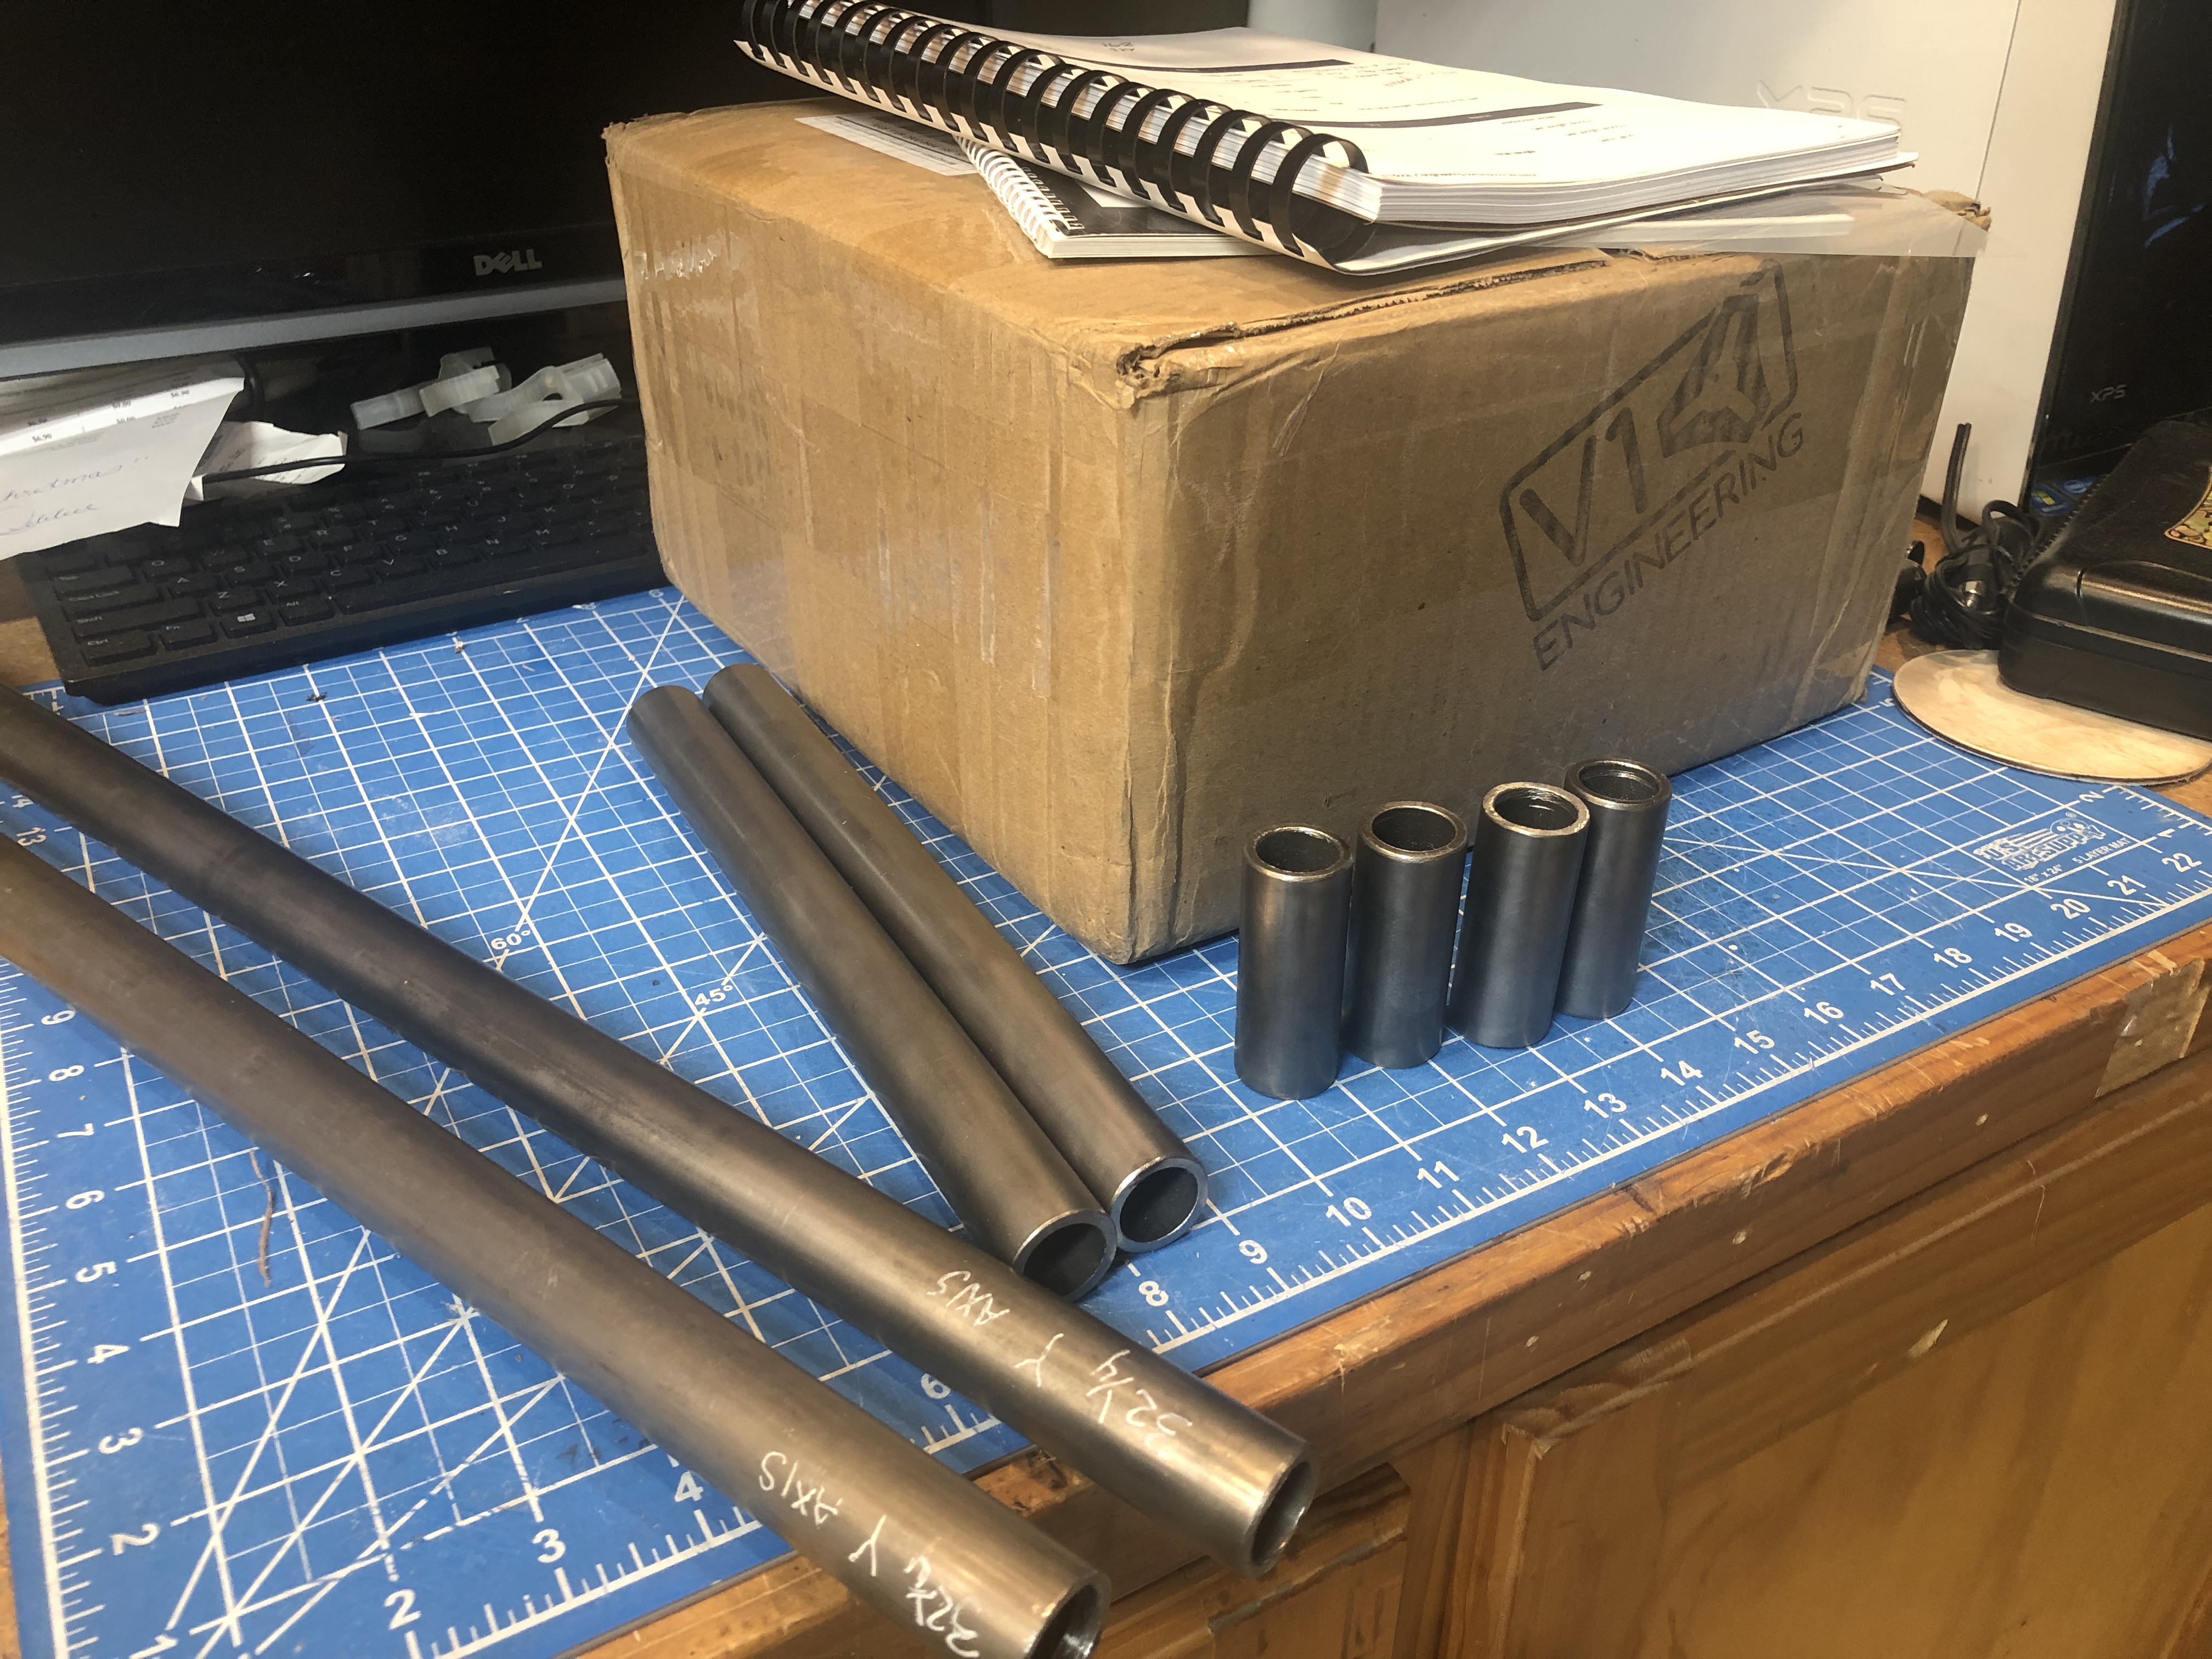
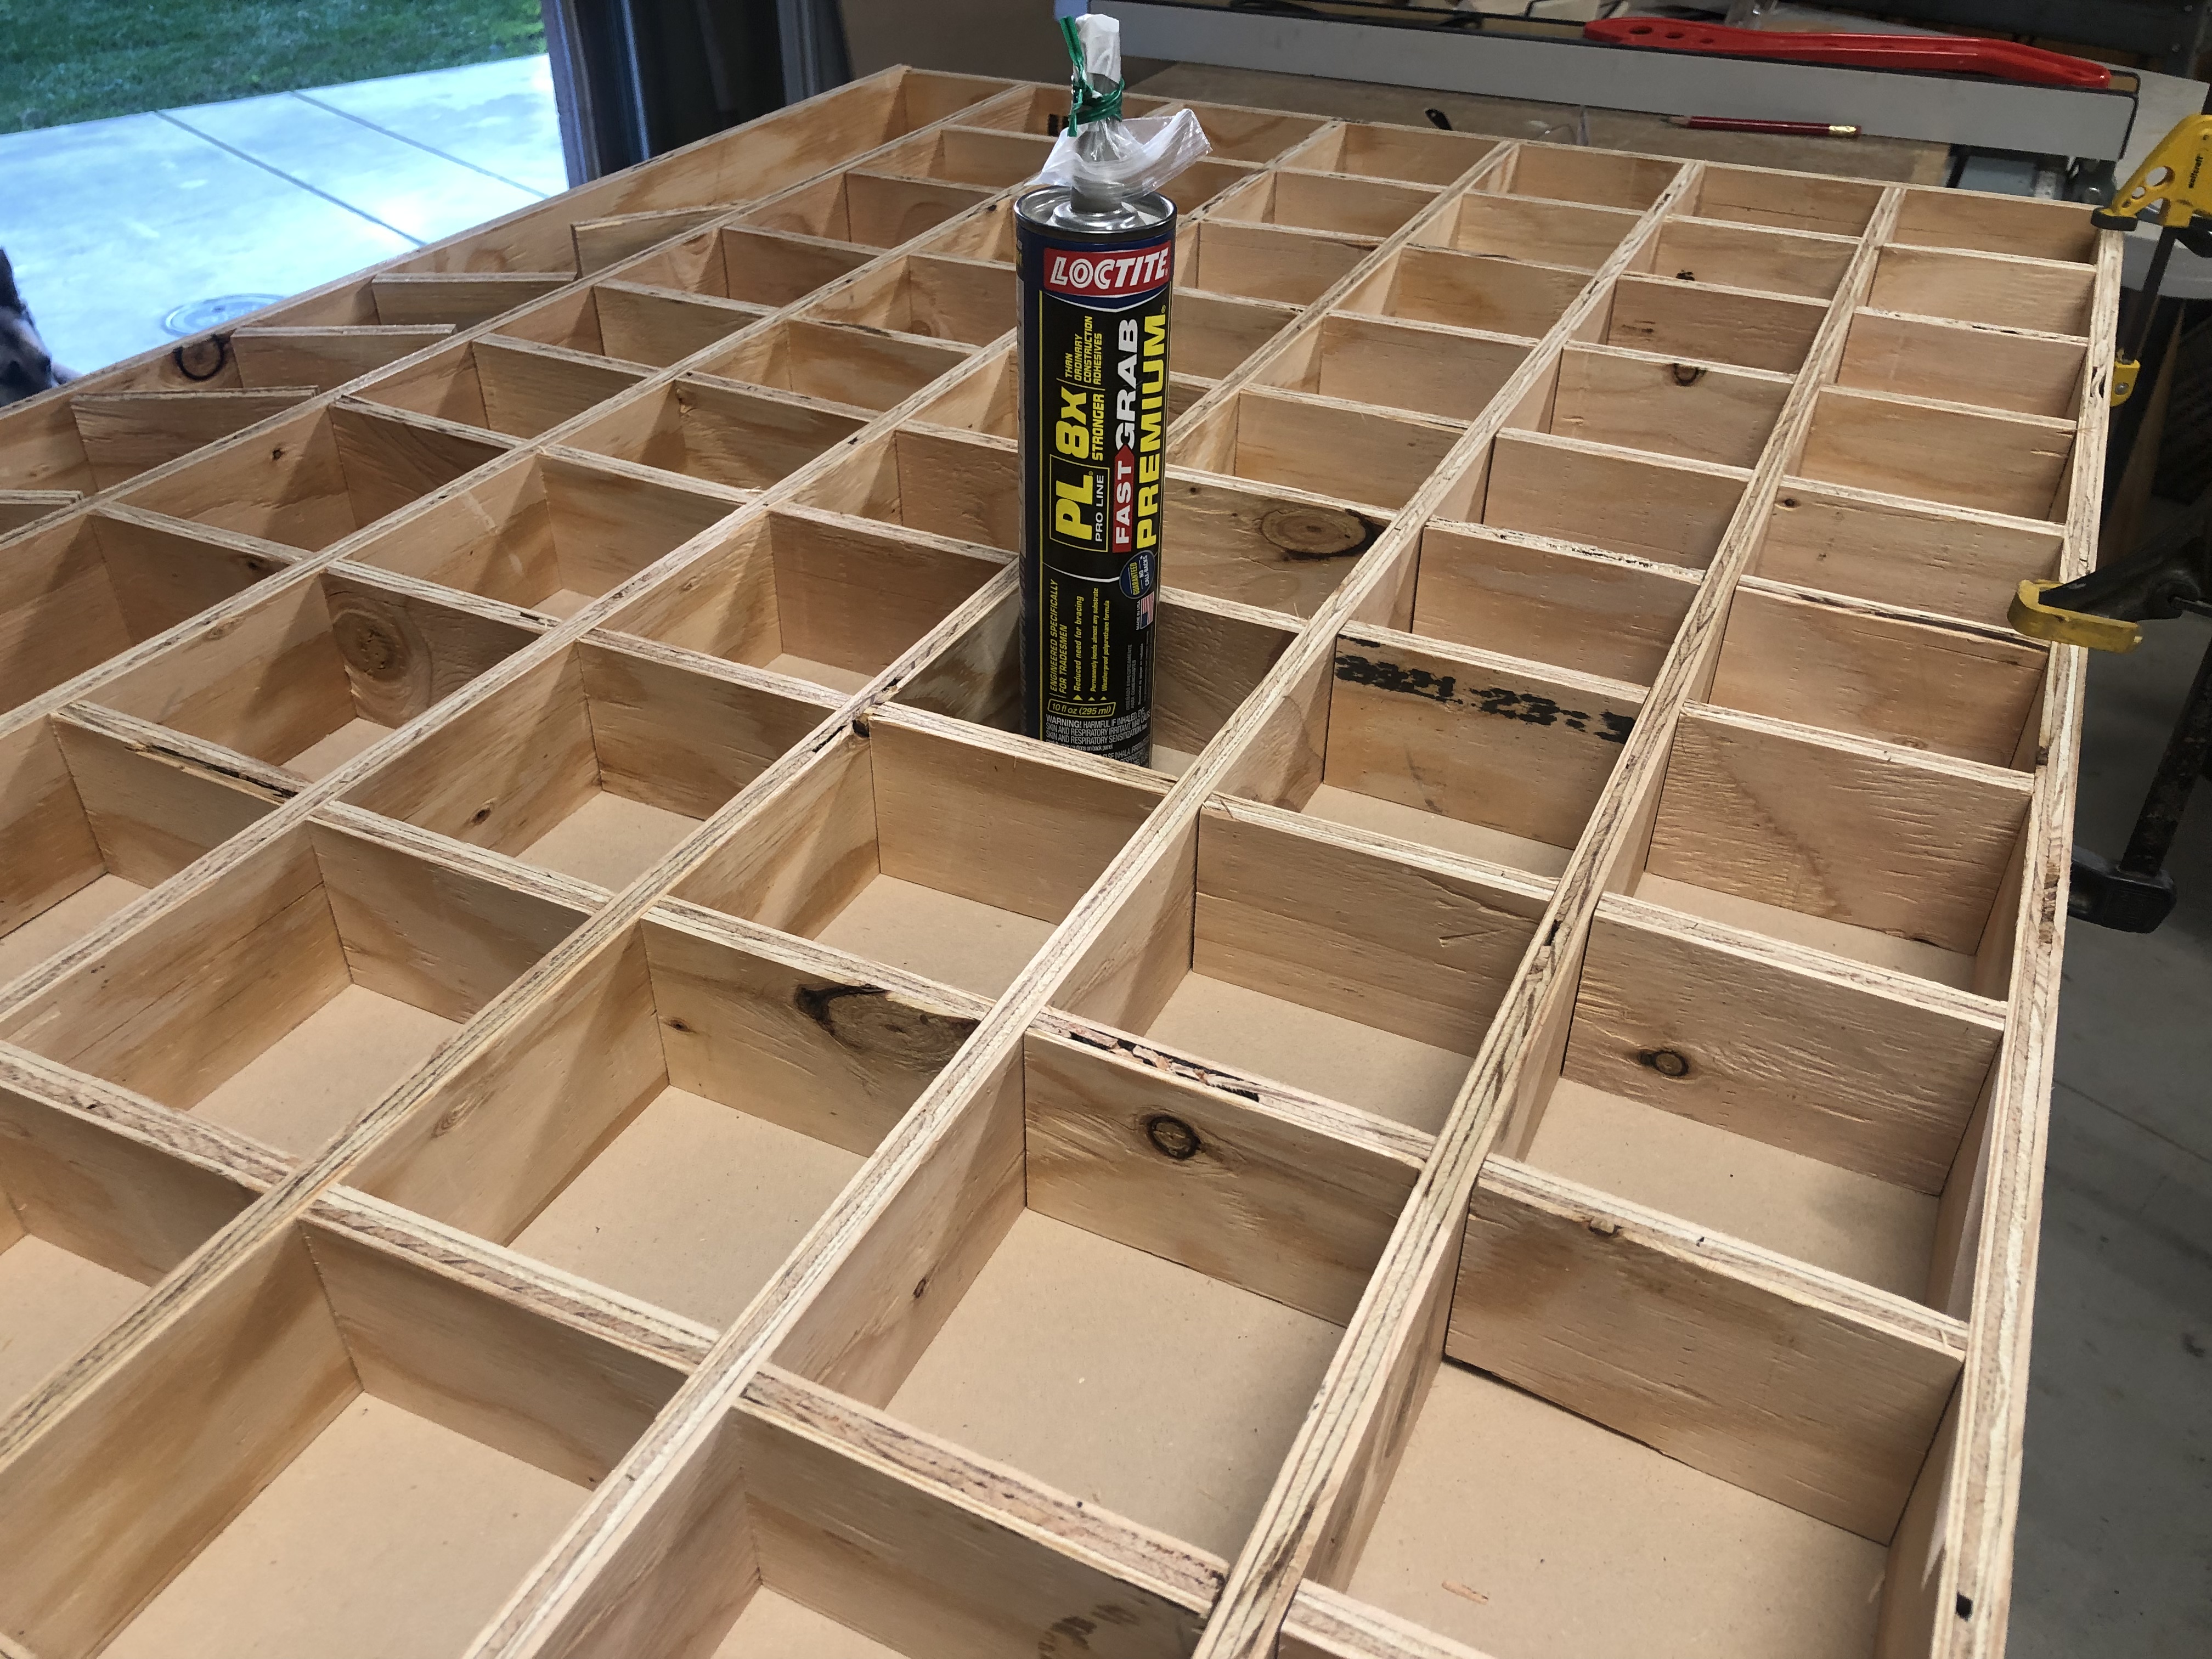
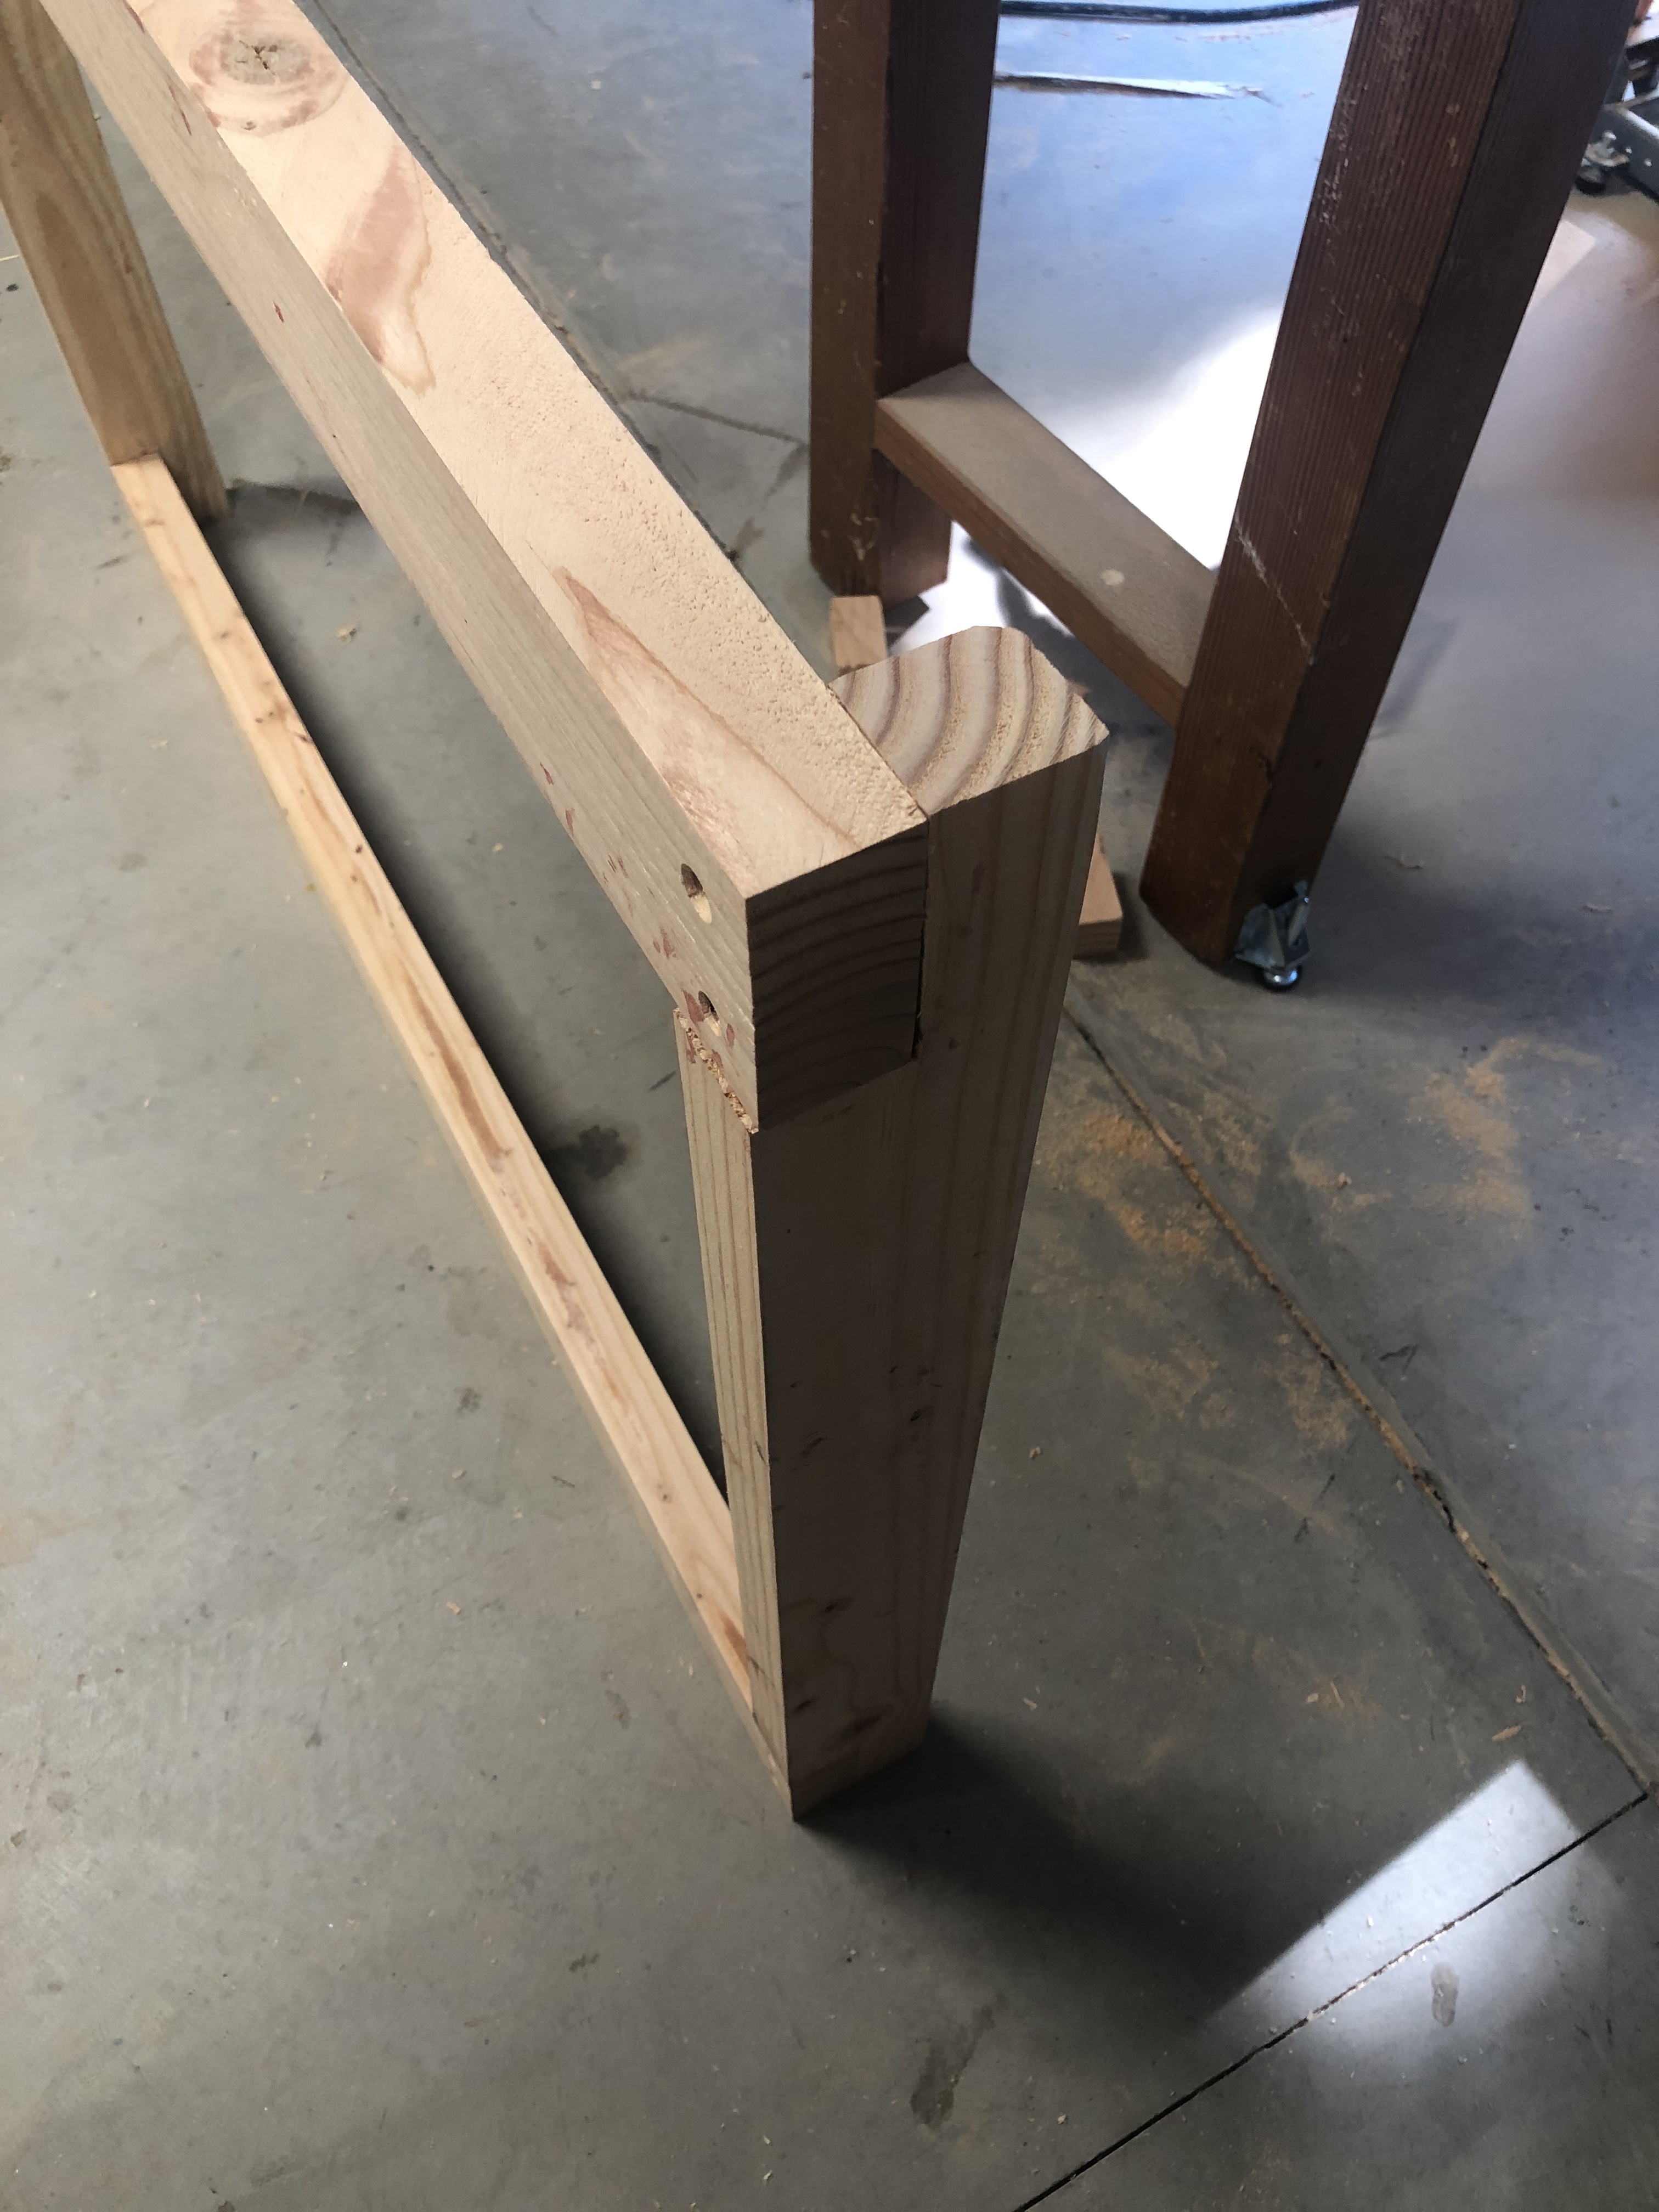
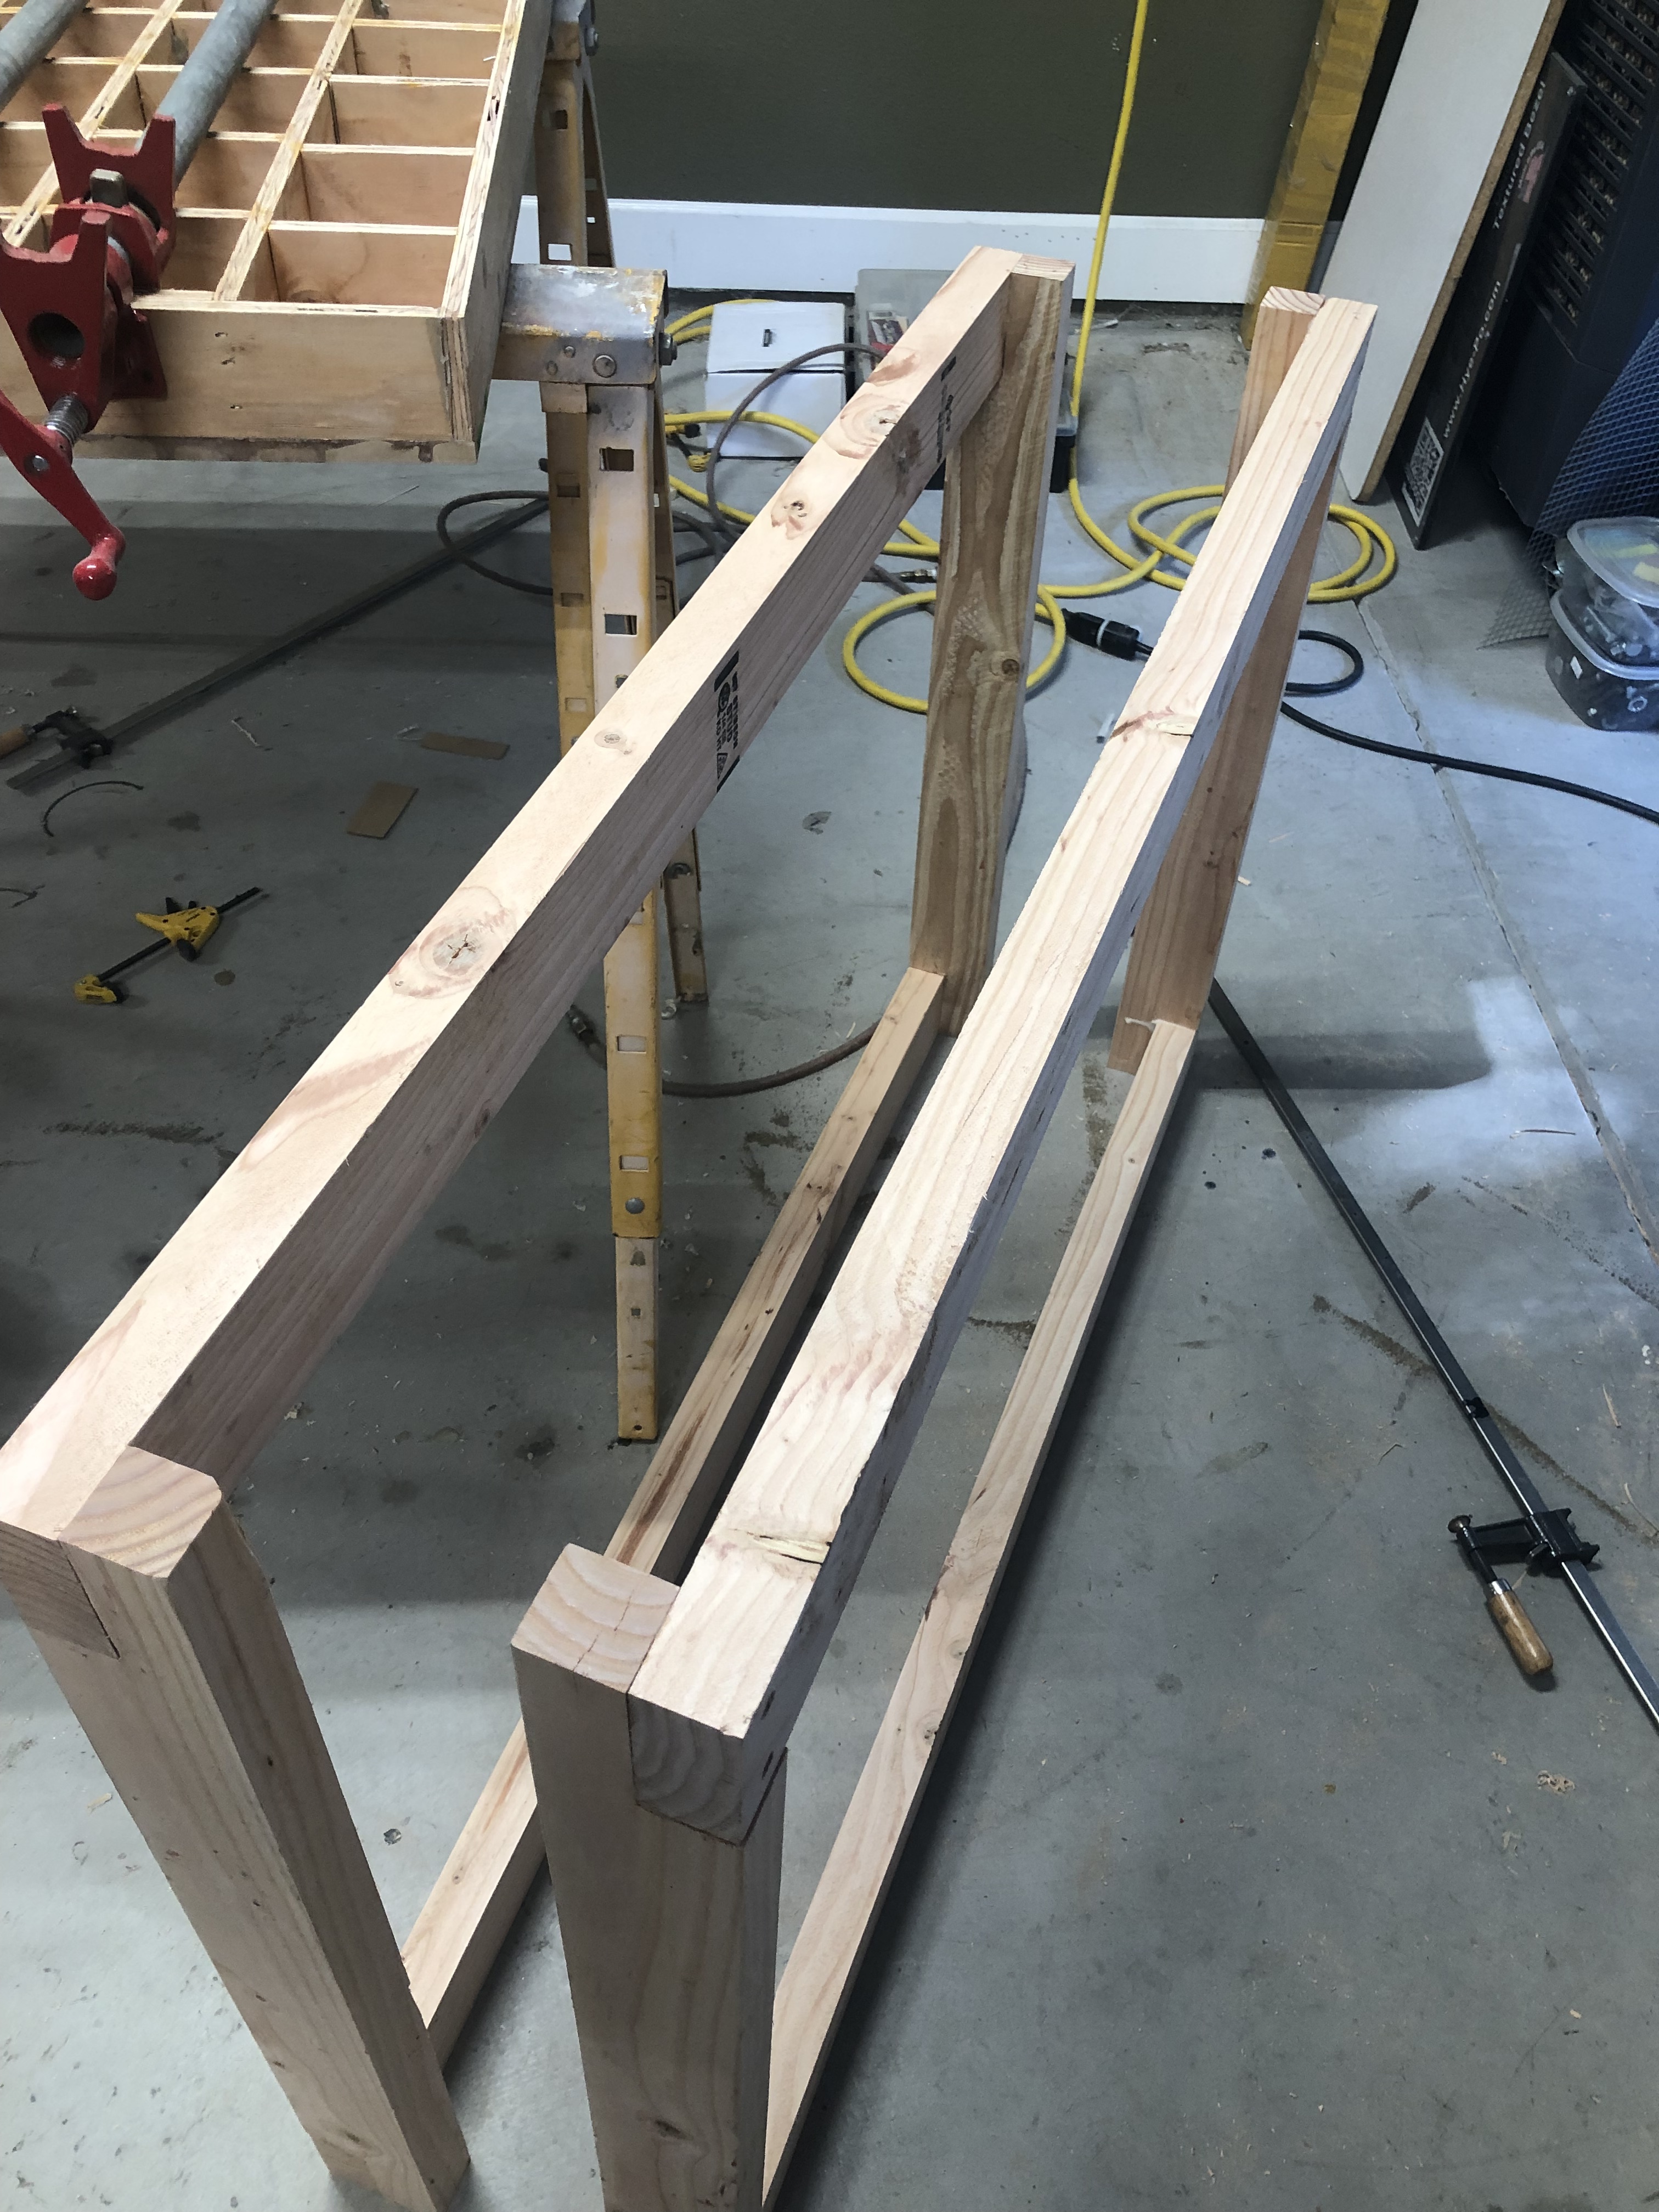
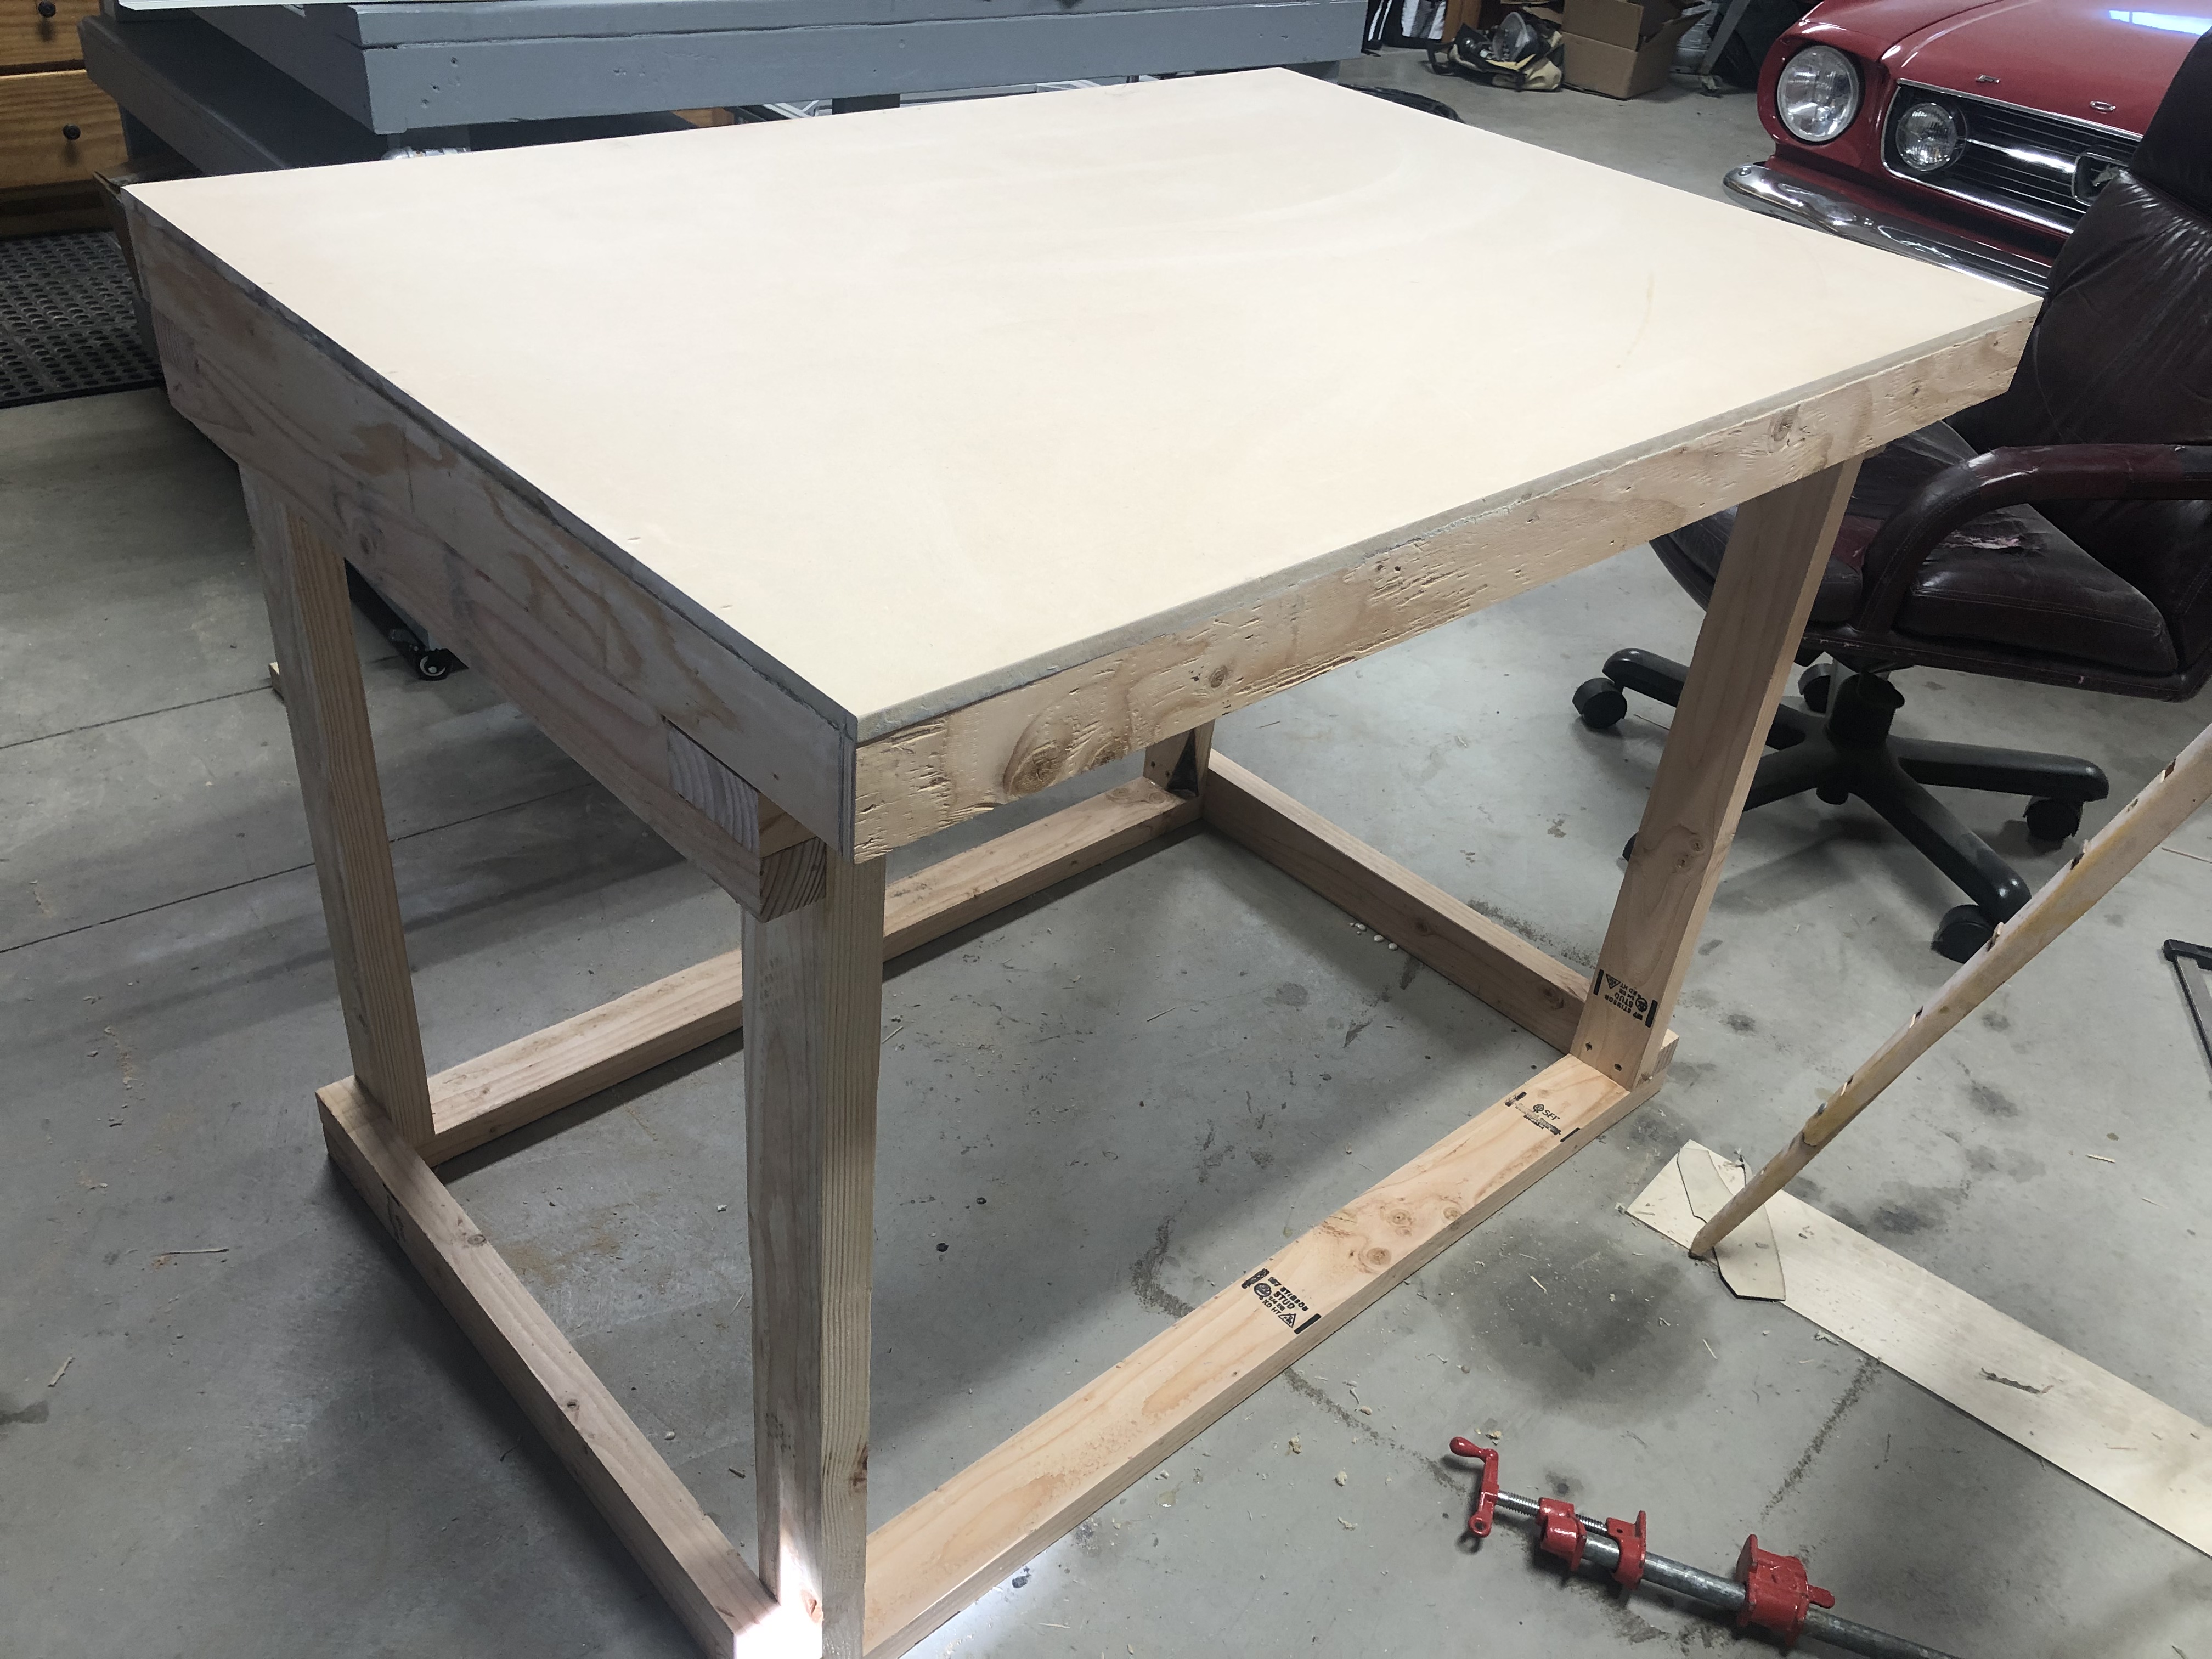
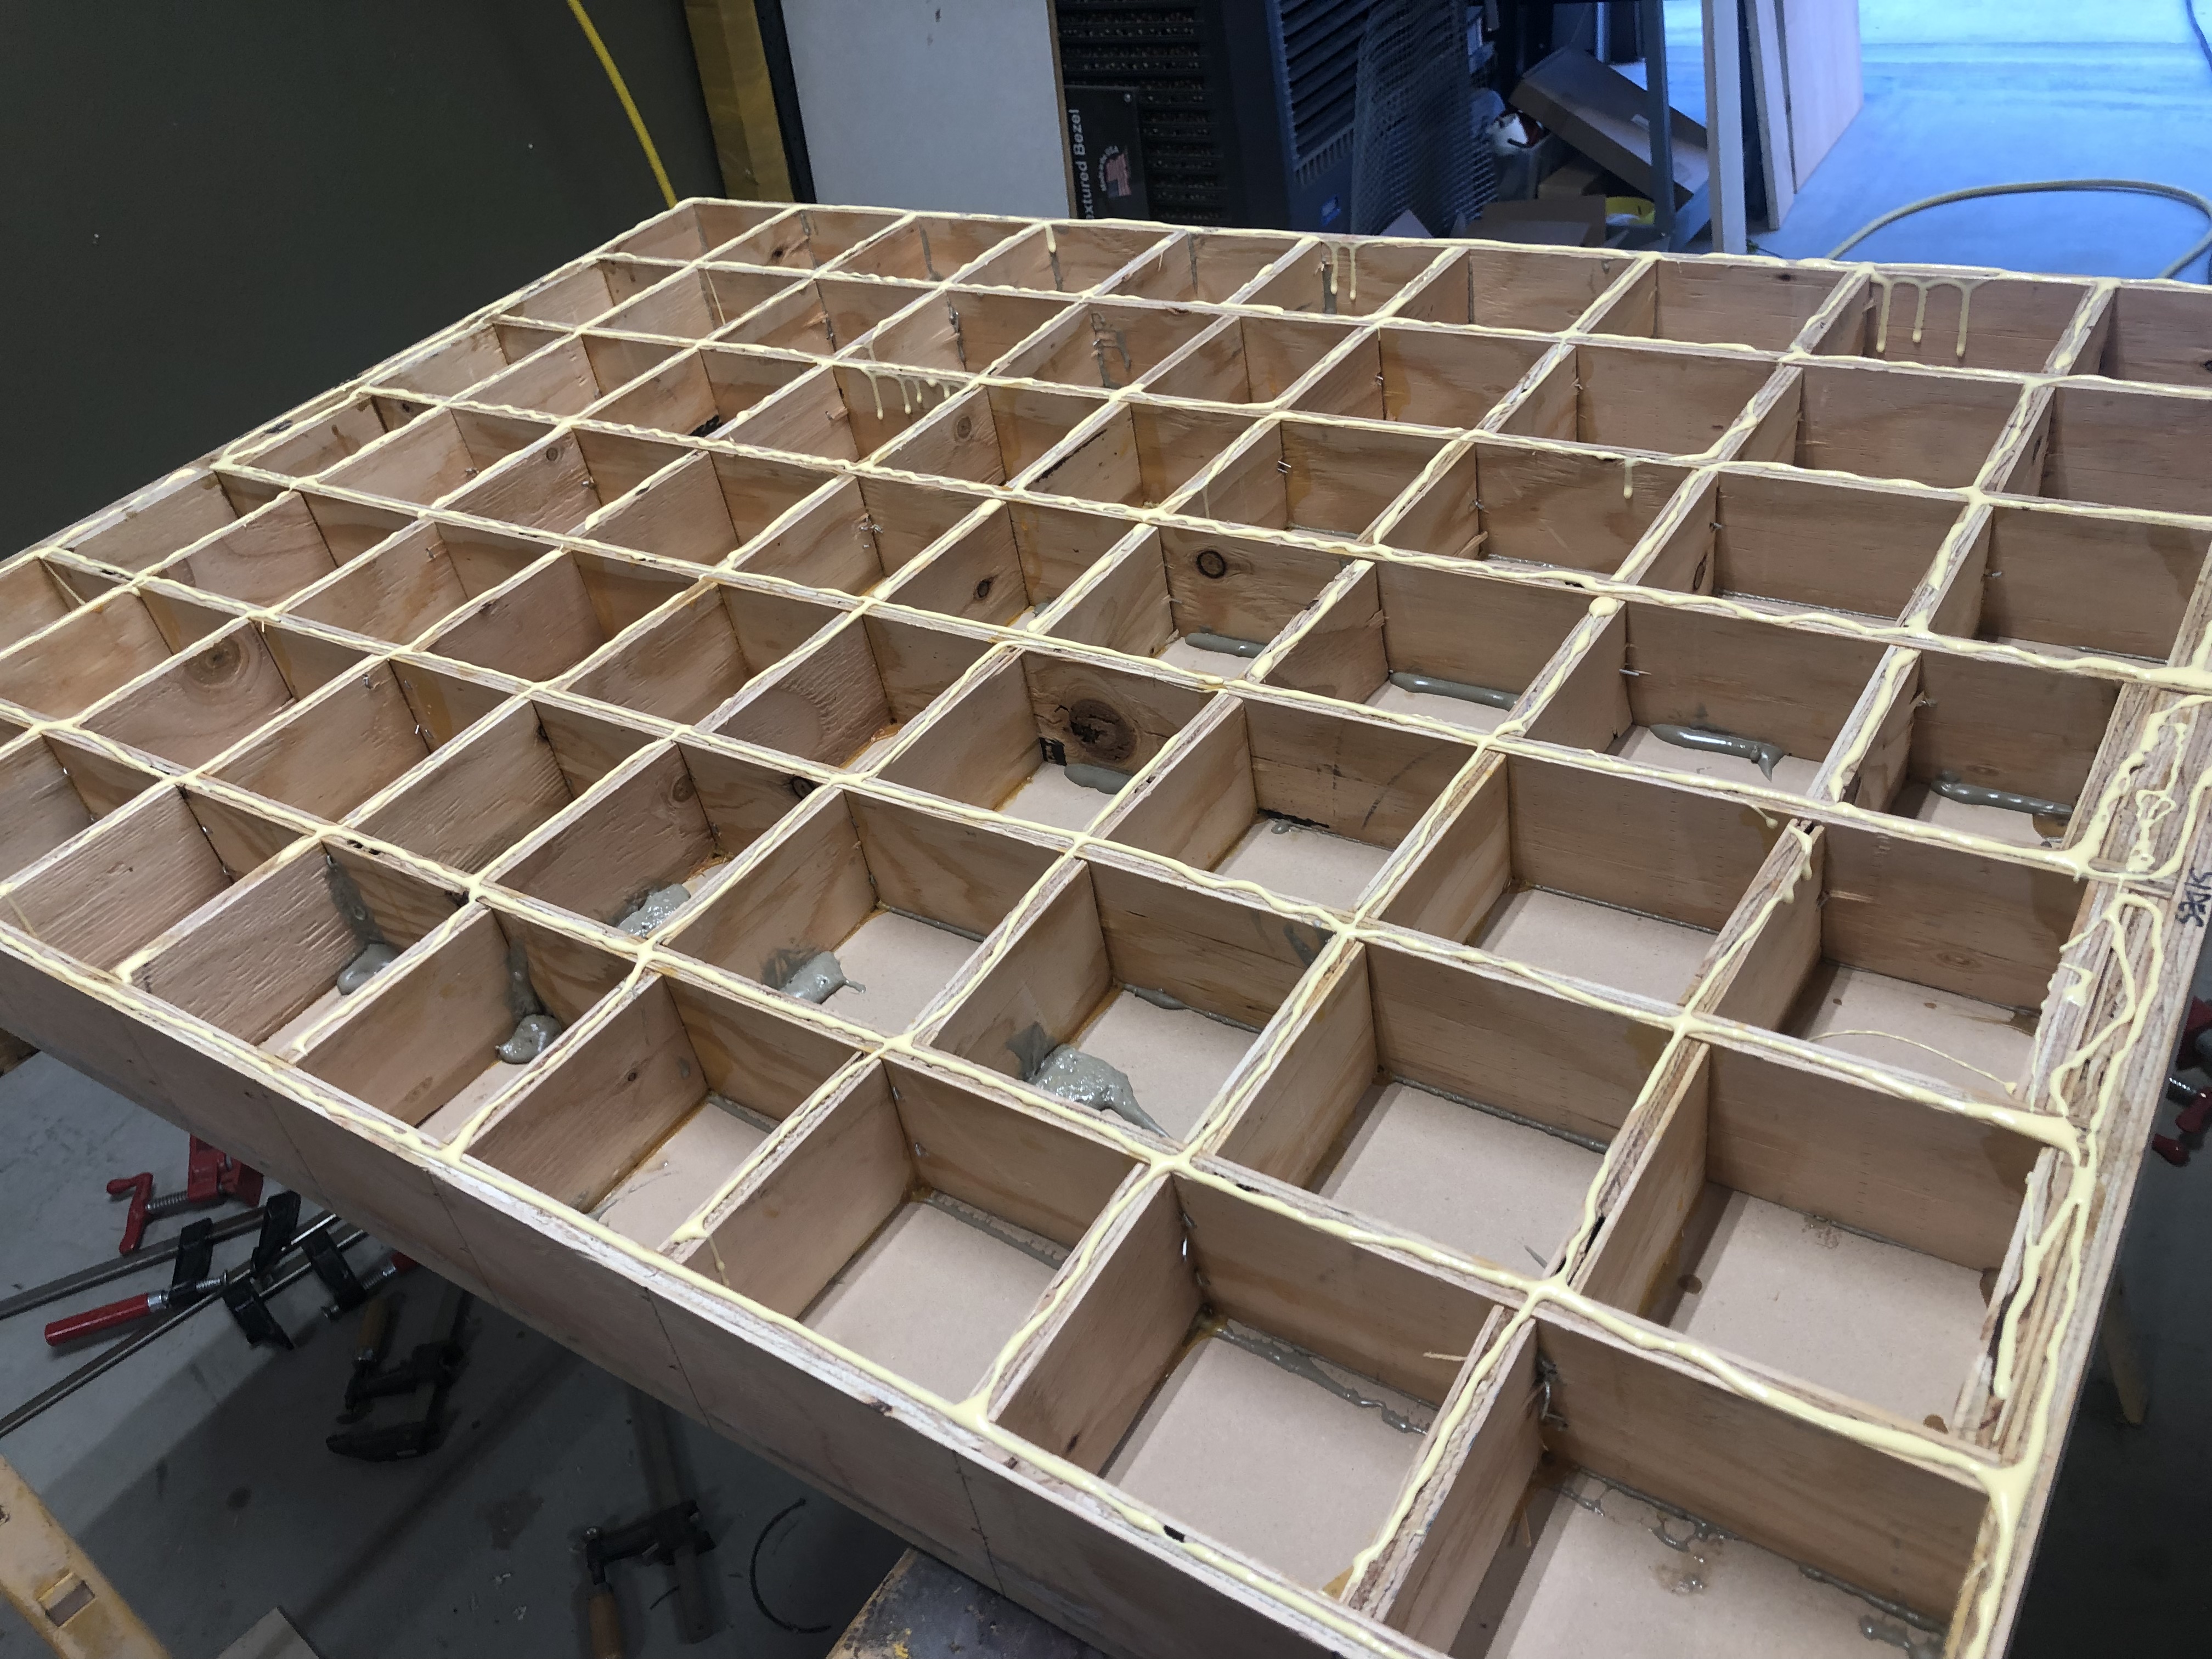
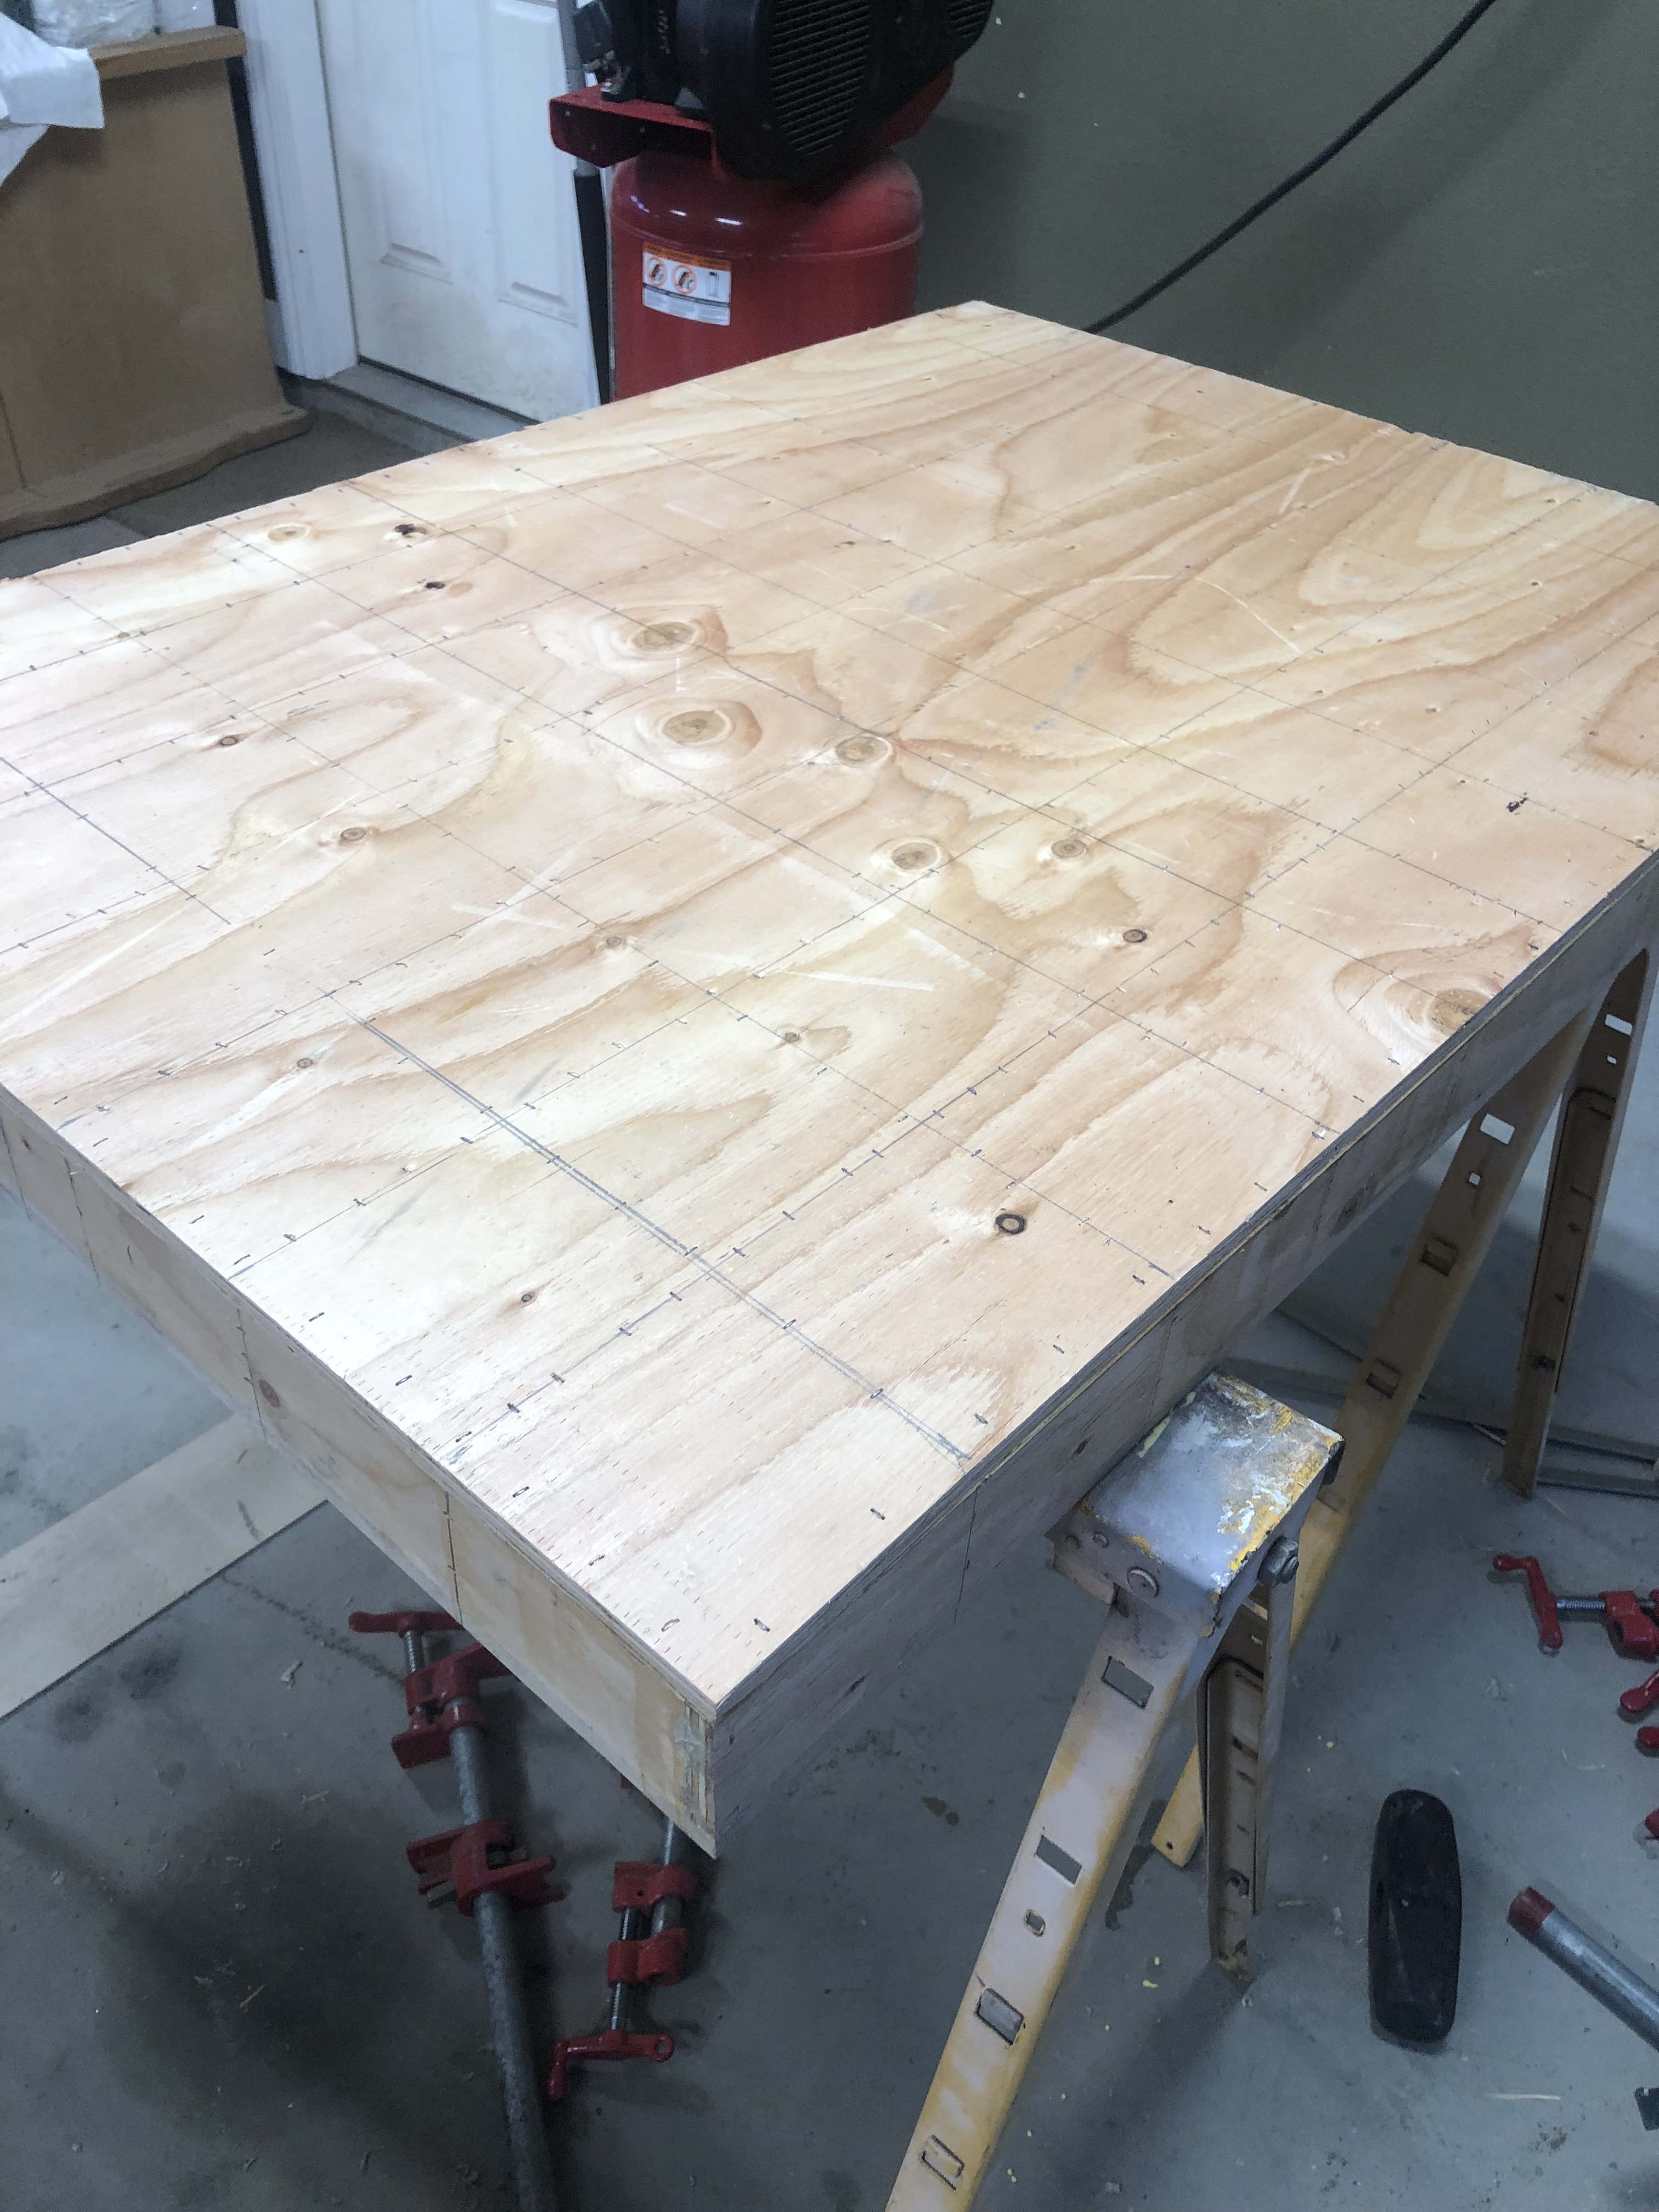
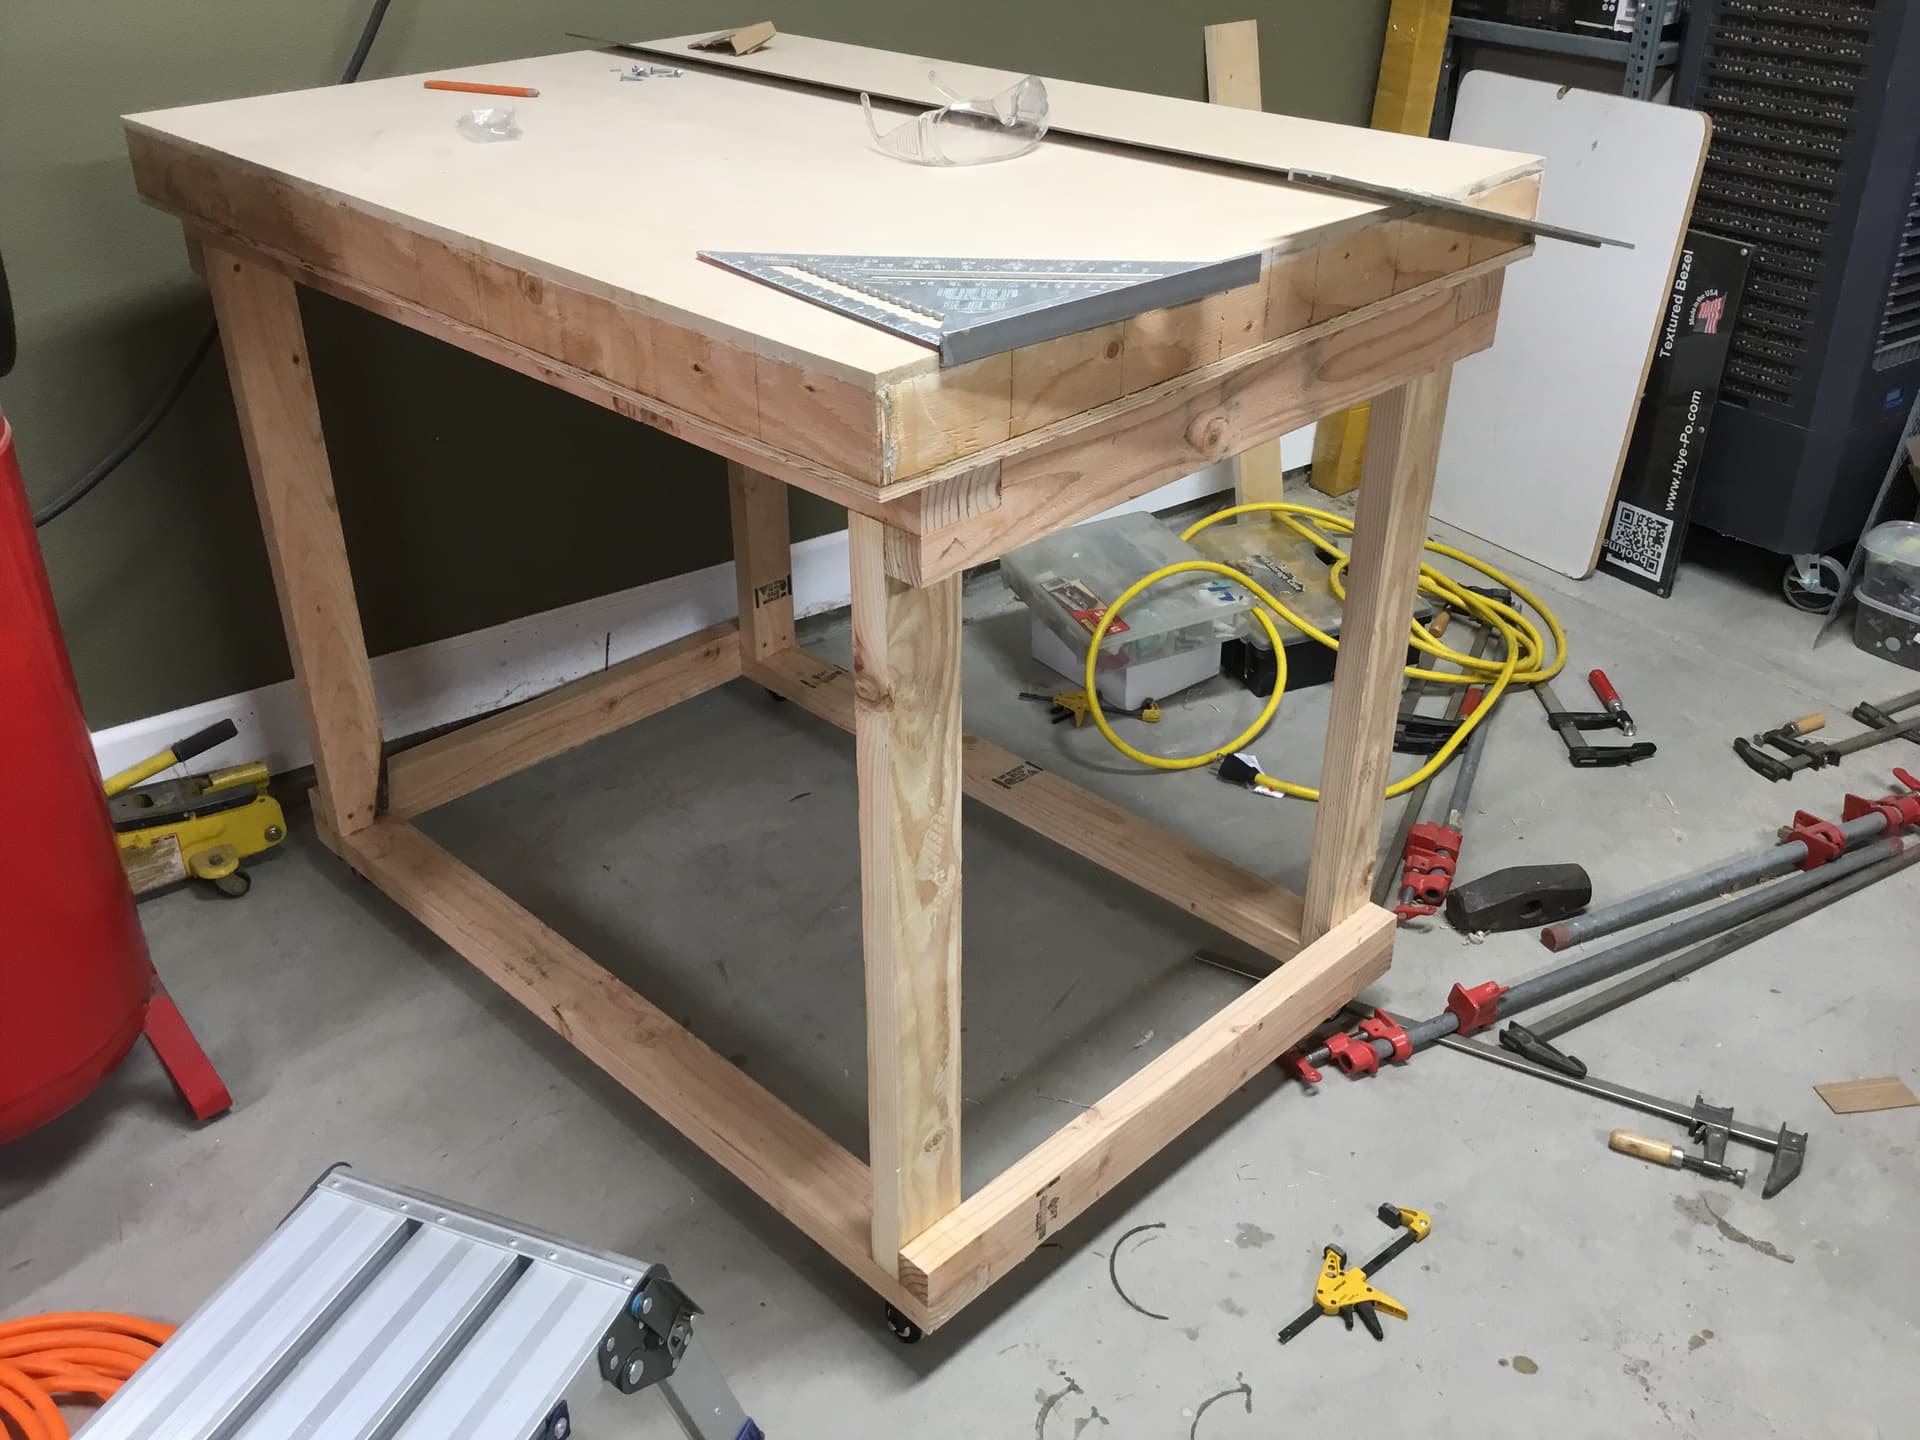
So last Tuesday I Ordered “the kit” to build the cnc router machine. My bundle included the printed parts, the electronics and everything short of the dual end stops. I was lucky to find some 1” DOM locally albeit .125 thickness, at $118 it was still the best in terms of cost. I cut all the pipes according to the ‘calculator’ and got it all ready for assembly. Now just waiting on my buddy who is printing out the jig that will allow me to drill the holes in the z axis’. While that arrives in the mail this week, i began making the bench top. I decided on a mobile bench 43x32, just a bit larger than what was called for. Basing the design on a torsion box, using 1/2 ply for the grid to keep the weight down and 1/2” MDF for the top and bottom. I’ve never made a machine like this before, so as y’all follow along, please feel free to correct my obvious mistakes… much appreciated.
1/2” plywood x 2.5” tall. I know this will be fun to nail up give the size of the nail gun…LOL. But the PL adhesive will help make for strong bonds so nailing not so much an issue.
Looks good! I’ve seen many instances of the torsion box design used. I am not familiar with it enough to know why its used. What is the advantage of building a torsion box opposed to just a 2x4 frame with some cross members for example?
Basically it comes down to the fact that a torsion box approaches the strength and rigidity of a solid piece of material the thickness of the overall box, while reducing the overall weight.
My tables have fewer chambers to them, but still apply the torsion box principles. Actually a 2X4 frame with some crossmembers and a bottom skin is a torsion box.
Interesting! I’m not saying its not a good choice for the application by any means, I was just curious because I didn’t really know the advantages of it. I can definitely see it being extremely strong without the added weight. Im sure it also holds its shape over time better.
In most house construction, the walls are torsion boxes. 2X4 frame with drywall skins. The result is something with lower weight and higher strength. The walls aren’t always perfectly straight, but it takes a huge amount of force to make them buckle, significantly more than the sum of its parts. (2X4s seem to want to spaghetti by themselves if left alone, and drywall isn’t particularly strong.)
Also, Ikea uses this concept for much of their stuff. The LACK tables that I like, as well as the KALLAX shelves, LINNMON desktops are all 3mm or thinner skins over a cardboard structure and can support over a hundred kilograms. (Well, unless you put a ZenXY table into them, then their strength is much reduced, but still much stronger than the component materials.
LOL… came in for another cup of coffee, I had just cut the bottom skin earlier this morning. I woke up realizing that the strength of the box, or TJI or sheer wall is derived from having the perpendicular ‘rib’ in between the two planes as you pointed out.
Cart more dunner… I think I’ll stop with the cart now and move onto the actual build of the Primo. What y’all doing for waste board? lay an extra layer of the 3/4" MDF then mount the feet. I’m thinking of cutting center out so it is easily replaced? how about 1/4" MDF or masonite/white board as it is relatively cheap and easy to size?
I went with 5/8" MDF for spoilboard, in replaceable pieces. I wanted something that could take T nuts and still stay out if harm’s way. The T nuts are 3/8" tall, which leaves them 1/4" from the surface.
I have so many iron in the fire… lol I’m hoping to have this build done by end of summer LMAO.
so I downloaded some end caps and drag chain mounts from thgvrs (saw them in another article). but since I went with 1" DOM 1/8" wall, the would likely not fit. So I redesigned them on freecad (my 2nd time learning CAD) and sent them to a guy I know to print. I’ll see how well the new resized endcaps fit and will report and share files upon success for others with 1/8" wall pipe. Admittedly it was fun drawing the endcaps from scratch learning as I went. Also it would be nice to have my own 3D printer that requires NO real technical knowhow (much like the FoxAlien laser cutter I bought, worked right out of the box flawlessly).
I had some extra 1” DOM sitting here and well, decided why not have a tad bit more Z so I cut and polished two 12.25” pieces so that should give me about 4.75” workable Z space. I am also going to have the 3030 extruded adapters printed and assemble the 3030 frame on 3030 legs. The timing couldn’t have been more perfect happening upon that post since i had been thinking of being able to use the rolling torsion box workbench cabinet for other tools as well, like the laser cutter. Once i get the printed parts back from my printer, i will begin assembly. I’m getting anxious now. LOL
My first Lowrider table was 10’ x 6’ frame using 2x4s from the local box store. It started warping after several months of Arizona heat. I just replaced it with a torsion box table using plywood because the alternating plys are supposed to warp less than solid wood. Time will tell…
That is a large frame indeed. how tall were your inner grid parts? Mine were around 3.5" plus the top and bottom 1/2" MDF sheets all glued together. Even in the AZ heat, if its all glued together and snug, it ain’t gonna move much LOL
So here is a question that I need some guidance on. end stops. I ordered the complete kit with the SKR PRO1.2, 5X 2209 DRIVERS, TFT35 E3 V3 -FLASHED- unit and this did not come with end stops. Are they necessary and if not, why would they be better to have. I’d like to build the machine once LOL (good luck, I know). I have no problem ordering all the parts if I knew what I needed that will work with the PRO1.2, and any step by step instructions posted that show me the assembly so I can insert that task into the full build.


 I think I’ll stop with the cart now and move onto the actual build of the Primo. What y’all doing for waste board? lay an extra layer of the 3/4" MDF then mount the feet. I’m thinking of cutting center out so it is easily replaced? how about 1/4" MDF or masonite/white board as it is relatively cheap and easy to size?