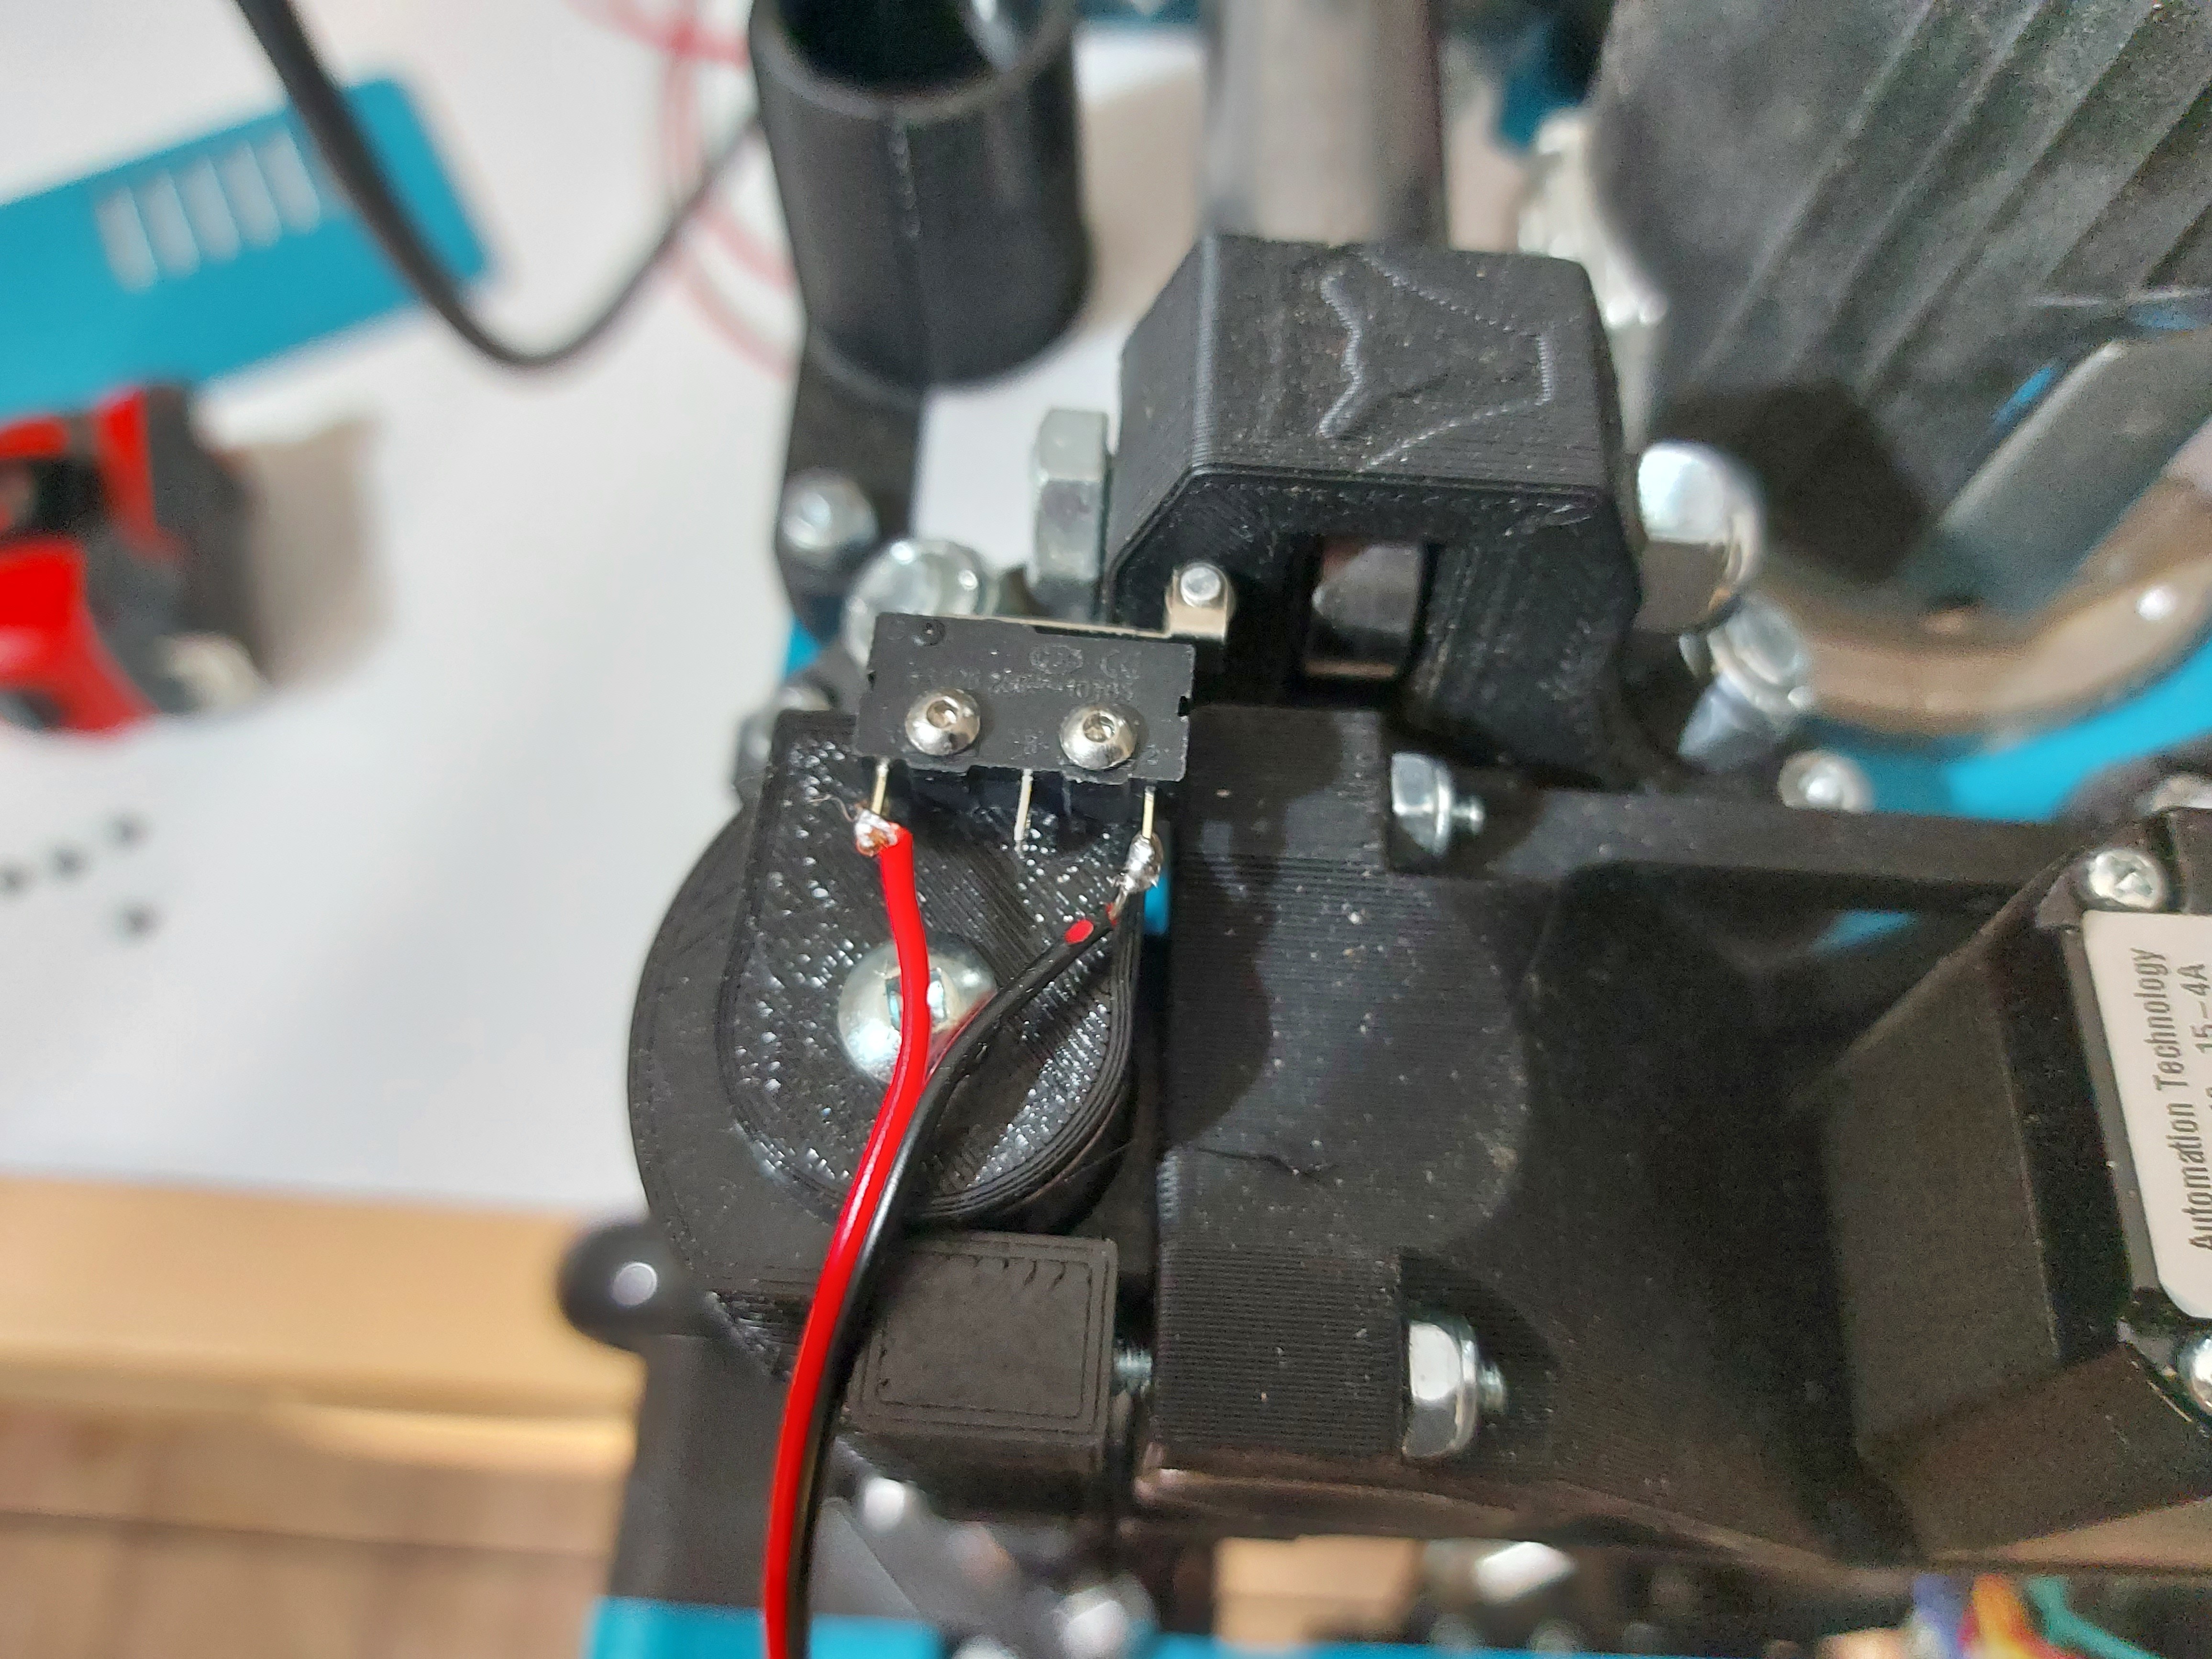
Oops. They’re backwards… need to go down to clear the table.
Can’t just swap them, so I’ll have to alter the design a bit to reverse the impression of the Z holder. Not a big deal, but maybe I’ll just make it all one piece then.
Okay, an all-in-one solution that holds both switches. I added the wire harness as well. The one side has a shorter harness, which will be long enough to reach the control board, and the other side has a long harness which should run through the X gantry tube and reach.
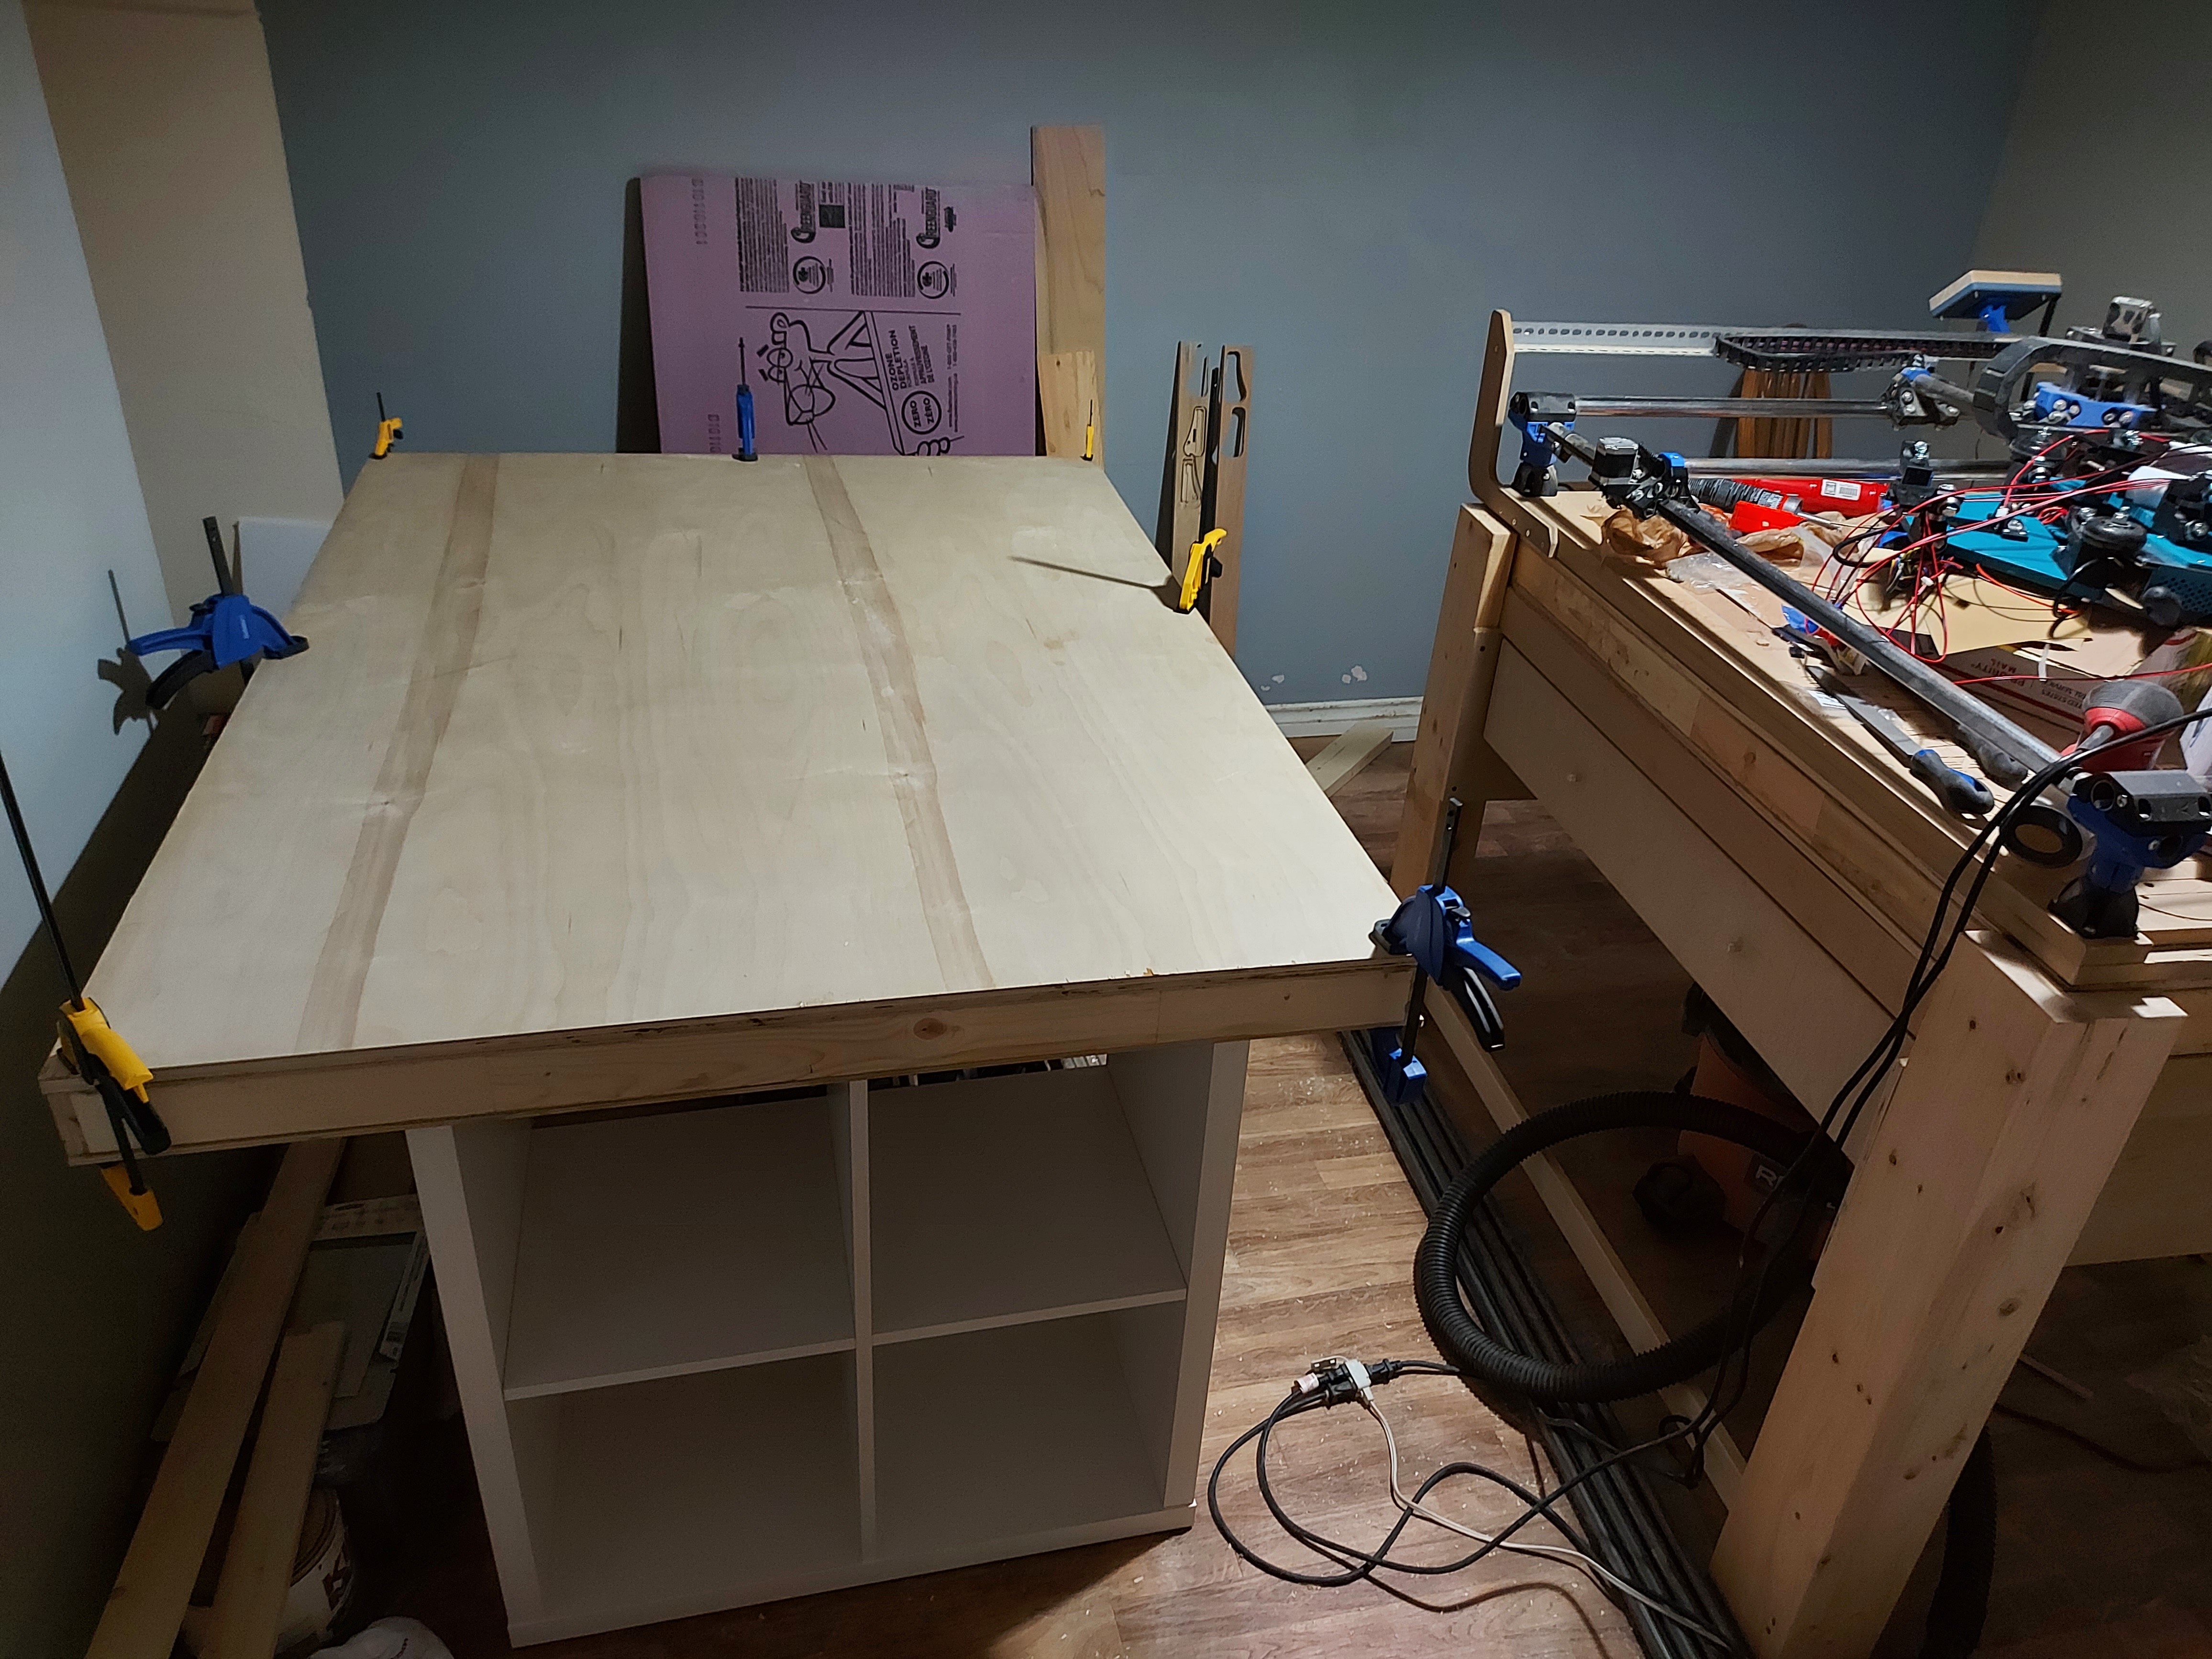
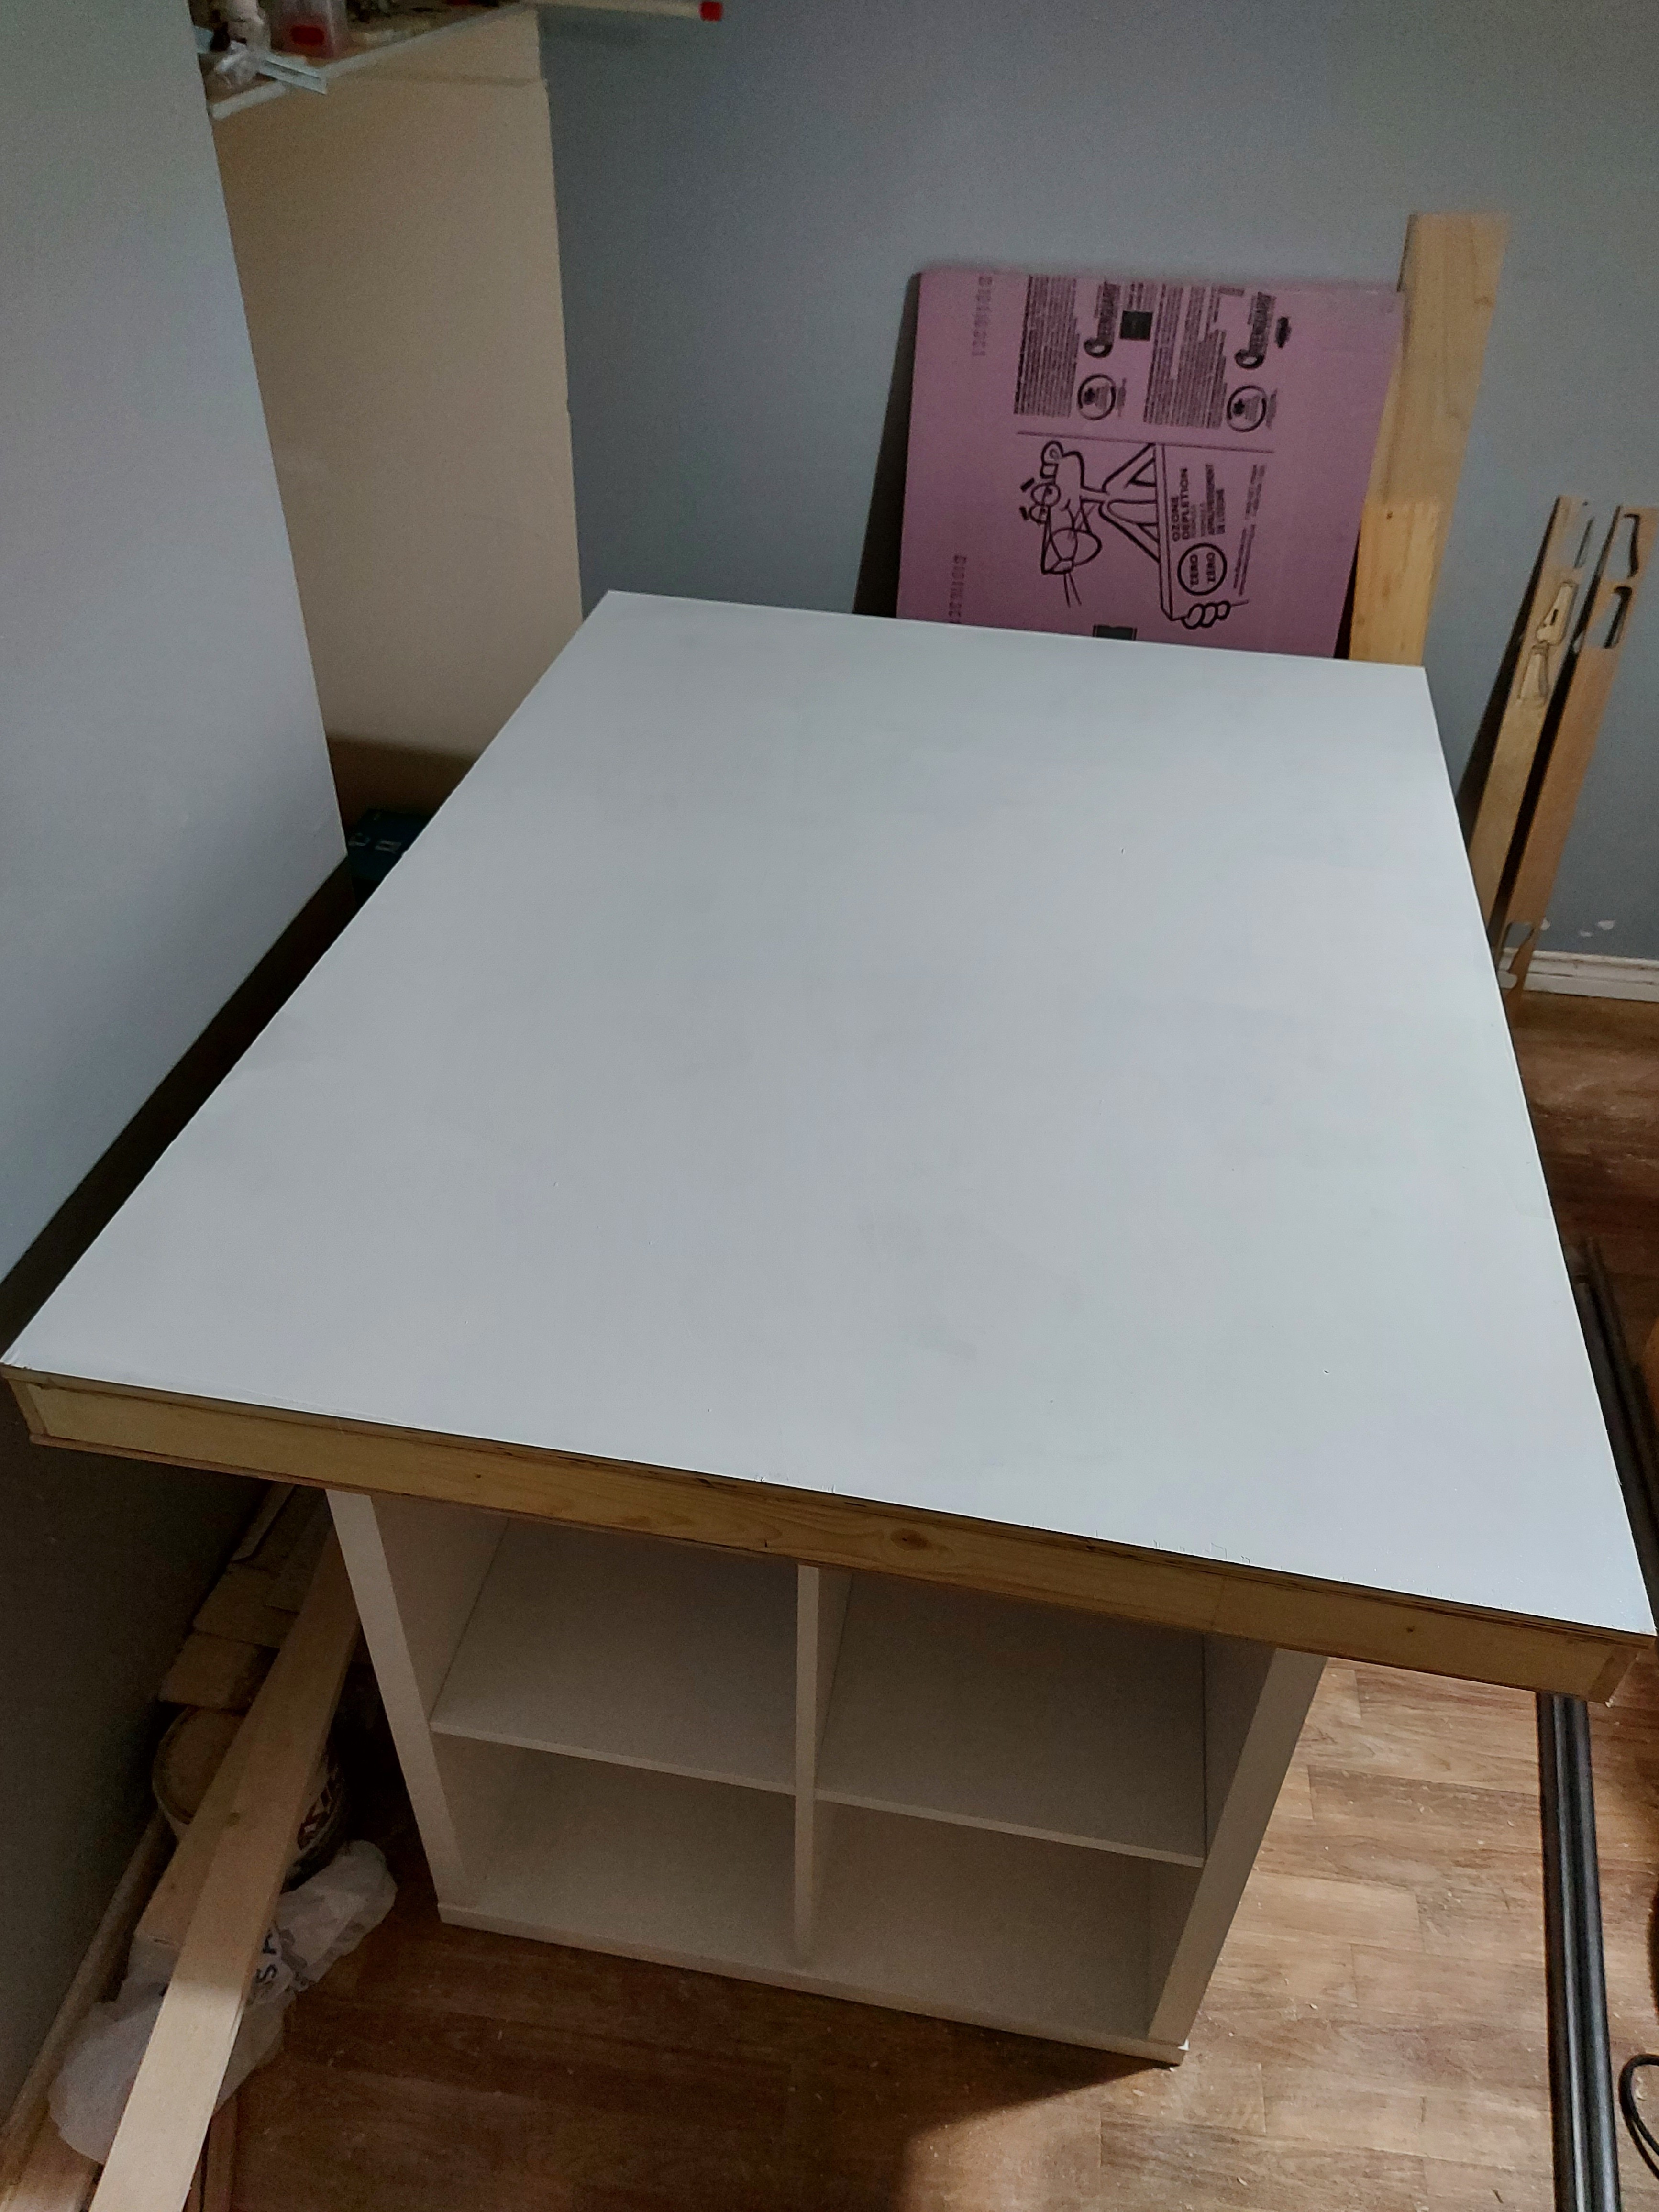
Gotta glue and screw the torsion box together tonight. It’s already sitting on the pair of Kallax shelves, which seem like they’ll work out great.
Well, that wasn’t so bad… It’s getting a bit crowded in the machine room though.
16 #8 wood screws and a good amount of construction adhesive… it ought to hold. There should never be any real force against it, it’s mainly there to close the torsion box.
Flipped it over, with some clamping to be sure the glue sets up right.
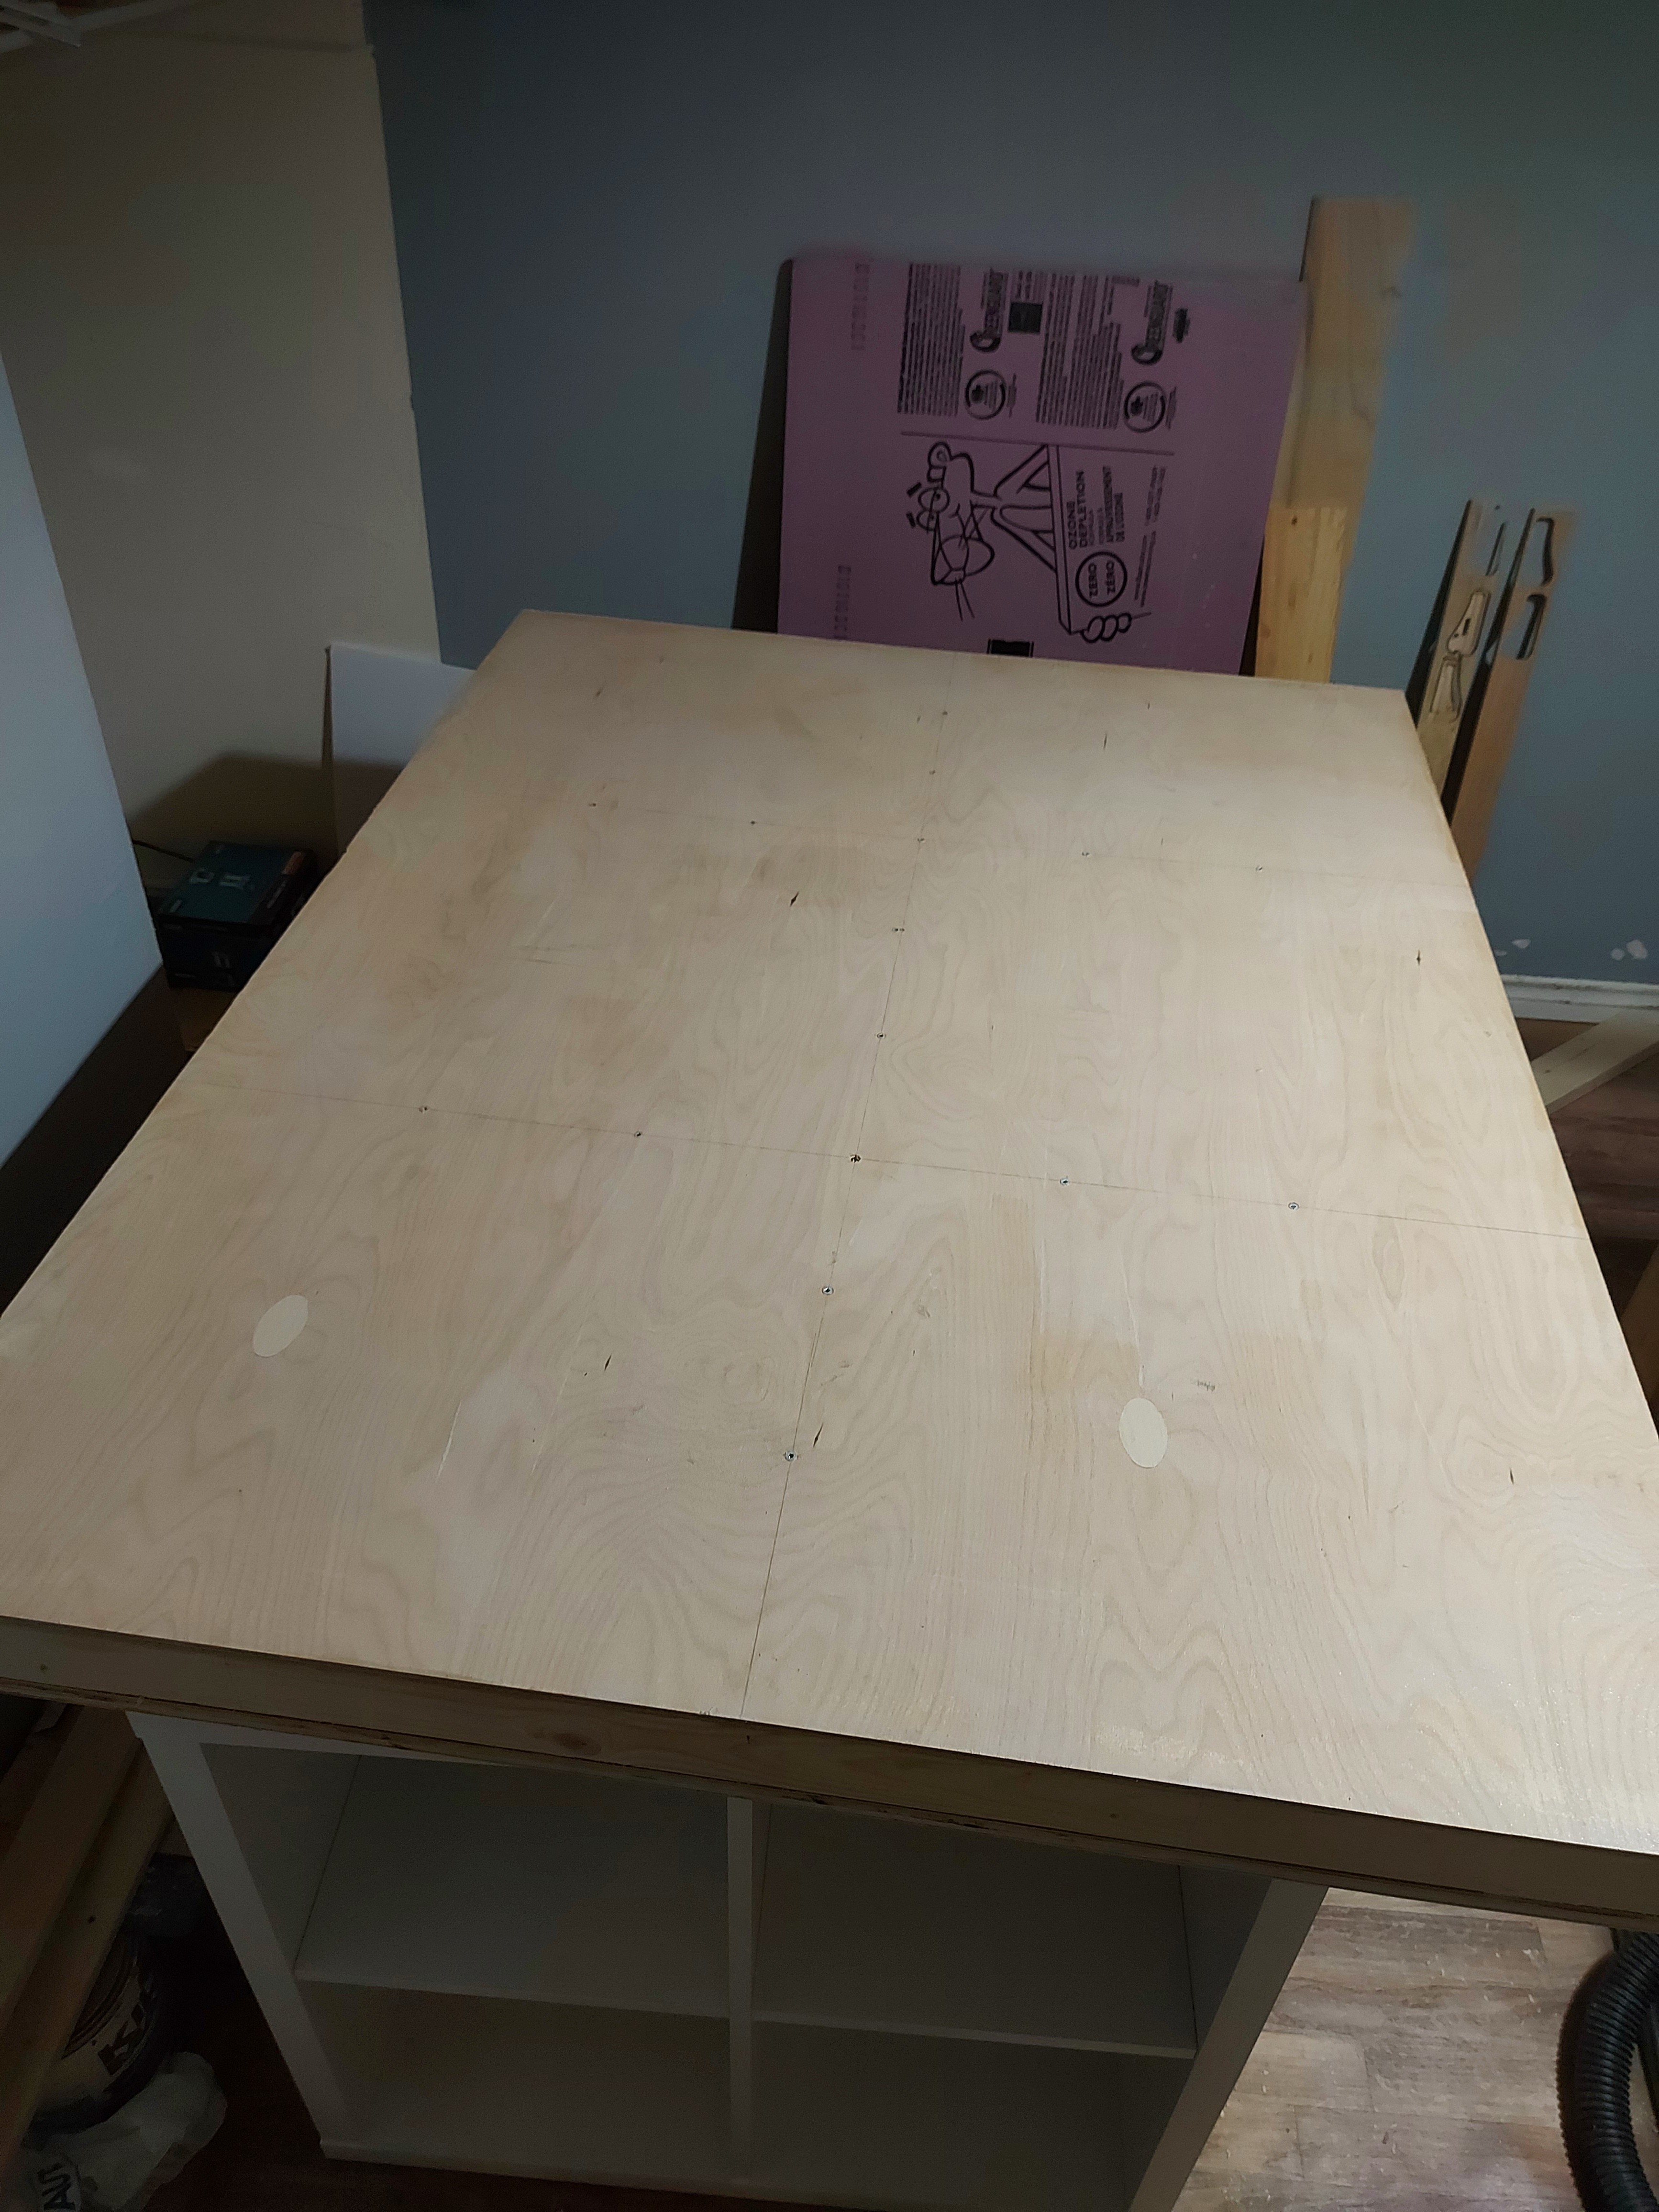
I’ll be priming the surface, too in order to seal it, then set up a removable spoilboard. I used varathane on the Primo table, but I’ll just use latex primer on this one.
I’m fairly happy with the height. It’s a couple inches lower than the Primo, but if I add 2" casters to the Kallax, it’ll be the same. That makes for a comfortable working height with enough room over it for projects.
Next step is to cut steel to length and finish assembly.
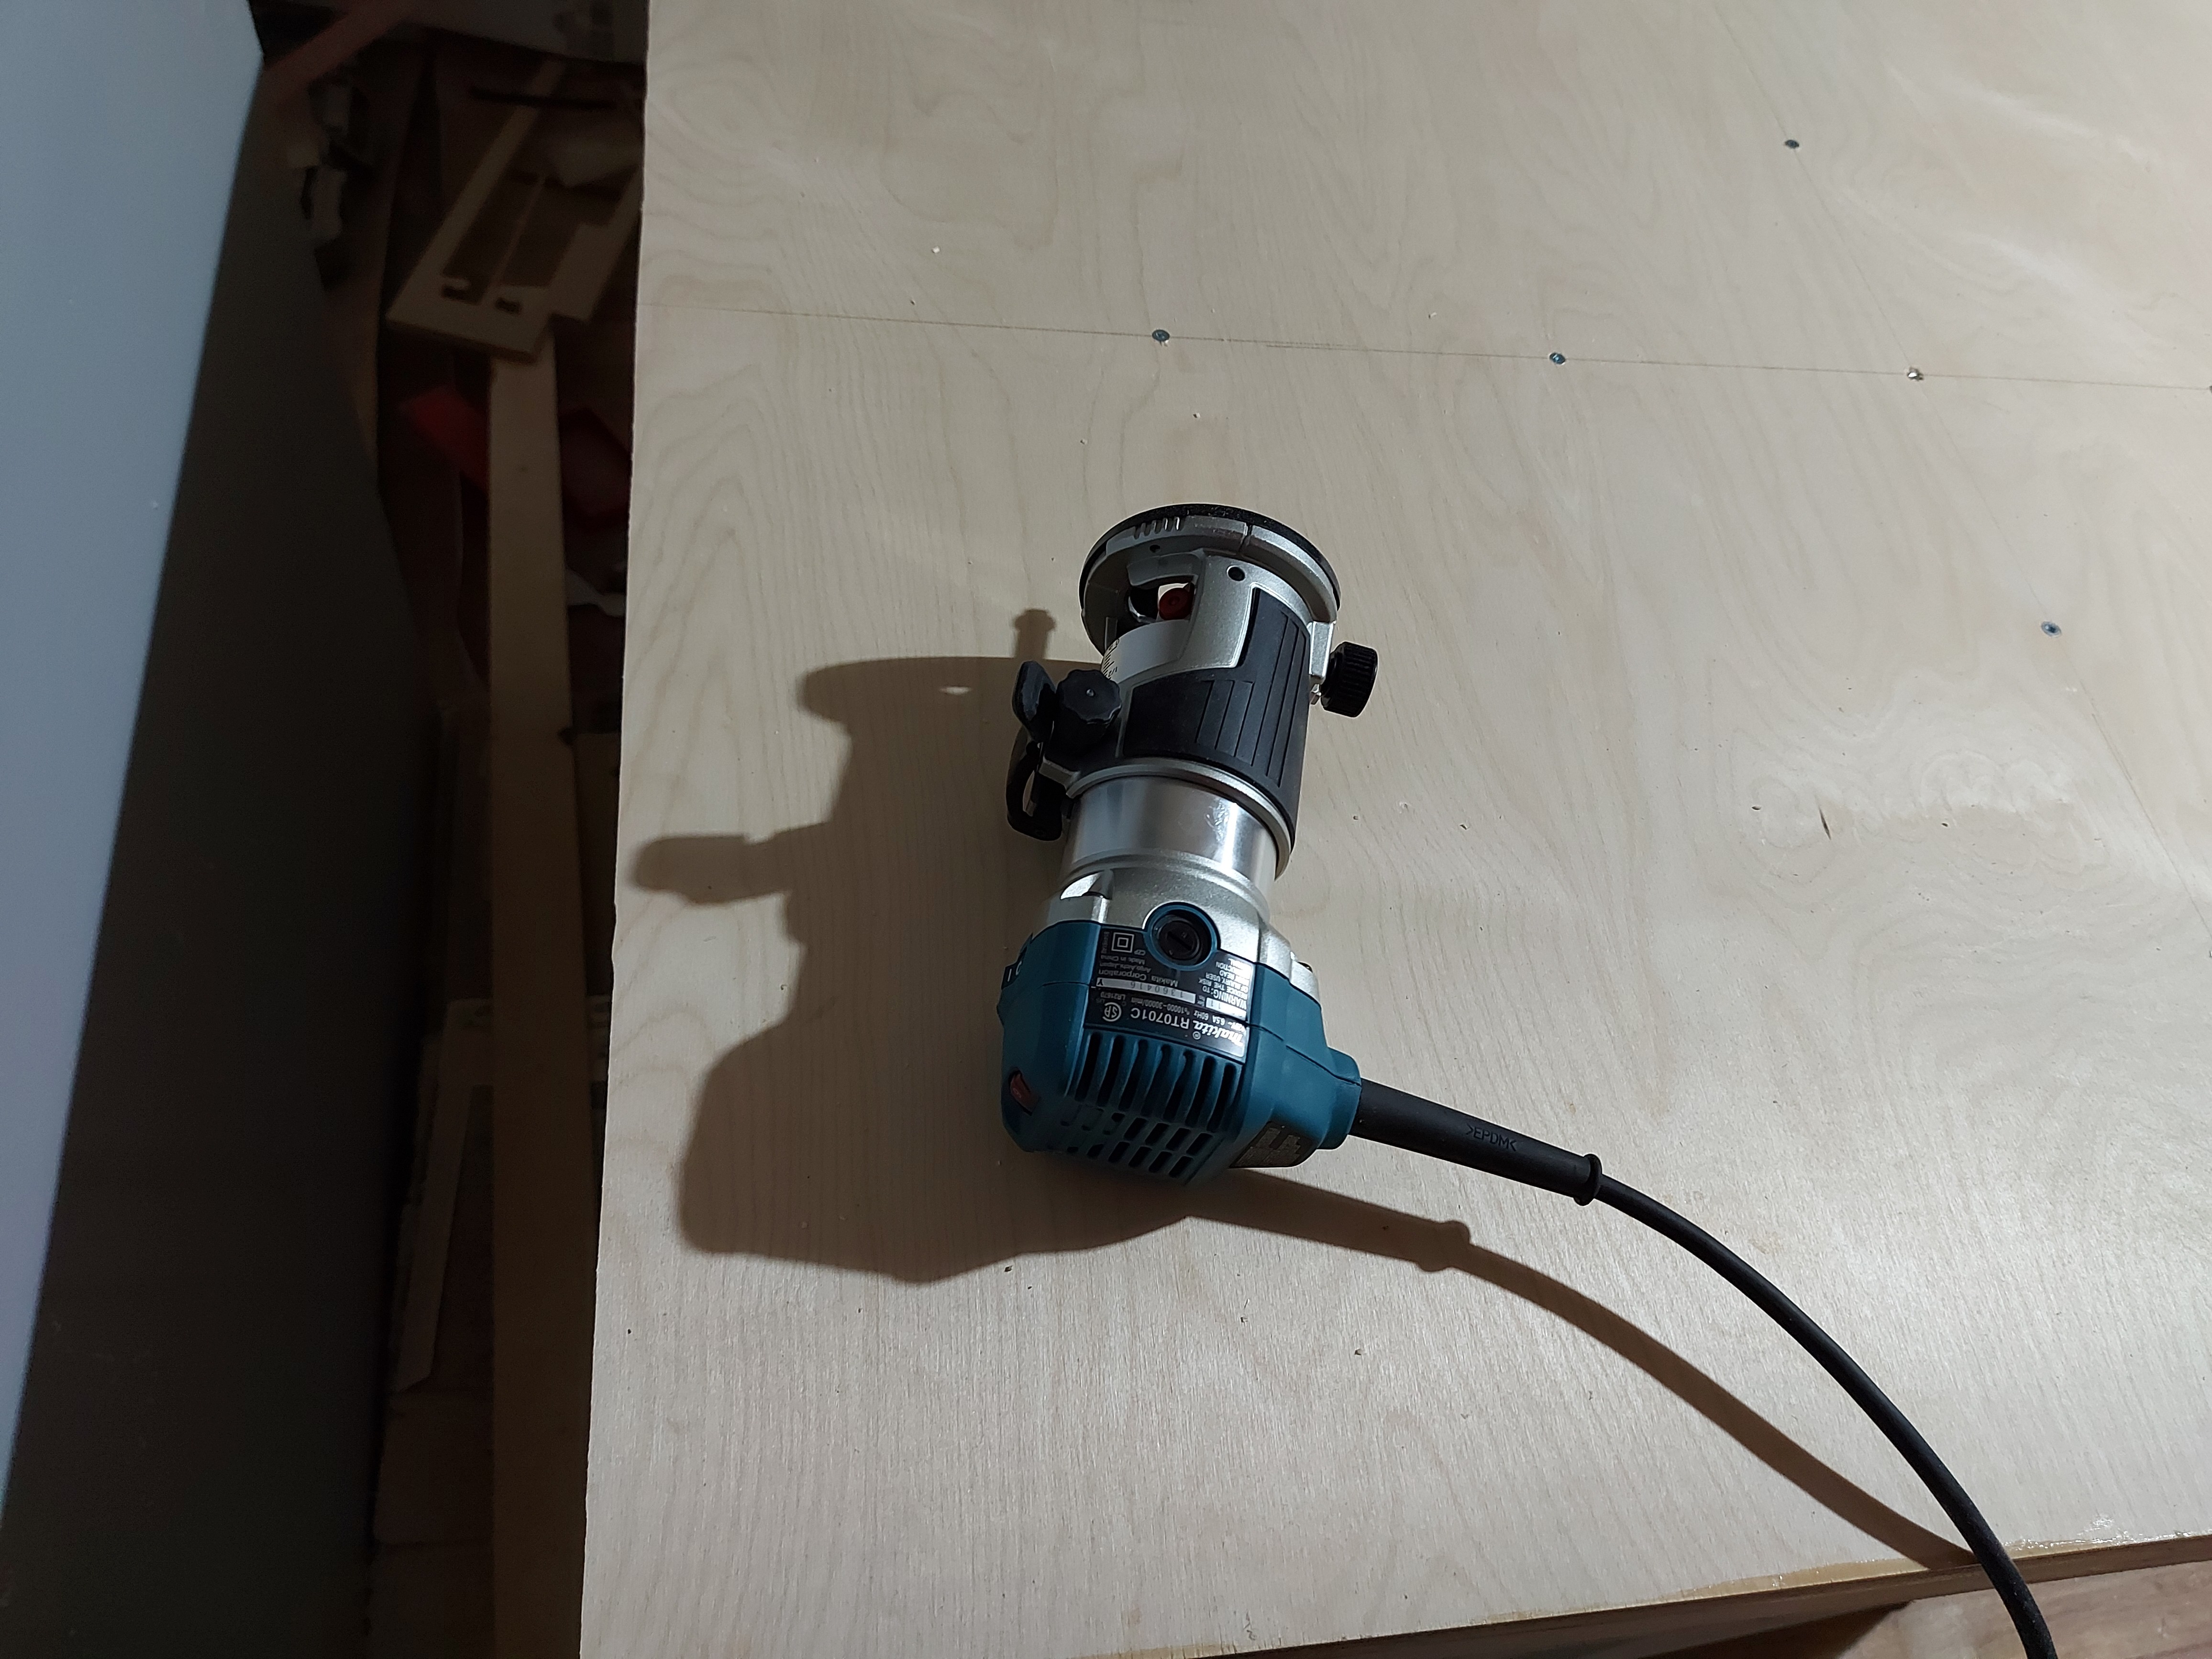
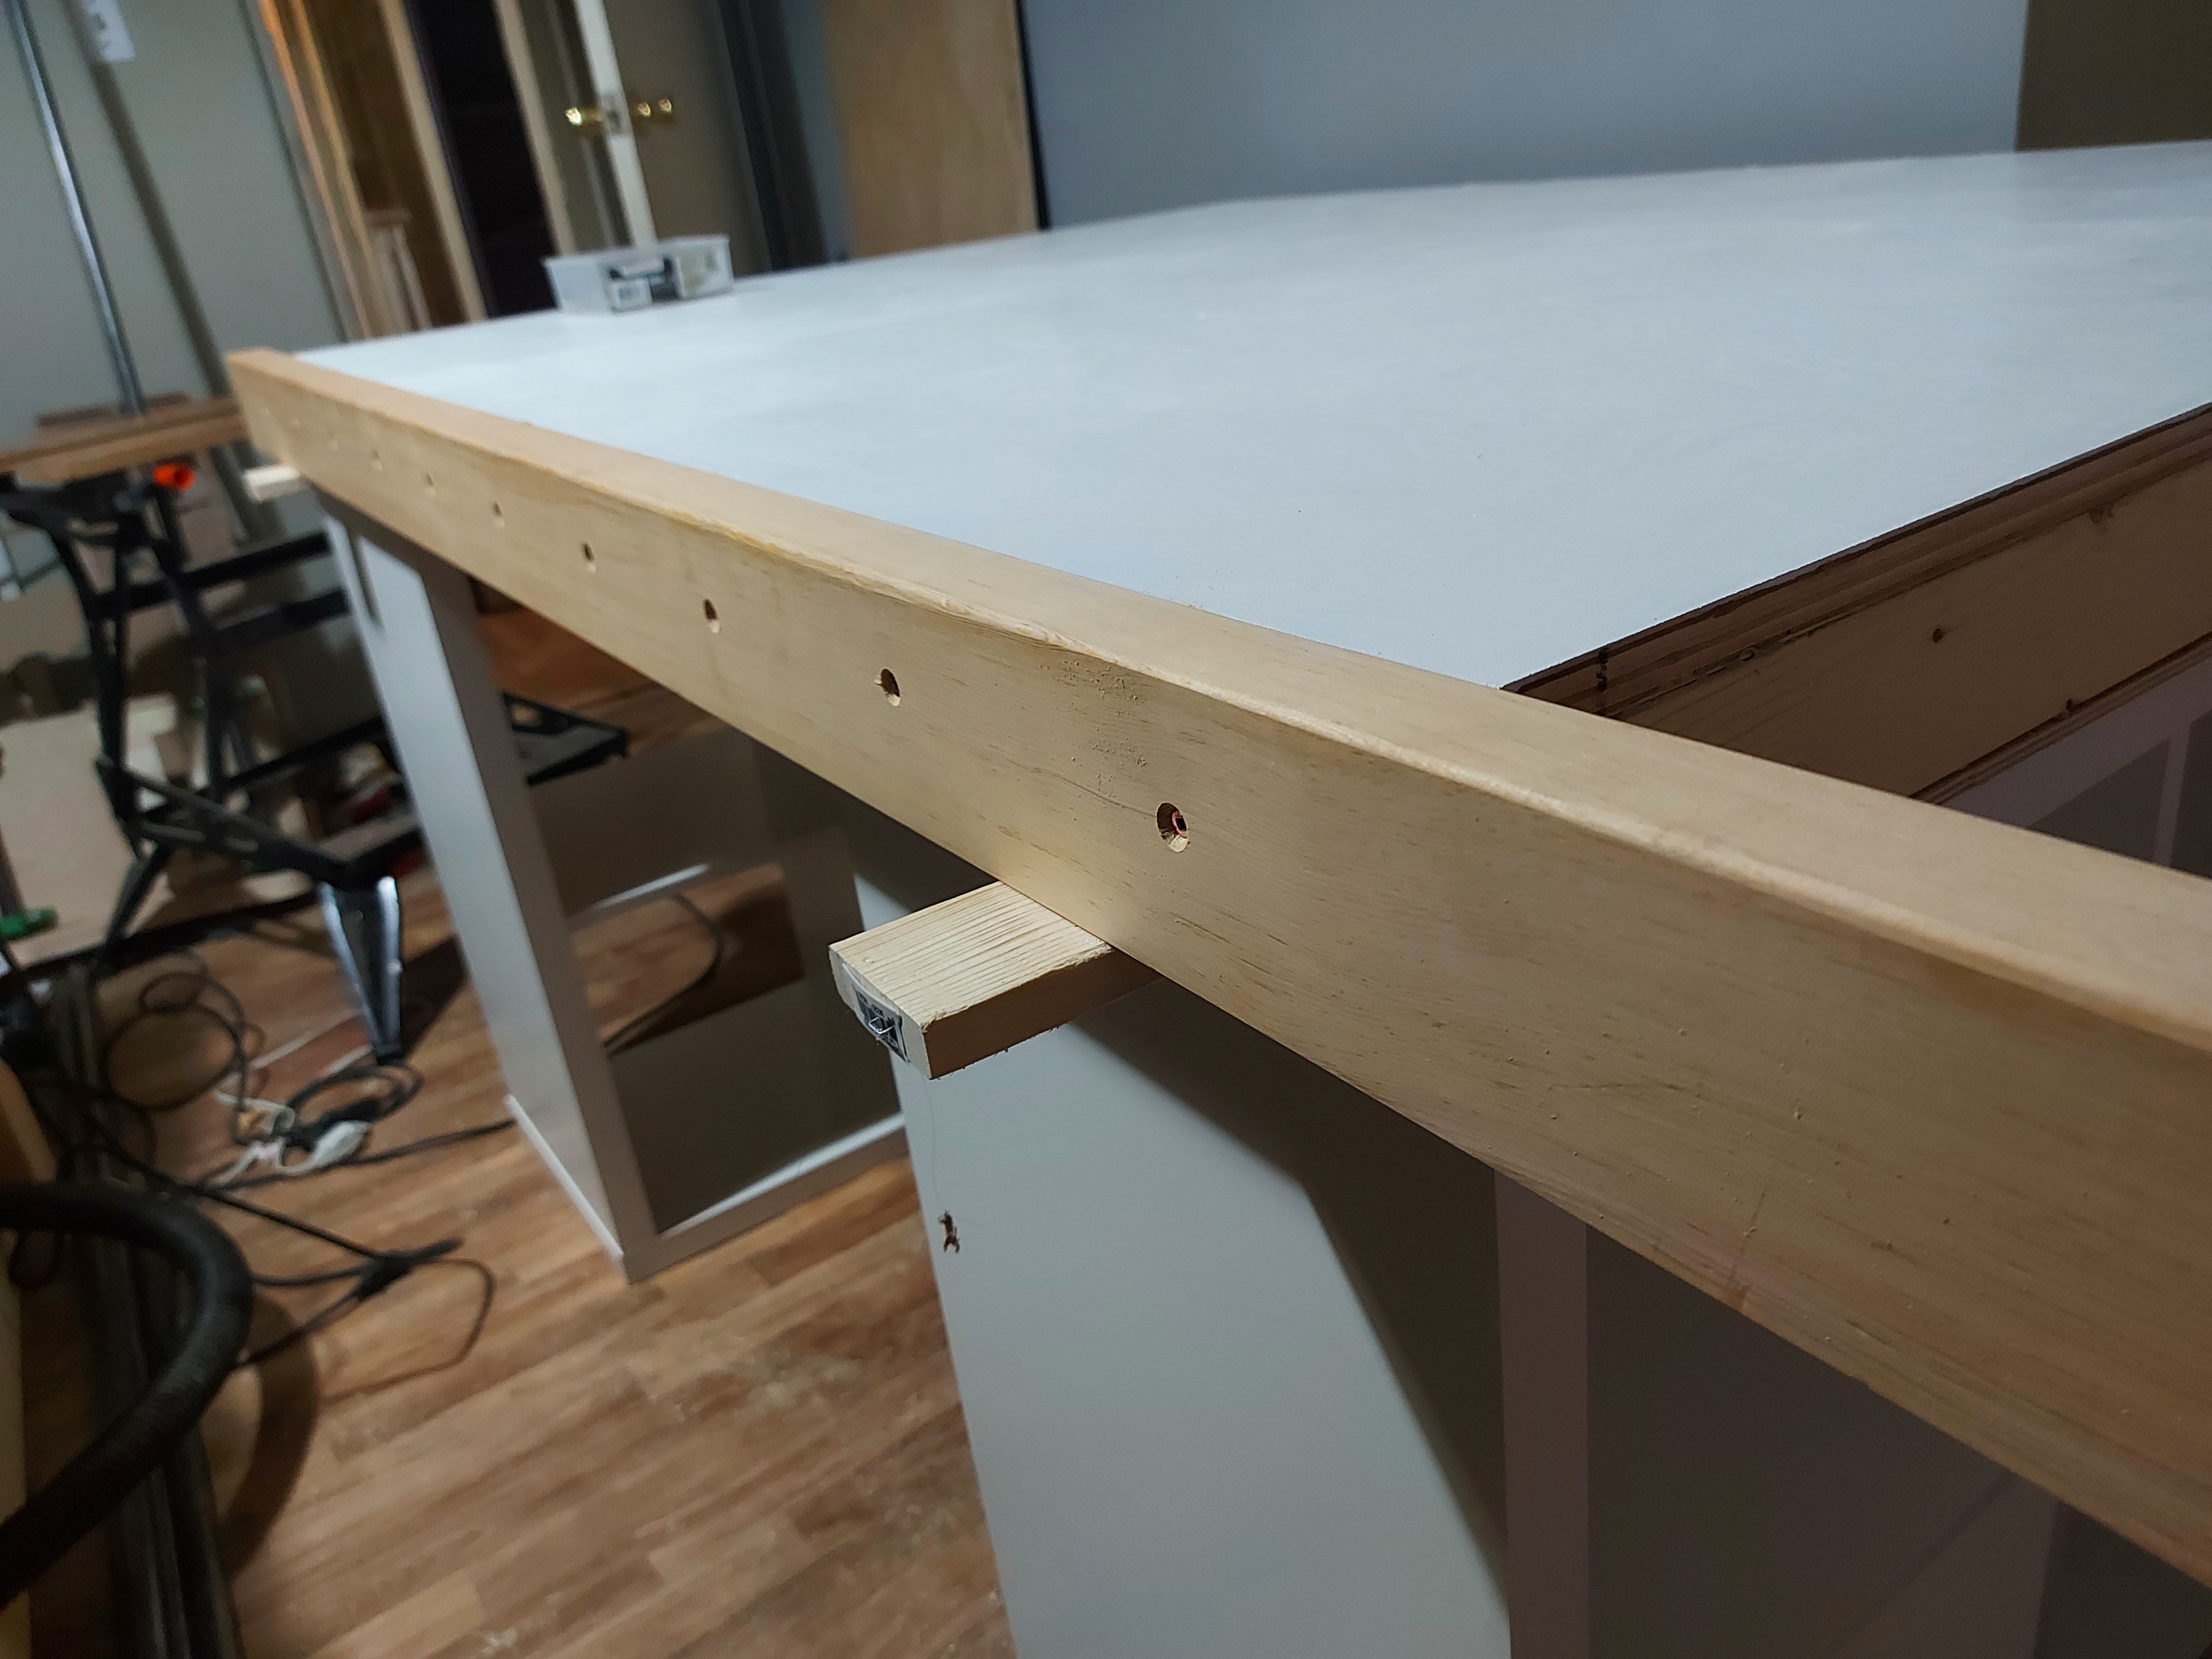
So… I’m looking at a slight overhang on the 1/4" plywood bottom of my torsion box, and was about to go get my plunge router from the garage, thinking “What I really need here is a small trim router…”
I do that too, look all over the garage for a router while leaning on the LR table. I ended up even making a hole to mount it underneath and use the table as a router table. Kinda like multitasking for the bench and tool at the same time.
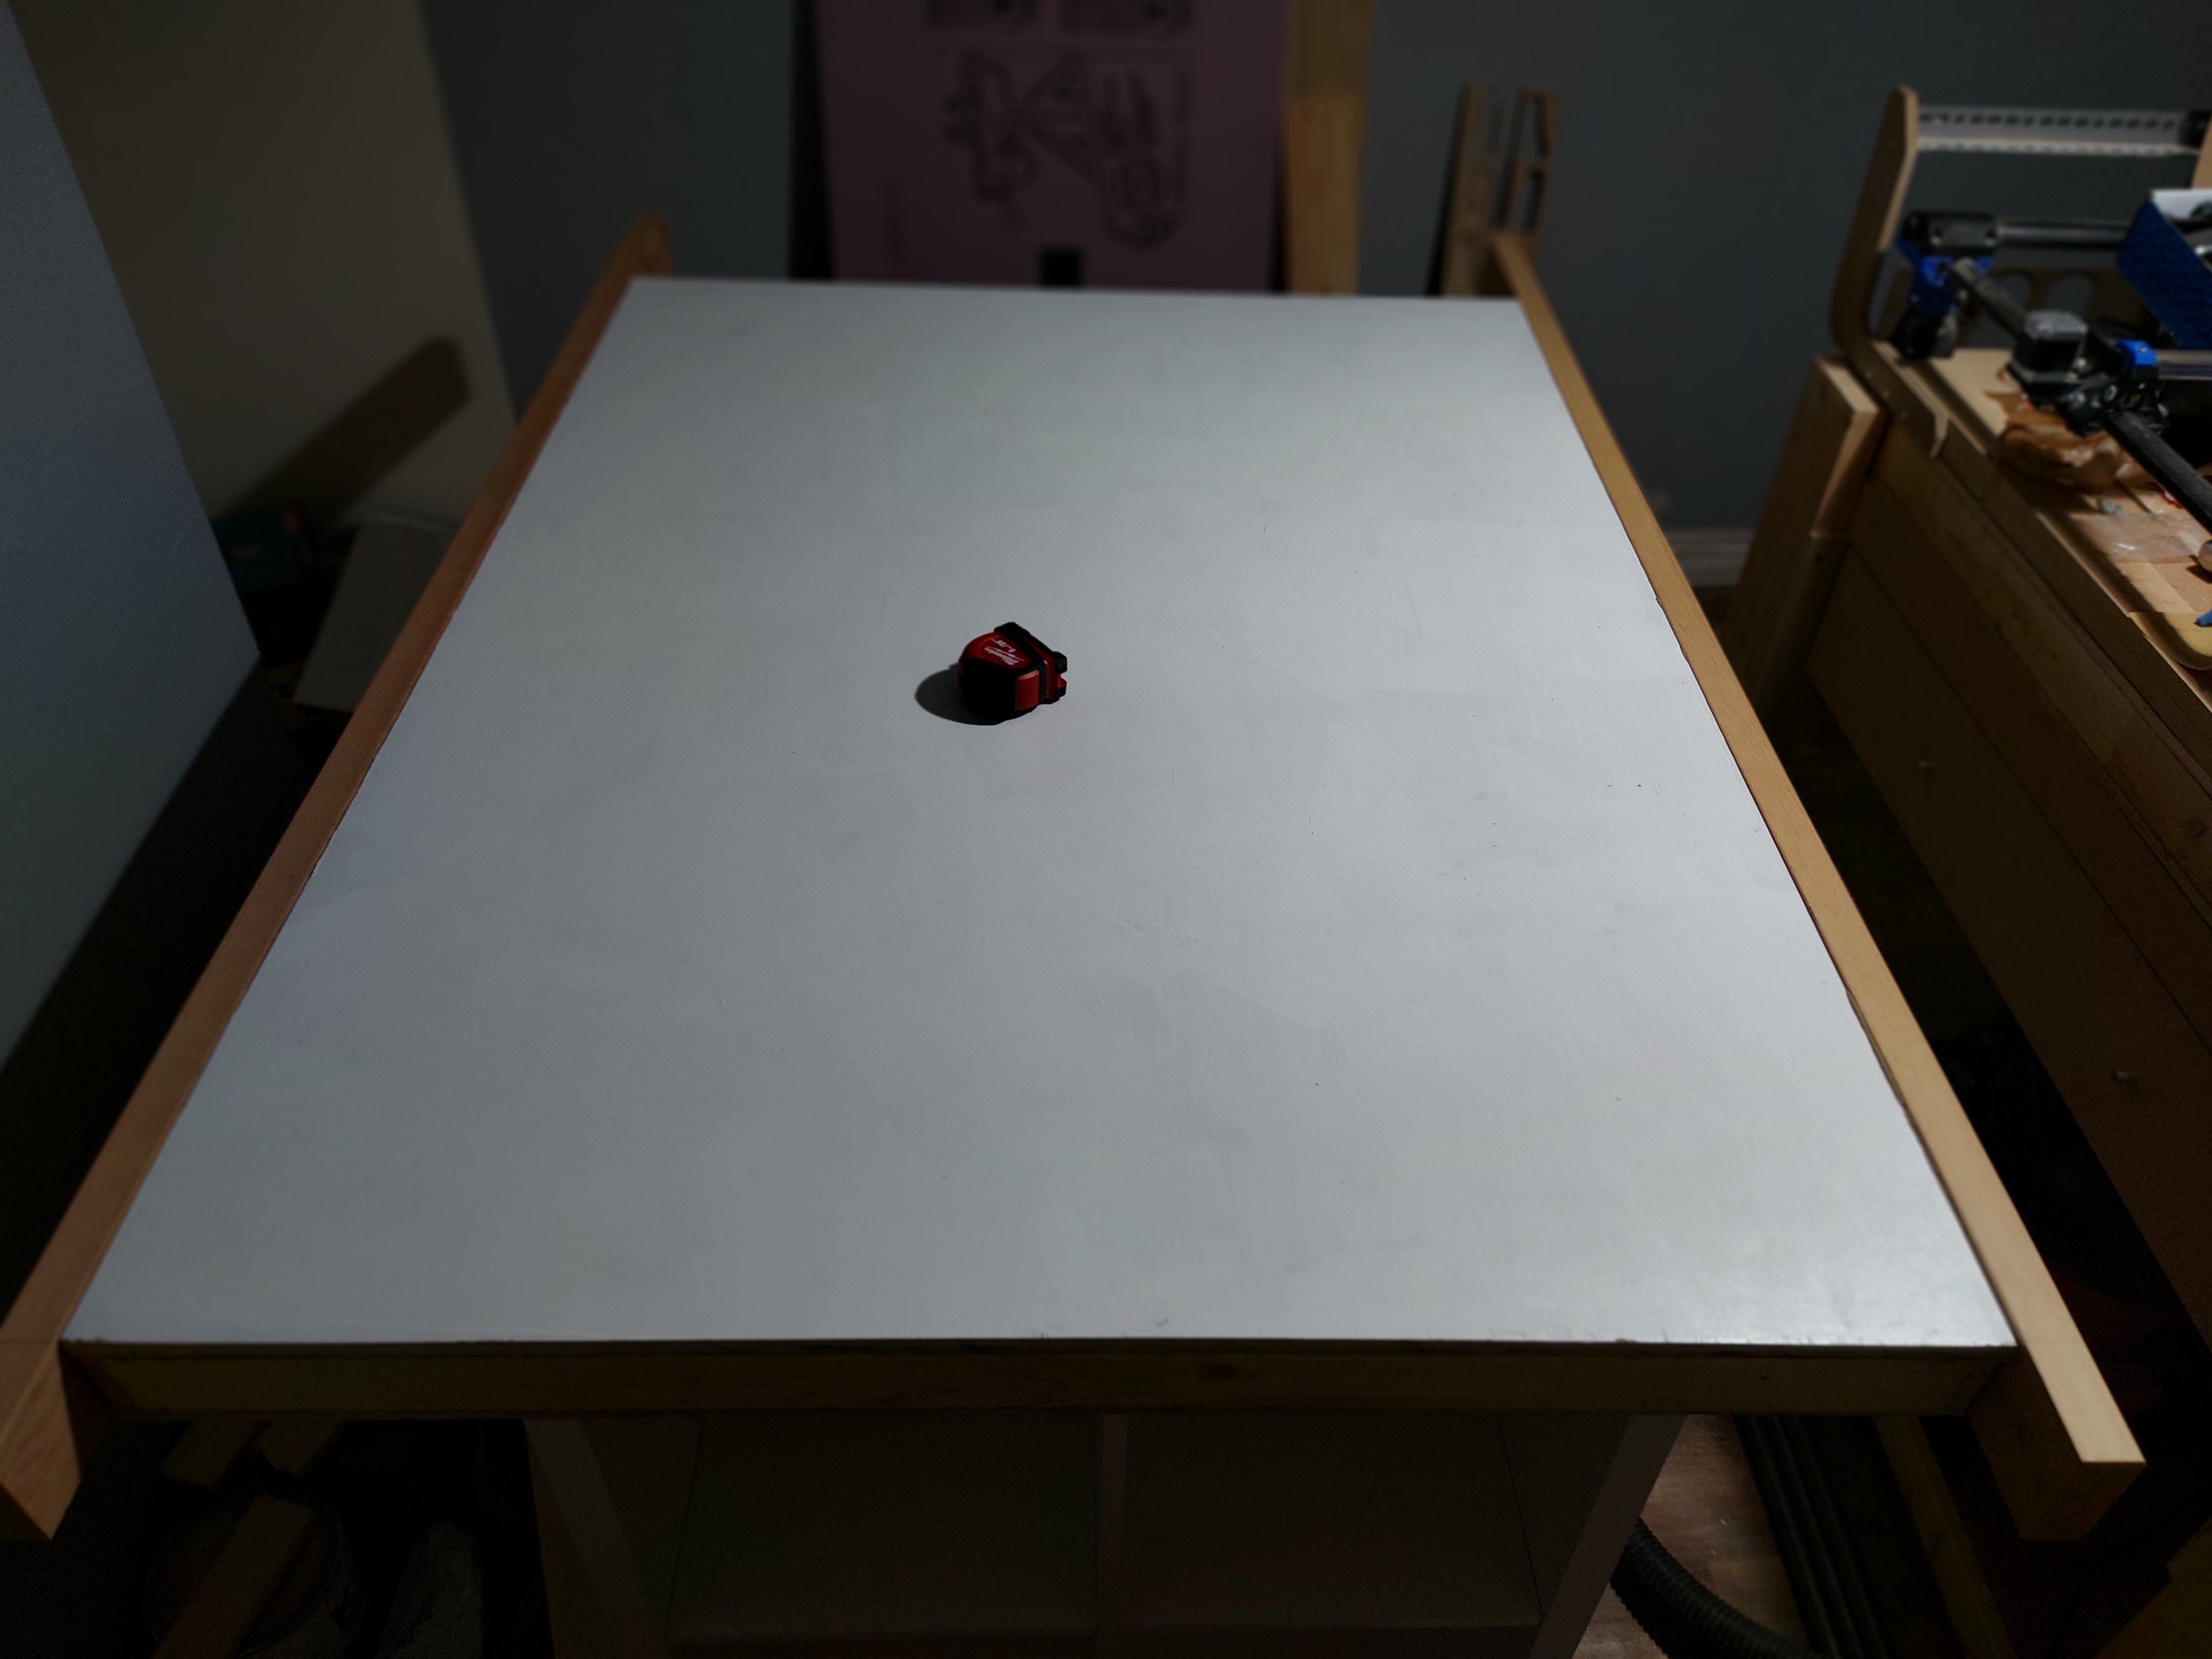
Not much to see, just a coat of clear latex primer. This is the bottom surface, so just something to seal it up. I’ve been thinking of using the gloss white on the top. Still not sure how I’m going to attach the spoilboard though, but most likely just wood screws.
I’ve been thinking about adding side rails to the table, and maybe extending them past the ends to get a longer Y axis too. I think some fir 2x4 stock would do the job nicely, and at least be resistant to warping.
Looks like a nice table! I think those side rails could be very handy, some additional room to work. But I imagine you´ll need to make sure it´s aligned perfect.
Somewhere in the FAQ it was mentioned that if your wood is warped it makes little issue because the Z rolls over it following the warp. But when adding a solid bar that´s obviously no more the case…
I’ve been struggling with possibly listing the Primo for sale.
On the one hand, I still want to see if I can make something that will machine aluminum or steel with it, if it’s cut down to a smaller size. (I don’t think that I’ll need aluminum or steel over 18" in length, for example) On the other hand, since I’m not running the machine all of the time, the chances that I’ll need more than one are pretty much zilch, unless one does something that the other cannot. (Like mill metal.)
So if I cut it down to say, 12" by 18" I should end up with something super rigid that will have capability that the LR2 does not.
Or, I can try to recoup a few hundred $ and reclaim half of my machine room.
A smaller machine can be put away easier. If you don’t think you would use it very often put it up for sale and see if you make a local friend. Maybe they will have some other cool tools to play with!
My printer build is just about done, you might need the money to build whatever is next!
Well you know I can’t just let you make a new machine without building one for myself now, don’t you?
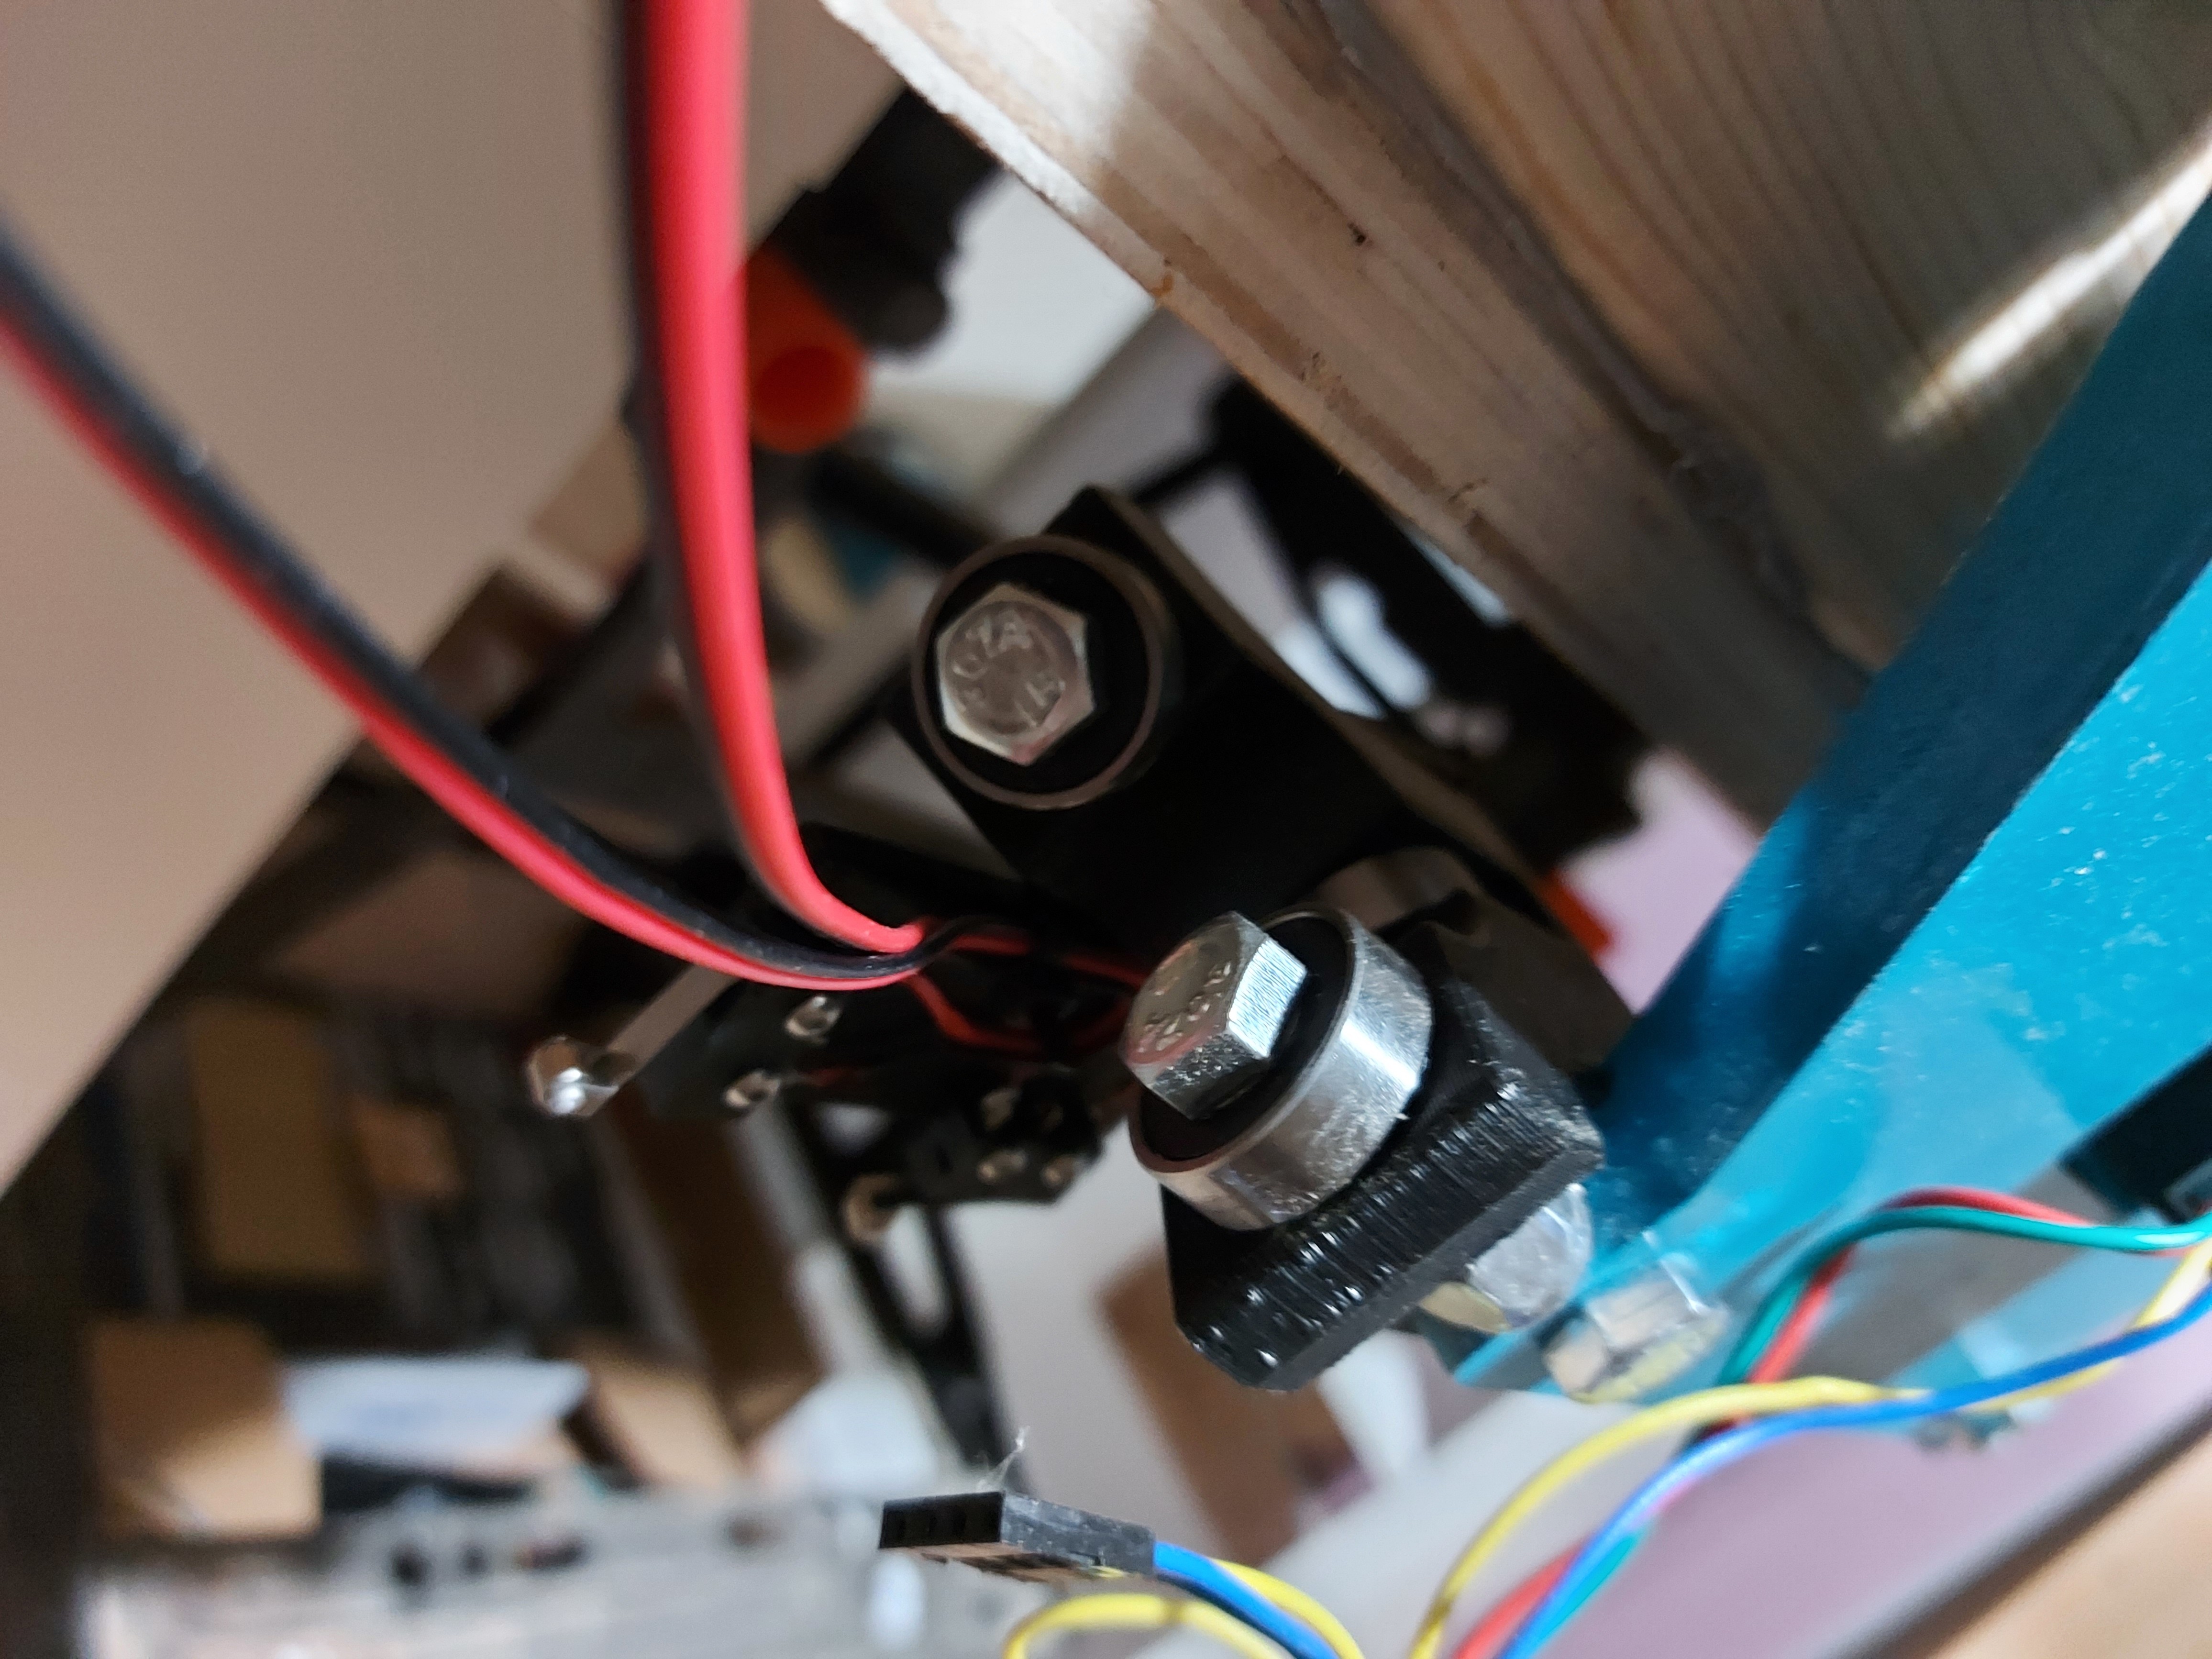
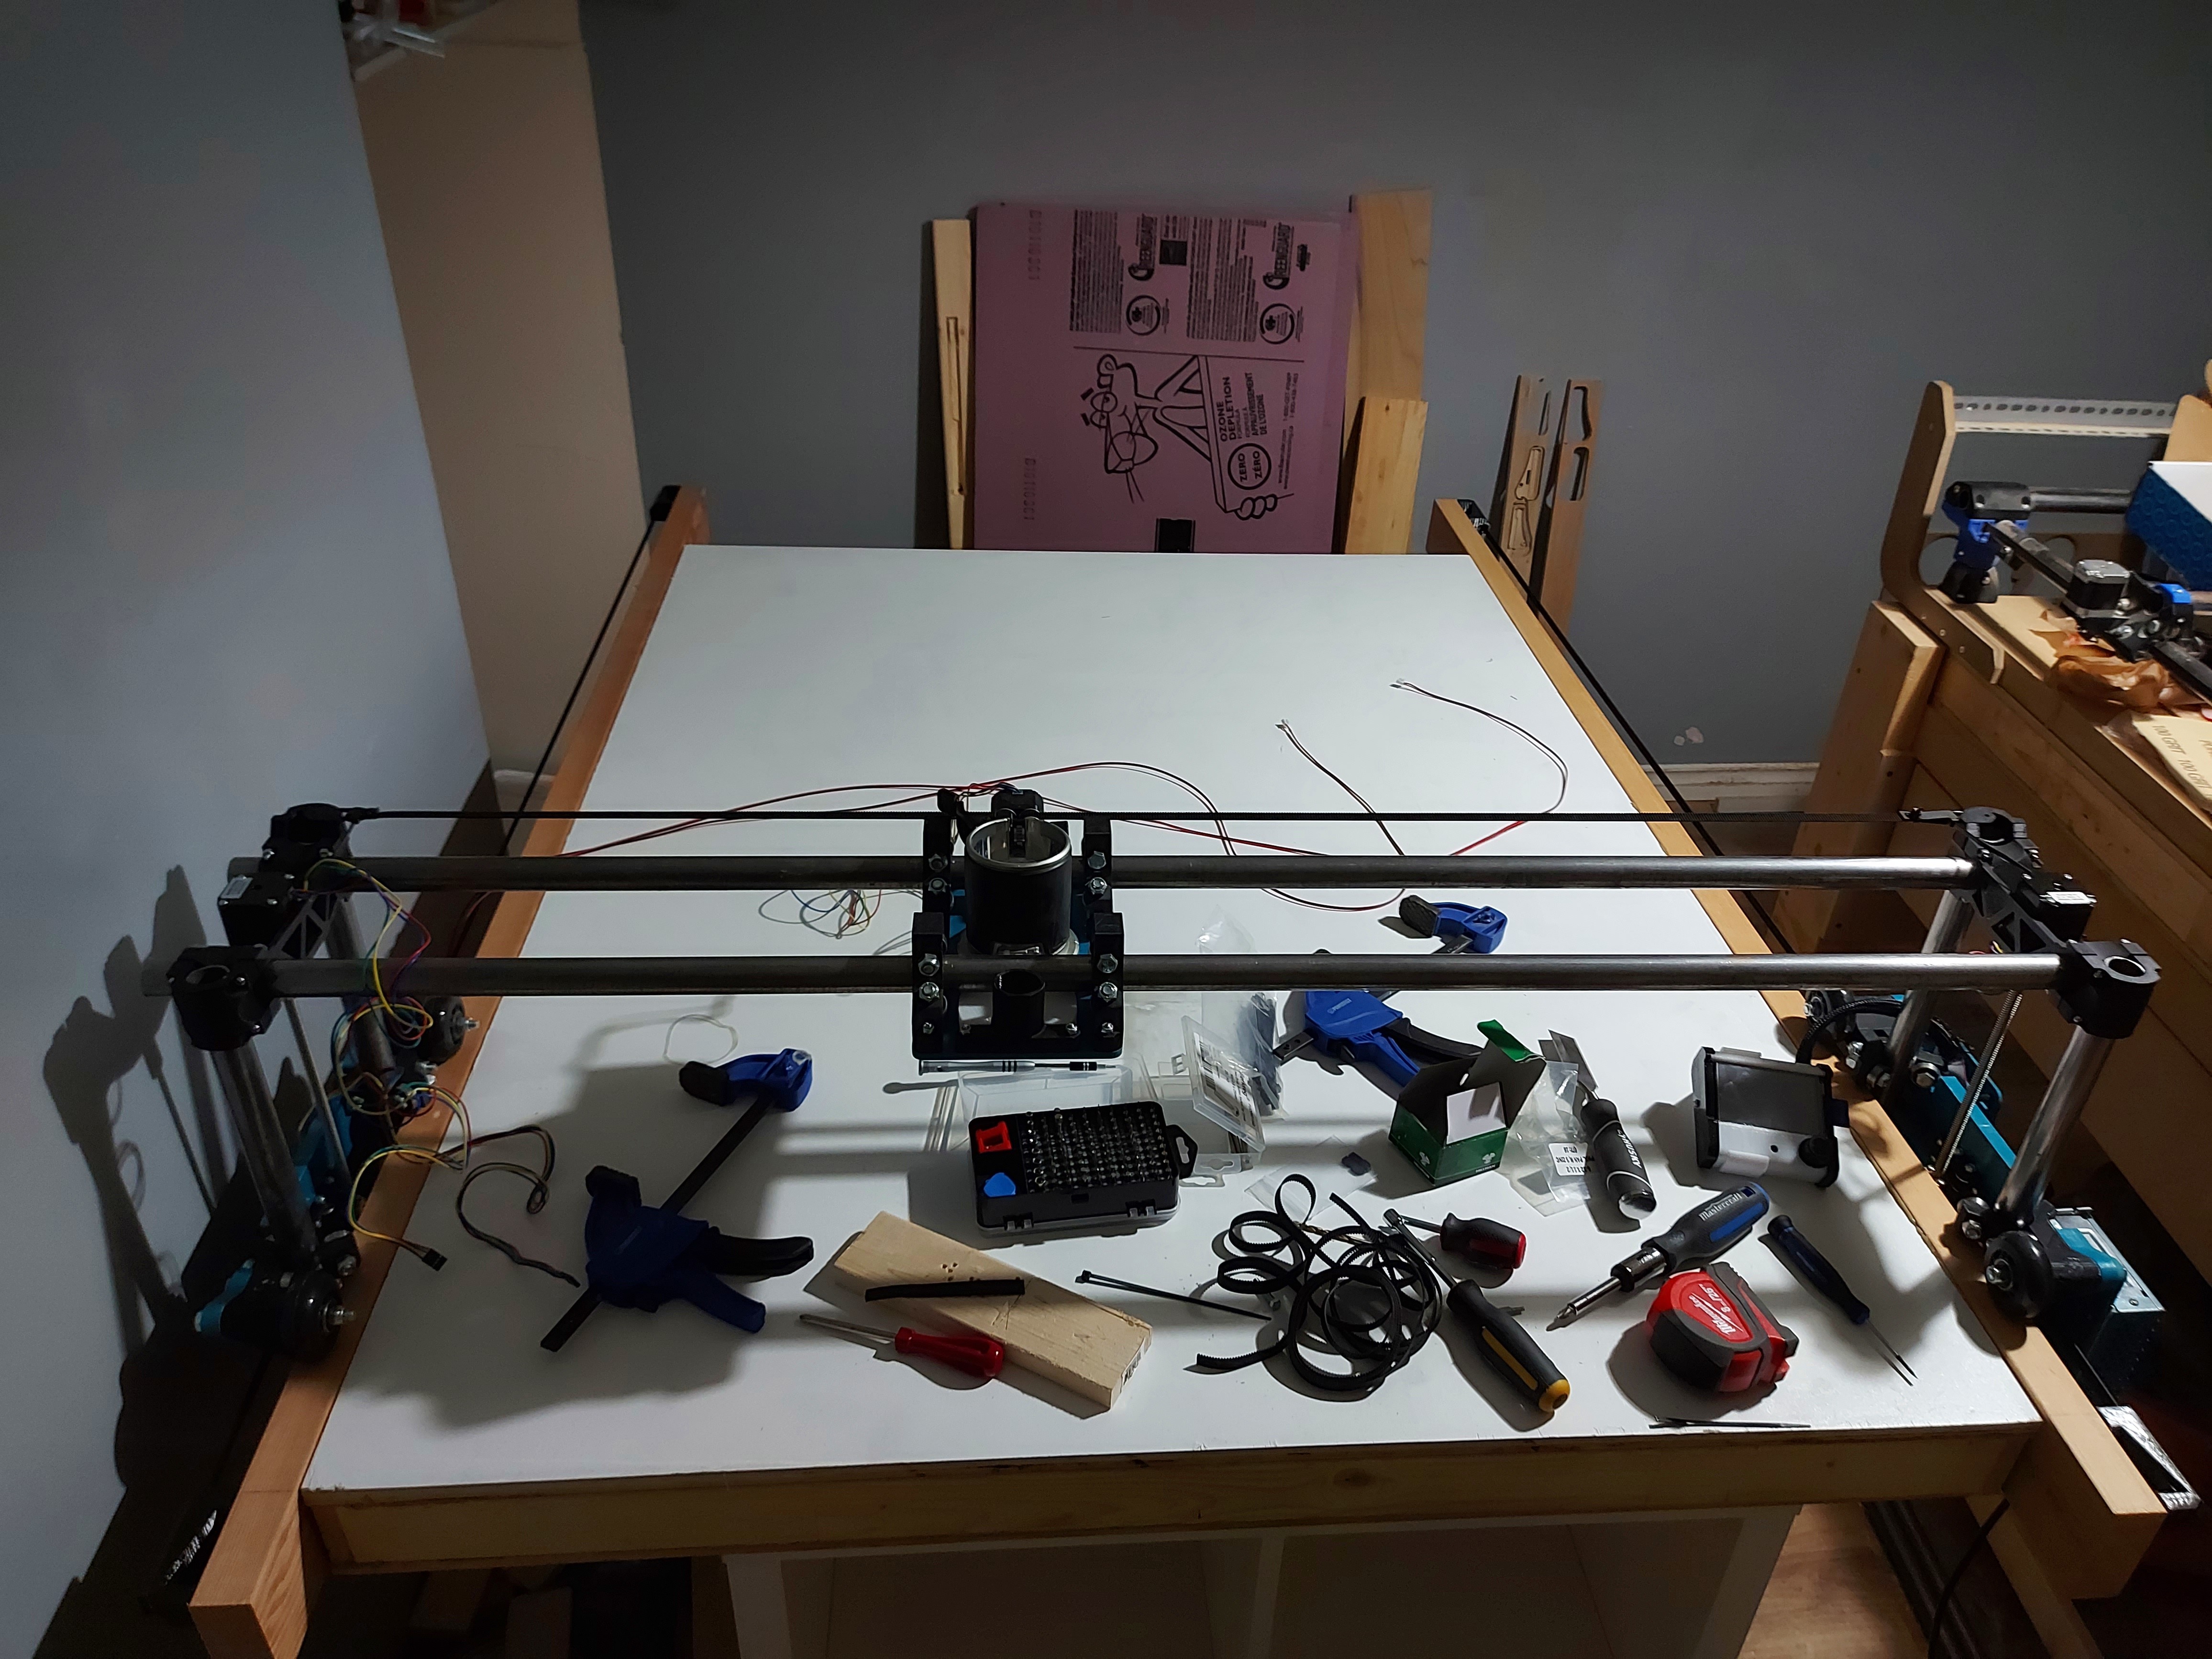
If all goes well, the LR2 rolls tonight. I picked up a couple of very spendy fir 2x4s for side rails. I have the Z tubes cut to length, and everything should be good to go.
No X endstop yet, I want to see how things sit when it’s all together before I decide how I’m doing that.
Also on the “to do” list still is a spoilboard.
I used the Primo to cut inserts into its own spoilboard using 1/4" sheets of foam. Might end up doing something similar here. T track seems like a good idea, too.
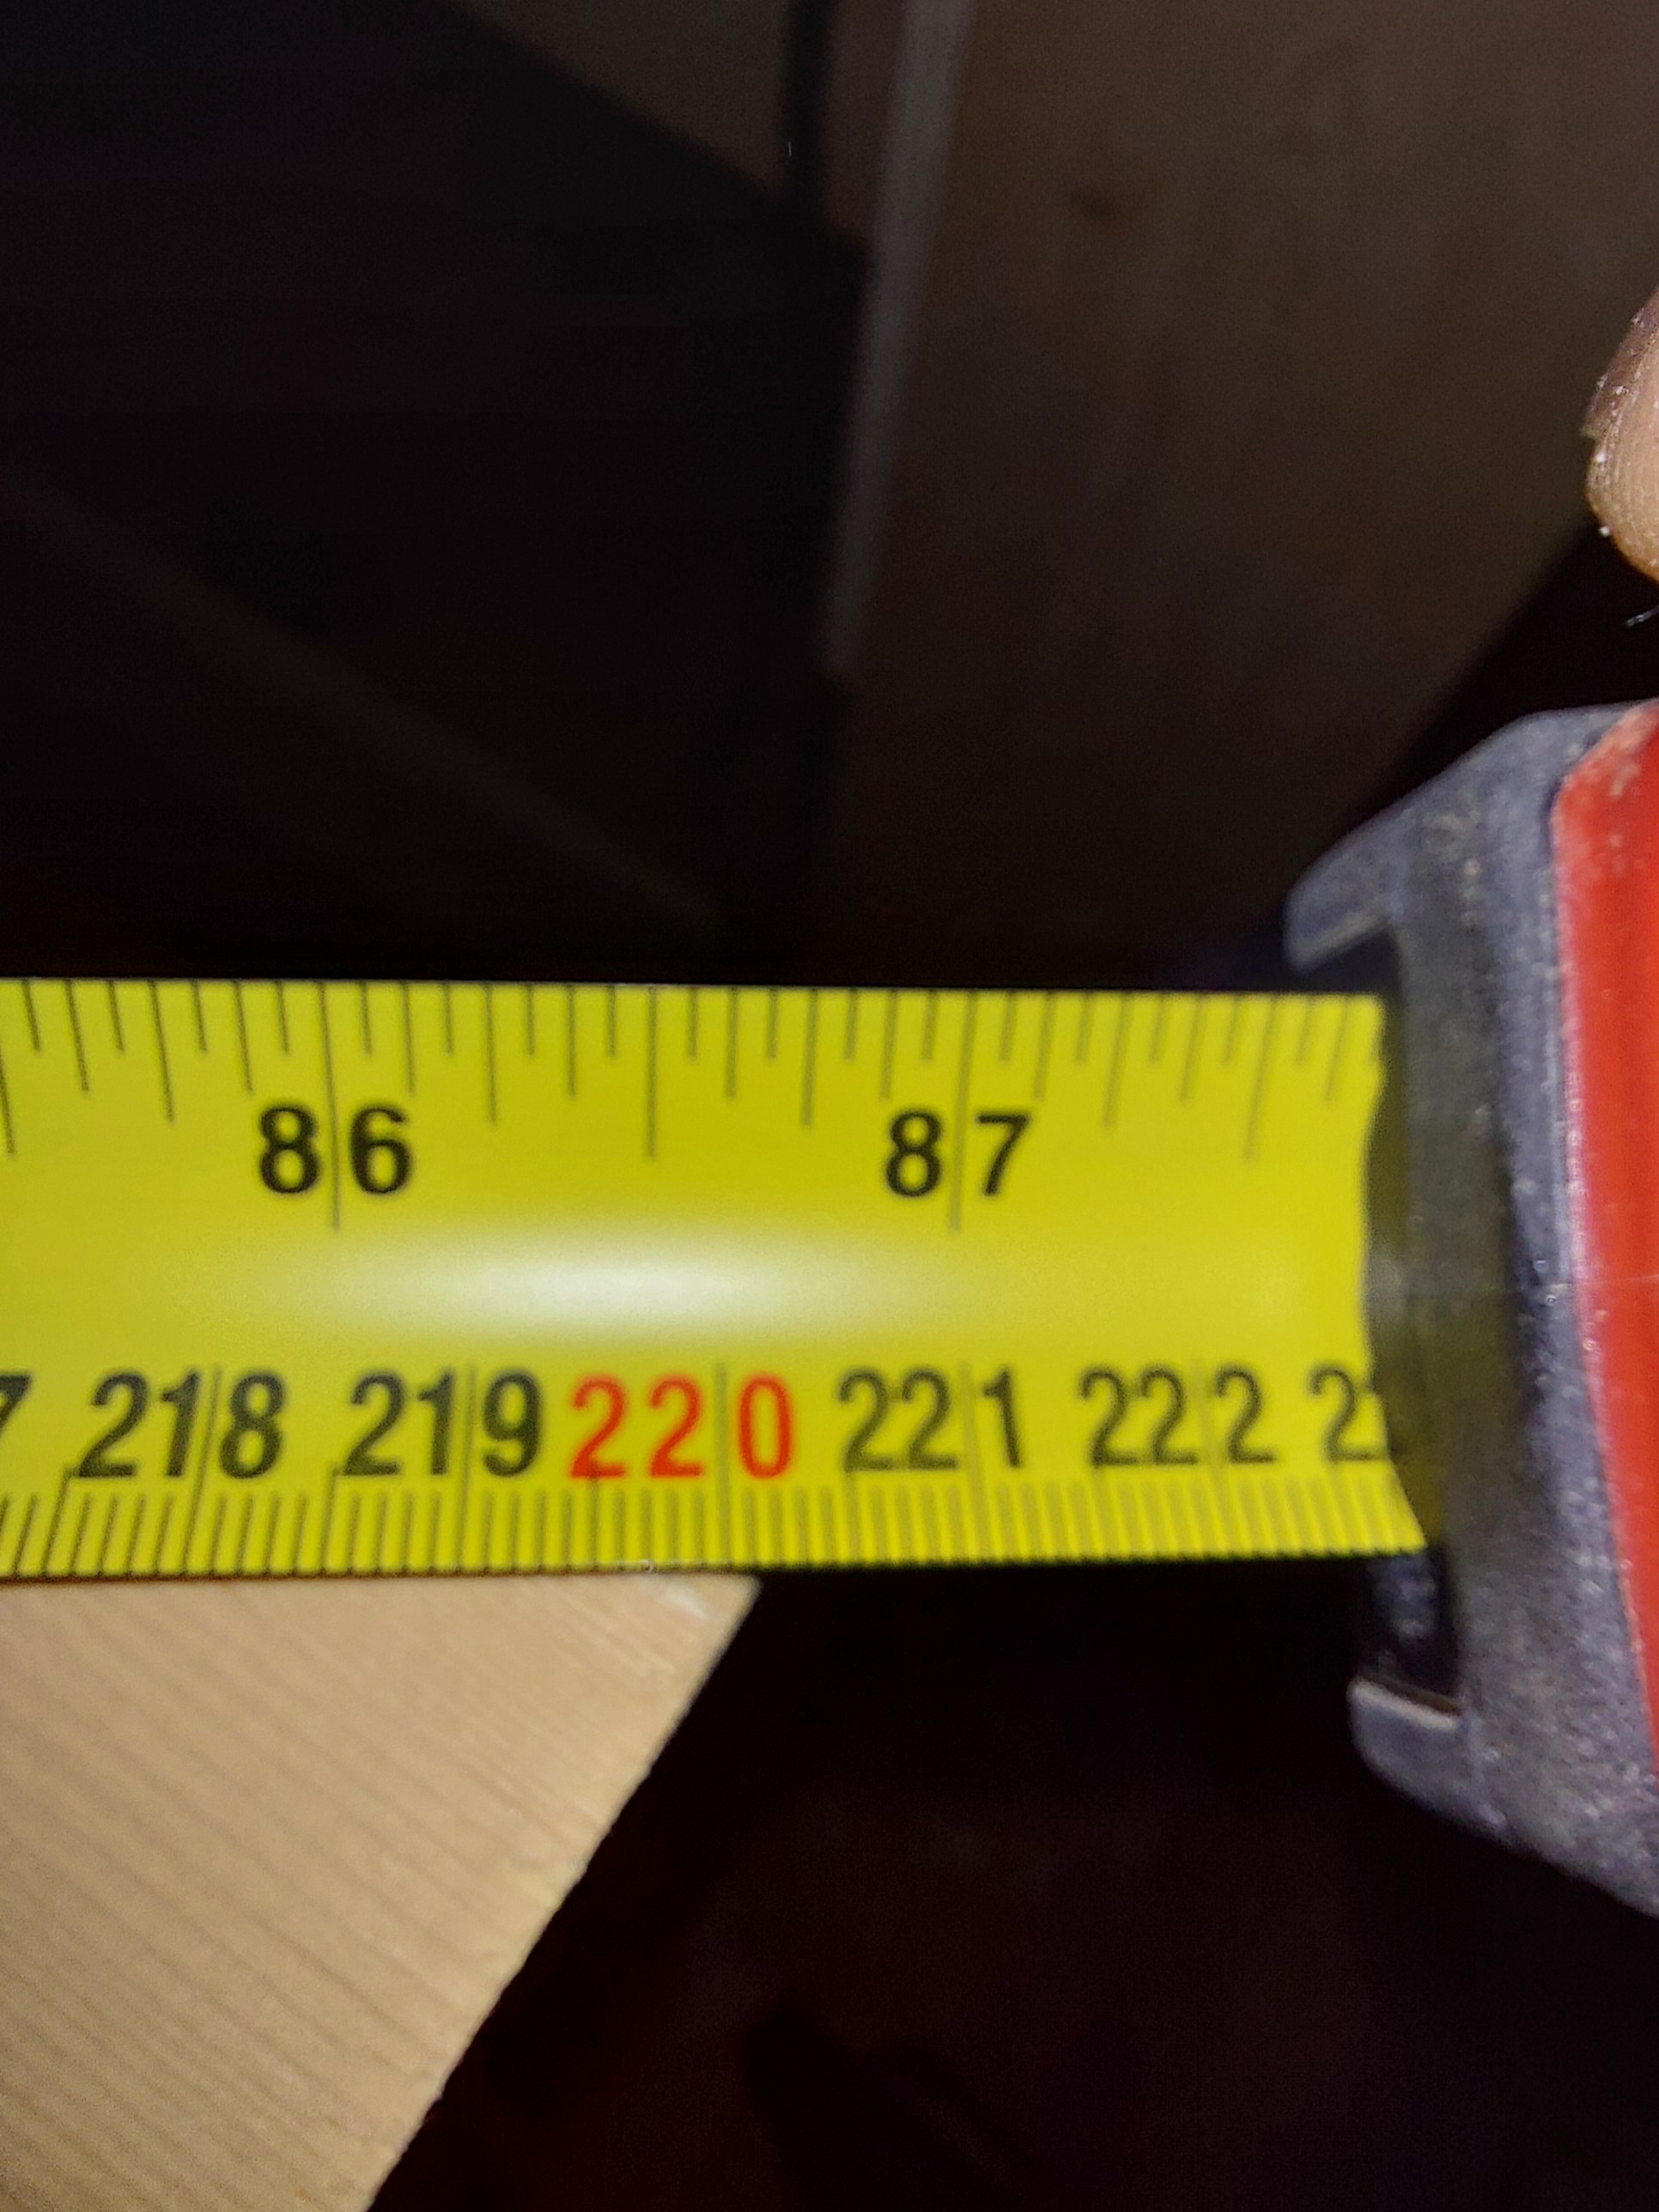
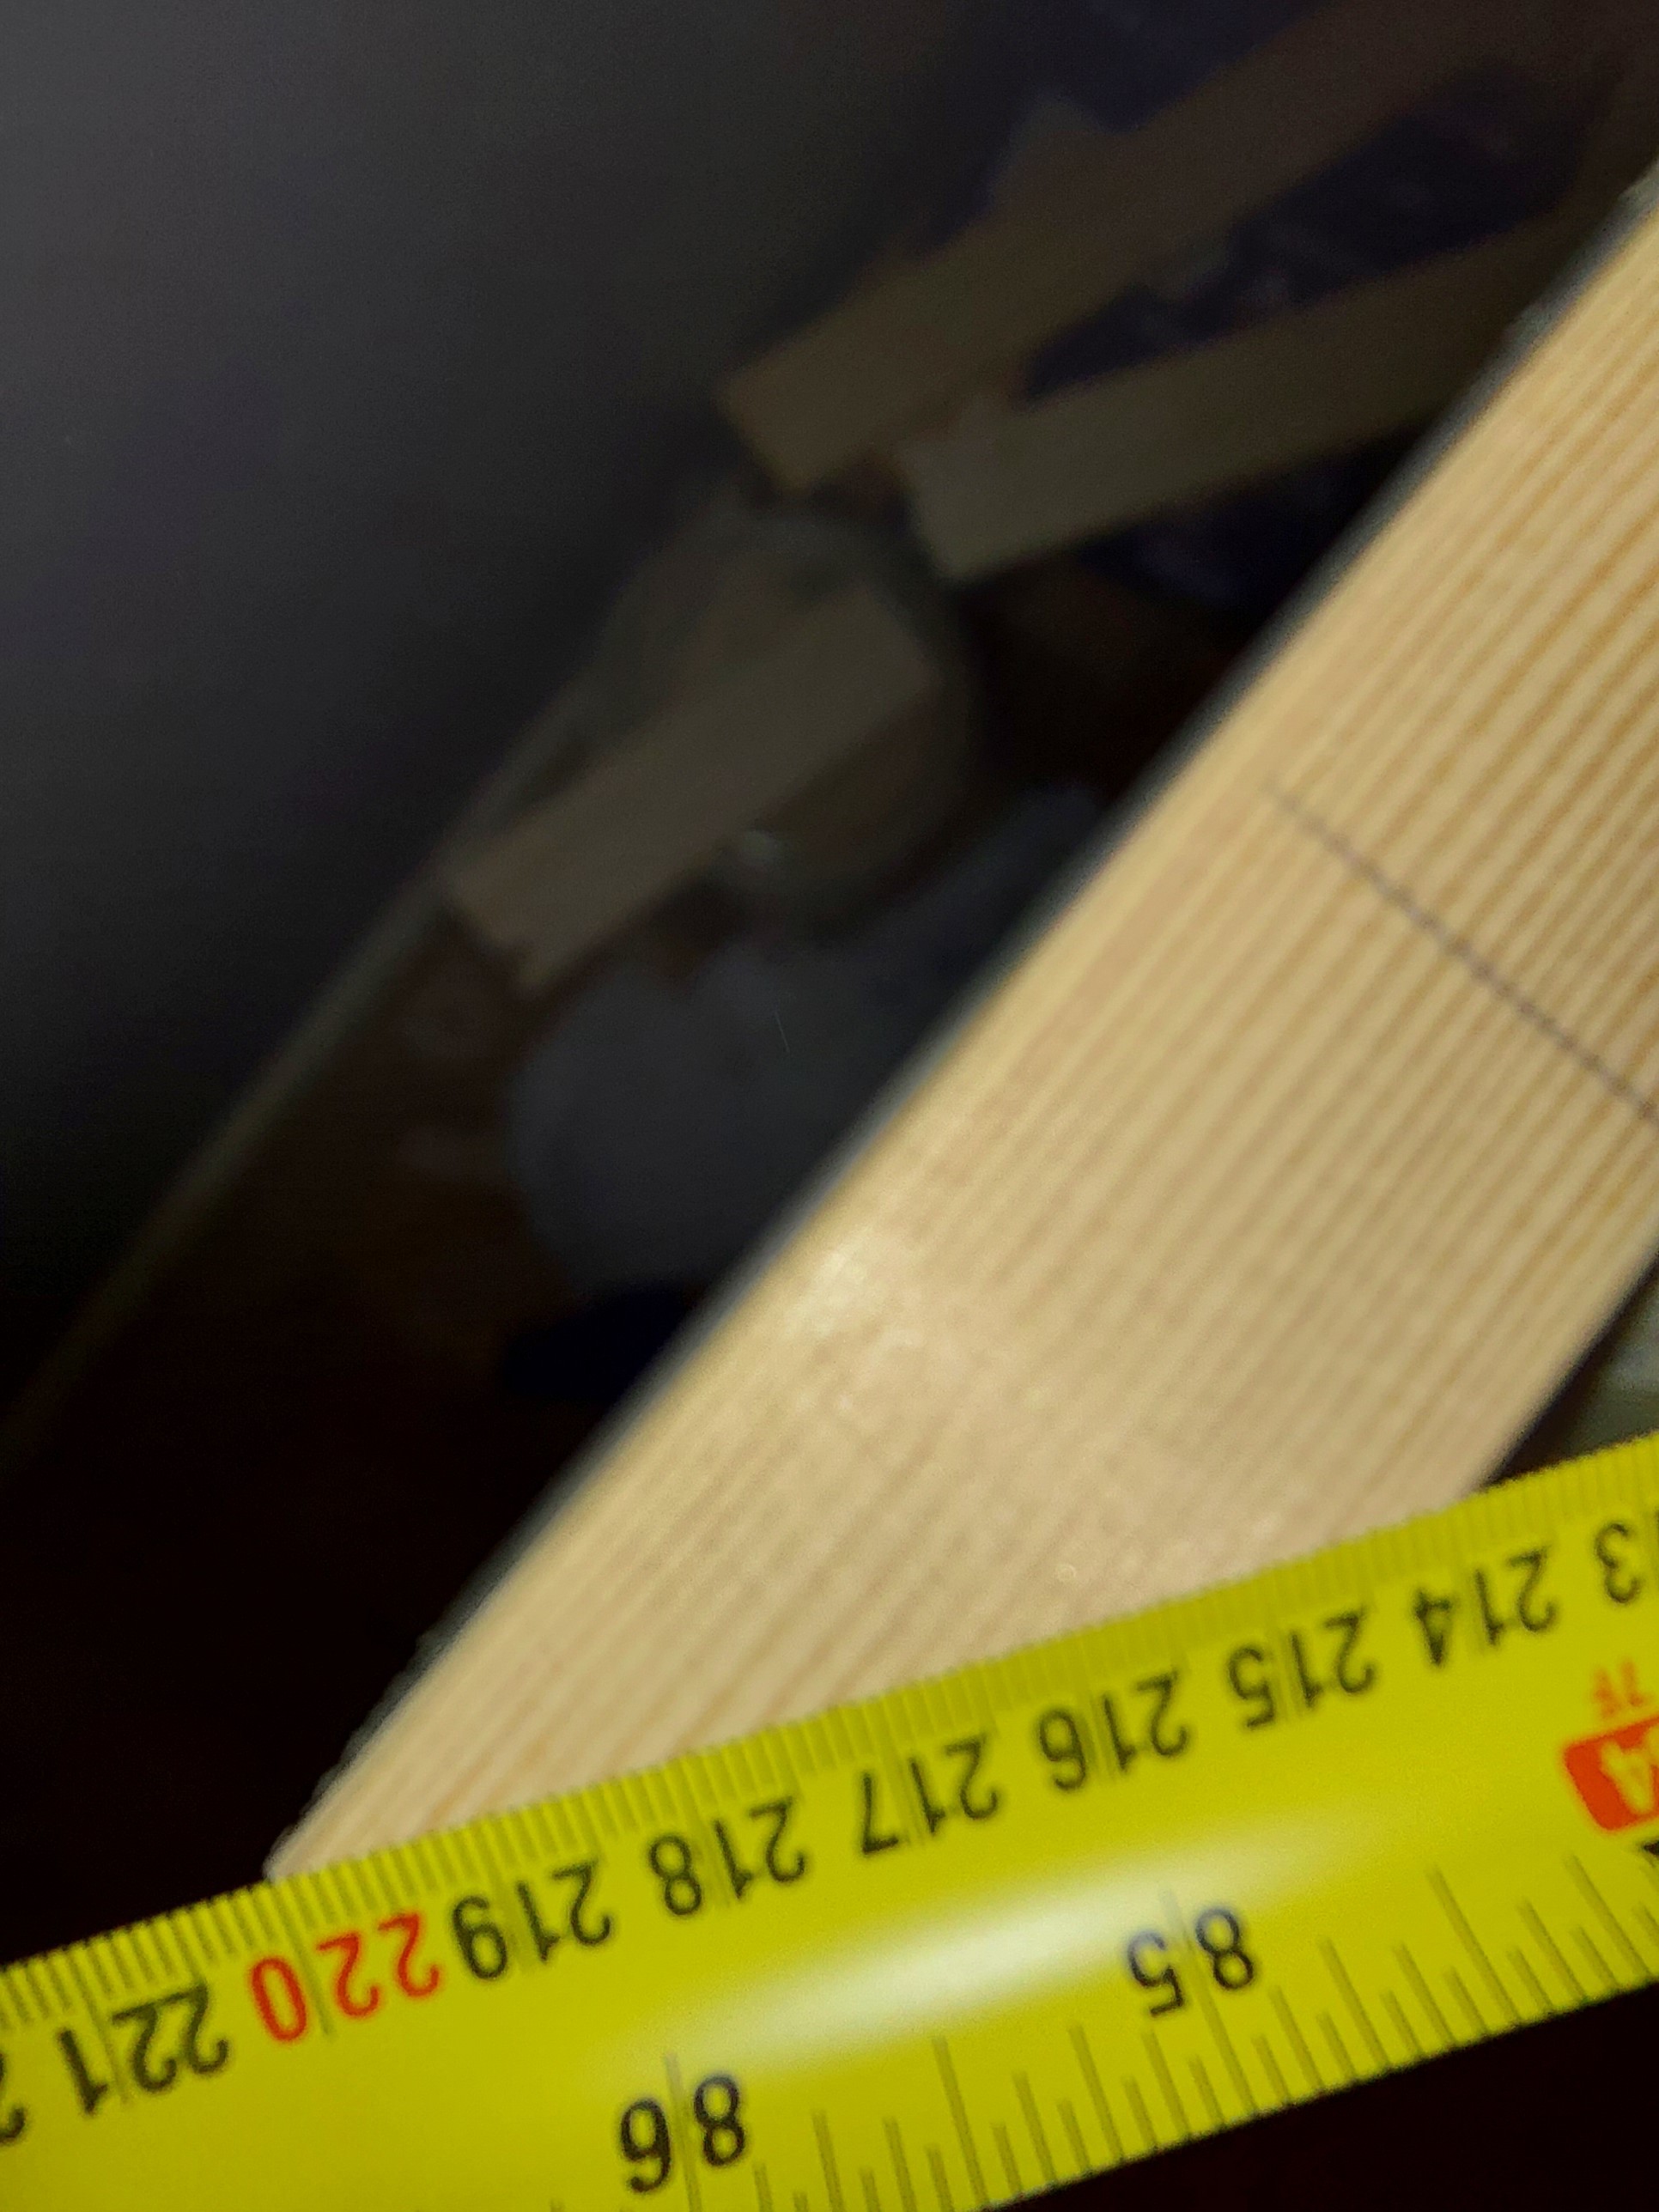
Interim update. Fir rails screwed to the sides of the table. The rails are 12" longer than the table is. (Actually about 12.2") so they overhang 3" on one side and 9" on the “home” side. I decided on the overhang to give me room to adjust squareness.
Glued and screwed the first one on, then I used construction glue to hold the second one in place, then measured the span both sides to ensure they are parallel, then measured the diagonals…
Not too bad for an eyeball square. I expected to have to adjust before I sunk the screws in… fortunately it didn’t move when I put the screws in.
What I did forget was that I was going to put a little flashing ridge in there to keep the chips out from under the wheels, but I’m sure it will be OK.
Next to put the belt clamps on the table edge, then start main assembly
Yes, that´s great! It could be even correct, as it might be a lose screw on the measuring tool that causes this difference. At least, I know mine has this
The tab on the end of the tape? It’s supposed to be loose. It moves the distance of the hook so when you push the tape into a corner it accounts for that thickness.