I think madgrizzle has it. Your error is not doubling with double distance so it is not a firmware issue it is hardware related in some form and loose pulley is far and away the #1 issue on all builds.
1 Like
I feel like a chump. It was a loose pulley. Ryan was right!
2 Likes
Well besides getting your build dirty finding a loose pulley is the next major milestone in any good person on this crew!
1 Like
Never seen a solution tag in this forum, but I think that tag shouldn’t be on my post but on @bcdcmcnamara’s who suggested it first…
3 Likes
Somehow it’s always a loose pulley. Lol.
Sneaky buggers…I think we need a loose pulley shirt but the only things that come to mind are not family friendly.
2 Likes
Dear Abby,
Recently my sister’s boyfriend has –
Let me stop you right there. You have a loose pulley. Check for a loose pulley.
6 Likes
<ShowAge>
Dr. Ruth,
Lately, I’ve had this issue with my…
Iz loose pully! Iz alvays de loose pully! Tighten zat sucker up, und haf FUN!
</ShowAge>
You young 'uns: Dr. Ruth was the Jewish grandma we all wanted, but no one deserved… Google her, and see if you can find some footage of hers. At home, as her better stuff is NSFW (usually audio-wise, I don’t recall many visual aids).
I too have suffered from loose pulley. But with rehabilitation and the right medication I have recovered.
2 Likes
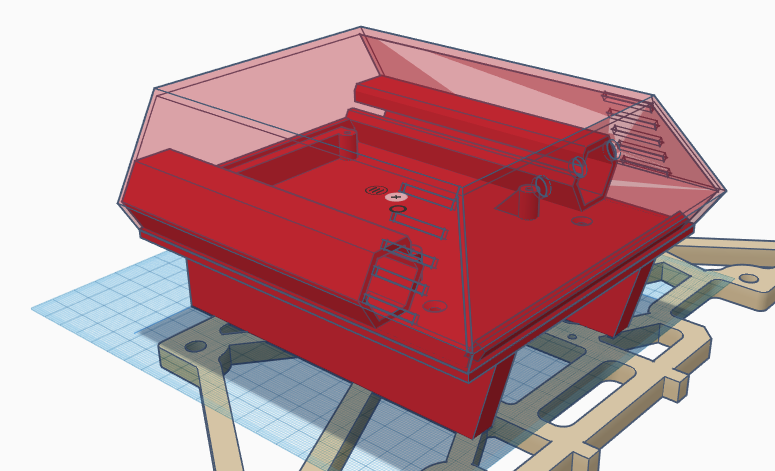
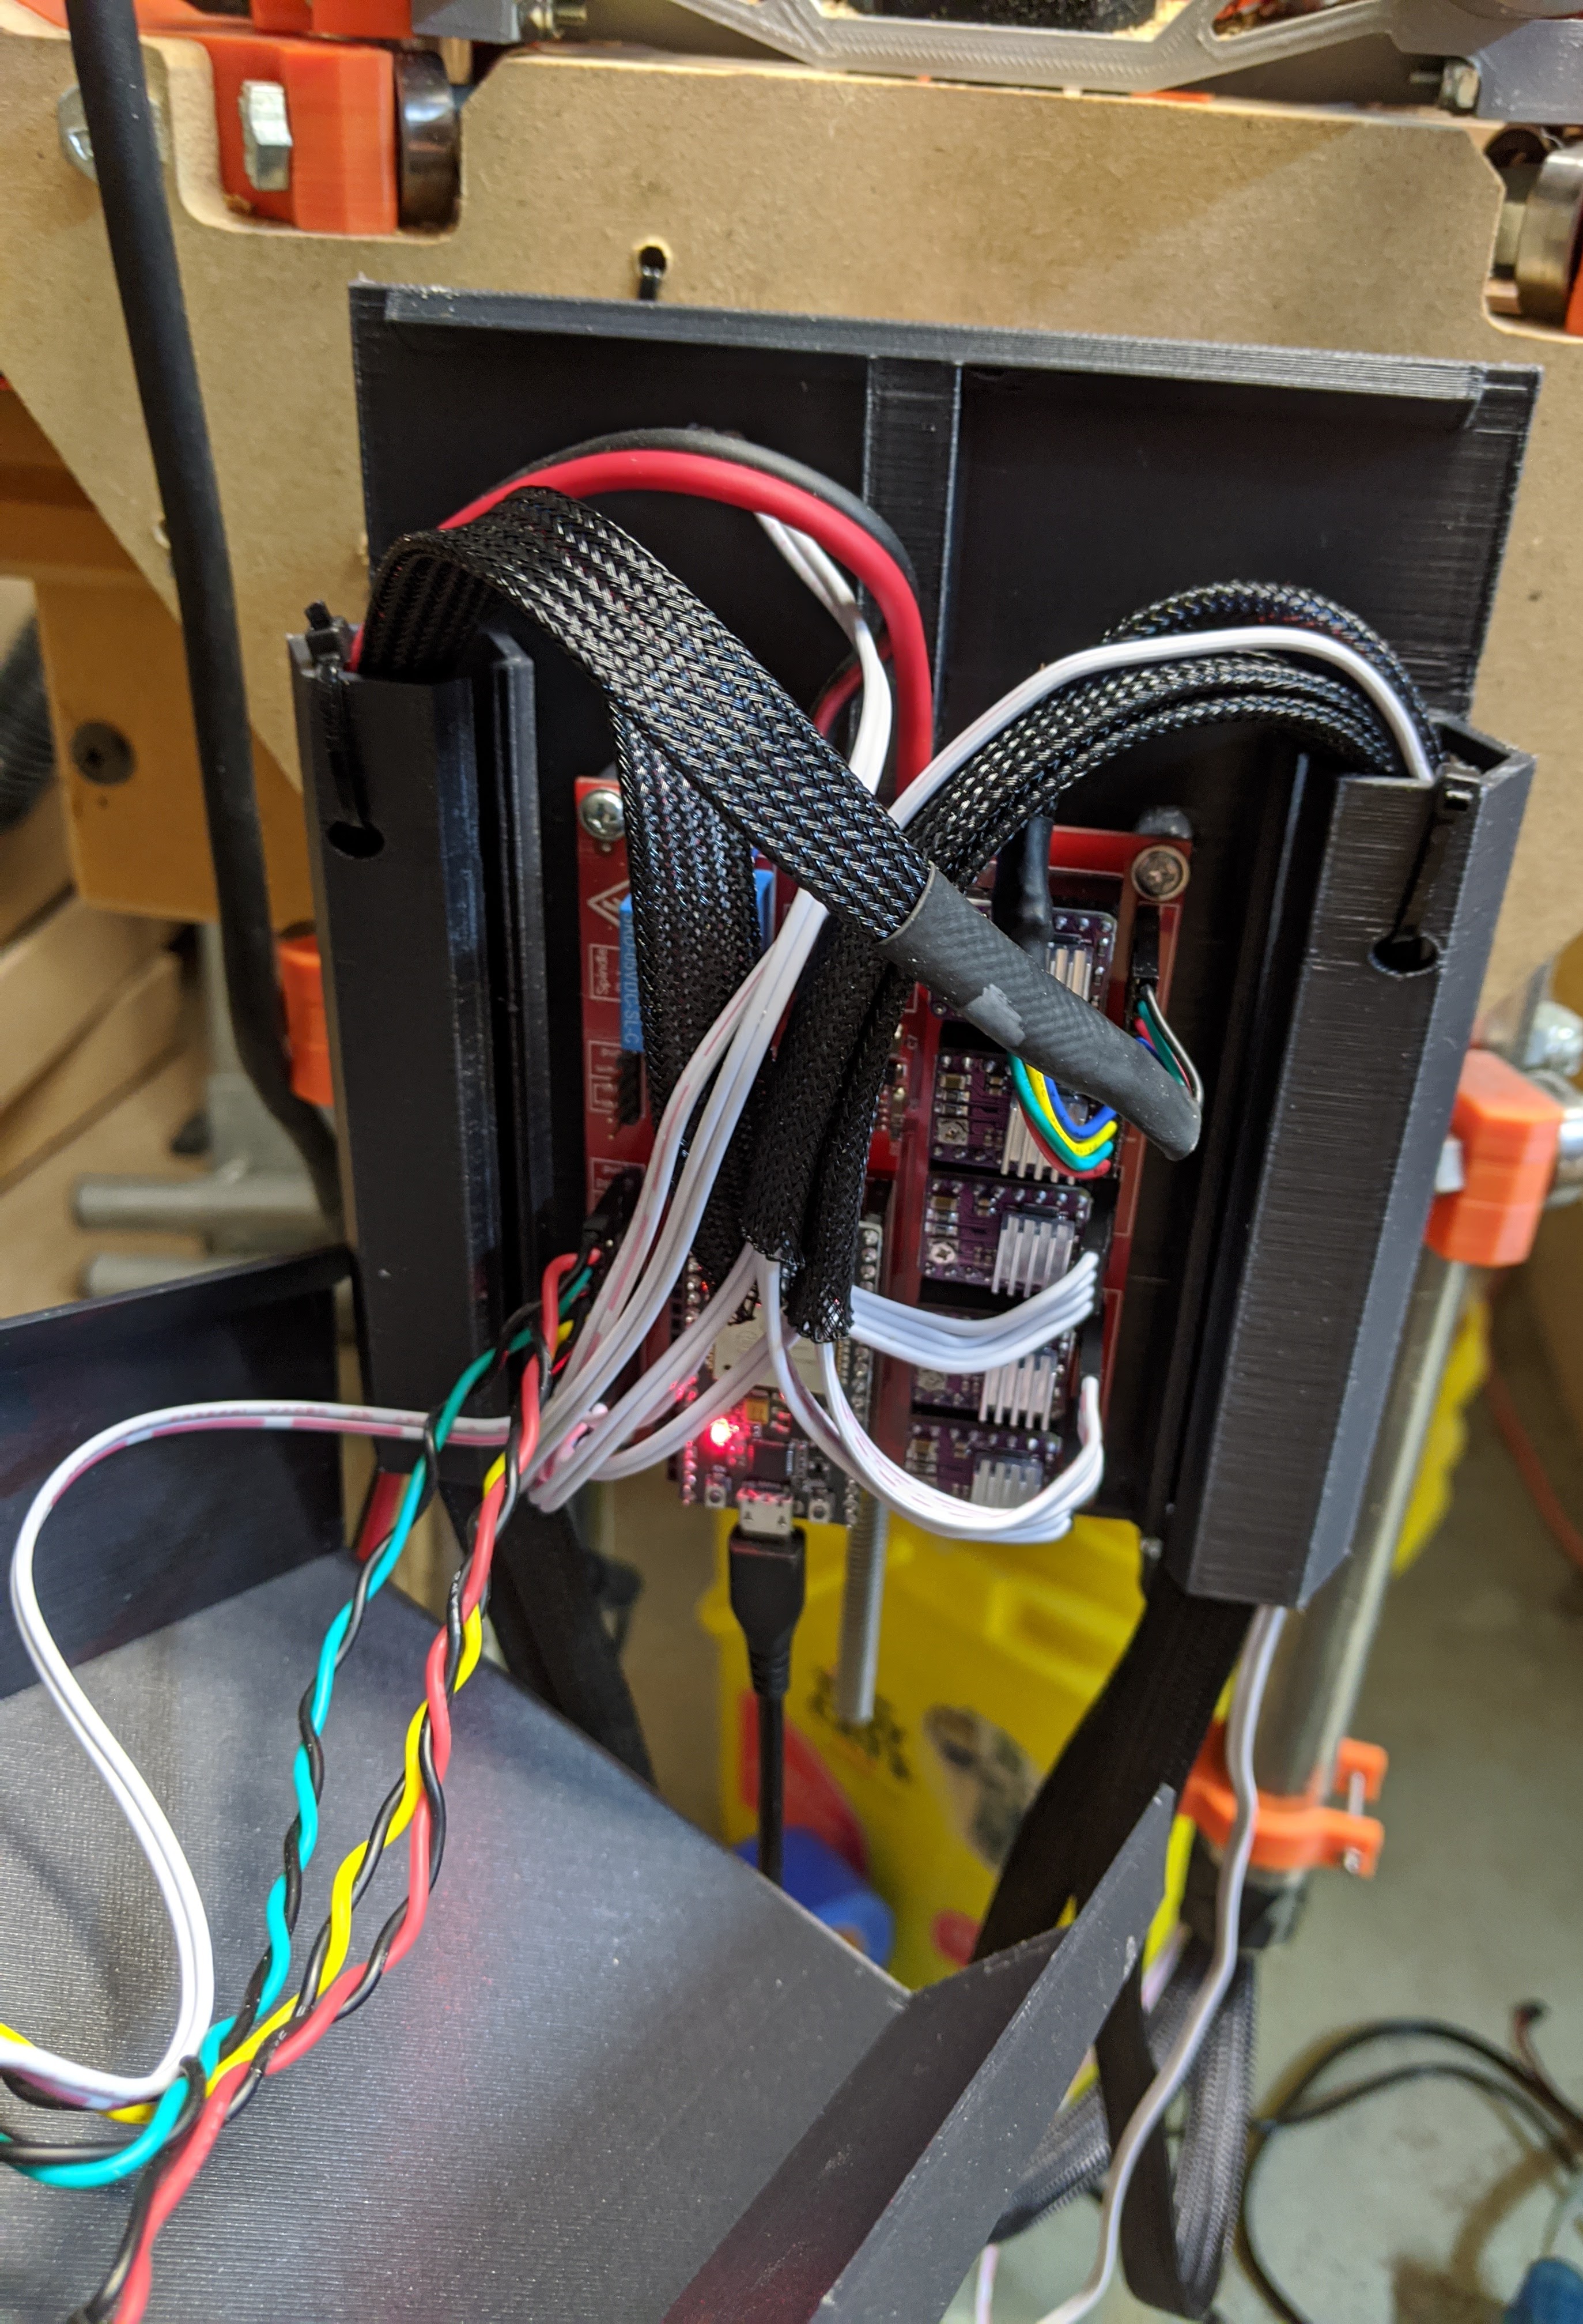
It has been awhile, but I am getting back to this. I wanted to get this running on GRBL (and with endstops) as Marlin felt clunky for CNC work. GRBL also looks to be a better fit for the laser I want on it. So I got a MPCNC ESP32_GRBL board to run it. Board and features looks awesome, but I have not had it completely running yet as a bad driver burned out on it and I need to order another…grr. Anyways, I am going to stick with this board and I needed a case for it. I played with using the Mini-Rambo case from Ryan with new mounting holes for the SLIGHTLY larger board, but the case is just too tight with all five drivers and cables, so I designed a new one (tickercad special, I really need to learn a grown up cad program…). Printing tonight for a test.
2 Likes
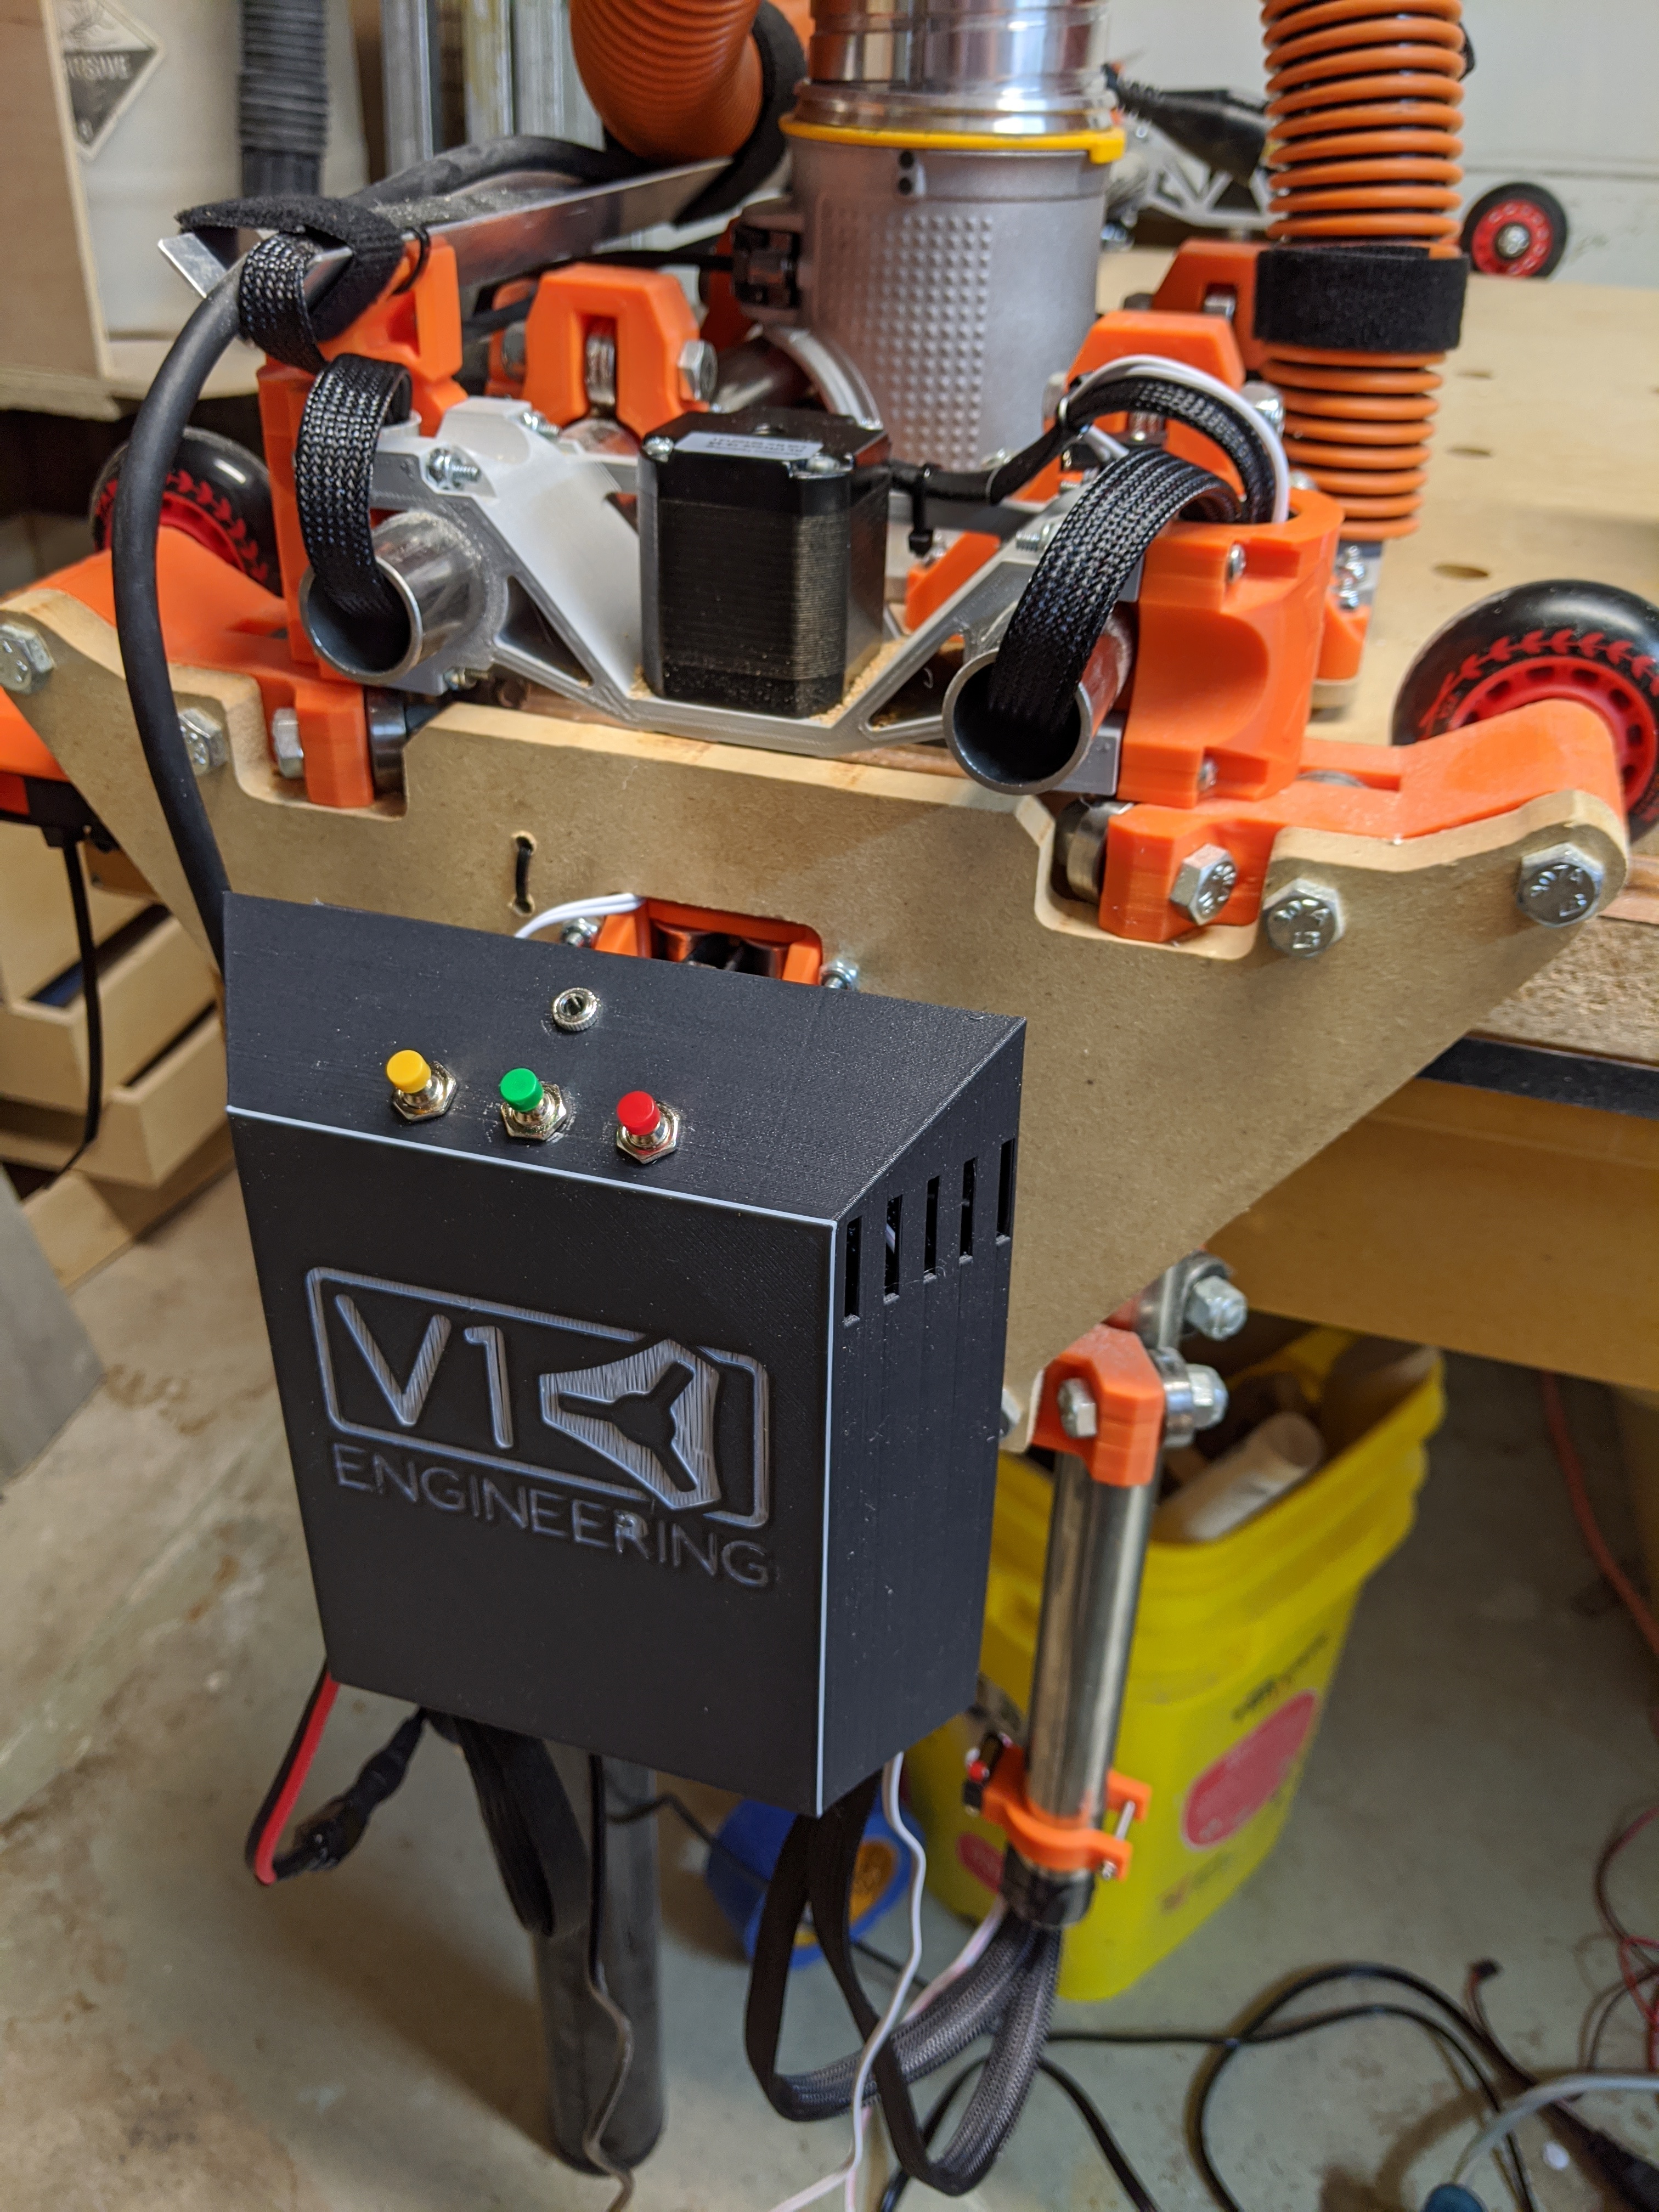
The case turned out great (I think) for a tinkercad special. The buttons on the top are Hold, Start, and Reset for GRBL. Above that is a stereo jack for my touch plate. I think I am going to make the cover a little stiffer with some internal supports and remove the reset button as I don’t see me using it (and I don’t want a button that will complete nuke a job). I love how the case sits on the end of the lowrider.
On my todo list is getting my 7w laser running on it and maybe get the spindle relay setup.
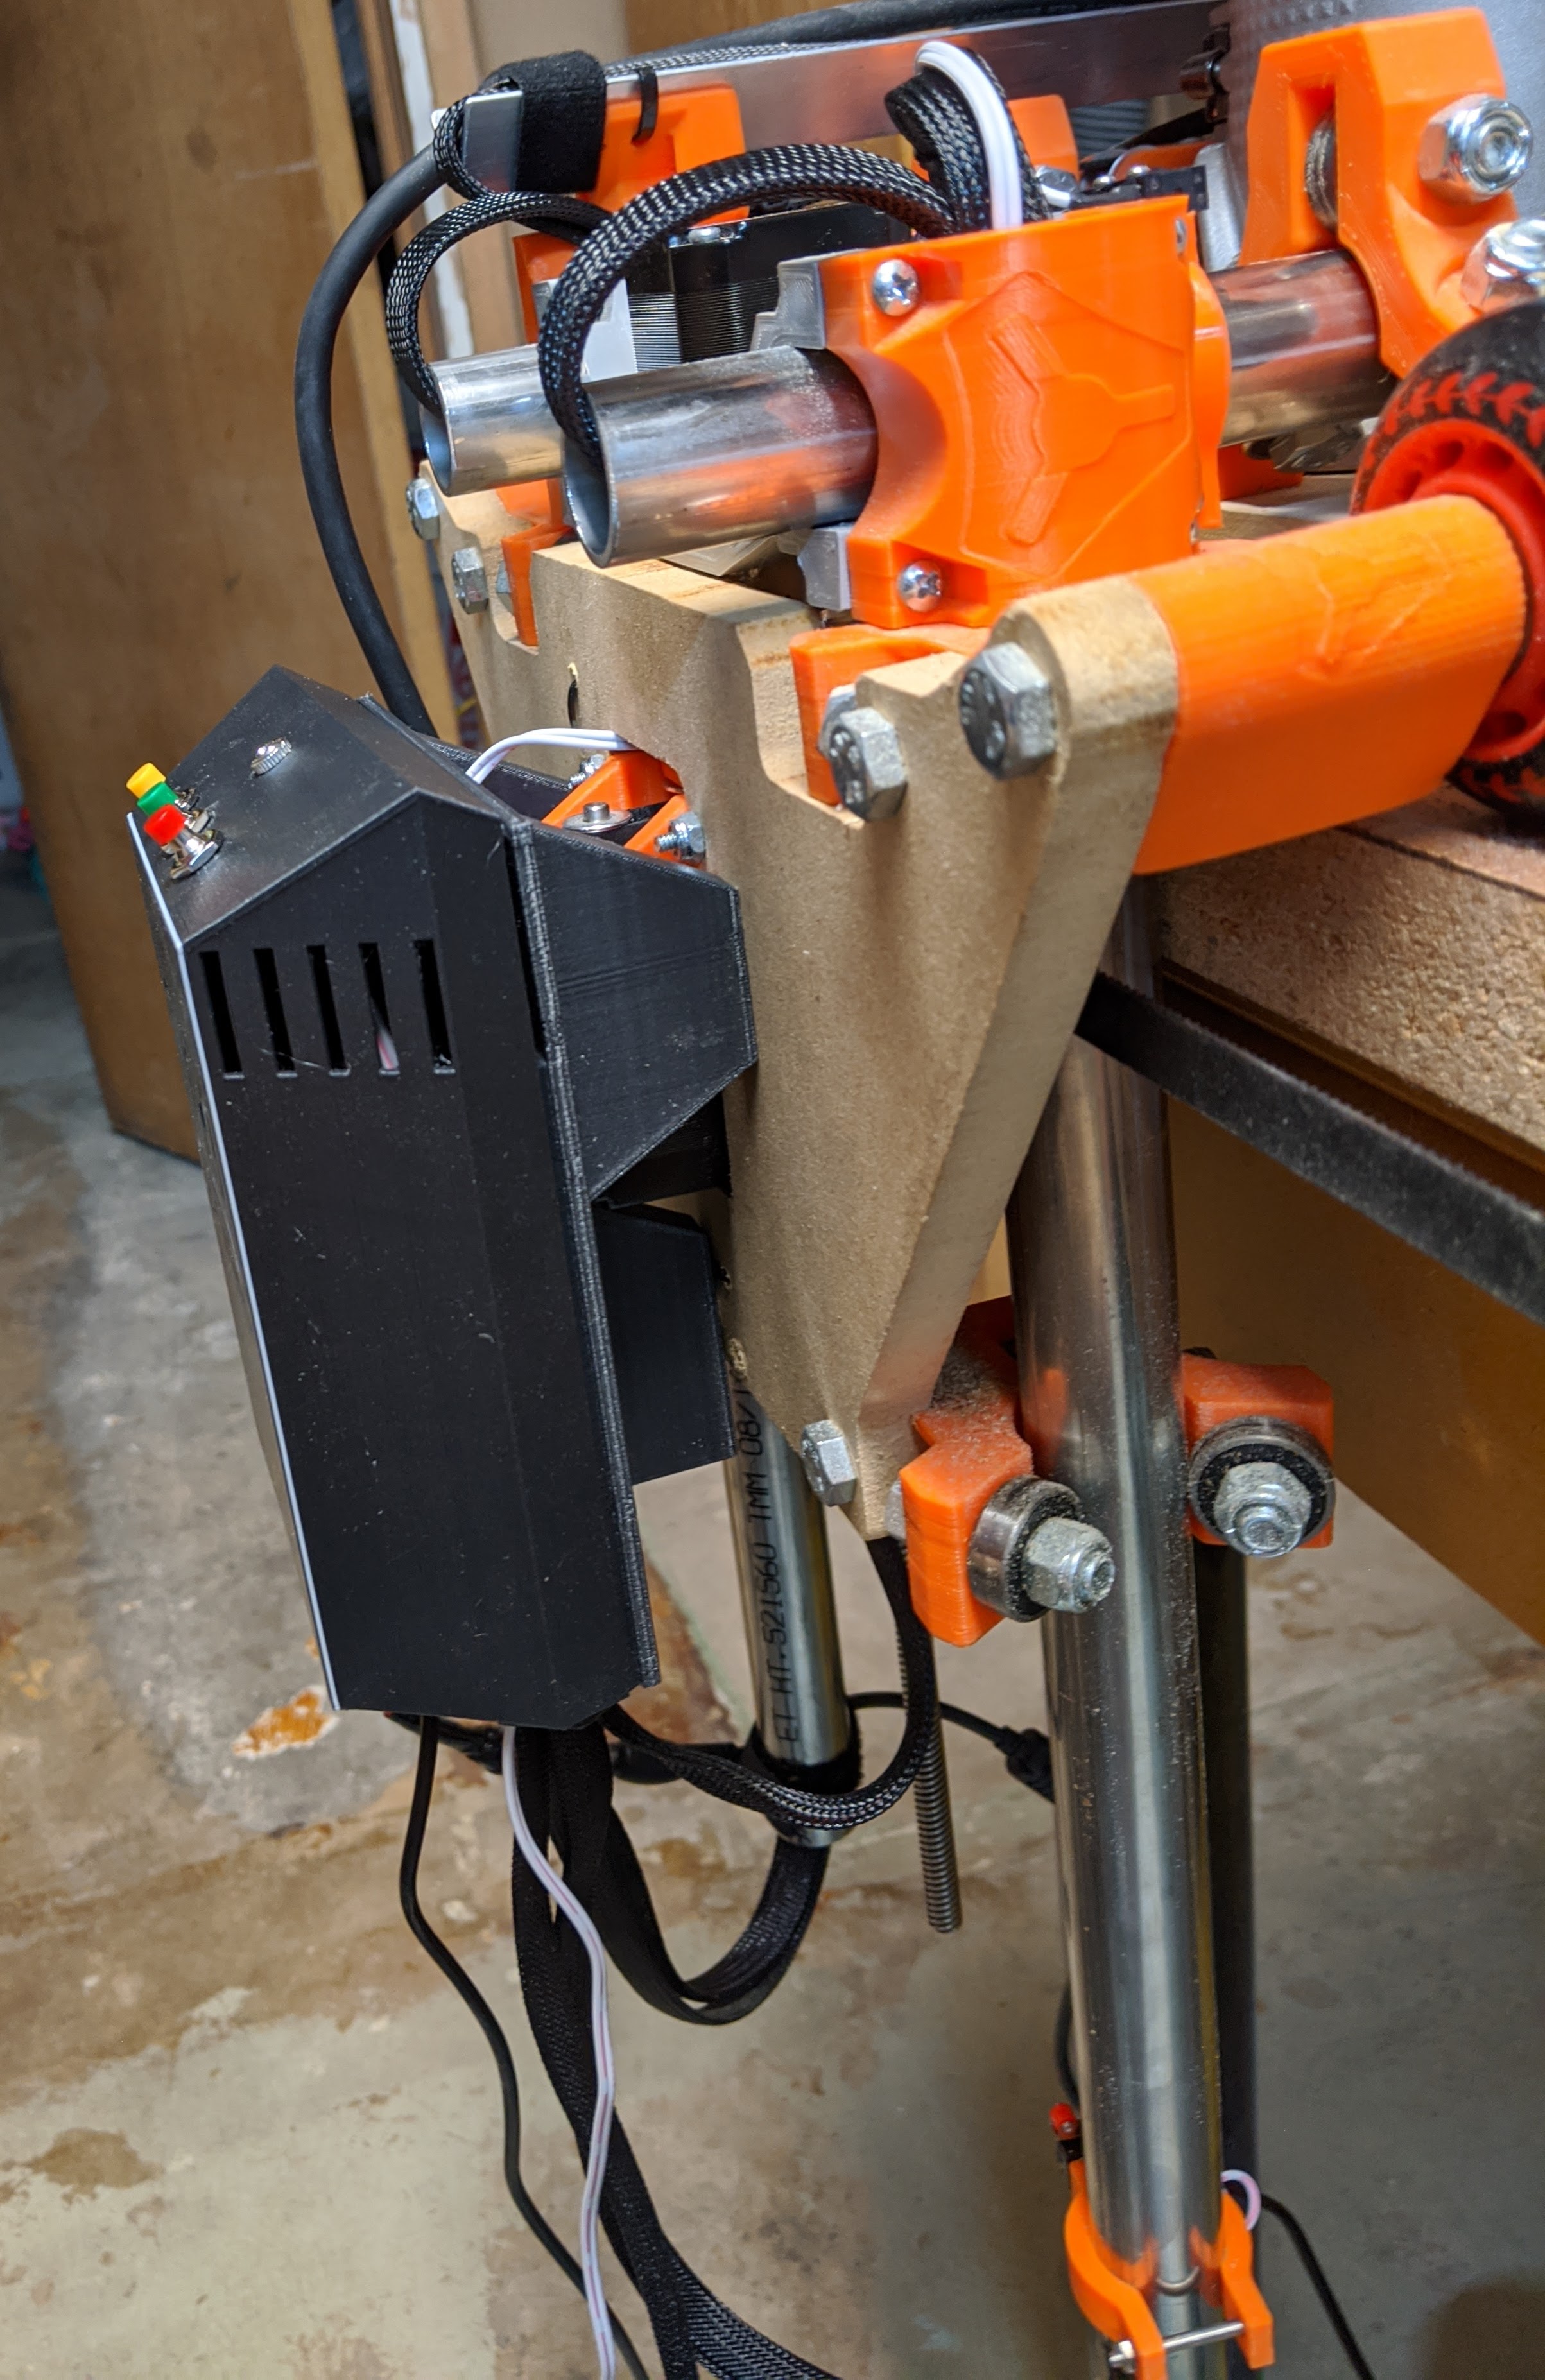
8 Likes
Here are the files for the case if anyone wants them. https://www.thingiverse.com/thing:4531745
4 Likes
Nice build…will read through it later tonight !!!
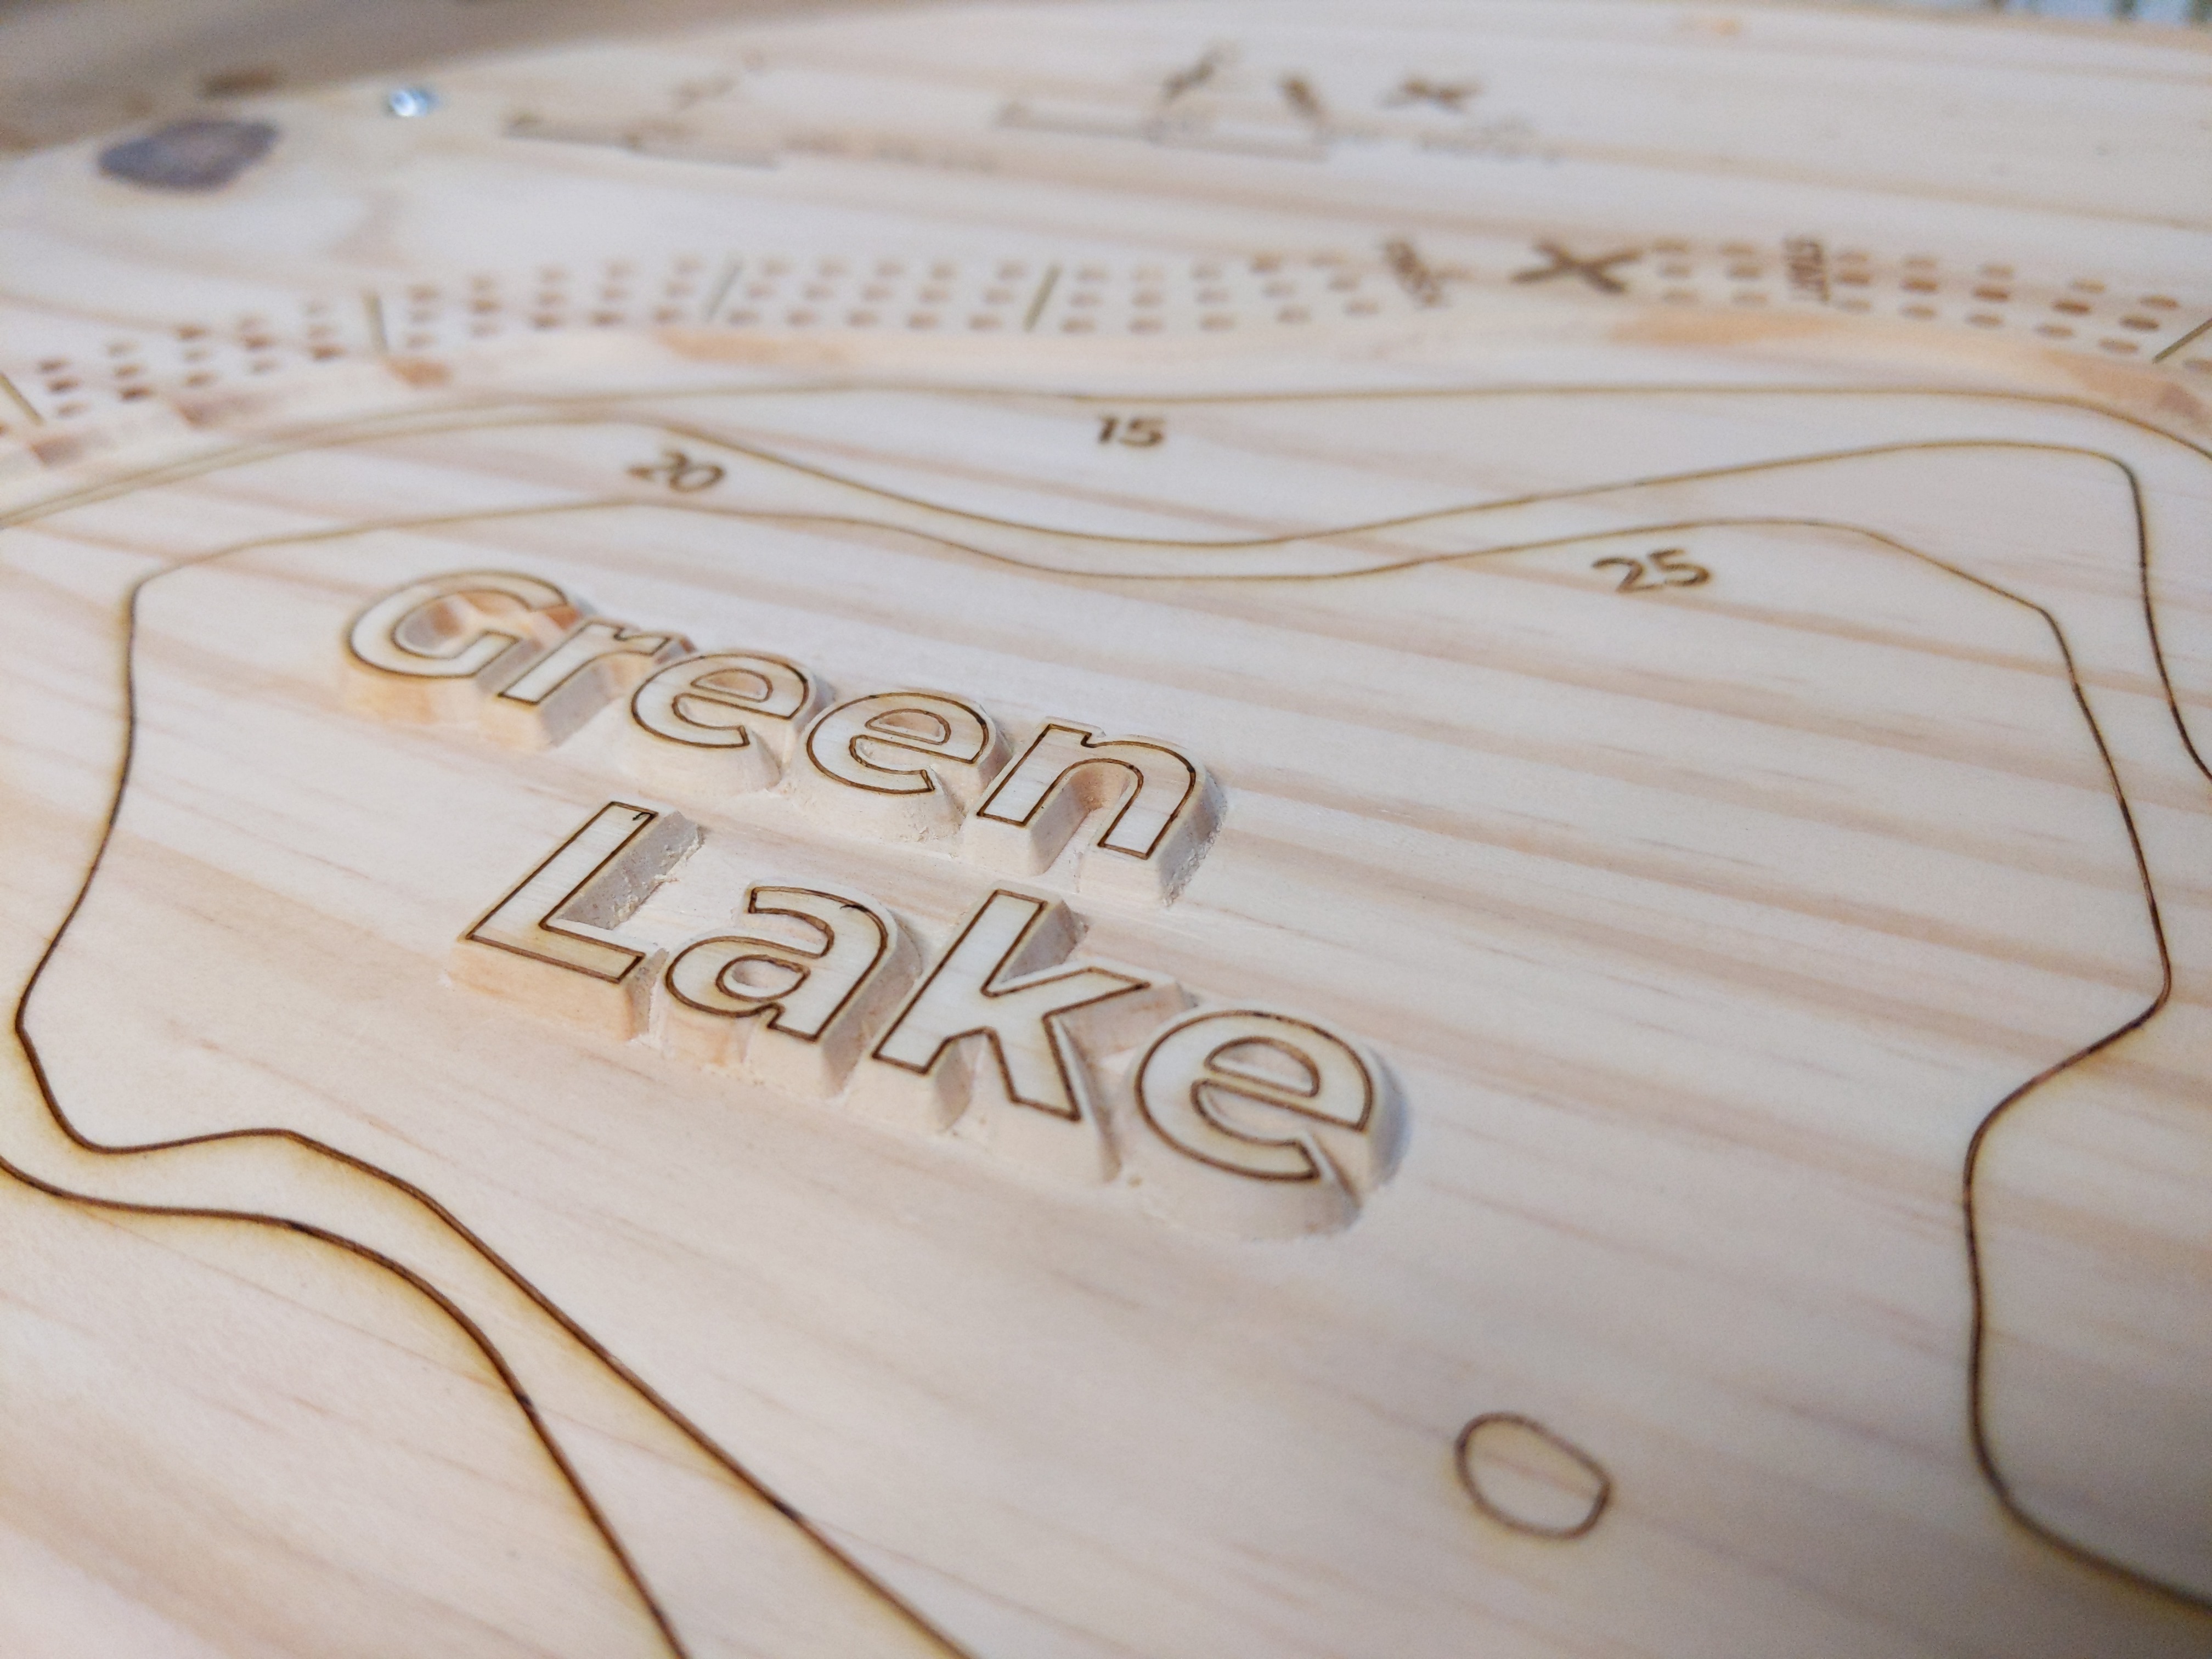
Finally putting some more complicated jobs through this. Carved out the raised text and drilled the holes. Now I am getting the laser work done. Next will be to cut out this side and flip it over and cut out the peg hole and then final cut out.
Tip for anyone drilling out the holes, I switched from a 1/8" shaft bit to a 1/4" shaft (still 1/8" cut diameter) bit and was able to almost double my drill speed as it got rid of bit chatter in the hole.
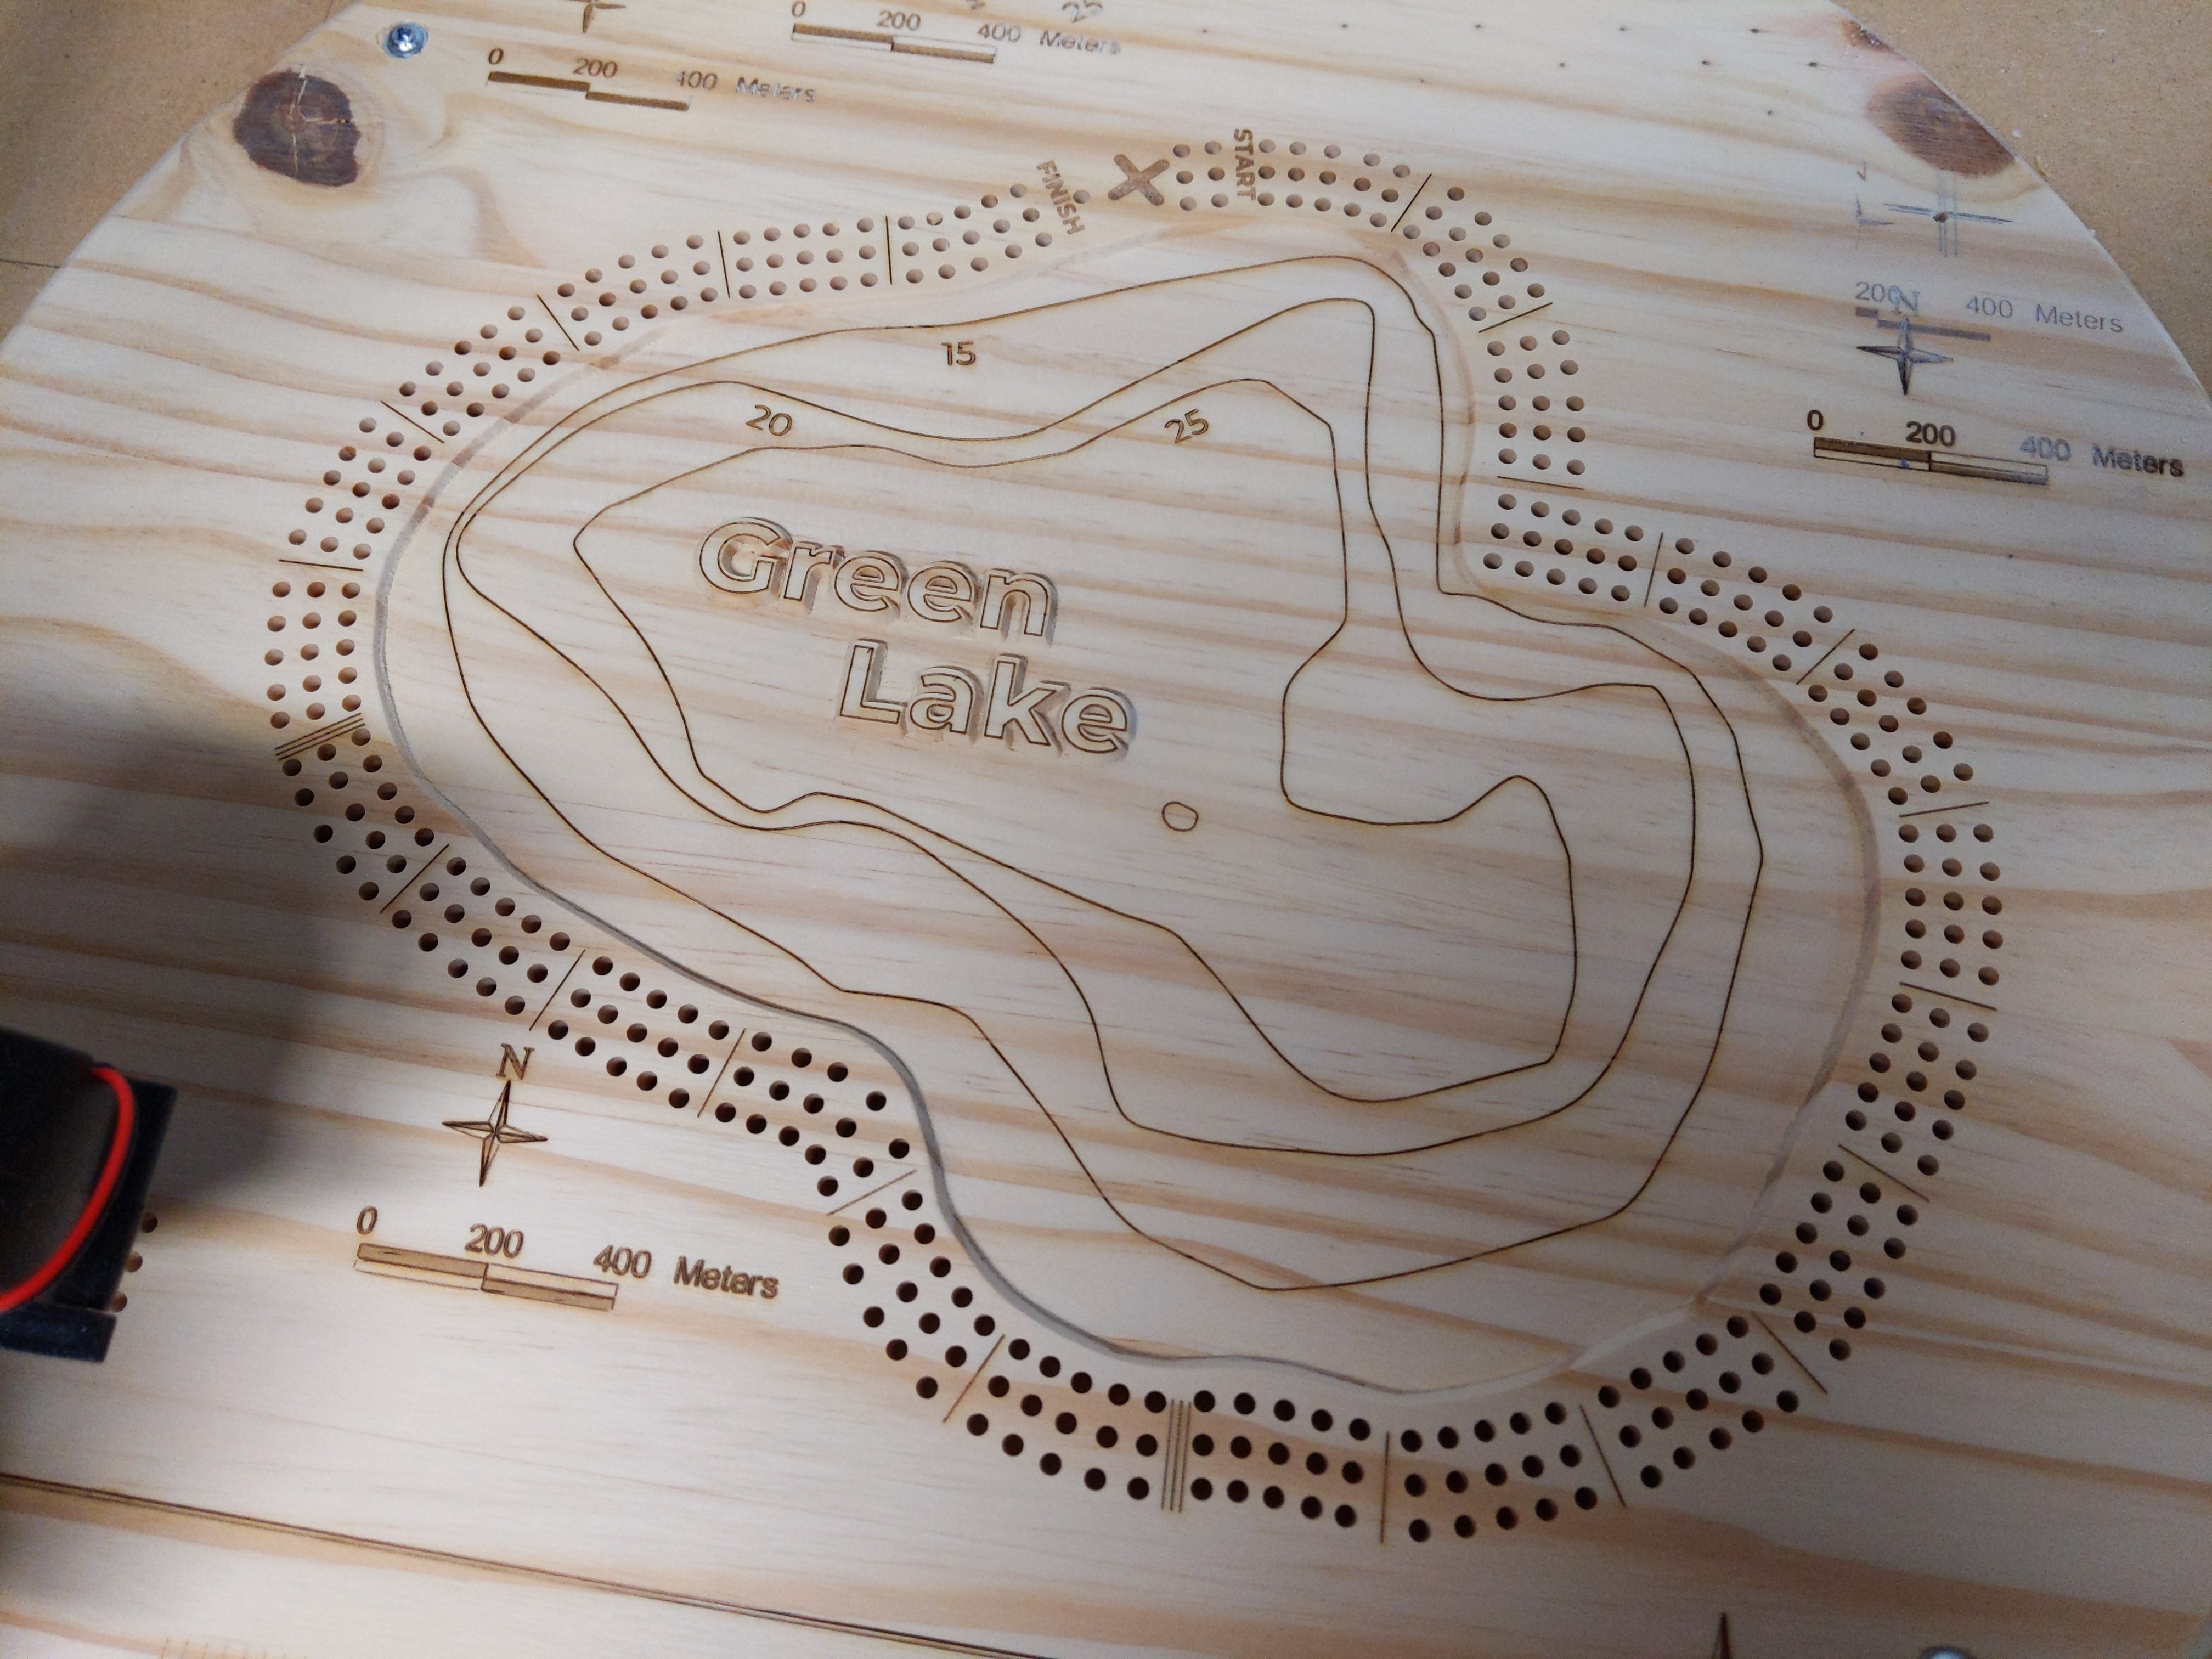
4 Likes
WOW, I think you just one for nicest cribbage board.
That etching on the raised letters…so nice!
1 Like
This bit was awesome for drilling the holes.
https://smile.amazon.com/dp/B00L3AV0ZK/ref=cm_sw_r_cp_apa_fabc_8b25FbTY4PTPW?_encoding=UTF8&psc=1
1 Like
Laser setup:
To this mount:
With this plate:
I would suggest using this air assist:
Software/control: lightburn, the best $40 I have spent on this machine.
2 Likes
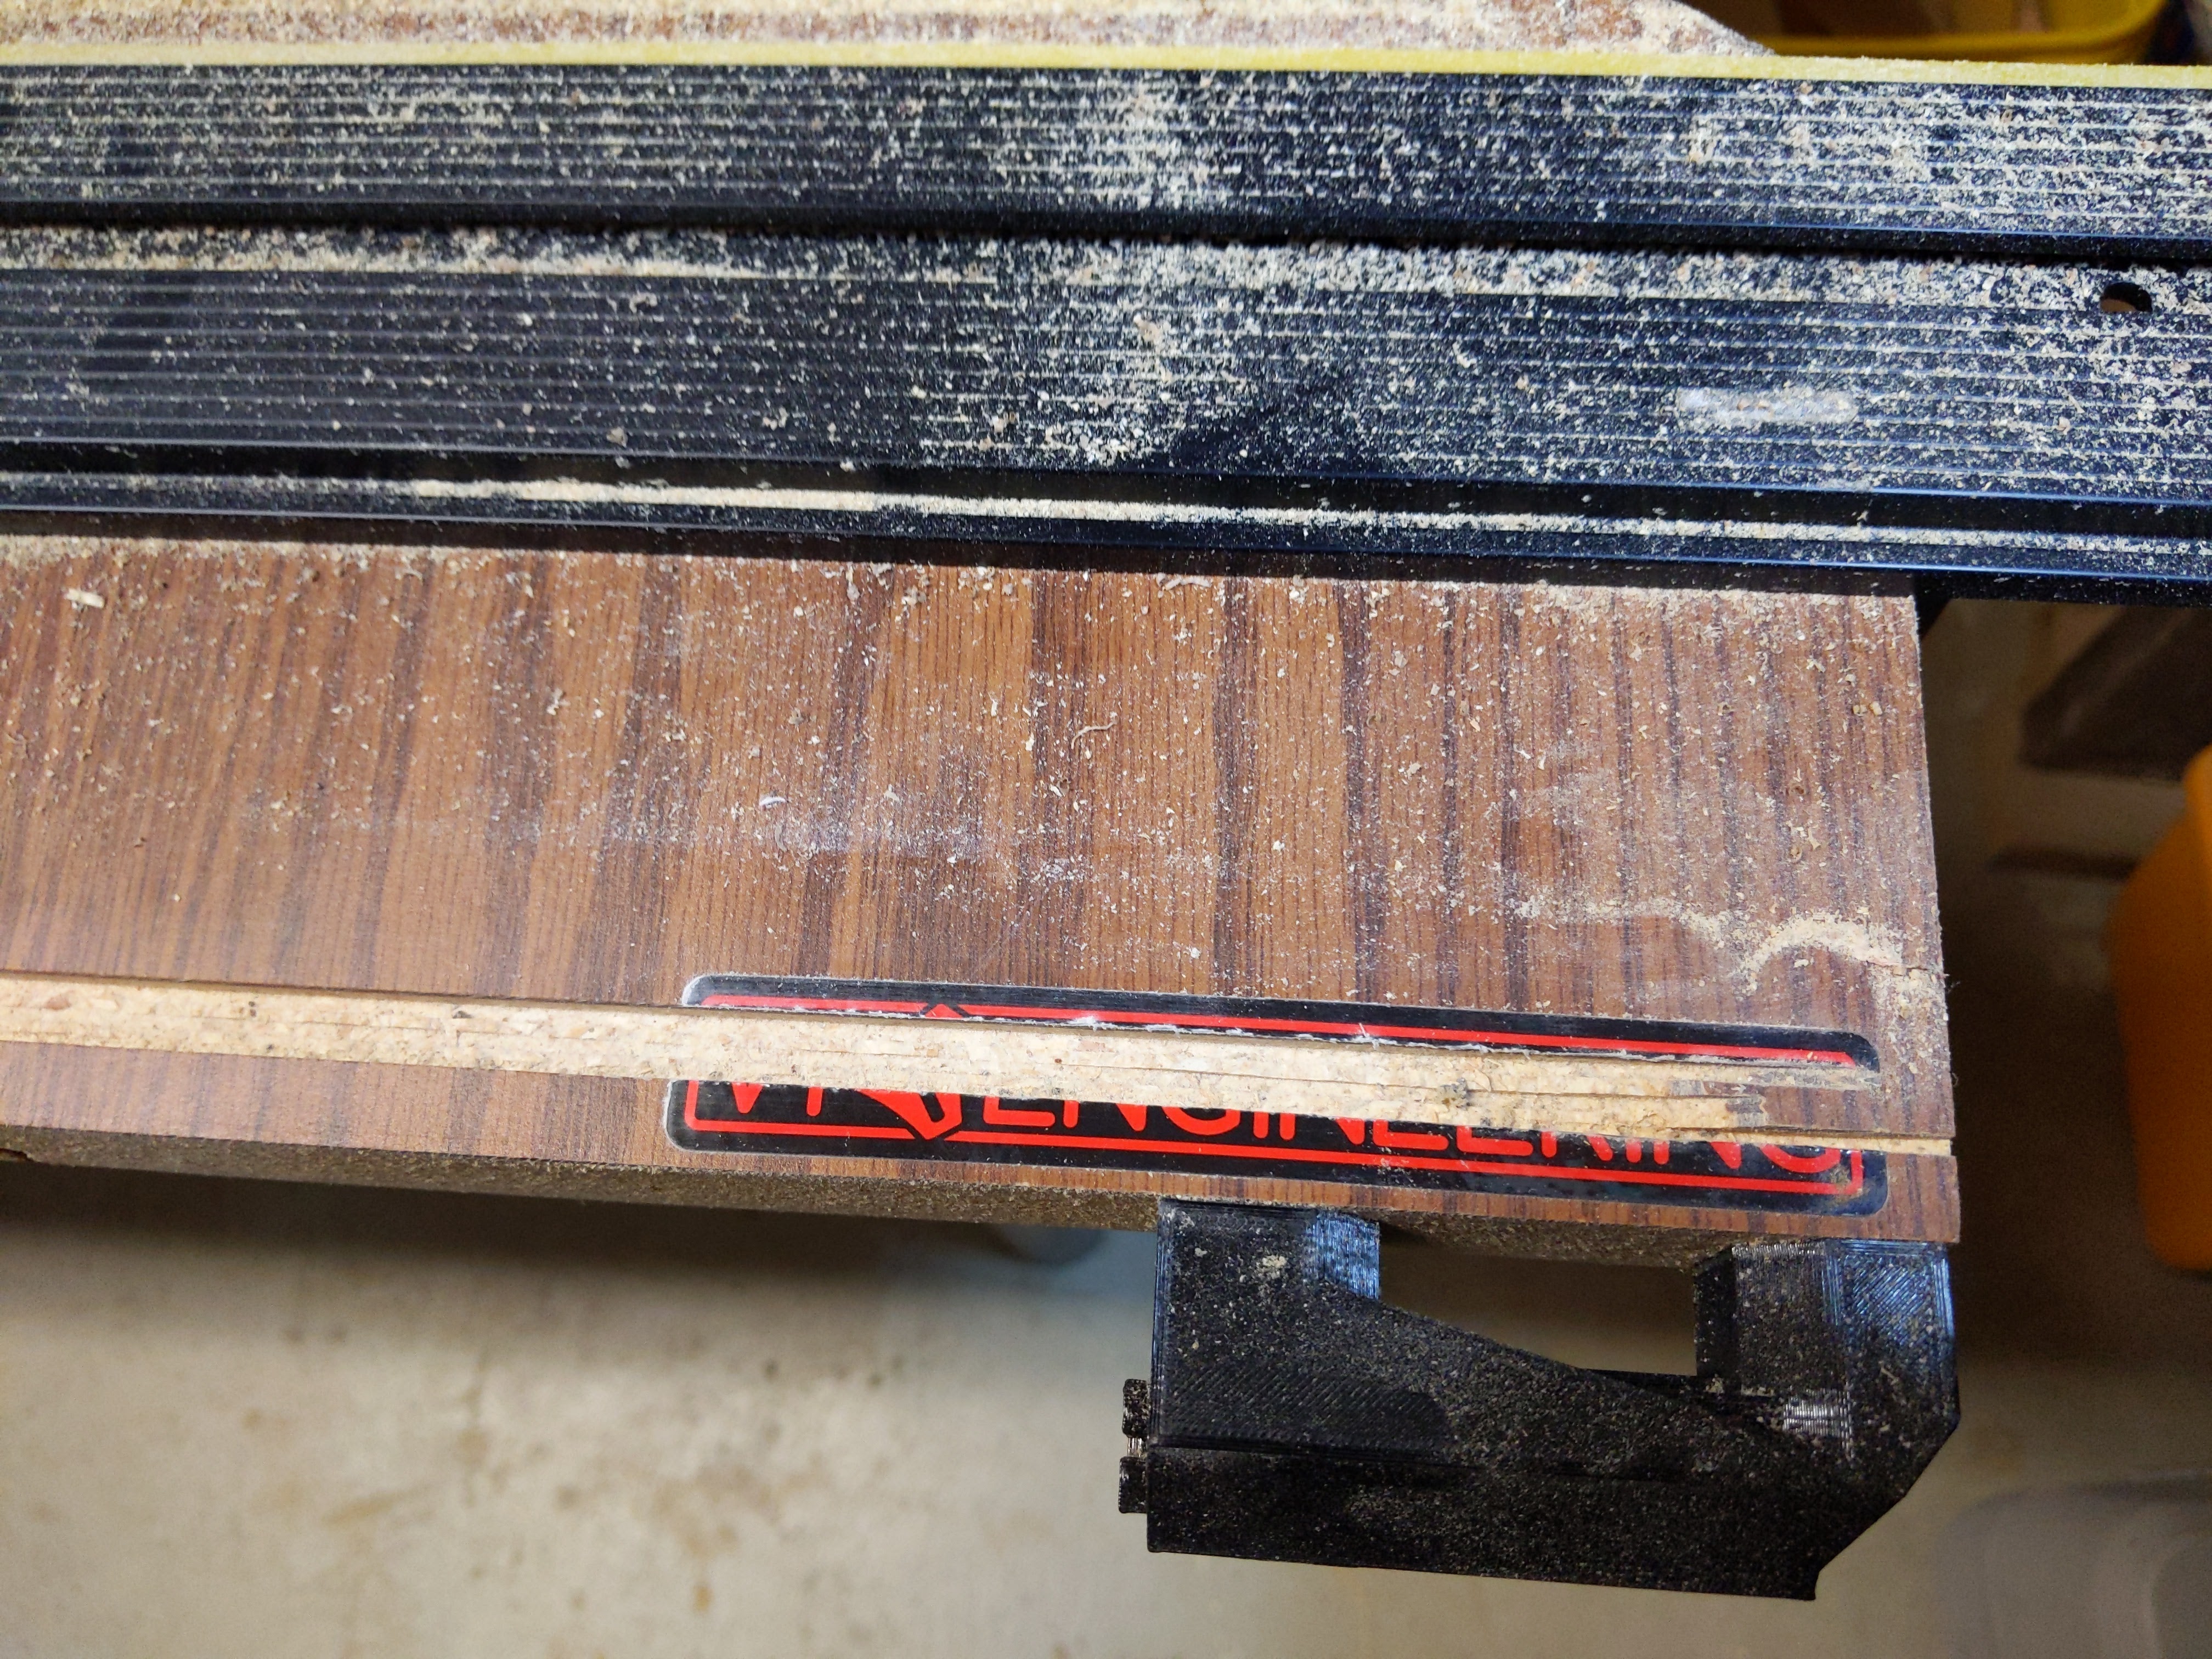
@vicious1, I need a new sticker!
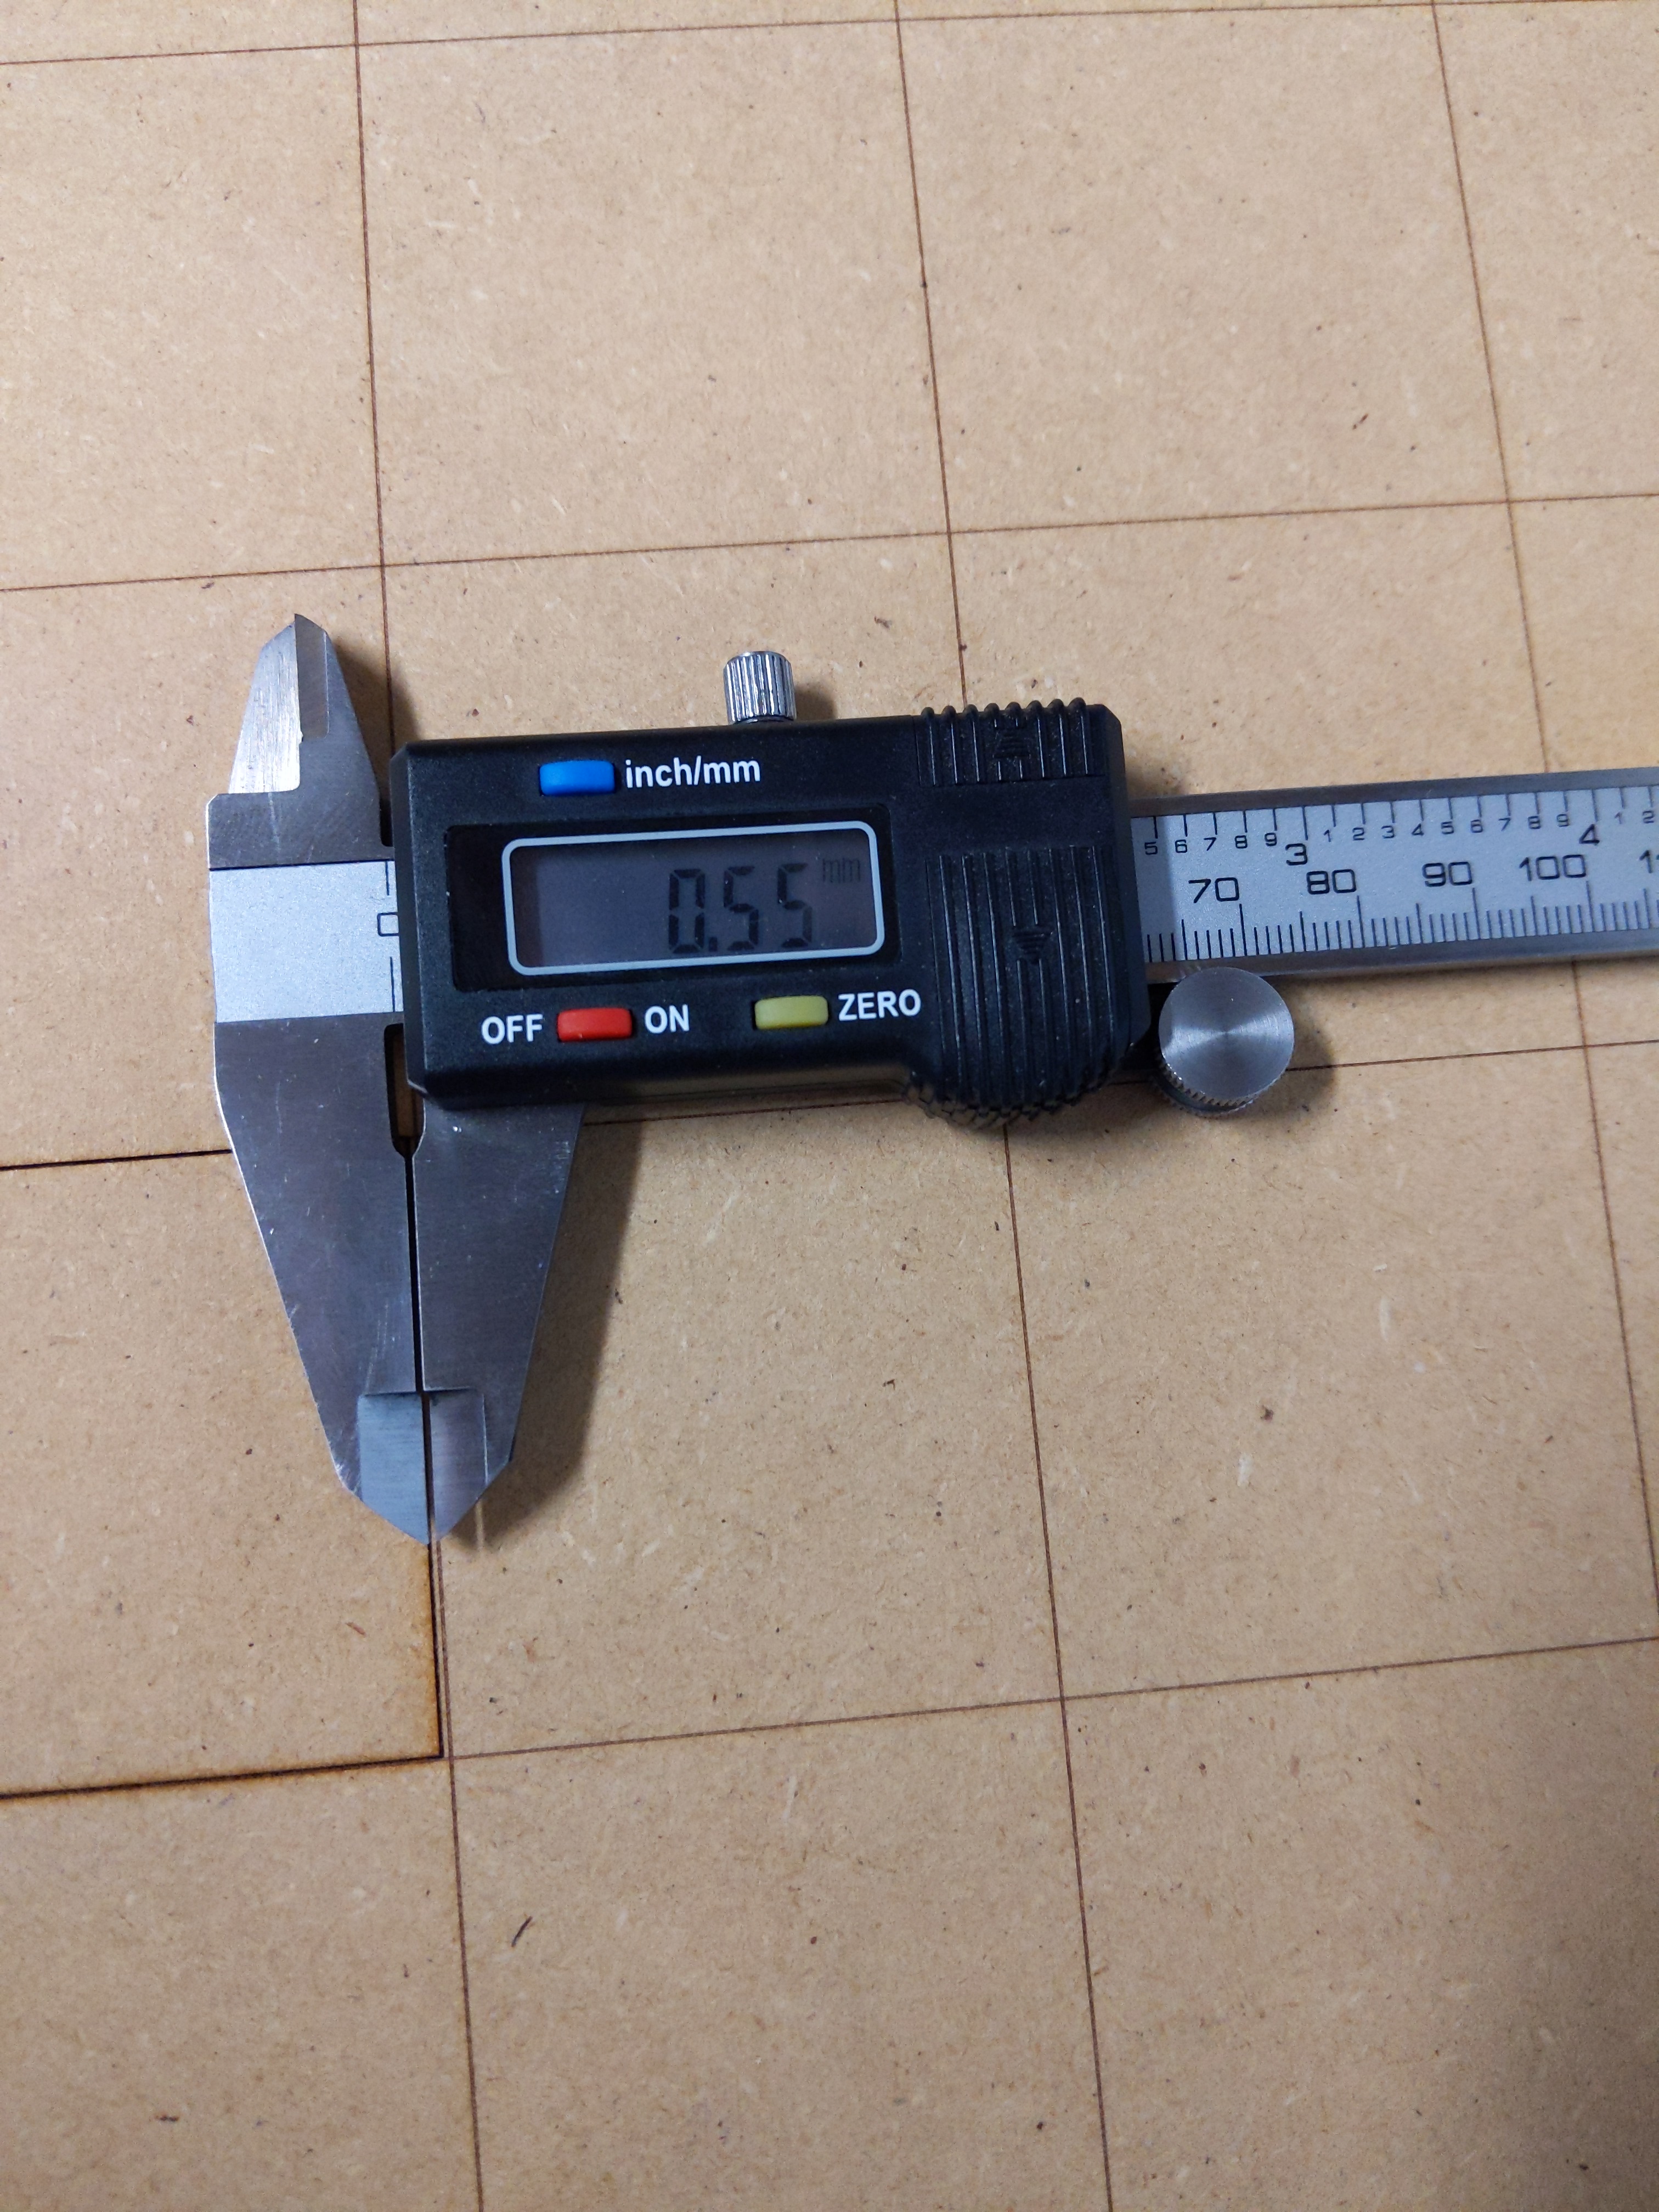
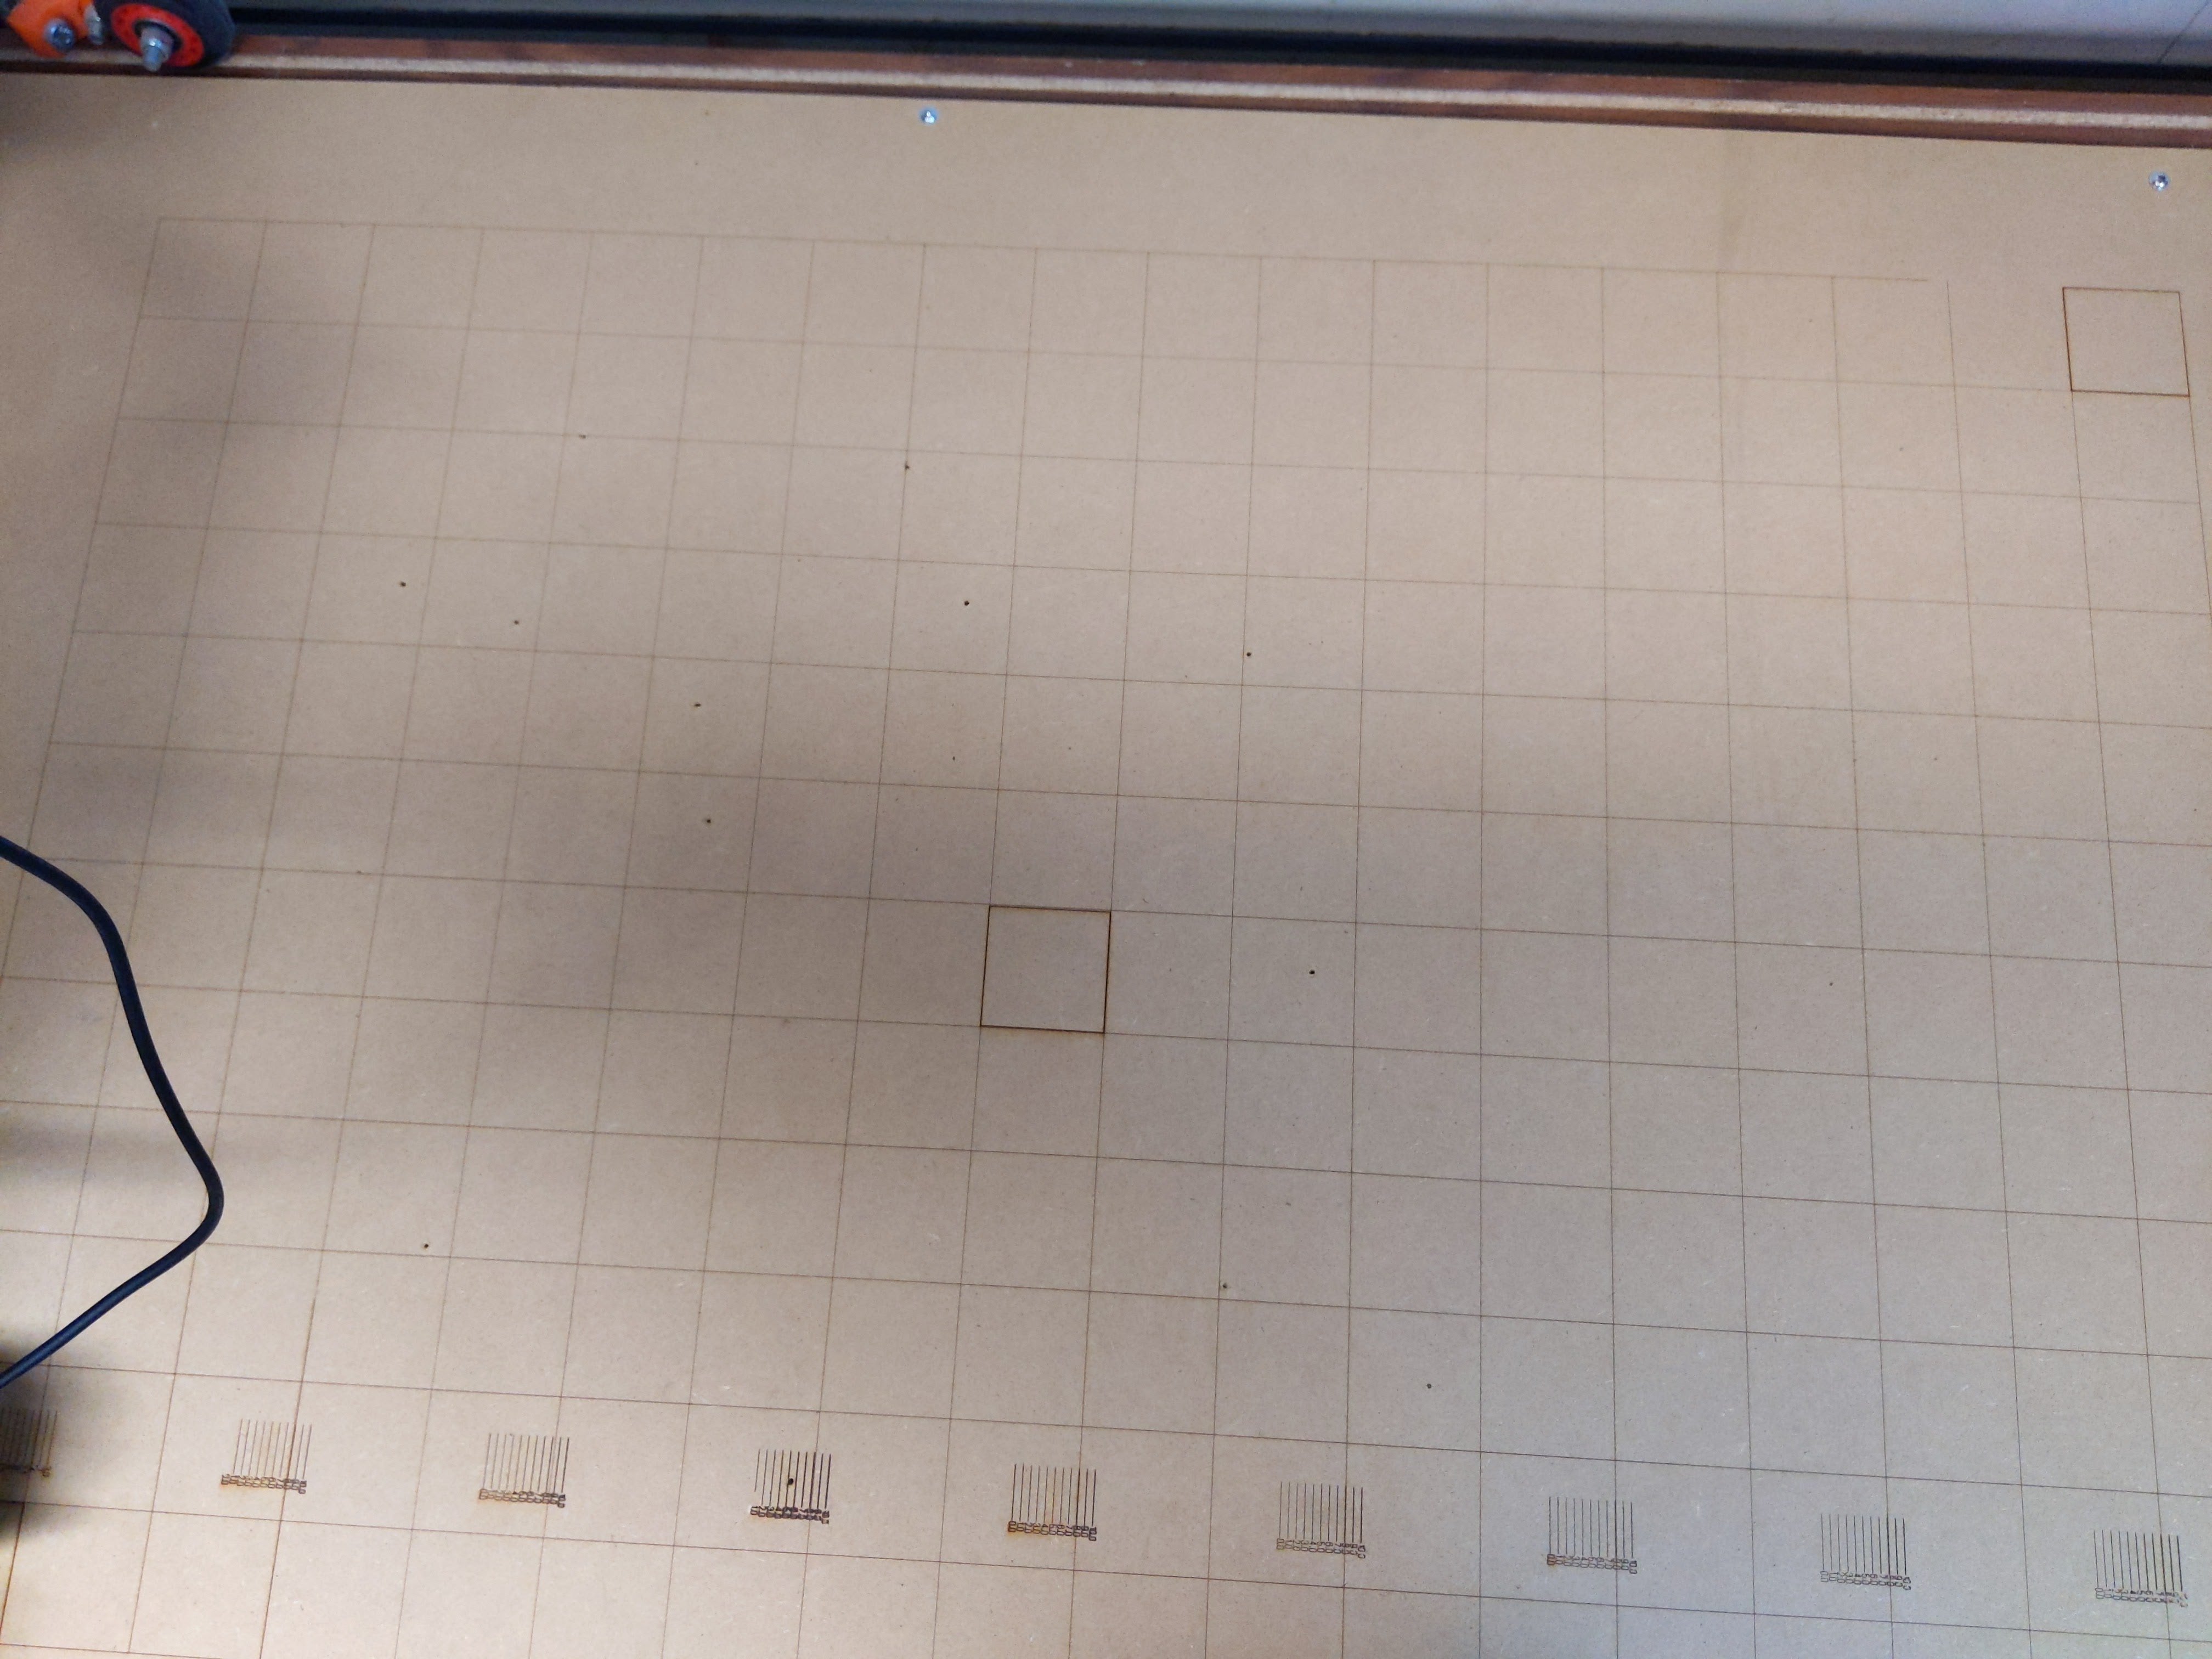
I on my last project I was fighting a 1 mm movement on my y (short) axis. With my tabletop being so smooth my wheels were just sliding until the pipes rubbed on the side of the table. I am hoping with this groove in the table for the wheels to ride in I will not have that problem. I made it deep enough so there was someplace for the wood chips to fall and not be there for the wheels to bump over. My only concern is that it will chew up the side of the wheels. If it does I will print some in carbon fiber pla with a profile designed for the groove.
Unfortunately, as I was putting the table back together I realized my XZ_Main and 1 XZ side had cracked (I think it happened as I was taking it off of the table). So I will print new pieces tonight and see how it works tomorrow night. I think once I get my current projects done I will try milling out the aluminum tube XZ mains.

1 Like