Next client request... Wall mounted bottle opener

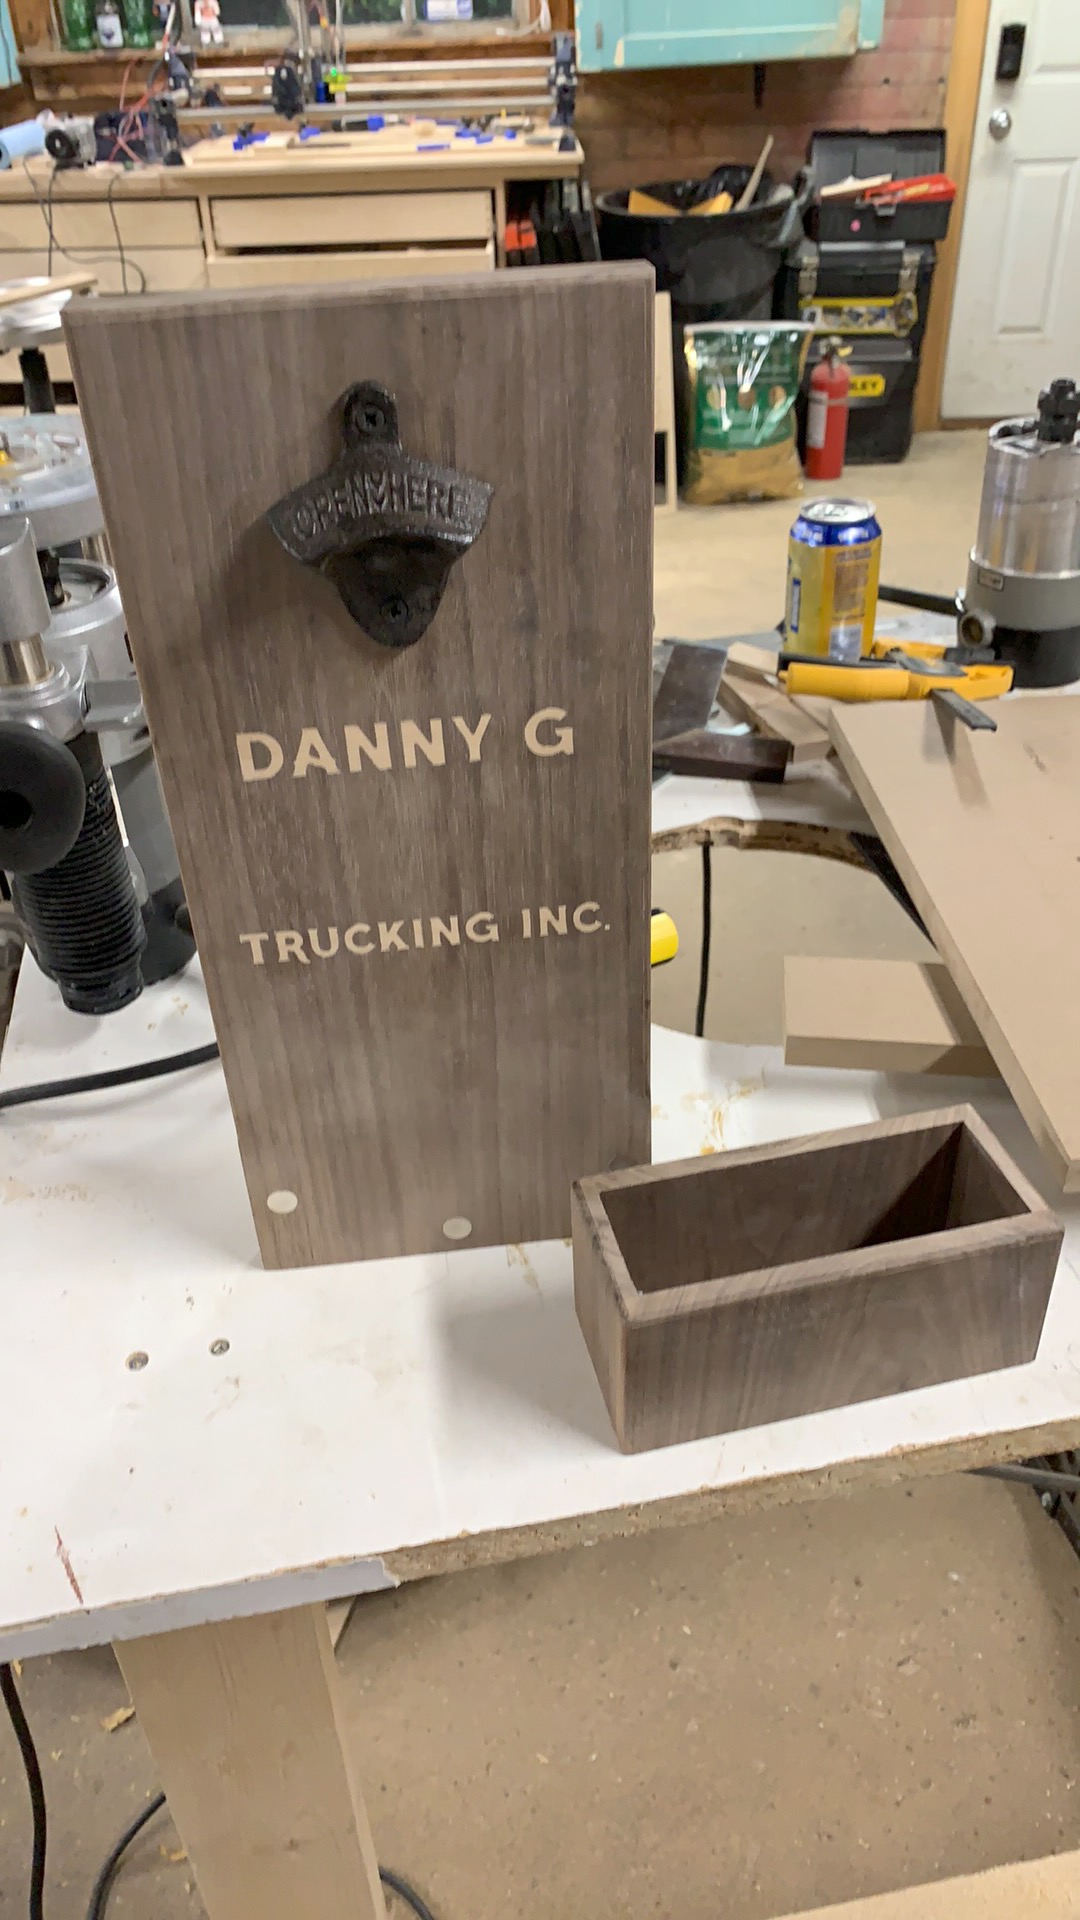
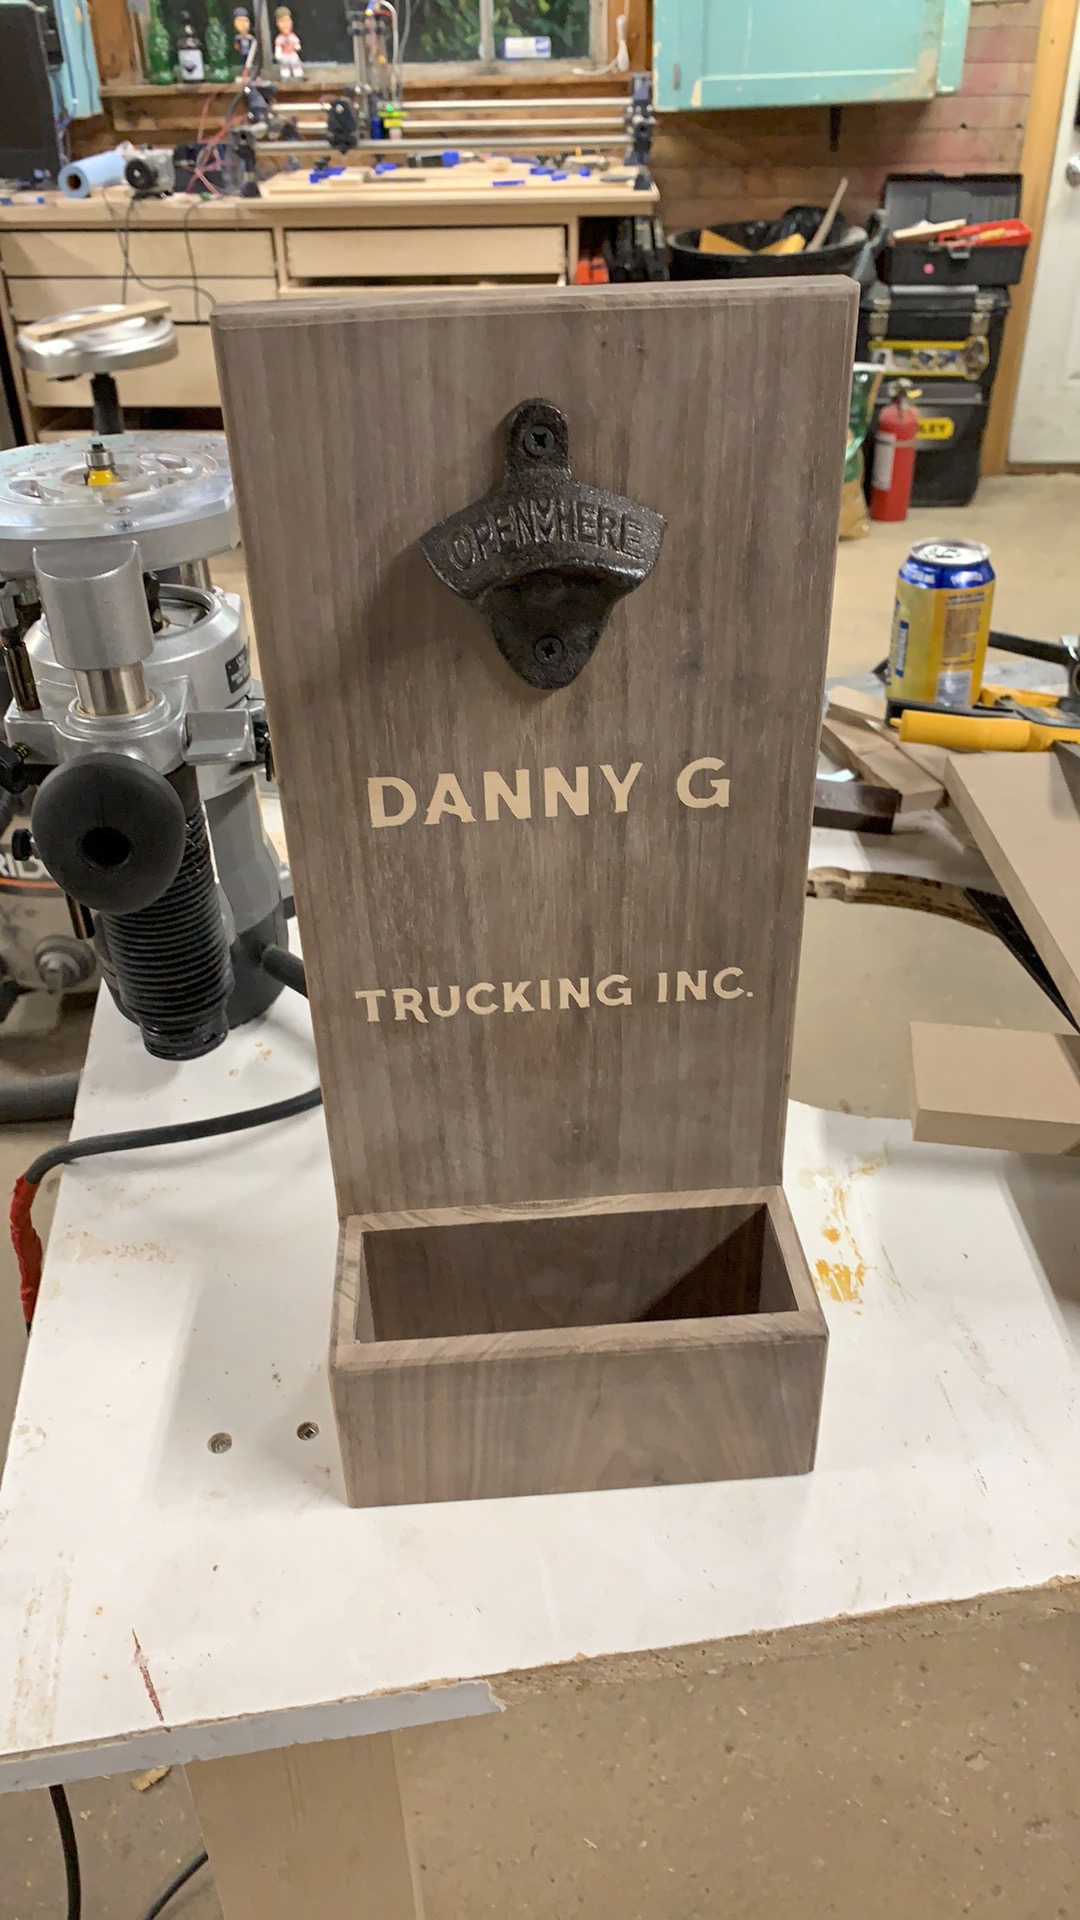
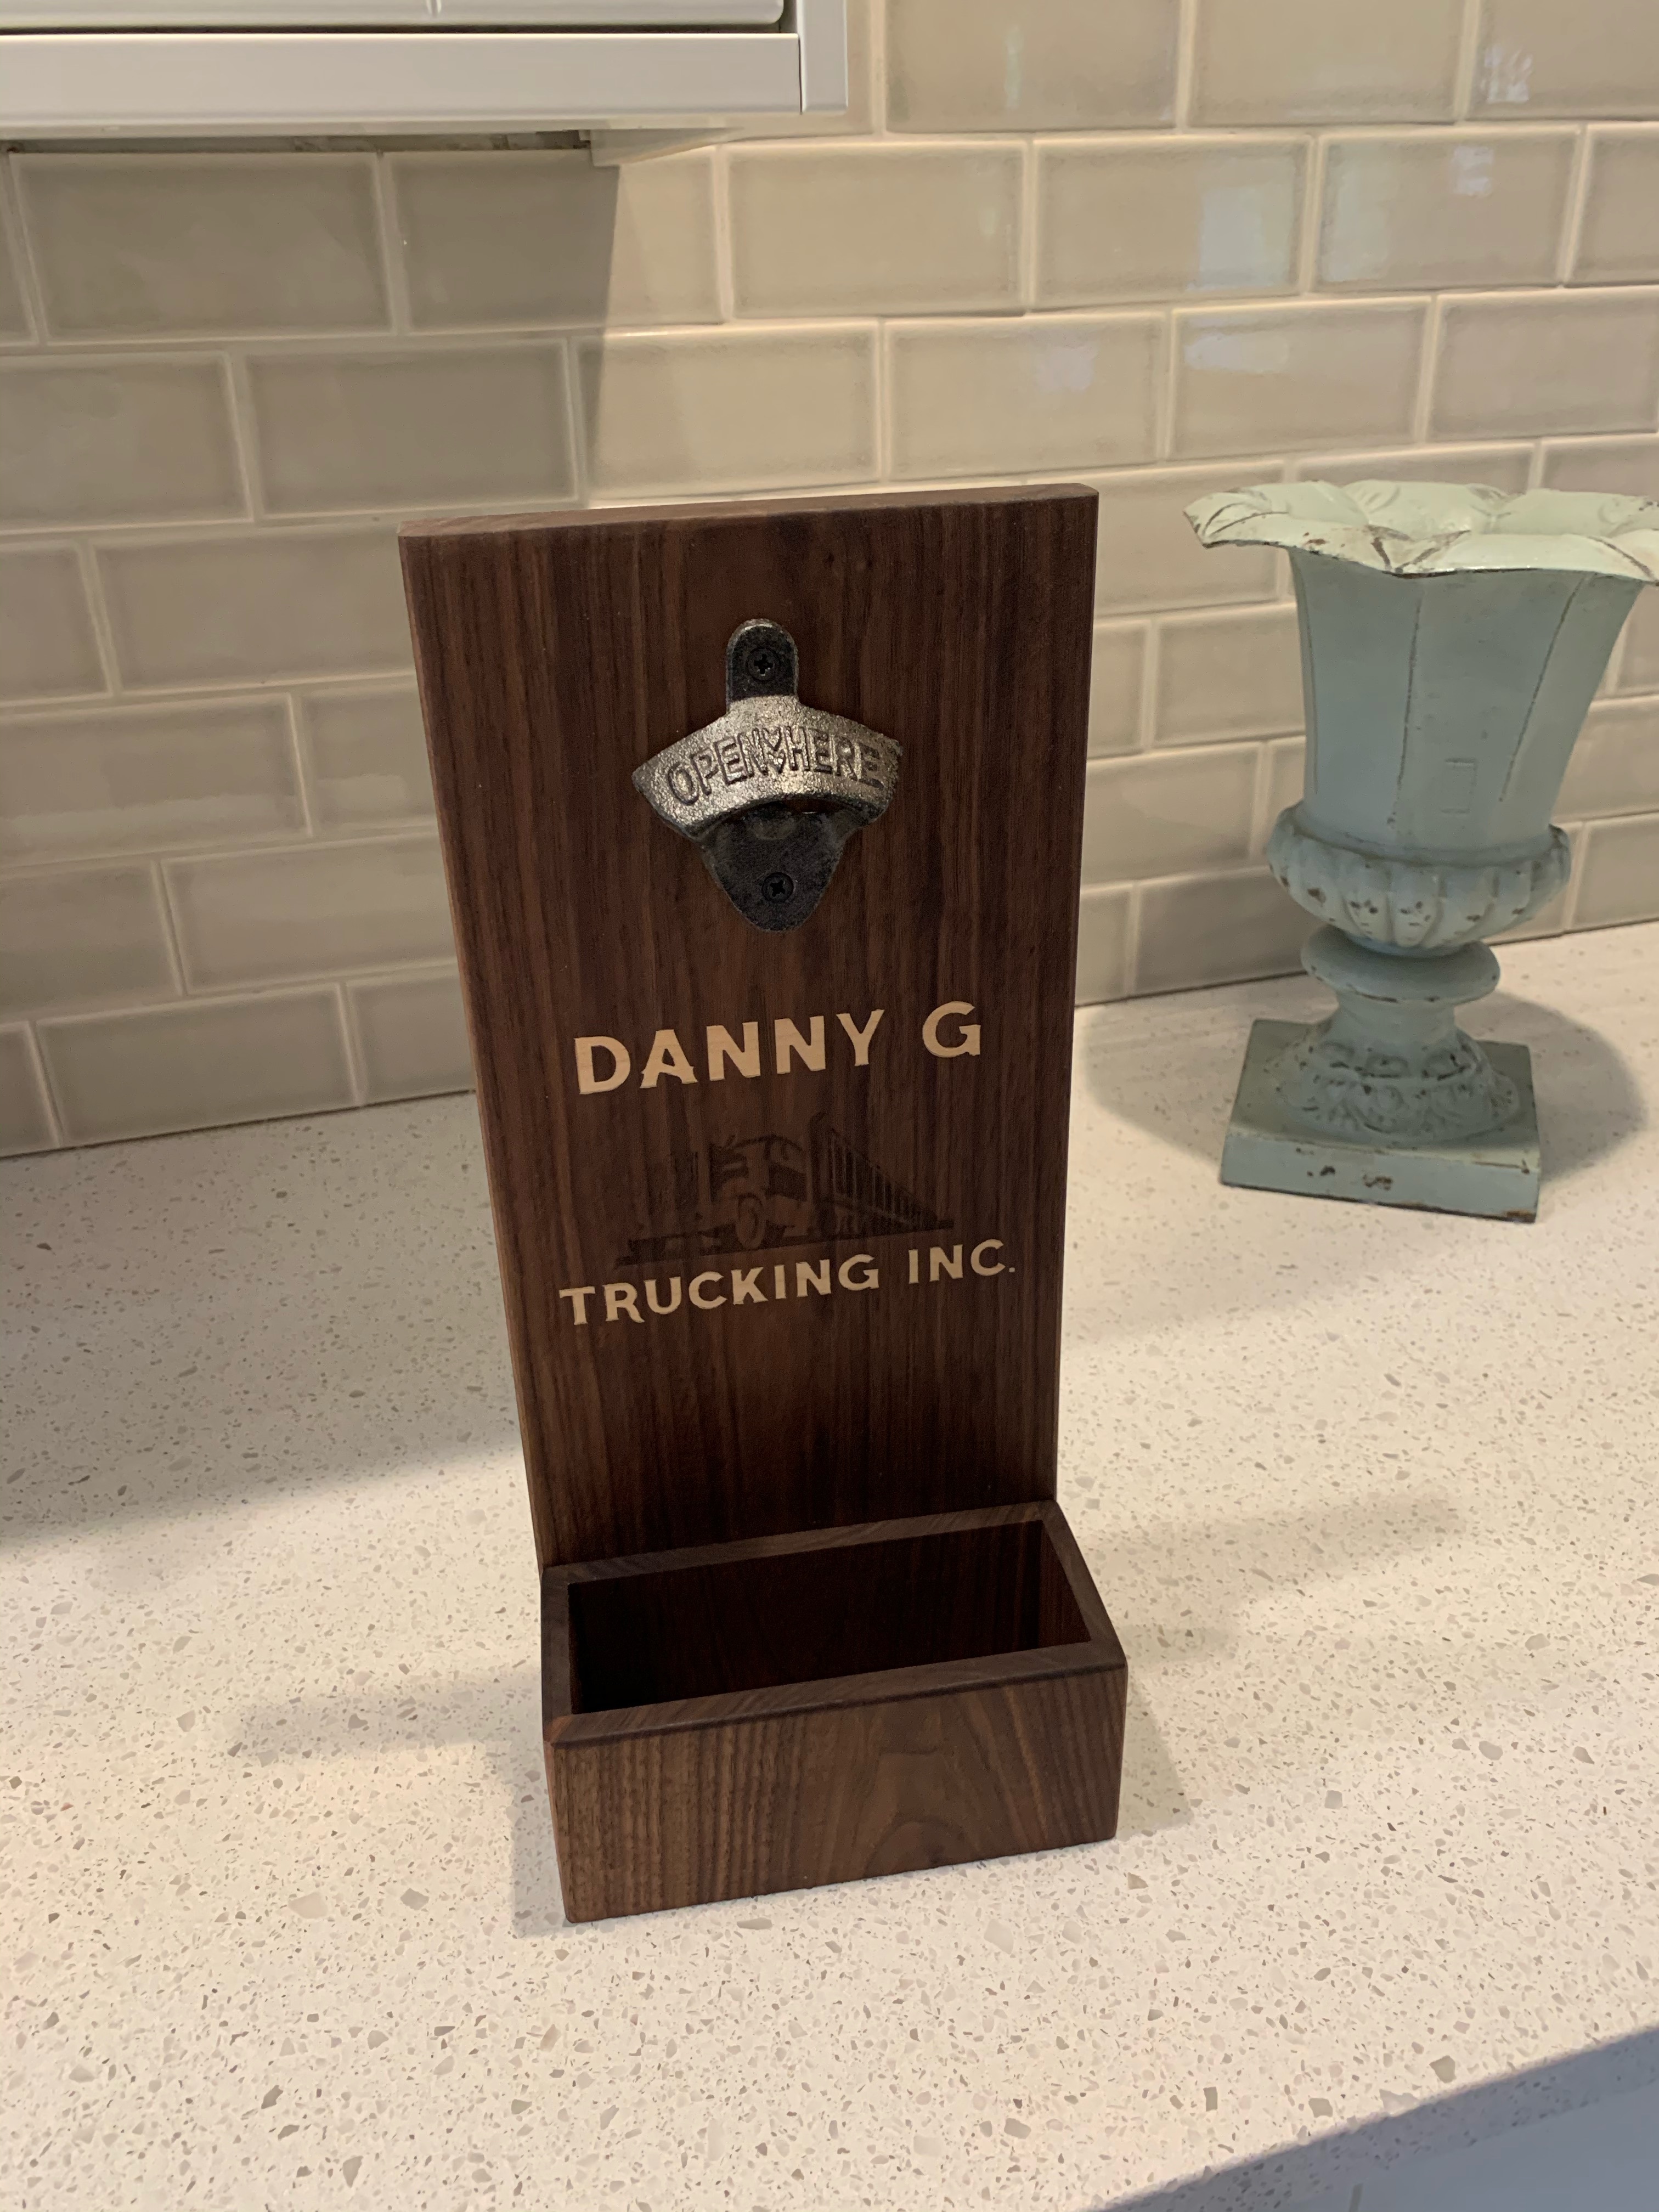
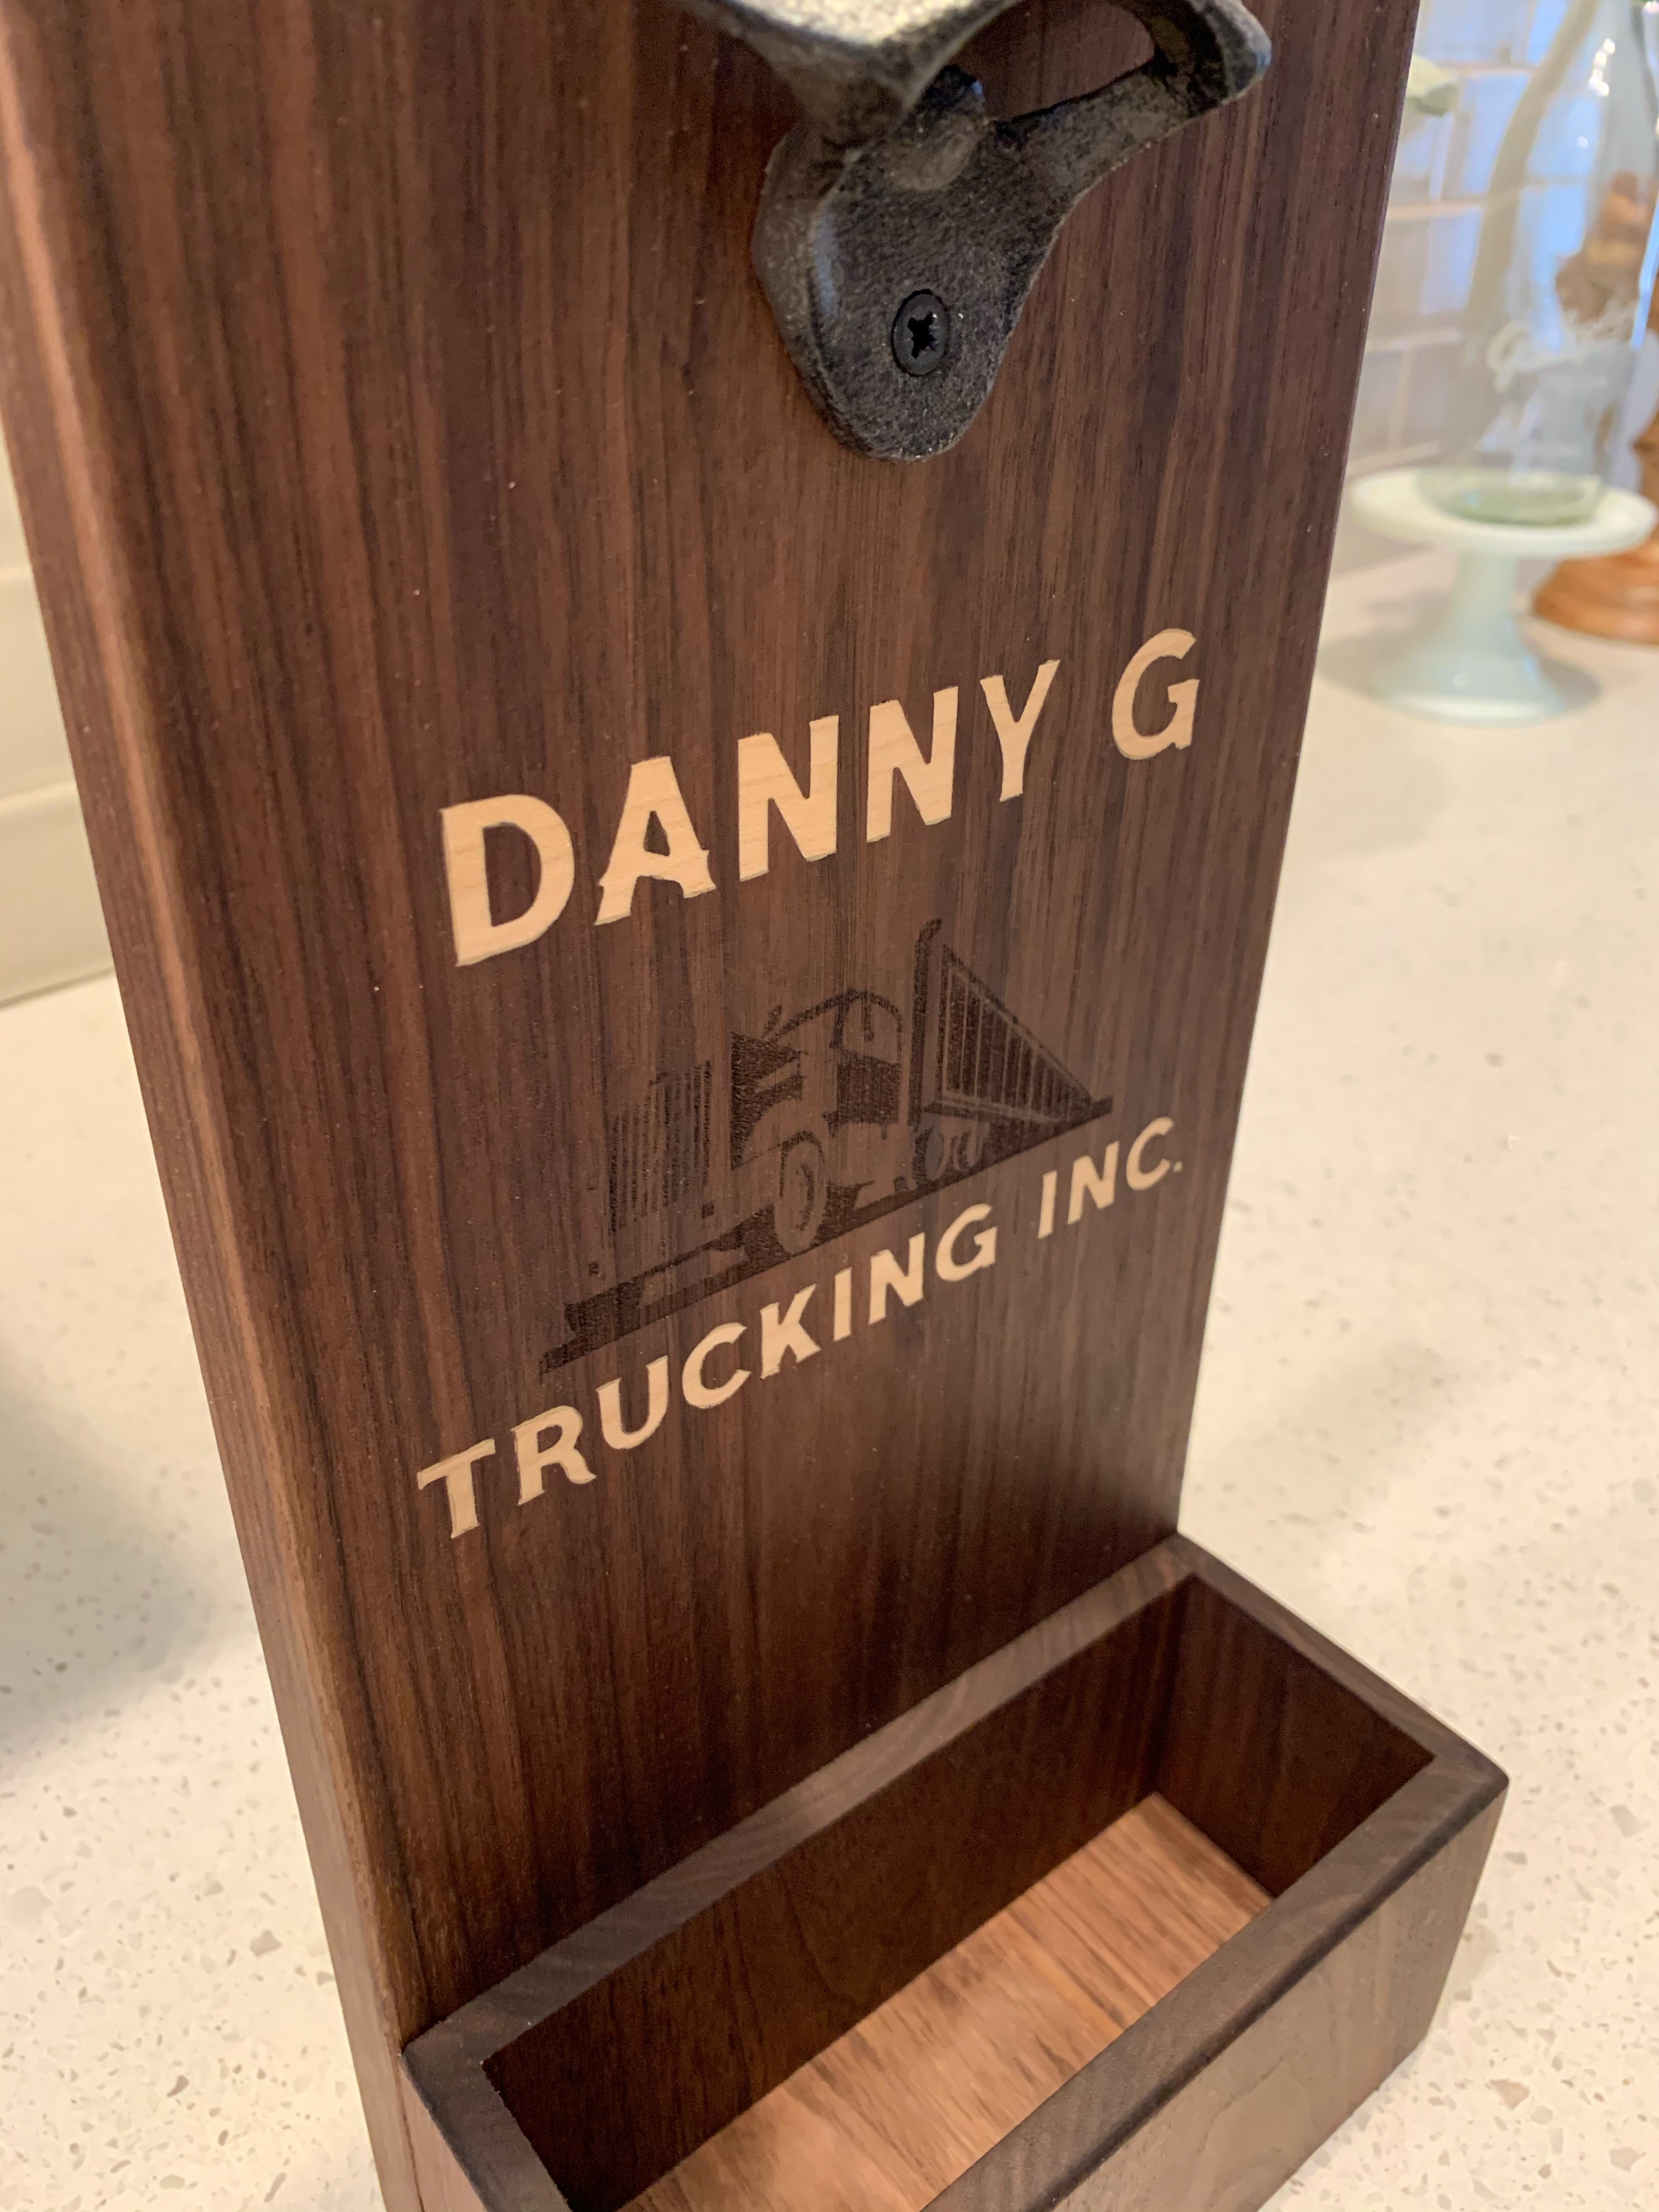
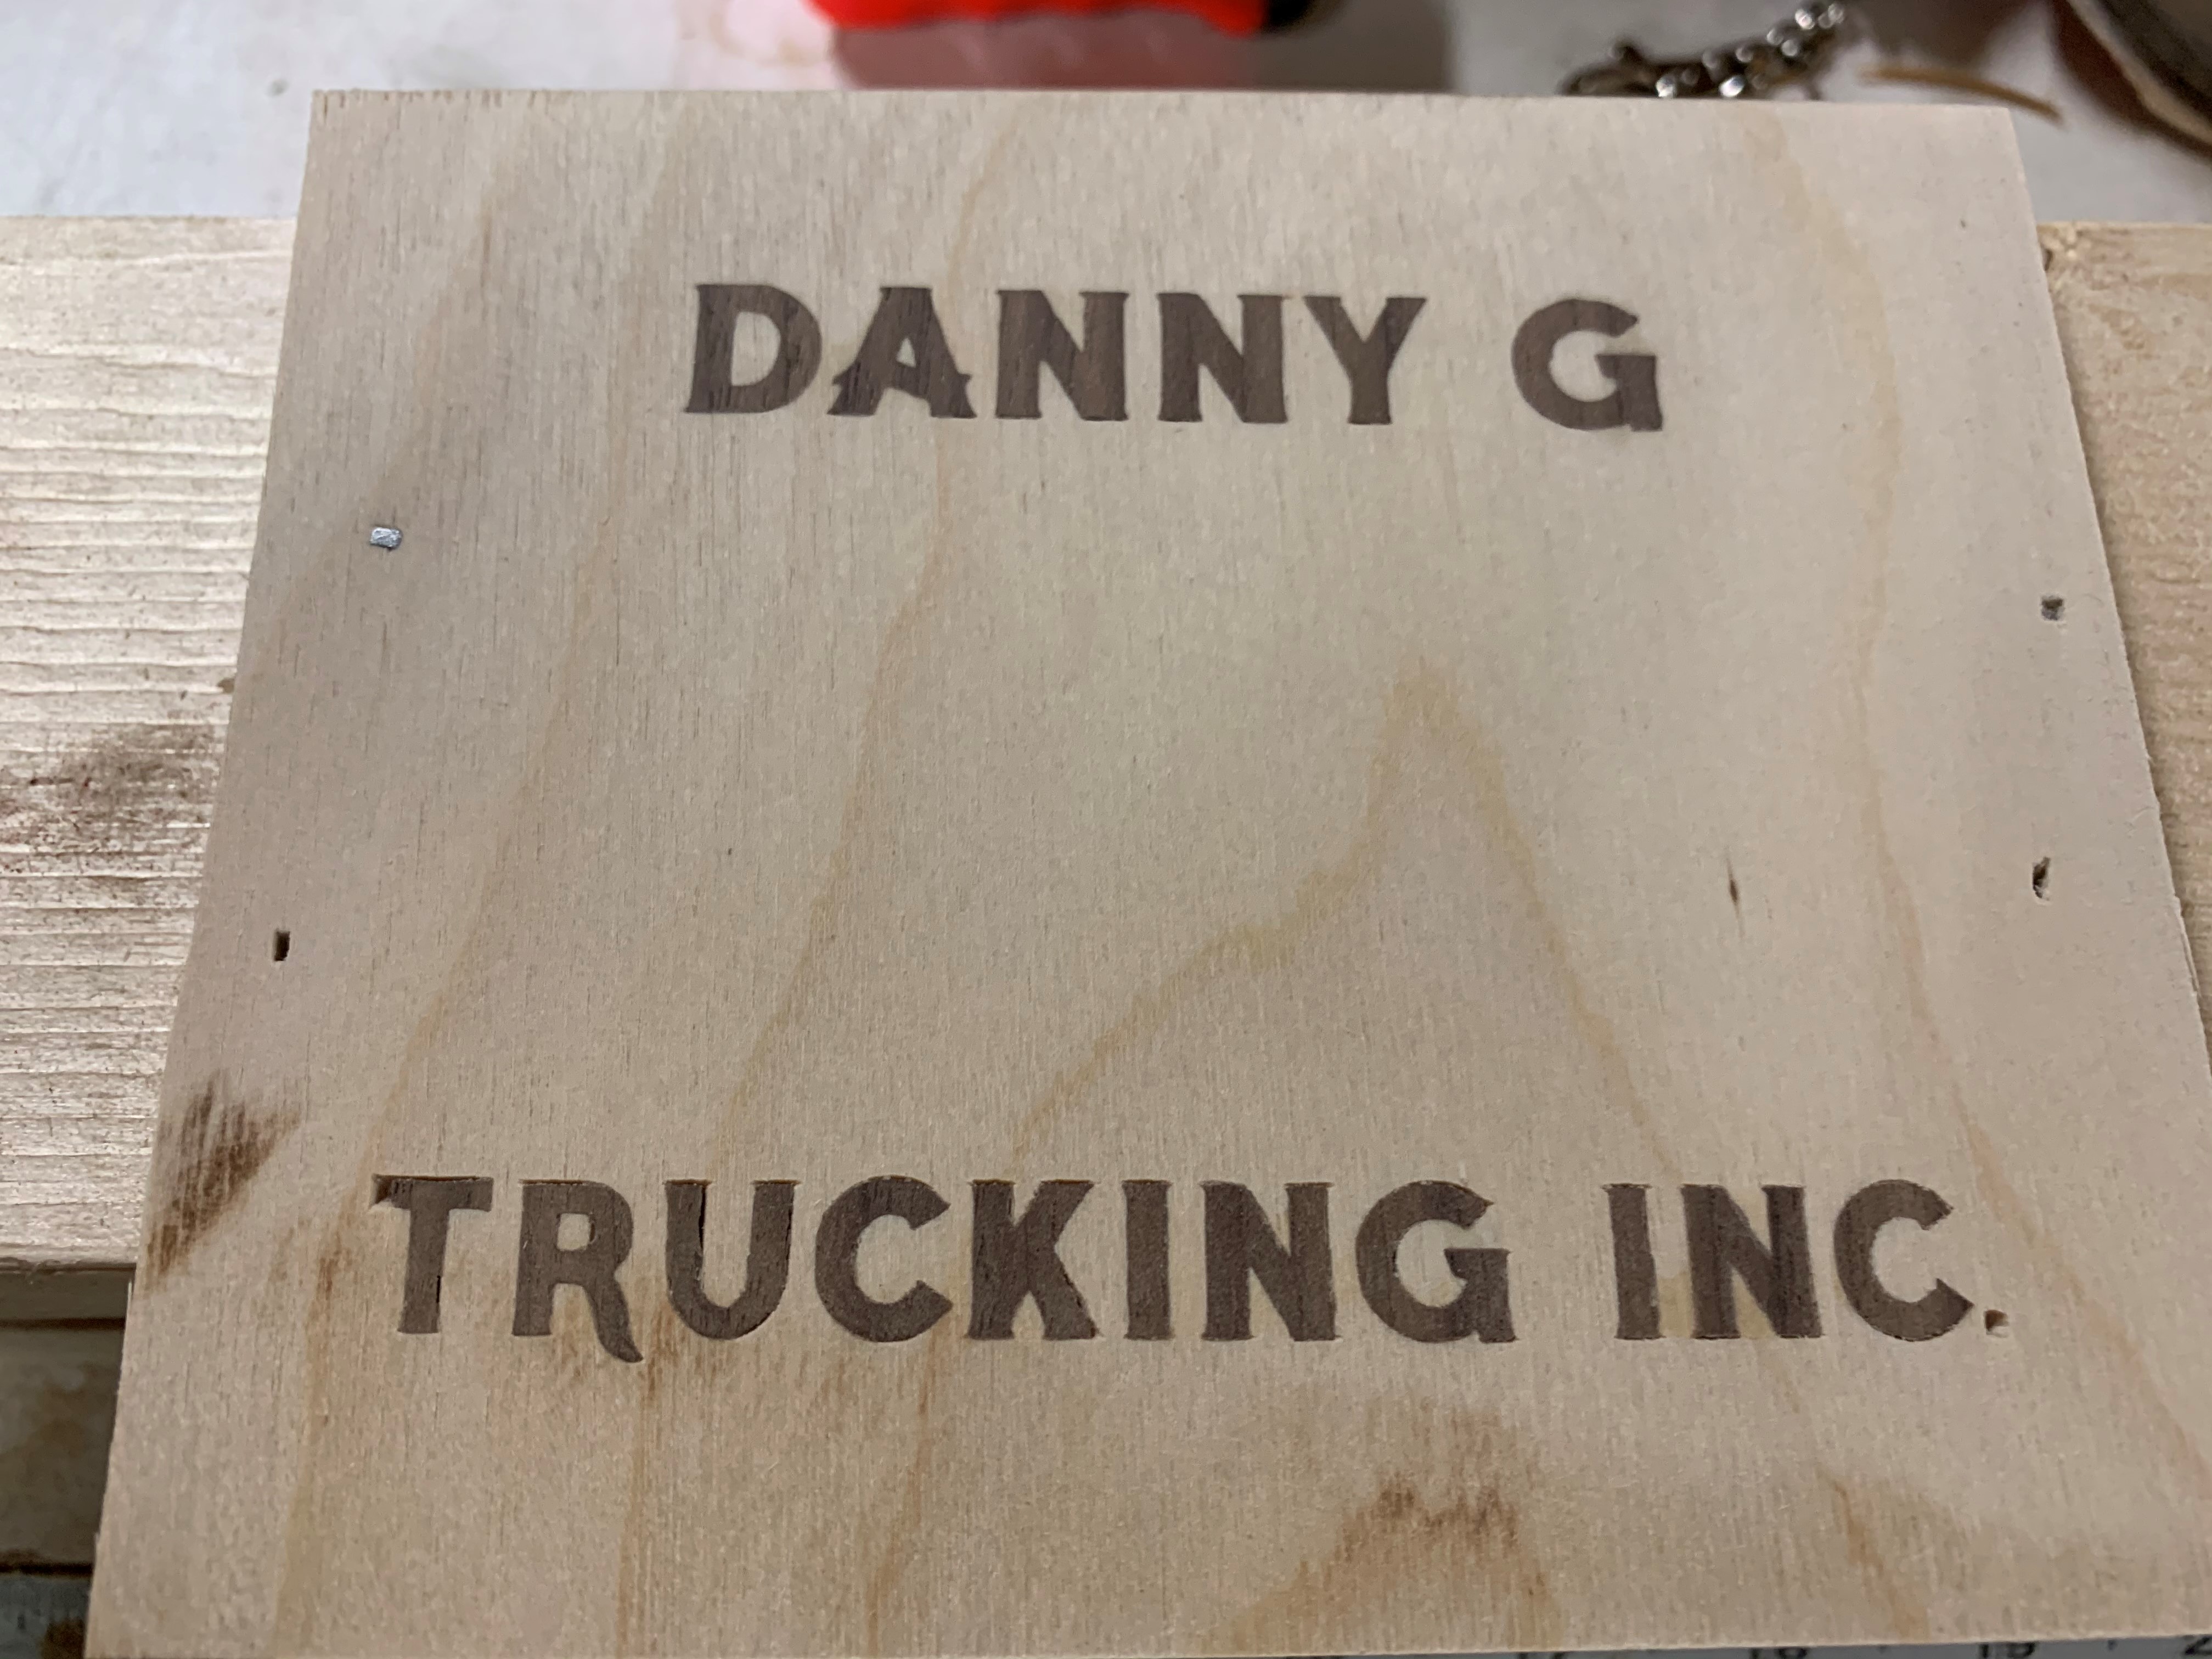
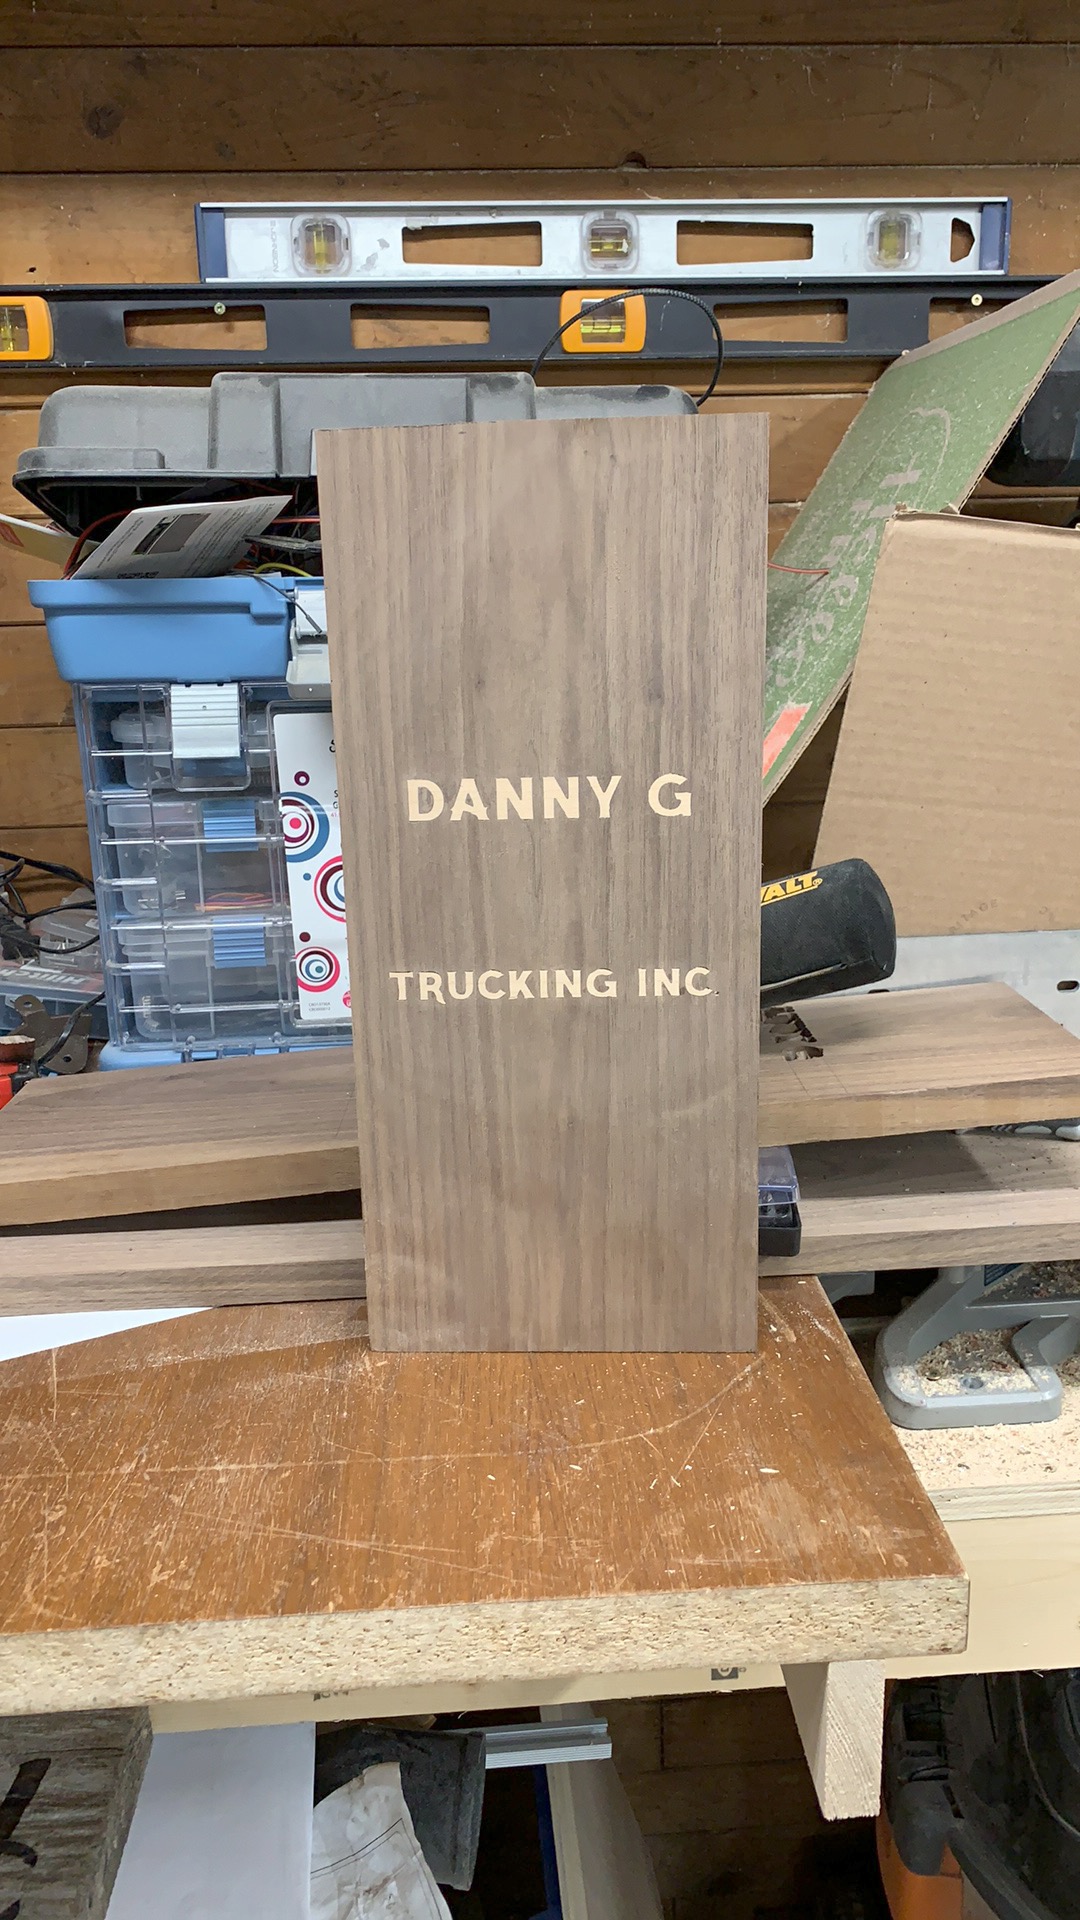
This is actually a work-in-progress. More work on the design side than I wanted, as he was fussy on the font used for the wording, and wanted an image of a semi truck on it. And of course, he wanted it to look like the recipient’s truck. So I broke open Inkscape, and hacked away…

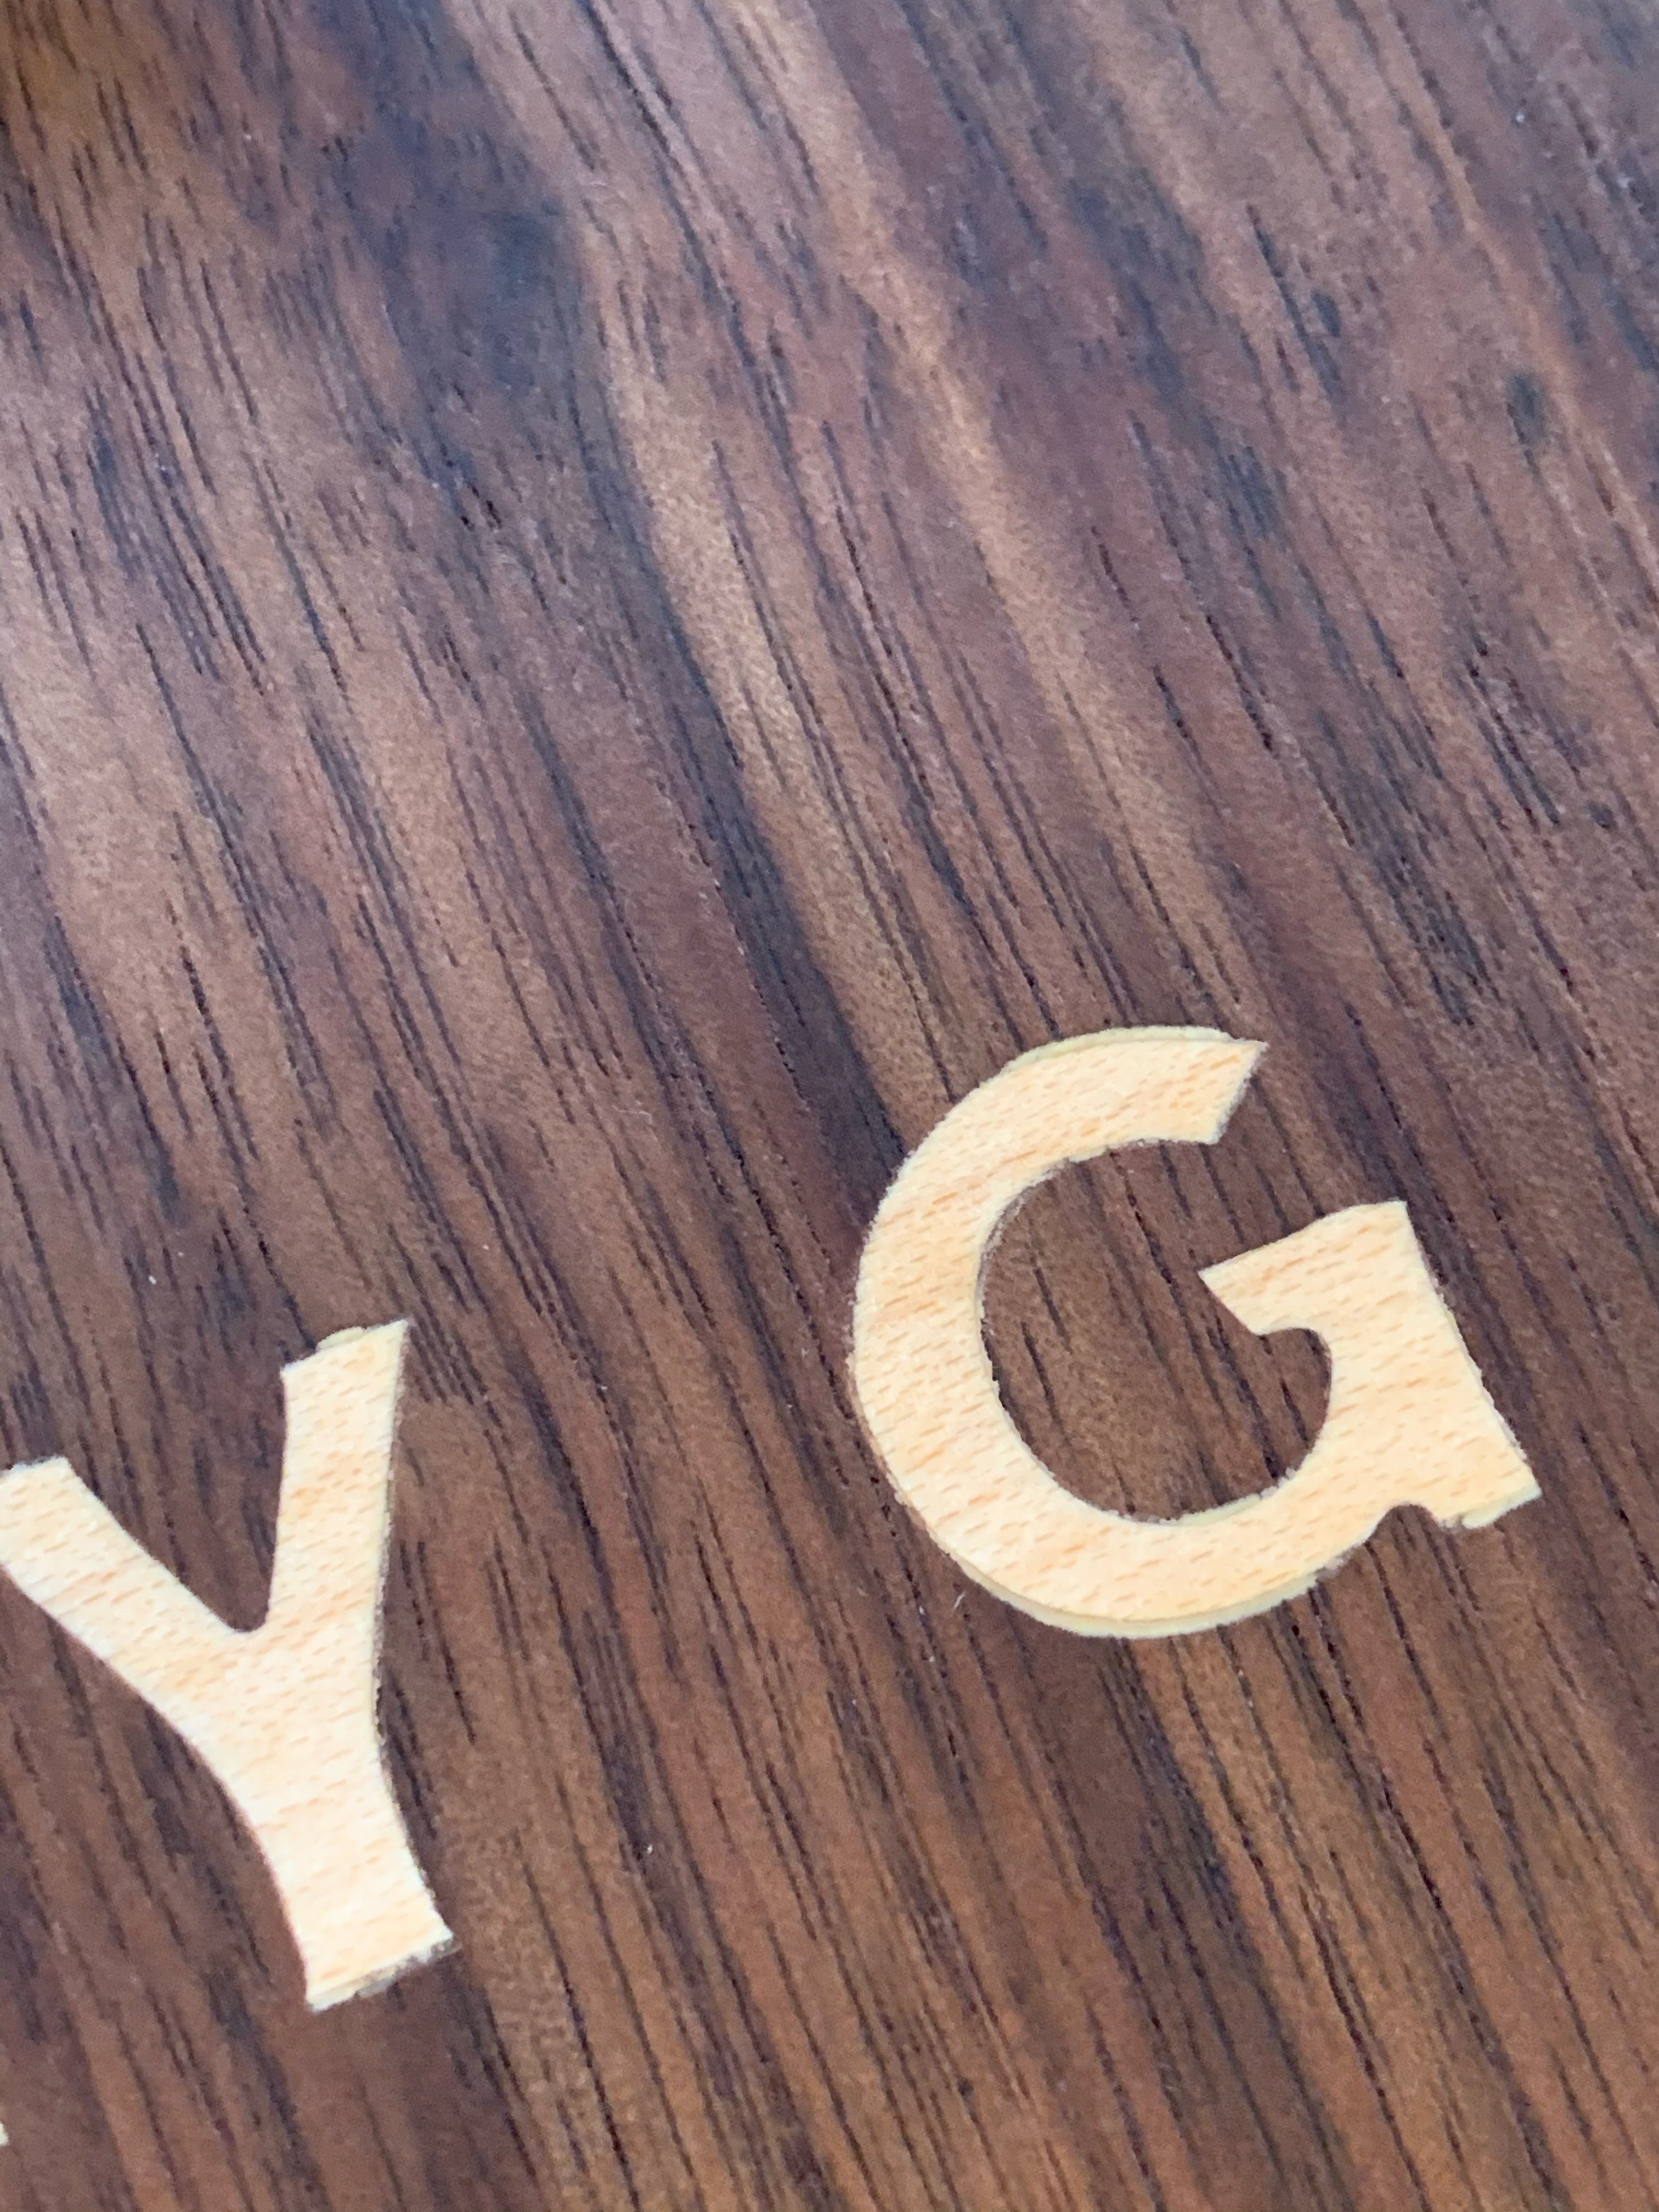
Got his approval on the layout the other day, and then we started talking about how he wanted it to appear. I could laser it out, carve it out, or carve and paint it. But then he mentioned wanting it to look more “natural but wanted the text to pop”, so I opened my big mouth and said that the most natural way would be to inlay some contrasting wood for the text. Showed him some pics, and of course, that’s what he wanted. Which isn’t a big deal, as the process seems to be pretty well documented, so I just needed to work through it myself to make sure I had it right.

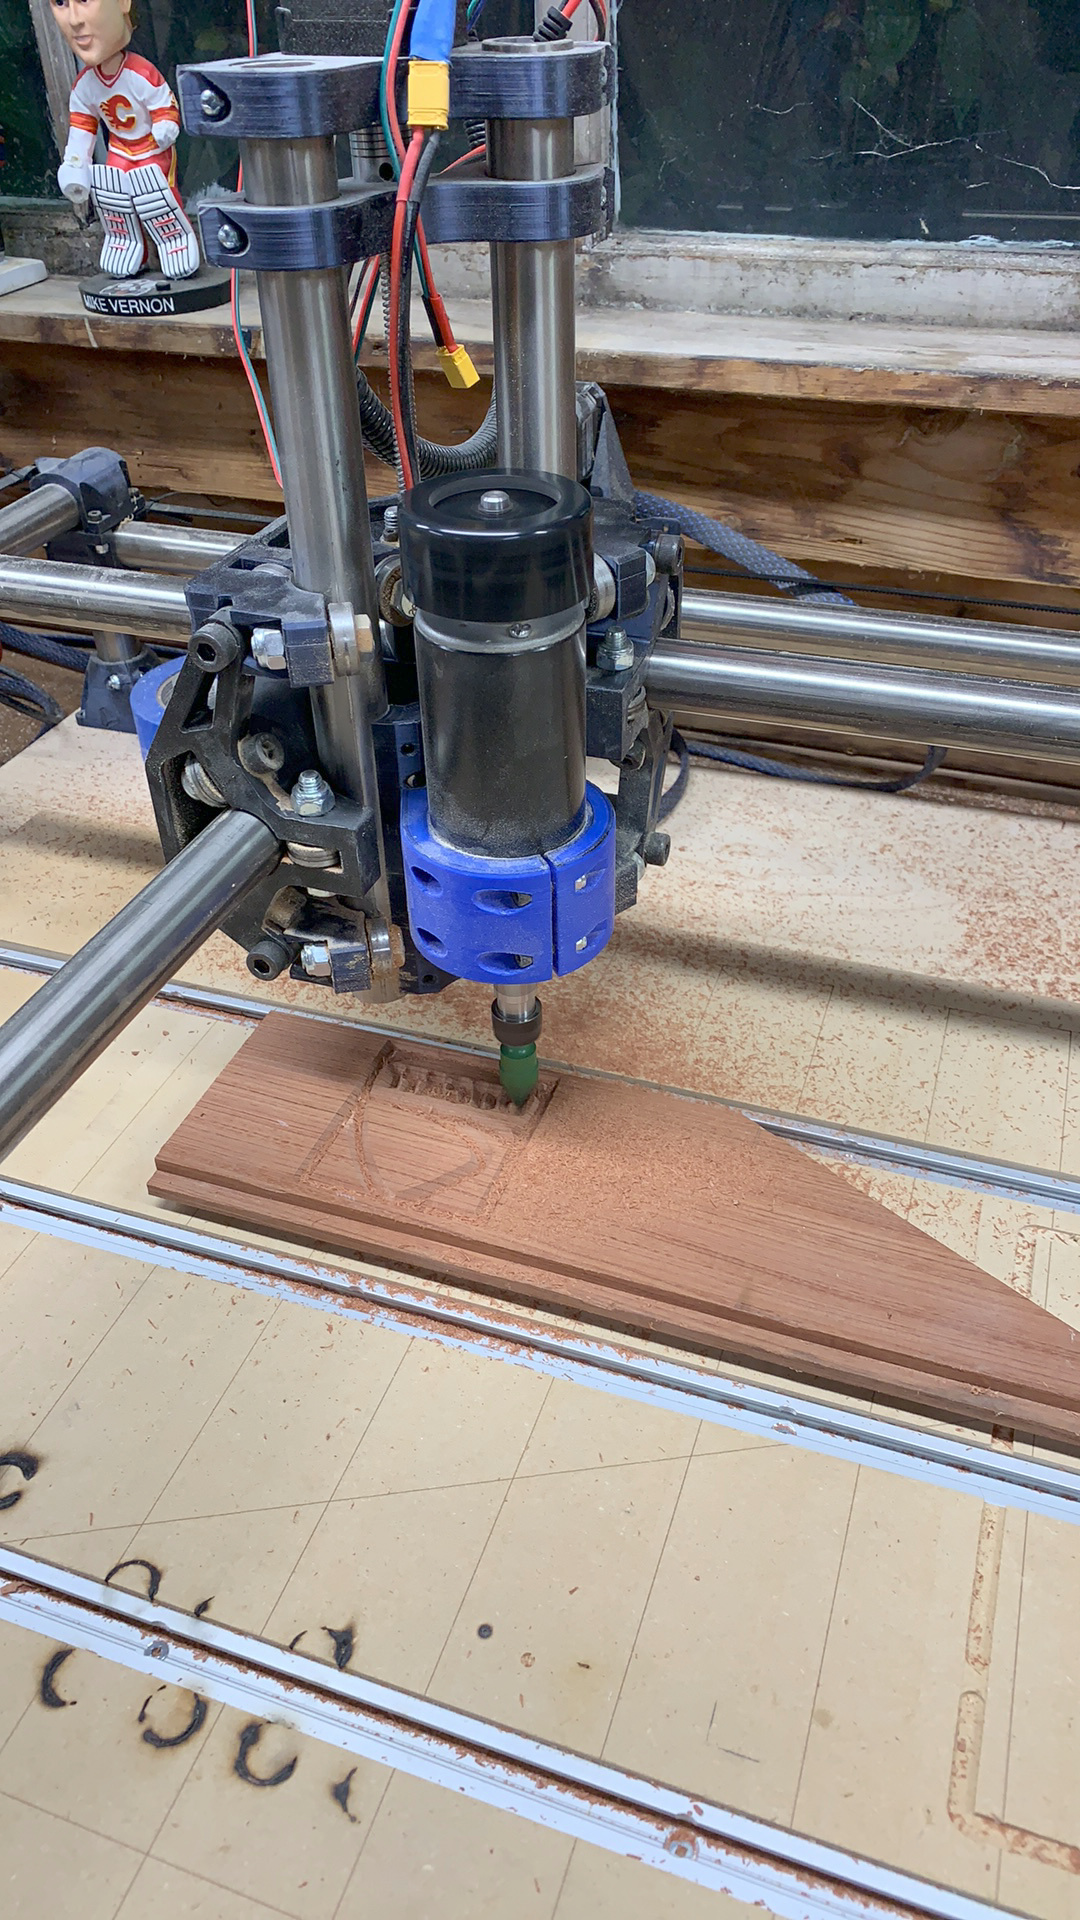
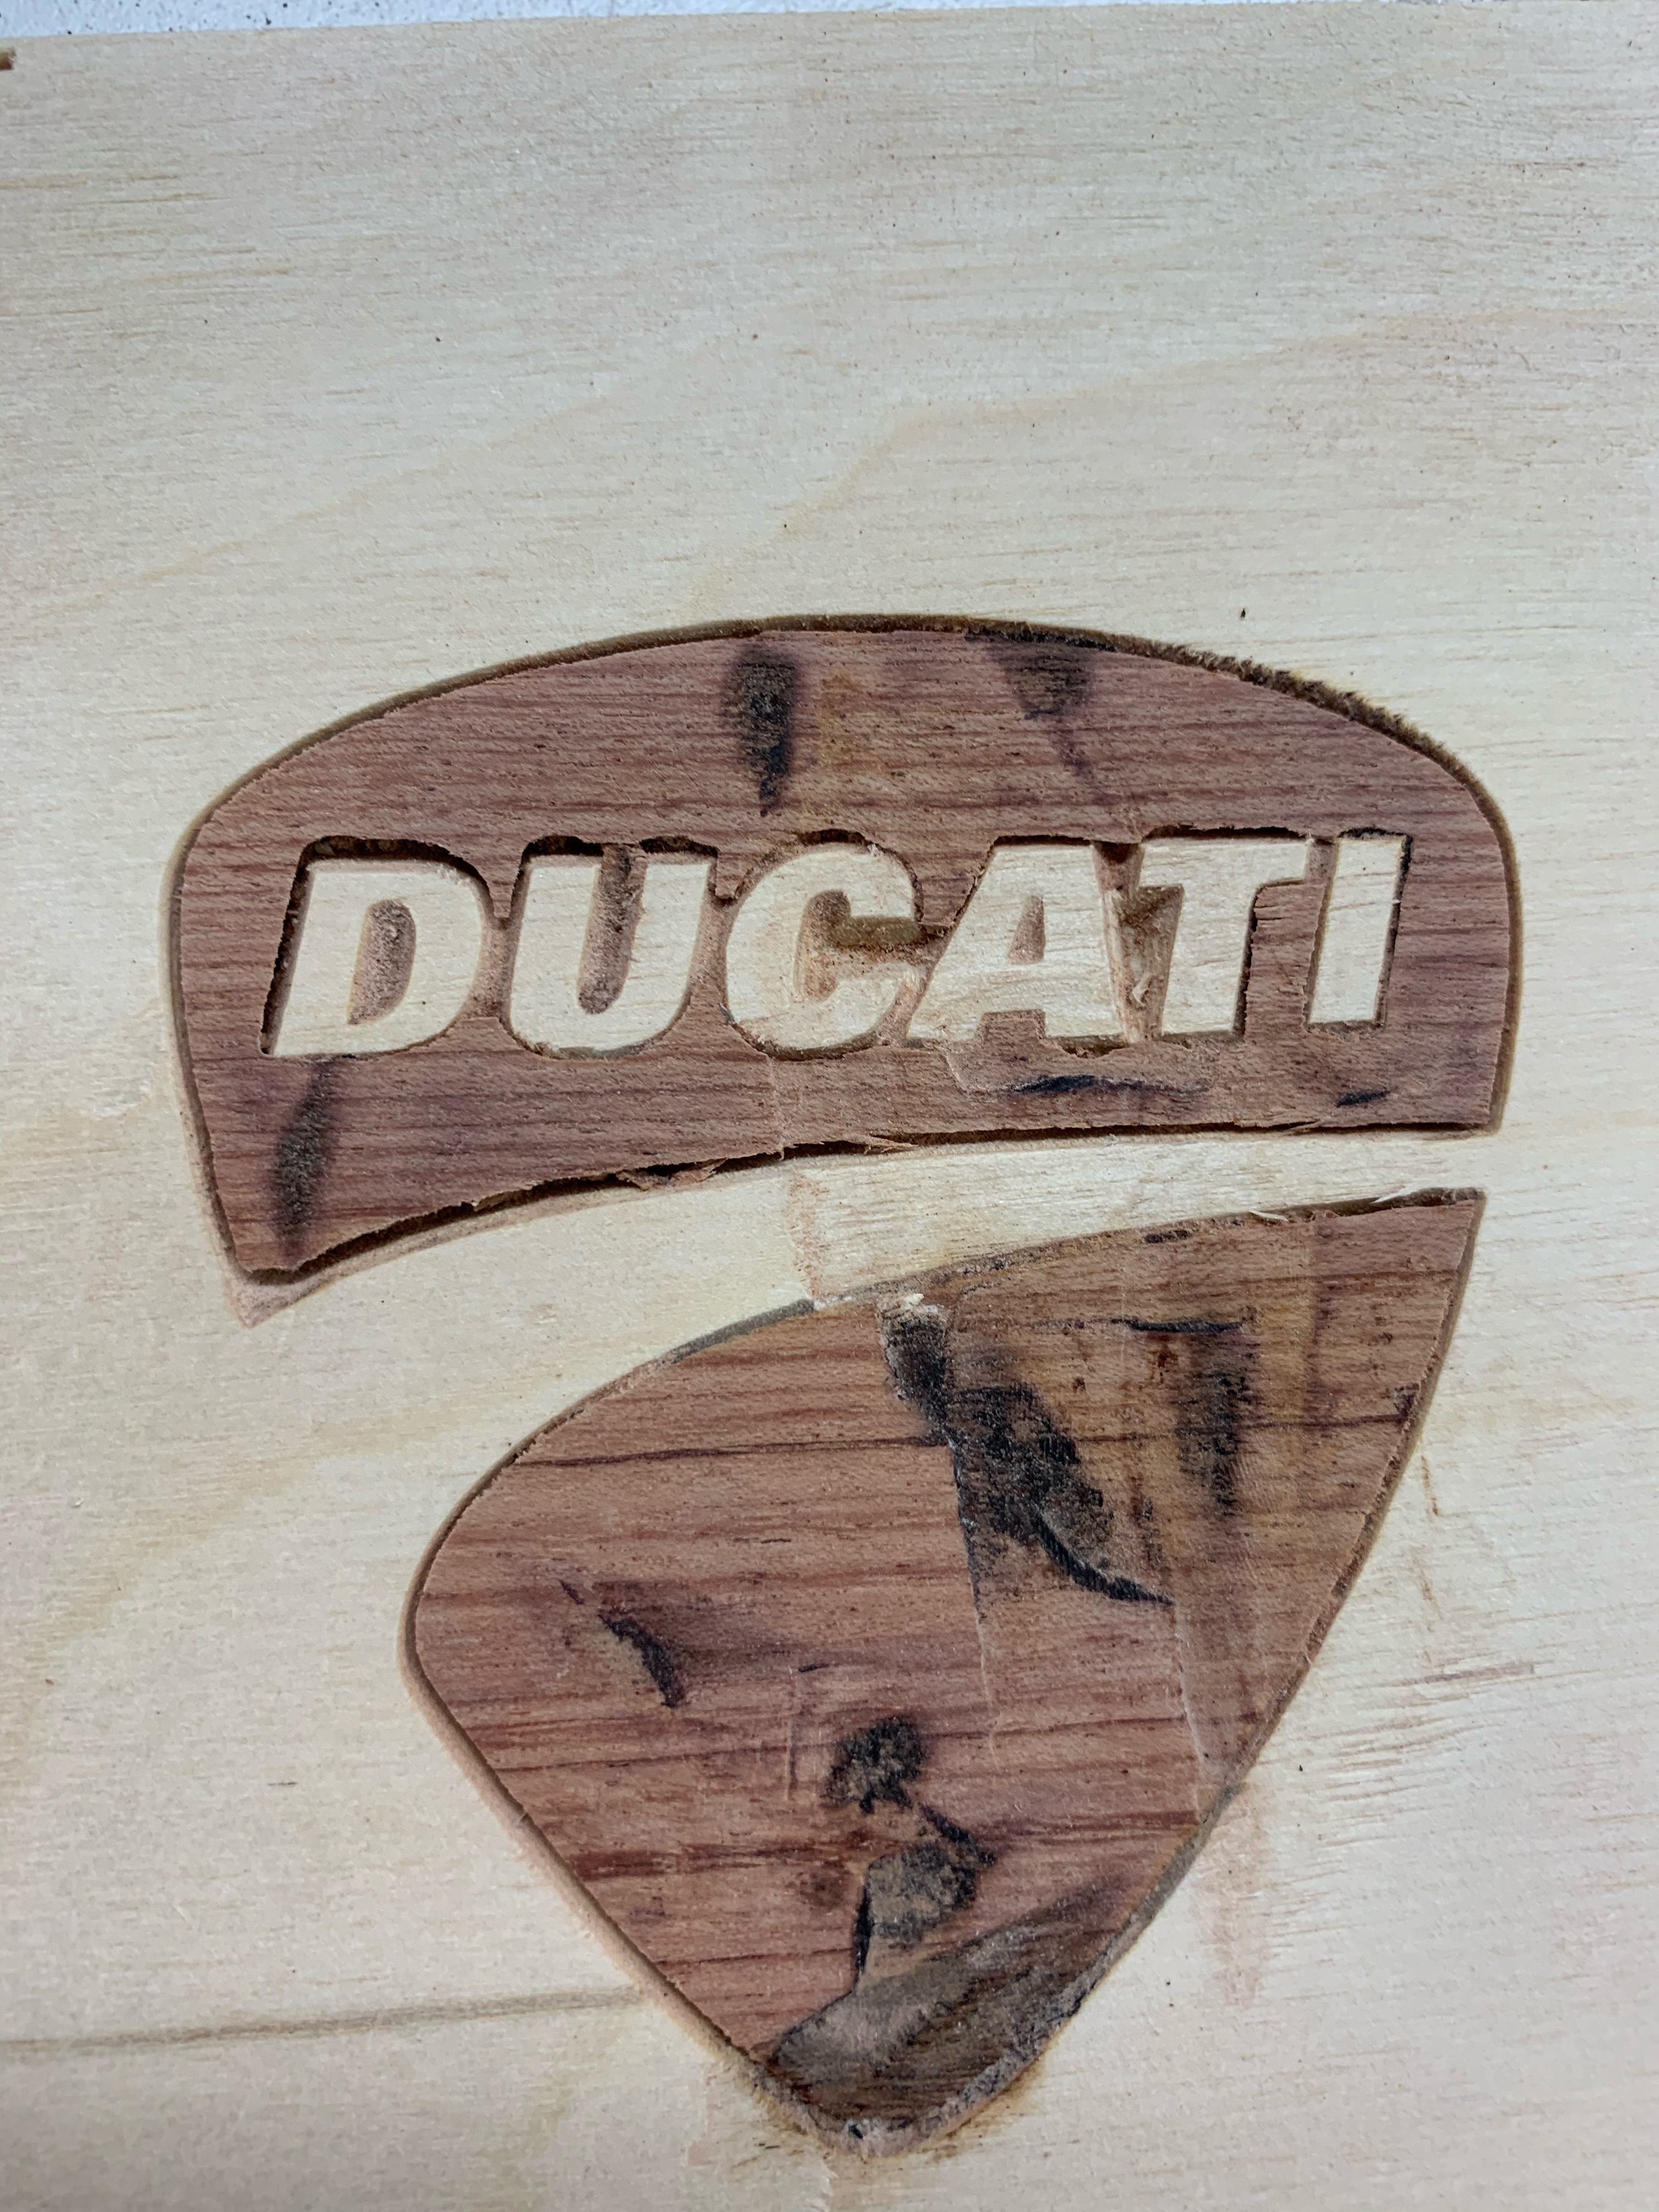
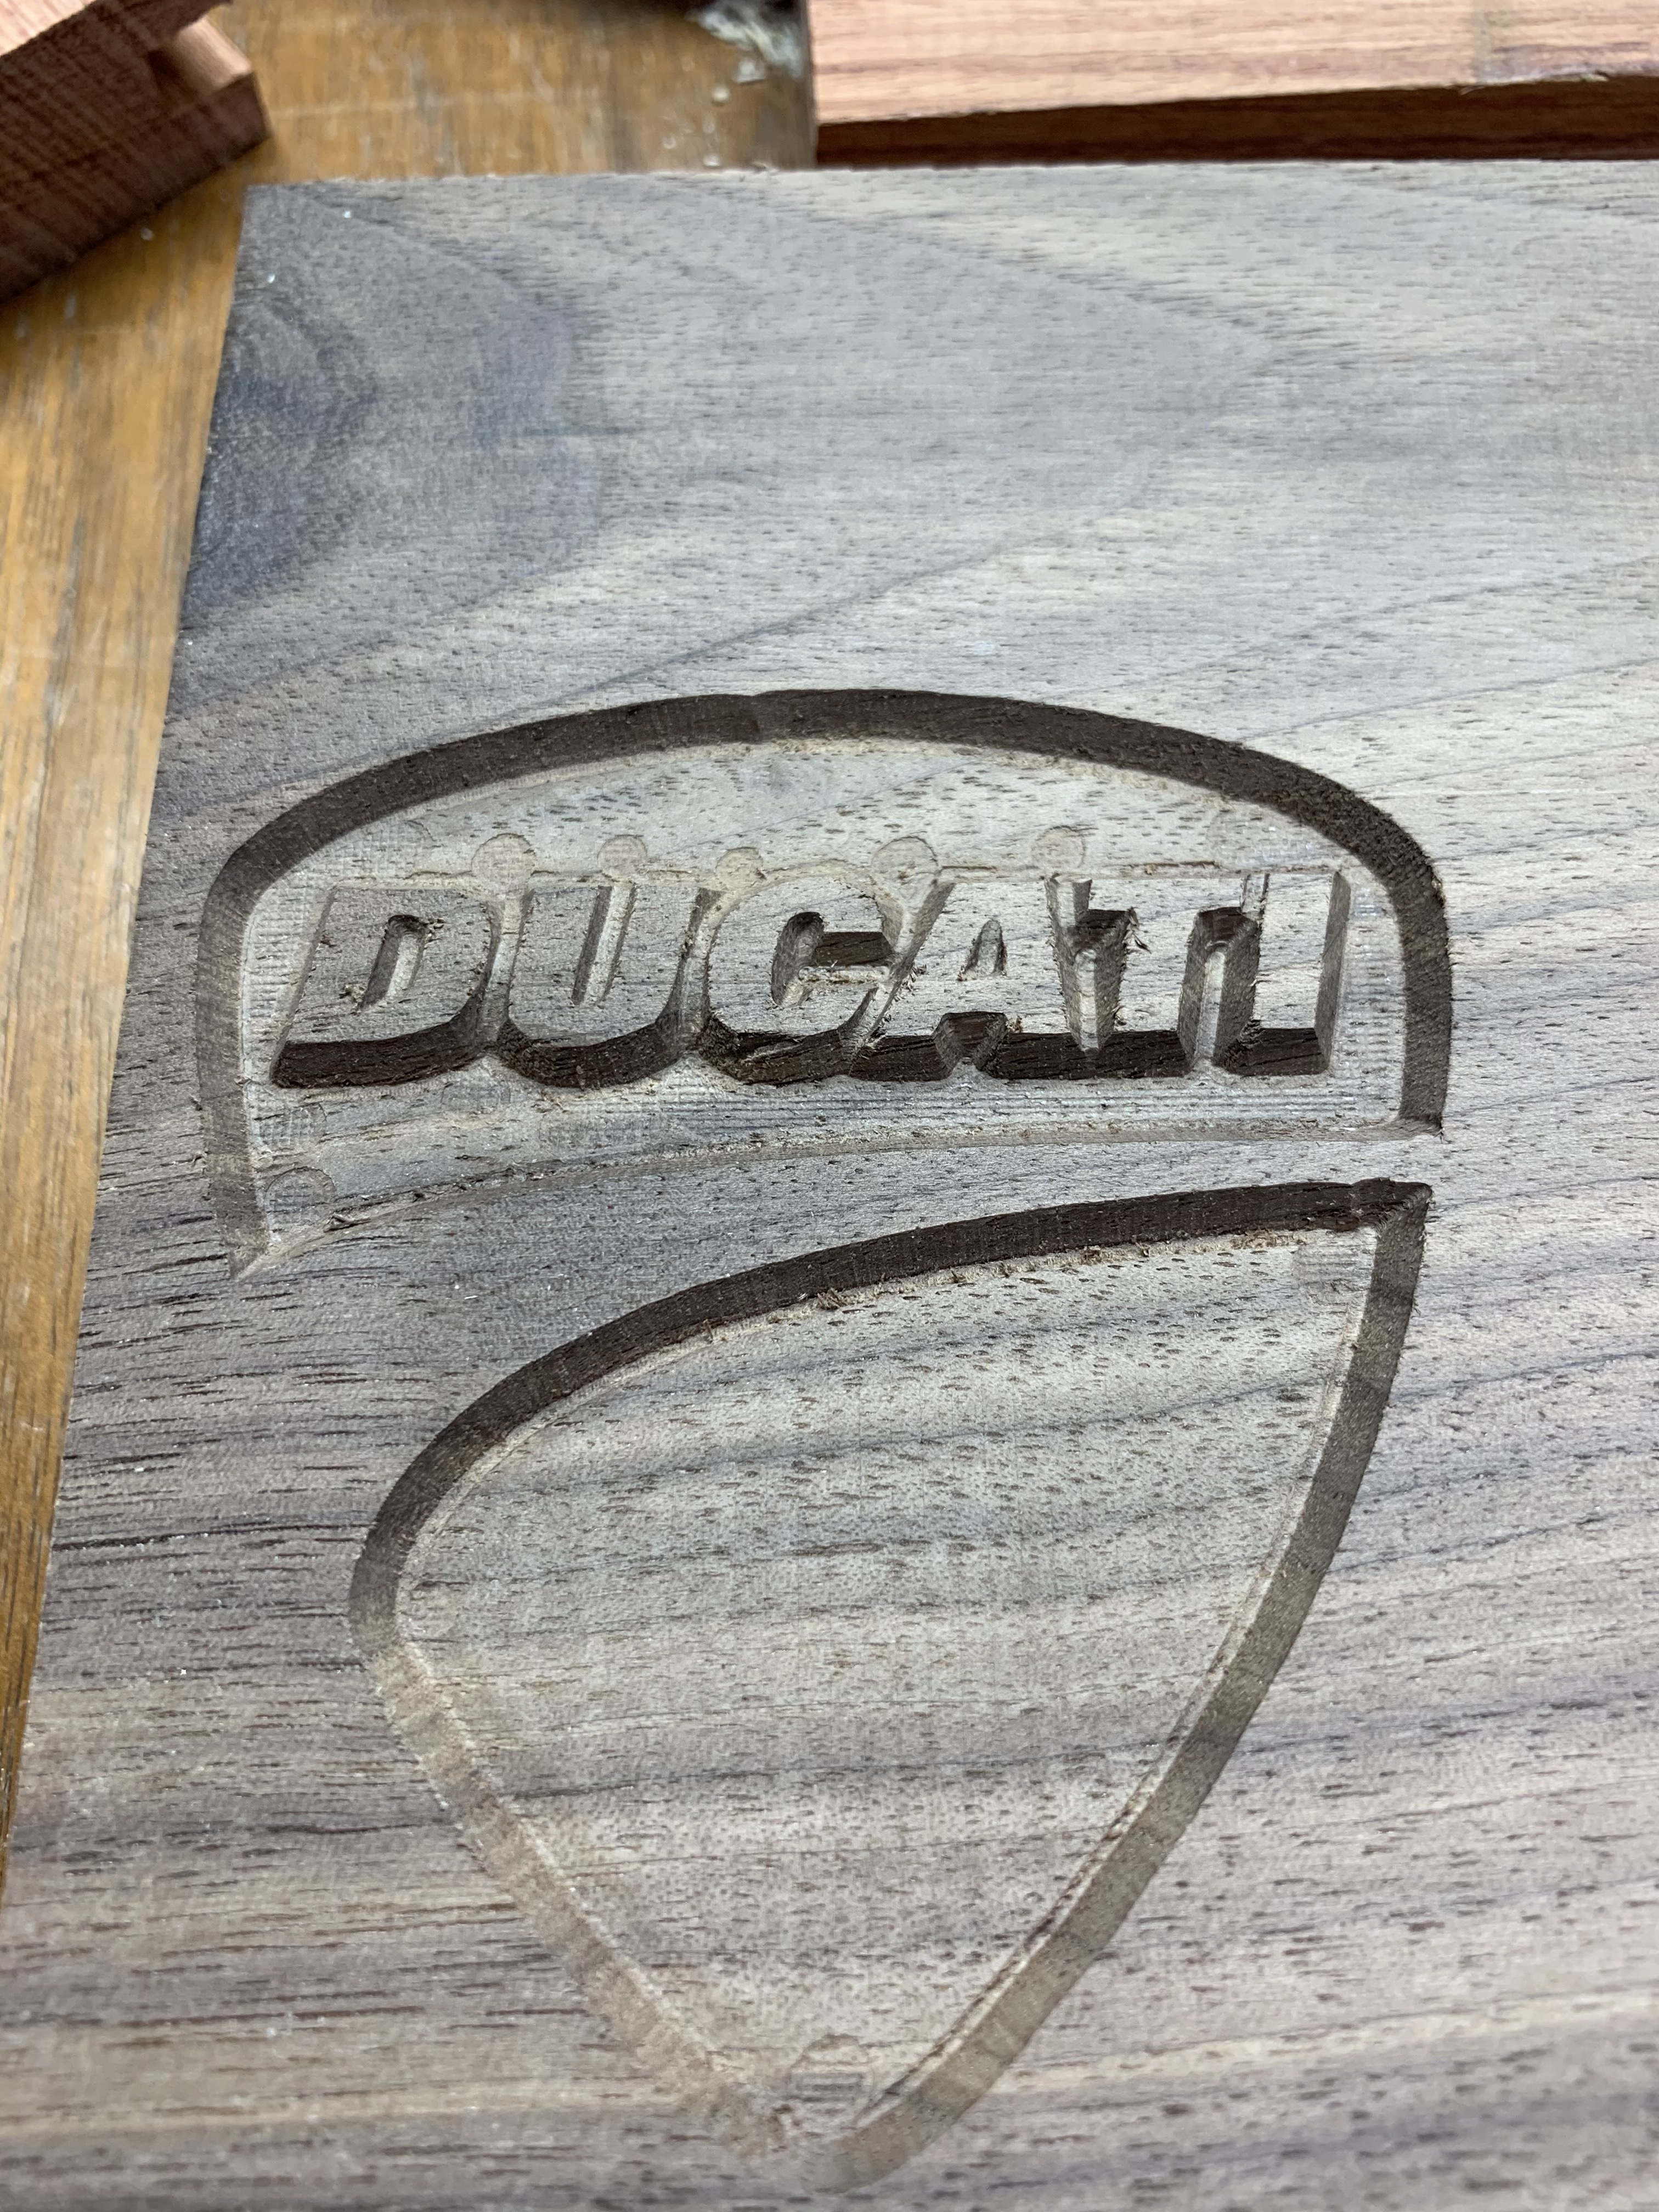
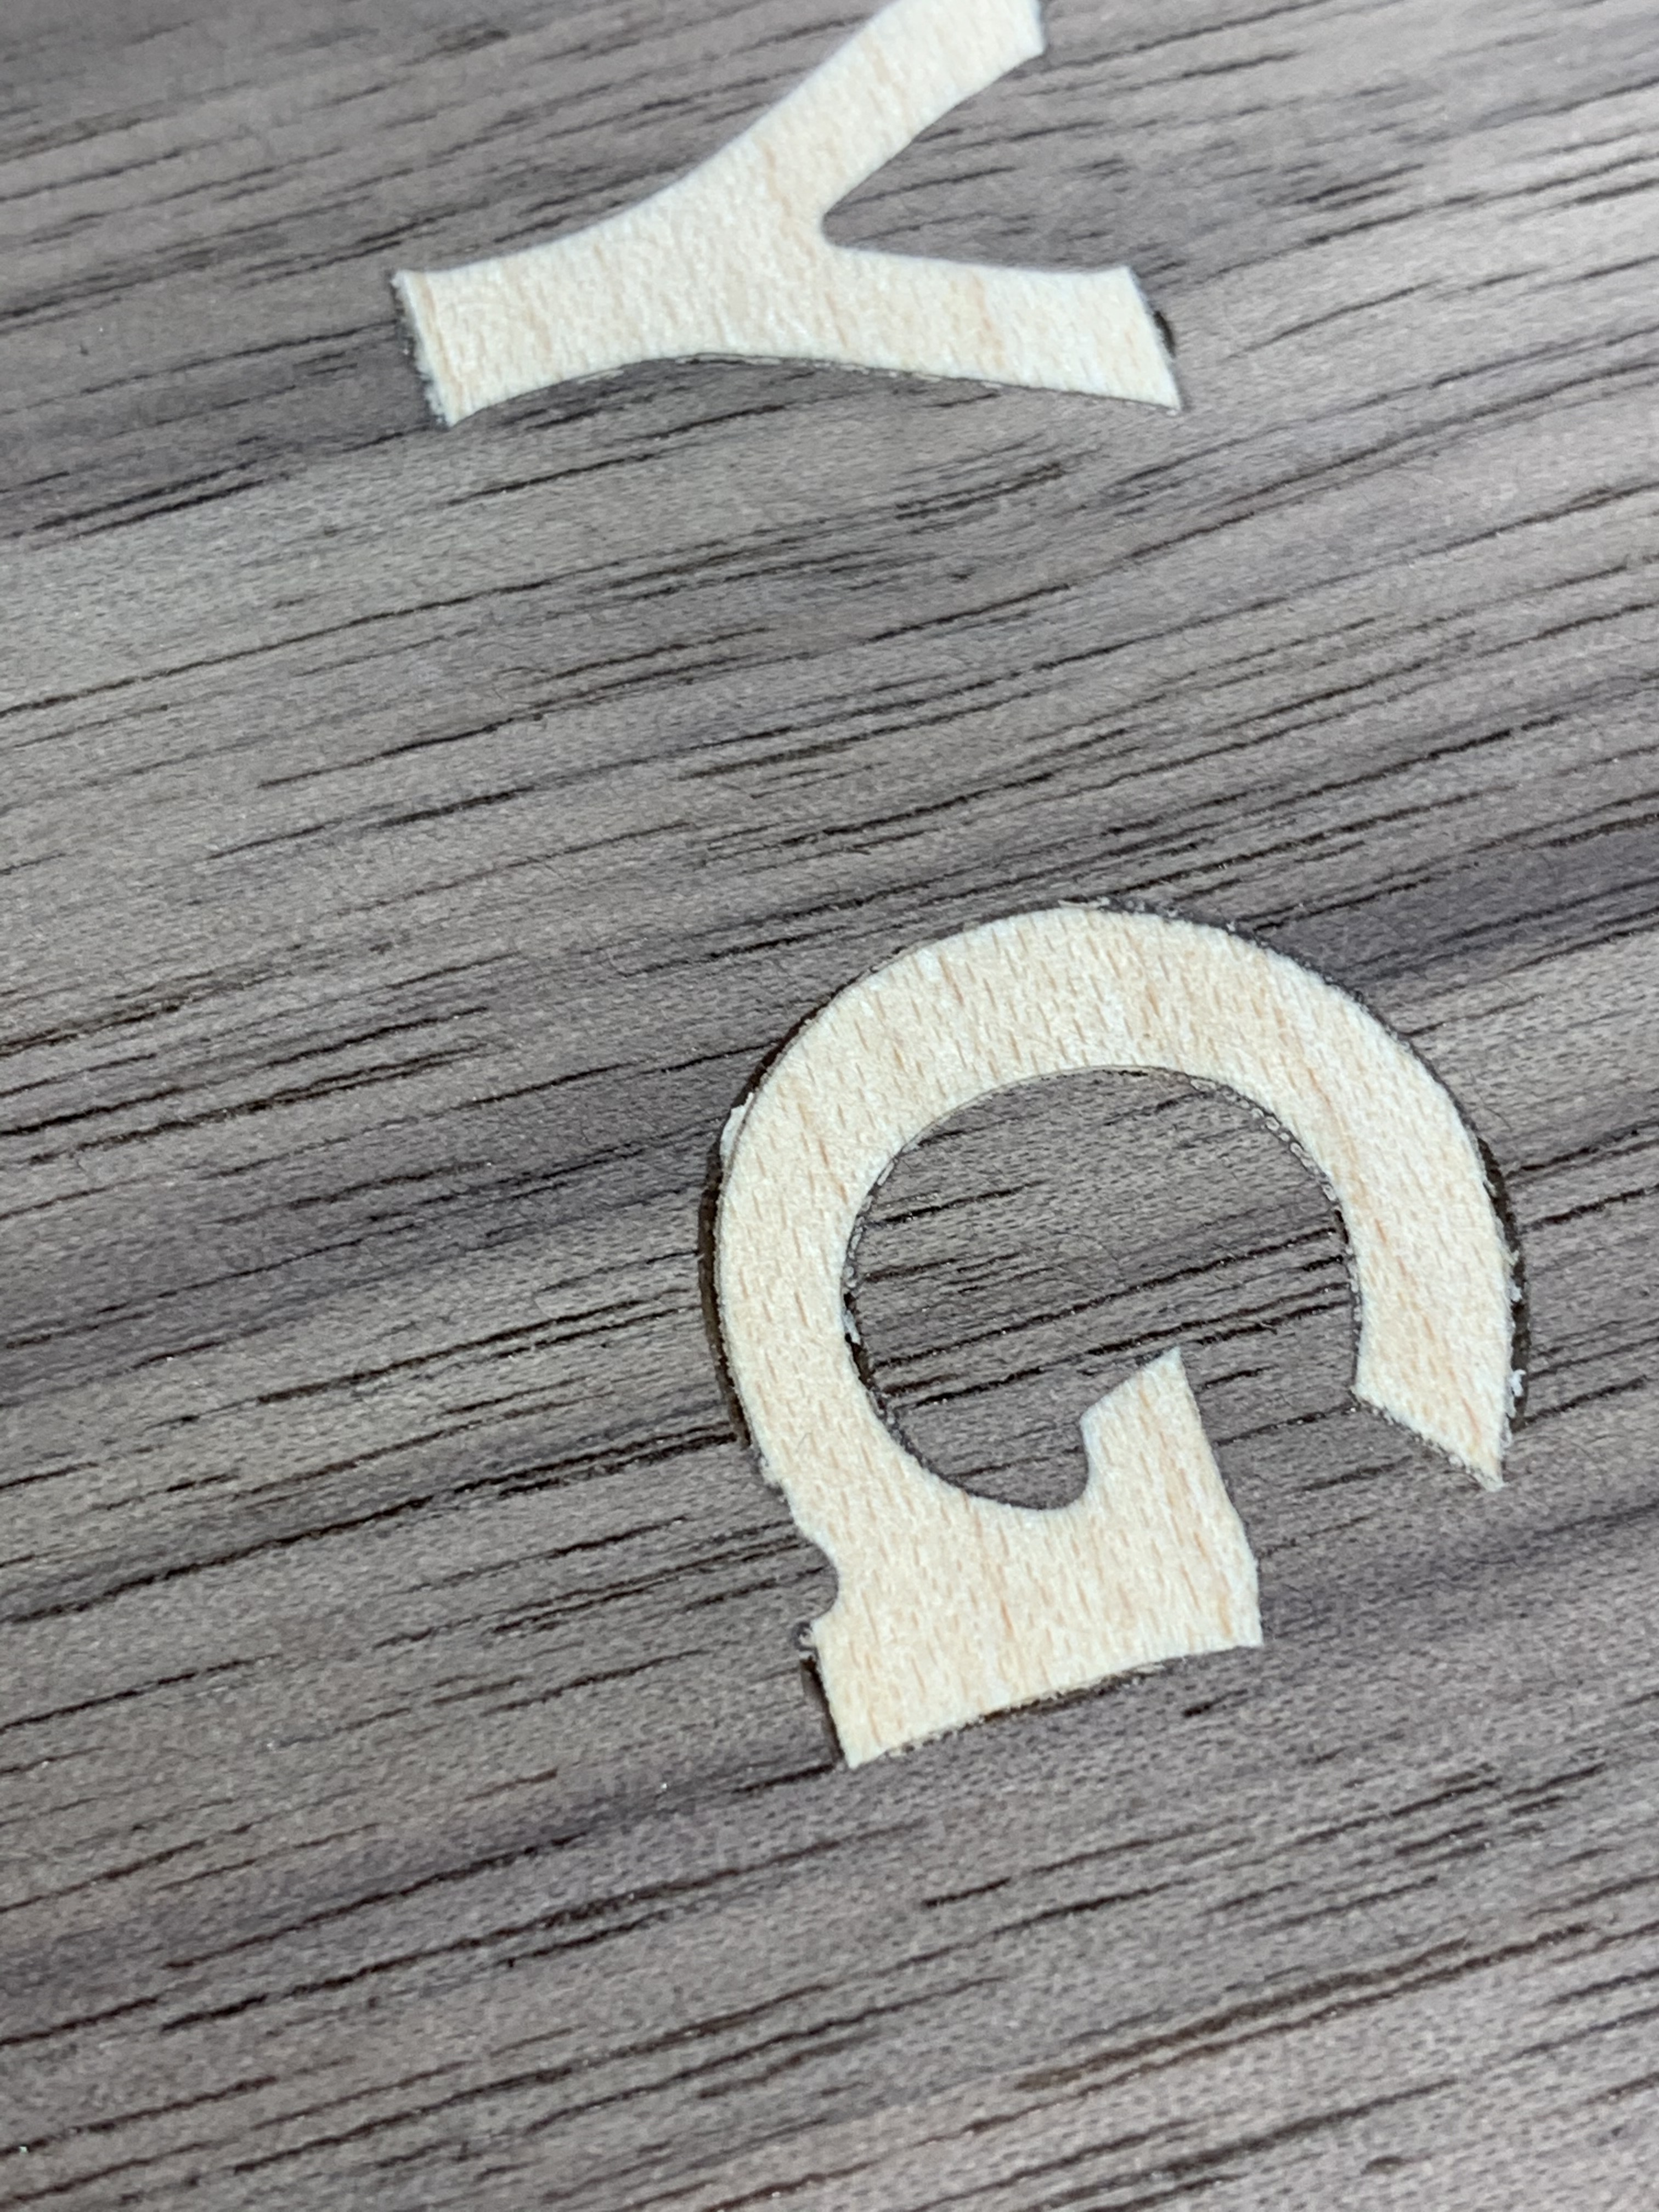
So tonight I started on a test piece. A friend of mine rides a Ducati, so downloaded their logo and went to work. Here’s the main piece. Kinda wishing now I hadn’t just used BB plywood for it, but I’ve got some maple and the gcode files to make a nice one once this is over.

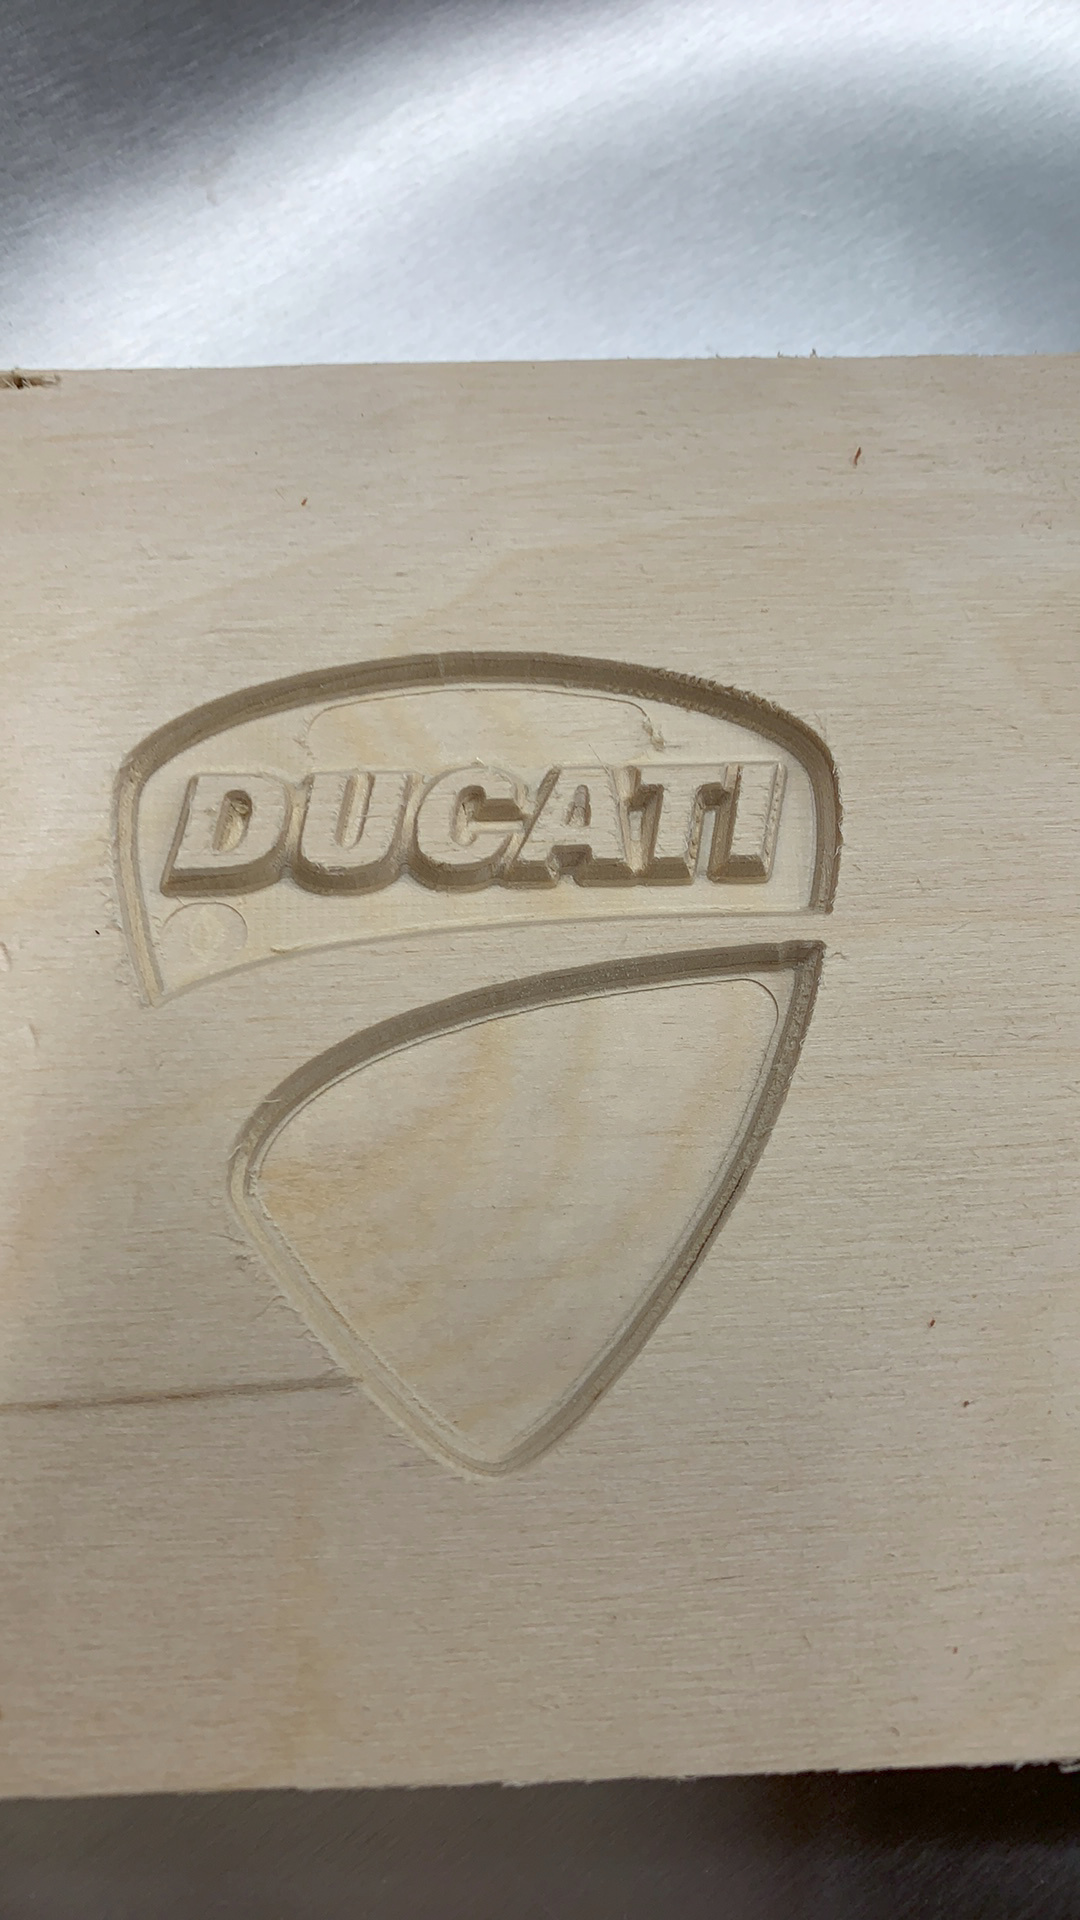
Took more tries than I’d like to get here… For some reason, my PC wasn’t playing nice with the CNC controller, and it kept dropping the USB connection. Ended up having to switch to another USB port, and it’s been going for a few hours since then. Also, the settings in the documentation are, how shall I say… Very conservative. So that first main cut took a LOOOOONG time! Hopefully got that resolved for cutting the insert, which is plugging away right now. This piece also was my first “tool change” project, so it’s nice to get that under my belt.

Here’s the insert… Just finishing the v-cleanup, and will start on the flat-bottom cleanup shortly. Hoping to get it glued up before knocking off for the night.

I think it’s going to look pretty damn sweet when it’s done! This friend might be getting a helmet/keyholder with the Ducati logo for Christmas when it’s all done…

C

4 Likes

Can’t wait to see the end result. This is a project I am nervous to try. Both parts have to be perfect and I rush around to much for that. One of these days…

Reply for updates…

I’m very interested in inlay work, it’s something that I really want to be able to use the CNC for.

Thanks for the input, ya’ll. I haven’t been out to the garage yet to deal with it, but I think the first try was a fail. So I’m glad I used plywood and some scrap rosewood that I had a box of. When I assembled the pieces last night, there was a significant amount of slop between them, so I think I messed something up.

If I had to guess right now, I’d guess I screwed up by doing it as two separate processes. I did the female part first, and closed down F-Engrave. Then re-opened it, and did the male part after that was done. I suspect I didn’t get all the settings the same. So I’ll do it again tonight, only this time I’ll do it all at once. And save the settings to a text file, as the application has a menu option to do.

One thing I did run into that’s not in the “step by step” instruction guide is the “G Code Header”. On my configuration at least (running GRBL), the given “G17 G90 G64 M3 S3000 M7” command caused CNC.js to halt. I changed that to just “G17”, and it worked fine after that. Not sure if it works better with other firmwares (like Marlin) or other G Code feeders (like Octoprint). In any case, just a gotcha that I ran into.

I’m not HUGELY enamored by F-Engrave, to be honest. Like, it seems to work fine (I’m pretty sure the current issue is self-inflicted). But it sure doesn’t seem to generate optimal code. Lots of z-movement, which is slow (even after bumping up my speed from the documentation/screenshots). And in particular, during the cleanup portions, it first seems to do a horizontal pass over a section, and then it turns around and does a vertical pass over the same section. I’m guessing the second pass is a finishing pass to make sure it’s a nice clean cut, but when you’re doing a multistep cut, is it really necessary on EVERY layer? I would have expected that just on the last pass.

And @anon74685196, I thought we were supposed to let the machine do it’s finicky work while we rush around and do other stuff, and just check on it once in a while? :slight_smile: I mean, like I still sit there and watch each cut being made, but that’s because I’m a newb.

Oh, and I finally found a second hand Dewalt planer in my area at a reasonable price. It will be my first one, but I’m thinking/hoping it will speed up some processes for me.

C

Does this help?
https://docs.v1engineering.com/software/Fengrave-vcarve-inlay/

That’s the walkthrough I used. If I had to guess, I didn’t use the same image size for both the male and female parts; the male is just a little too small.

For anyone following this at home, one thing I found that was kind of counter-intuitive… The app and documentation don’t really talk about bit selection. So my first instinct was to use one of my larger flat-bottom bits for the clean-up. The problem with doing that is that the v-bit is used as the “v-bit cleanup” (go figure), and it has to do a flat-bottom cut on all the areas that your clean-up bit can’t reach. The larger your cleanup bit is (I used 1/4" for the female part), the more tight spaces can only be hit by the v-bit. So you want to preview the v-bit cleanup, and select your cleanup bit carefully. In my case, I switched down to a 1/8" bit for the male part, and it drastically cut down on the amount of time spent on the v-bit cleanup. Hopefully that makes sense…

Here’s a couple of screenshots that show what I’m talking about. In the first one, I selected a 1/4" bit for the cleanup. The sections in yellow are the “v-bit cleanup” areas. The red areas are the regular cleanup sections

In this one, I chose a 1/8" bit for the cleanup.

You can see the yellow areas are greatly reduced, and there’s more red. I’m guessing there’s some amount of art to selecting the right bit, but I think anything you can do to reduce the v-bit cleanup to the minimum amount is a good thing, as it’s much slower flatten an area compared to pretty much any flat-bottom bit. Now, if there wasn’t much fine detail on

Ignoring the fact that it looks like the two pieces were chewed apart by rabid hamsters (I grabbed the oscillating saw with whatever blade it happened to have) and the fact that my glue-up was incomplete (only did the bottom because I could tell the pieces weren’t mated fully), it doesn’t look TOO bad. There’s approximately a mm or two separation (whole image is about 75mm in height).

Hopefully have some better results tomorrow.

Actually… This was sitting here waiting for me to post, and I re-ran the job in the meantime. Went MUCH quicker this time, although I think I need to slow down my speeds in the maple inlay portion. There was some roughness.

But I’ve got the same problem. The inlay is too small, or the base is too big. Hard to tell, I guess. Any suggestions on trying to troubleshoot it?

From what I can tell, I would have to have absolutely NO gap between the two pieces for the current inlay to fit at all snuggly (by using my caliper to measure the height and width at certain points, and comparing inlay vs. base). And there’s approximately a 2.8 mm gap between the two pieces. This is the bit I’m using:
https://www.leevalley.com/en-ca/shop/tools/power-tool-accessories/router-bits/30212-signmaking-bit?item=16J4901

C

Either your tool angle is not correct, or the parts are not fully seated.

You can check your tool angle by looking at what are supposed to be sharp angles. Your “A” and “T” seem to be very rounded off. That could be feeds and speeds, an incorrect bit angle, or poorly zeroed. Pay attention to the software, not all of them use the same angle and most do not use the angle that that site shows.

For a quick test you can make some small squares ~1/2" or so and adjust the settings until you get super clean walls and very sharp internal corners.

Oh and another part is the surfaces need to be very flat (your should probably mill them flat first) and the tool needs to be zeroed very carefully. Any variation in either of these and it won’t work.

Take your time, have fun. Keep it in your mind, when you get this right there is not anything I can’t think of that needs to be nearly as perfect as this. Everything else will be easy in comparison, and this should be easy once you figure out the issue, you are really close.

1 Like

Sorry for all the replies, I am wanting to do this myself and am sincerely interested in all the steps.

I am seeing something missing from the docs. The depth of cut on both look to be the same. I would cut the male part deeper. This allows the inlay to make contact before the faces and allows easier separating later. I would probably do at least the thickness of your blade deeper ~3-4mm. I might have to try this…

Since you’re dying to know what’s going on, @vicious1:slight_smile:

I got an e-mail back from Scorch last night, just a few hours after I sent him the graphic file I was using, the configuration file, and the gcode files that were generated. His reply that same evening (great customer support!!!) was:

Sounds like your v-bit does not cut to a true point. You can compensate by zeroing your bit above the workpiece. The height of the bit should be such that true point of the bit would be at the work piece if the bit came to a true point.

I replied and asked him if that was for the female or male parts (or both), and he replied back that suggestion was for both. Which doesn’t really make sense to me. If I did that for the female part, I would lose the top detail.

So I was doing some thinking last night (always dangerous, after a wobbly pop and maybe an edible) and I figured it was more likely that what I needed to do was reduce the depth of the male part (it makes me cringe to even type that). And since I had the parts already pre-cut, and I just happened to pick up a used Dewalt 734 planer this morning, I’d give it a bit of a test and shave off a couple mm off the male piece. In my little mind, this meant that the piece would seat deeper into the female part, which would mean a better fit (since the deeper it goes, the wider the part is).

So off I went with my first planer run! The guy I bought it from said that the blades were nicked, and he wasn’t kidding! Ridges everywhere! Ugh! But I sanded those down, and slapped the female part on as a test, and it FEELS snug now. No lateral movement, and the piece still isn’t bottomed out. So I glued it up, and will just be waiting a couple hours till it’s dry enough to hack the extra off again. We’ll see if my theory is correct…

And then, to top off my meandering story, I decided to check into replacement blades. Found out that the 734 has 2 sided blades, and based on the “maintenance” that this planer appeared to have endured (more rust than a ginger convention), I figured it was a pretty safe bet that he had never done anything to the blades. Watched a quick video, removed the first blade, and found a nice virgin edge waiting to be used. 15 minutes later, all three blades swapped out, and it’s good as new!

First cut, on the outer edge of my sled I slapped together (and the center was much worse):

After swapping the blades around, same side:

I don’t necessarily like taking advantage of people in the woodworking forums, but damn, does it feel good to save an extra $50! :slight_smile: I’ll probably pick up another set of blades anyways, just as a backup, but it’s nice not to have to run around today and try to find some.

Anywhooo… I’ll post back with my results, after I cut it apart. If this works, I think the secret would be to zero the male part out a couple mm above the actual workpiece.

Clint

Oh, and this was the female piece in the walnut (instead of my first version, which was in BB plywood).

Clint

1 Like

MPCNCers reduce the depth of the male part.

I want that on a t-shirt!

Just a quick update on my lunch break…

Swapped my bits last night from a Lee Valley engraving bit (large 60 degree bit) to a small plain bit (still 60 degrees, but just a simple 1/4" shaft with a double flute end cut in each end). Made some change to the “prismatic overlay” section, but I don’t think those helped. Just cut deeper on the male part, which increased the time taken. And this time, I did it with the customer’s work, instead of the Ducati logo.

The female part is the same BB plywood I was working with before. Male part is walnut. One of the ends of the T broke off, which kind of sucks. And the period didn’t get filled, as I think I nicked that off when trimming the box. Other than those two things, it looks pretty damn fine to me!

I still really wish F-Engrave needed to do double passes on all the clean up stuff… Like seriously, when I’m 4mm into an 8mm cut (that was the extra depth on the prismatic setting), does it really need a perfectly leveled pocket cut? AFAIK, that’s just a waste of time. The other wastes of time were my fault (again). Cutting the box just a little bit bigger would have meant the flat end mill could have done a more complete job this time around the outer edges, and I think I’ll try to do the male piece in two separate pieces. No sense hogging out the big wide open space between the two lines. The male piece was probably 2 hours of cutting, which bored me. :slight_smile:

Oh, and for reference, the two lines of text are about 12mm high. So the details on the A in particular are really quite fine.

Clint

2 Likes

Looking real good, so close!

1 Like

It’s been a long and painful week. Had to say goodbye tonight to our 18 year old pup. I’d only known him for 6 years, but they grow on you quickly. We knew it was coming obviously, but his old age hit him hard this week, till he could hardly stand up anymore. So the next project will be for him.

Anyway… Had another client drop a project in my lap before that happened, and that took precedence over the bottle opener, simply because I didn’t want to turn down work that was referred to me by a previous client, and it was a retirement present that needed to be presented before this bottle opener was going to be needed. Someone had already done a cutting board (which I thought was a little tacky, but what do I know), and wanted it lasered with the recipient’s name and details. Client ended up very happy, which is always nice!

They gave me the wording, let me come up with the rest (layout and fonts). Found a really handy program called “PrintMyFonts” (PrintMyFonts) that lets you enter in text, and it will show you that text in all the fonts on your machine. So there was one piece in particular that was troublesome for some fonts, and the program helped me figure out which fonts did the best job of displaying the text. Worked swell. I think next time, I’ll use it to type in the client’s text, and then the clients can just pick the font they like. I’ve spent so much time on jobs trying to find “just the right font”, you know?

Anyway… On to the bottle opener. The engraving finally went ok. At about 12:30 last night. Not what I wanted to be doing the evening before we had to say goodbye to Murphy, but what can you do? I made a commitment to the client, and I’d do what I can to stick to it. Had taken today off, so today I cut apart the inlay, to see how it went.

Unfortunately, it looks a bit better from a distance, as there were still some gaps:

So off I went to get some maple coloured wood putty… :frowning: 
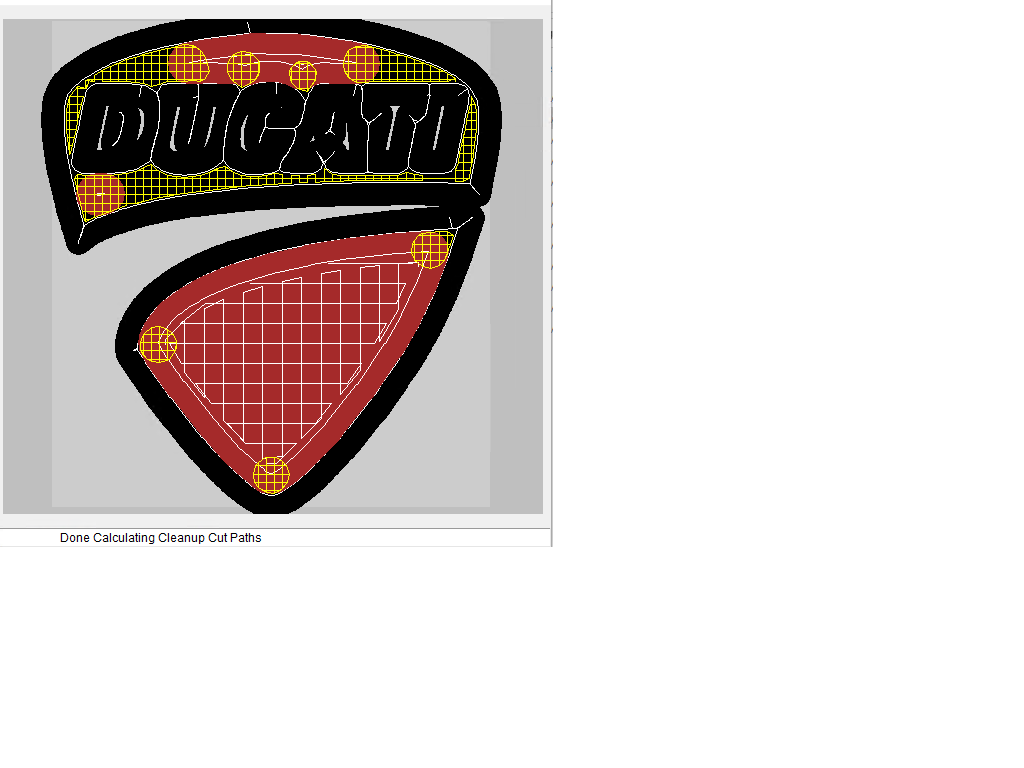
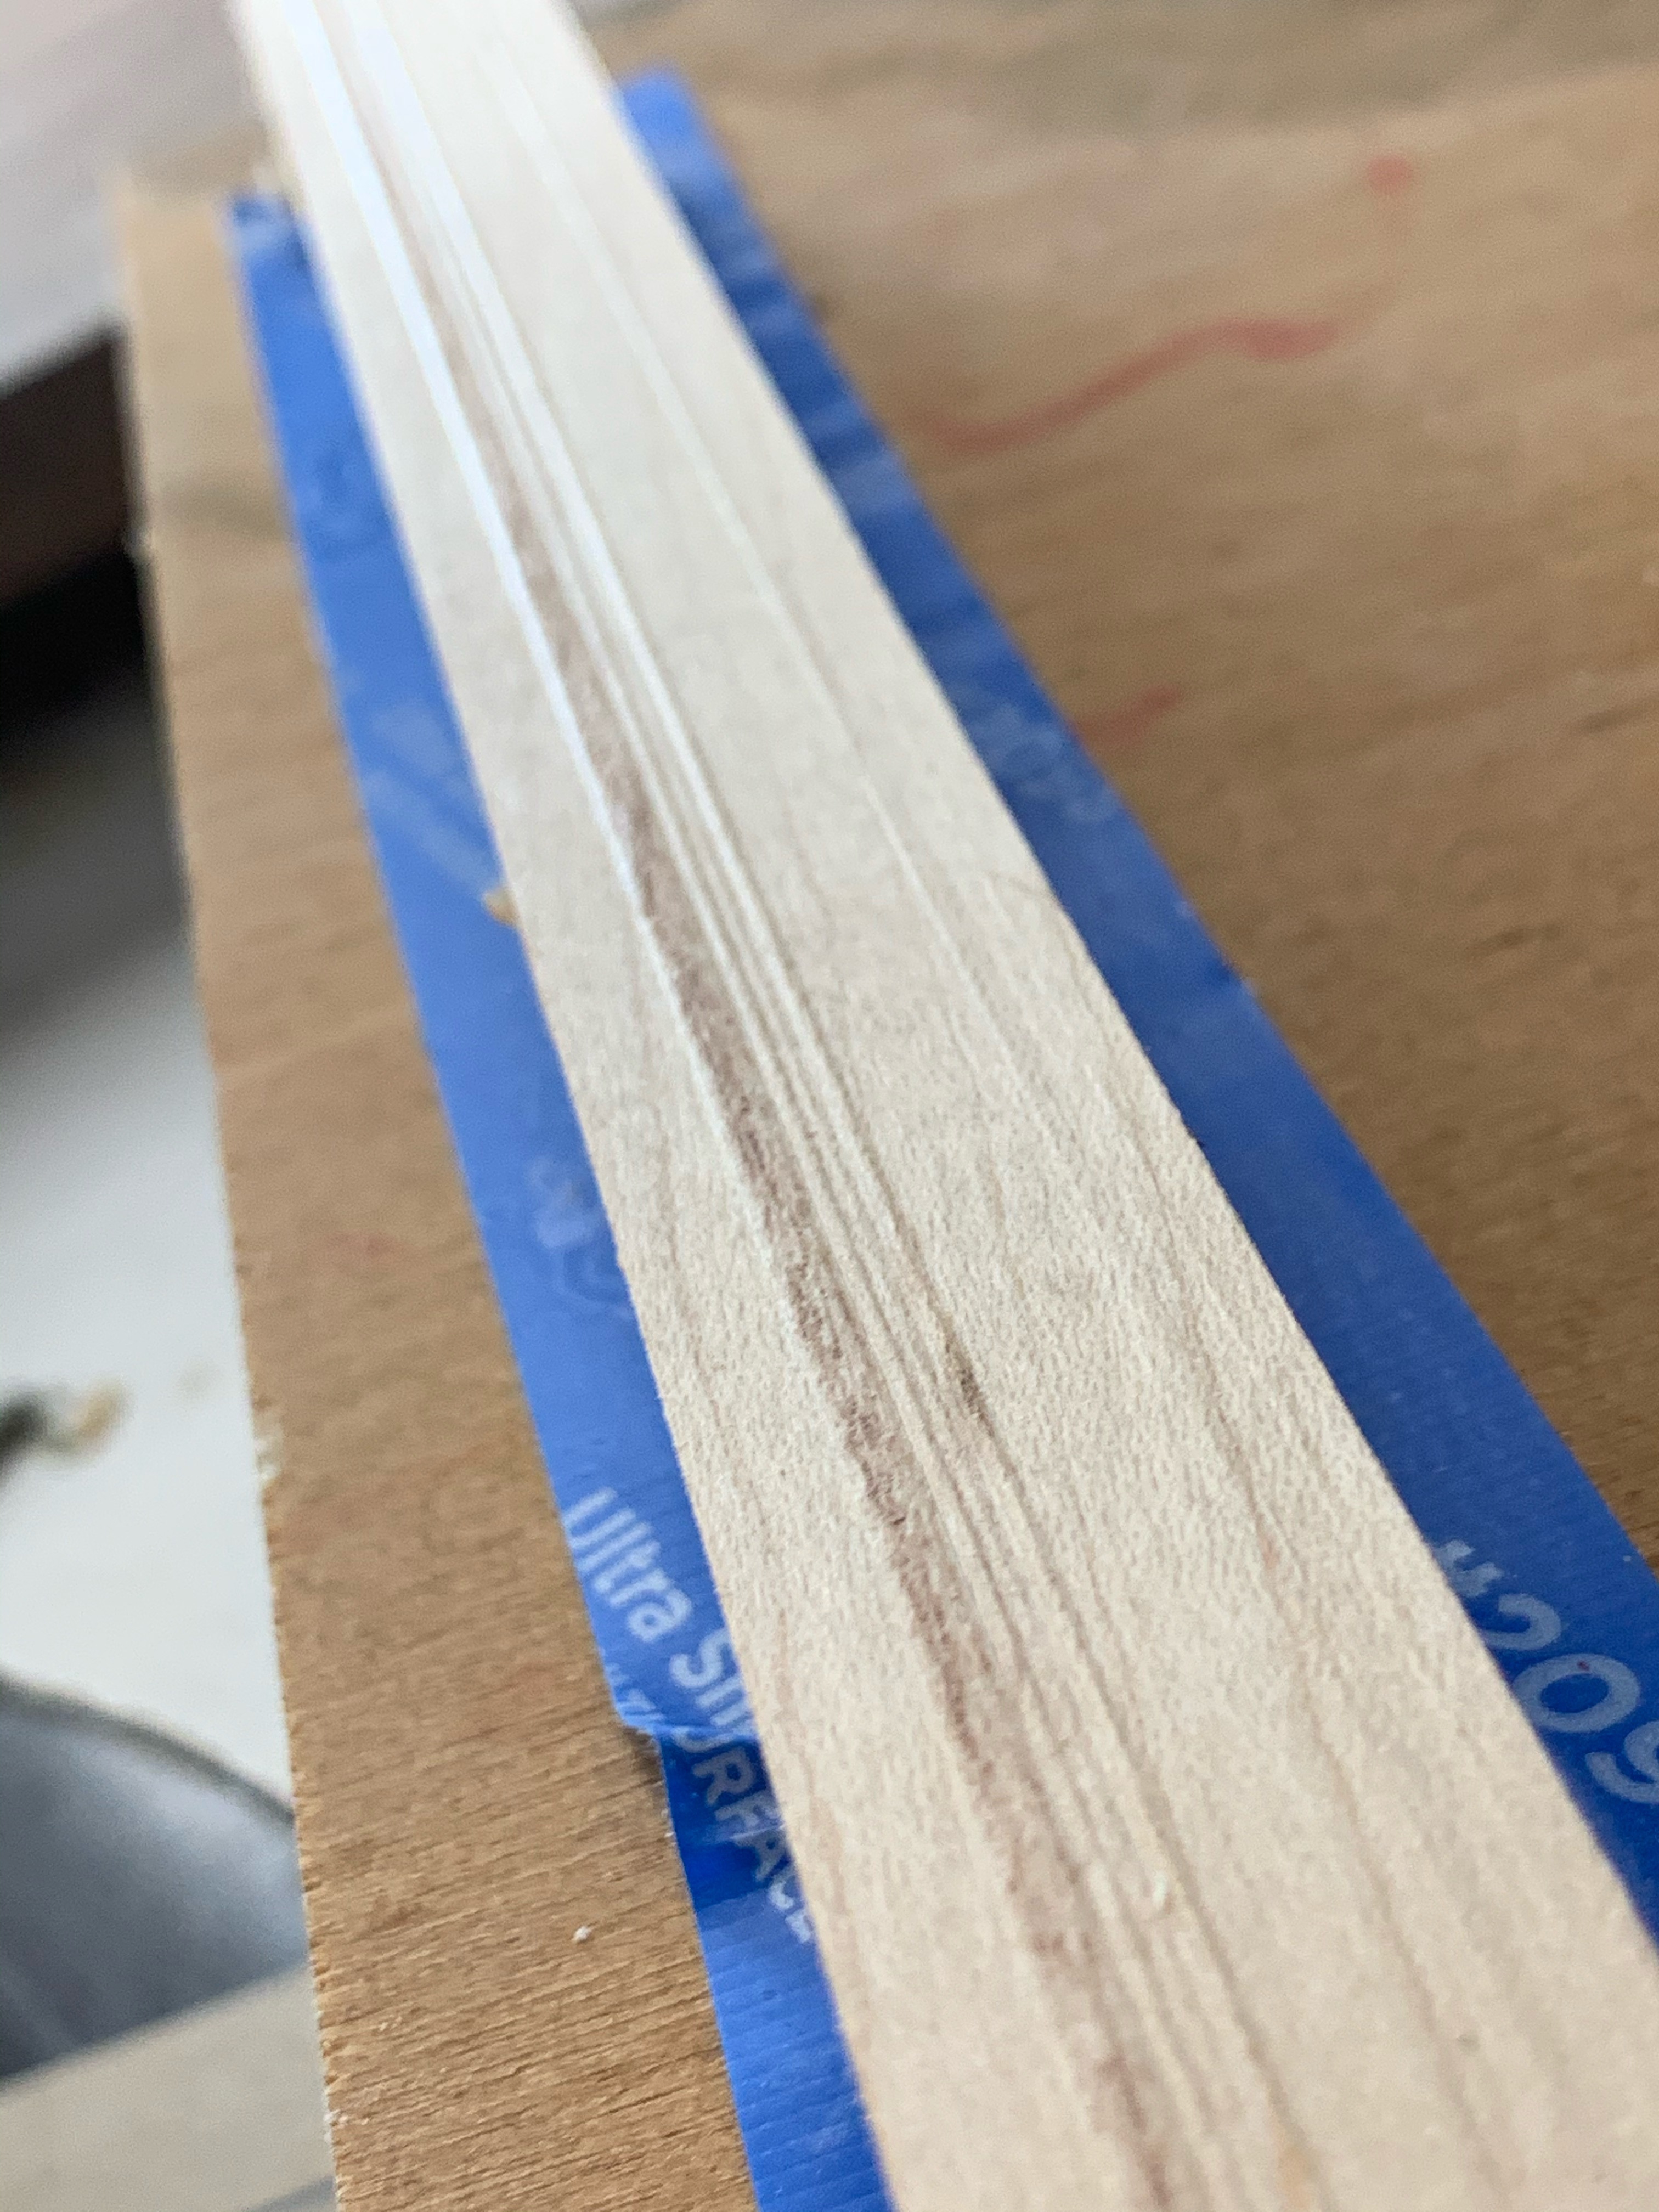
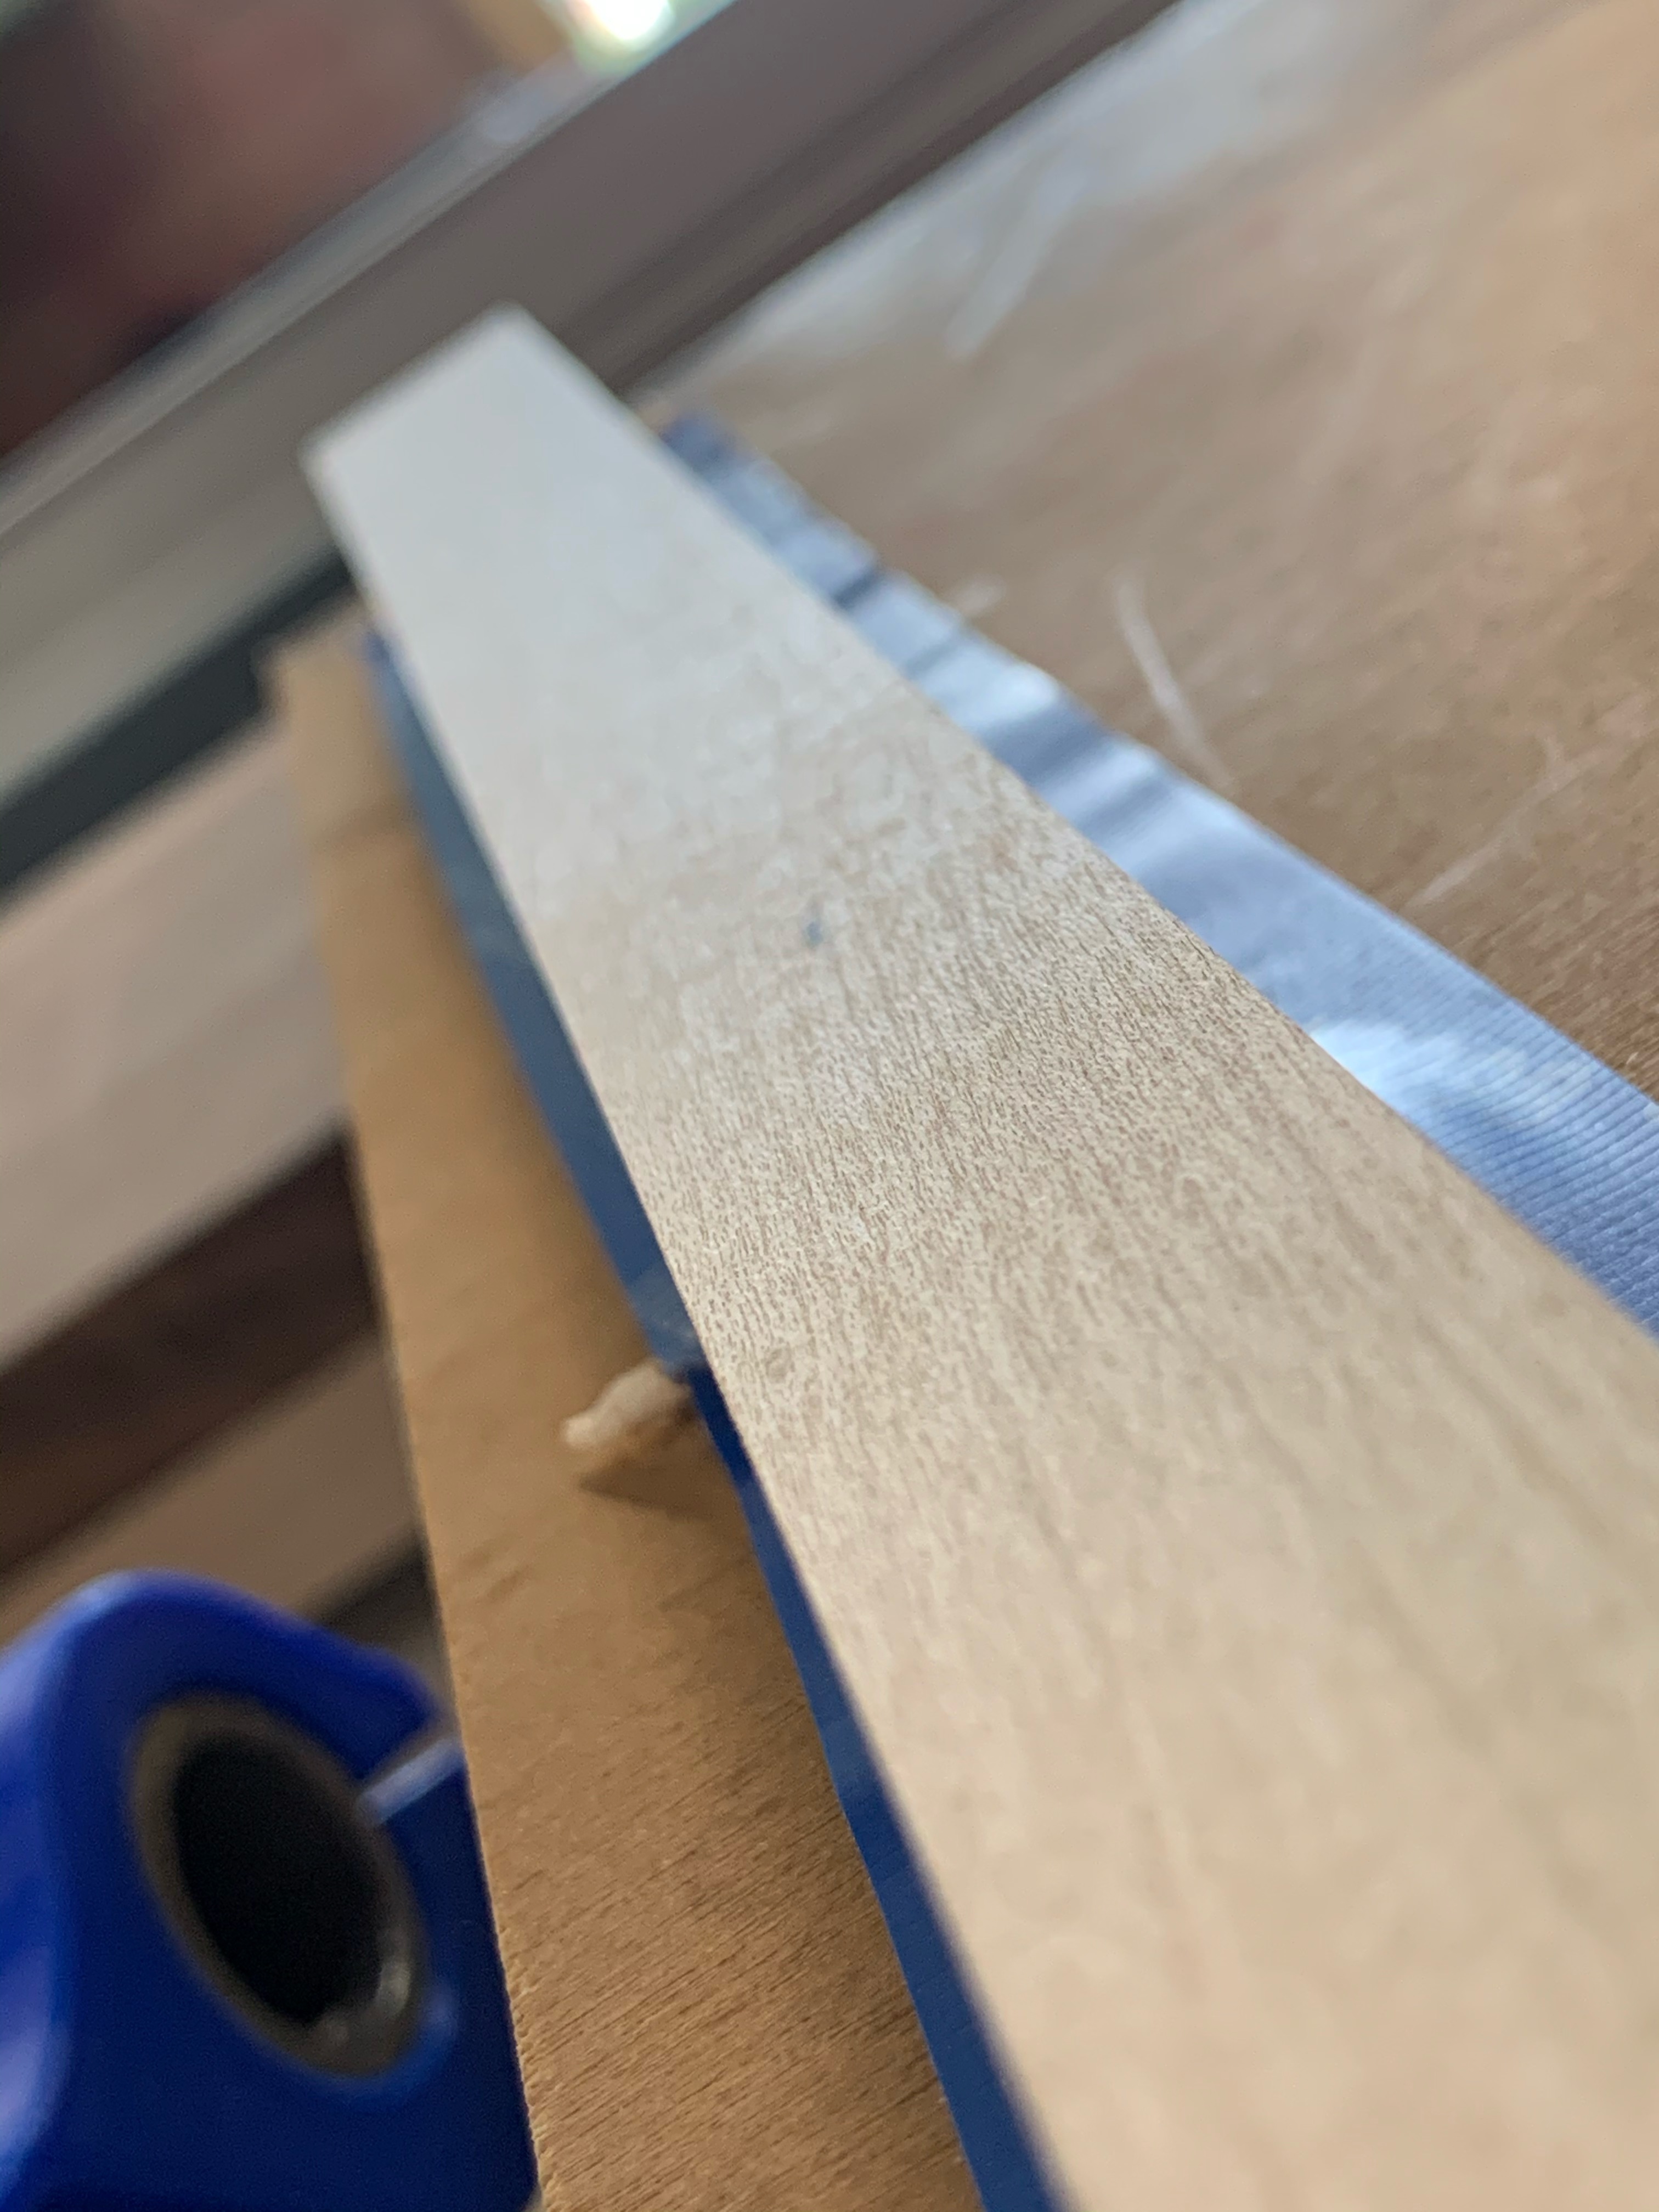
I don’t think the putty looks good, but better than the gap, I think. I’ll try to post a close-up when the finish is done. Just putting on some oil, when it’s all done.

After that, I also had the cap-catcher to finish. Had the idea that it would suck to have to take the whole bottle opener off the wall when the catcher got open, so…

Magnets are like magic! :slight_smile: Three magnets, spaced on the back, and it’s set!

So I sent those pics to the client, with a comment like “I think it looks great like this, but if you want the image lasered on it like we discussed, let me know!”. And of course, he wanted the image… :frowning: So here it is, 12:30 am again, and I wish I was in bed. But the keyhole is cut on the back (first for me as well), the cap-catcher is oiled and done, and the laser is about 60% done. Looking pretty good, too.

Anyway, I’ll post a pic later, when it’s all done.

And I’ve really got to get better at budgeting my time… I’m definitely working for less than minimum wage. Learning lots still, but it would be nice to make some money to pay for new toys too, right? Any words of wisdom? I can handle the material costs, but it’s the actual time that these projects take than I suck at estimating. It’s like I have to take my original estimate and triple it. Maybe I’ll try doubling it first, and see how that goes…

Thanks for reading my rambles!

Oh, and here’s Murphy…

I think I’m going to do an urn for him. Do a Norton-process tile with this pic on the front, and we’re getting a ceramic paw print that I think will go on the back. Just a plain square block, with the tile and pawprint inset front and back. Walnut, of course…

C

2 Likes

I’m sorry about Murphy. He looks like he was a good boy.

You can fill gaps with sawdust from the project and wood glue. I don’t know how much sawdust you might have saved, but if you have some scraps you can hit it with a sander to get some more material.

If you’re using something like Watco Oil you can mix a little bit with fine sawdust to fill gaps and you’ll have an exact color match, well likely with endgrain anyway.

I’ve heard the glue tip before, but after sanding off the glue left from the inlay glue-up, I wasn’t about to re-introduce more glue into the mix. About 90% of this project, I did test cuts and processes on scrapwood before moving onto the main piece; testing the glue process would have been a good one to try too… :slight_smile: It wouldn’t have even taken too long. I’ve still got pieces of scrap around, so I’ll give that a whirl.

Laser finished this morning about 1 am, so I oiled it up. And when the walnut darkened with the oil, the laser work washed out. :frowning: You can really only see it from particular angles. Disappointed about that, but I think the rest of it looks great. Stupidly happy about the fit on the cap-catcher and the way that whole thing works.

![Finished - Back|375x500]
(upload://jCGKKwfFj9FFhH9wdsoRwpl0zSn.jpeg)

C

4 Likes

Cheers to Murphy, saying goodbye is always rough.

Your jobs are coming out amazing and you are recovering for non-perfections extremely well. Looks like you are teaching all of us lots of stuff. Magnets are magic (that tray really takes that over the top!), if that was reversed light on dark that etching would have more contrast, and getting inlays perfect is hard.

I really appreciate seeing the trials and tribulations on these projects. Also seeing them come out so nice in the end.

1 Like