Well that makes sense now
1 Like
Quick build update.
Everything is going swimmingly. I had a buddy cut out my strut brace for me, so that was a huge help. He also cut out cradle pieces for my attempt at adapting @Mcunn’s table for LR3. I have those pieces laminated, and i’m trying to get the rails, etc built this week/weekend.
So need to finish up wiring, and get this table together. Very pleased with everything so far!

11 Likes
Niiiice!
3 Likes
Great work!
1 Like
Okay… So long time update.
Got tied up with some ‘normal job’ stuff, and went on vacation… and it took me WAY longer to get my table built than i was expecting. Partly because i lack a vehicle that can transport a full sheet of material, partly because of scheduling, and partly because it seems like the rain never stops in Western PA… Oh yea! There was the absolute disaster that happened about 3 weeks ago too, but i’ll get to that.
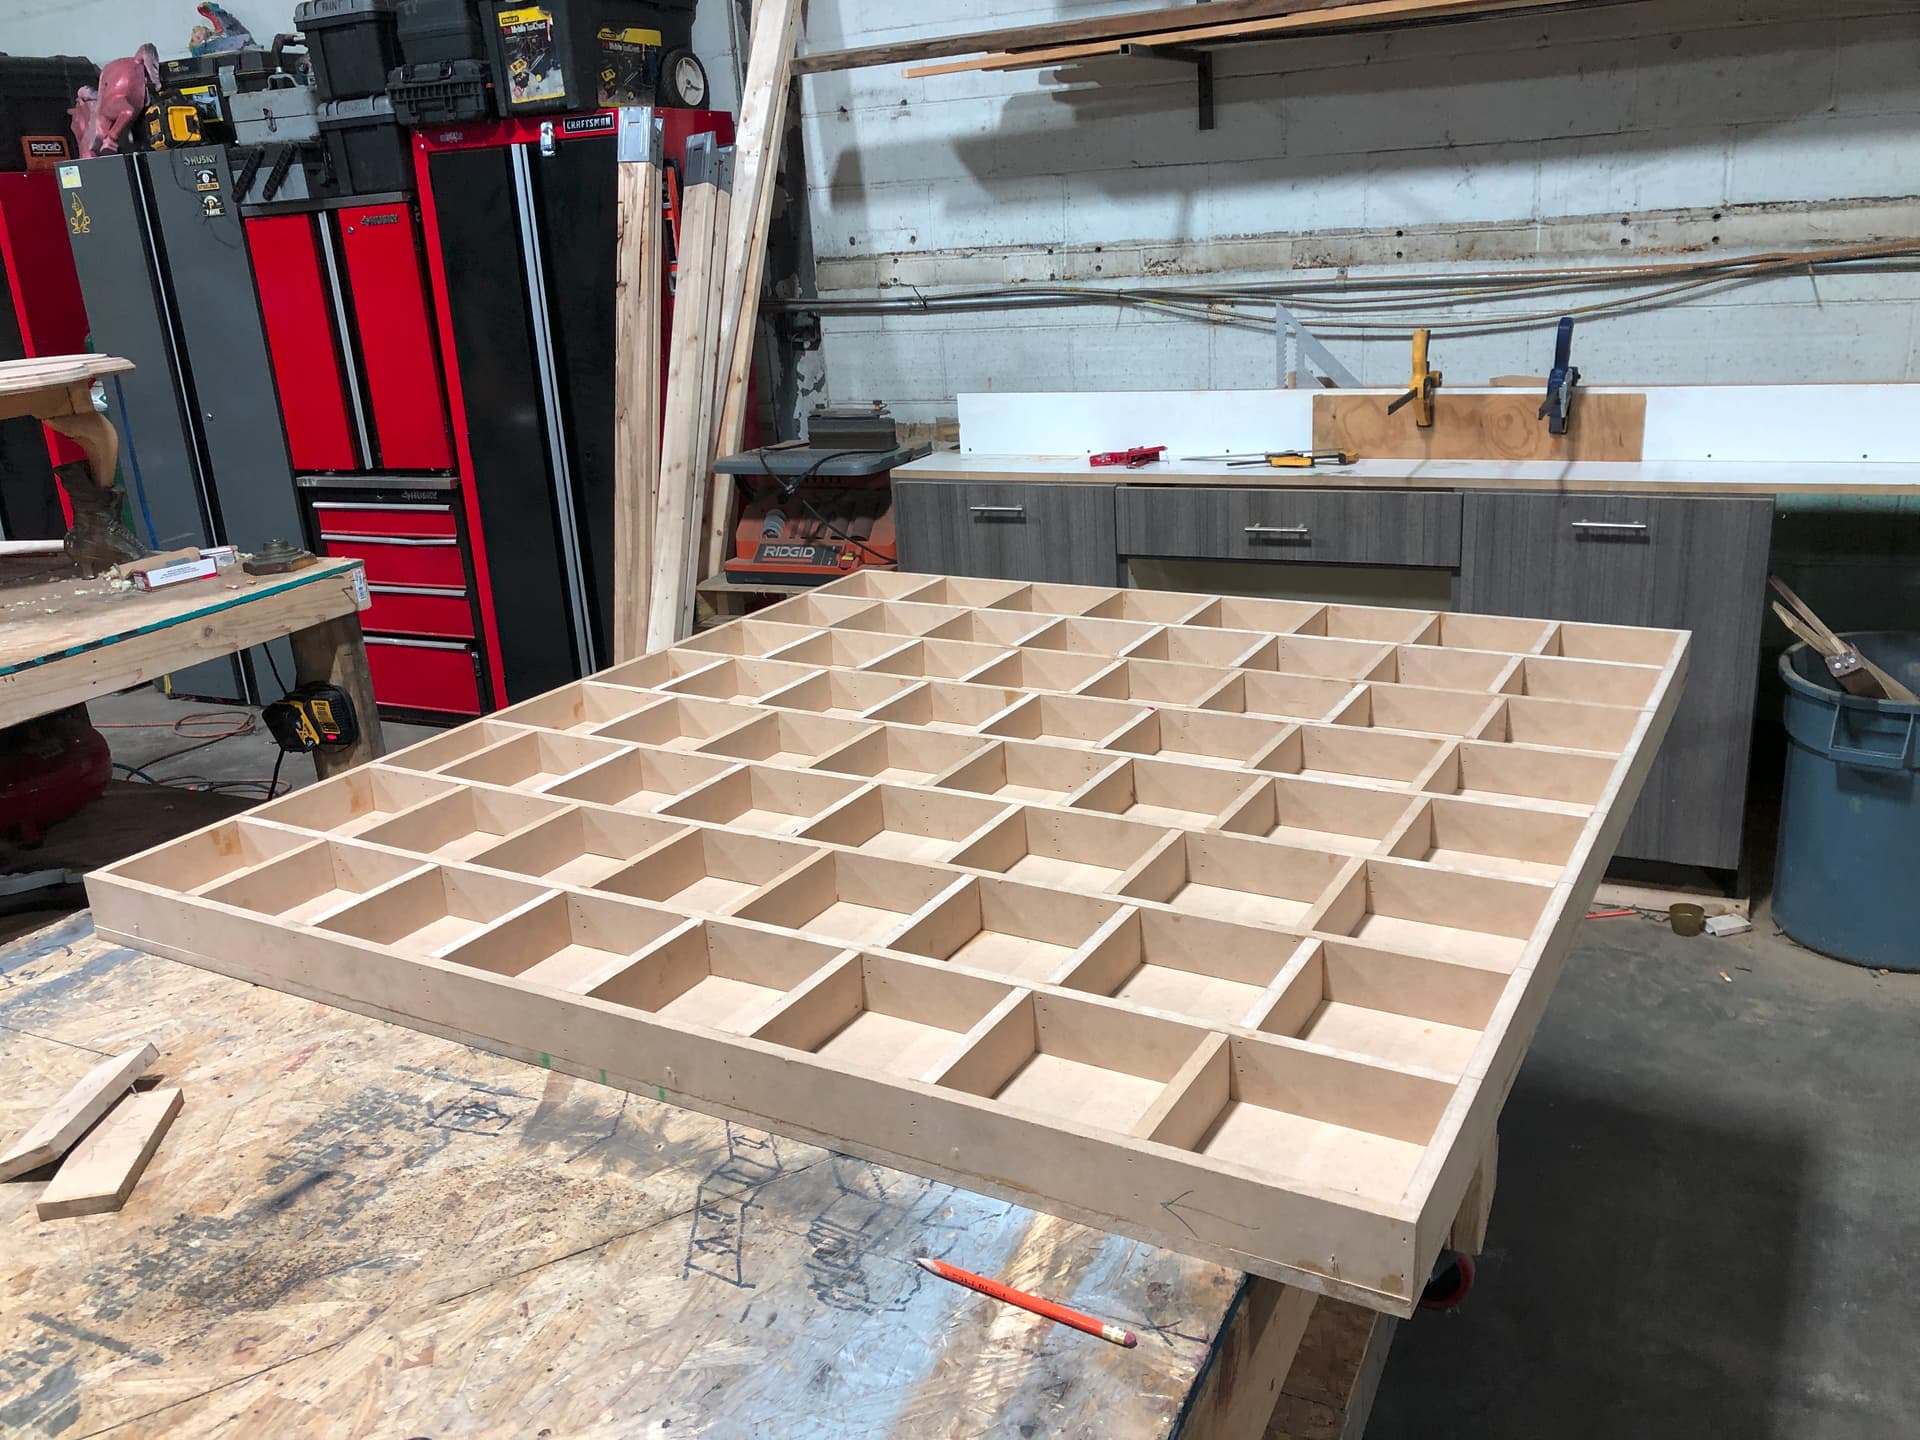
So after the aforementioned transportation/scheduling/precipitation challenges were all sorted, i finally got the table top portion built. I did a torsion box table with disasterous spacing, because beers… but i think it’ll still work just fine.
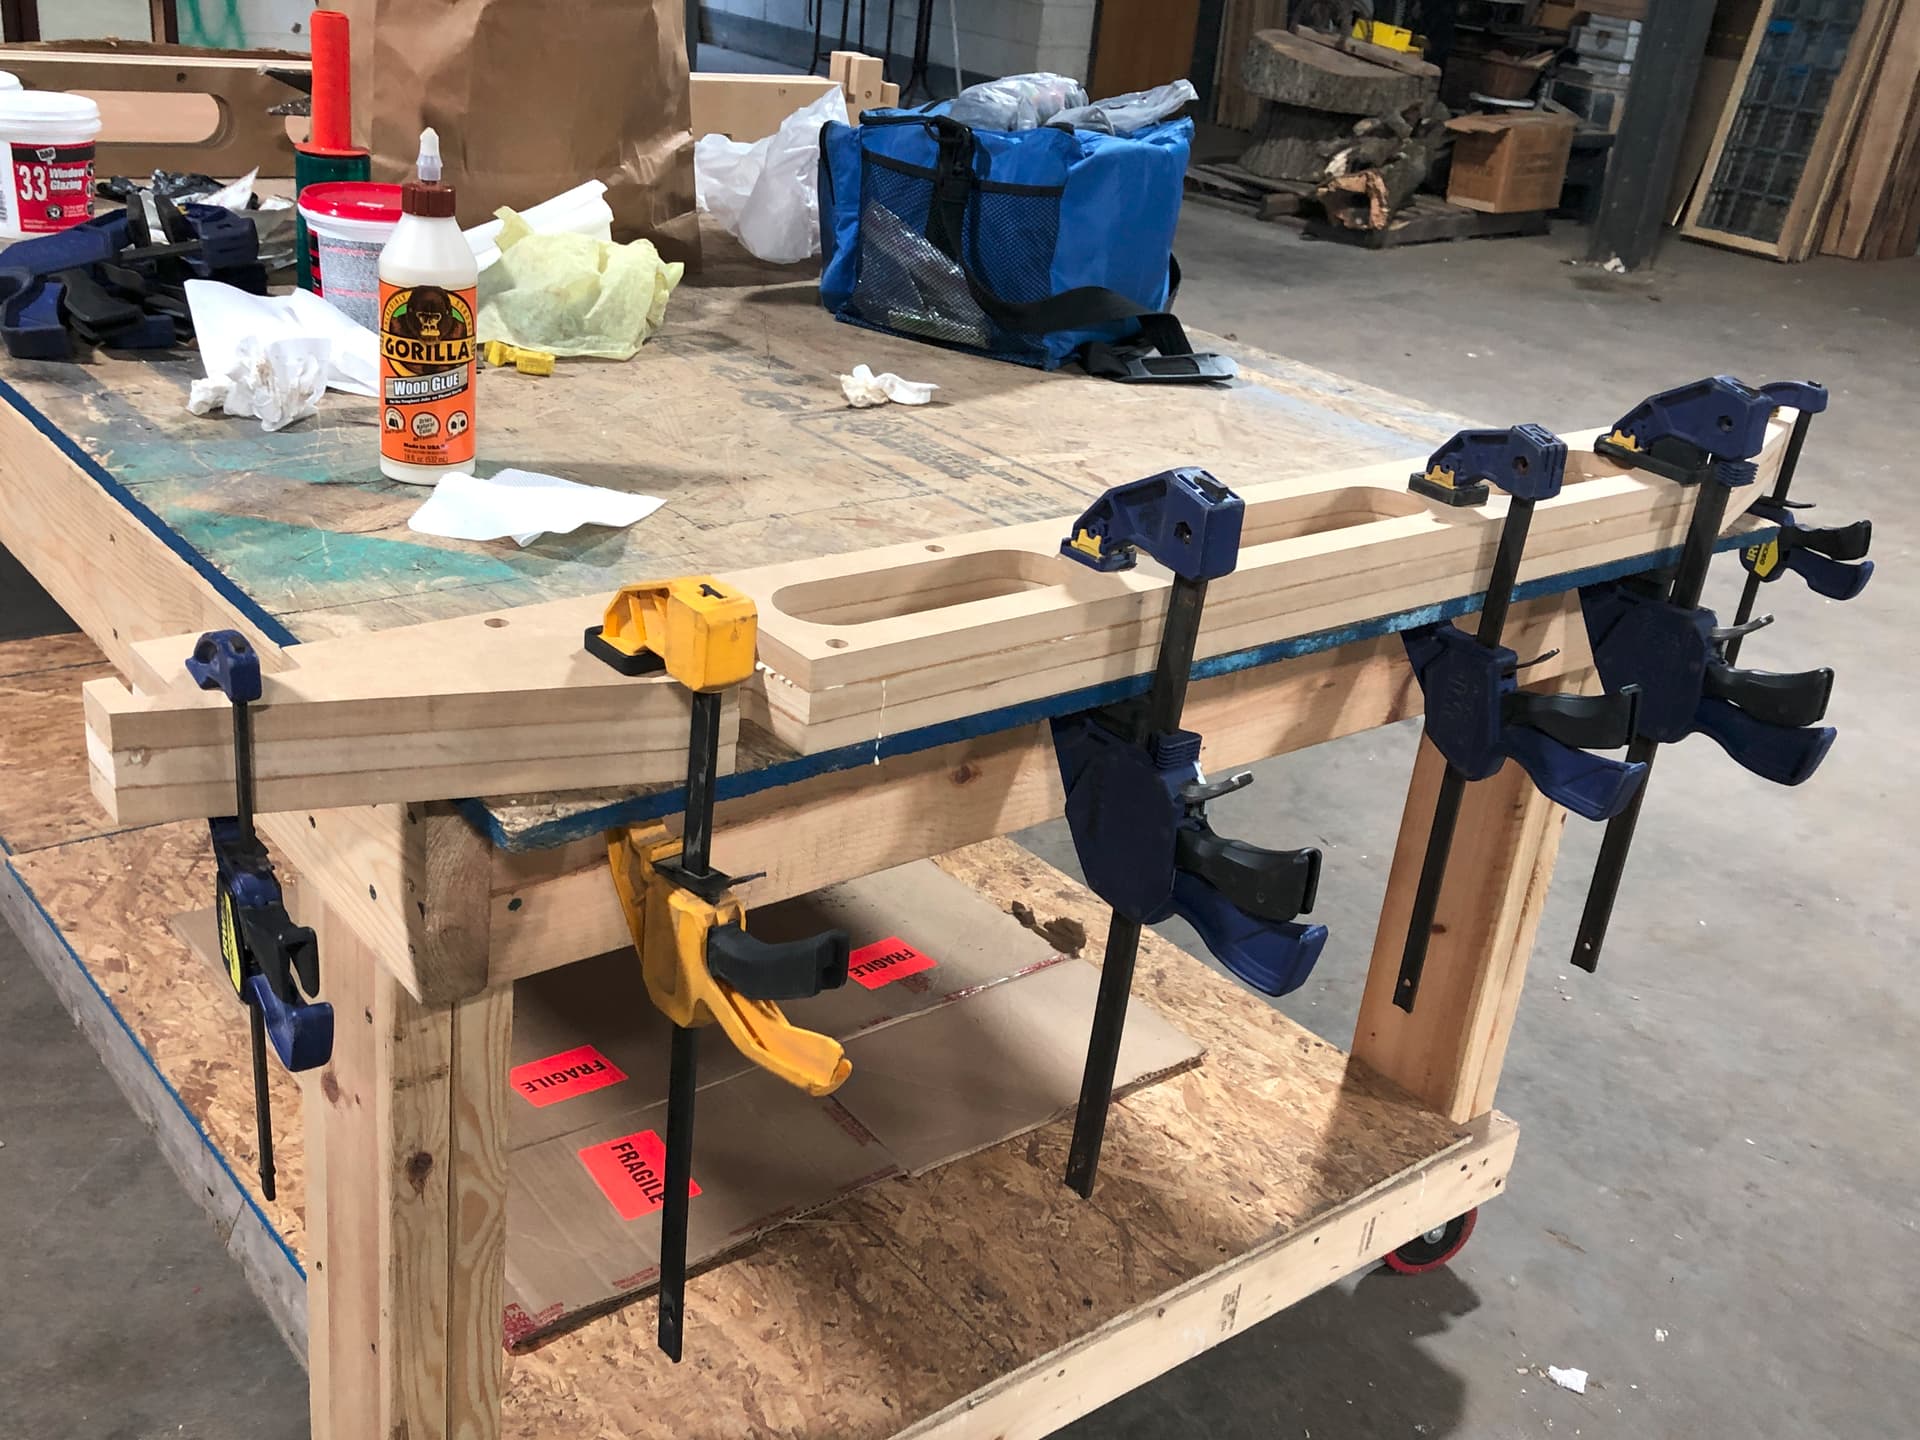
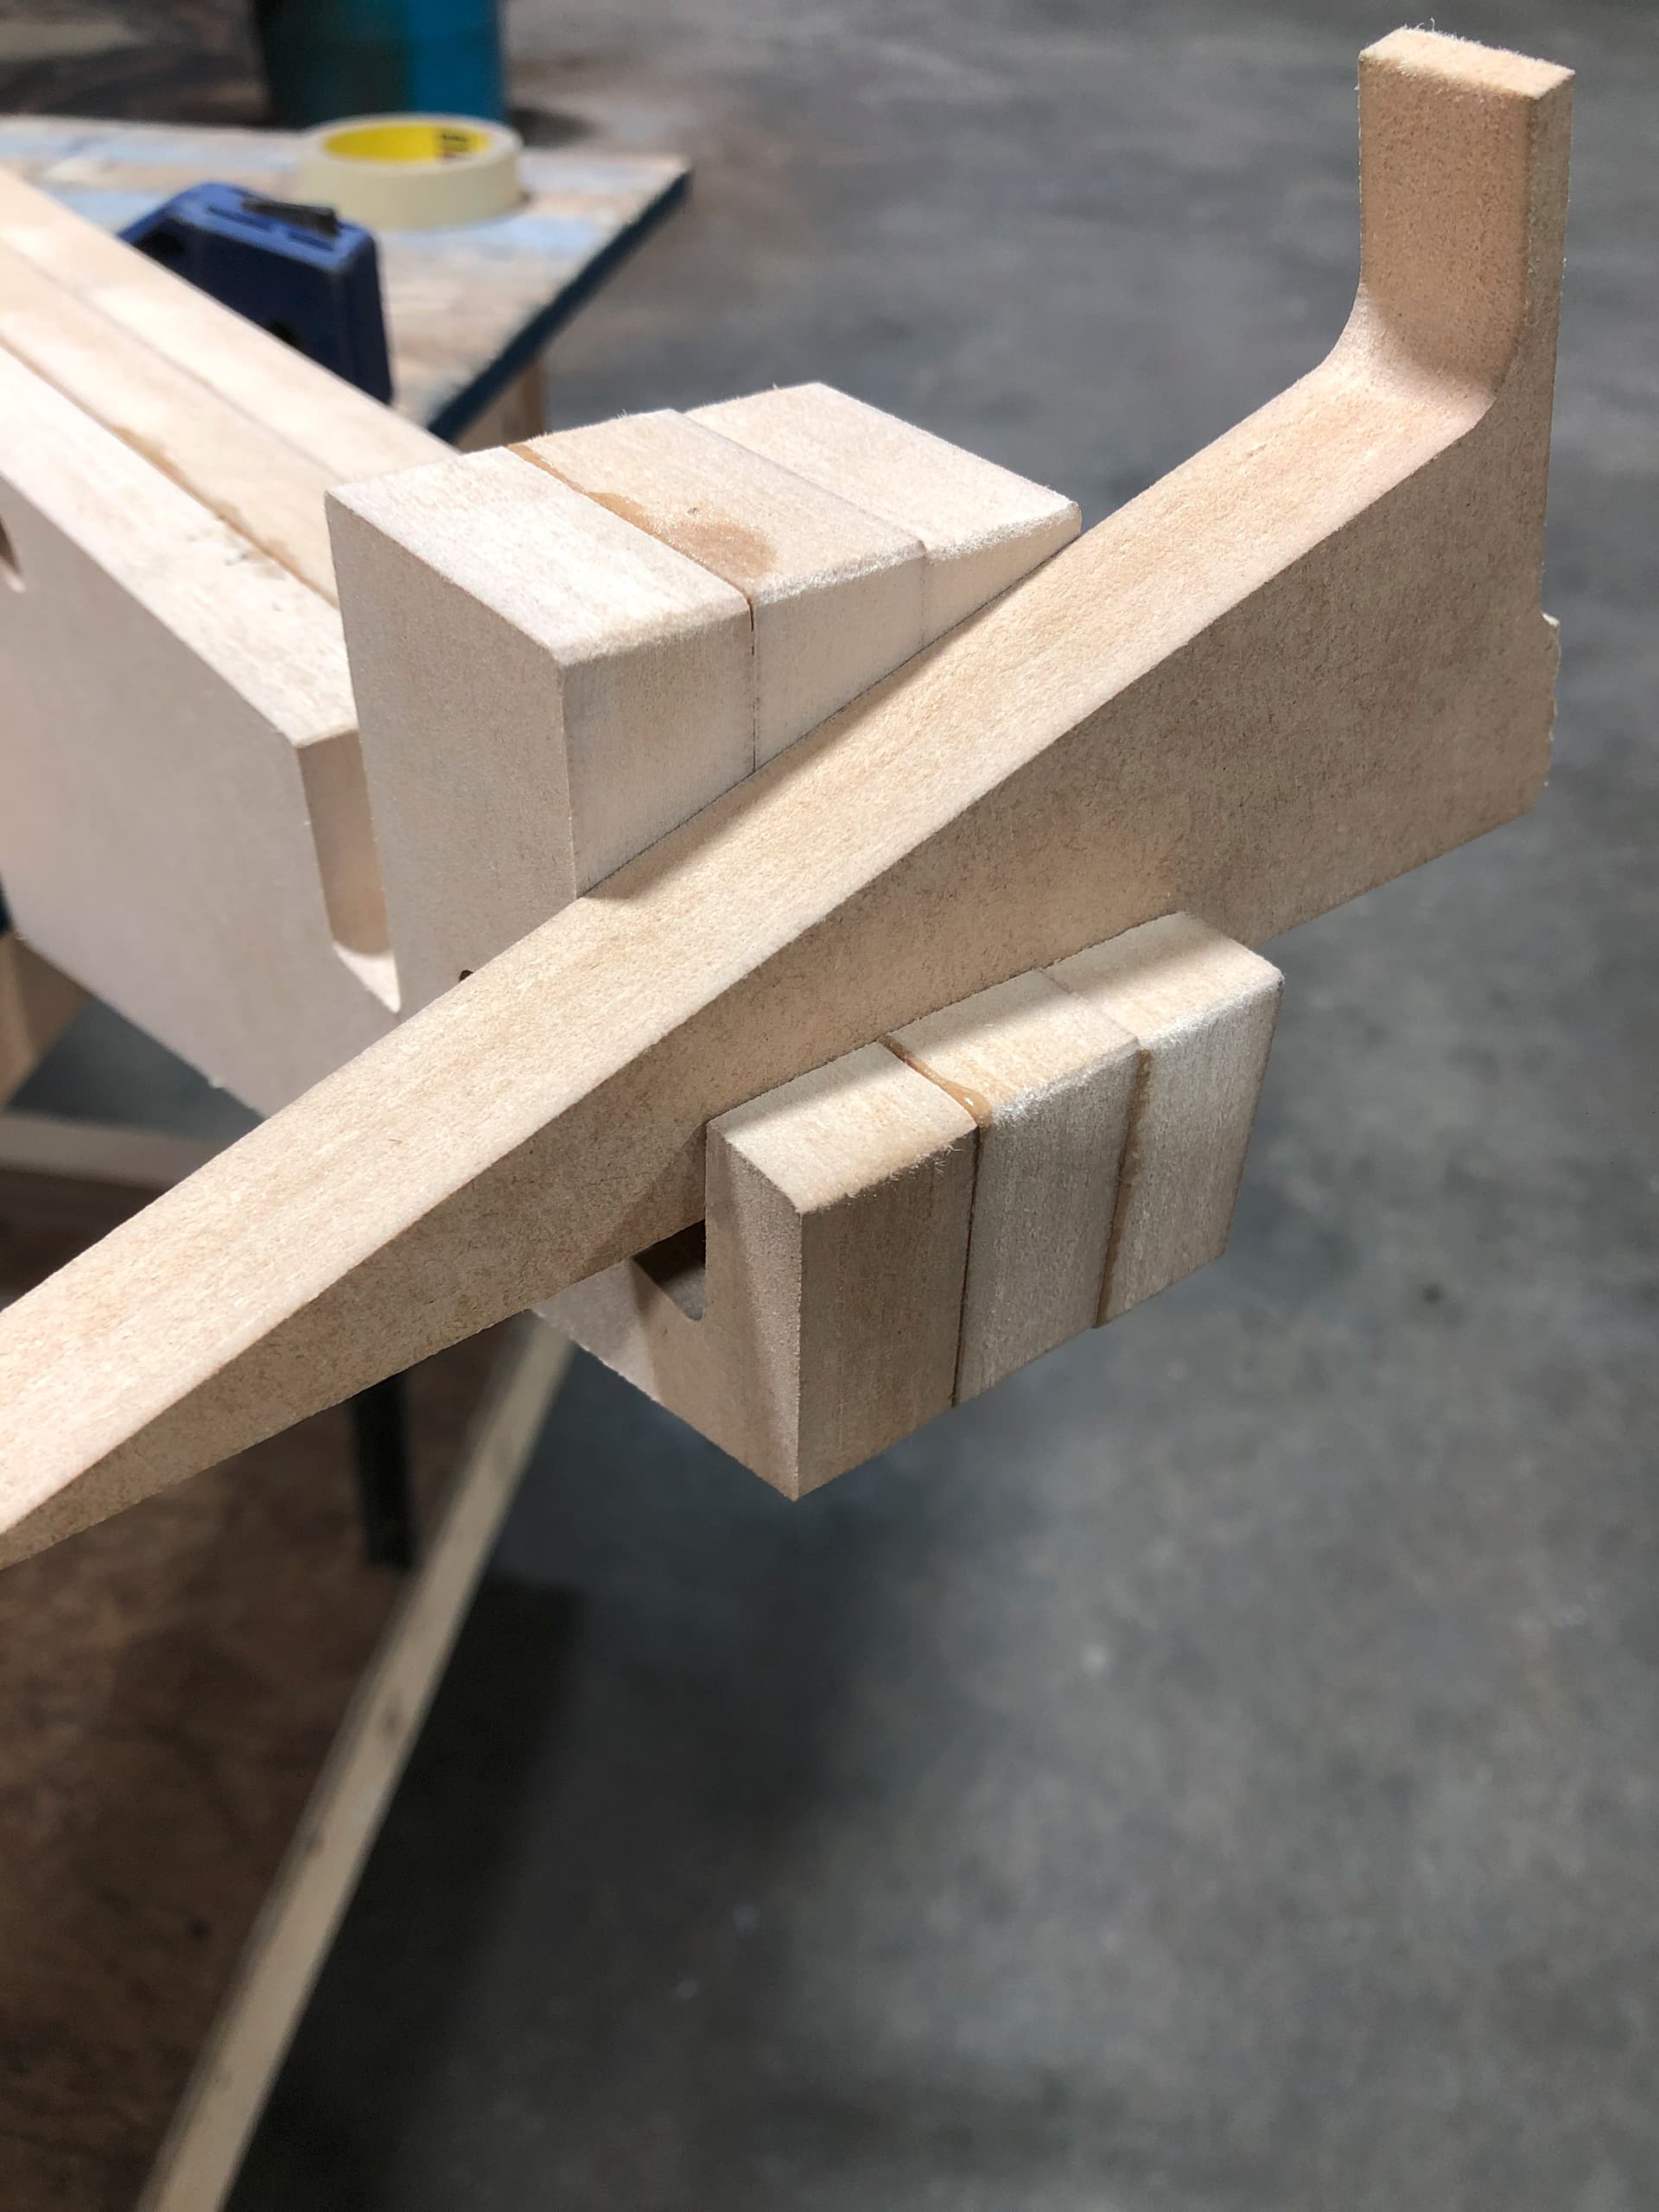
I got the rail parts built, and the cradle pieces sanded down to fit the rails.
My buddy and I got everything back to my house, and into my basement late on a friday night… about 3 weeks ago. I’m super excited because i’m going to get up Saturday morning and start putting the table together and making sure everything fits, etc… So i head into my basement to grab something out of my freezer. I walk past the table piece, which is leaning up against an old CRT TV… Not sure if it was the wind of me walking by or what… but i opened the freezer and hear ‘BLAM’ behind me… I turn around and see one of the cradles smashed into 3 pieces…
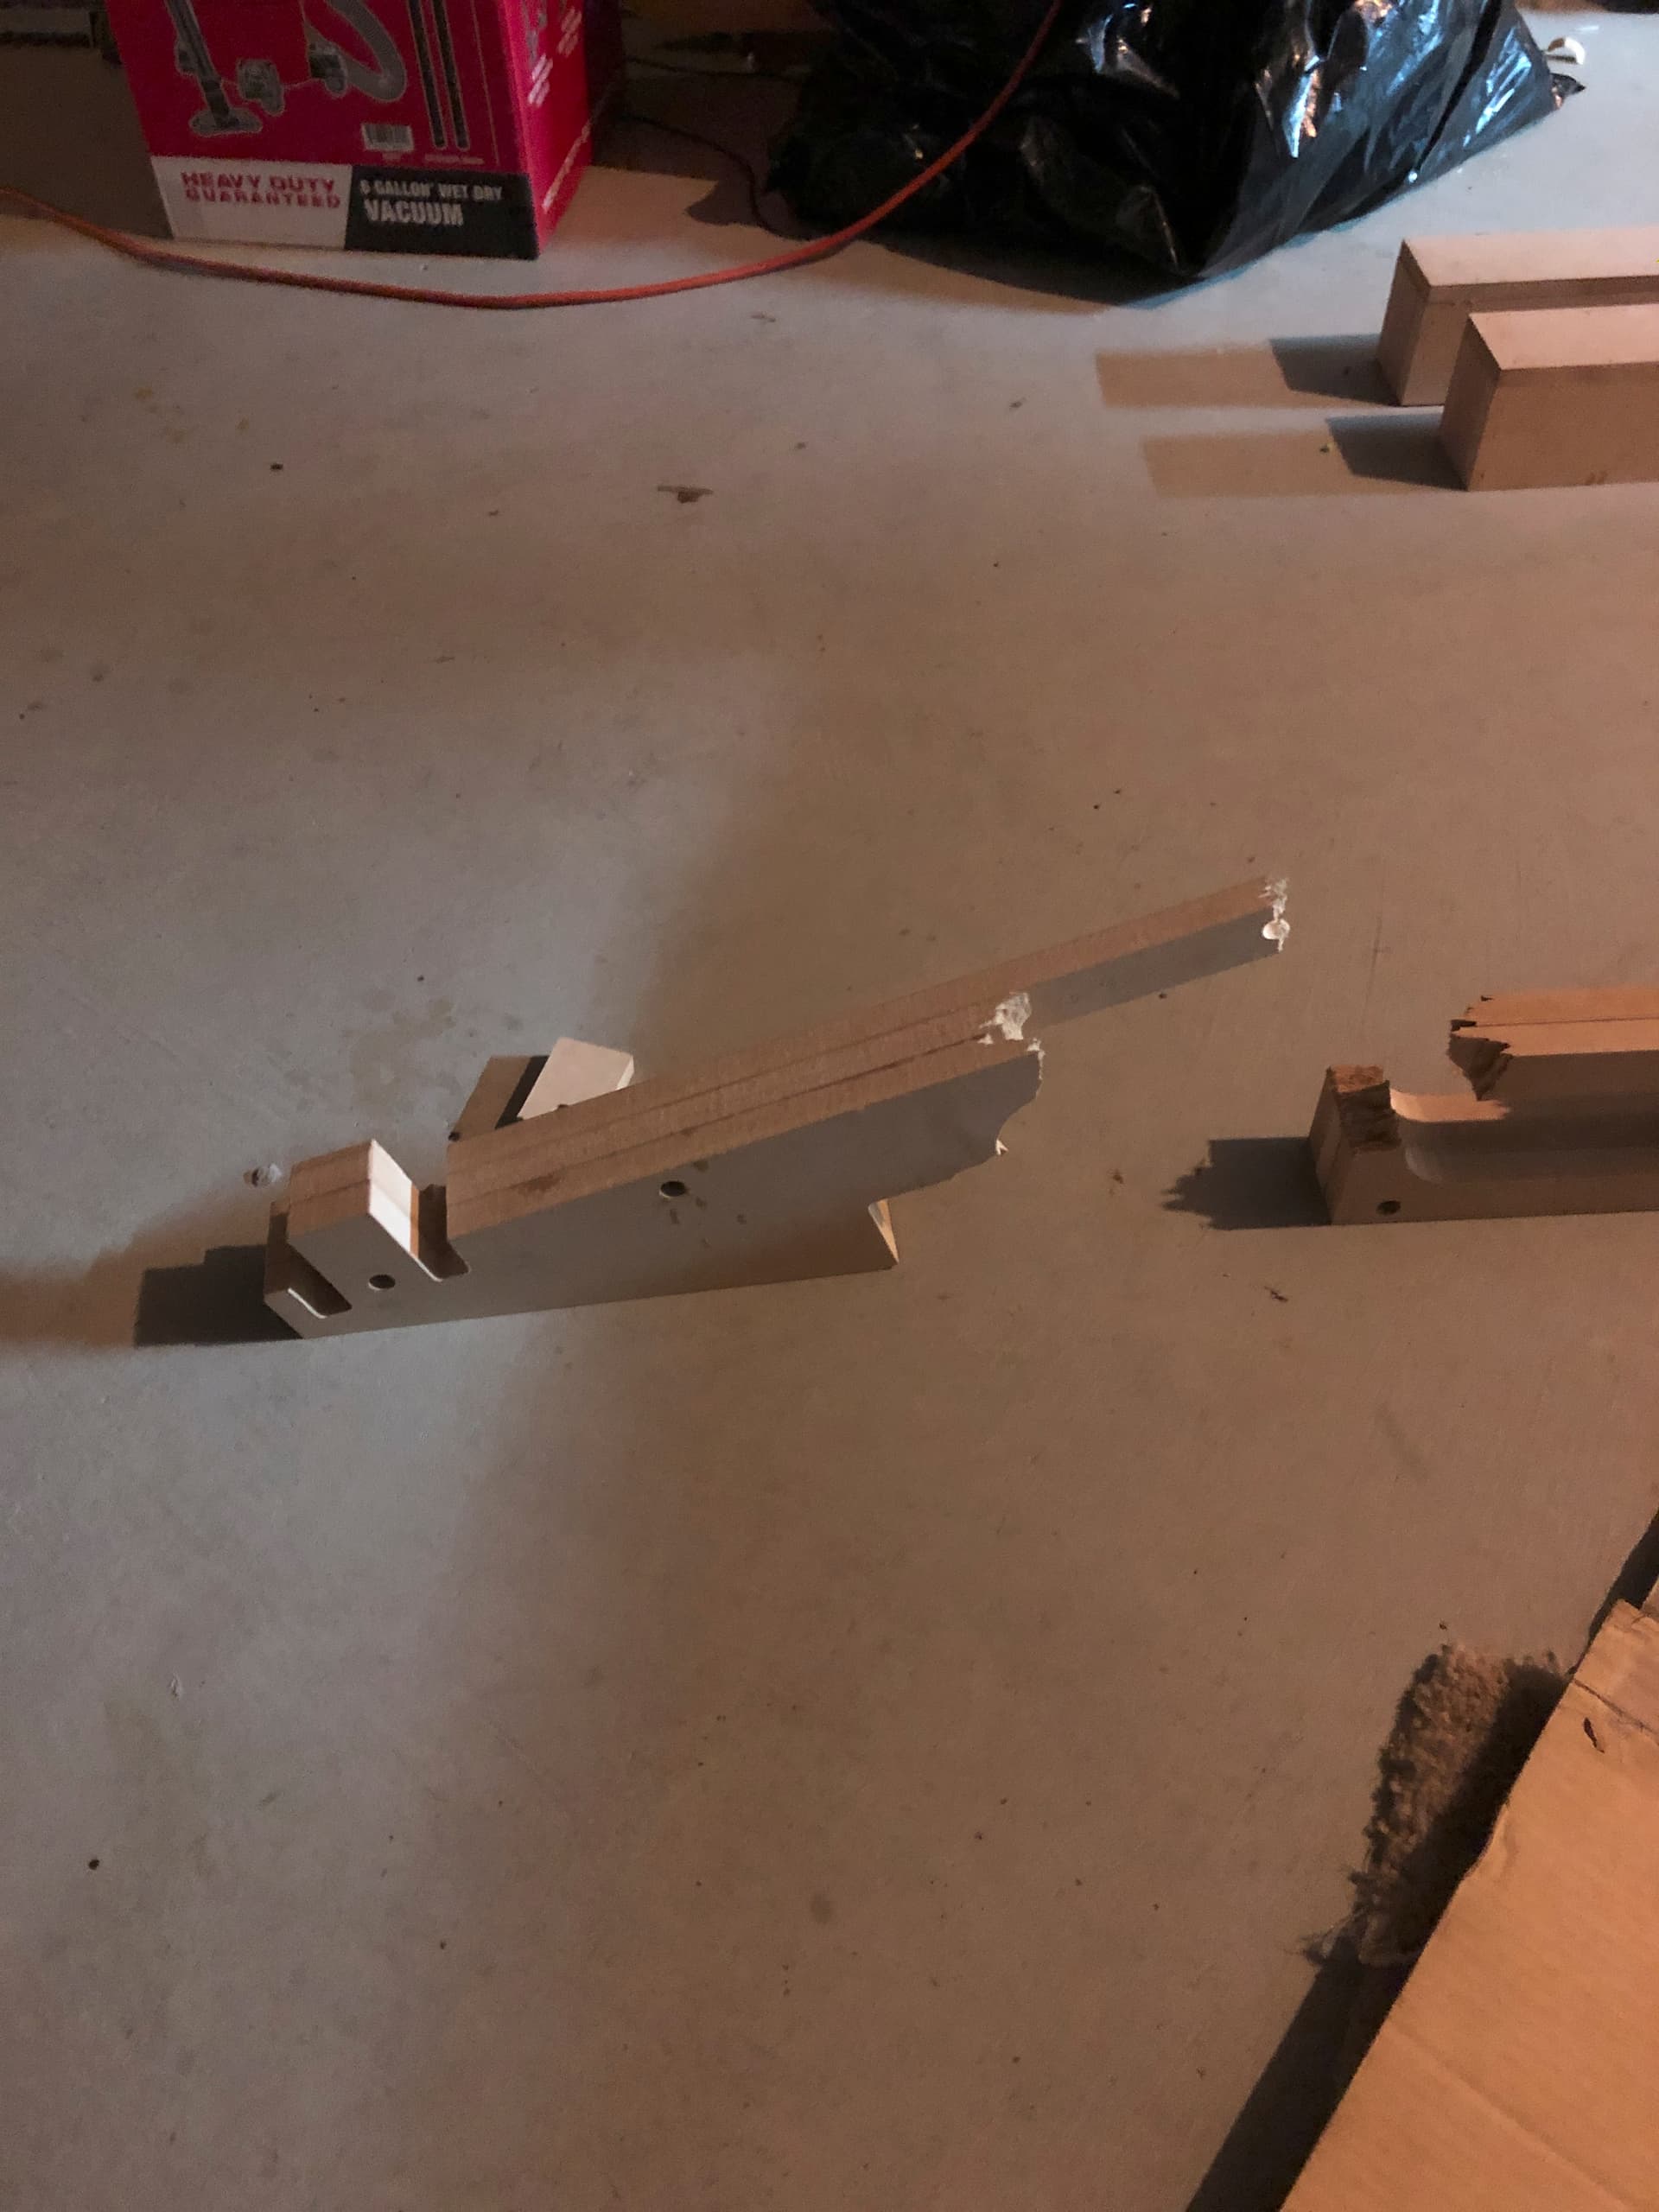
I couldn’t even believe what i was looking at. My best laid plans turning around and kicking me right in the junk. All i could do is the ‘silent rage quit’, and i left everything right where it was… turned off the lights… and went to bed.
So then i had to deal with all the same transportation/scheduling/precipitation issues from before AGAIN… Got new cradle pieces cut, laminated, and sanded… Got everything back to my house and started building the table.
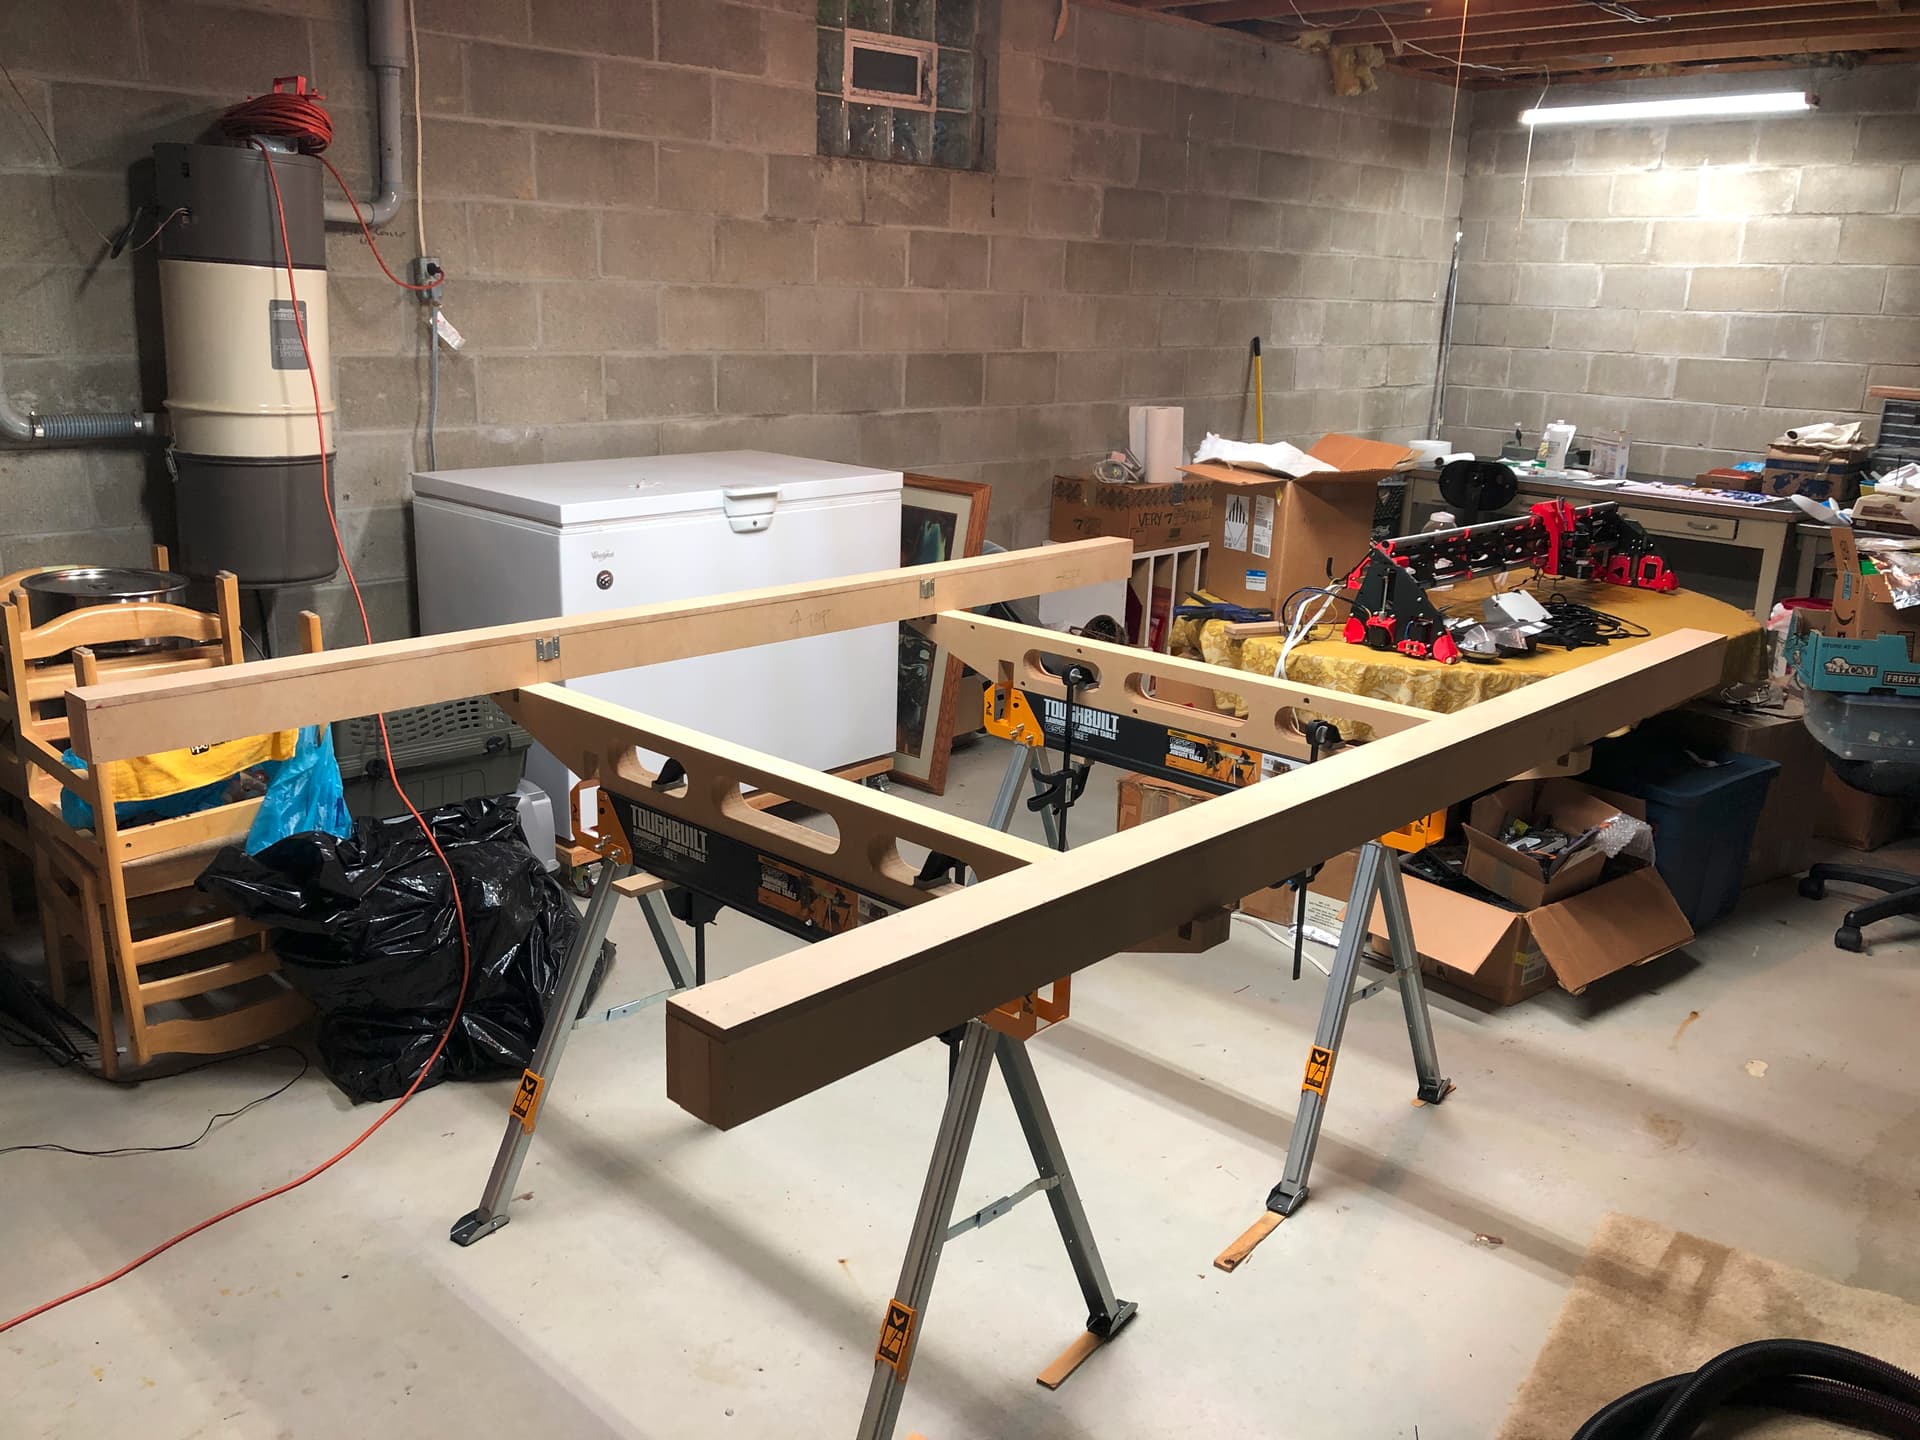
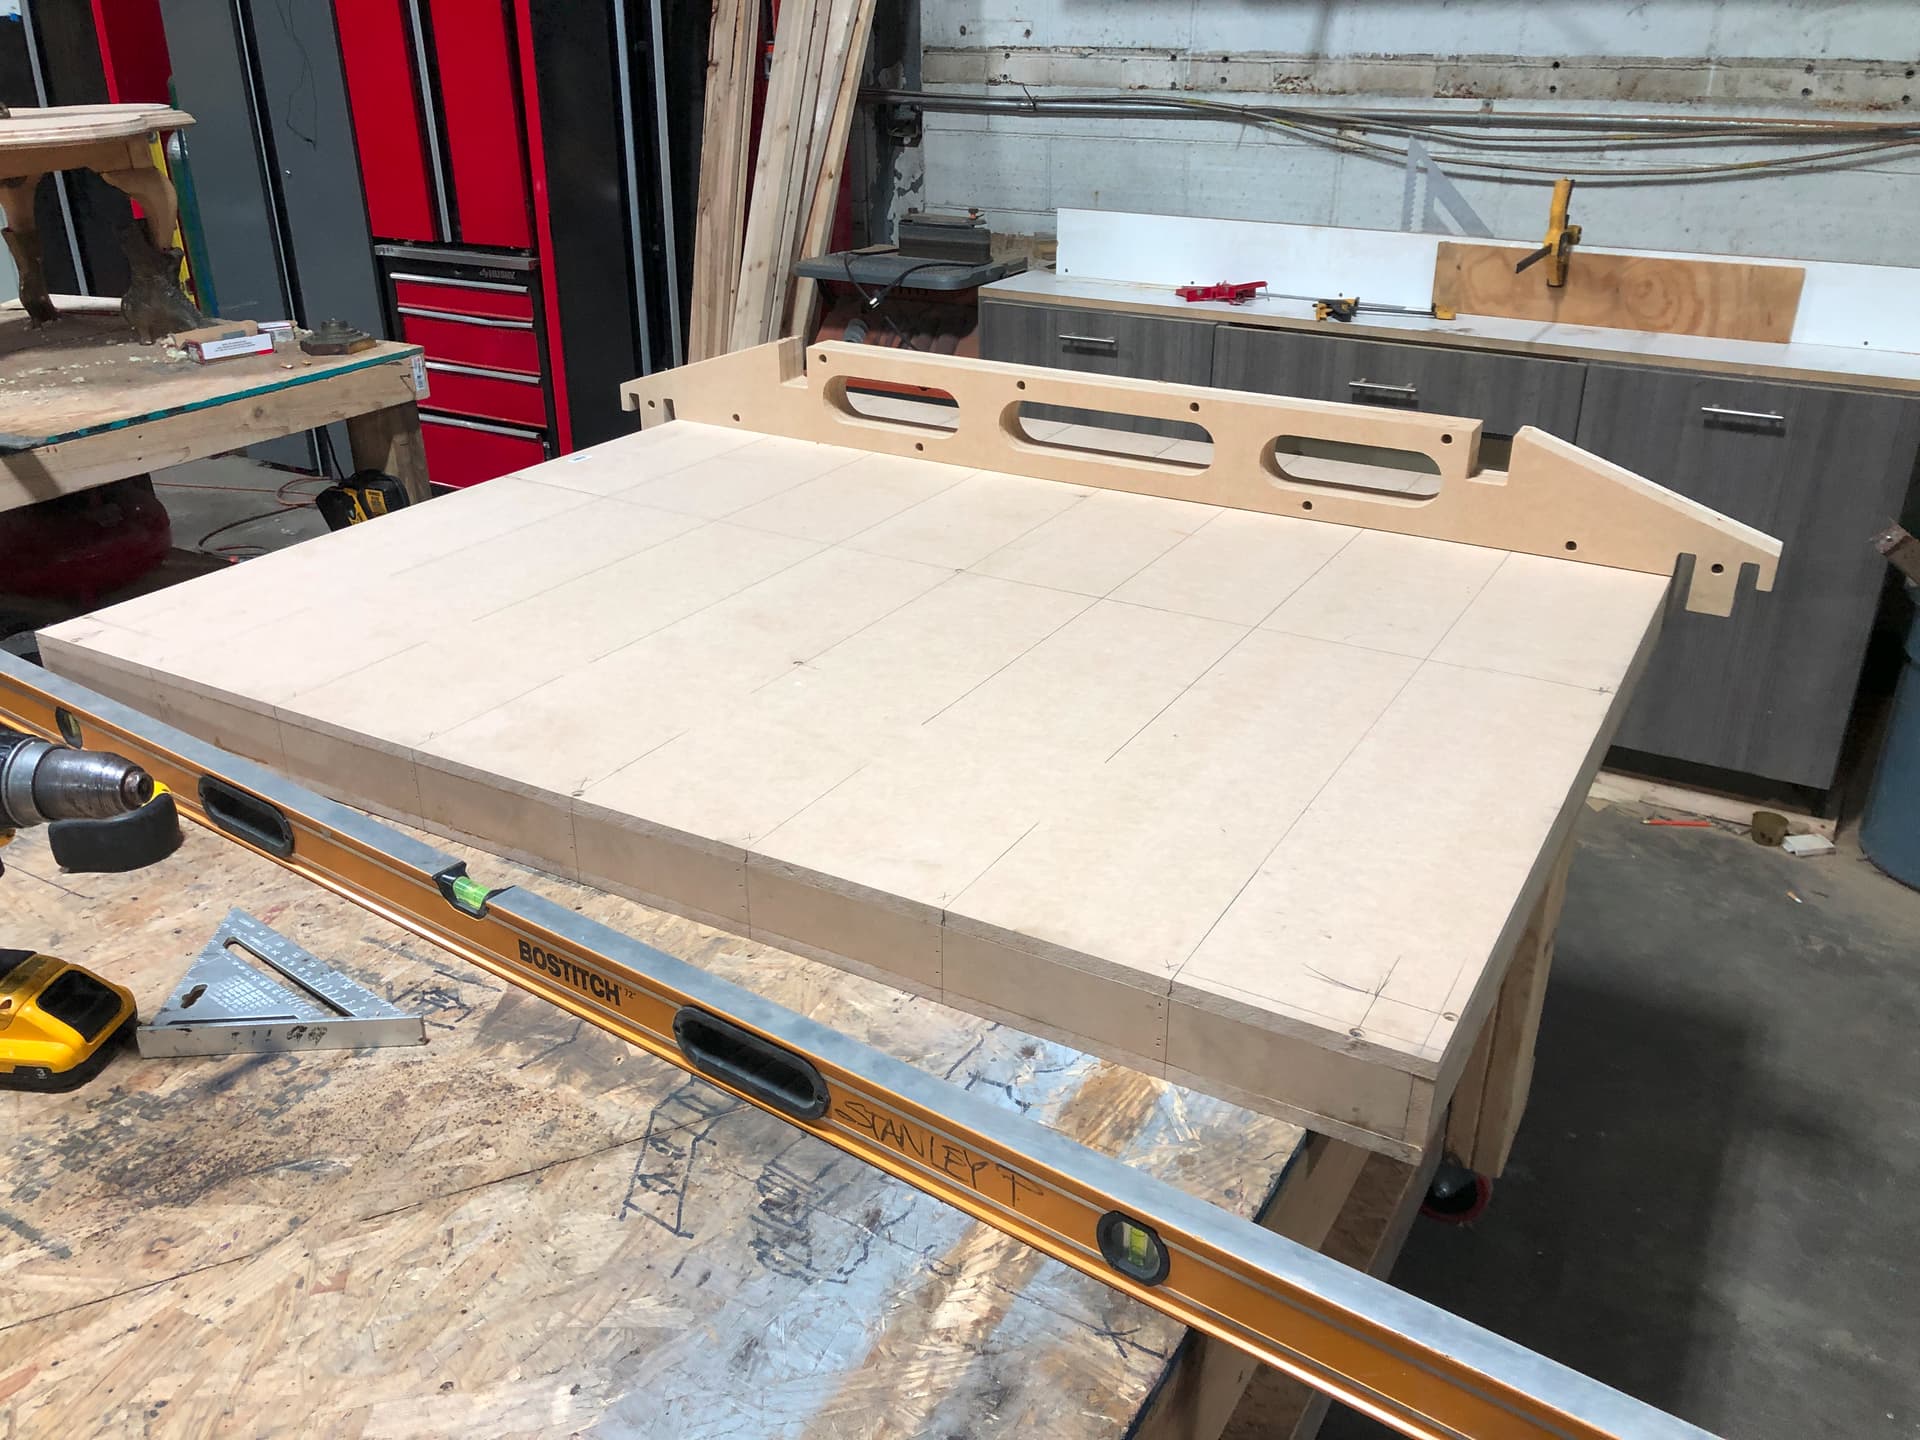
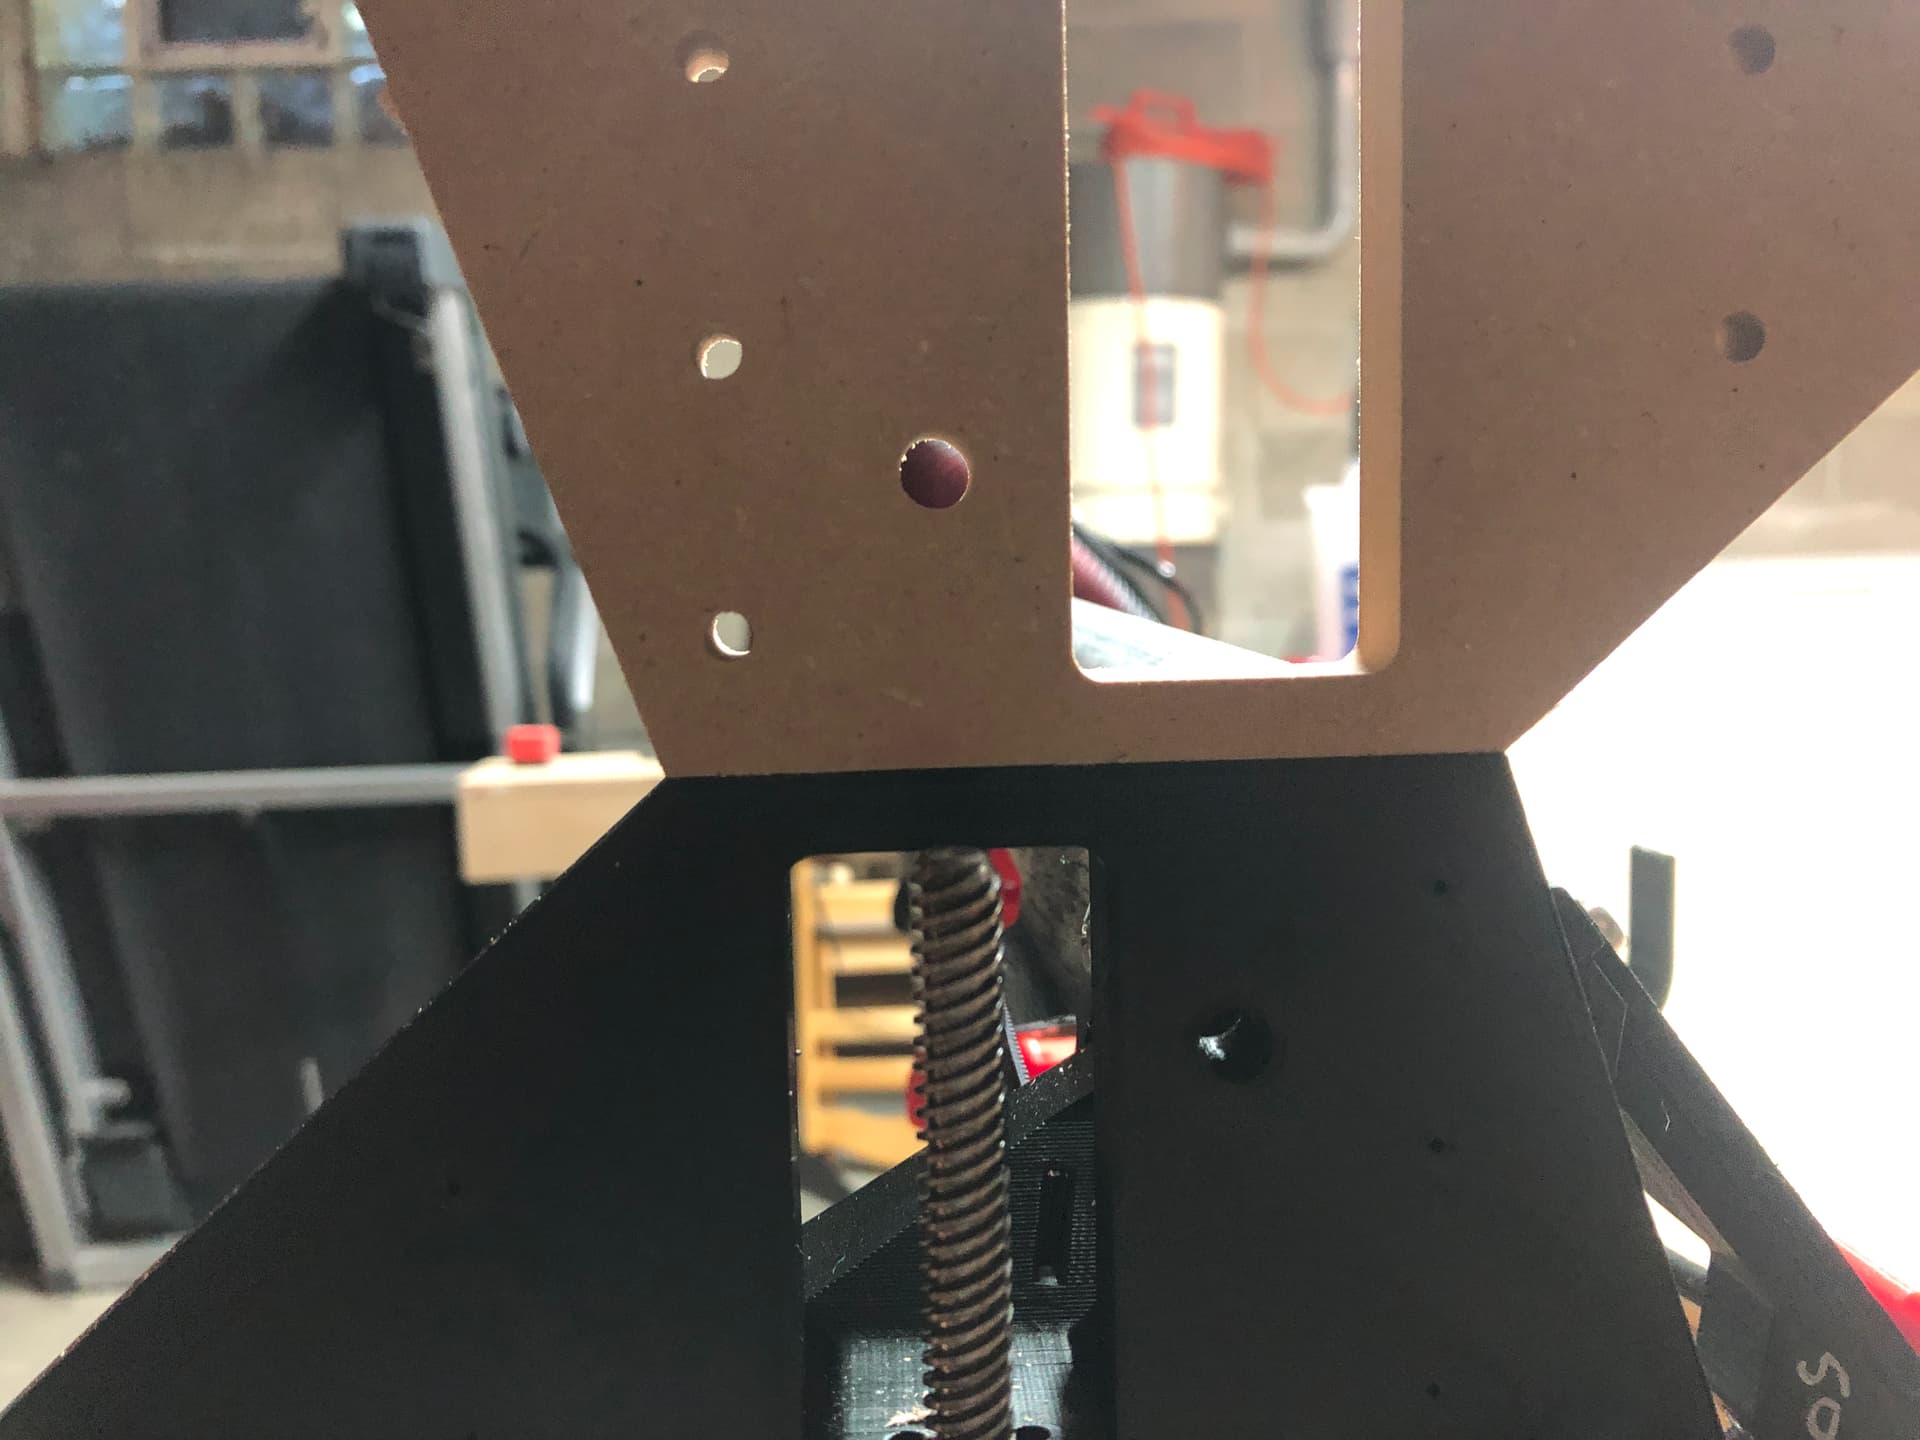
AND, just wanted to make sure i didn’t massively screw up a measurement at some point… Looks good so far.

When i was measuring out the belt cleat and EMT mounts, i realized i needed another 2 inches or so for the belt blocks, so i laminated some EMT together and made some ‘ears’. Glued and attached w/ some 3" screws. Solid.

i got the EMT attached, and things still looking excellent.
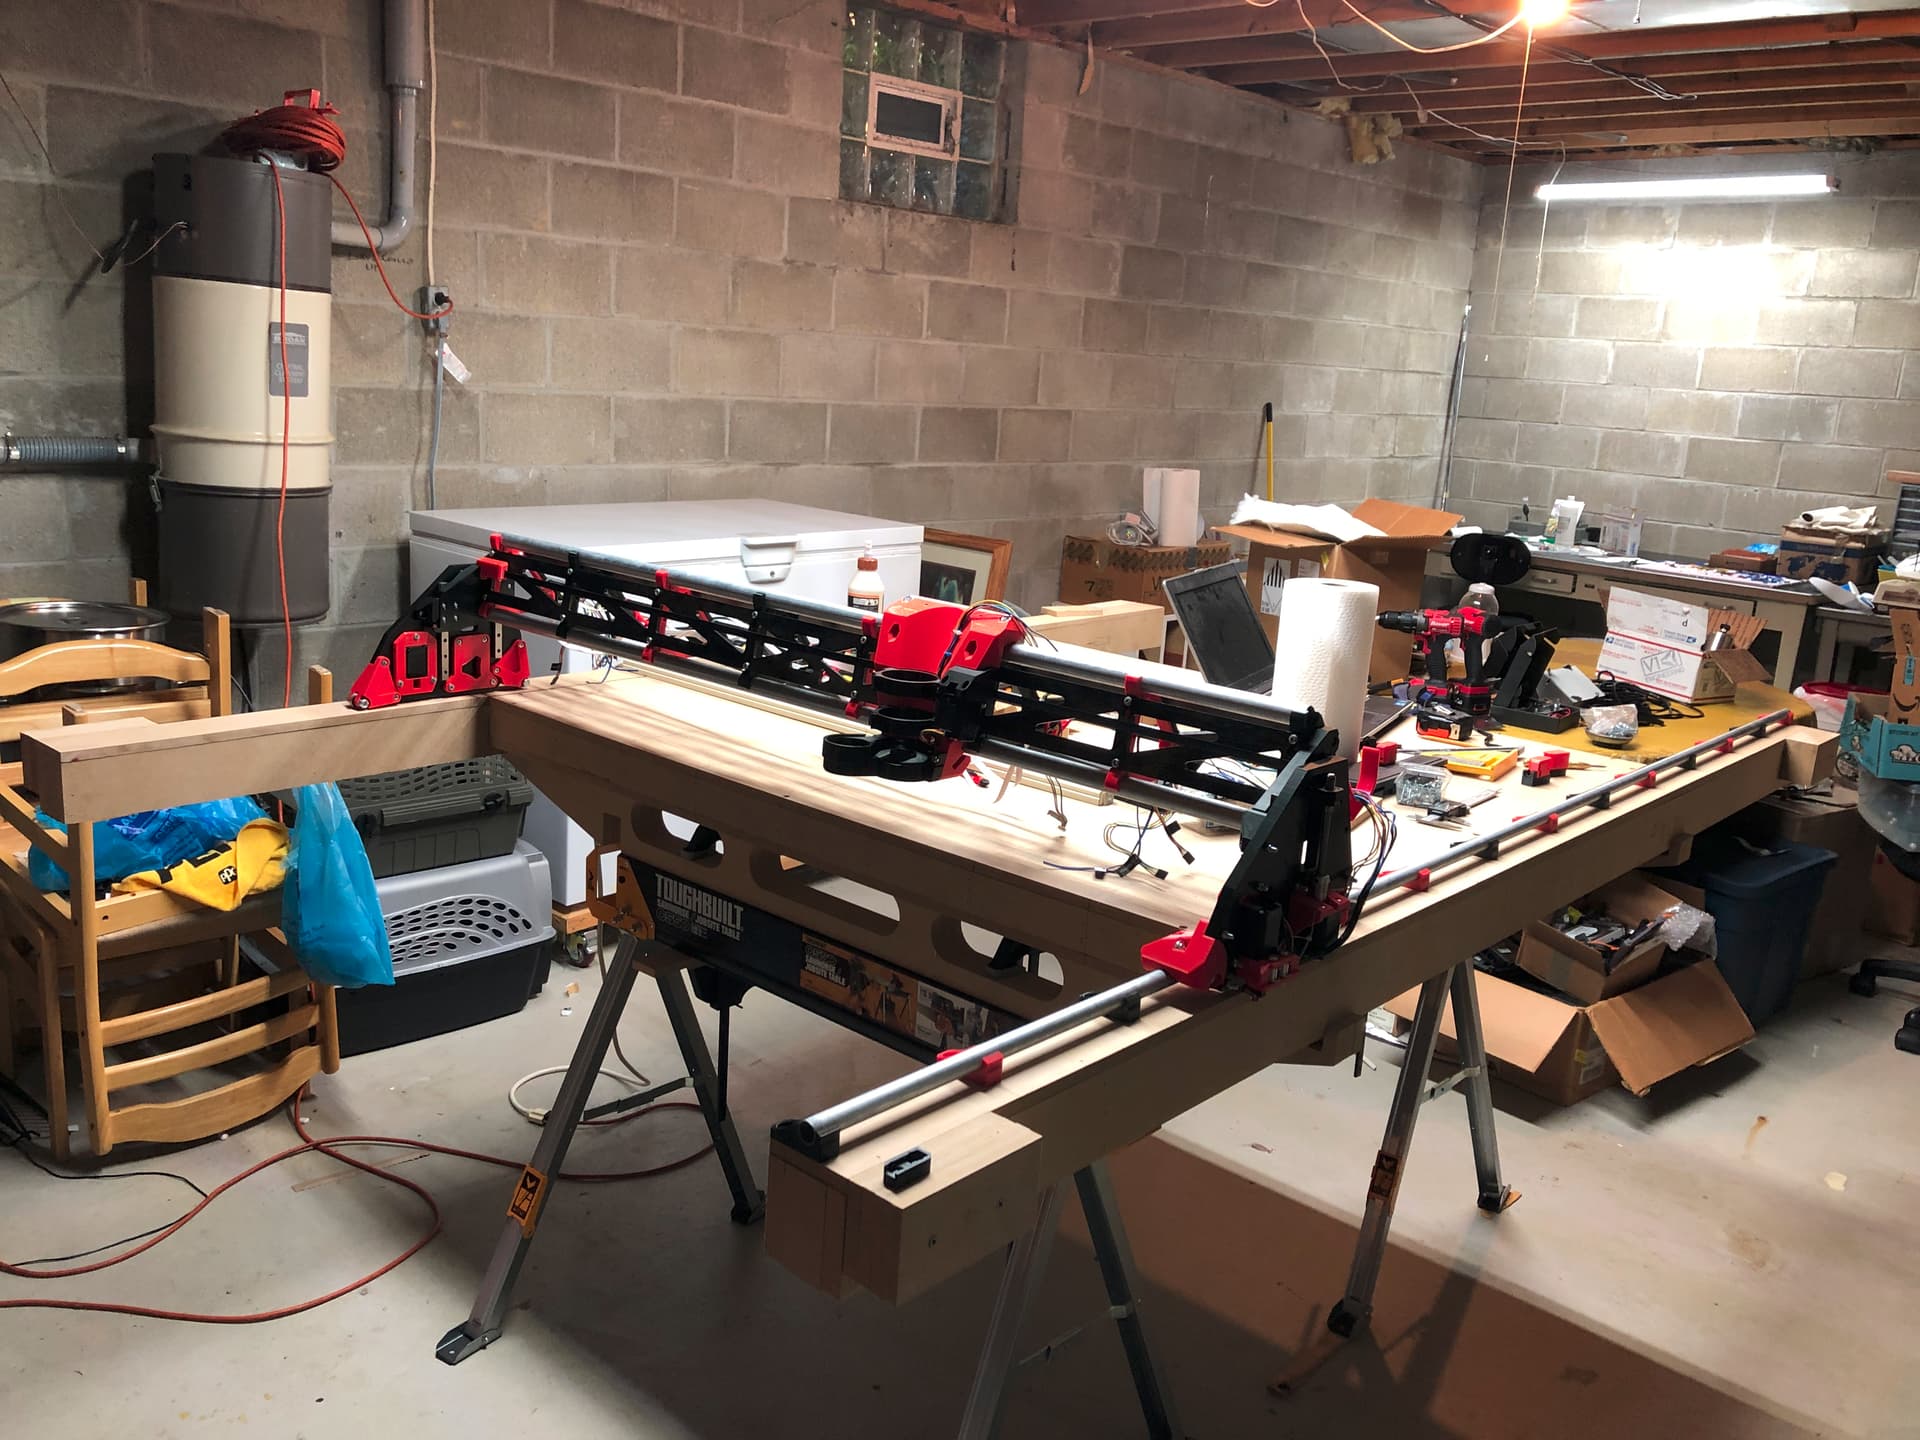
So now i’m in the middle of wiring everything up. I’m hoping i’ll have this sucker moving by the weekend.
6 Likes
That thing is insane! Awesome craftsmanship! The time in that table!!!
2 Likes
Impressive! Great job.
1 Like
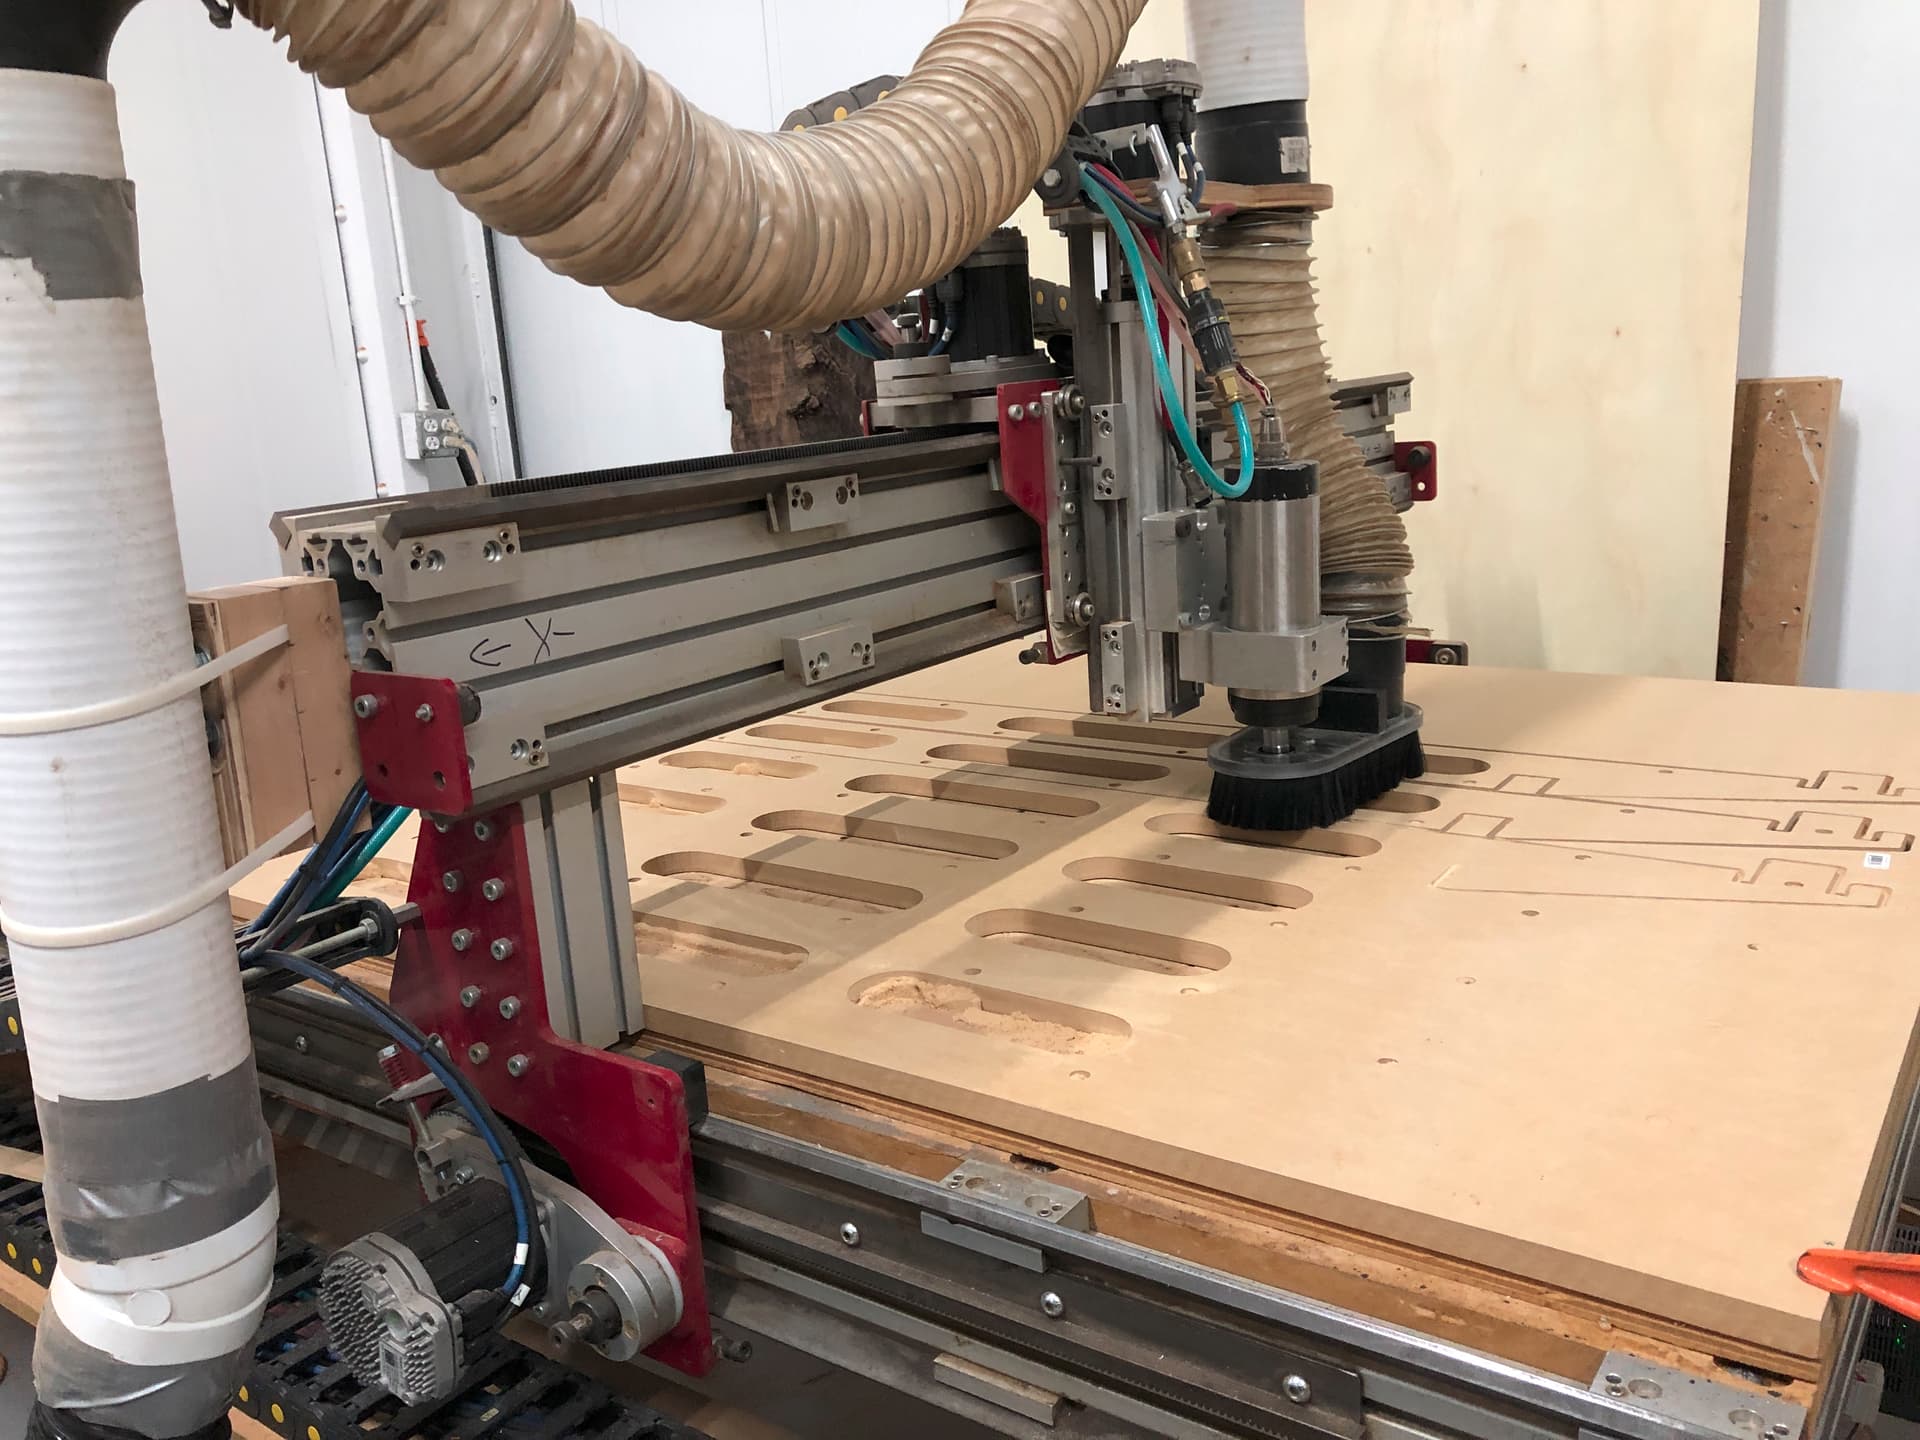
Success!

Zip tied sharpie was a little wonkily attached, so the cross looks a little trashy… but that was the pen moving, not the machine doing something wrong.
This is great!
8 Likes
Welcome to the party!
2 Likes
Oh yeah!
2 Likes
So two oddities i noticed… Maybe i just missed something in the documentation…
1.) If i auto home from anywhere past about half way down the table, it will fail and ask for reset. Is this something like i need to set bed size in Marlin and re-compile?
2.) When the above happens, if i hit the reset button on the TFT35, i’ll lose power to the Z stepper only on the one side. This causes the gantry to crash down… not a problem with just a sharpie, but definitely will be a problem if there’s a tool in there. Any idea what’s going on here?
1, yes. Or just drive it a bit closer before homing. I end all my jobs at 0,0 so I am never far from home.
1 Like
-
The bed size in default V1 firmware is defined as 600mm by 600mm. It will fail if you try to home it from outside of that range. Yes, you can redefinine it and recompile the firmware, but so long as you move to within this area, you should be able to home just fine.
-
Actually all the motors lose power, but it probably only drops on the side that the router is on. You want to avoid this with anything under the tool, of course.
Like Ryan said, ending jobs at 0,0 probably takes care of this. In the Estlcam basics page, you’ll see this is set up to end the job above the origin point. I do have times when my origin point is outside of that range, like when cutting multiple copies of a job in various places on a sheet of wood, but I will drive the machine close to the origin using the LCD before homing it again. Een though in my case, my firmware will home the machine from anywhere that it can physically travel to, I still drive the machine closer, because the homing motion is much slower than my rapids motion.
3 Likes
1.) Okay, that definitely makes sense. I may still recompile just so i have that ability under my belt, but i appreciate the explanation. 
2.) This was actually without the router attached, and the core in the middle. It’s bizarre because it only happens if i use the reset button. If i just pull the AC power plug, everything stays put. I have a work around, so it’s not a huge deal… just strange behavior.
1 Like
I’ve noticed #2 also
Maybe some capacitors are supplying just a tiny bit of power to the steppers for a couple hundred milliseconds when pulling the plug, Vs immediate off when using reset, and that power is provides enough torque that the steppers don’t slip? So the gantry stays up?
I don’t know what I’m talking about- I’m a vaccine developing virologist, not an EE.
Congrats on the crown- looks great.
Now get it dusty
1 Like
1.) I changed bed size, recompiled, and re-flashed and now i’m able to home from anywhere on the table. Excellent.
2.) I also noticed once i did get the router mounted that this does indeed also happen if i just pull the power plug, and it is not confined to the one side… But this is now less of a problem for me since #1 is now sorted.
1 Like
It is advised to get in the habit of parking the machine after your job. It puts less stress on everything amd will save your endmills from chipping. I even have a parking gcode in the instructions that basically just homes all and sets the z down.
1 Like
Big update…
So i ended up re-wiring pretty much everything because i wasn’t happy with how it was behaving when the machine was moving around, especially at far edges. I ended up velcro strapping the X wiring harness to the vacuum tube, which seems to be working really well so far.
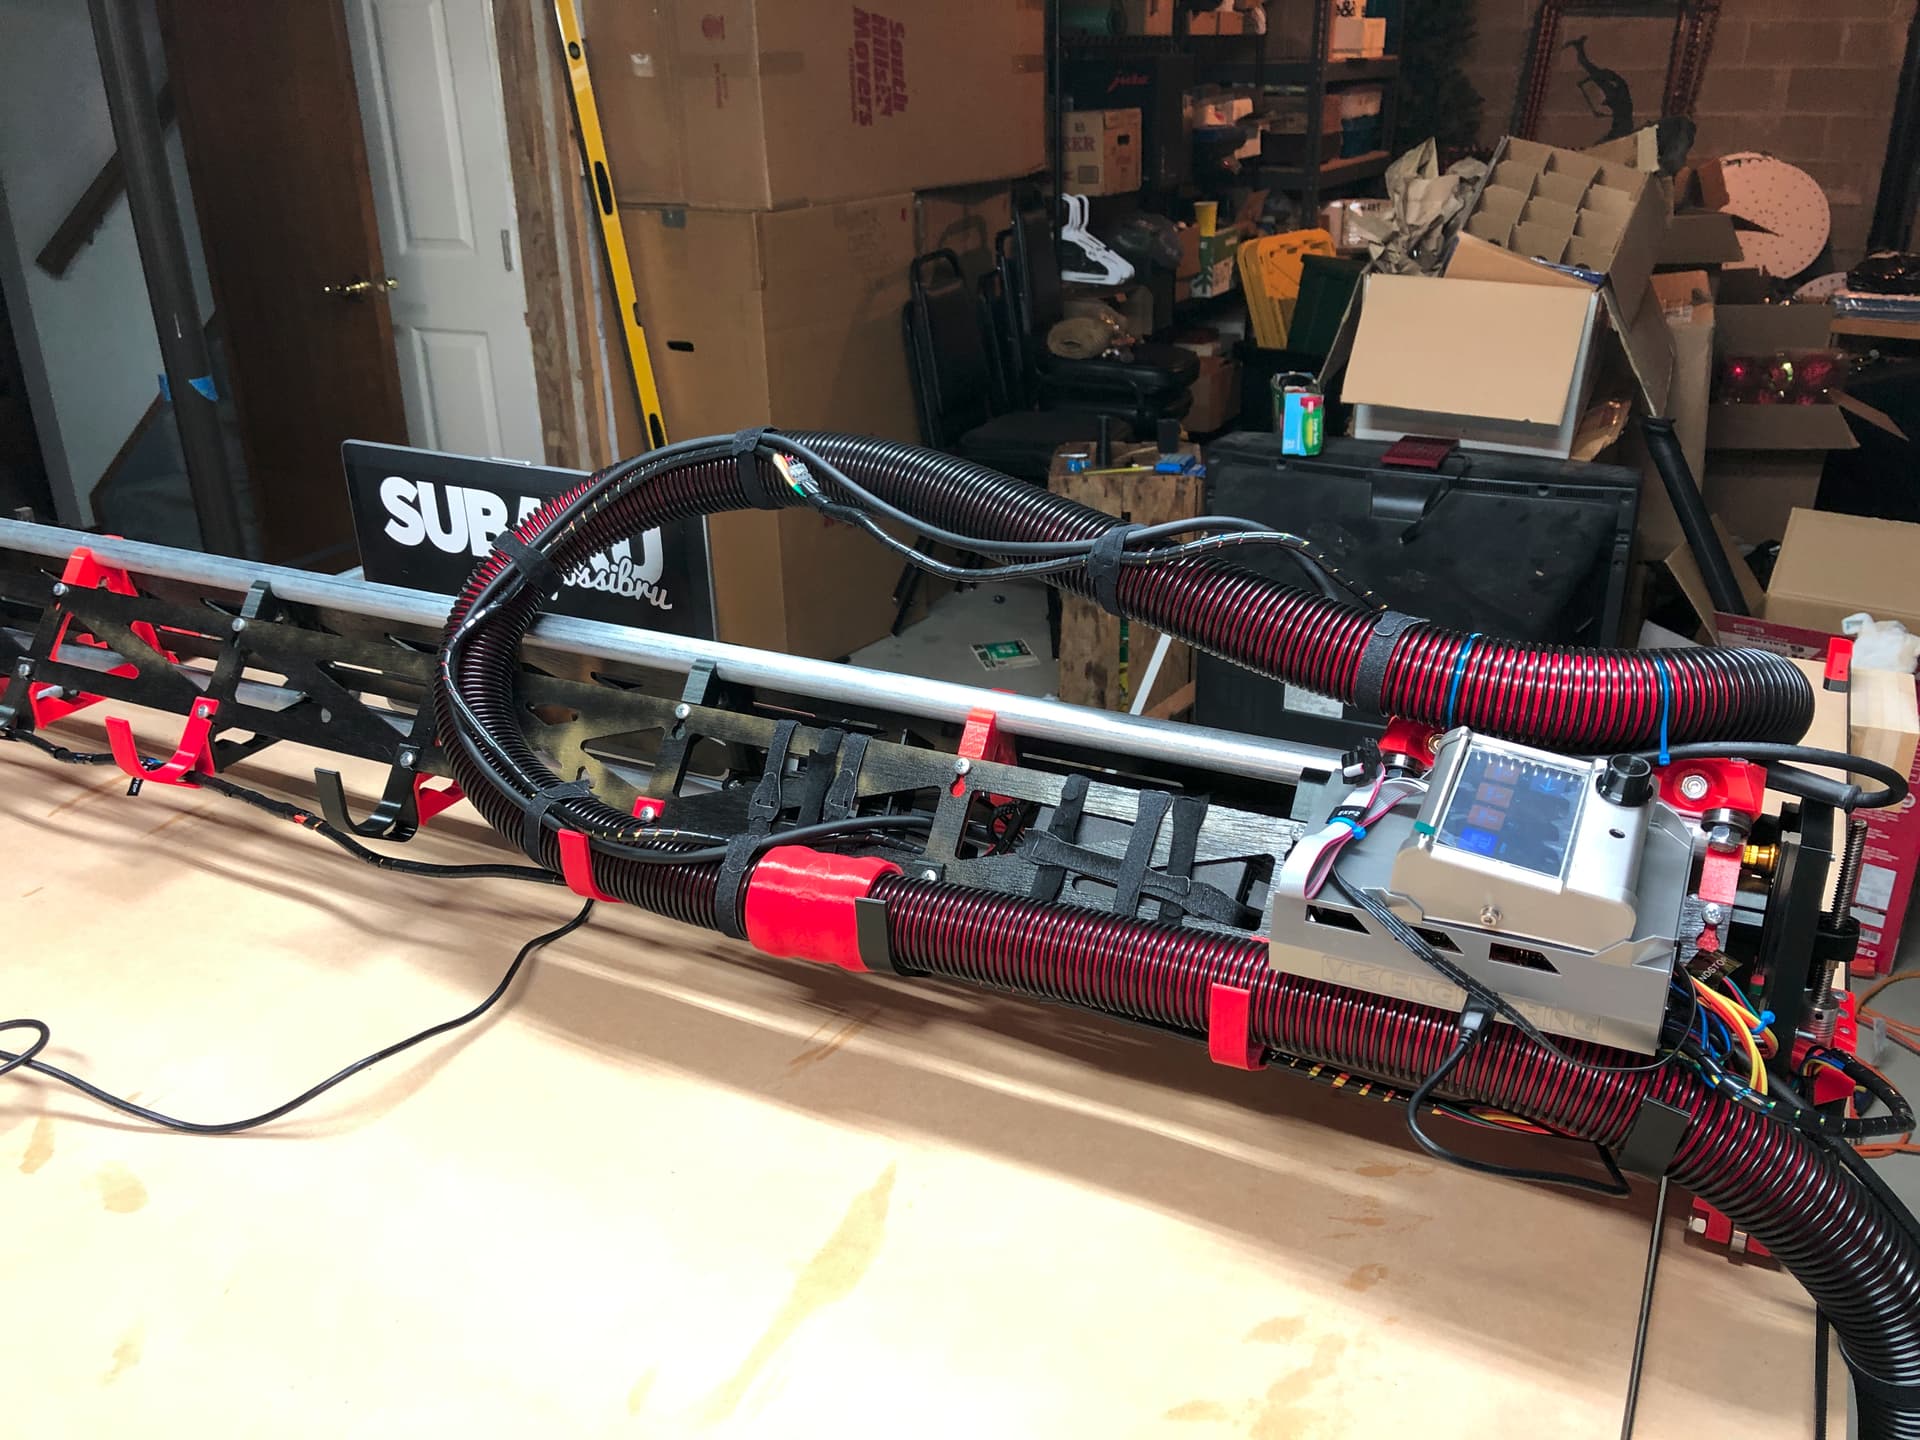
When i re-wired everything, i also ran another wire to the core with a JST plug for a detachable touch plate that i tossed together out of a copper clad PCB and an alligator clip i had laying around. Works great!
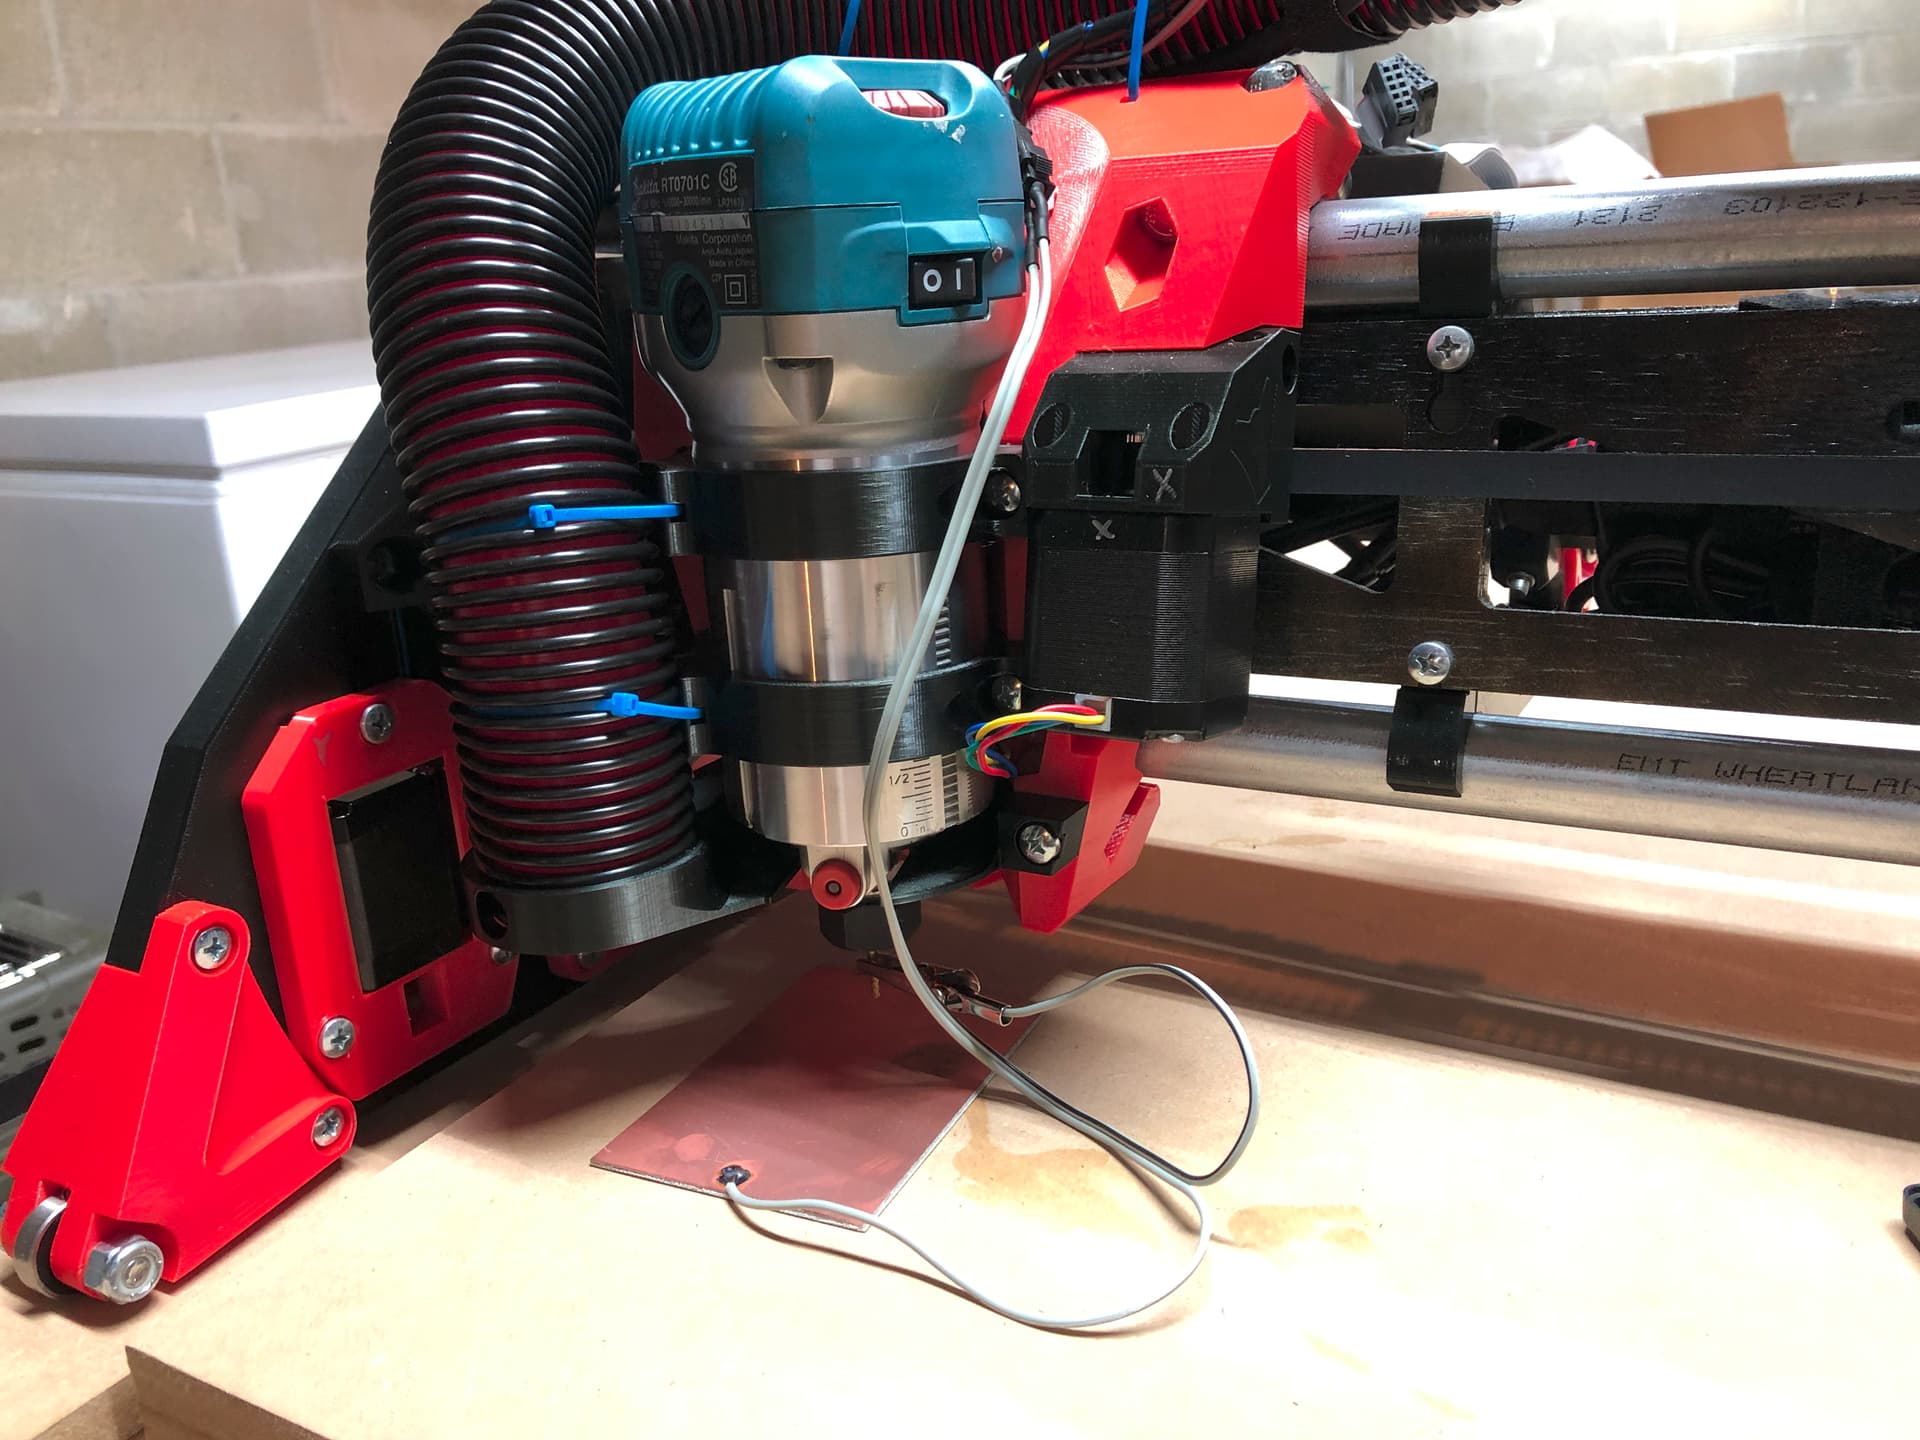
I also tossed an old Raspi 2B i had laying around in the gantry, and ended up cutting myself an access hole for the USB port into the case. I’m running the v1pi image from Jeffe and really liking CNC.js so far.


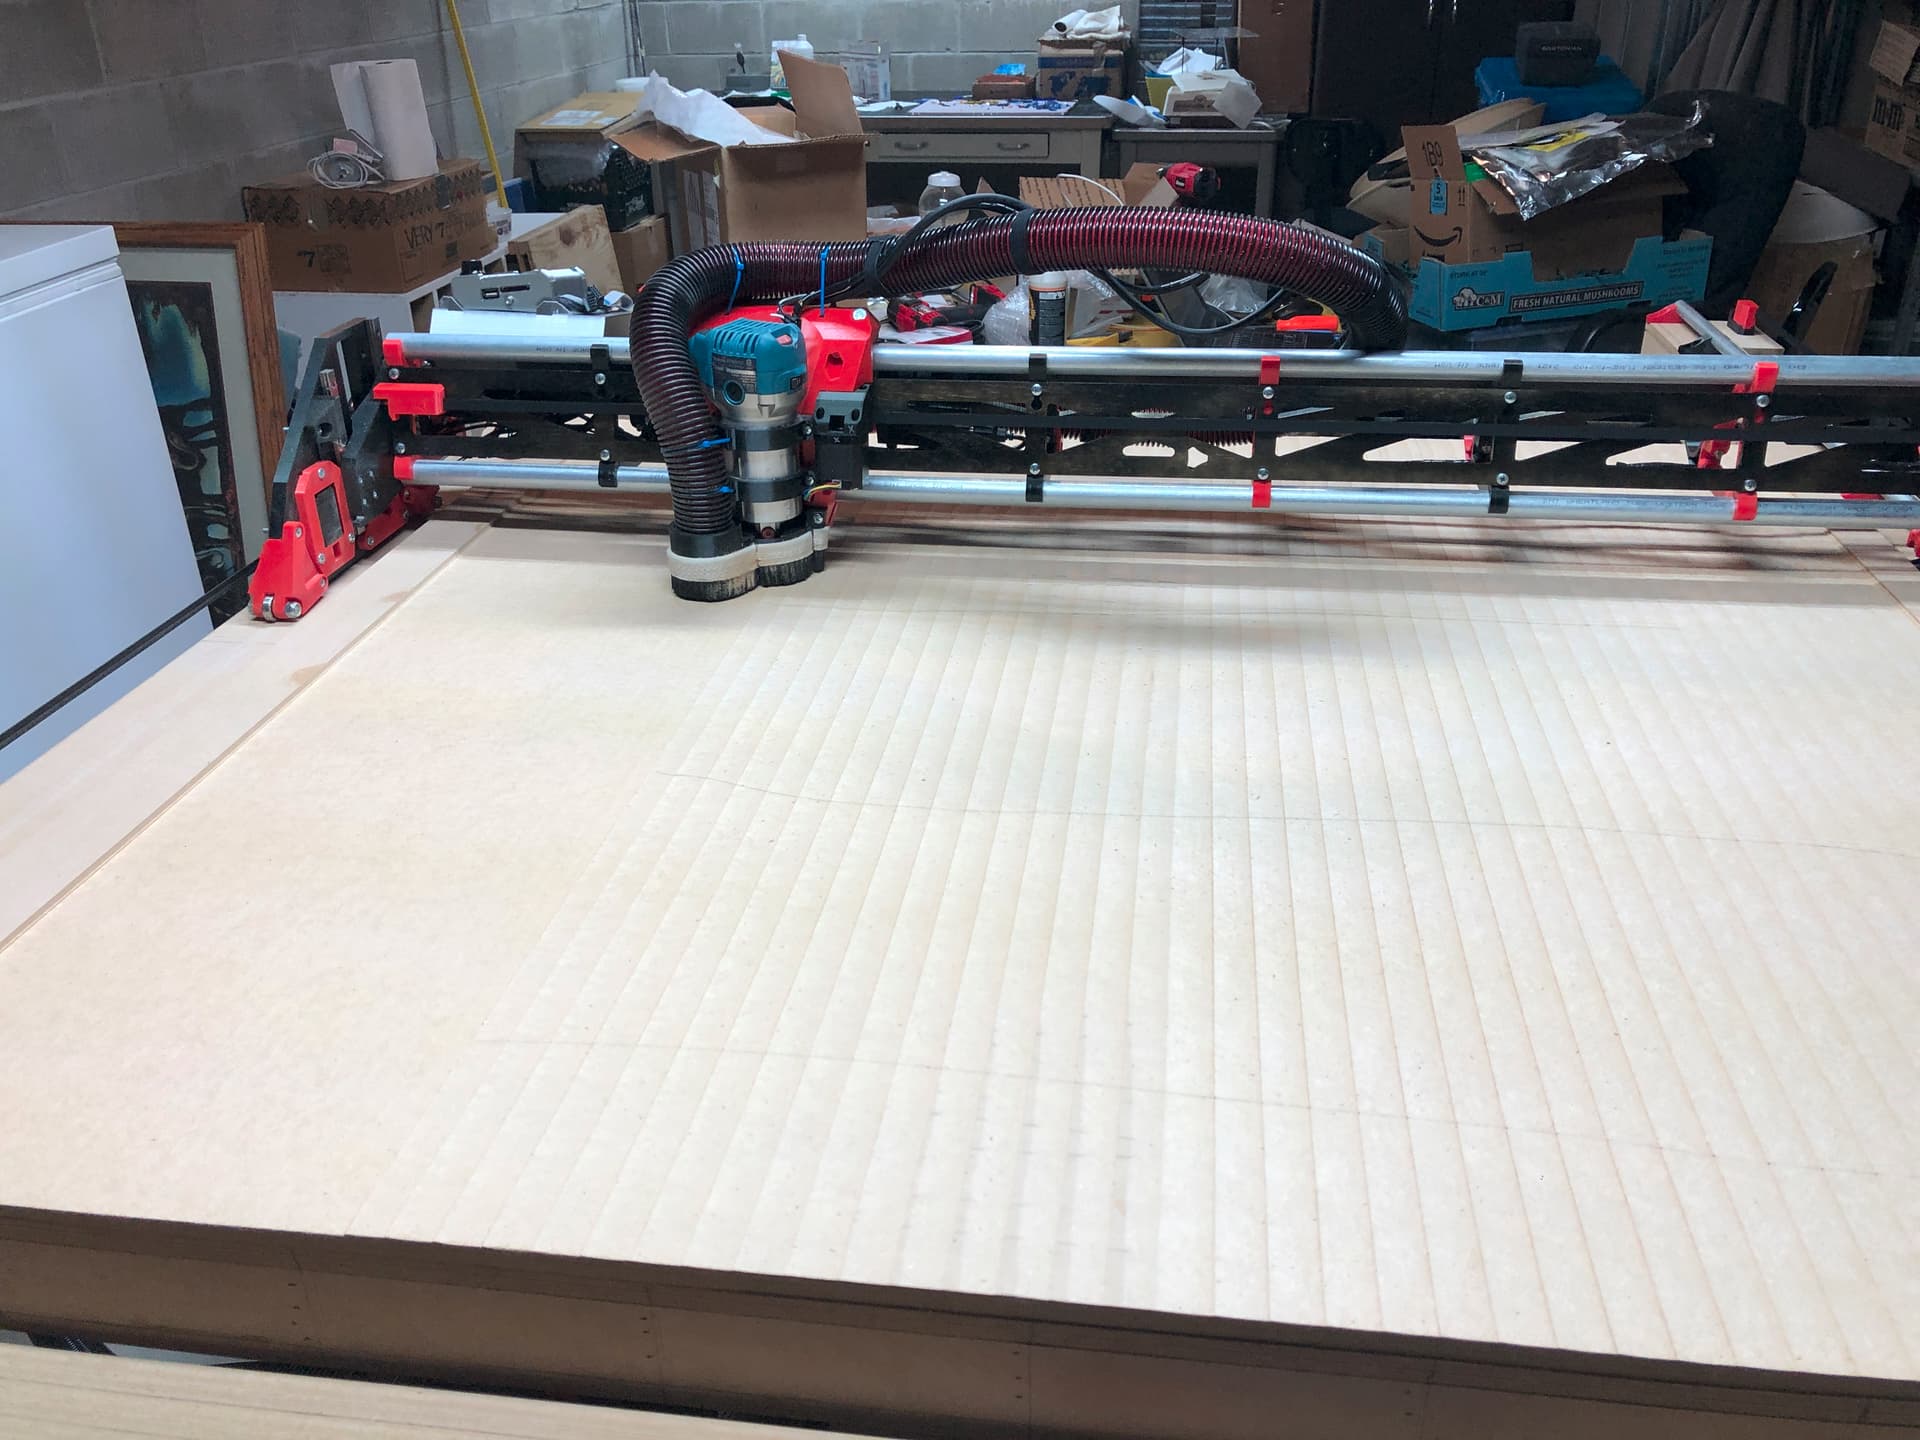
I ordered myself a 1" surfacing bit because i had a pretty bad dip in the middle of my table top. I used the surfacing gcode generator here (G-Code Test Pattern Generator) which worked great. Was just playing around w/ speeds, but seemed to find a nice medium running at 2000mm/min at 90% stepover 1mm at a time for the rough passes, and then 2000mm/min at 40% stepover at .5mm for the finishing pass. Very little scalloping maybe .1-.2mm… barely can feel it.


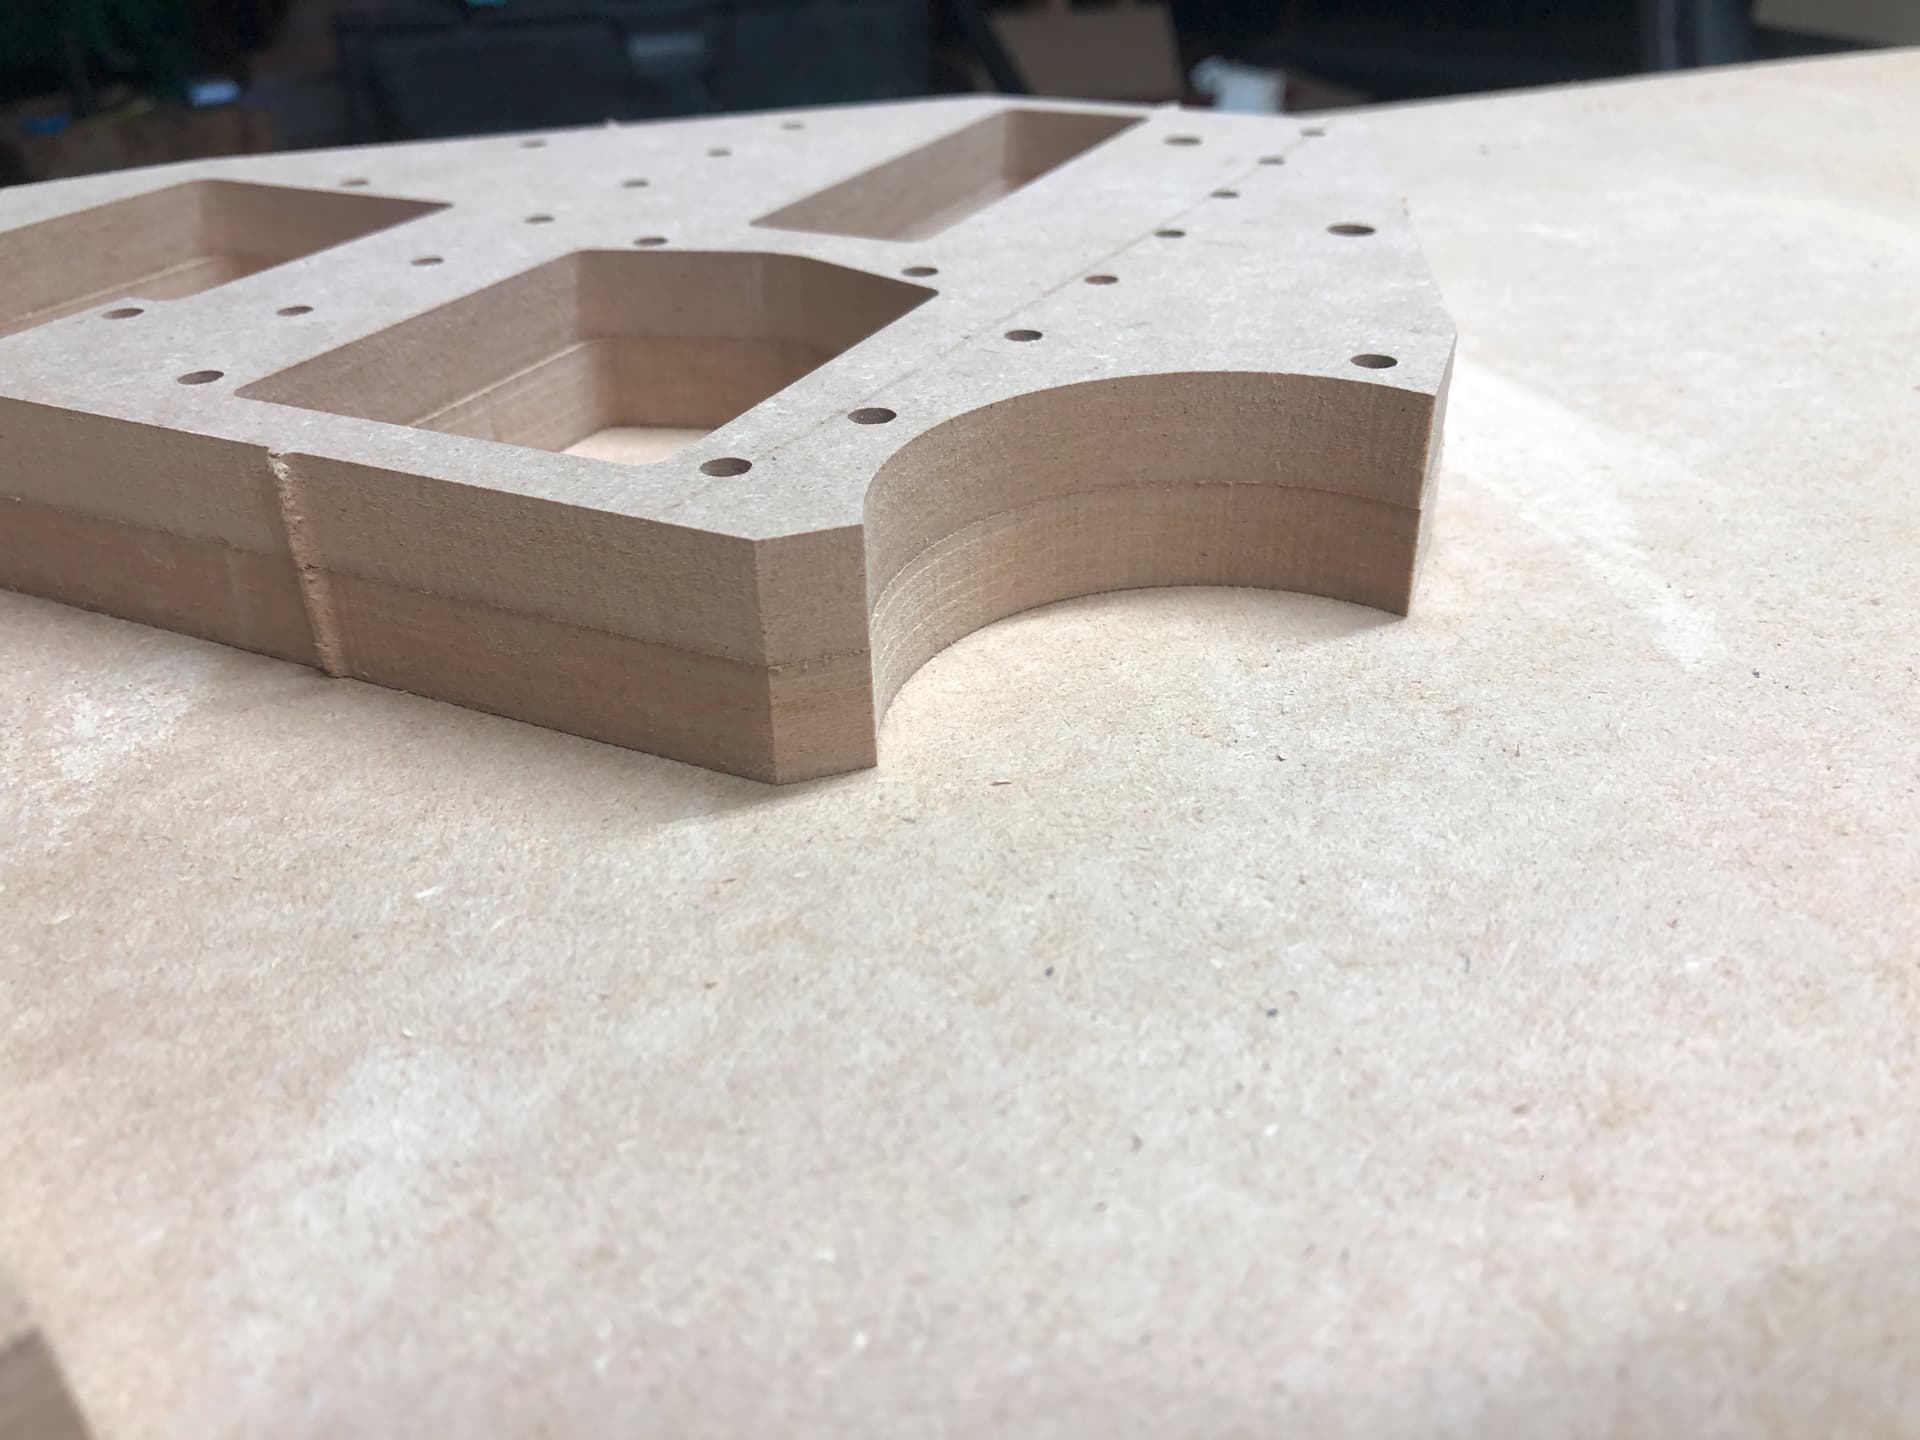
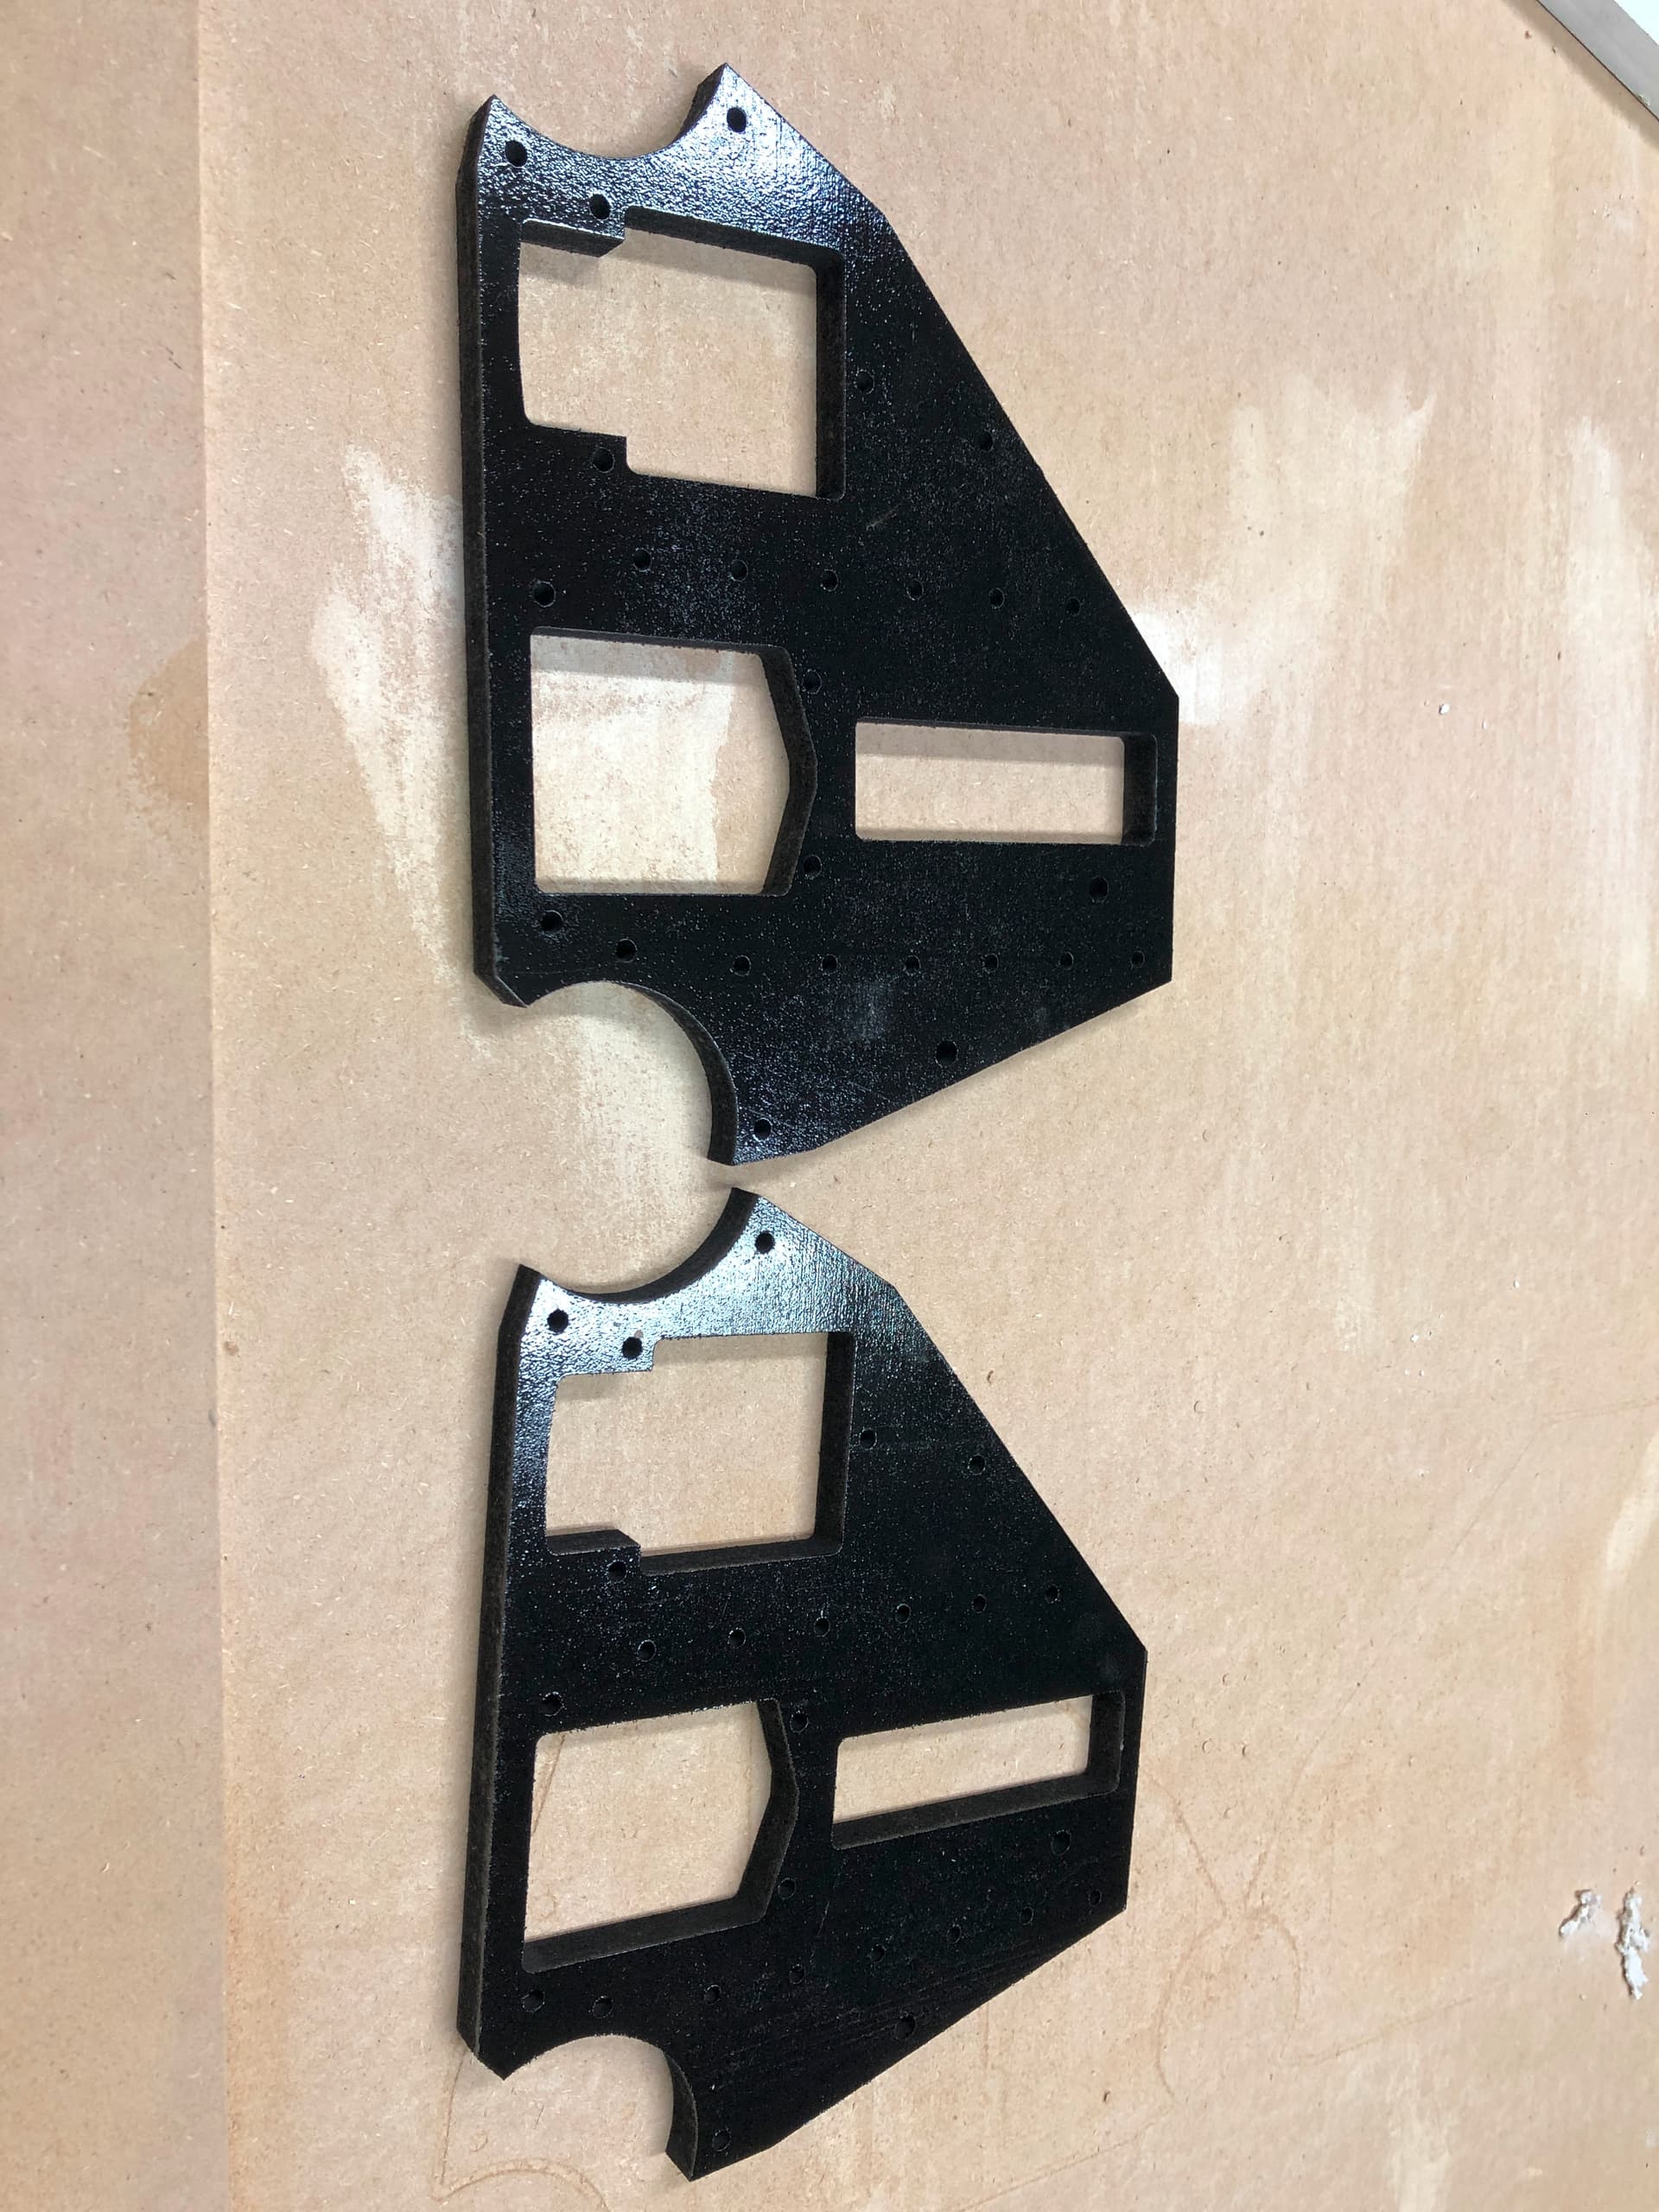
So now that i had a decent cutting surface, i cut out my YZ plates out of 1/2" MDF.
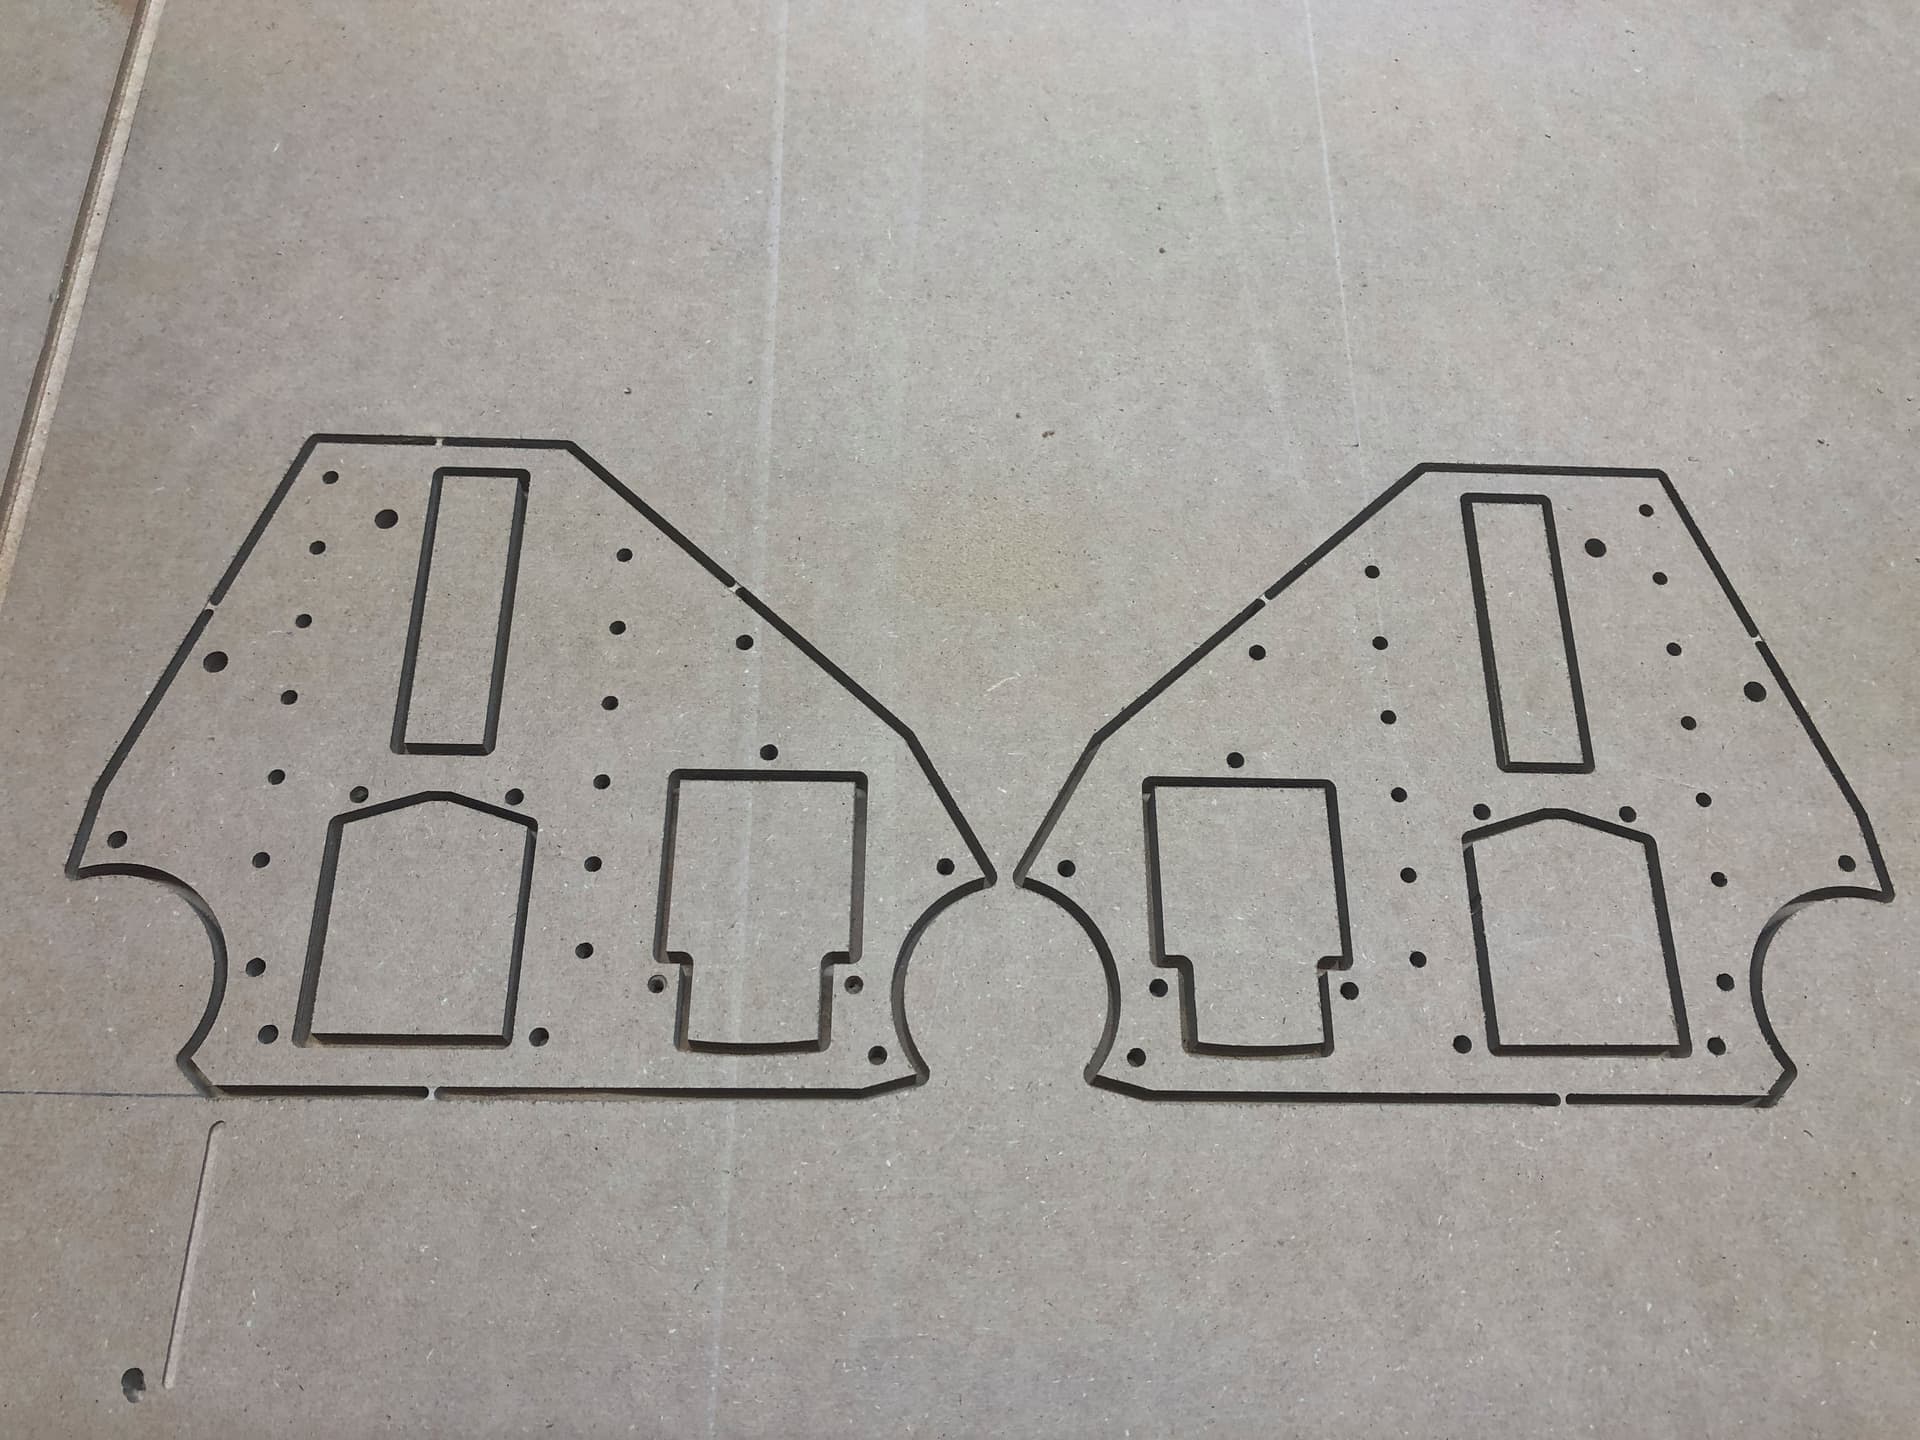
Accuracy looks good!
I also ordered the steel XZ plates, so painted those along with the newly cut YZ plates.
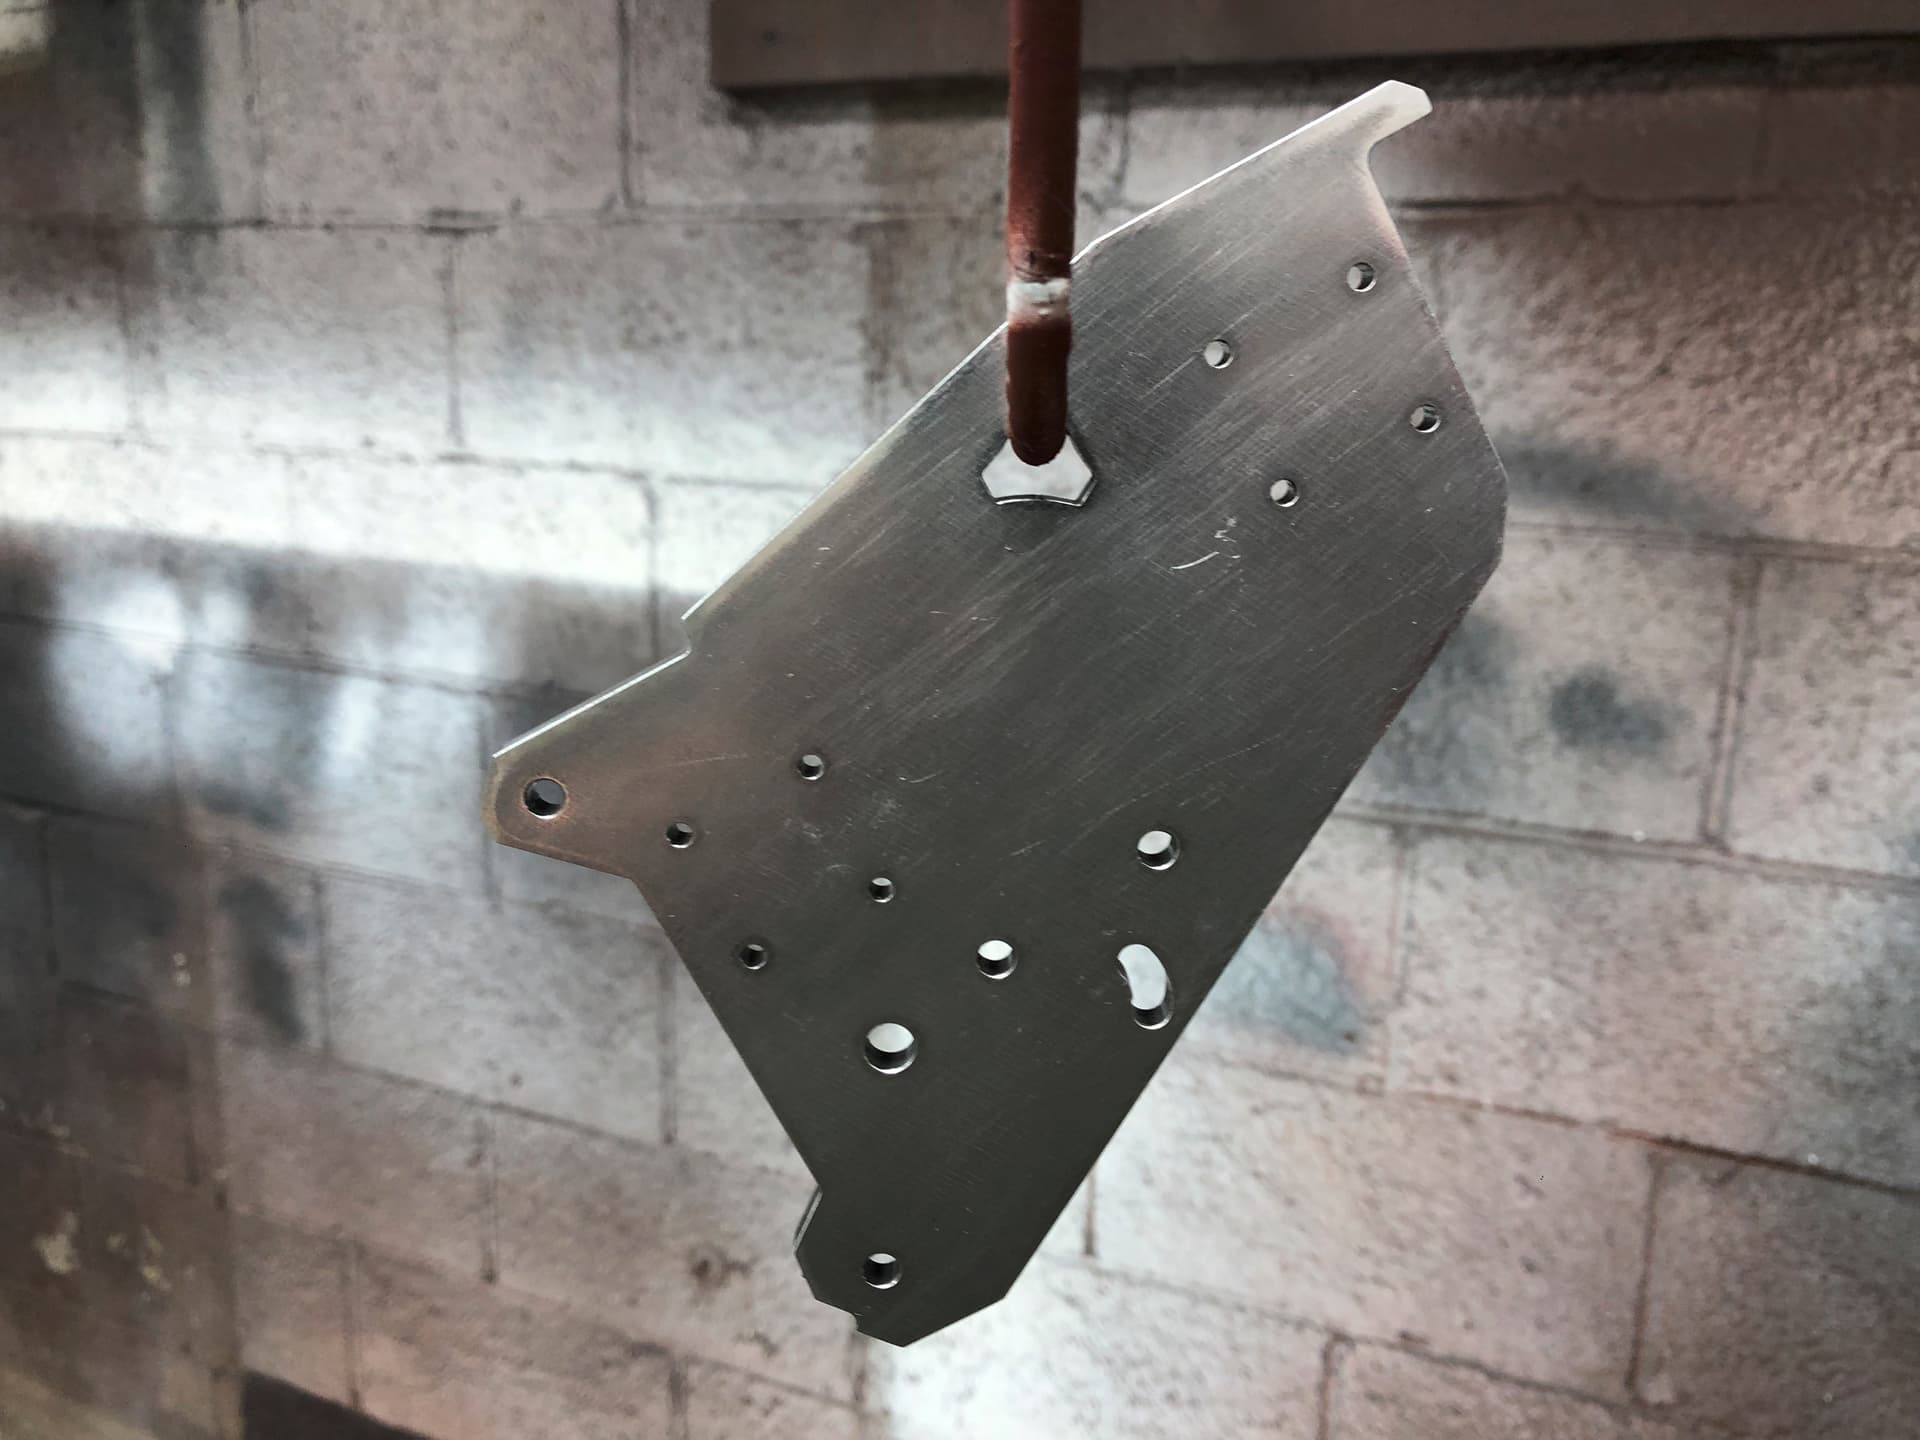
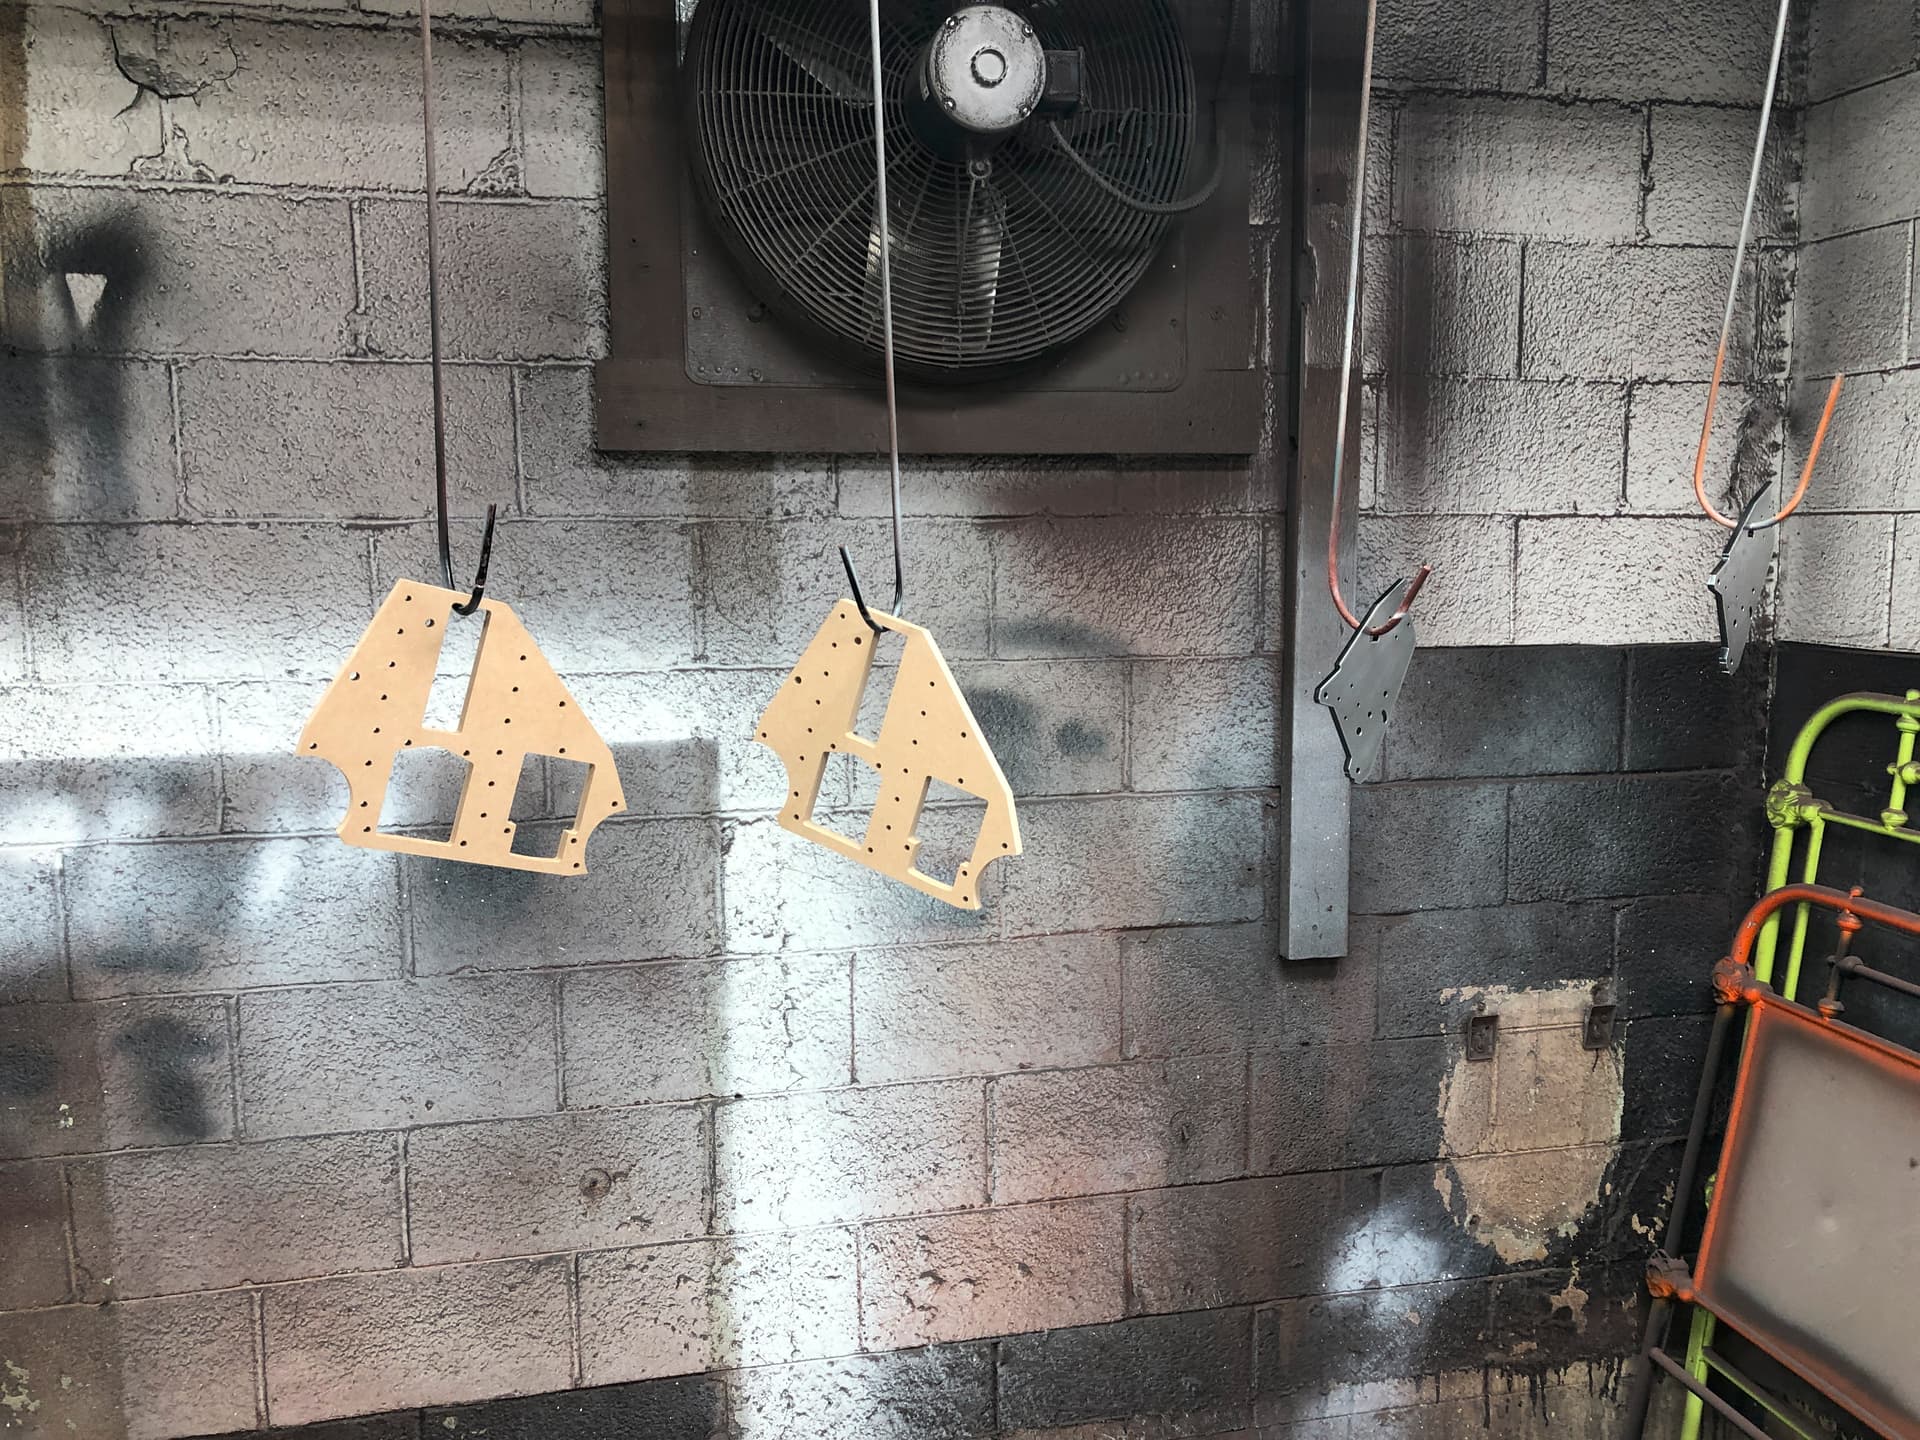
And they look great!

So now i have to decide if i want to keep playing with it for a bit (probably) or rip it apart and install these shiny new parts.
I’m extremely pleased with this build so far. It’s been a ton of fun to put together and get working, and the results are so much better than i was expecting. @vicious1 you really crushed it!
7 Likes