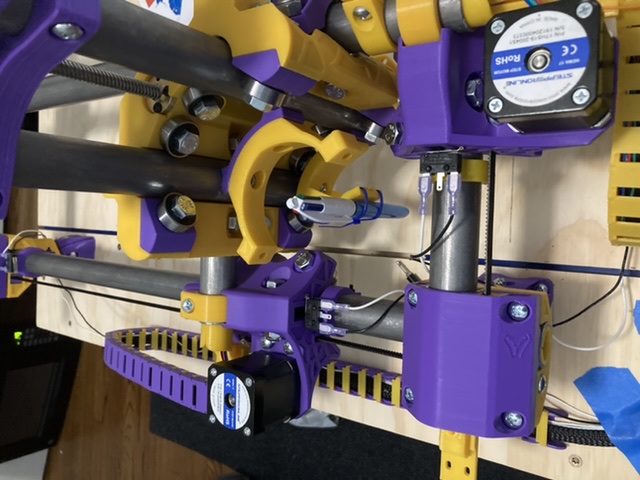
hello community, went ahead and re-wired the MPCNC with Dual endstops and going through the testing phase. I have verified with M119 and the triggers work. I am at the point where this comes in to play
“The unfortunately designated M666 lets you test your offset to quickly calibrate your machine. Using the command M666 X0.72 would offset the X1 stepper 0.72mm away from it’s endstop, Y! can also be used. To verify your current settings during calibration just an M666 will show the current offsets. Once the correct offset are found you should input them into your firmware.”
Firstly: What are the correct offsets, and where do you adjust it in the firmware?
I did what it said… have offset it… typed M666 … it showed me the 2 offsets (X,Y); but when I tried to home it, it crashed to the X. HELP! … didnt mean to scream… Im punching above my weight.
It seems my endstops are not stopping my machine. Is this a firmware issue? did I forget to uncomment something? What do y’all need to help me troubleshoot? Has this happened before (probably but couldnt find it)
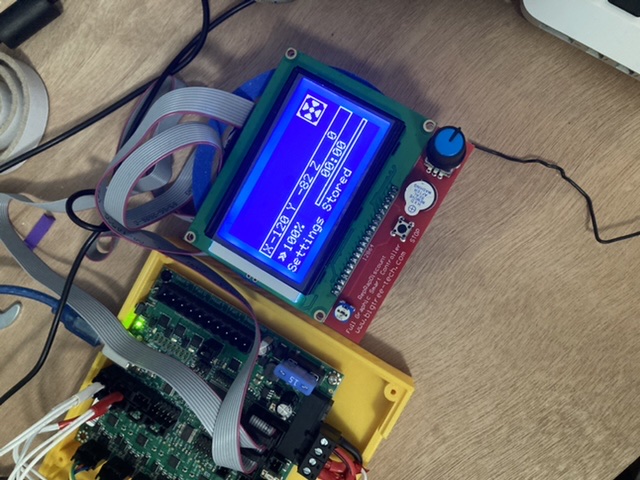
good news, I flashed the new firmware no problem this time and all the wiring seems to function properly
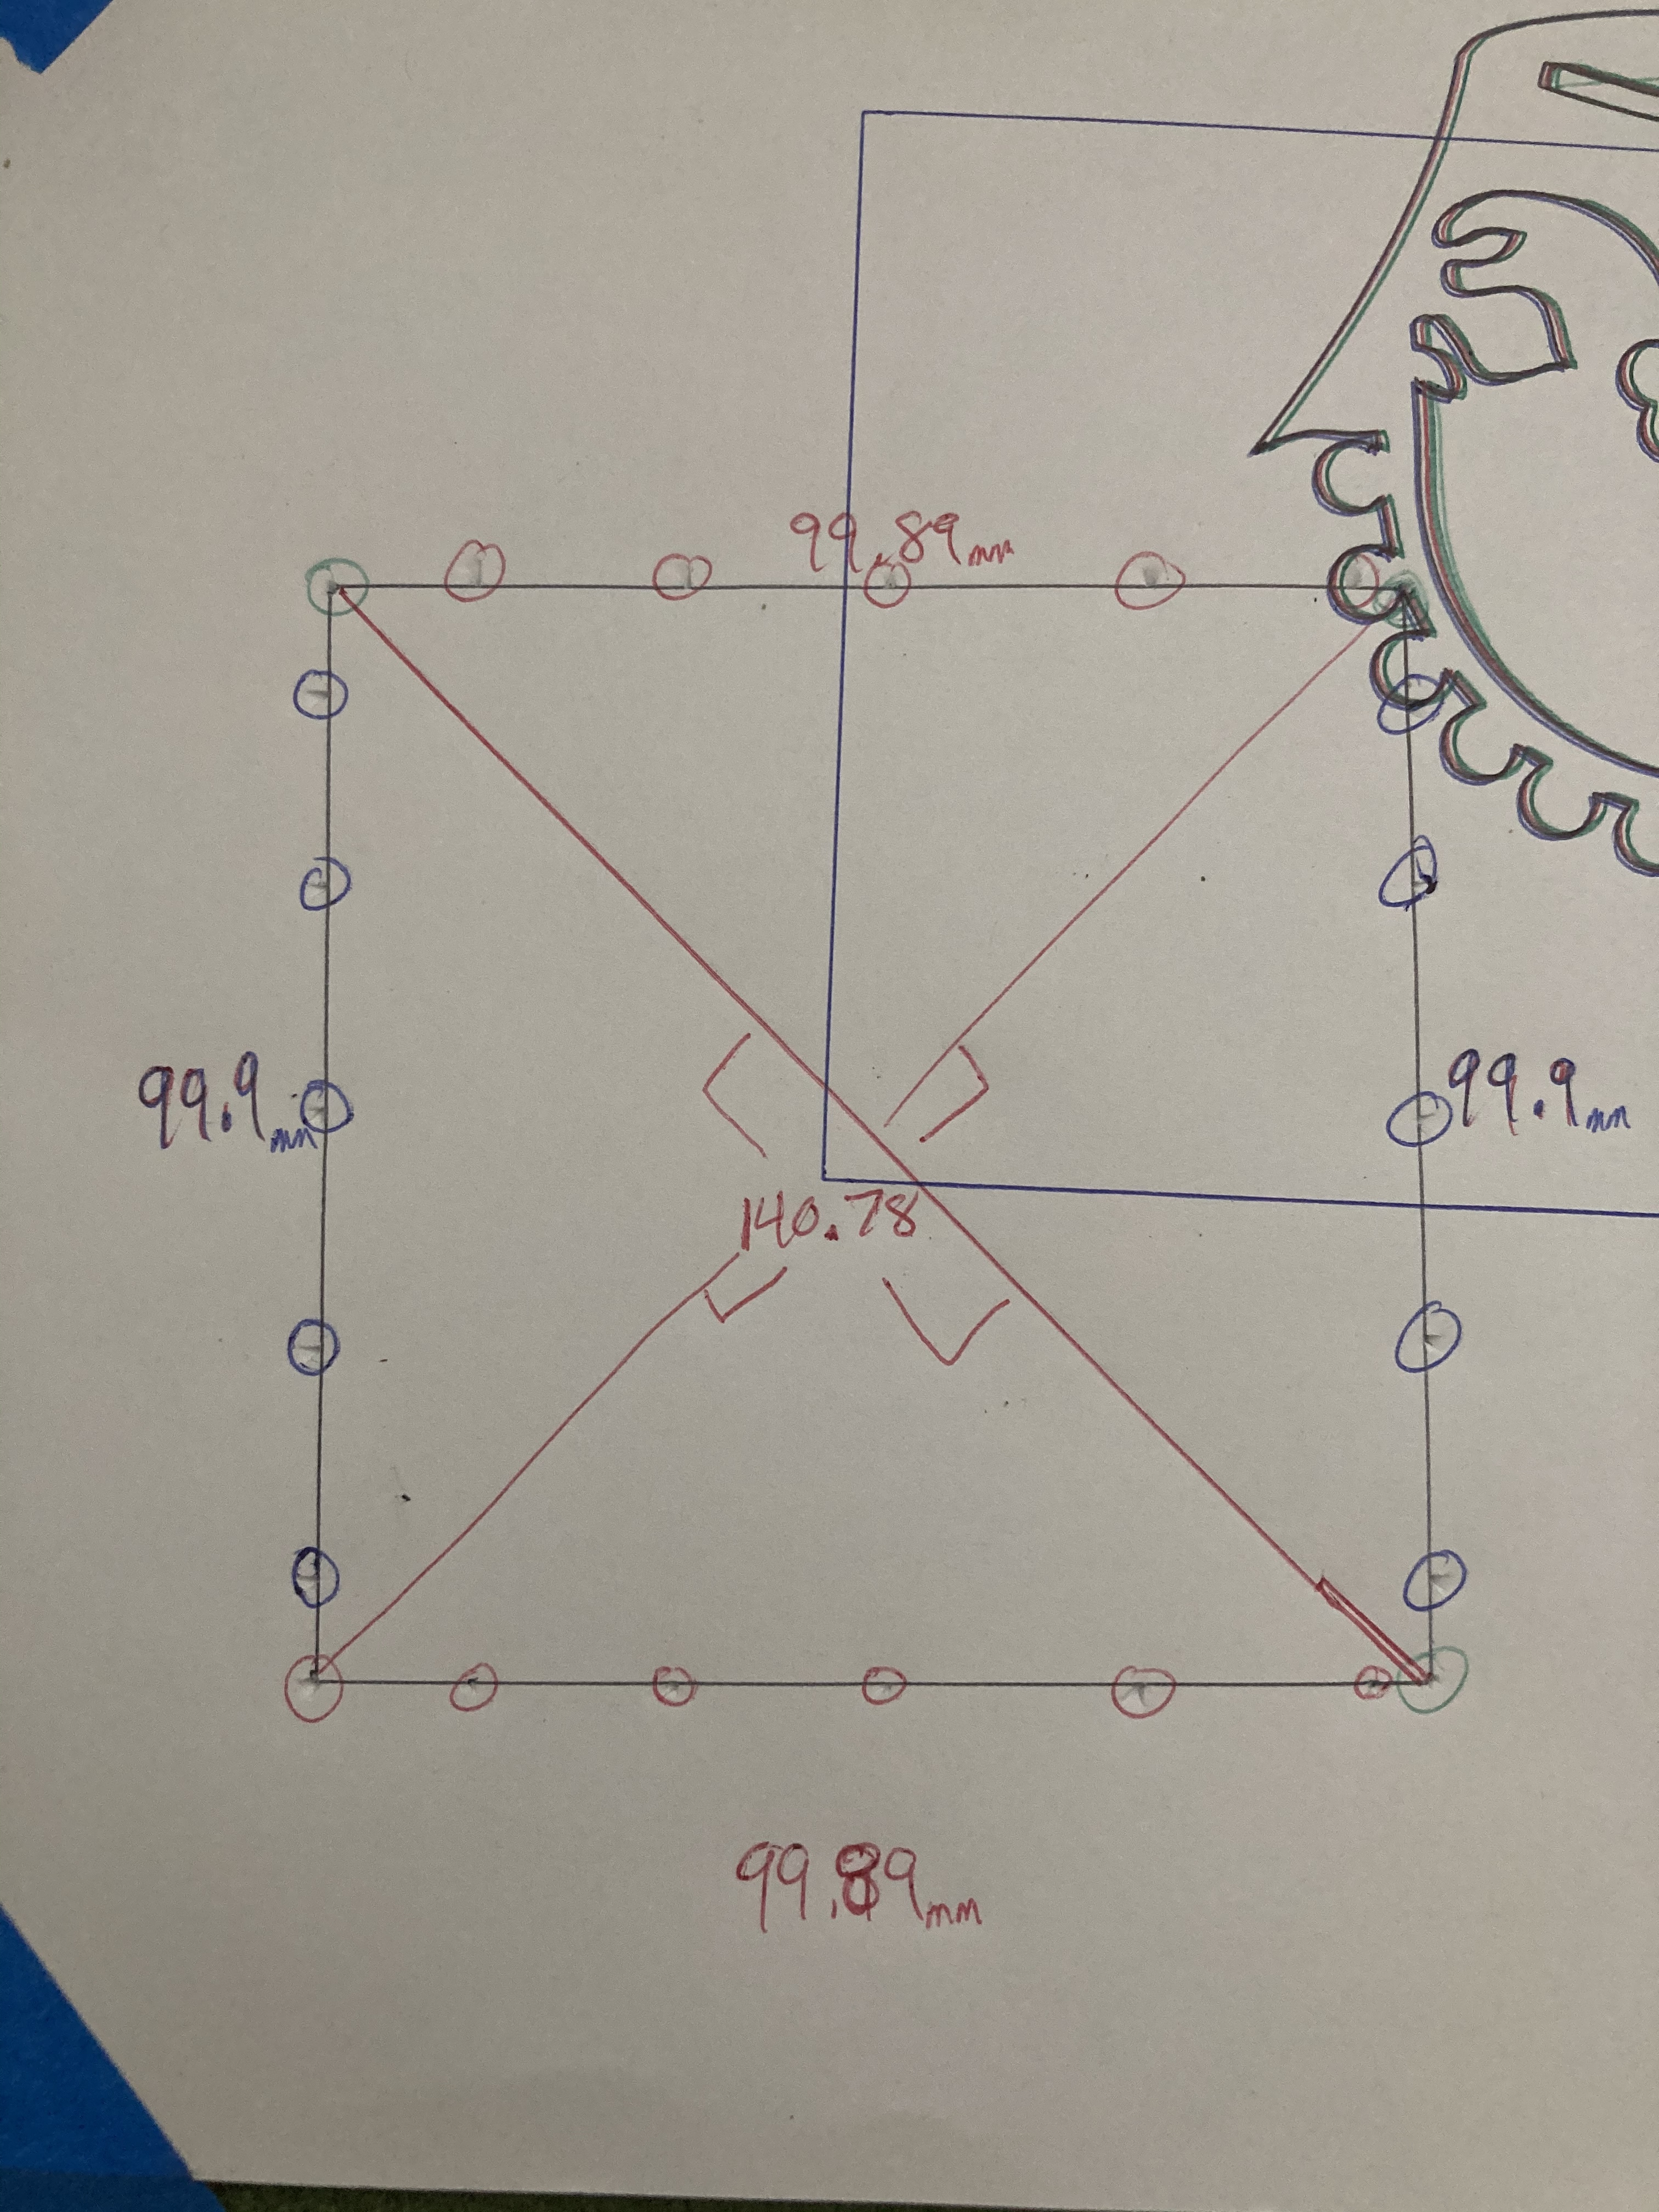
They are your knobs. The idea is getting the gantry after home to be perfectly square. If you can’t move your endstops to make it square, you can ask the software to adjust itself after the home.
This has nothing to do with M666. Are you sure that M119 was showing you the right endstop connected in the right place? The Xmin was the endstop next to the x1 motor?
Also, y2 and x2 are in the wrong position… switching them now. I thought thy were supposed to be “max”, so I ran them on the same pole, not in parallel. that being said, they were still triggering as x2 and y2
Home X:
X1 and X2 move towards the negative X direction.
When X1 endstop is triggered, X1 will stop.
When X2 endstop is triggered, X2 will stop.
If X2 endstop doesn’t get triggered, X2 motor will never stop.
So I hope that’s all it is. Some people get X1 amd X2 backwards so x2 motor triggers the X1 endstop, which stops the X1 motor, but the X2 endstop is on the X1 side, so X2 never stops.
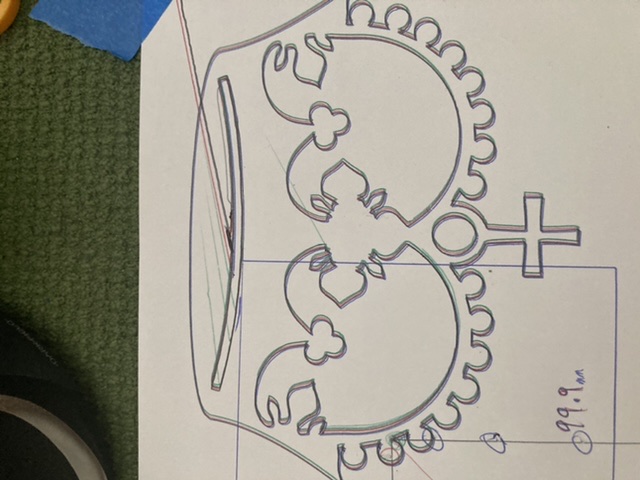
lol, still testing everything out and noticed when I try and print the crown my Z axis now crashes FML … any suggestions. Sorry guys, super noob questions
Describe what software pipeline you are using to author the crown. Are you just using the steps from Ryan’s basics…Estlcam and Repeiter-Host? If so, what did you give as the cutting depth for the “engrave?”
Post the first 20 or so lines of the g-code file you are trying to print
Describe how you are establishing the zero Z point for your pen.
Best guess is that you have an engraving depth of 3mm or more, so the software is trying to drive the point of the pen down to that depth. But the above information will help identify the issue.
1: was using Etslecam; will now test on repetier host and will let you know. I followed the steps one by one. I did notice that it was plunging down before starting. I flipped the cable as instructed but then it was inverse. It was correct the original way. 2: Send: M105
Recv: ok T:0
Changing monitoring state from “Operational” to “Starting”
Send: N0 M110 N0125
Recv: ok
Changing monitoring state from “Starting” to “Printing”
Send: N1 G9017
Recv: ok
Send: N2 M03 S18088
Recv: echo:Unknown command: “M03 S180”
Recv: ok
Send: N3 G00 X0.0000 Y0.0000 Z0.0000 F210026
Recv: ok
Send: N4 G00 Z5.0000 F48038
Recv: ok
Send: N5 G00 X89.3813 Y20.3441 F2100112
Recv: ok
Send: N6 G00 Z0.5000 F48036
Recv: ok
Send: N7 G01 Z0.0000 F180 S180110
Recv: ok
Send: N8 G03 X88.3825 Y20.3930 Z-0.5000 I-11.1041 J-216.7349 F180*60
Recv: ok
Send: N9 G02 X89.3813 Y20.3441 Z-1.0000 I-10.1053 J-216.
3: I home my X,Y on octoprint. Then I push the pen down to table level. It works well to draw the crown… but ends up plunging a little before, pushing the pen up.
4:
How deep did you set the engrave when you authored the crown on Etslecam? I wanted to see the first 20 lines of the g-code file, not your responses. These lines will tell at what depth the g-code is trying to cut. Running the crown that Jeff links will also give you some idea of where the plunging is “authored.”
Maybe I missed it. But did you try the test crown gcode without changing anything? That should eliminate any questions about the machine. Then we can focus on the estlcam basics.
after hours and hours… and thankfully an awesome community… I found this code
G92 X0 Y0 Z0
I was not zero-ing my Z axis … I know it was discussed above, but didnt understand. Once I input this code, and then run the crown… no more plunge!!! EUREKA
@robertbu@jeffeb3 thanks for the help and patience. hope this helps someone else in the future
The file I have does not… or Estlcam does not provide it in the starting Gcode.
I posted the Gcode a few post up…I will add the M92 X0 Y0 Z0 to the software now.
I have been converting SVG files since yesterday, trying to make a booklet for a birthday present. Will post in a few days for the community. Thanks again!
Oh, M92 isn’t what you want. That will cause lots of problems.
I’m happy you’re up and running with your own gcode. But what I was asking was for you to follow the link to the docs, where Ryan has posted a premade gcode file which you can run to check out a new machine. You don’t have to now.