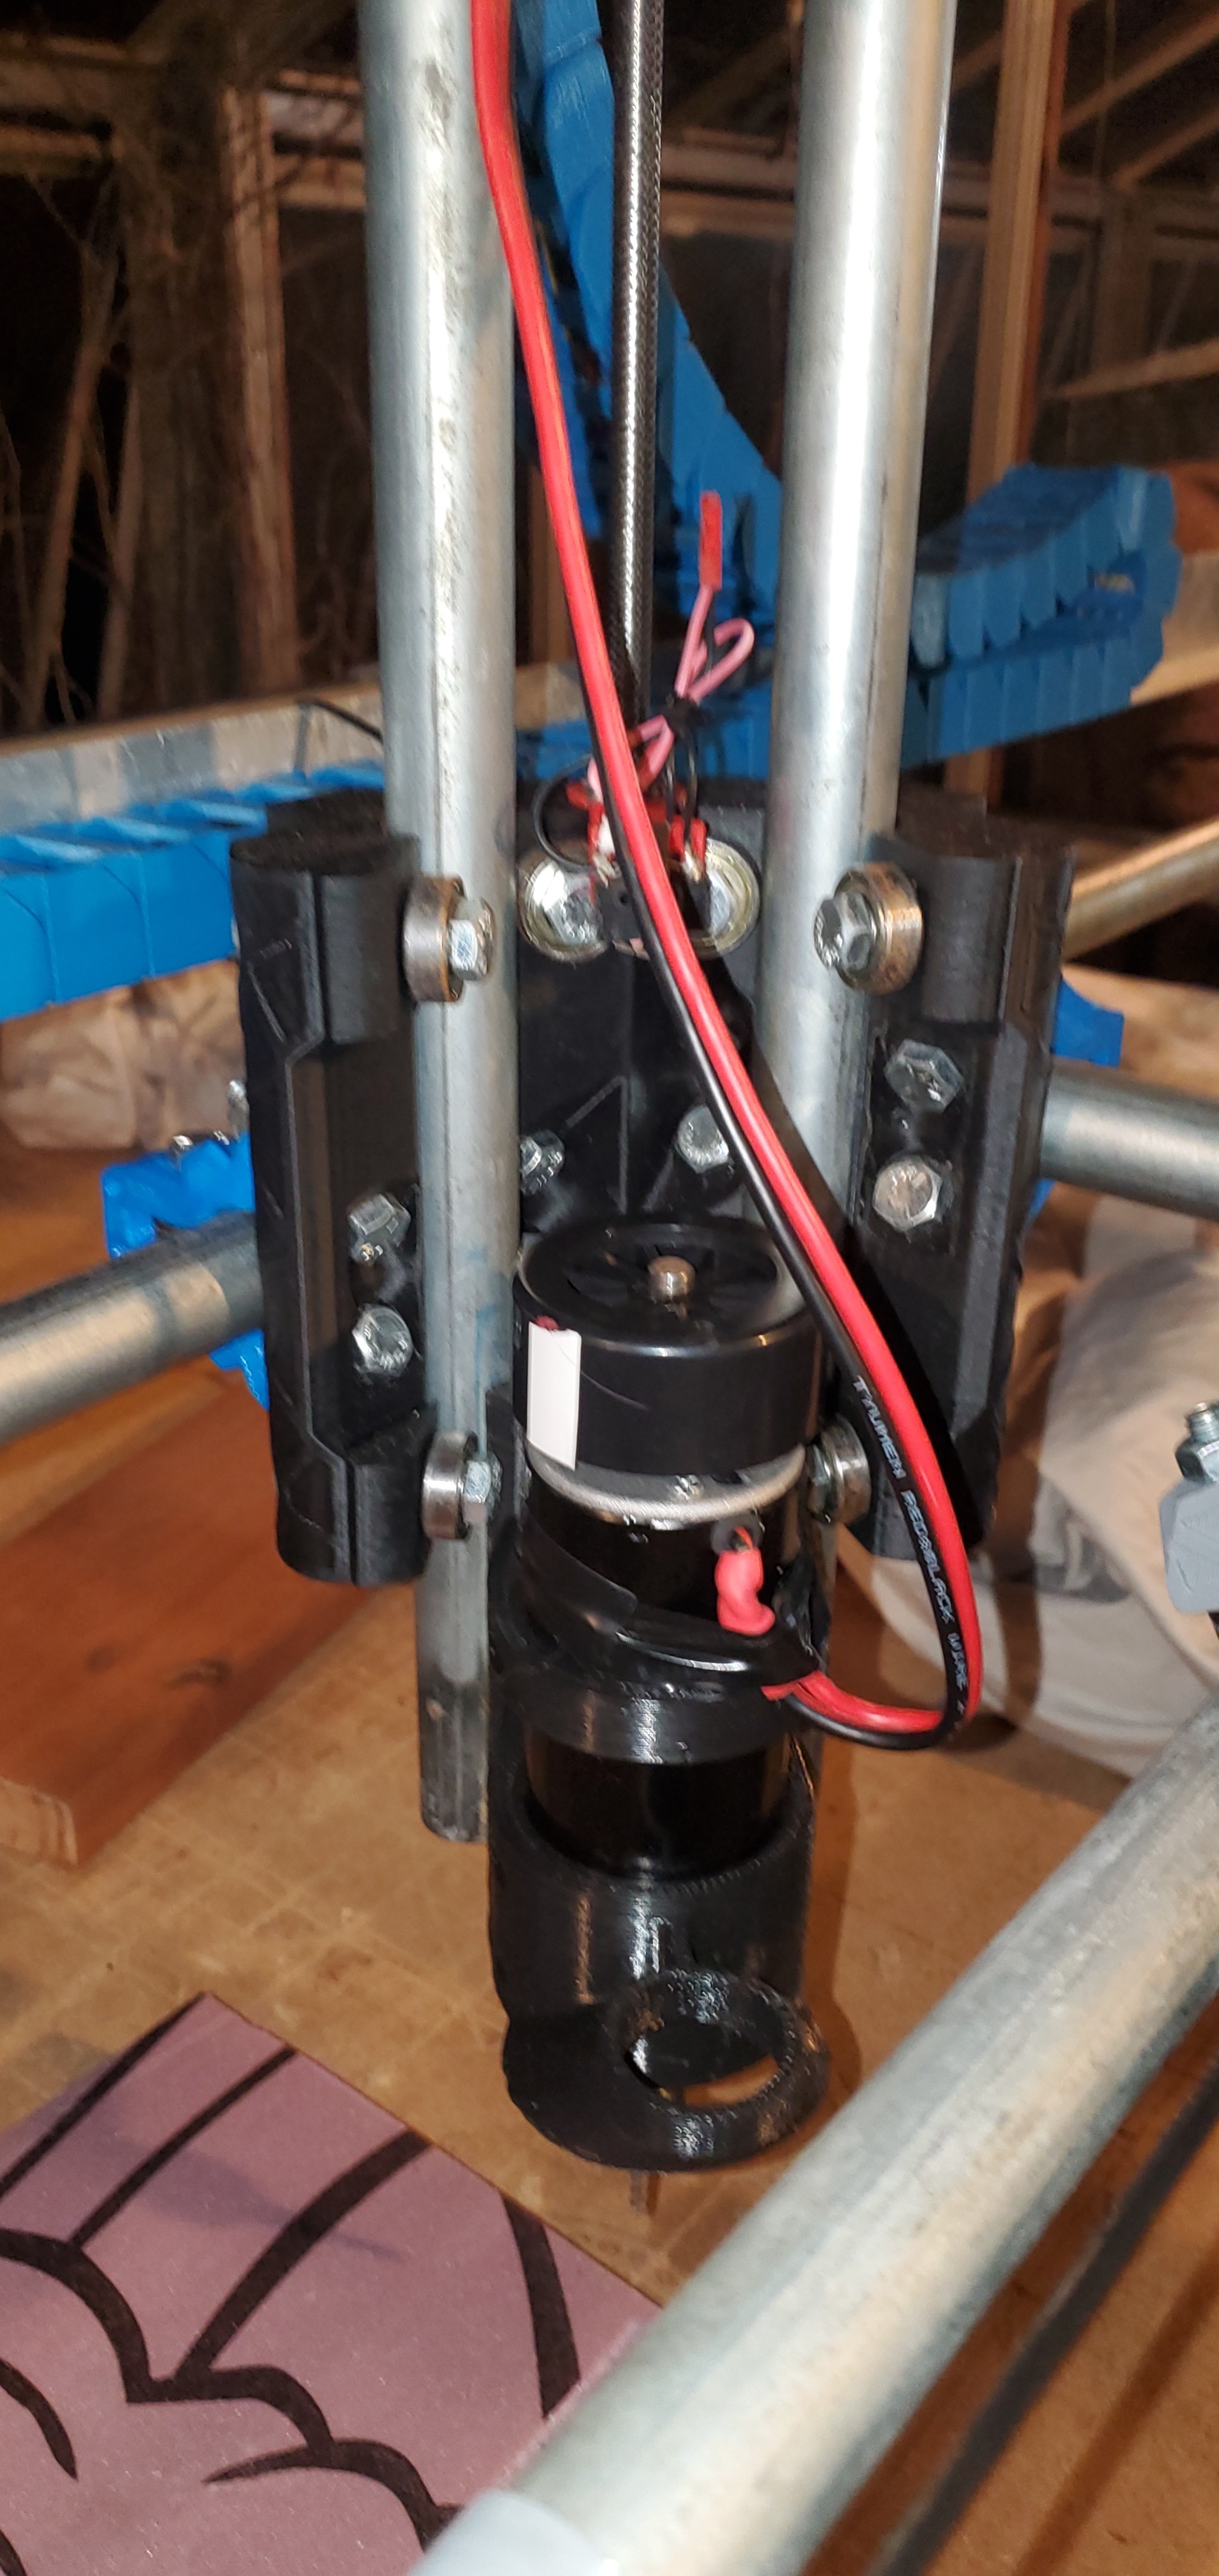
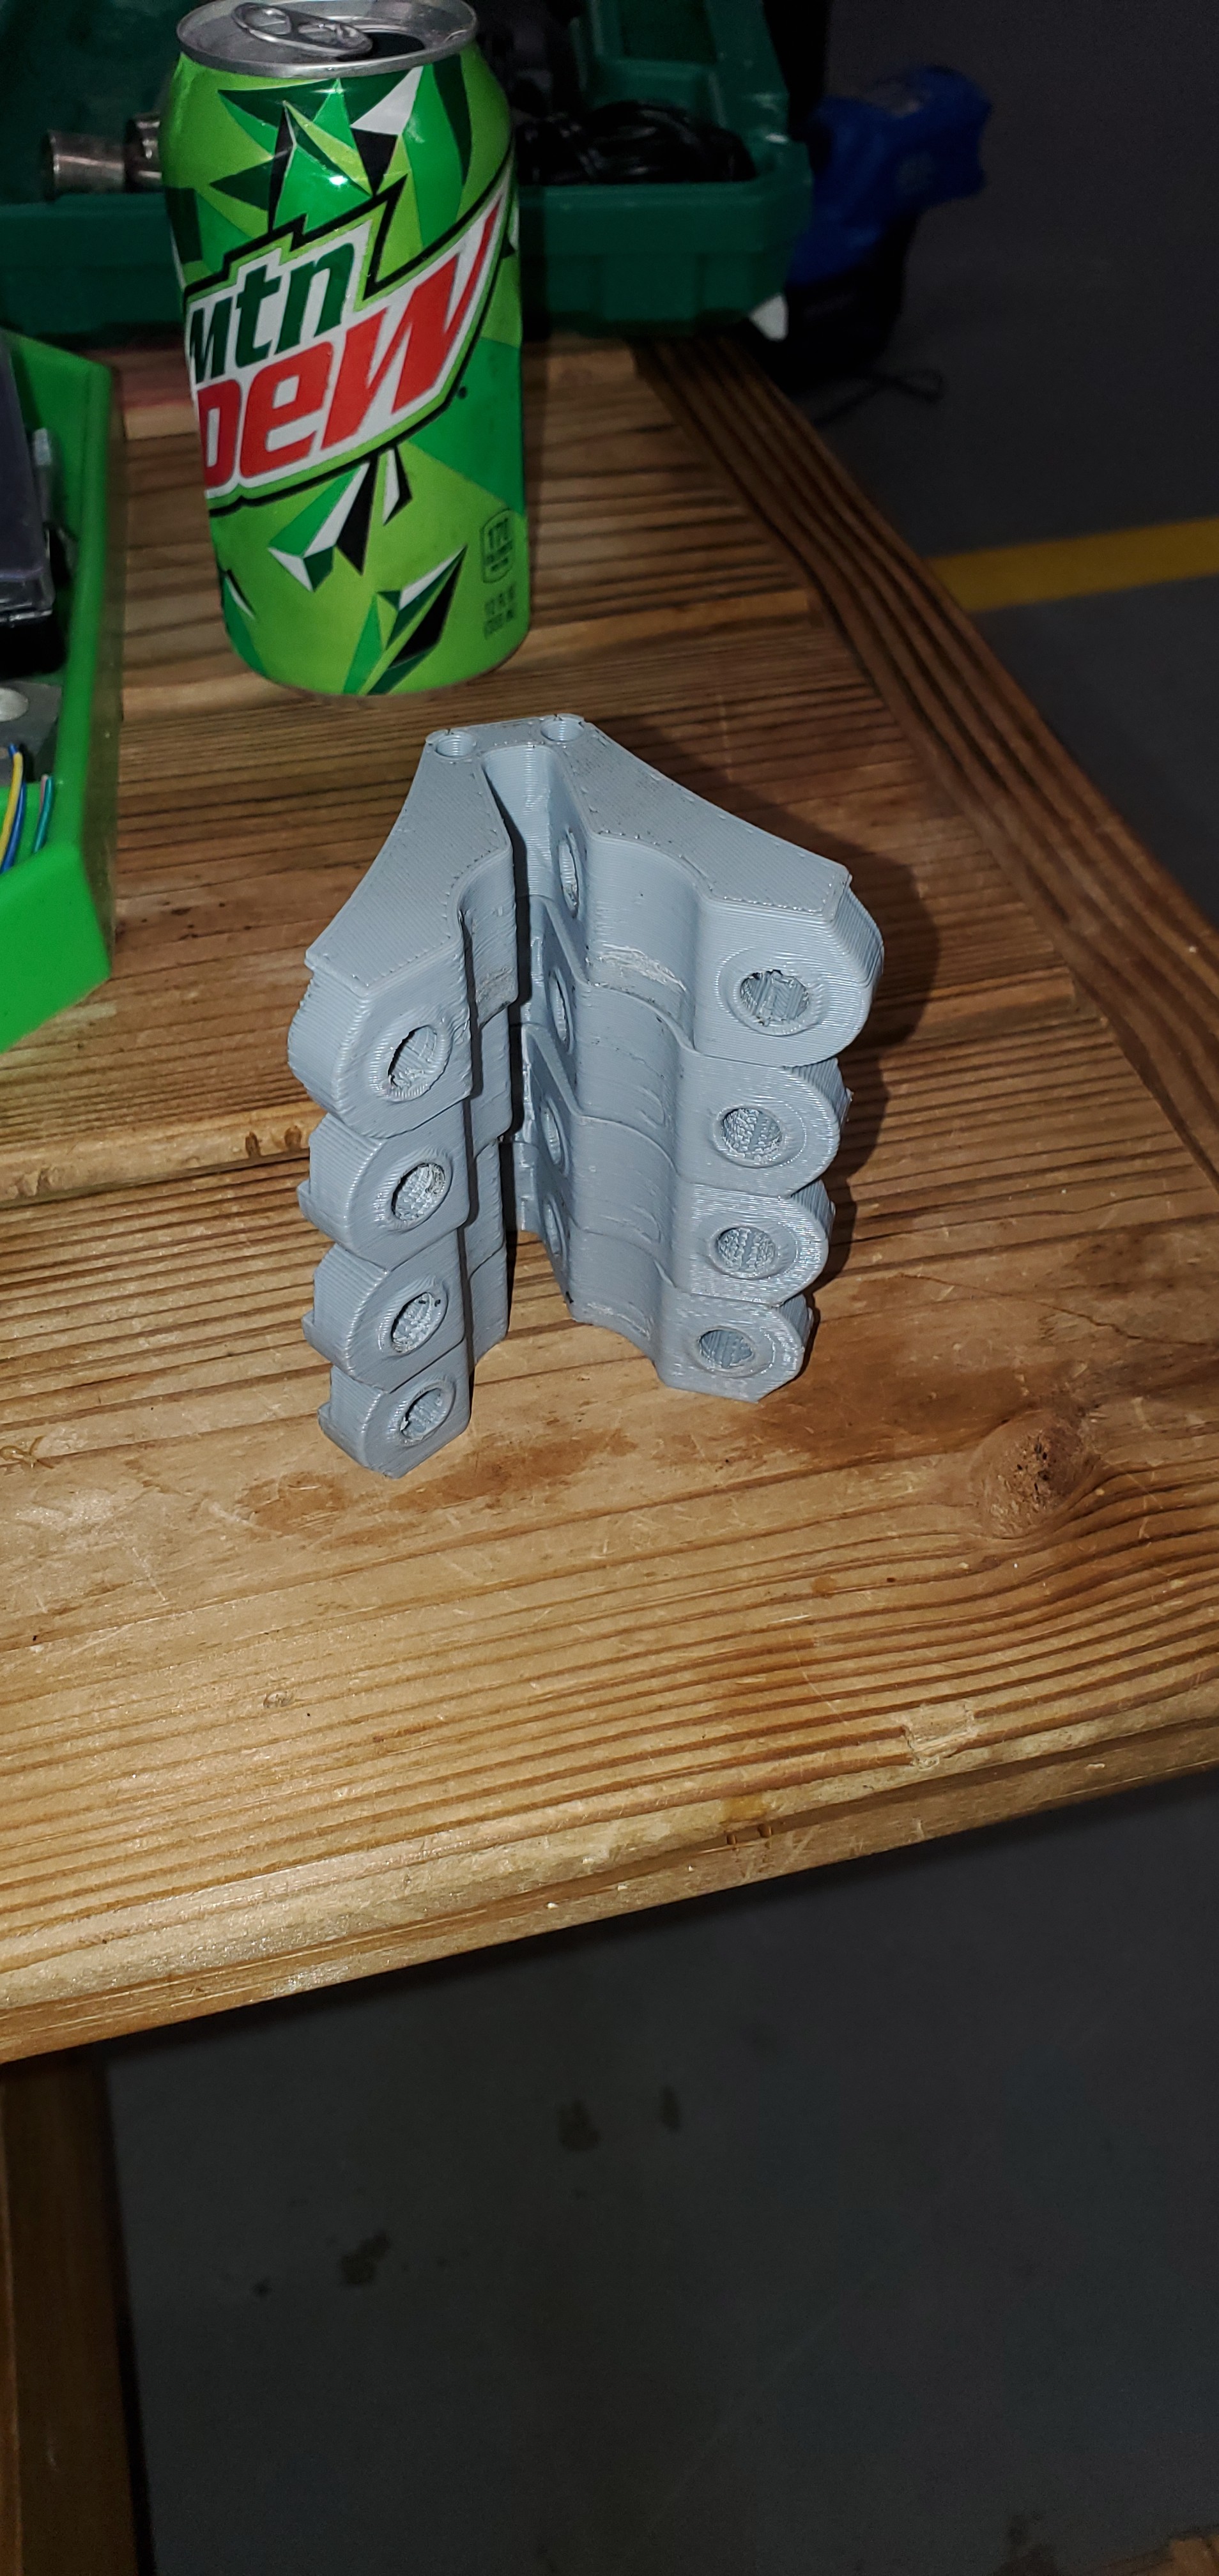
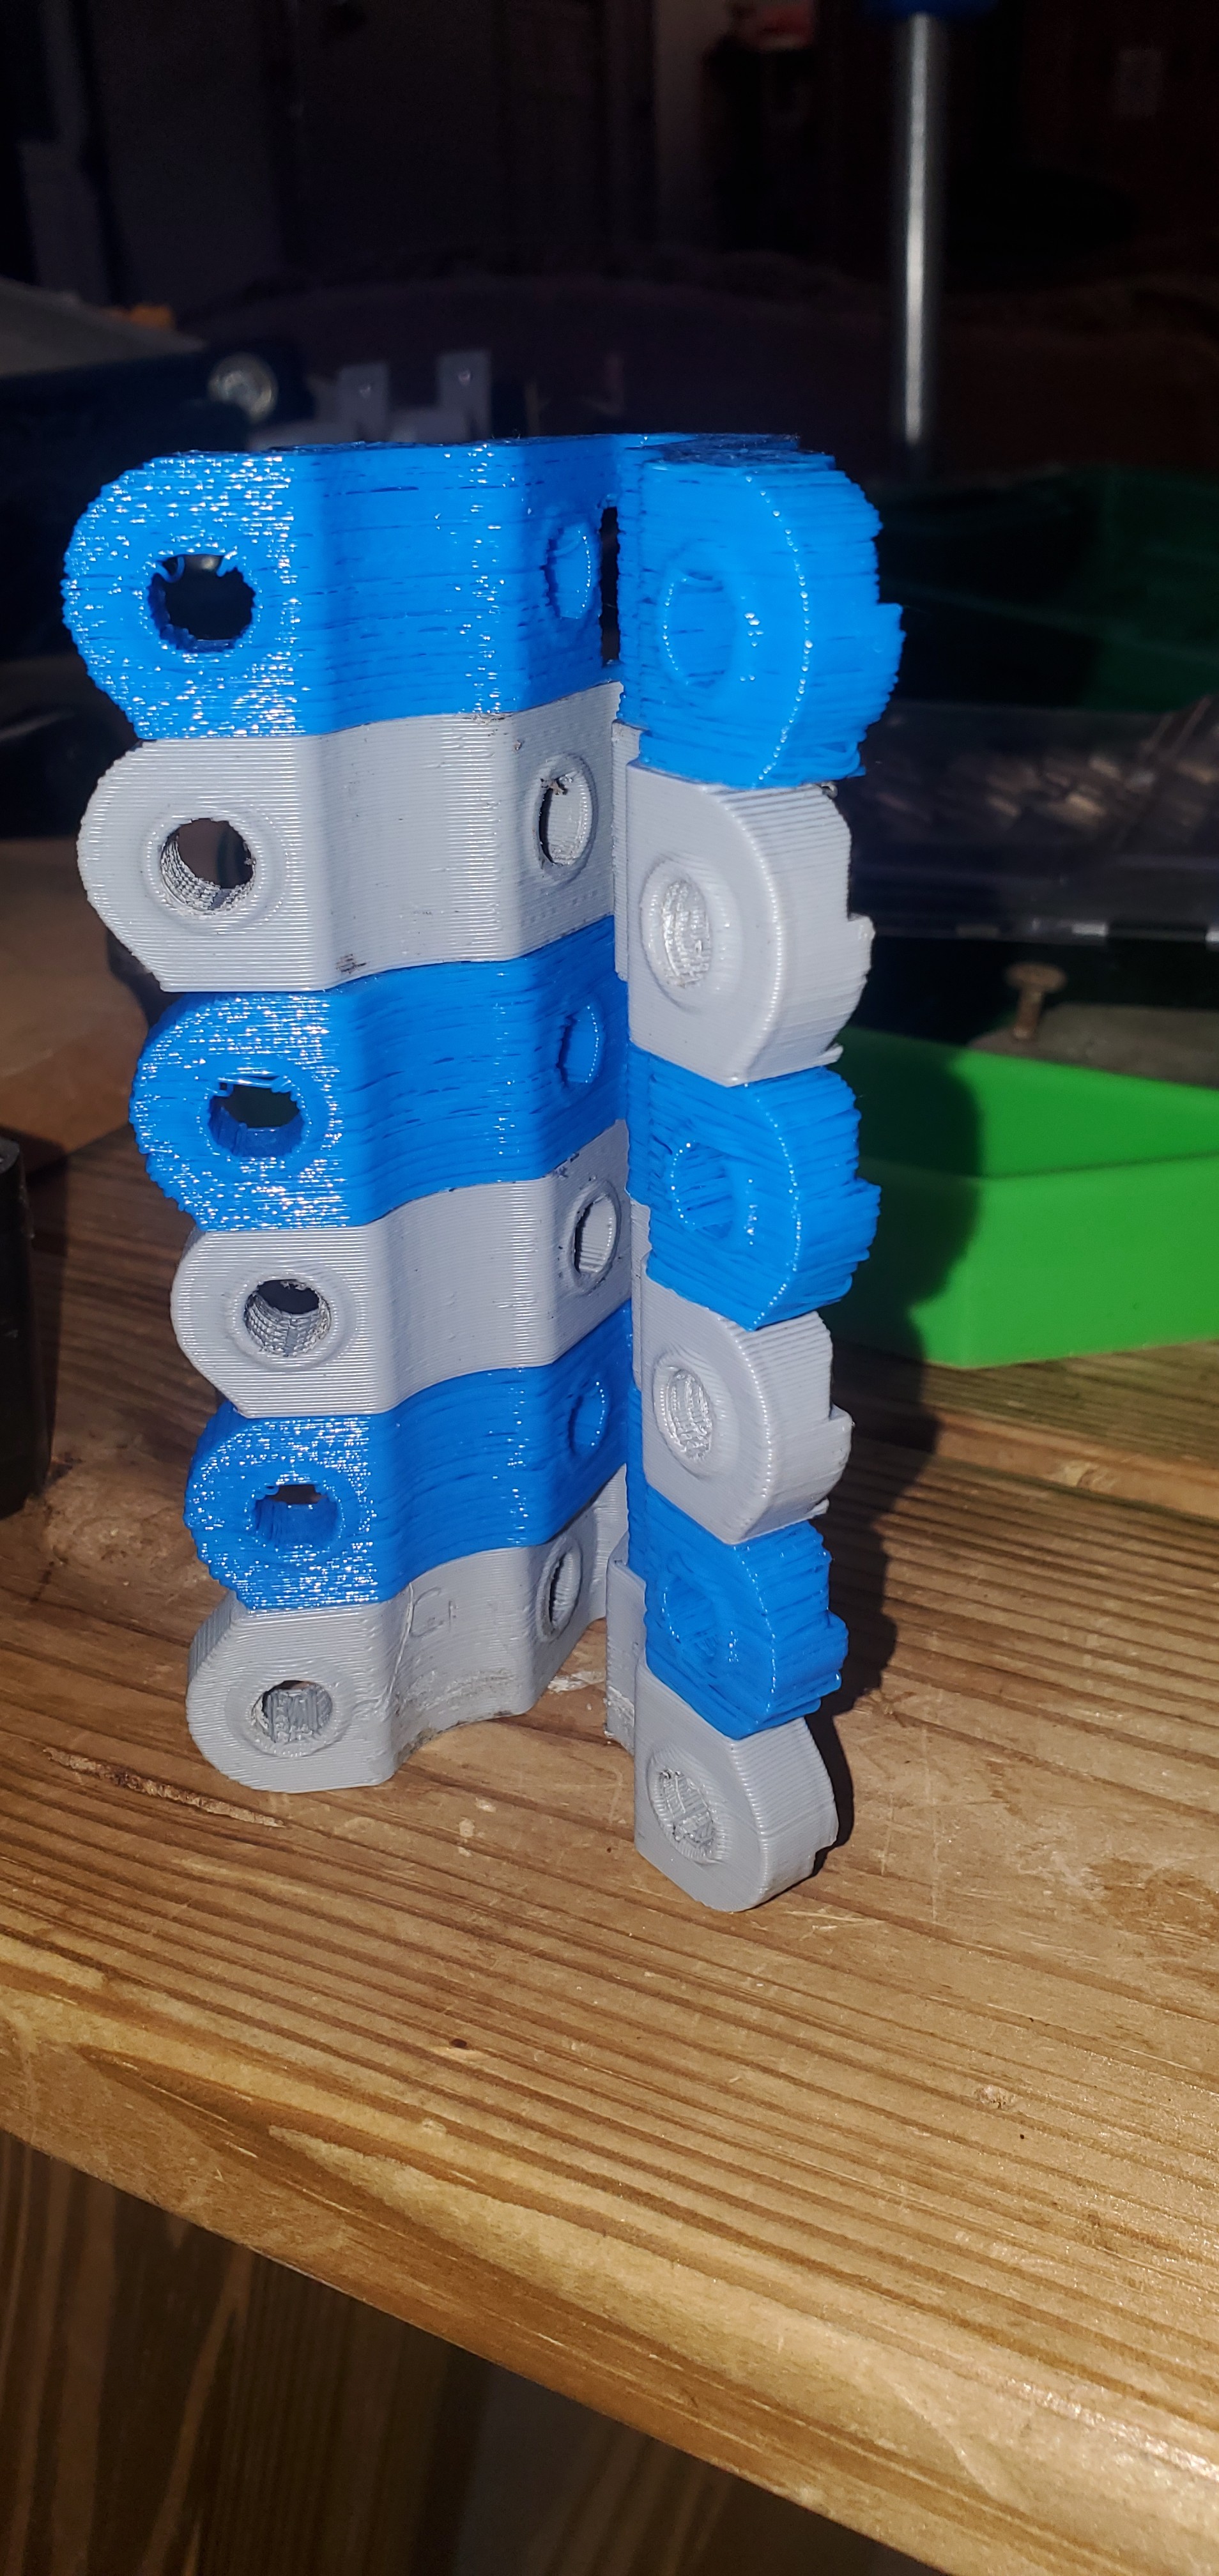
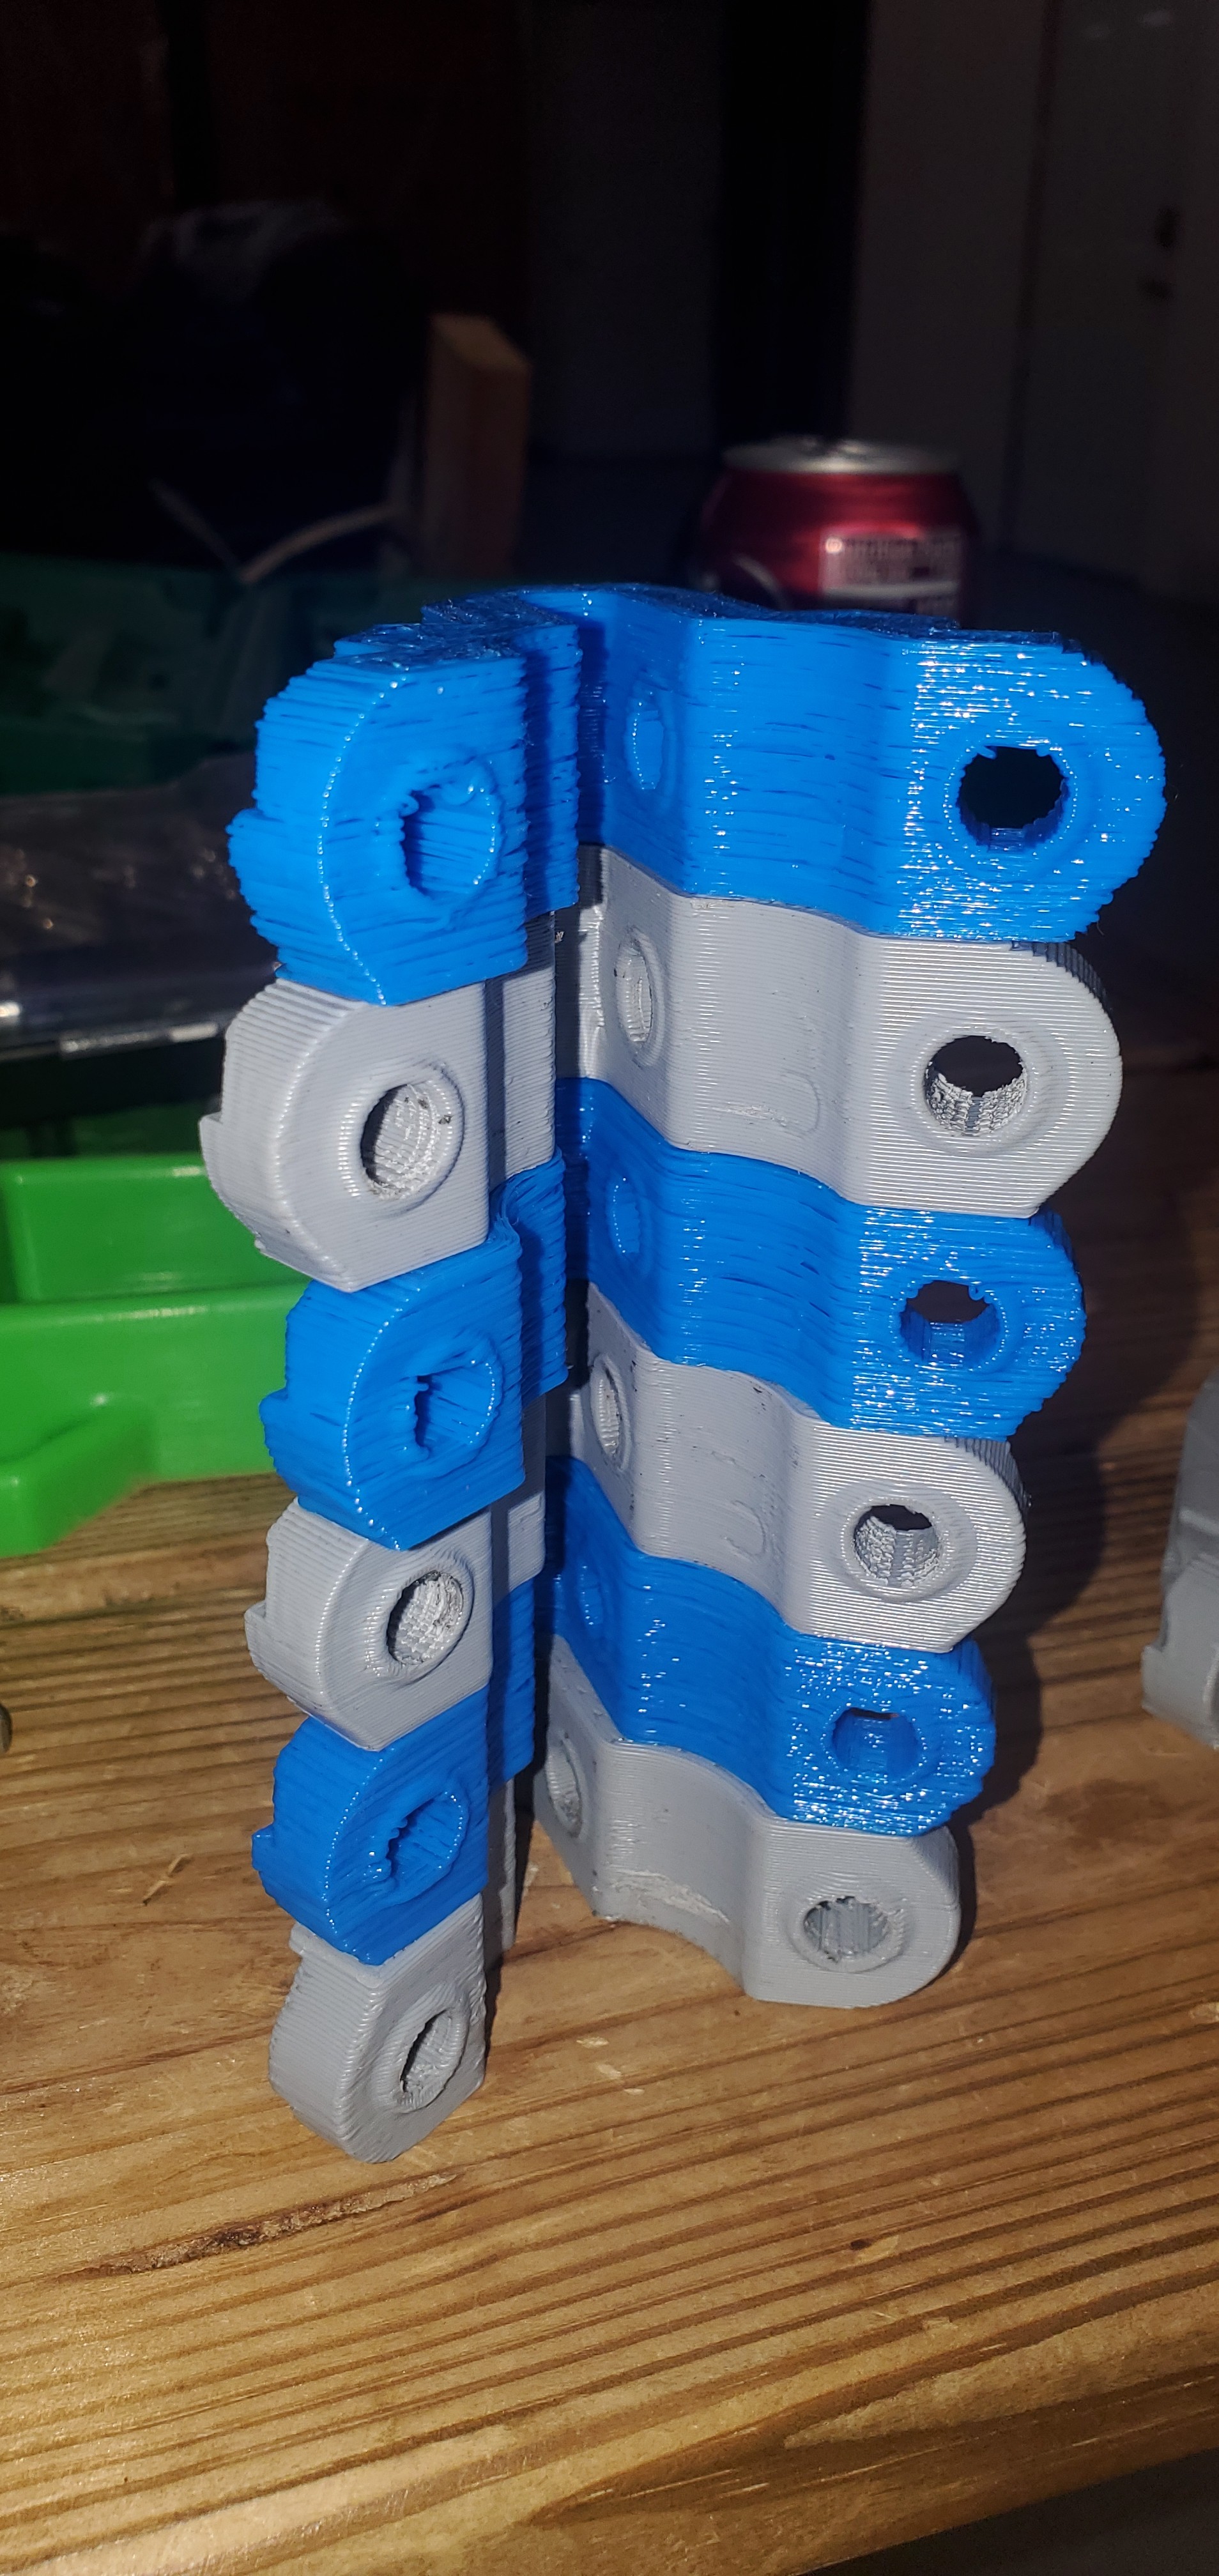
I don’t know will be taking them off tonight if they are messed up I can just reprint I know why they look so smushed I did not put bearing between Clamp and core. After looking at your build link for Primo I seen my error
Did not want to take them off until I moved machine… got it moved over to rescue garrage… but ran out of time
That looks like an extrusion problem and maybe even too hot.
Is it the same brand PLA or a different one?
You should again tune your print settings depending on the filament.
And check your hotend.
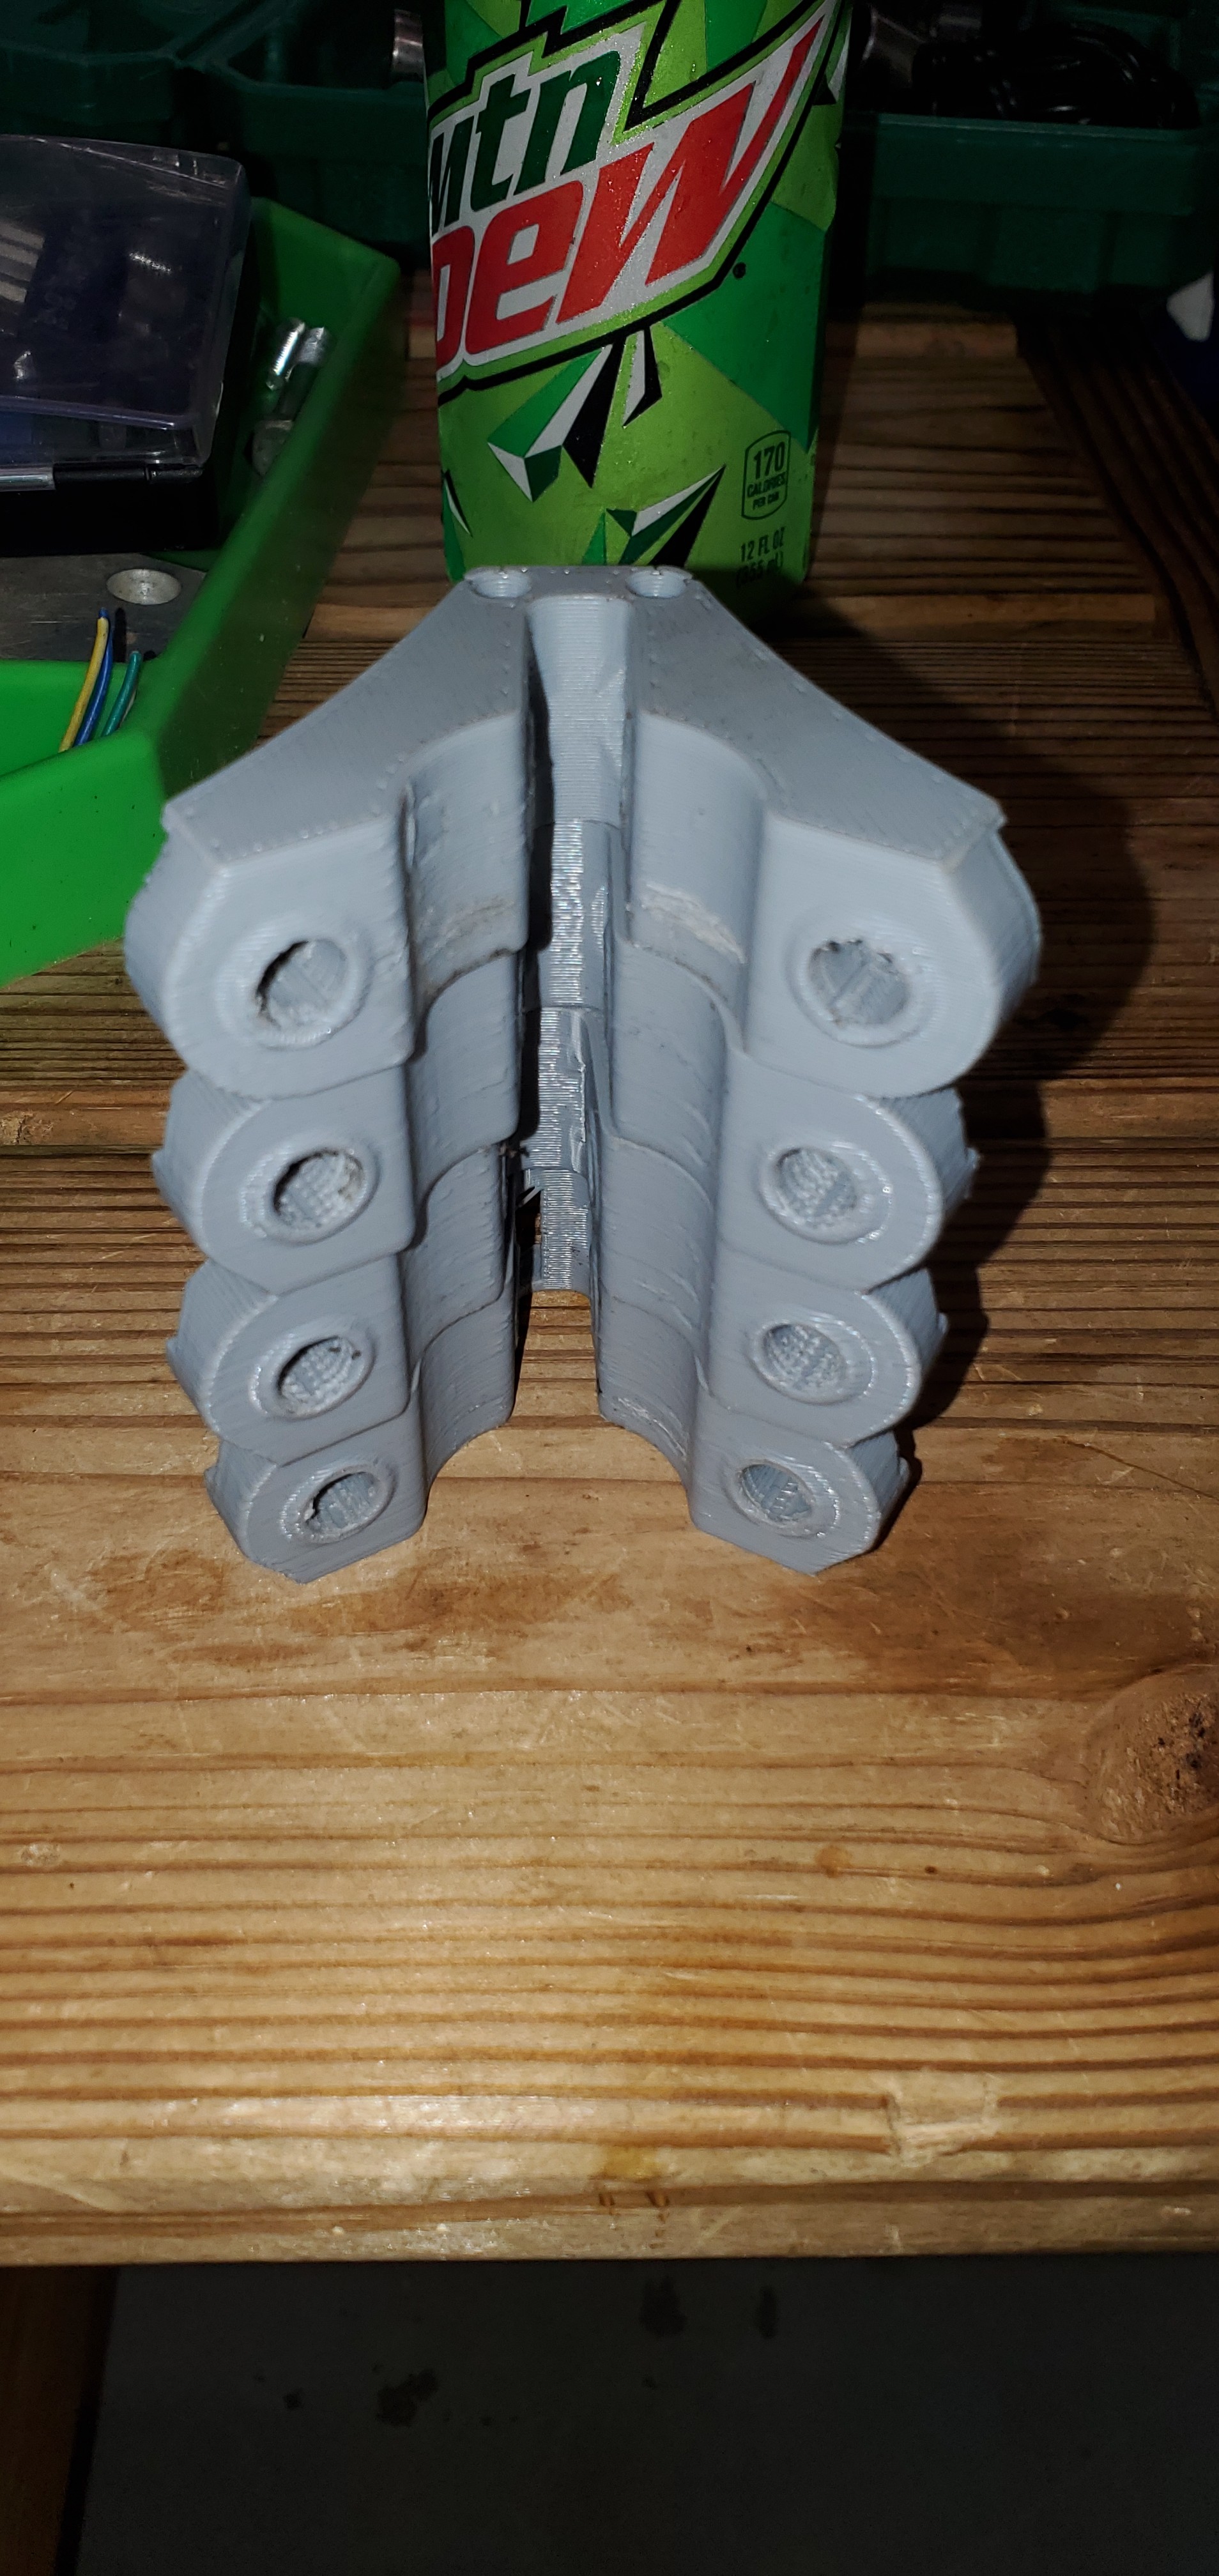
@lifeofbrian I think the gray set was printed by Ryan and the blue was printed by Marvin. But I agree, I would not trust those blue parts. They look like they may have some serious layer adhesion problems.
Ah ok.
I already wondered why the gray parts had been printed with supports and the blue without.
Then it is crucial to check all settings and make test prints to find the right parameters before printing such important parts.
Yea going to reprint the Blue I think I was running a little hot on the PLA + … I did not put the Bearings in-between the Core Clamps and Core before I tighten them Ryan Believes I deformed the clamps so Just in Case I reprinted but Shape seems to be fine SO I think I can just stick with Gray but will turn heat down Have used that Printer in over a Year was completely surprised the bed was level and I’m little rusty with COVID Been running crazy amount of EMS CALLS heck this 24 Hr shift only got 1 Hr of sleep
I may shorten it it was originally setup for 3 in one printer/Laser/router but being that I am only going to use this one as router. I think you are correct …
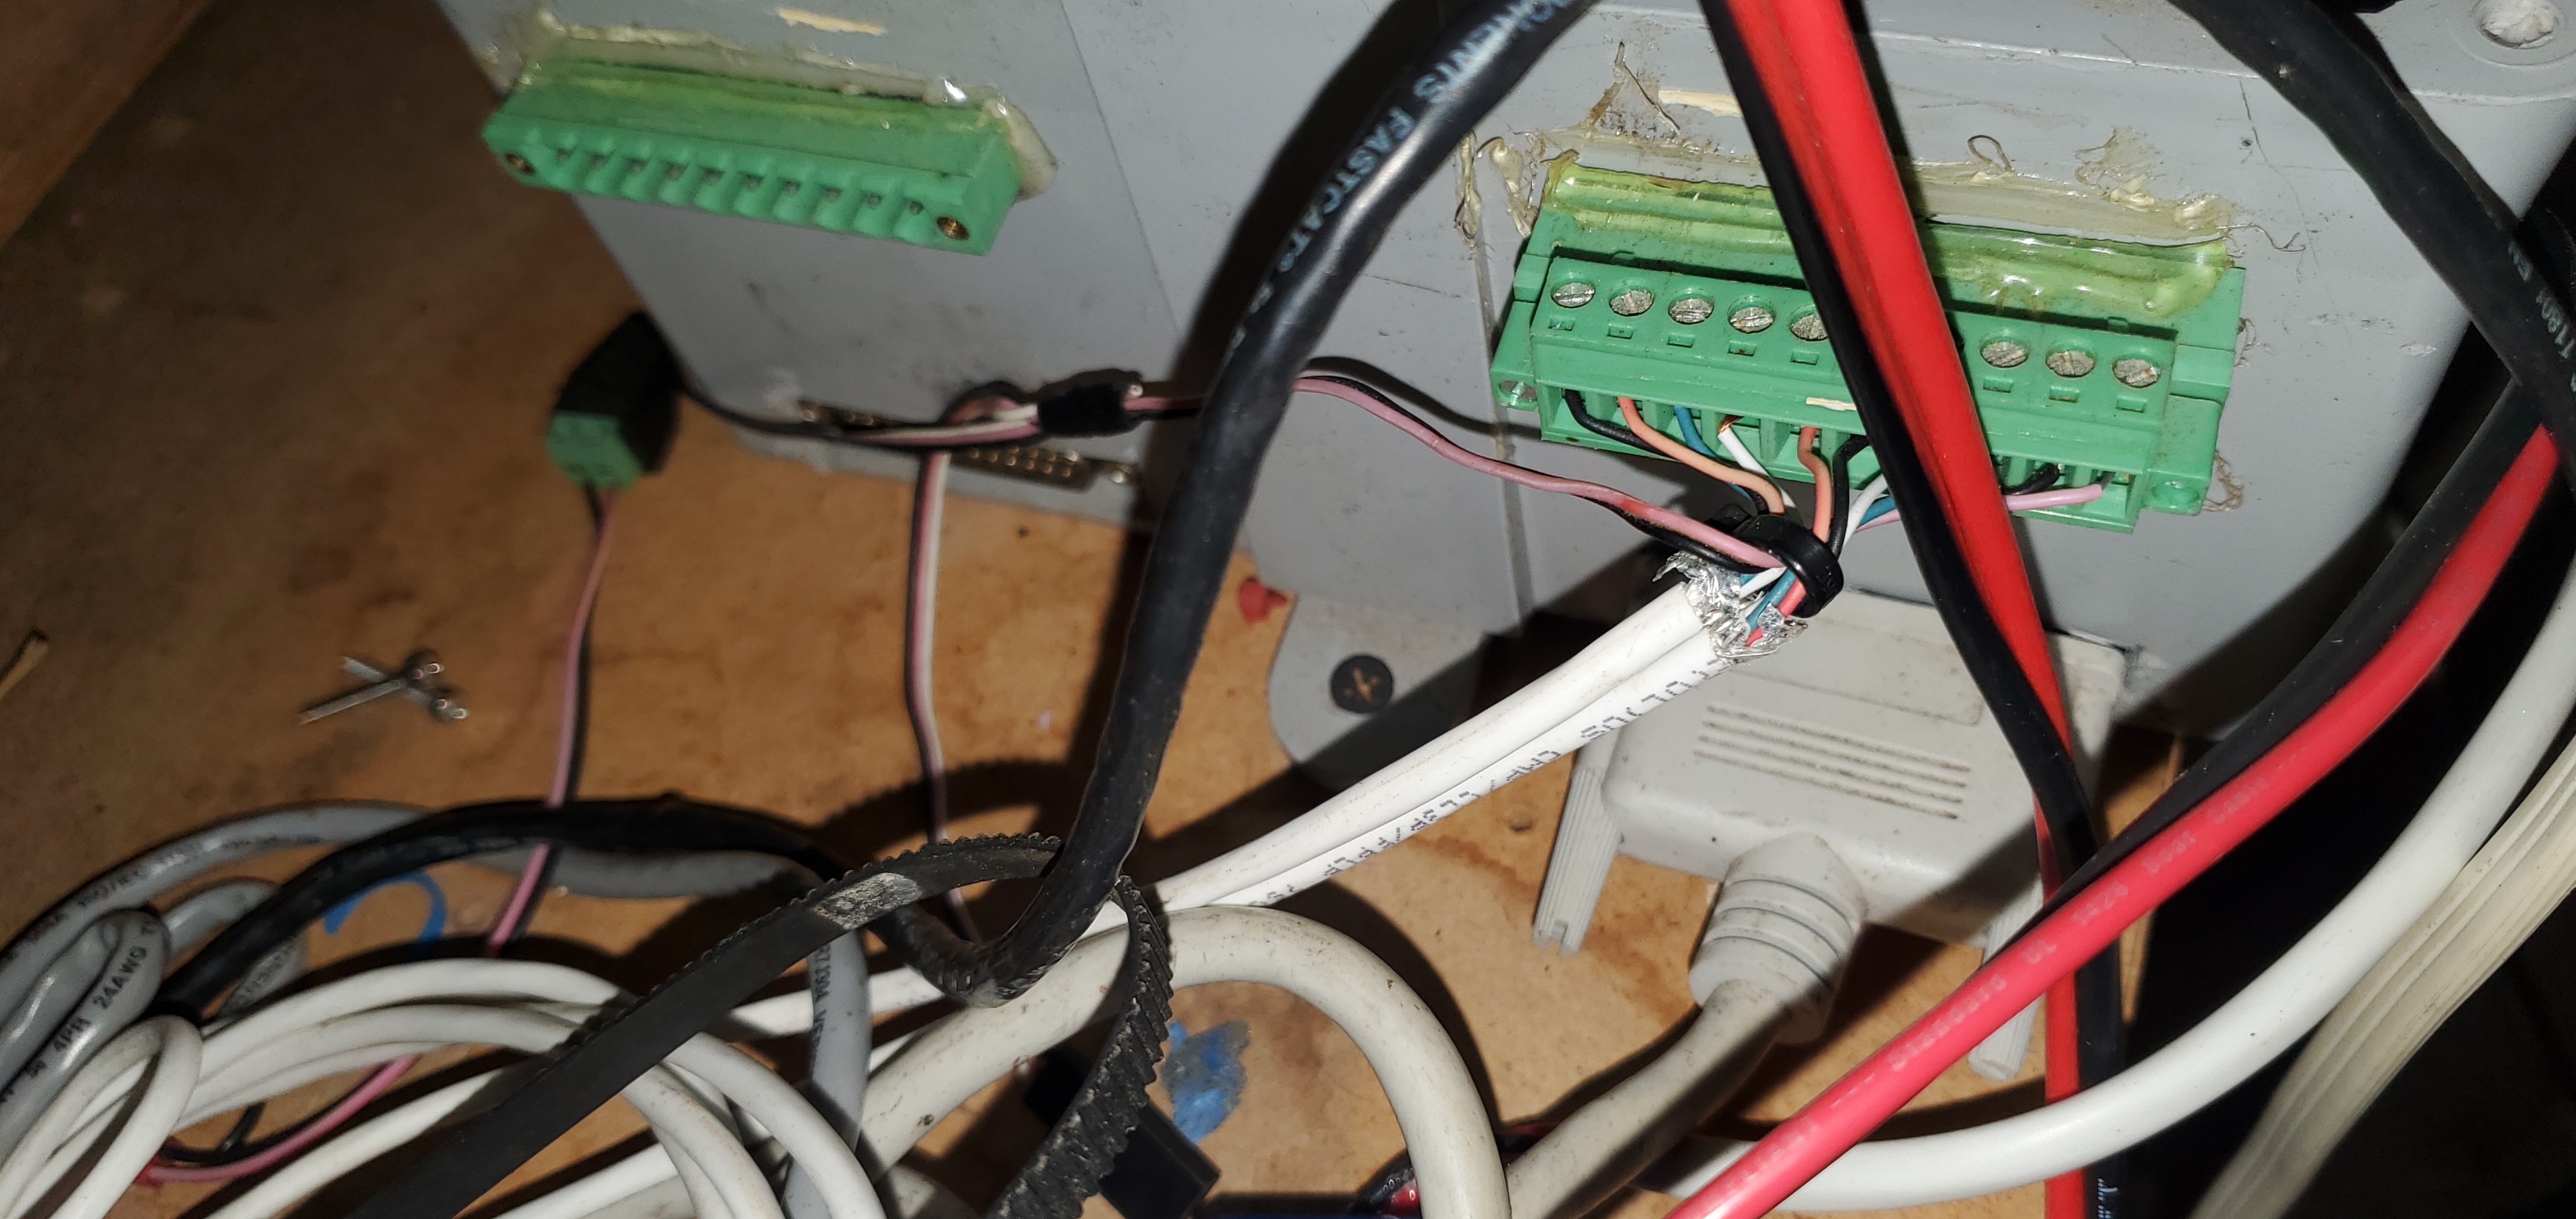
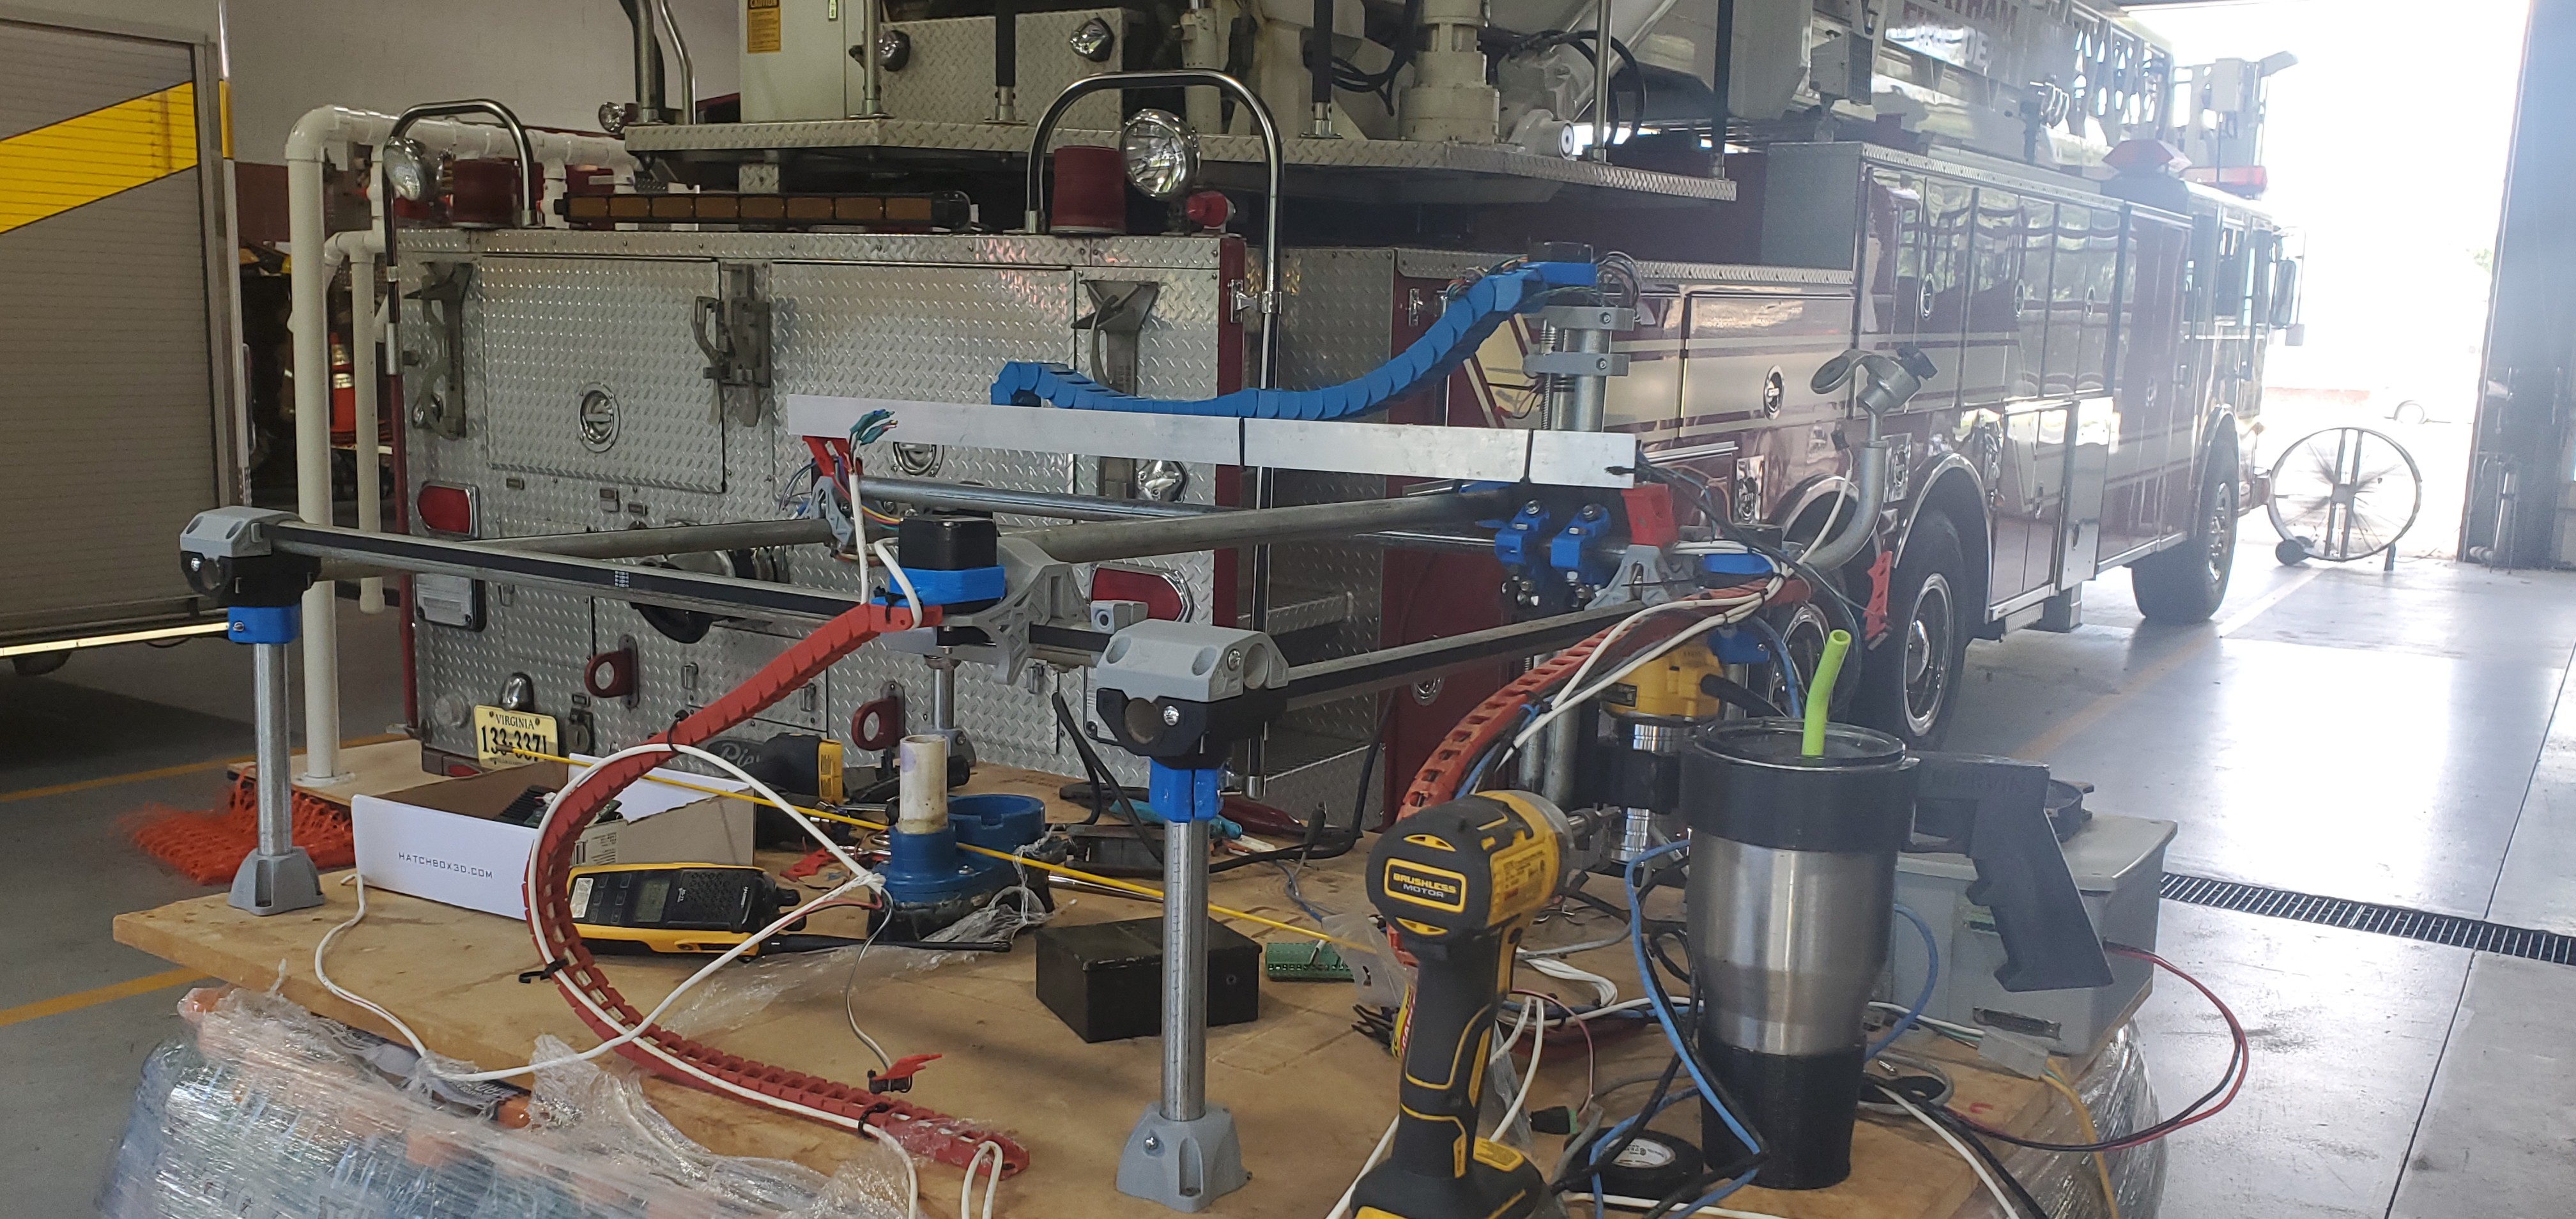
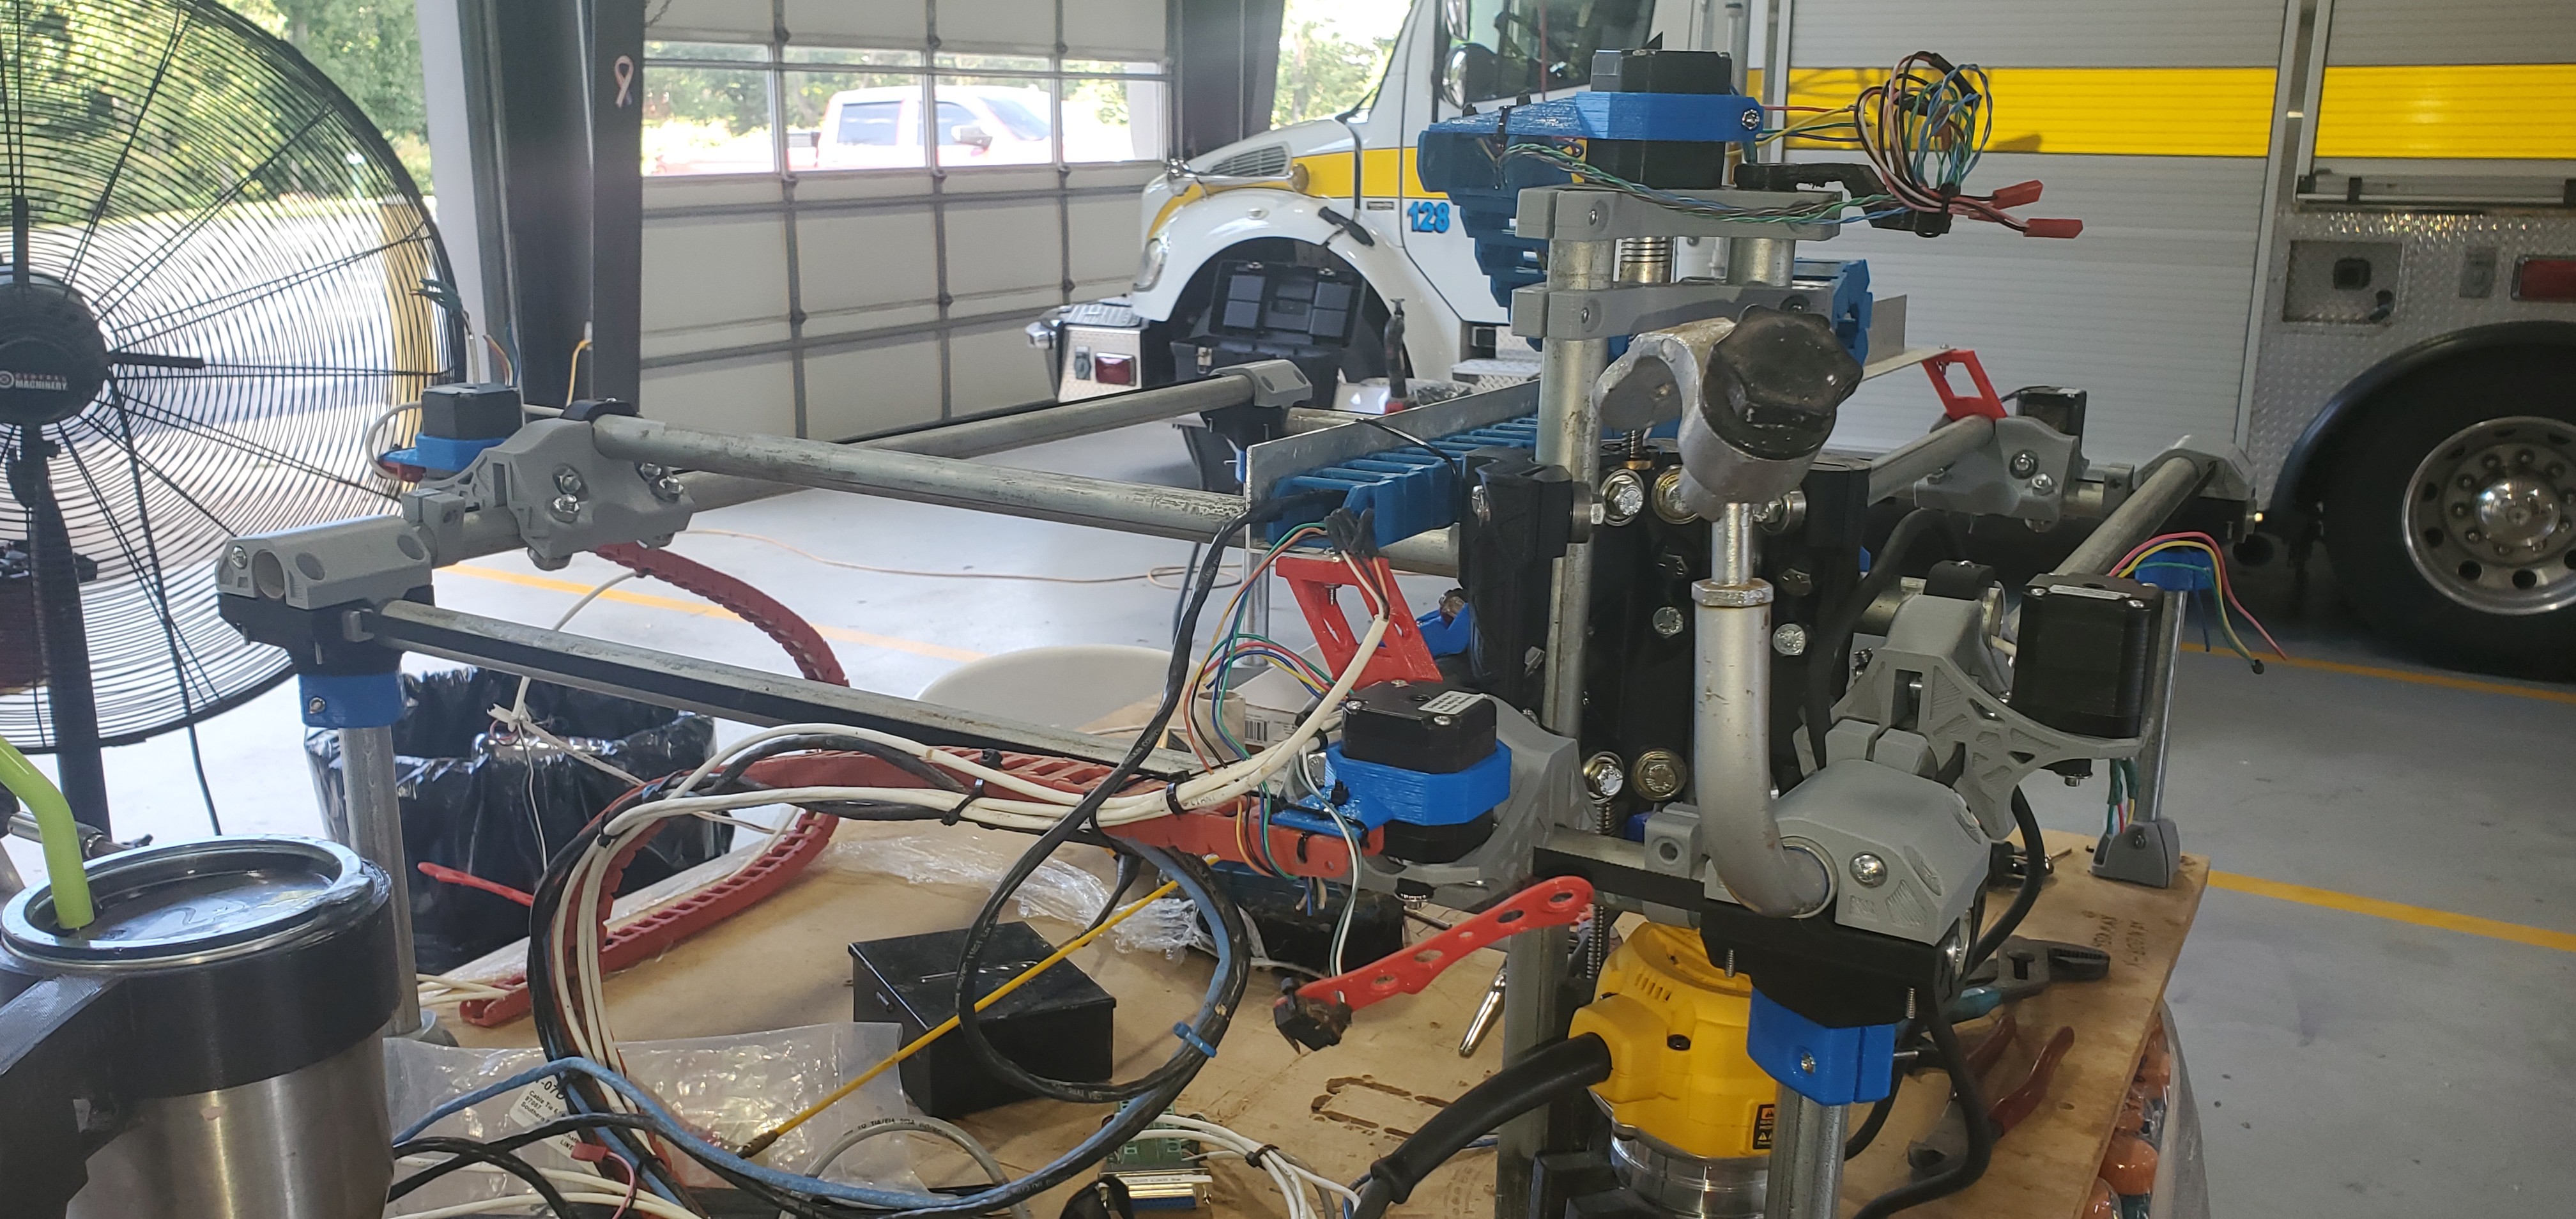
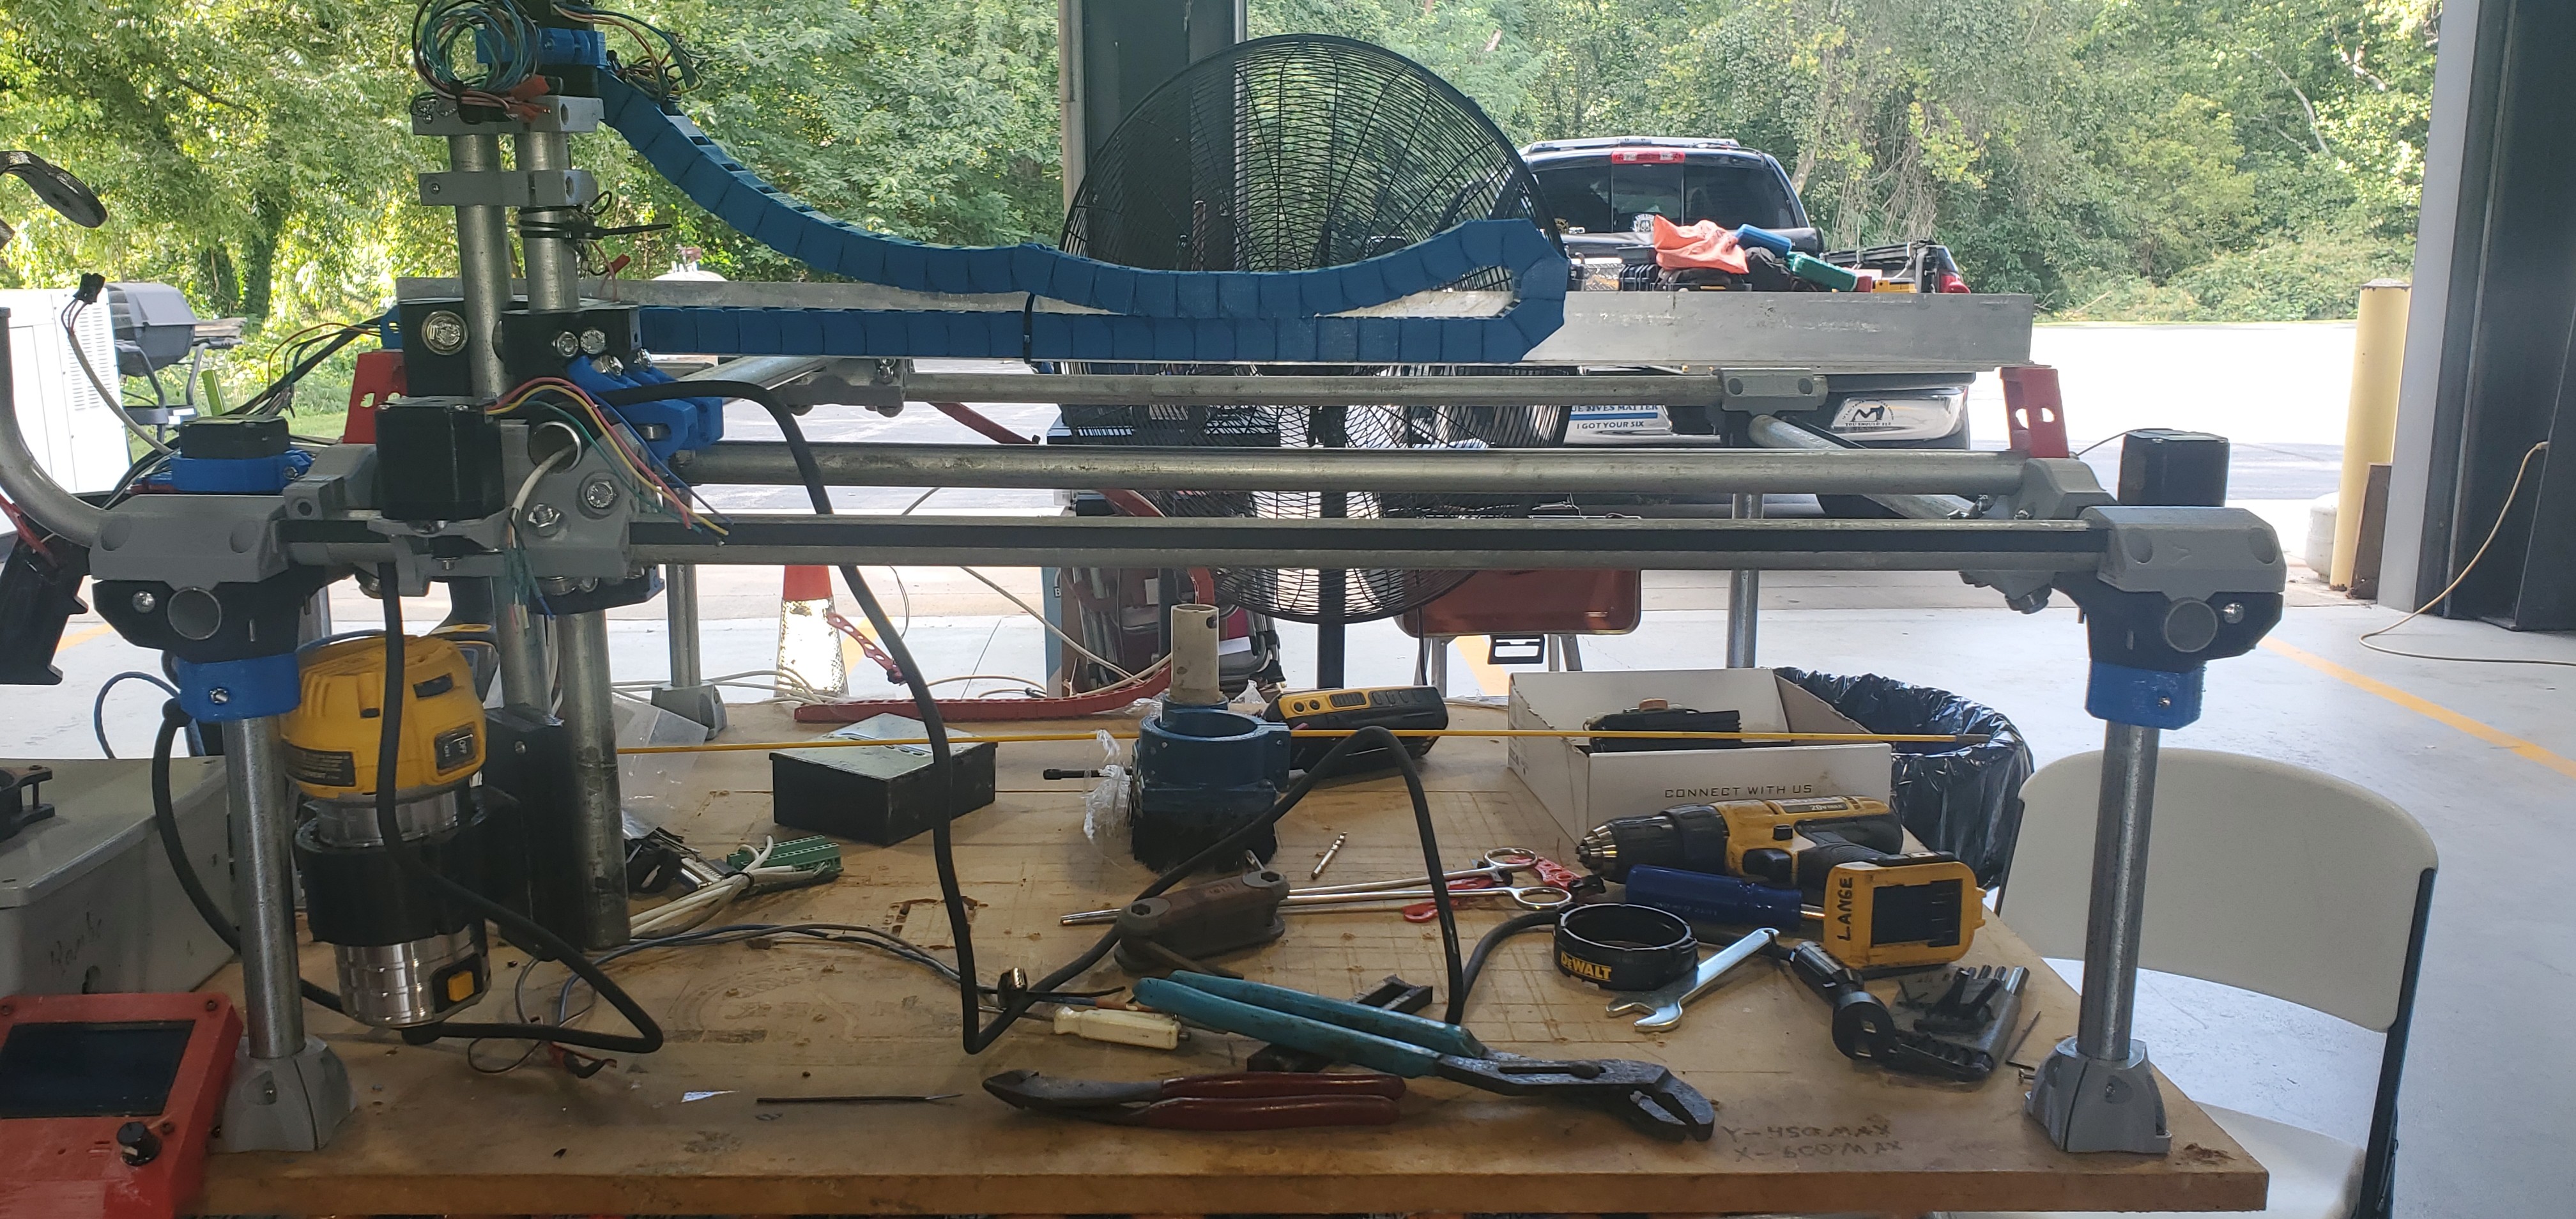
Currently more concerned about the slack were the core mounts to X & Y just seams sloppy
Definitely not good, all the bearings should be touching. What you said should work. The instructions have a different order of operations but if you need to you can take those clamps off, tighten the tension bolts and put them back on. I believe there is a section about this.
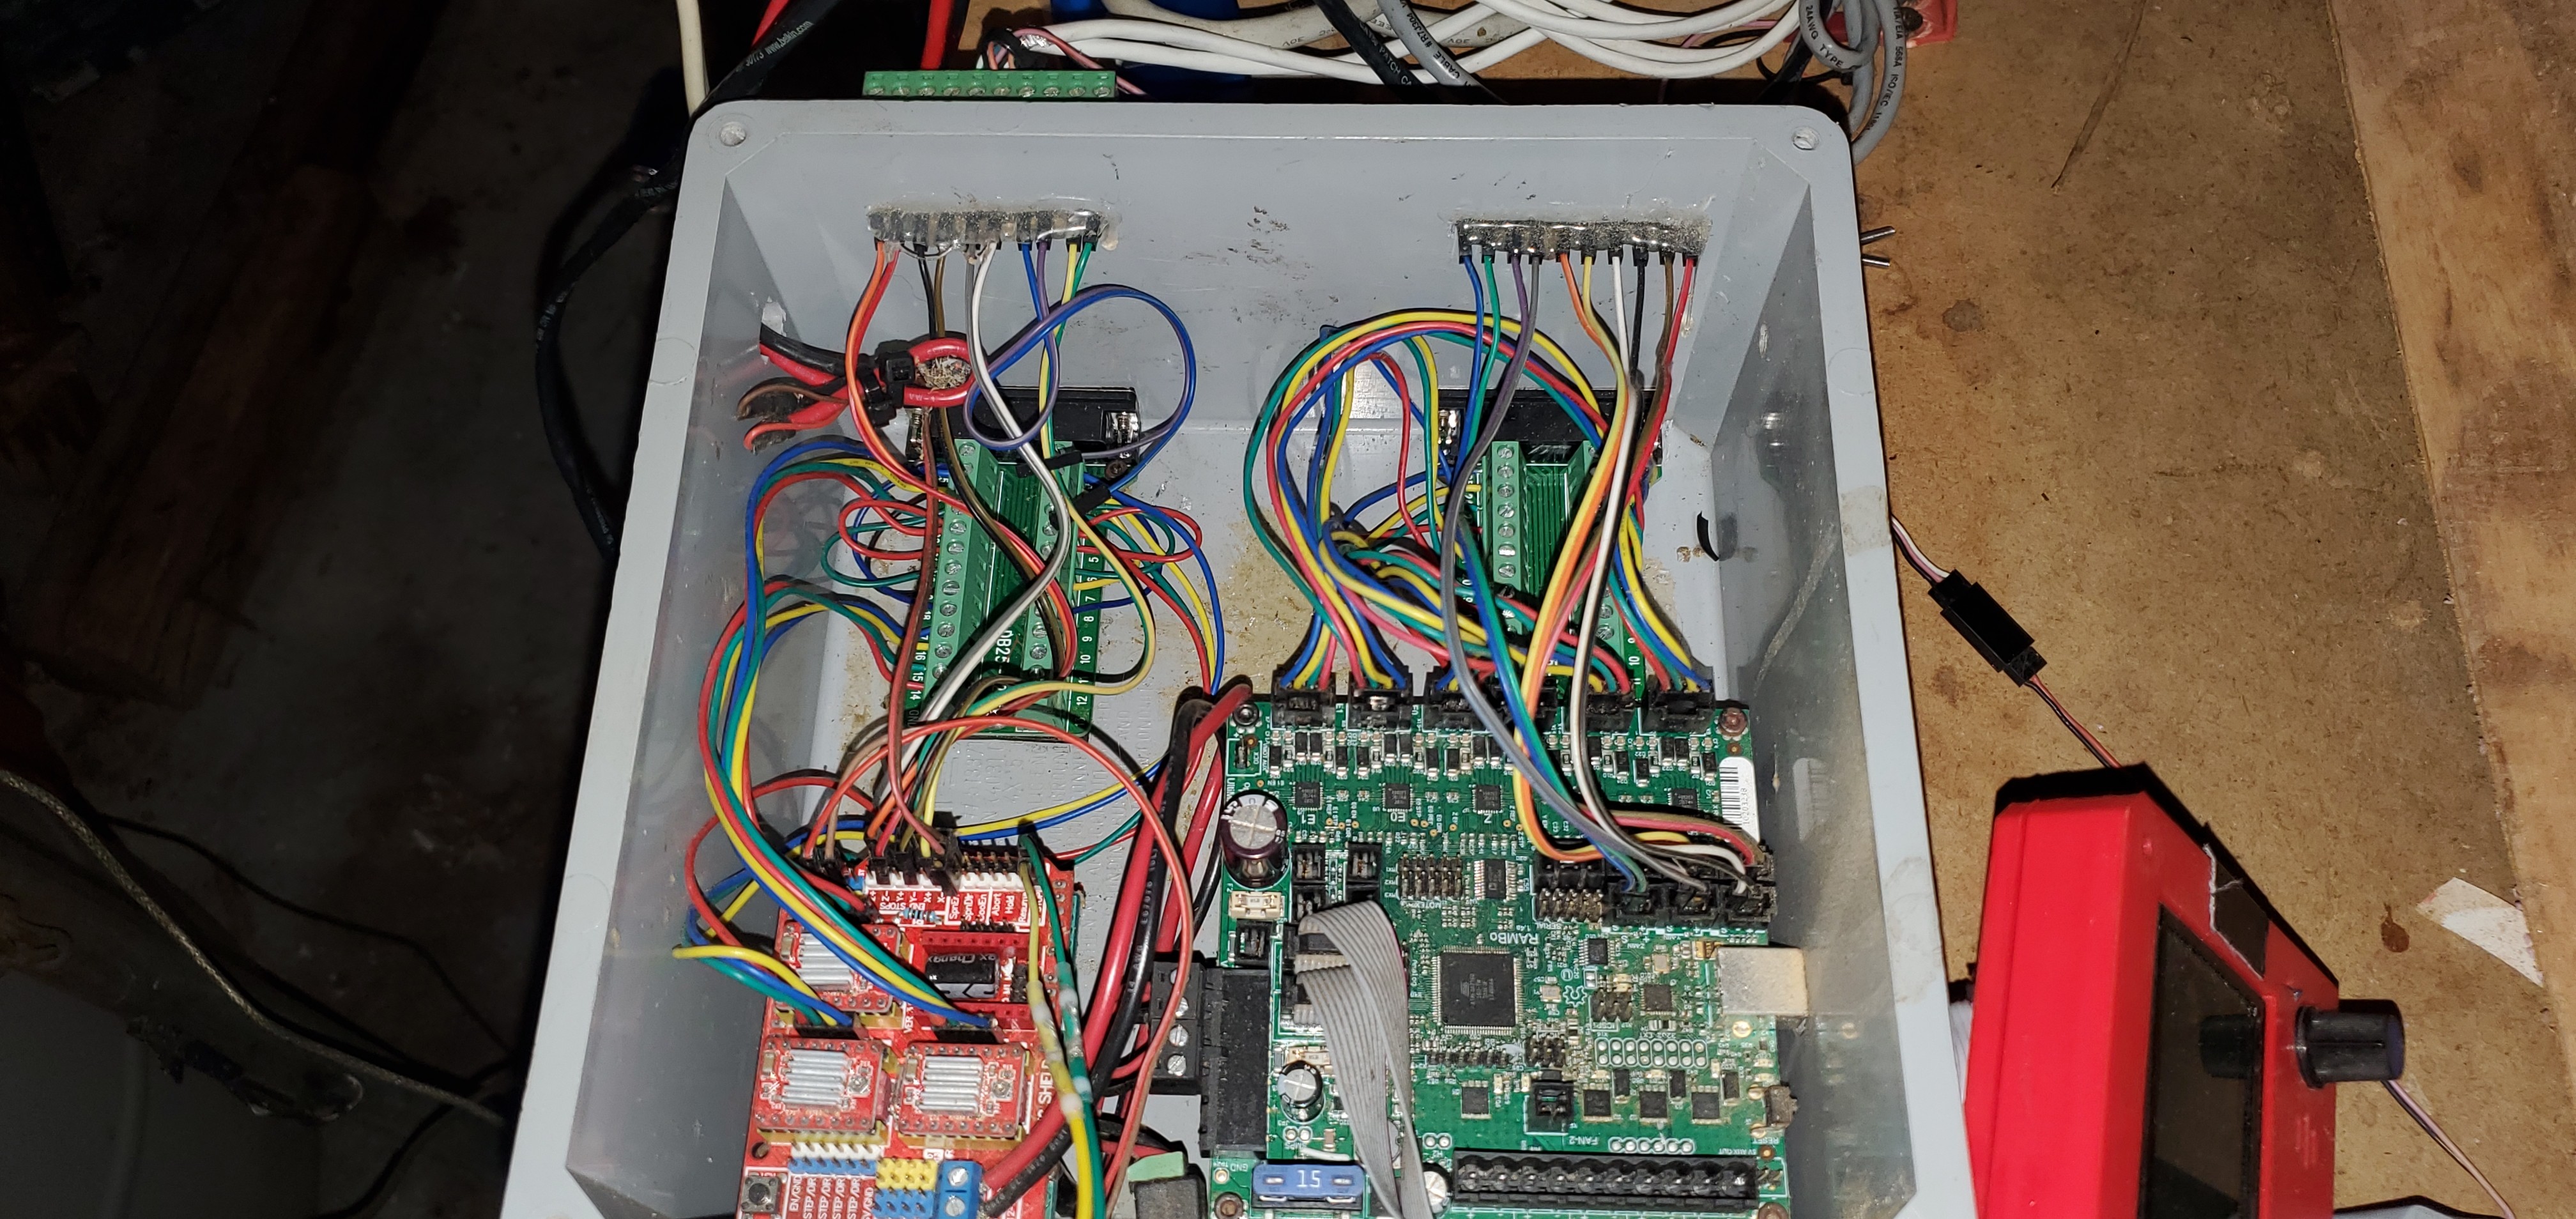
is the Rambo ( Not mini) firmware from the website pre-configured its been so long since I have done this … I purchased Rambo board from you years ago. I made the mistake of hooking it up to estlcam forgot it wipes board ( Dumb ) so I tried reloading firmware with dual endstop. I have forgoton so much getting OLD just want to get it back up and running any suggestions:)
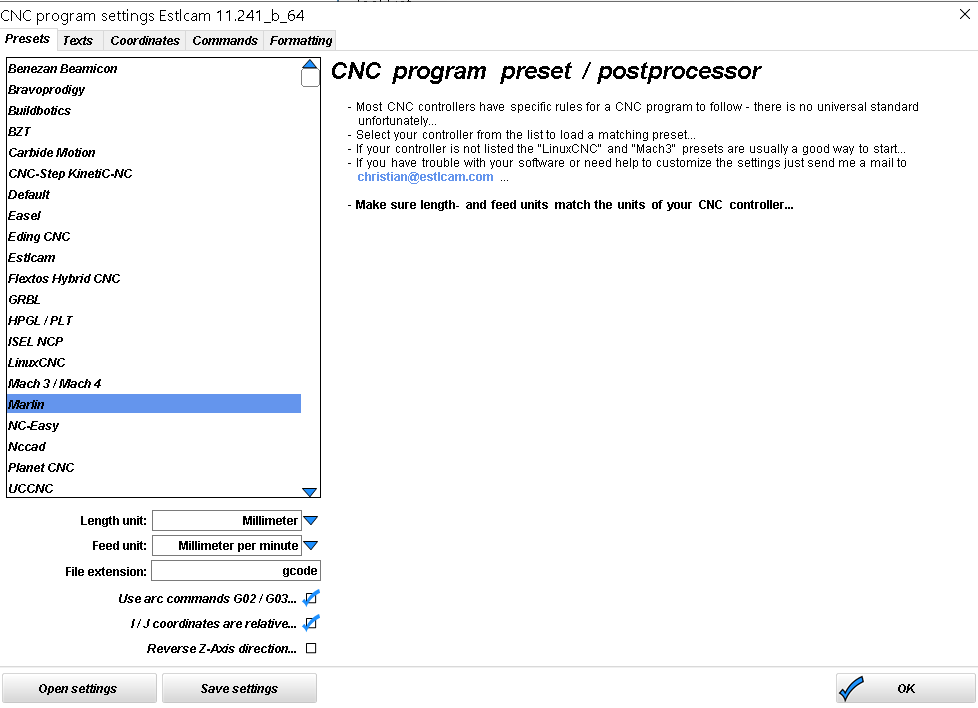
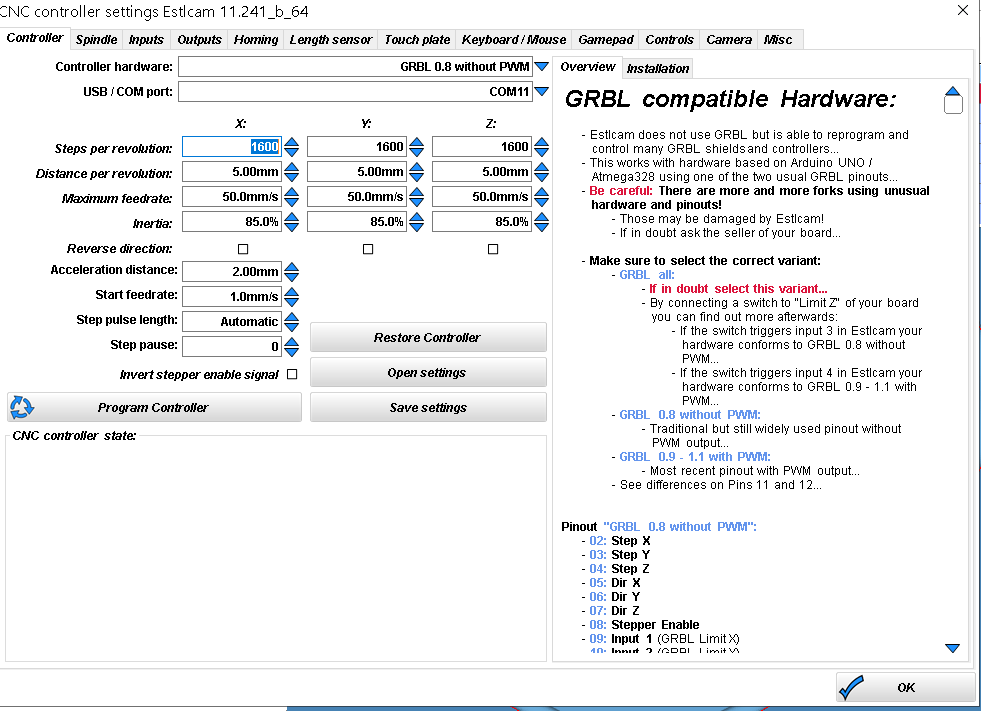
I am doing something wrong with Estlcam tried following directions from here " EstlCam Basics | V1 Engineering Inc " for some reason it its moving way to far so I tried doing a test piece at 177mm squard and it started off almost doing 2 to 3 times that on the x not sure were I have gone wrong cant find the old setup page on form that went over steps per resolution ect…
below are some screen shots of wear I’m at… also I am running Estlcam Directly from my PC using GRBL board…
I Preffer to do wood working live using the GBRL BOARD At least that is the way I used to do it… but if I have to do the marlin SD CARD thing Gotta do what I gotta do Rember I took the time to make my machine run dual boards… even broke down and bought real spindal those settings for the last screen used to be in the forum I just can’t seem to find it anymore
I Will hook my Rambo back up and see about doing a crown test


 those settings for the last screen used to be in the forum I just can’t seem to find it anymore